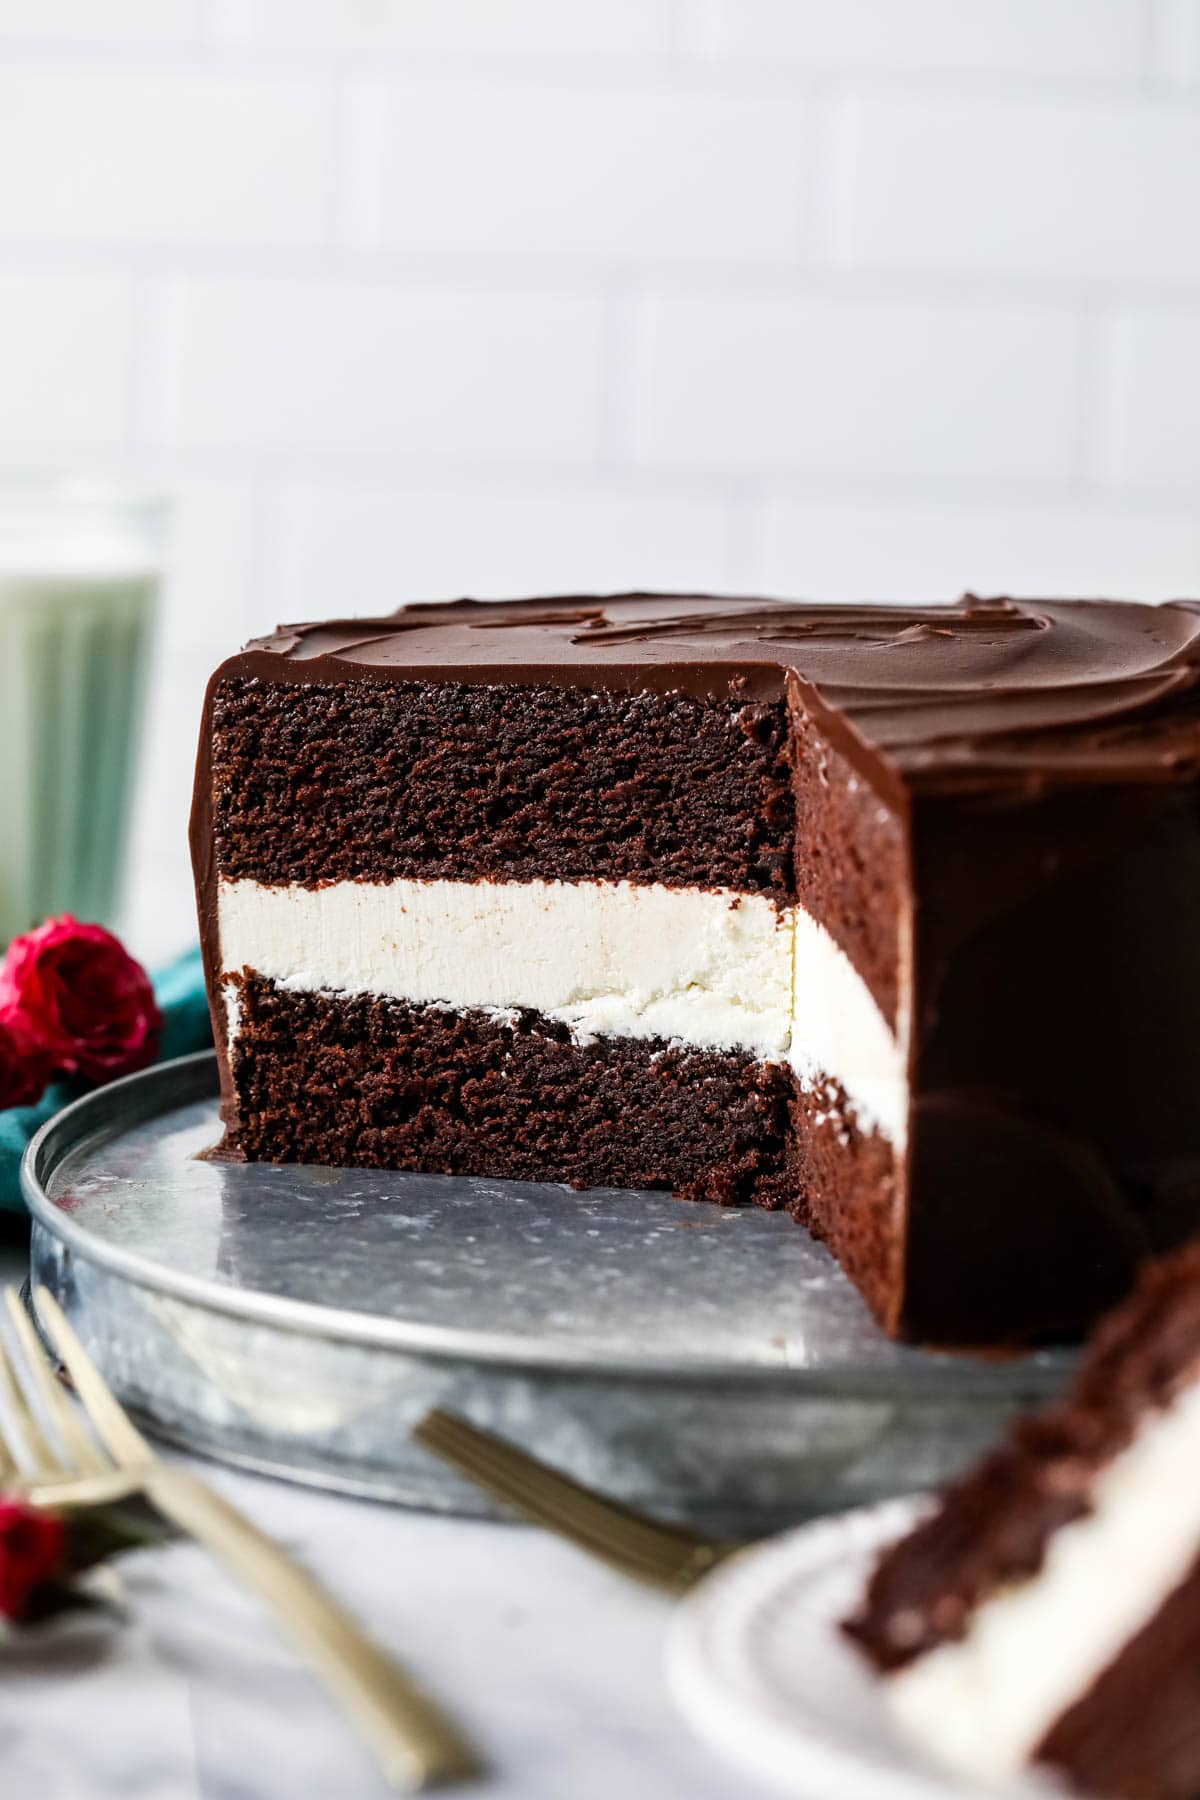
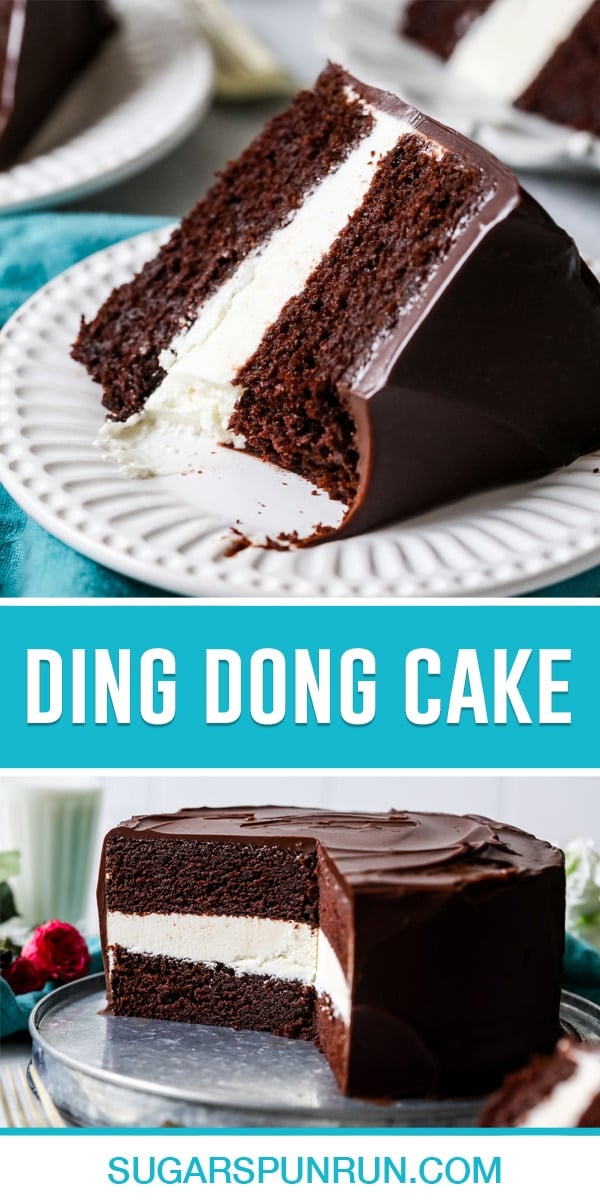
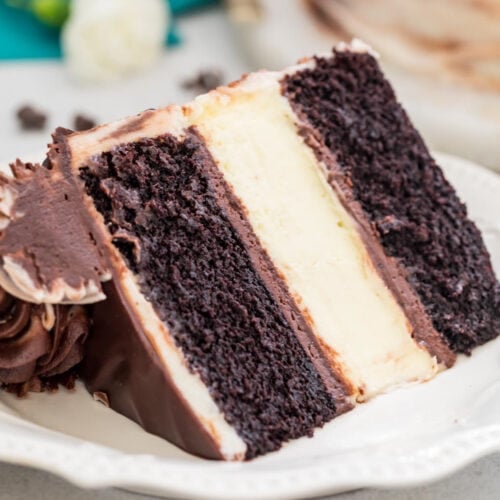
Ding Dong cake is like a giant version of the classic snack cake! It’s made with rich chocolate cake layered with a creamy snow-white filling and a chocolate ganache topping, and it’s likely to be your new favorite cake! It’s incredibly satisfying without being too sweet! Recipe includes a how-to video tutorial.
A Childhood Treat, Reimagined
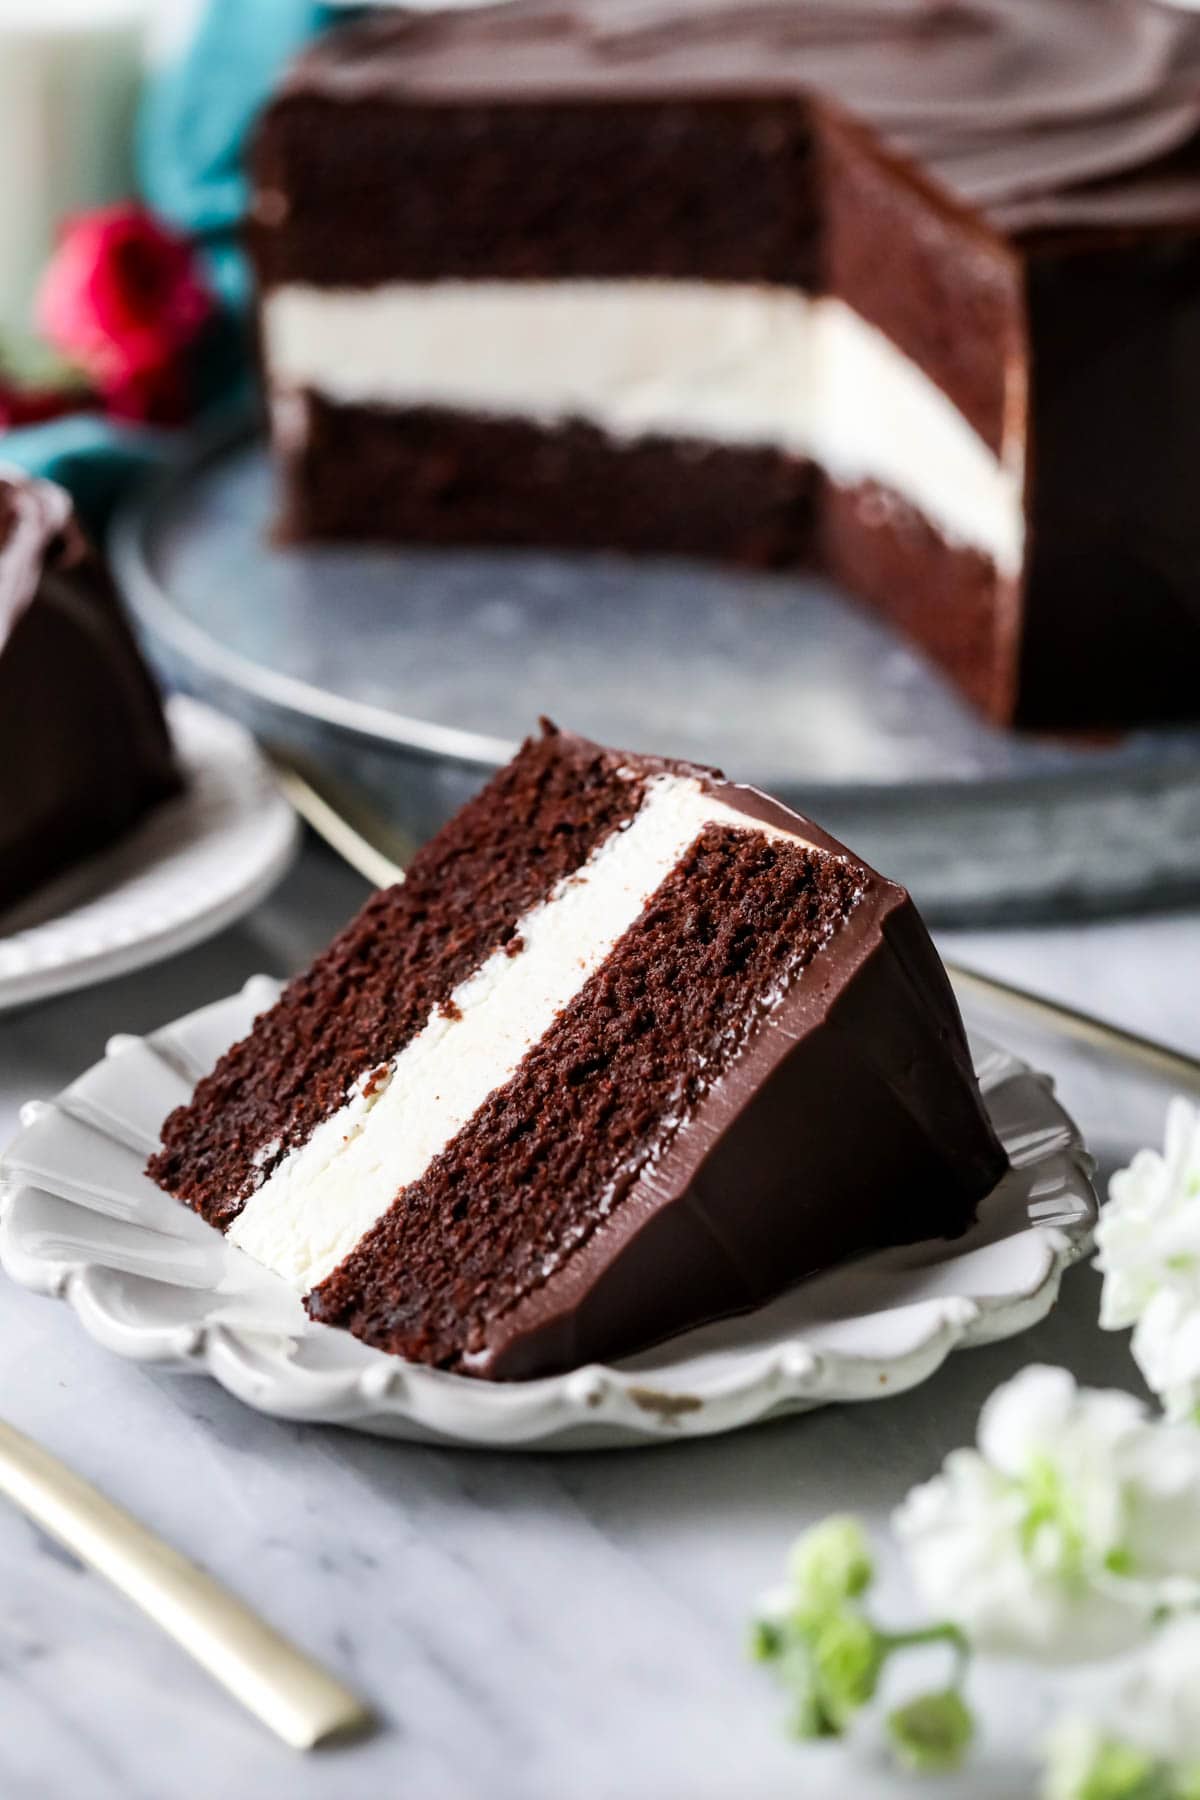
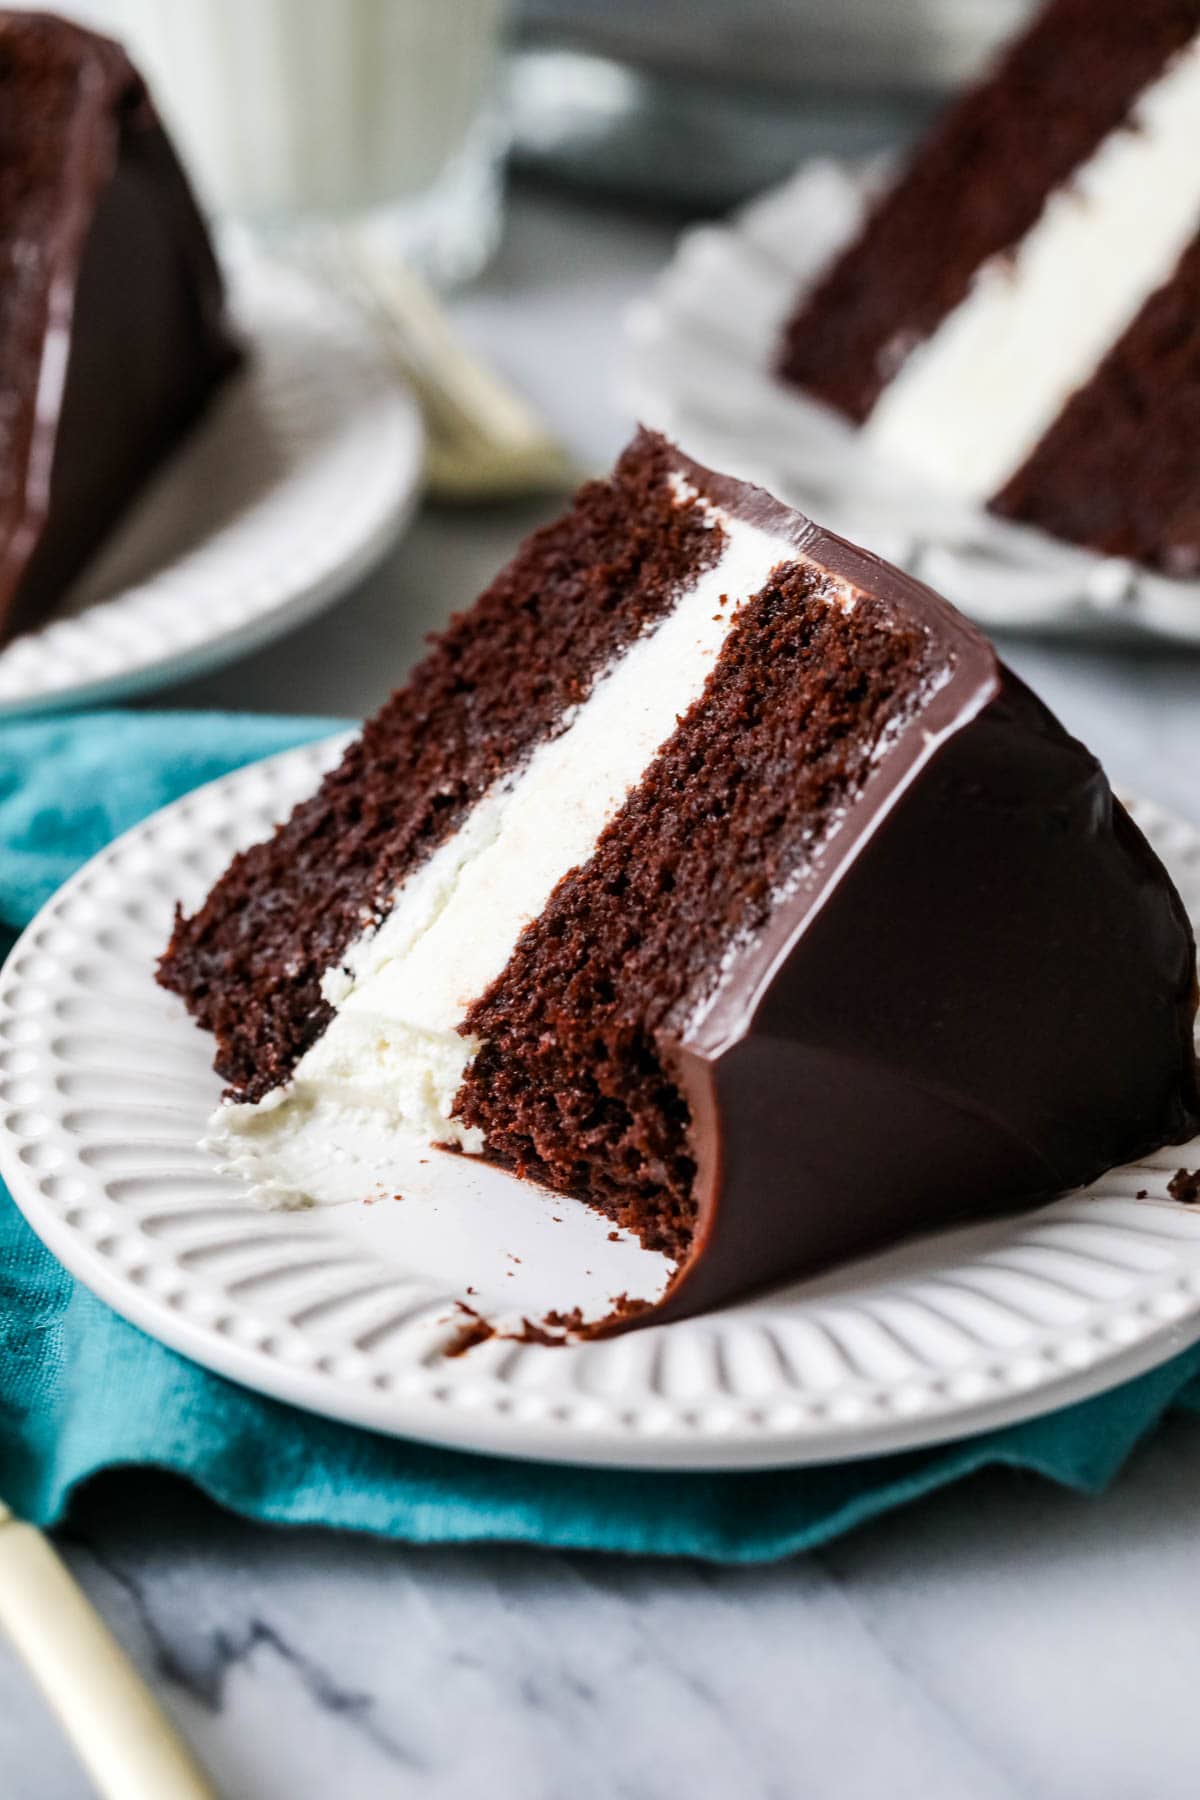
Allow me to introduce you to the cake that I’ll be using for all birthdays in the foreseeable future (including my own): Ding Dong cake! Inspired by the beloved childhood treat, the cake is perfectly chocolatey and paired with the most luxurious cream filling. It’s fun, the textures are amazing, and it’s just so satisfying.
And yes, it has a super silly name, but let’s just look past that because this cake truly is a star 😉
The three elements of this Ding Dong cake:
- Chocolate cake base that’s soft, chocolatey, and melts in your mouth. It also holds up well to refrigeration, which is important since this cake should be refrigerated.
- Silky smooth filling made from old fashioned ermine frosting. This is not too sweet and perfectly emulates the filling in Ding Dongs! Unlike traditional buttercream frosting, ermine frosting actually begins on the stovetop with granulated (not powdered!) sugar. It can be bit tricky to make, so check out my troubleshooting section before starting to avoid any issues.
- Fudgy chocolate ganache frosting which, again, perfectly emulates a Ding Dong.
Because ermine frosting can be a bit finicky and the chocolate ganache can be a little tricky to gauge, I wouldn’t necessarily call this Ding Dong cake an “easy” recipe to make. However, it’s also not a difficult recipe either, so I’d say it’s intermediate. Really though, I think anyone could make this cake if they follow the instructions closely.
Personally, this is one of my favorite cakes (it’s right up there with carrot cake!), and I cannot wait for you to try it! Let’s dig in!
What You Need
For the Cake
Let’s first go over the key ingredients in the cake layers for this Ding Dong cake. Then I’ll highlight a few ingredients for the filling and frosting.
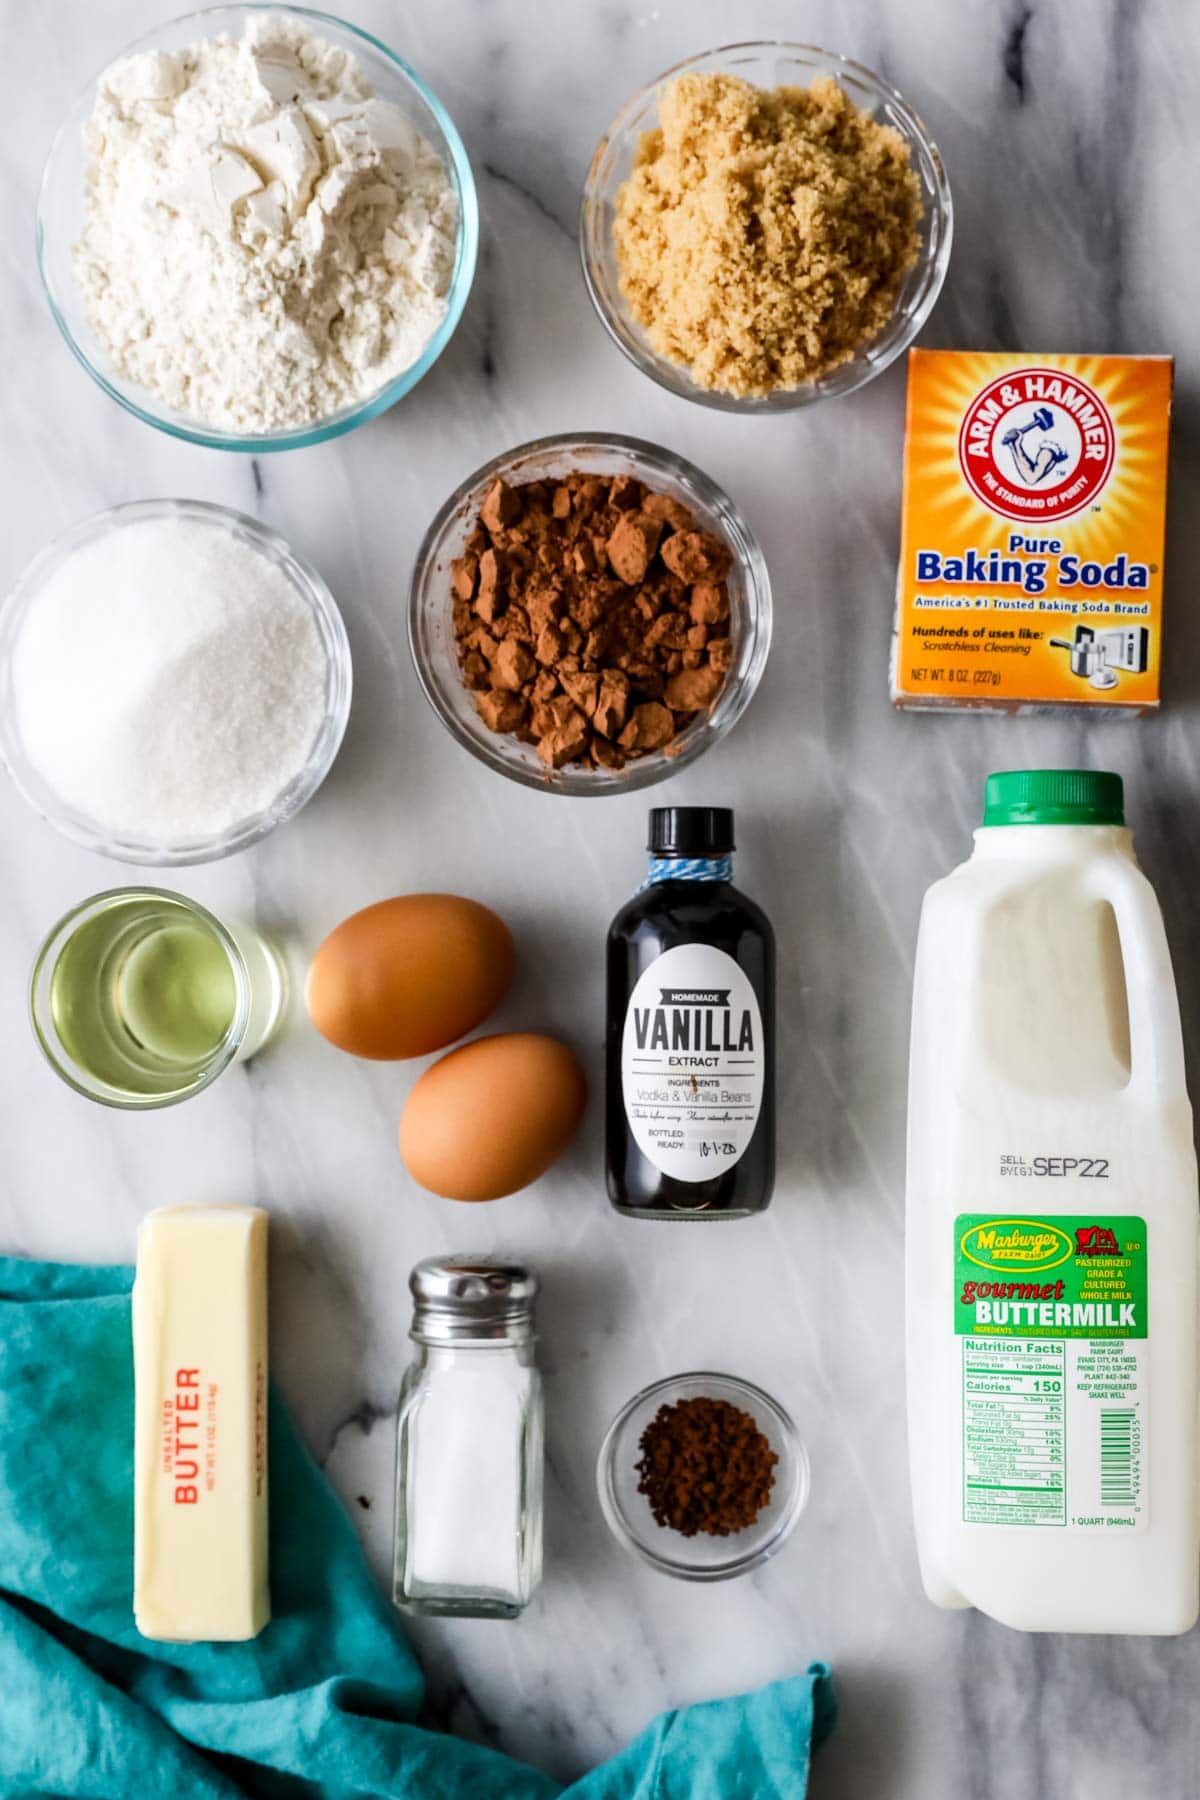
- Buttermilk. Buttermilk makes this cake is incredibly moist, soft, and flavorful. If you don’t have the real stuff on hand, my easy buttermilk substitute will work–but I highly recommend getting the real thing if you can.
- Hot coffee. The reasoning behind adding hot coffee is twofold; first, adding a hot liquid will help “bloom” the cocoa powder and intensify its flavor. Second, adding coffee specifically will also up the chocolate flavor (without making the Ding Dong cake actually taste like coffee!). If you don’t have any coffee on hand though, very hot water will work. I keep instant coffee on hand specifically for using in my cakes.
- Cocoa powder. It’s important that you use natural cocoa powder since we are only using baking soda in this recipe. Dutch process cocoa could cause rising issues. If you’d like to learn more about this distinction, read my post on natural vs. Dutch process cocoa.
- Sugar. I like to use both granulated and light brown sugar in my chocolate cake; this not only adds depth of flavor, but it also makes the cake incredibly moist too!
- Egg + egg yolk. Adding an extra egg yolk to the batter makes this cake supremely tender and melt-in-your-mouth. If you don’t want to throw away the egg white, save it for meringue cookies or candied pecans.
For the Filling & Topping
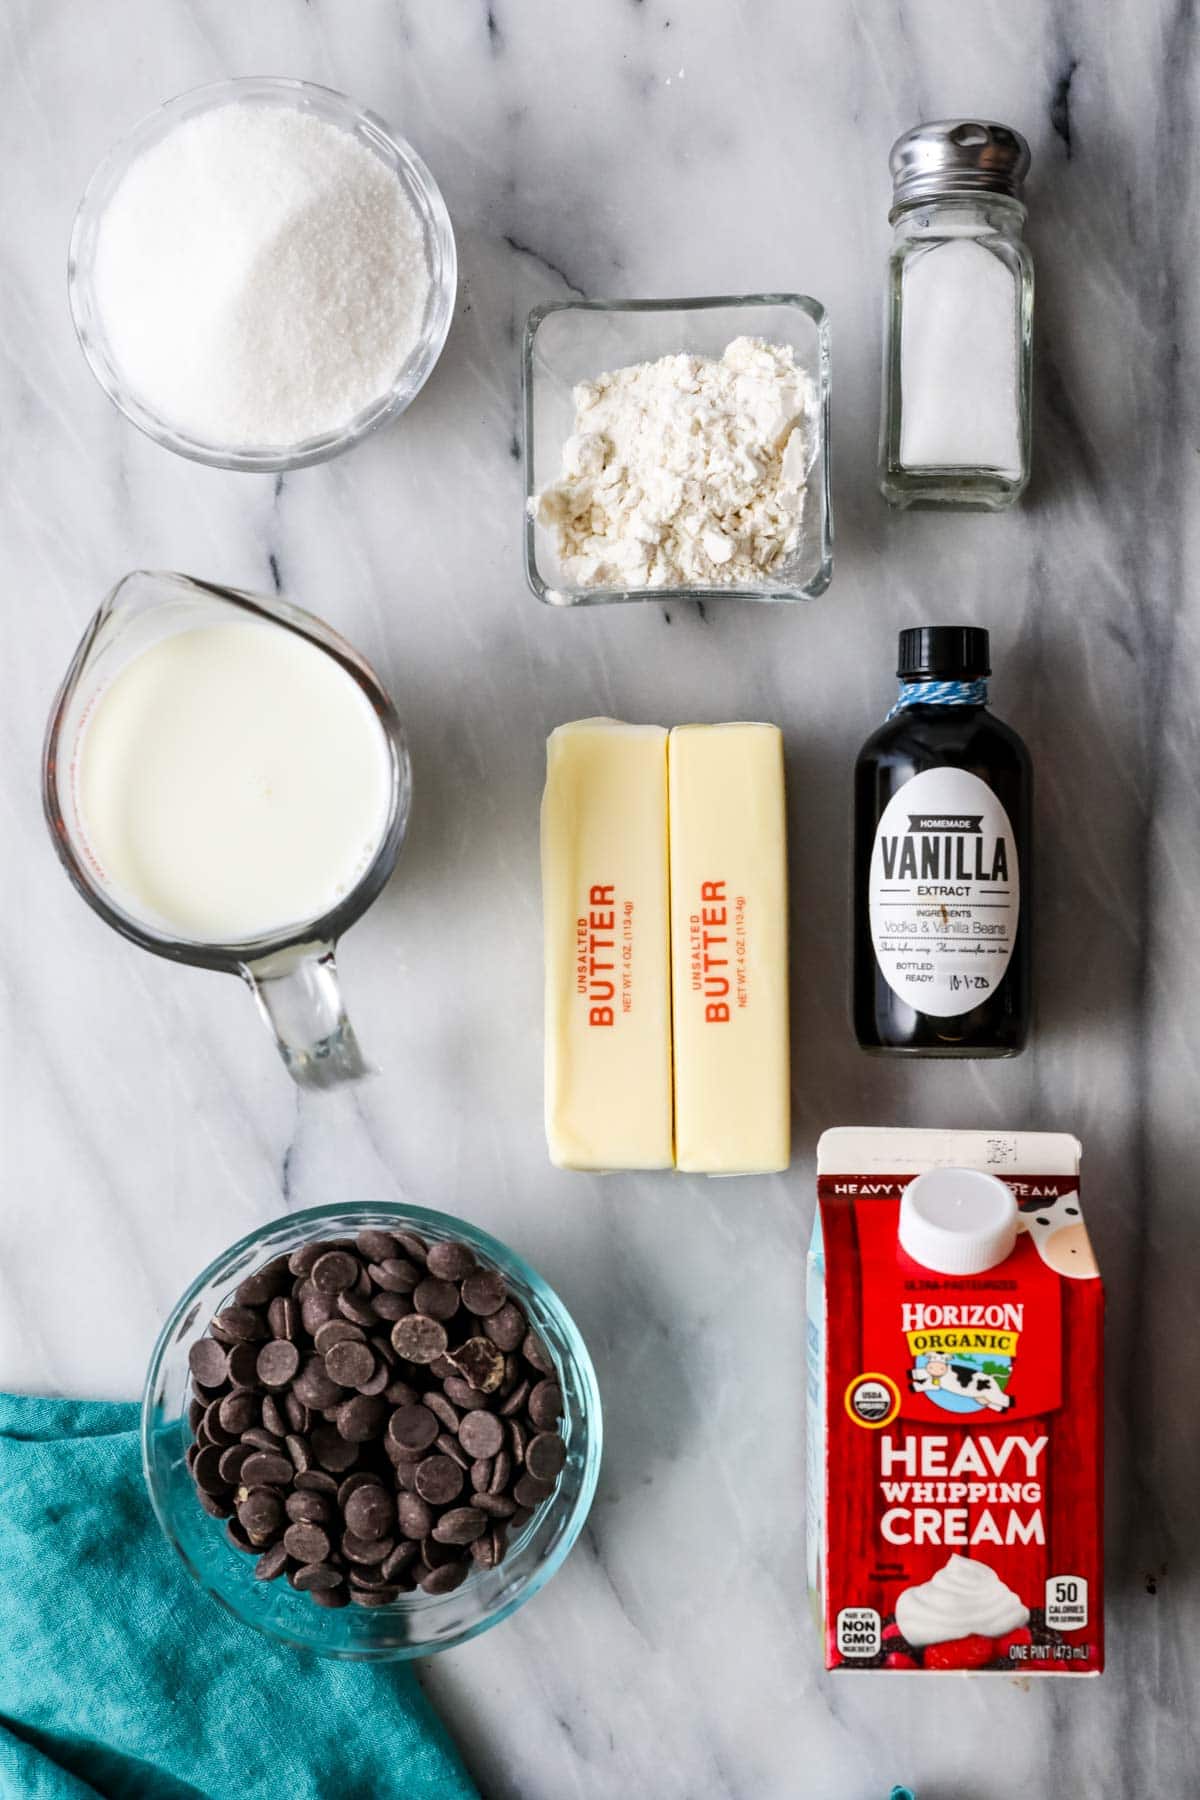
- Granulated sugar. Using just one cup of granulated sugar instead of several cups of powdered sugar means this ermine frosting is far less sweet than your classic buttercream frosting. It also means the frosting must be cooked on the stove to dissolve the sugar–more on this below!
- Flour. This might seem like a strange ingredient for a frosting, but flour is a classic ermine frosting ingredient. It thickens the filling base into a pudding-like consistency, which we will let cool and then whip into butter.
- Butter. It’s very important that your butter is softened to room temperature (but not melty) before combining it with your cooked filling base. If it’s not, your filling could curdle OR turn out too runny. I use unsalted butter.
- Vanilla. I actually prefer to use clear artificial vanilla extract for the filling to mimic the bright white color and artificial flavor of the filling in real Ding Dongs. Feel free to use regular vanilla extract though!
- Chocolate. Use semi-sweet chocolate, either from a chopped baking bar, couverture chocolate, or chocolate chips. Personally, I tend to avoid making ganache with chocolate chips, but they can still work.
SAM’S TIP: Make sure to whisk your flour well (or sift it, after measuring) before adding the milk; otherwise, you could end up with a lumpy filling.
Remember, this is just an overview of the ingredients I used and why. For the full recipe please scroll down to the bottom of the post!
How to Make Ding Dong Cake
Make the Filling Base
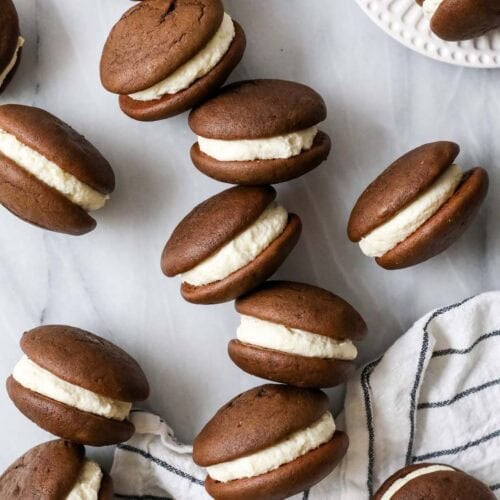
If you’ve ever made my whoopie pies or frosted a red velvet cake, you’ve likely made this old-fashioned frosting before. It looks a bit different from some of the frostings I’ve shared in the past and is slightly more complicated, but it isn’t difficult and is worth the extra effort. Before you can whip this into what truly resembles a frosting, we start with a simple roux as the base:
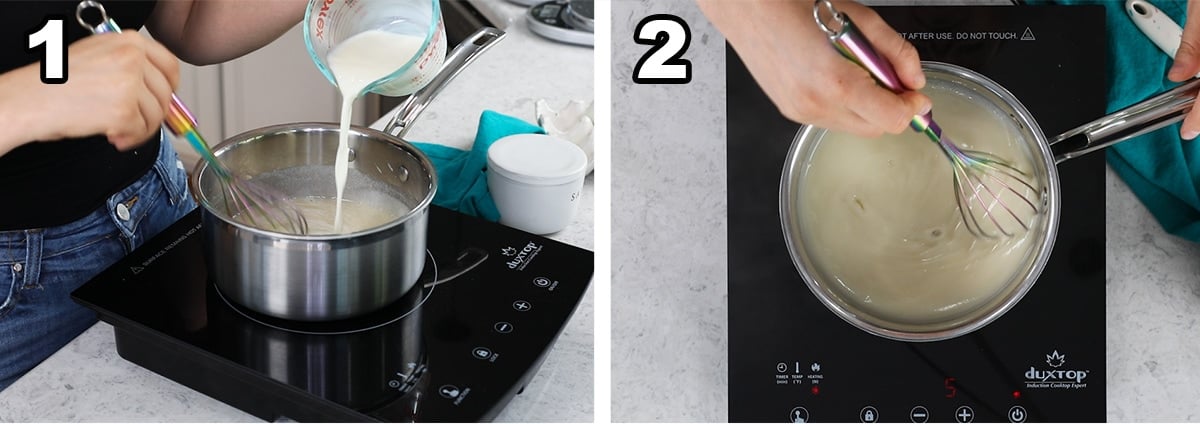
- Whisk together the flour, salt, and sugar in a saucepan, then gradually pour in the milk while still whisking. Whisk until smooth, then place over medium heat.
- Cook over medium heat, whisking constantly, until the mixture reaches a thick, pudding-like consistency. Pour the pudding into a heatproof container, press a piece of wax paper against the surface, and let cool completely.
Make the Cake Layers
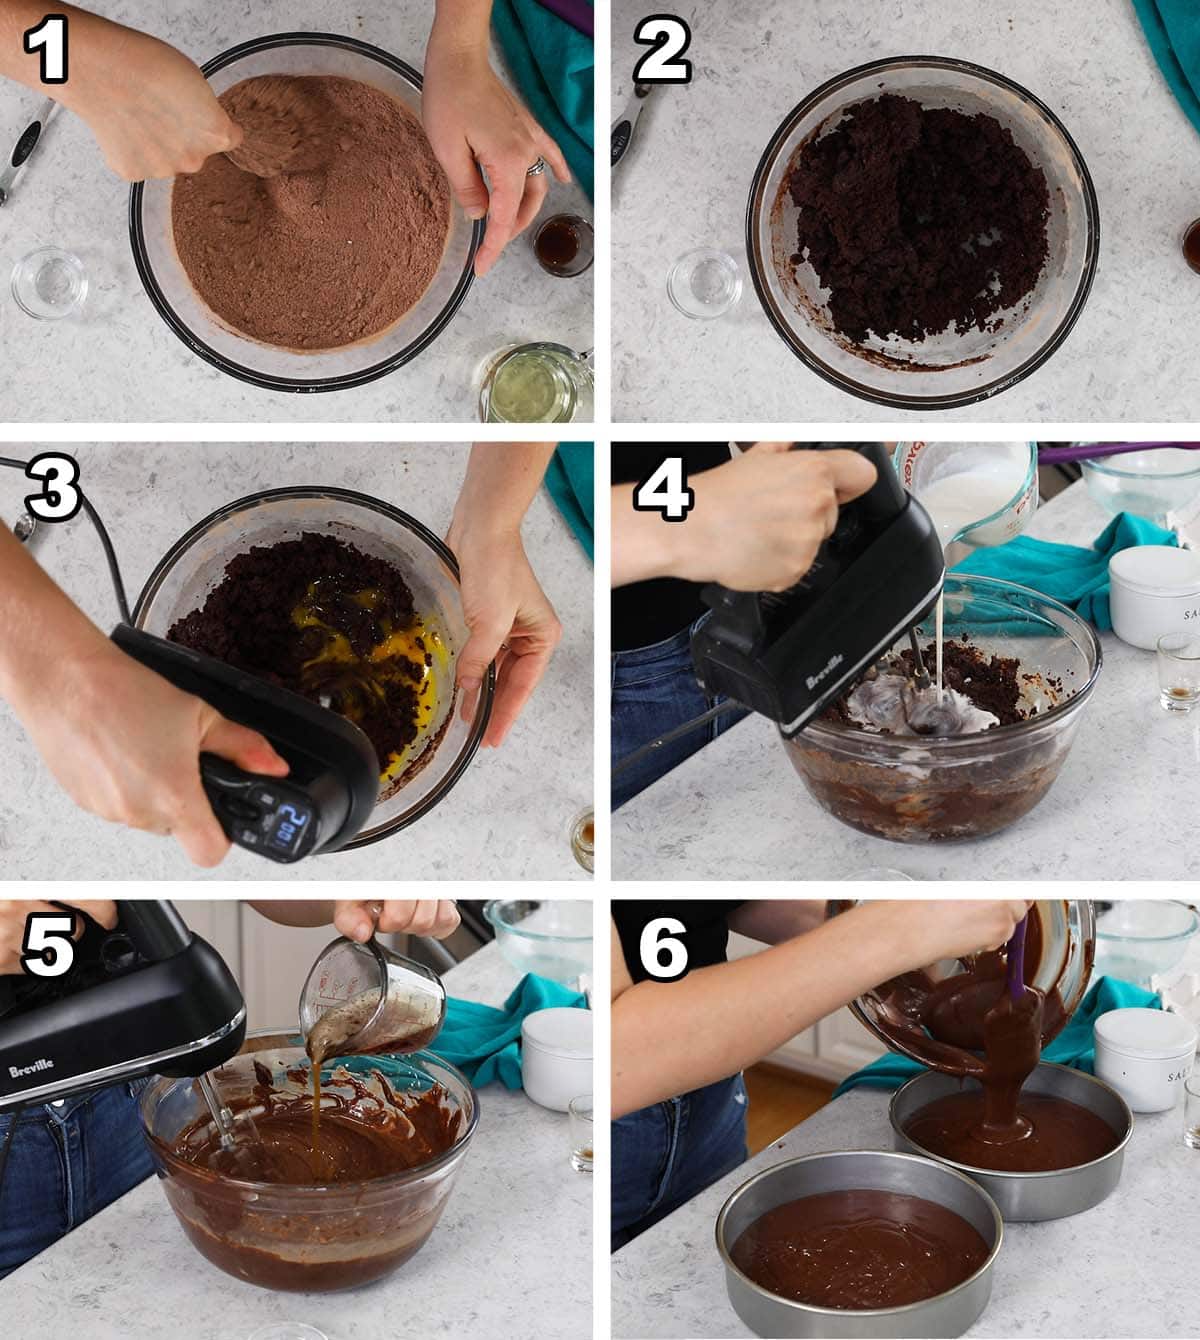
- Whisk the dry ingredients and sugars together in a large bowl.
- Stir in the melted butter and oil until everything is combined–the mixture will be thick.
- Add the eggs and vanilla, then stir well until the batter is uniform and well combined (scrape the sides and bottom of the bowl now too!).
- Drizzle in the buttermilk and stir well to combine.
- Gradually and carefully add the hot coffee, then stir until you have a uniform batter. Scrape the sides and bottom of the bowl again as well.
- Portion the batter into two lined/greased/floured 8″ cake pans and bake until a toothpick inserted in the center comes out clean or with a few moist crumbs (preferable!). Let the cakes cool in their pans for 15 minutes before inverting onto a cooling rack to cool completely.
Make the Filling
Only start this step once your filling base has cooled completely! Do not rush this process, or you will end up with a greasy, runny filling.
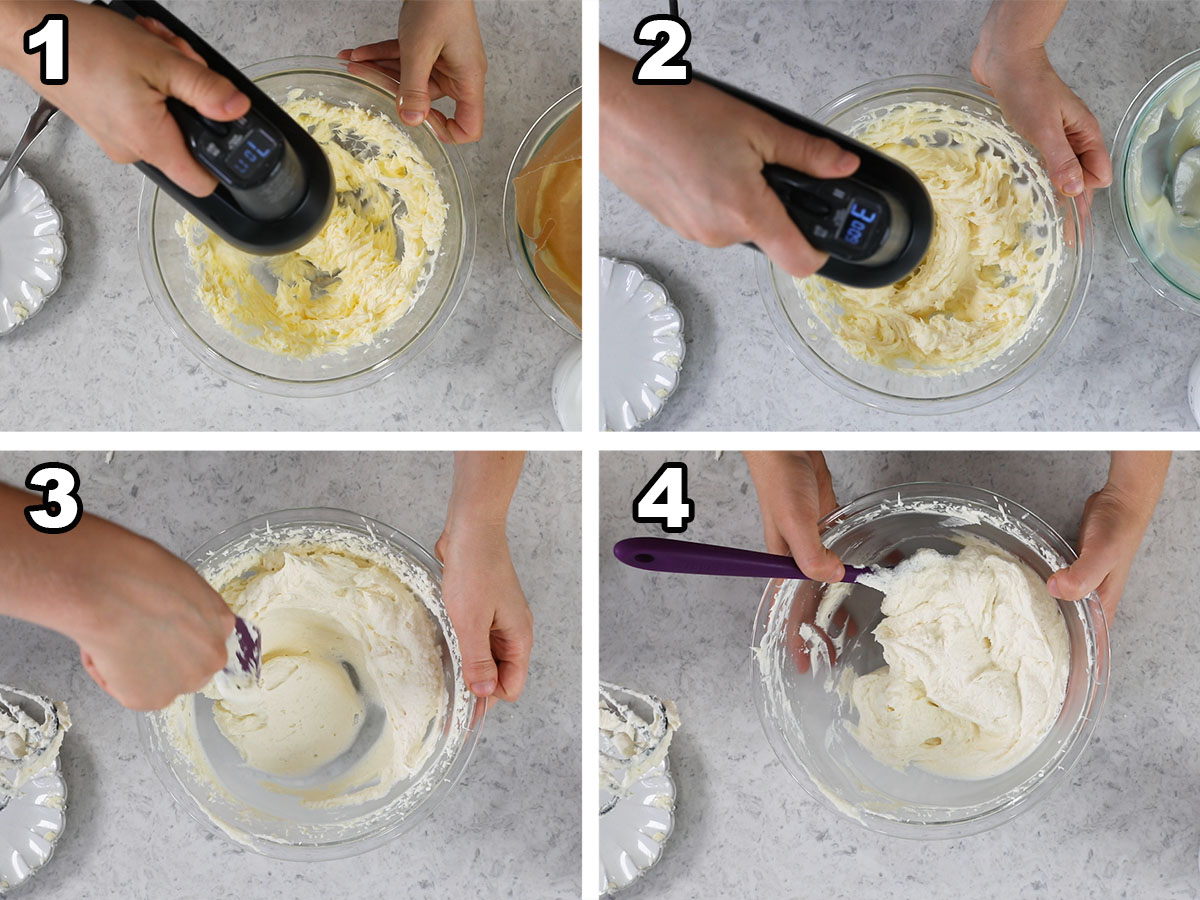
- Beat the butter with an electric mixer on high speed until it is light and fluffy, then reduce the mixer speed to medium.
- Add the cooled filling base one heaping spoonful at a time, waiting until each addition is fully incorporated before adding the next. Don’t add it too fast or all at once or the frosting will curdle.
- Scrape the sides and bottom of the bowl, then add the vanilla extract. Set the mixer to medium high and whip the frosting until smooth. Use a spatula to work out any air bubbles.
- Place the filling in the fridge to chill for 10-20 minutes while you prepare the ganache. Don’t chill the filling too long, though, or it will become too firm and difficult to spread.
Make the Ganache Frosting
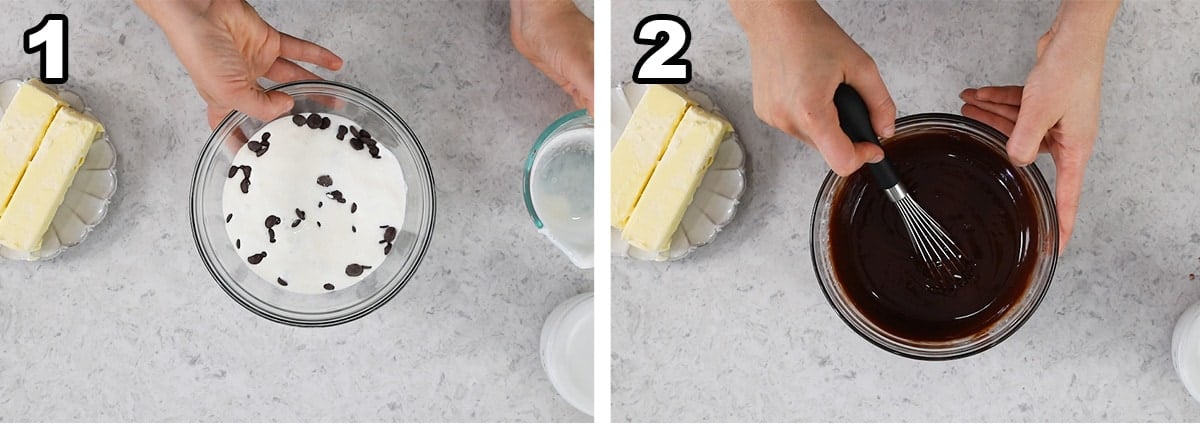
- Microwave the heavy cream and chocolate for 25 seconds, stir well, then microwave again.
- Whisk until completely smooth, then set aside until it reaches a spreadable consistency.
Assembly
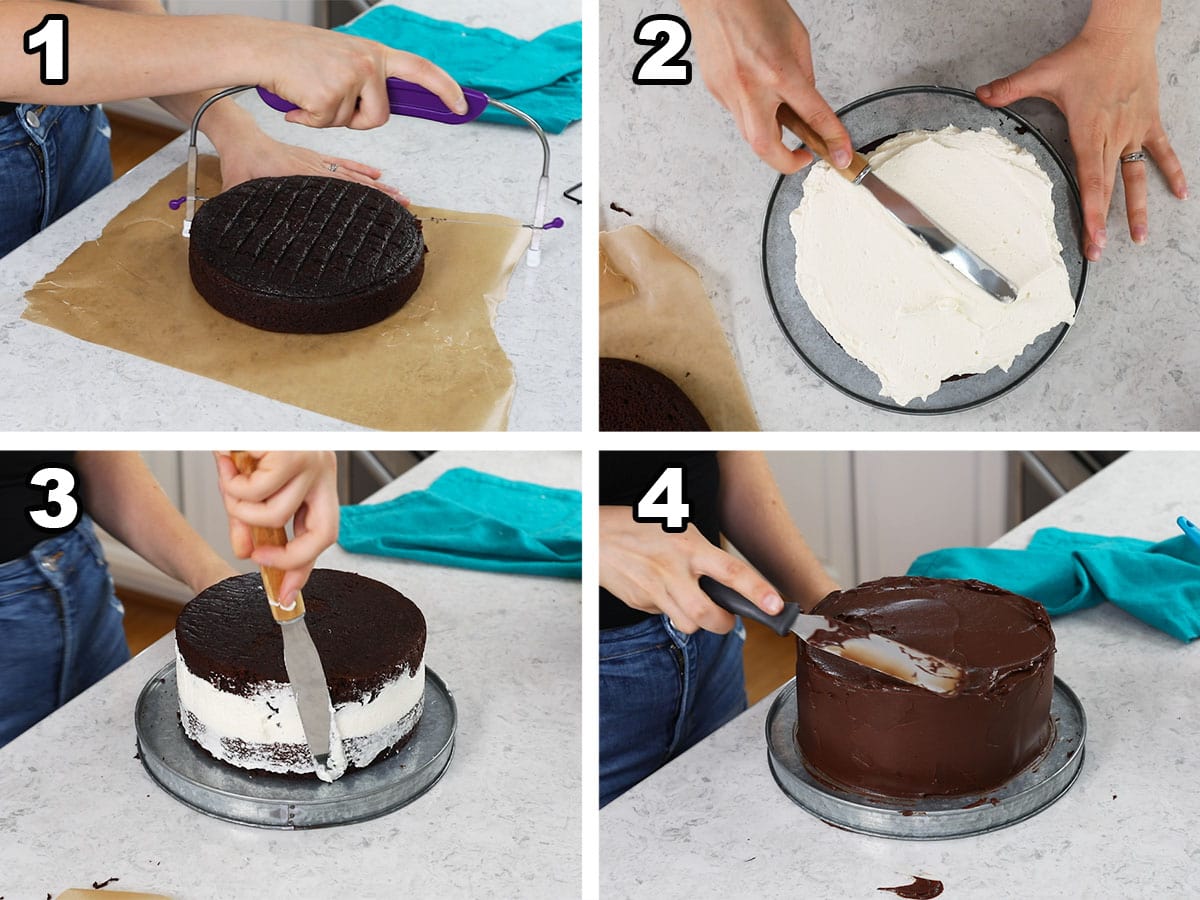
- Level your cakes then place the first cake layer on a cake plate. I include a link to my cake leveler in the “equipment” section of the recipe card (it’s very inexpensive and was a worthwhile purchase, I show how I use it in my “how to decorate a cake” tutorial!), but if you have a steady hand you can use a sharp serrated knife, instead.
- Add all of the filling and smooth the top with an offset spatula or knife. It’s a lot of filling and will spill out the sides some! Make the filling as level as you can (some will still squish out, this is fine!).
- Place the second cake layer on top and use an offset spatula to smooth the sides, using any frosting that’s squished out to make a naked-cake layer coating around the outside of the cake. Place the cake in the freezer for 10-15 minutes.
- Spread the cooled chocolate ganache over the sides and top of the cake and smooth with a spatula. Let the cake sit in the fridge for at least 15 minutes for the ganache to set before slicing and serving. Longer is better, the cake will become sturdier the longer it sits in the fridge.
SAM’S TIP: Leveling your cakes is always a good idea, but it’s especially important with such a soft frosting/filling as the ermine frosting we’re using for this Ding Dong cake. If the cakes are too domed, they’re likely to slide off one another!
Troubleshooting: Ermine Frosting
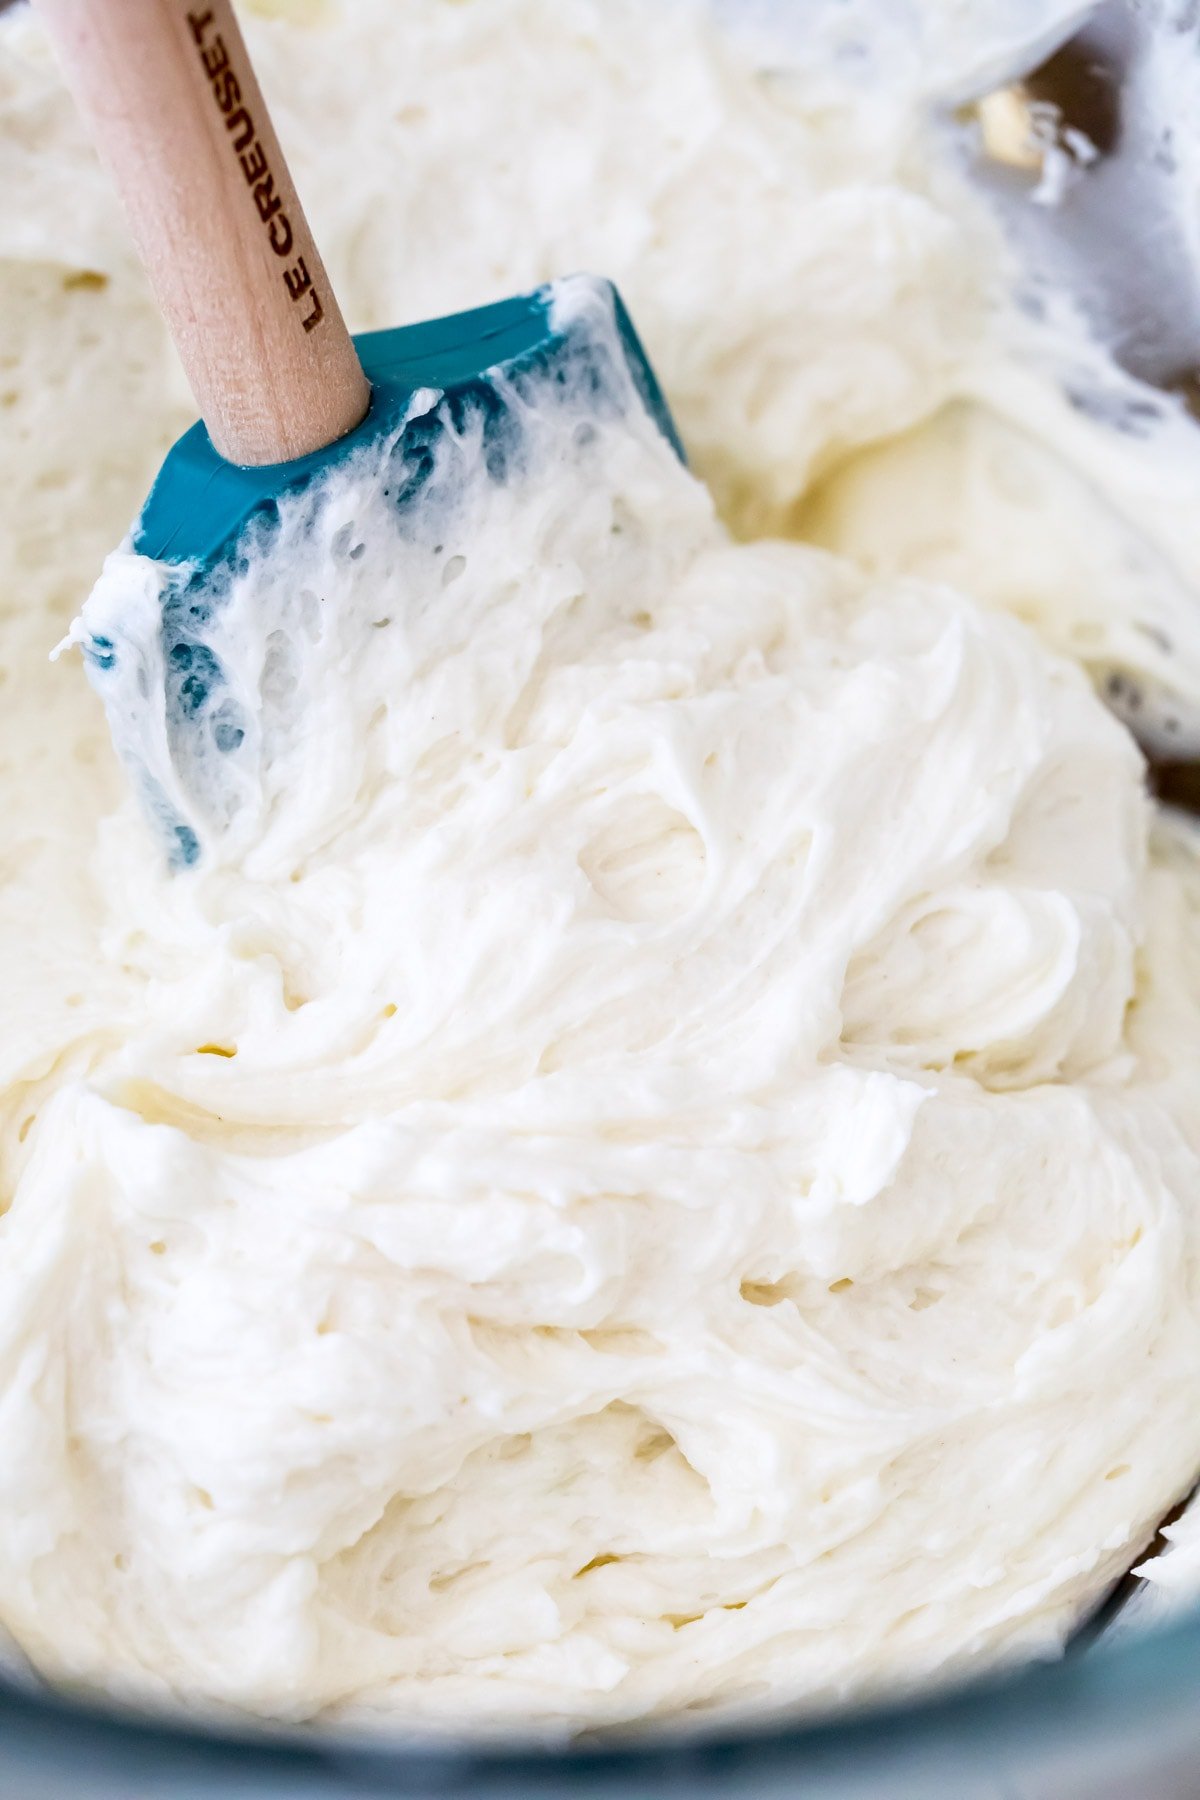
Ermine frosting is not a particularly complicated frosting, but it can be a bit fussy and curdle (but don’t worry, it can be fixed). Here are my tips for perfect ermine frosting:
- Have patience. Don’t try to rush the cooking process for the roux. Similarly, don’t rush the cooling process either…more on this next.
- Cool the roux. If you mix the roux and the butter while the roux is still warm, it will create a greasy mess. Let it cool completely to avoid this issue.
- Beware the butter. Soften the butter, but don’t let it get so soft that it’s melty or oily. If it is, your frosting will be far too runny. On the other hand, if the butter is too cool, your frosting could split. Ideally, both the butter and the roux should be the same temperature (near room temperature).
The most important thing you can do is to make sure that the butter and roux/base are the same temperature before combining! Otherwise, your frosting will be prone to curdling.
If your follow these rules and still run into issues, try these fixes:
- For frosting that seems too soft, try letting it sit in the fridge for 20-30 minutes.
- For frosting that has curdled, simply keep whipping until it comes together. If it looks like it’s just getting worse, place the bowl in the fridge for about 20 minutes, then try again. Most of the time, this does the trick!
Frequently Asked Questions
Yes! Because of the soft nature of ermine frosting, this cake needs to be refrigerated. I recommend storing Ding Dong cake in an airtight container to prevent it from drying out in the fridge.
I chose ermine frosting for the filling in this Ding Dong cake because it’s not too sweet and is very similar to the filling in real Ding Dongs (I will be honest with you, I won’t be sad to be finished typing the name of this recipe!). If you want, you could use vanilla buttercream, marshmallow frosting, or Swiss meringue buttercream instead, but the two first options will be sweeter (and will then result in a sweeter cake!).
Sure! Fill the cupcake liners ⅔ full and bake for about 17 minutes on 350F (175C). You should get at least 24 cupcakes. I would then follow the filling and frosting instructions for my boston cream cupcakes, only using the ermine frosting for the filling and the ganache listed, of course.
If you’re looking for more unique birthday cakes, try my pistachio cake or snickerdoodle cake next!
Enjoy!
Let’s bake together! Subscribe to my newsletter and make sure to follow along on YouTube where I have over 500 free video tutorials! 💜
Ding Dong Cake
Ingredients
Filling Base
- 1 cup (200 g) granulated sugar
- 5 Tablespoons (40 g) all-purpose flour
- ¼ teaspoon salt
- 1 cup (236 ml) whole milk
Cake
- 1 ¾ cups (205 g) all-purpose flour
- 1 cup (200 g) brown sugar firmly packed
- 1 cup (200 g) granulated sugar
- ¾ cup (75 g) natural cocoa powder
- 1 ½ teaspoons baking soda
- ¾ teaspoon salt
- ½ cup (113 g) unsalted butter melted
- ½ cup (118 ml) neutral cooking oil (canola, vegetable, or avocado oil)
- 2 large eggs + 1 egg yolk room temperature preferred
- 2 teaspoons vanilla extract
- 1 cup (236 ml) buttermilk room temperature preferred
- ½ cup (118 ml) hot coffee may substitute hot water
Filling
- 1 filling base from above
- 1 cup (226 g) unsalted butter softened
- 1 teaspoon clear vanilla extract see note
Ganache frosting
- 8 oz (226 g) semi-sweet chocolate
- 1 cup (236 ml) heavy whipping cream
Recommended Equipment
Instructions
For the filling base
- In a medium-sized saucepan, combine sugar, flour, and salt and whisk until well combined.1 cup (200 g) granulated sugar, 5 Tablespoons (40 g) all-purpose flour, ¼ teaspoon salt
- While whisking, gradually pour in milk and whisk until mixture is smooth. Turn stovetop heat to medium.1 cup (236 ml) whole milk
- Whisk constantly on medium heat until mixture is thickened to a pudding-like consistency. The whisk should leave a trail through the mixture when it is ready.
- Remove from heat and pour into a heat-proof container. Cover with a piece of wax paper pressed directly against the surface. Set aside and allow to cool completely to room temperature while you prepare the cake.
For the cake
- Preheat oven to 350F (175C) and prepare two 8” round cake pans by lining the bottoms with parchment paper and lightly greasing and flouring the sides. Set aside.
- In a large bowl, whisk together flour, sugars, cocoa powder, baking soda, and salt (you may make the batter by hand or use an electric hand mixer or stand mixer with paddle attachment).1 ¾ cups (205 g) all-purpose flour, 1 cup (200 g) brown sugar, 1 cup (200 g) granulated sugar, ¾ cup (75 g) natural cocoa powder, 1 ½ teaspoons baking soda, ¾ teaspoon salt
- Add melted butter and oil, stir well until completely combined.½ cup (113 g) unsalted butter, ½ cup (118 ml) neutral cooking oil
- Add eggs, egg yolk, and vanilla extract and stir well until batter is uniformly combined. Scrape the sides and bottom of the bowl to be sure all ingredients are well mixed.2 large eggs + 1 egg yolk, 2 teaspoons vanilla extract
- Gradually add buttermilk and stir well.1 cup (236 ml) buttermilk
- Add hot coffee (carefully! Don’t splash and burn yourself) and stir until all ingredients are well combined. Scrape the sides and bottom of the bowl again to be sure everything is well incorporated.½ cup (118 ml) hot coffee
- Evenly divide batter between prepared cake pans and bake on 350F (175C) for 33-35 minutes. A toothpick inserted in the center should come out clean or with a few moist crumbs.
- Allow cakes to cool for 15 minutes before inverting onto a cooling rack to cool completely before frosting. You may finish making the filling while the cakes cool, so long as the filling base has cooled to room temperature.
For the filling
- Once the filling base has completely cooled to room temperature (it should not be warm or cold), you may proceed with the filling.1 filling base
- Place the butter in a large mixing bowl and use an electric mixer or stand mixer with whisk or paddle attachment to beat the butter on high-speed until it is light and fluffy.1 cup (226 g) unsalted butter
- Reduce mixer speed to medium and gradually add base mixture one heaping spoonful at a time. Wait until each spoonful is fully incorporated and well combined before adding the next.
- Once all filling base mixture is added, scrape the sides and bottom of the bowl with a spatula and stir in vanilla extract. Gradually increase mixer speed to medium-high and whip the frosting until it is smooth and airy. Use a spatula to deflate the frosting and work out any air bubbles.1 teaspoon clear vanilla extract
- Place in refrigerator for about 10-20 minutes to allow it to become slightly firm before assembling. Meanwhile, prepare the ganache frosting.
For the ganache frosting
- Combine chocolate and heavy cream in a medium-sized microwave-safe bowl.8 oz (226 g) semi-sweet chocolate, 1 cup (236 ml) heavy whipping cream
- Microwave on high for 35 seconds. Stir well and microwave for another 25 seconds. Whisk mixture together until completely smooth. If not yet smooth, microwave again for 25 seconds. Set aside, stirring occasionally, until ganache is spreadable while you prepare your filling.
Assembly
- Use a cake leveler or sharp serrated knife to level the cake layers, if needed.
- Place first layer on a cake plate. Spread all of the filling evenly over the cake layer.
- Top with next cake layer. Use an icing spatula to make the sides smooth so no filling is falling out. Place cake in the freezer for 10-15 minutes before spreading ganache frosting (note: if the ganache becomes too firm, you can heat in the microwave for 5-10 seconds until it’s soft enough to spread, but it should not be so soft that it runs right off the cake).
- Spread cooled ganache evenly over top of cake and around sides. Use a spatula to evenly cover the whole cake.
- Place in fridge to let the frosting harden for at least 15 minutes. Slice, serve, and enjoy!
Notes
Vanilla extract
I like to use clear vanilla in the filling because it keeps the filling pure white. It also lends itself to a slightly more authentic ding-dong flavor (which I suppose is artificial). You can absolutely substitute classic, real vanilla extract instead.Storing
Store in an airtight container in the refrigerator for up to 5 days. The filling is soft, if left in a warm environment for too long it could start to melt and the layers could slide.Nutrition
Nutritional information is based on third-party calculations and should be considered an estimate only. Actual nutritional content will vary based upon brands used, measuring methods, cooking method, portion sizes, and more.

Peter
Can I make this recipe using 9 inch pans? Or should I use a different 9 inch specific chocolate cake recipe and then use the ermine and ganache instructions for this recipe?
Btw, last year I made your Hummingbird recipe for my Birthday and it was fabulous!
Sam Merritt
Thank you so much for trusting my recipes, Peter! I’m glad you enjoyed the hummingbird cake and I hope this one is just as big of a hit! You can make this in 9 inch pans. The bake time will just be a few minutes shorter. 🙂