New to cake decorating? Learn How to Decorate a Cake like a pro with these 6 simple tips (great for beginners!). Your cakes will look better than ever! Includes a how-to video.
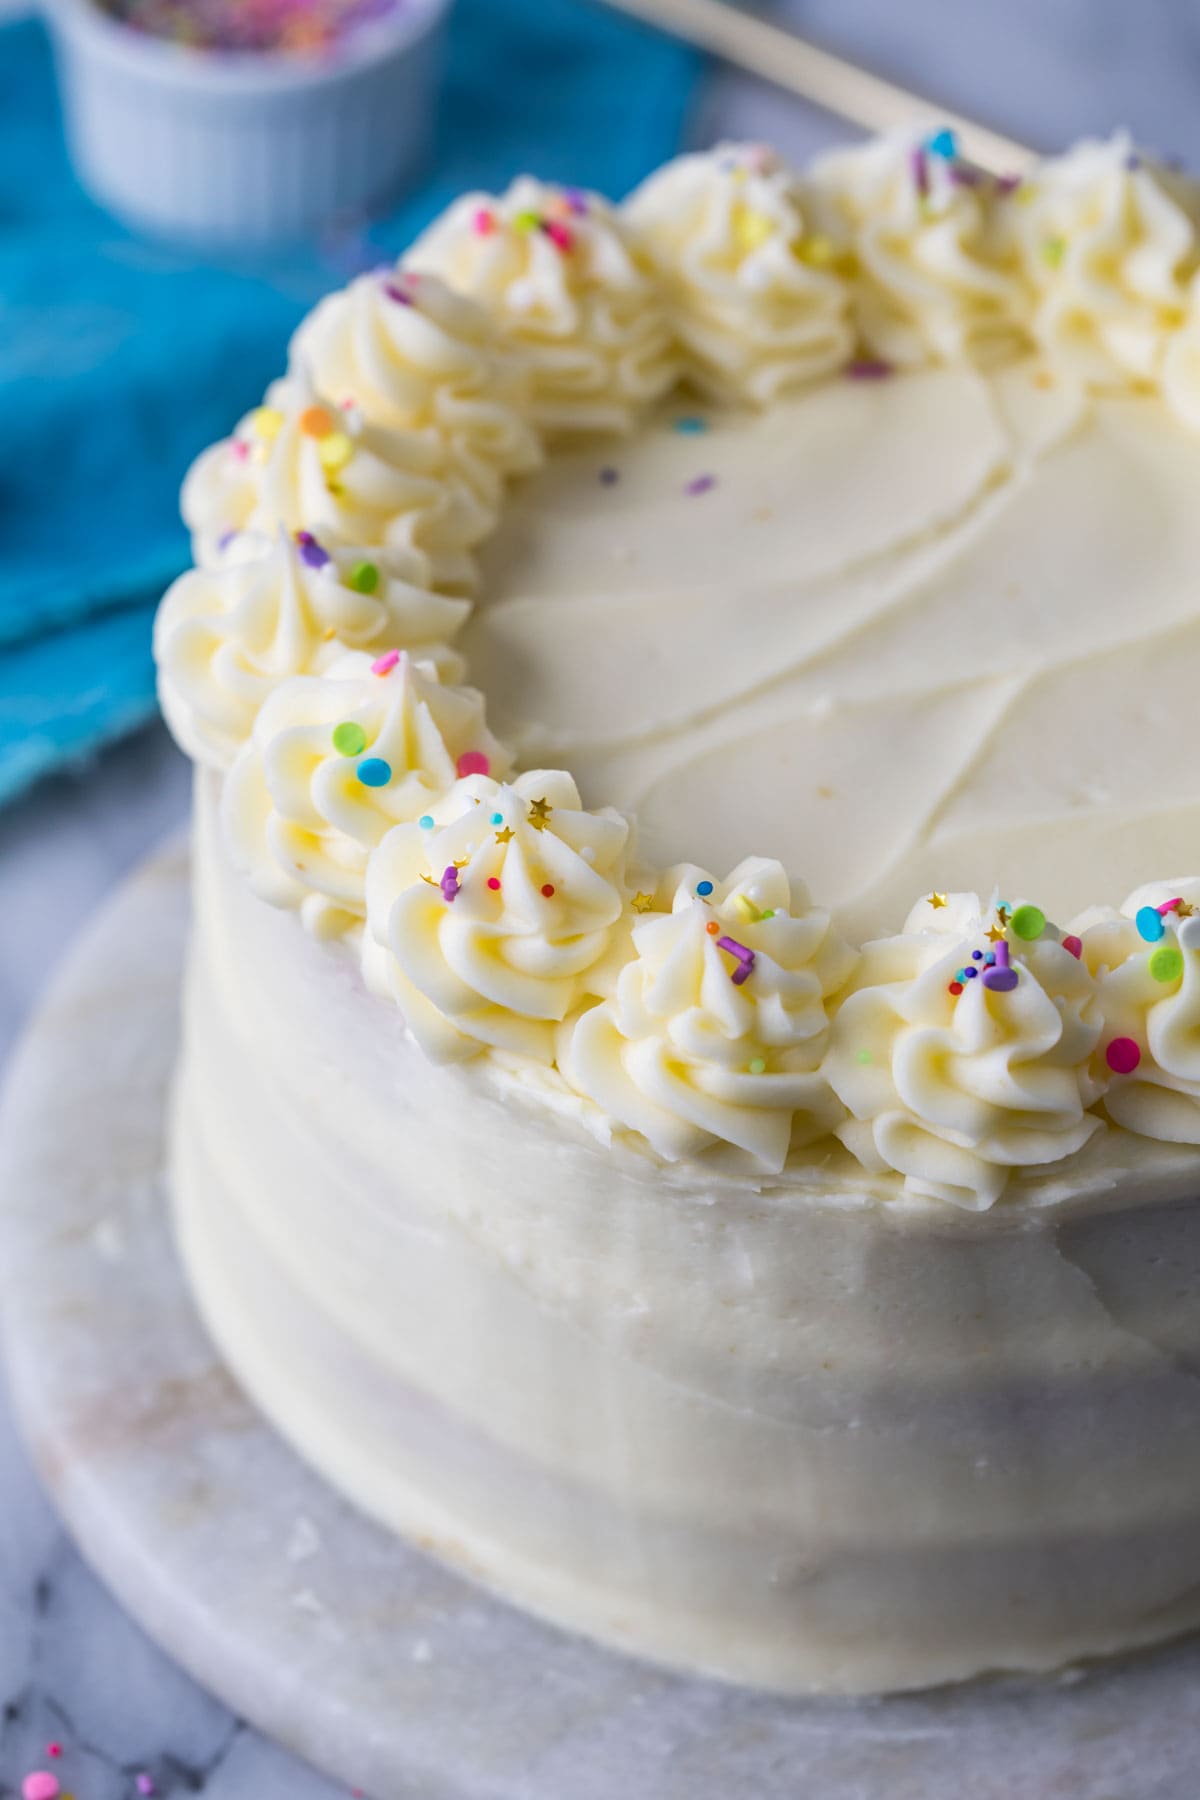
A Beginner’s Guide to Cake Decorating
No new recipe today! Instead, I’m sharing a detailed guide on how to decorate a cake from start to finish. This is something I really wish I had as a beginner baker who seriously struggled with cake decorating!
If you’ve ever been tasked with making a layer cake, whether it be for a wedding cake, birthday cake, or just a casual get-together, then you already know the stress that comes with decorating. While a sheet cake is simple to decorate, a layer cake is an entirely different beast. It’s easy to spend a LOT of time trying to get your cake to look *just* right.
Uneven frosting, wonky layers, and lackluster decorations are just a few of the issues beginner bakers run into when decorating. But not anymore!
Today’s tips cover everything from the ideal number of cake layers to how much frosting you really need. Even if you’re not a beginner cake baker, my tips will help you hone your skills for the best, prettiest cakes you’ll ever bake! Follow along below and then check out my video at the end where I show you how to decorate a cake step-by-step from start to finish.
Recommended Equipment
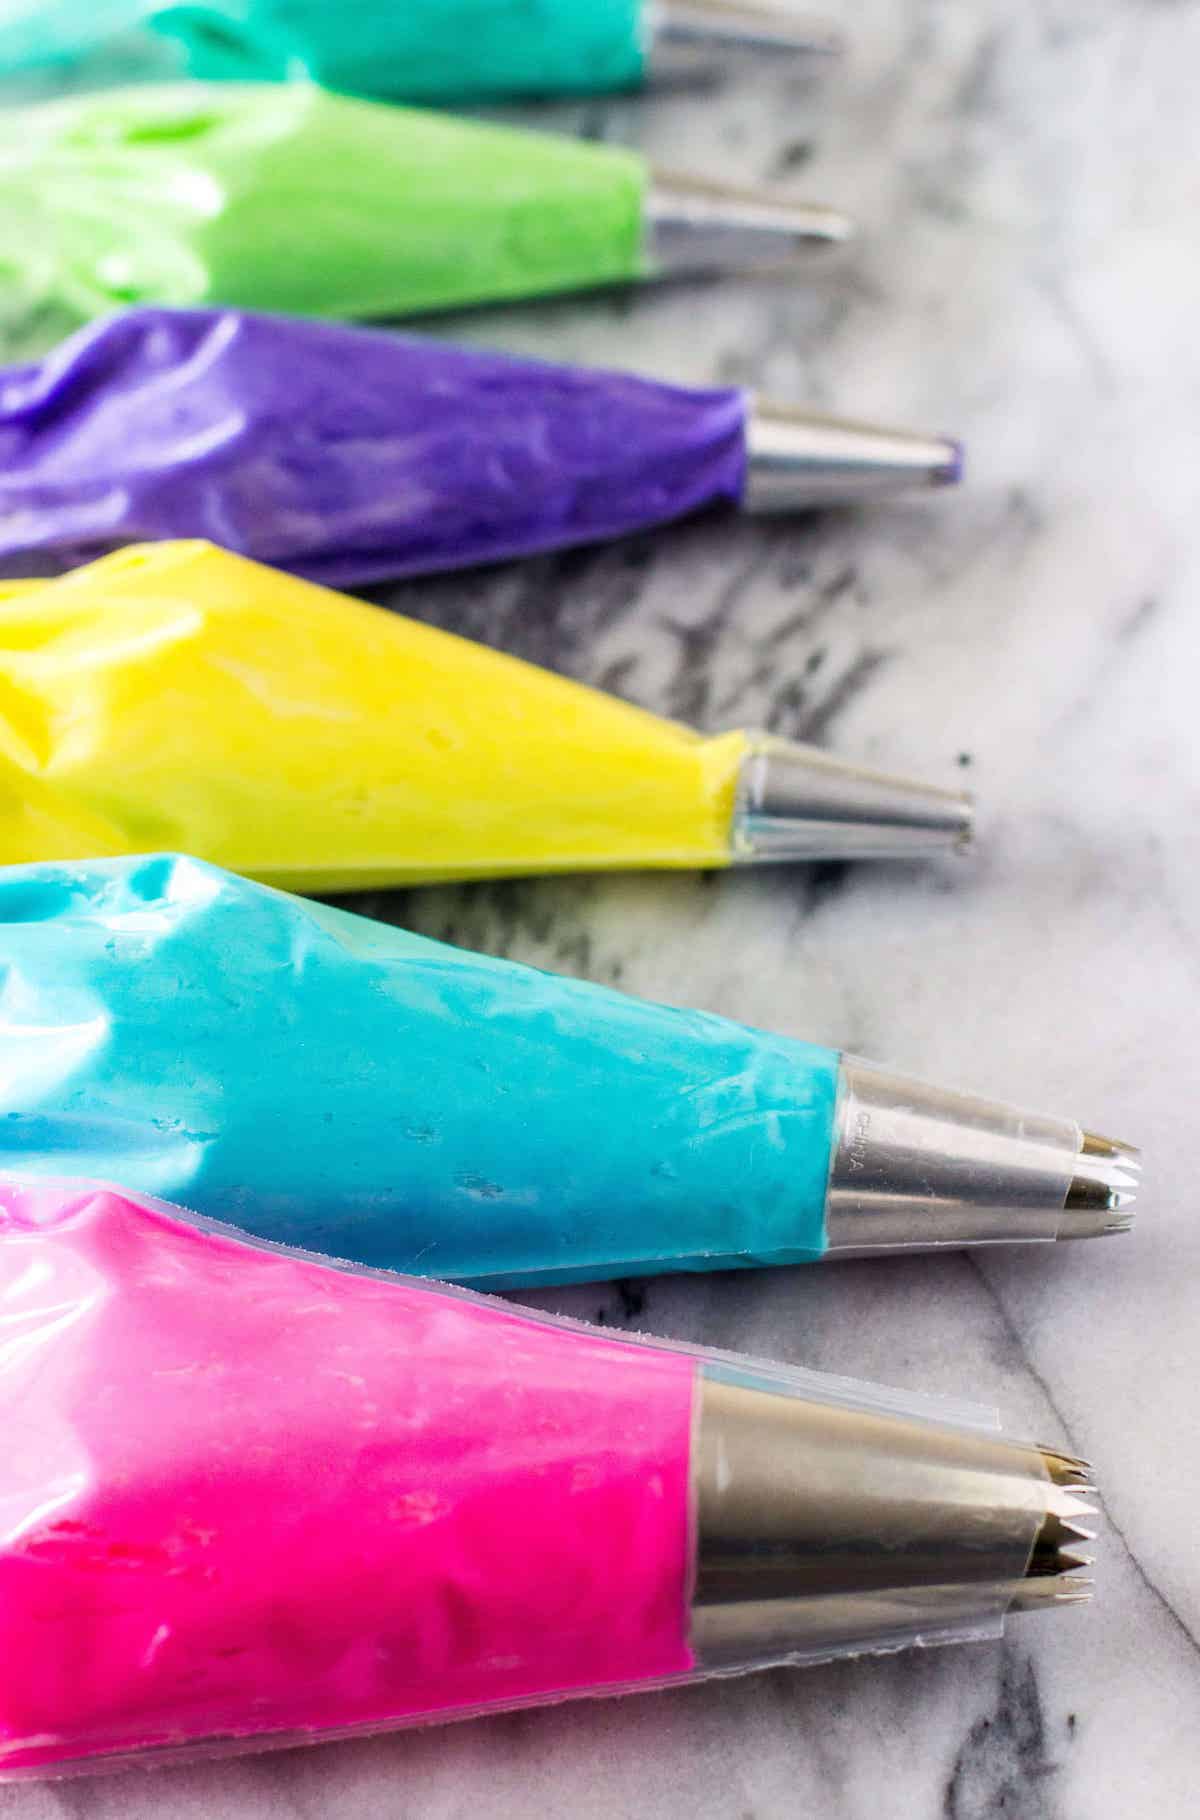
Here are my favorite essentials; most of these can be substituted with more common utensils, but if you can get your hands on the real things, they can be extremely helpful!
- Cake platter. A pretty cake platter is a great starting point for a pretty cake. I have the purple one pictured below in several colors and love them all!
- Cake leveler. You can also just use a serrated knife, but I only recommend this if you have a very steady hand (more on this below!).
- Piping bag. A large Ziploc bag will also work in a pinch; you’ll just need to cut one of the corners to allow your piping tip to fit inside.
- Piping tips. These are inexpensive and make all the difference with decoration on the cake. You can find a Wilton 2D tip in a lot of piping starter kits and that will work nicely, but my personal preference is Ateco 846 or the larger Ateco 848 tip. This is what I use for most of my cake and cupcake decorations that you see on the blog!
Links for all of these tools (and more) can be found in my Amazon shop.
BONUS TIP: An offset spatula (or bench scraper) and turntable can be helpful for achieving smooth sides, but neither are totally necessary.
Tip #1: Three Layers Look Better Than Two
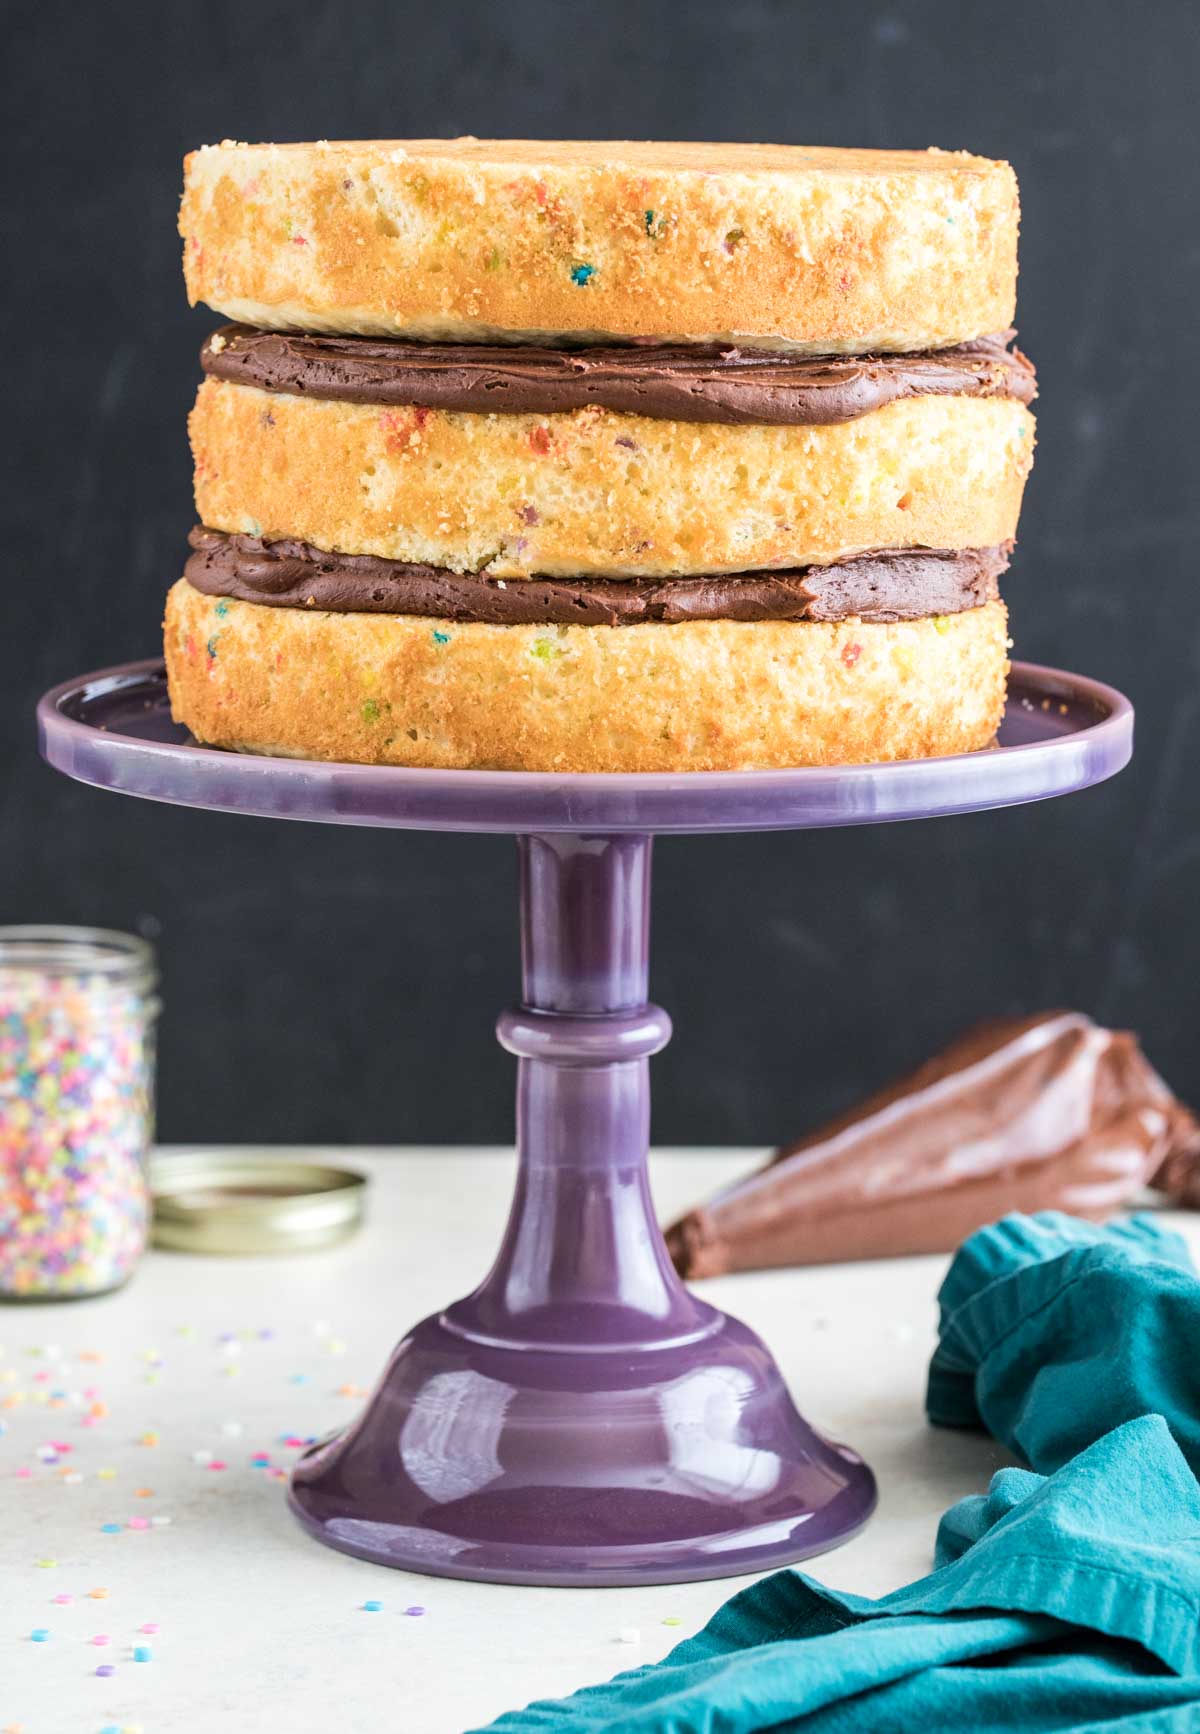
Taller cakes look better than shorter cakes, so choose a 3 layer recipe (like my peanut butter chocolate cake or Oreo cake). Or, if you have a 2 layer cake recipe you really enjoy *like my white cake), just increase the recipe by 50%.
If you only have two pans (or your oven only fits two pans), you can let your batter sit on the counter while you wait for the third layer.
This is certainly not mandatory, and even if you skip this one, all the other tips outlined today will still vastly improve the look of your 2 layer cakes!
Tip #2: Level Your Cakes
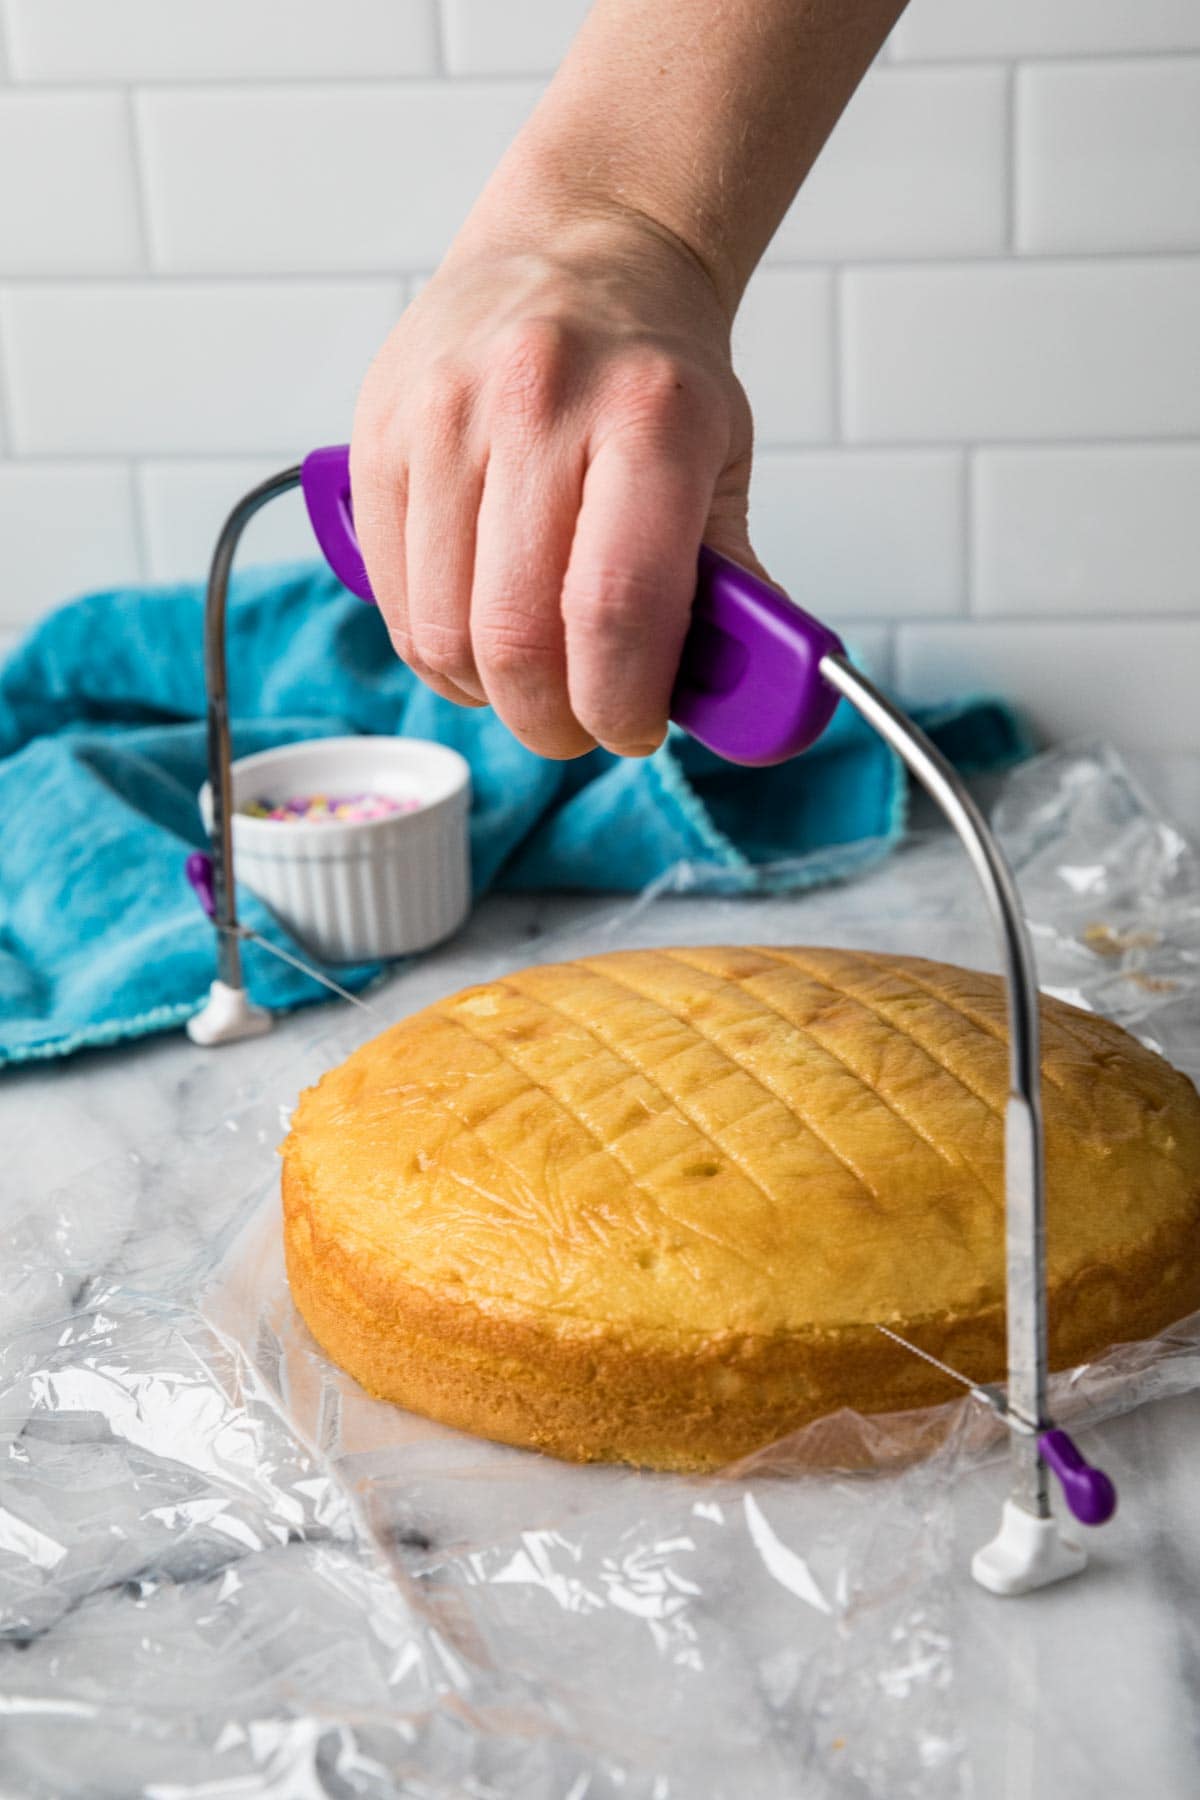
Some cakes bake up nice and level (like my gingerbread layer cake), while others tend to have a domed top (like my yellow cake). For the easiest decorating and prettiest end result, I recommend leveling your cakes.
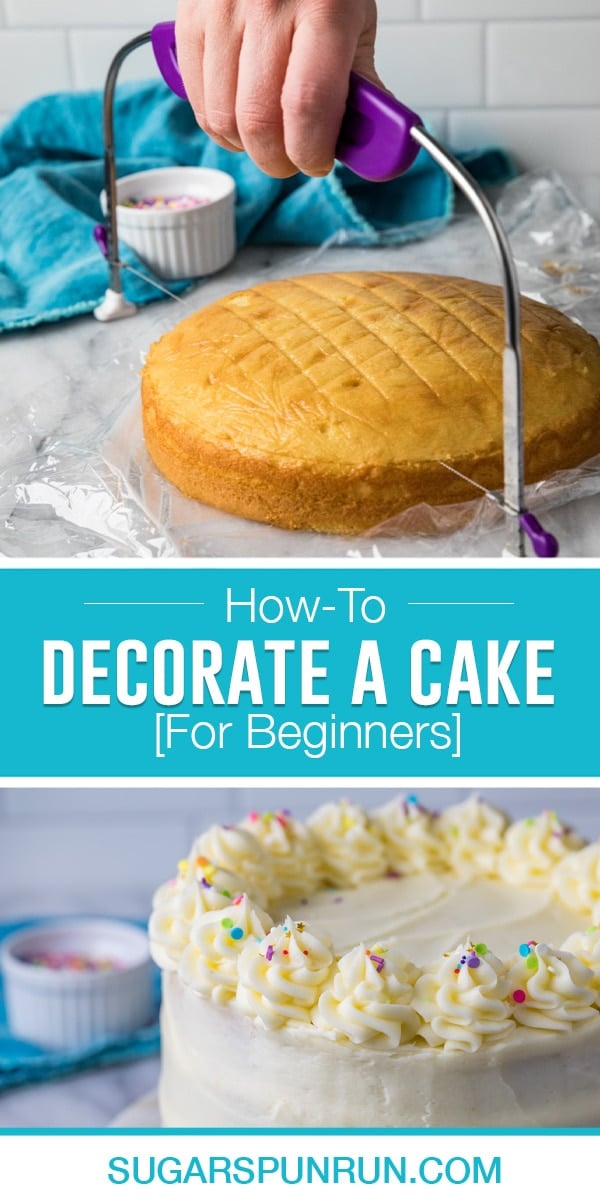
If you have a good eye and steady hand you can use a sharp serrated knife to level your cakes. If you don’t (neither do I!), use a leveler. I use an inexpensive cake leveler made by Wilton that I love. It’s under ten bucks on Amazon and has served me well for many perfectly level cakes! If you’re curious how this works, I demonstrate how to use this exact tool in my video below.
BONUS TIP: Let your cake cool completely before leveling or frosting. Not only will warm cake will fall apart, but it will also melt your icing. Have patience and let it cool completely!
Tip #3: Choose Your Frosting Wisely
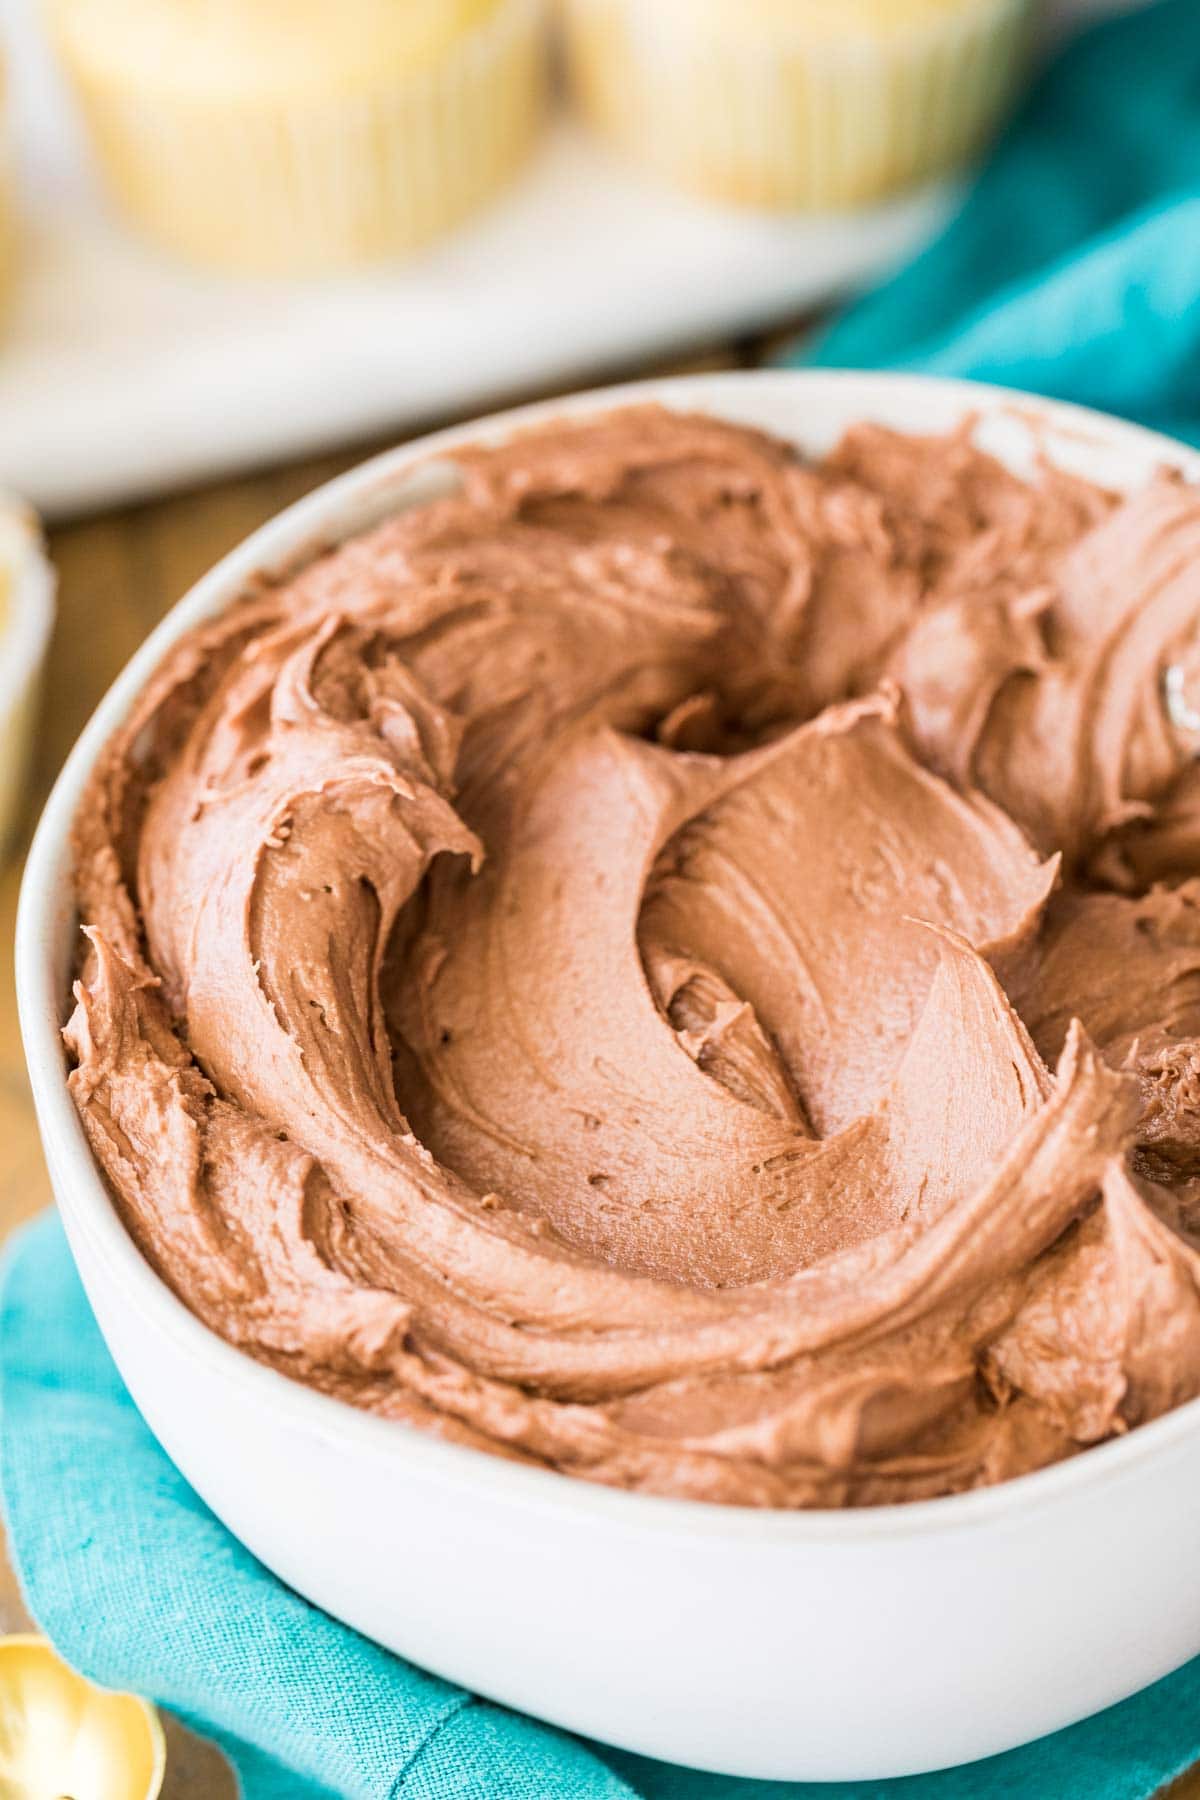
Many bakers who are just learning how to decorate a cake don’t realize how important their choice of icing really is.
For the easiest and prettiest cake decorating, use a sturdy icing that you can easily manipulate. It should be easy to spread (to help keep from dragging up large crumbs in the cake) but not so thin or so warm that it falls off the cake.
Buttercreams, my cream cheese frosting, and swiss meringue buttercream are all great choices for a beginner cake decorator. These are sturdy, smooth, not too thick or thin, and pipe well.
Tip #4: Make Extra Frosting
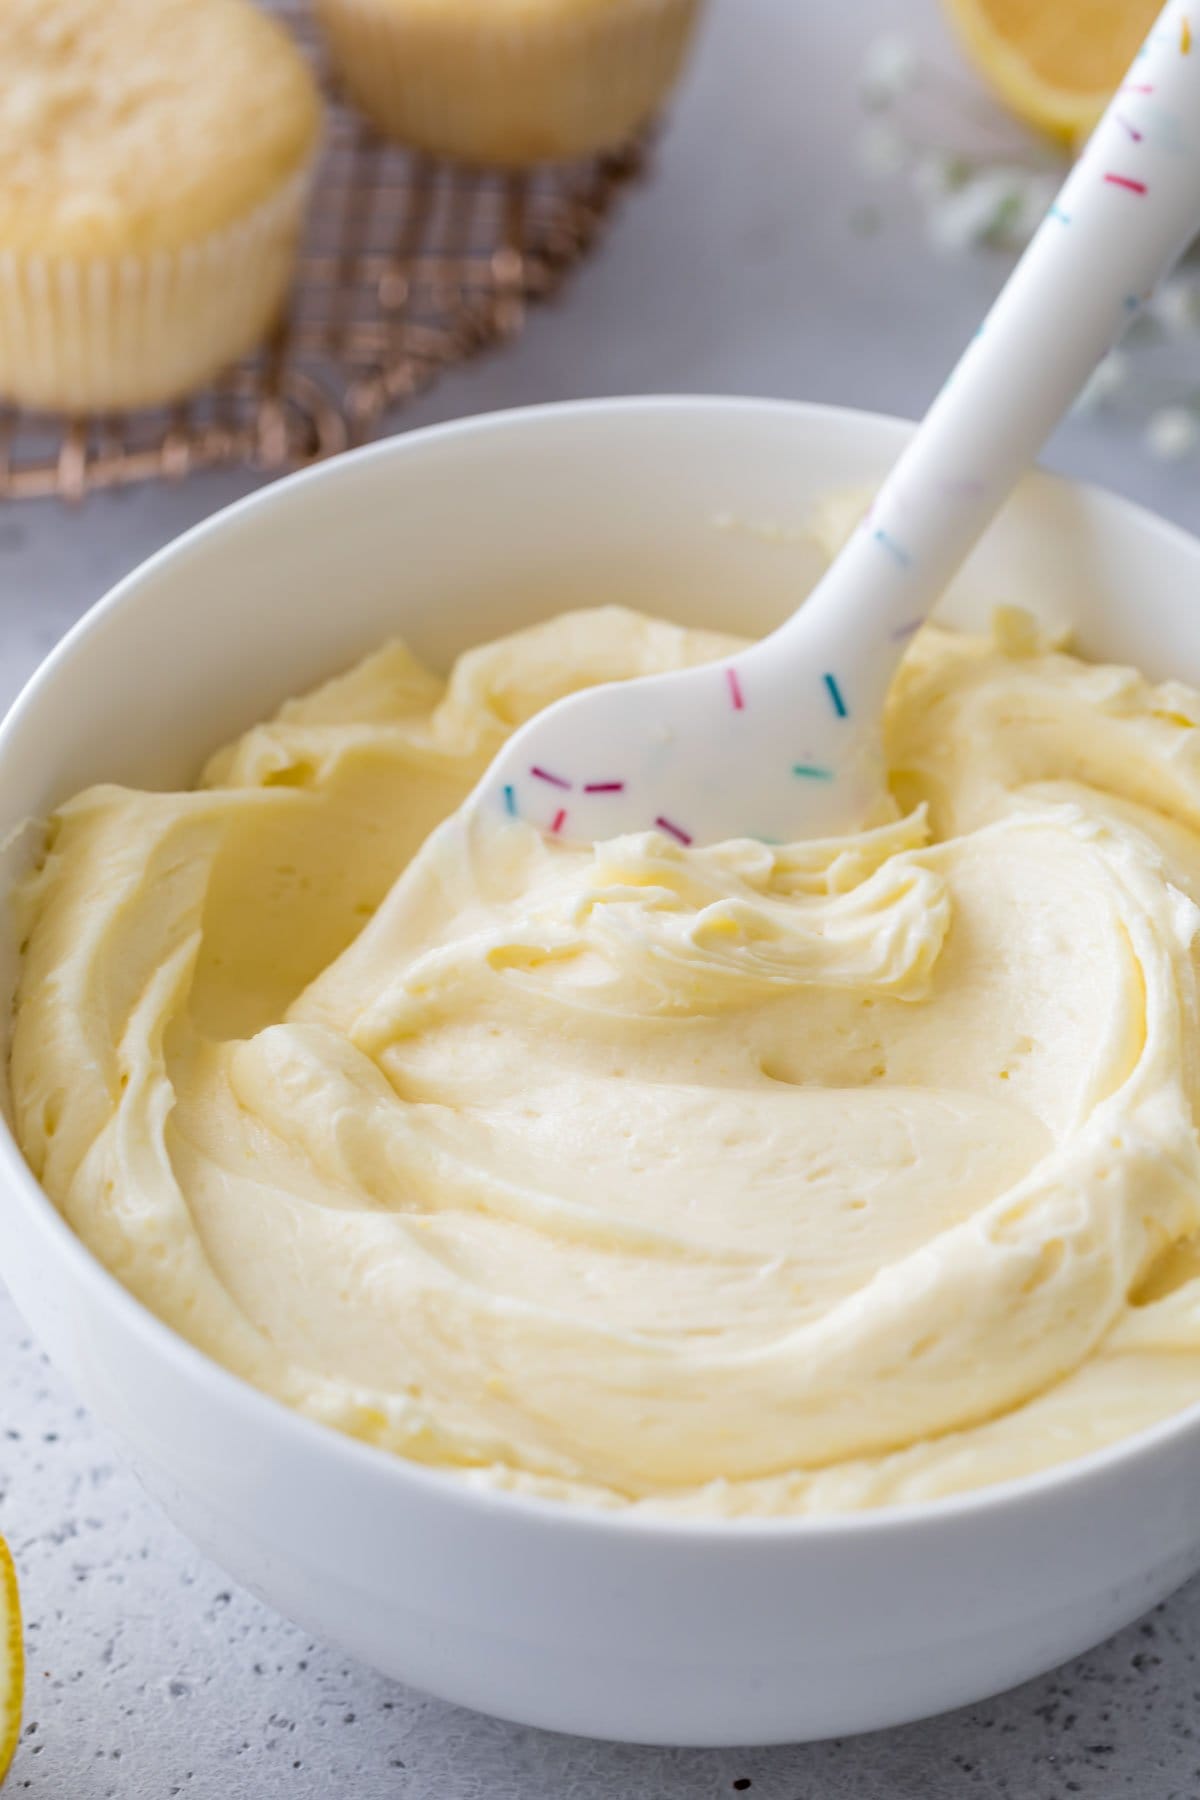
I strongly recommend that beginner bakers make 50% more icing than the recipe calls for. Why? Mistakes happen, and the last thing you need is to run out and have to rush to make more! Making extra will give you some much-appreciated wiggle room. Plus, you will often need extra anyways if you want to do decorative piping on top (more on that below!).
I find I typically need 5 cups of frosting for a 2-layer cake and 6-7 cups for a 3 layer cake.
Yes, you can absolutely decorate a cake with a standard batch of icing (typically 4 cups), and I do it all the time without issue. However, when I was a beginner, I found it so much easier to have extra for any mess-ups.
BONUS TIP: Still have extra icing after decorating your cake? If you’re not planning to use it right away (cupcakes are always a good idea!), you can usually freeze it. Simply put your leftover icing in an airtight container and freeze for a few weeks. When you’re ready to use it, place the container in the fridge overnight to thaw. You may need to rewhip it to get it back to the right texture before using.
Tip #5: Do a Crumb Coat
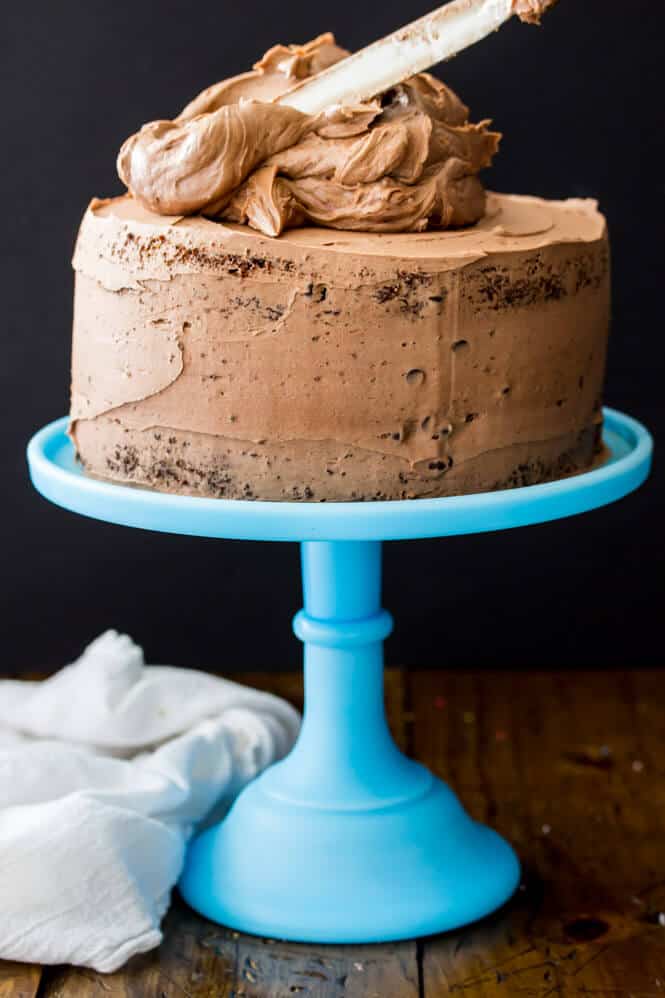
A crumb coat is the first very thin layer of icing on a cake. Bakers do this to hold in any stray cake crumbs for a perfectly smooth, crumb-free outer layer of frosting.
Remember: your crumb coat doesn’t have to be pretty to be effective, so don’t spend too much time on it. Just make sure to coat the cake evenly and keep the frosting thin; the second layer will cover any imperfections.
After crumb-coating your cake, put it in the fridge or freezer for 15-20 minutes. This will allow the frosting to firm up nicely. When you’re ready to add your final layer of frosting, you’ll be grateful for that crumb coat!
Bonus Tip: Add a Ganache Drip
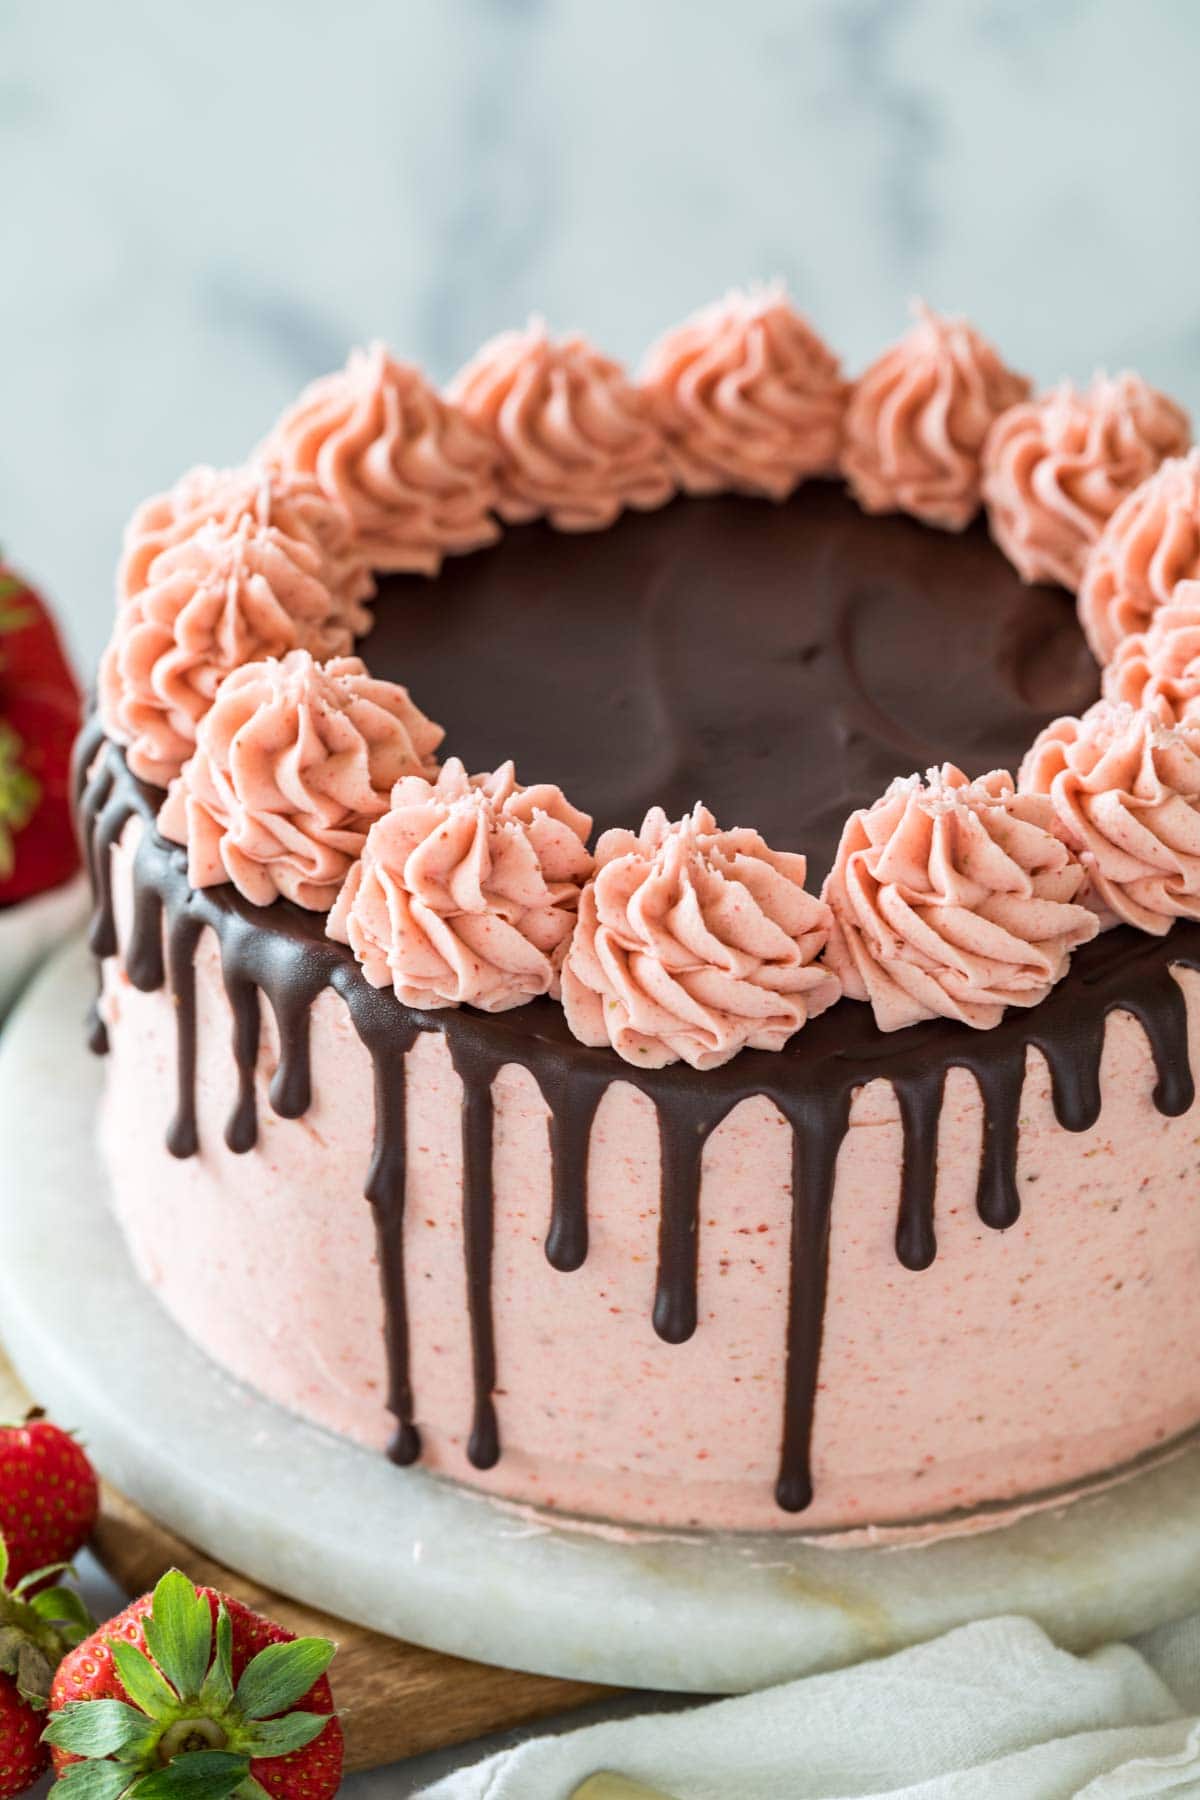
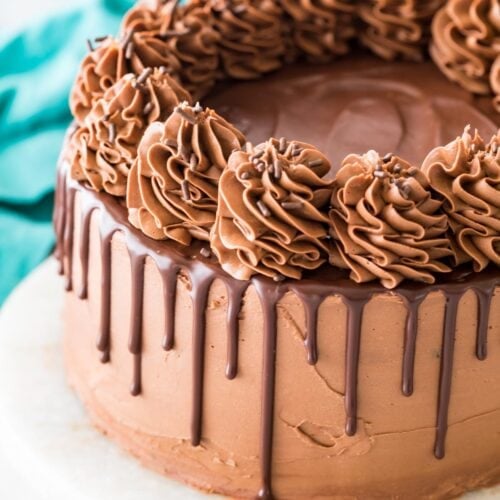
Adding a chocolate ganache drip is an intermediate level technique, so don’t feel pressured to do one just yet. However, when you are ready, this technique will add elegance and make your cakes look polished.
I have a separate post on how to do a ganache drip; feel free to check that out once you’re ready!
Tip #6: Decorate the Top!
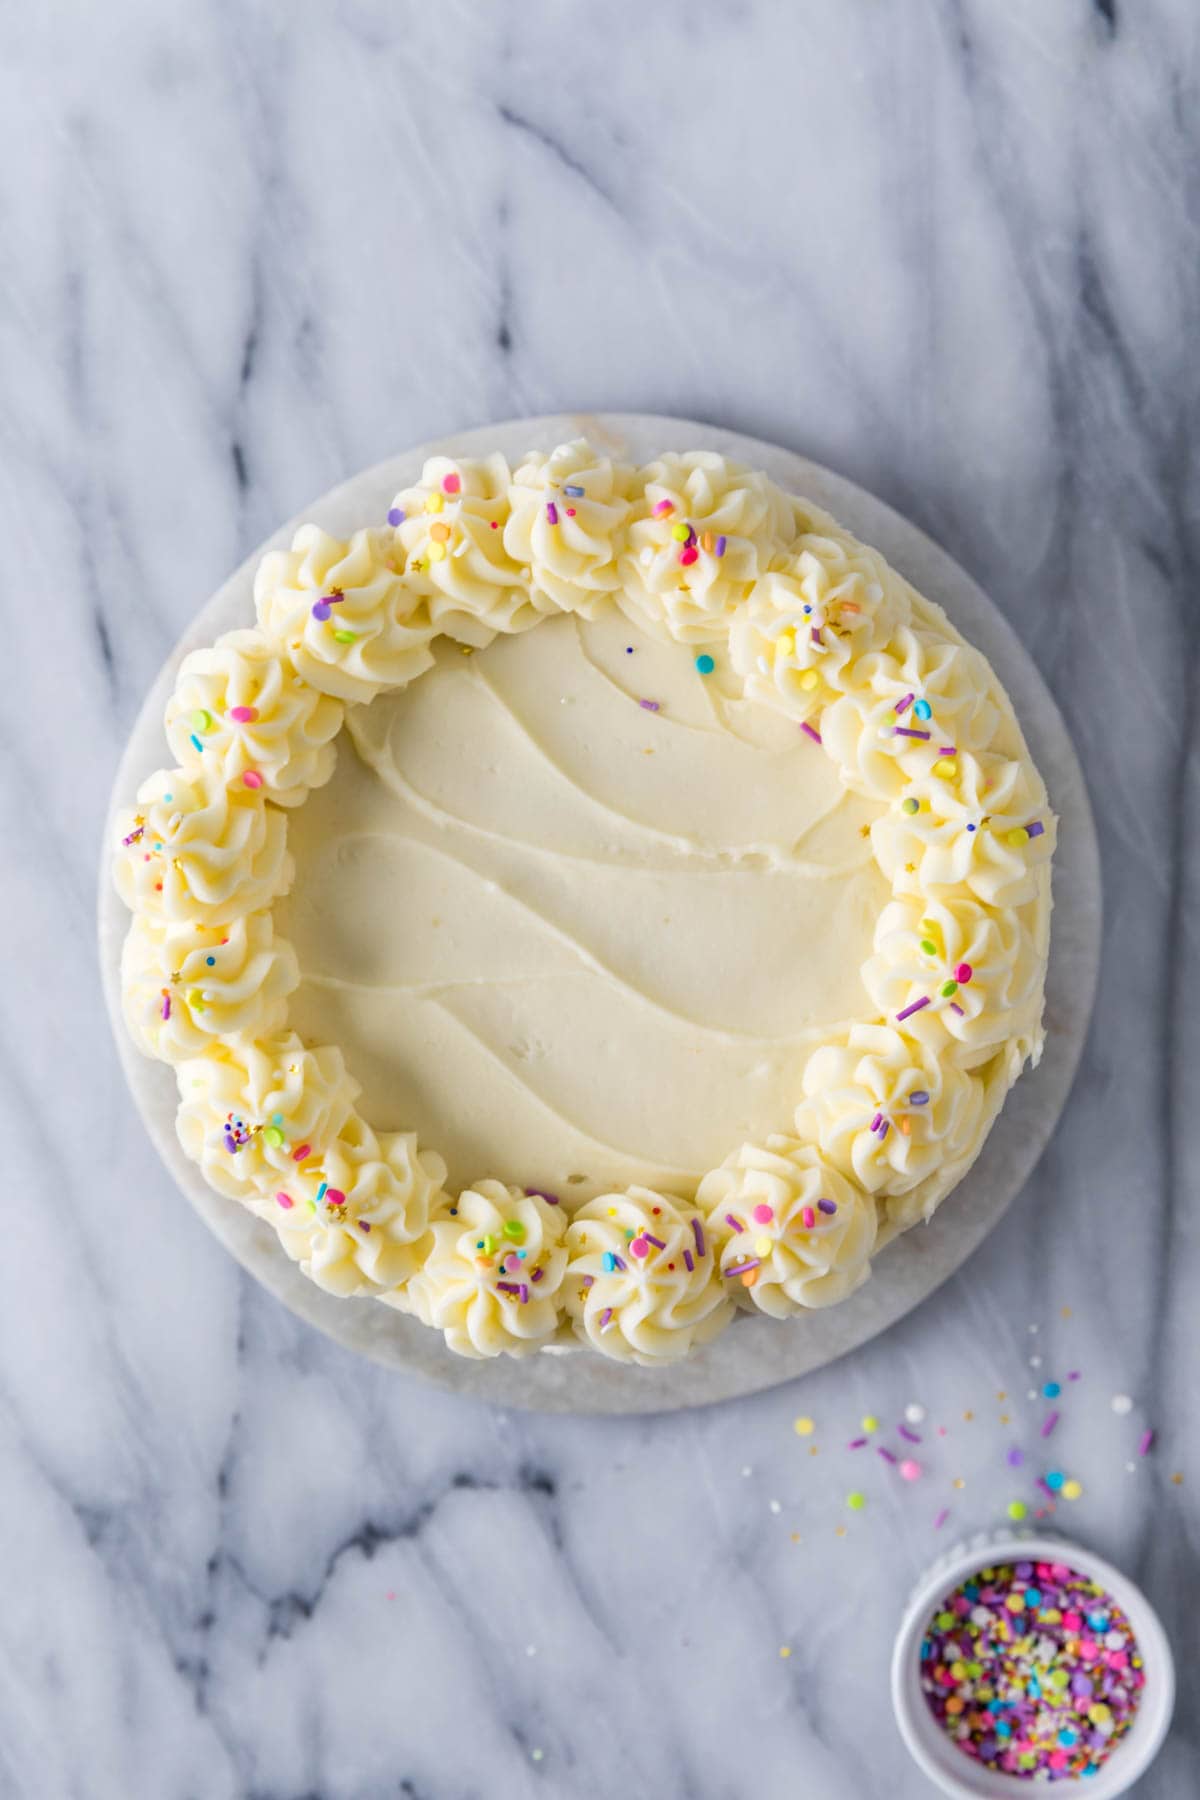
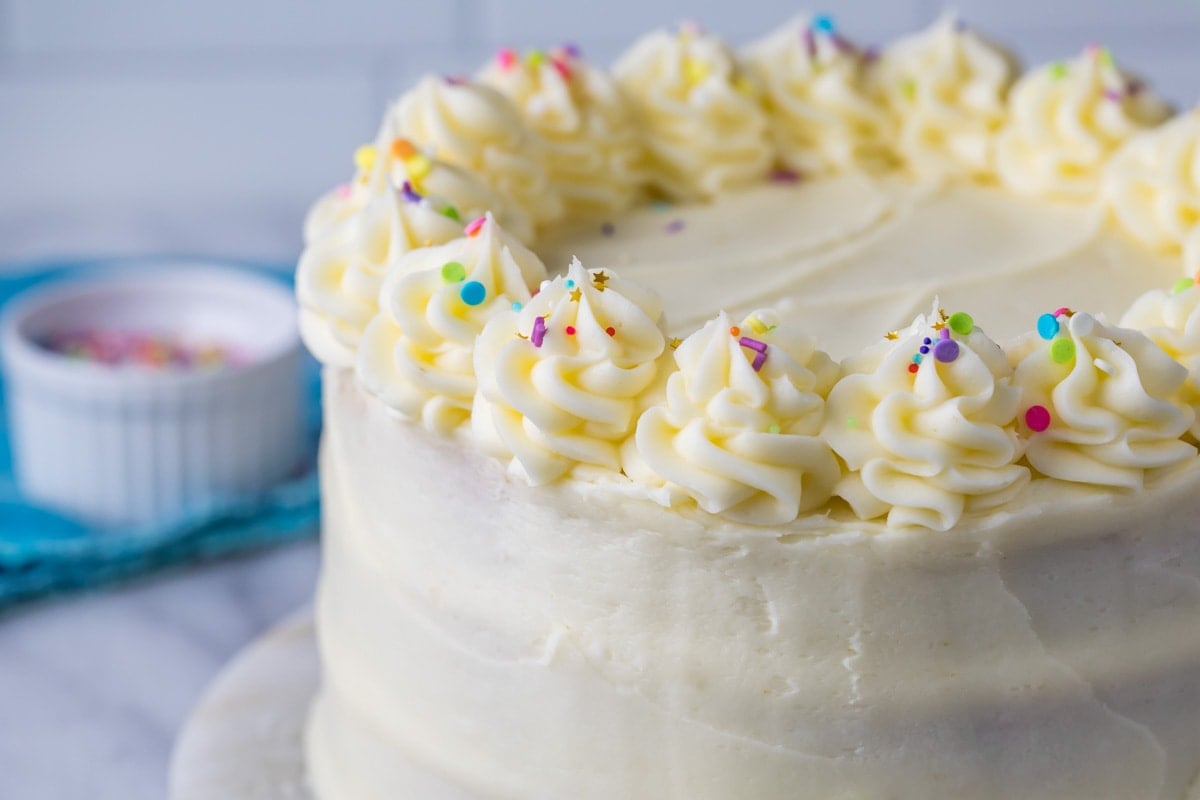
Decorative piping on top takes your cake to new heights (literally!). Even an amateur can deftly do this with the right tip; I like a large, closed star tip. I recommend the Ateco 848; it’s my classic go-to for piping frosting on cakes and cupcakes alike. The Ateco 846 is slightly smaller and also works well.
If you’re nervous that you will mess up your decoration, just practice on a paper plate first. When you’re confident in your design, scrape your practice swirls back into your piping bag and pipe away!
If your piping doesn’t turn out as you hoped, add some sprinkles! Well-placed sprinkles on top are a great addition to any cake! Just be intentional about where you place them so the final result has a neat and tidy look.
BONUS TIP: If you struggle with filling your piping bag by yourself, try this: put your tip in your bag, then place your bag in a tall cup. Stretch the top of your bag around the rim of the cup so you have a nice, wide opening for filling. Then use a spatula to spread frosting over the cup and into the piping bag. No more mess!
Frequently Asked Questions
A naked cake is a cake layered with icing and covered with little to no icing on the outside (essentially just a glorified crumb coat!). They tend to have a more rustic look.
Naked cakes are perfect for people who don’t like too much icing, and since they require minimal decoration, they are a nice choice for bakers who are just learning how to decorate a cake.
My pumpkin cake and lemon cake are both decorated in a semi-naked style, if you’d like to see what this looks like.
While American buttercream is the most common choice for cakes, it’s not the only option. If you like your frosting to be less sweet, I’d suggest you try my stabilized whipped cream frosting, ermine frosting, or Swiss meringue buttercream.
Or if you’re just looking for something different, try my white chocolate frosting, marshmallow frosting, cookie dough frosting, or my brown butter frosting.
Put your decorated cake in the freezer for a few hours to let the icing harden. Then, carefully wrap the whole thing in plastic wrap (using a few layers is a good idea) and finish with a layer of foil.
When you’re ready to eat it, remove the foil, transfer your cake to the fridge, and let it thaw (still covered in plastic) overnight. A few hours before you’re ready to serve, bring the cake out of the fridge, remove the plastic wrap, and let it come to room temperature on the counter.
While this post certainly isn’t all-encompassing, these are the tips I wish I knew when I first started decorating cakes. I hope you find them helpful!
Enjoy!
Let’s bake together! I’ll be walking you through all the steps in my written recipe and video below! If you try this recipe, be sure to tag me on Instagram, and you can also find me on YouTube and Facebook

Jasper
Thank you for the tutorial! First time I made a layered cake I didn’t include a crumb layer and I did wonder why my frosting was turning out so uneven and causing my cake to crumble! I tried again using a crumb layer and it turned out wonderful! I still have a long way to go until my frosting turns out as smooth and perfect as those pictures, but it’s a step in the right direction :]
Emily @ Sugar Spun Run
We are so happy it was helpful for you, Jasper! It really does take practice, so keep on baking and you will be rewarded for your efforts 🩷
Cam
I rarely leave feedback on recipe pages A (I usually forget to return after I’ve made whatever it is…😆), but your page has been such an inspiration for me!! I have never been interested in cake decorating because I’m not a visual artist, I’m much more of a performer, However, unless I learn to juggle cakes, that won’t do me much good. It’s taken me to my middle age to realize that just because I’m not necessarily great at something doesn’t mean that I can’t do it anyway!! Your tips and tricks are SUPER helpful and I believe that you have given me a few more tools that will allow me to be more successful, which will help to build my confidence faster. 🩷🙌🏽🩷 Furthermore, cake is still cake, even if it’s ugly, it’ll still taste delicious. 🤷♀️
Sam
Thank you so much for your feedback, Cam! I’m so glad everything has been so helpful and I’m happy to help inspire you to make more. 🙂
Gianna
I LOVE decorating cakes, but some times they don’t turn out the best. But once I saw your video, my cakes have elevated way more now… Thank You!
Sam
You’re welcome, Gianna! I’m so glad this post was so helpful. 🙂
Barbara
I just watched your video. Learned some good tips. Thank you !
Sam
I’m glad you enjoyed it, Barbara! 🙂
Erica
I just watched your tutorial and it was a great help.
Going to attempt my first cake tomorrow, and am so excited!
Thank you for taking the time to share that.
Sam
I’m so glad it was helpful, Erica! 🙂
Sheila Clay
Hello Sam, this is Sheila. I stumbled on to your website. I volunteered to supply desert for a gathering. I for the first time, made several of your cake recipes. The Carrot cake cheese cake, the Lemon pound cake, the chocolate cake and the brownies from scratch. Boy were they a BIG hit! I would measure using measuring cups however, I used your scale method and I love it. The crowd really enjoyed the desserts, especially the Carrot cake cheese cake. My cheese cake did crack, but like you said it went in between the carrot cake so not a problem. My icing for my lemon cake was a bit thick. I will try more of your recipes. 😄
Sam
I’m so glad everything was such a hit, Sheila! I hope you love everything you make in the future and I look forward to hearing how it goes. 🙂
Vanessa
Just viewed the video for beginners with cake decorating, very helpful indeed, I am ready to try my luck in decorating my cakes. Thank you so much
Sam
You’re welcome! I hope they turn out perfect! 🙂
Stacey
Super helpful! Thank you, Sam!
Theresa
Thank you so much for this video! These tips are so helpful. And I love the end of the video. 😊
Sam
I’m so glad you enjoyed, Theresa! Thank you for commenting 🙂
PATRICIA
Loved your video.. Thank You
Sam
I’m so glad you enjoyed, thank you, Patricia!