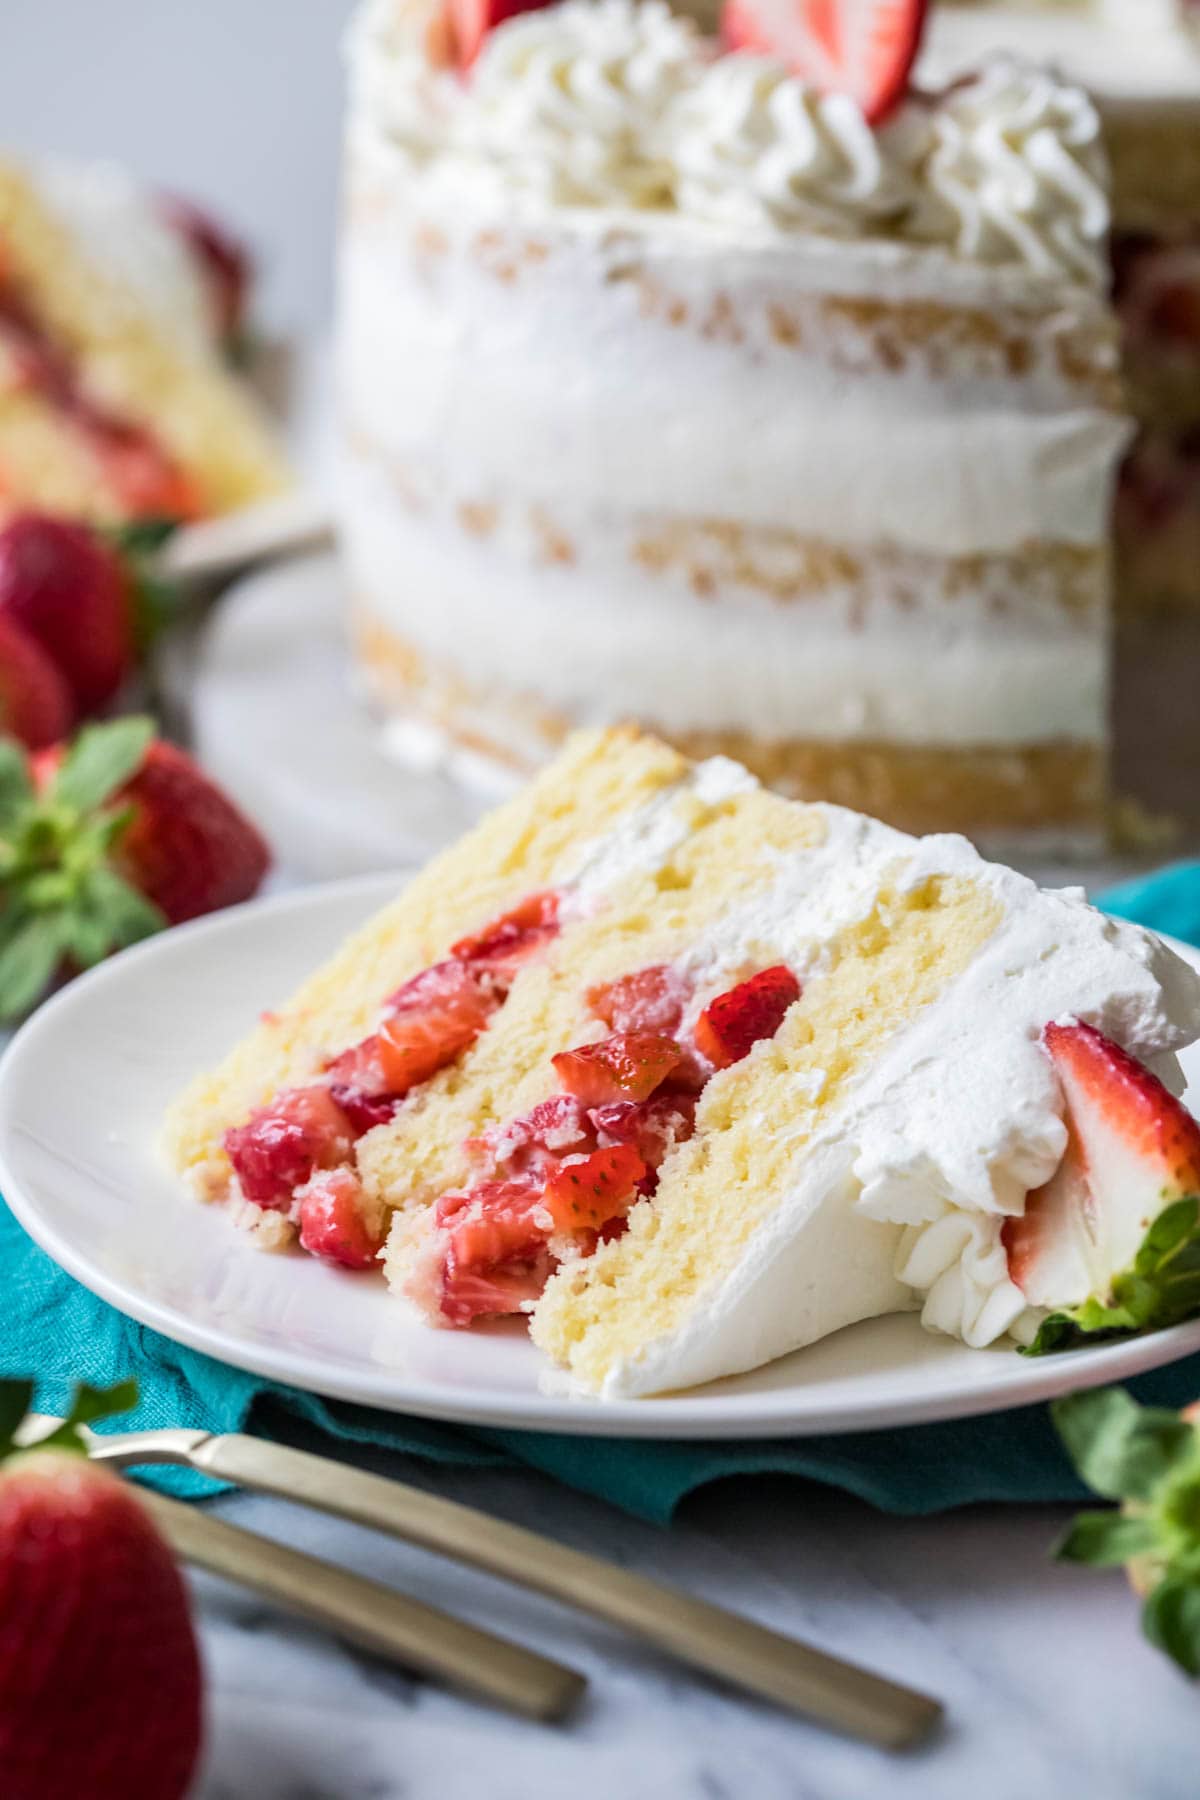
Moist and tender vanilla cake paired with juicy strawberries and light whipped cream frosting, this is an elegant, show-stopping strawberry shortcake cake. It’s perfect for spring and summer celebrations! Recipe includes a how-to video!
Strawberry Shortcake for a Crowd
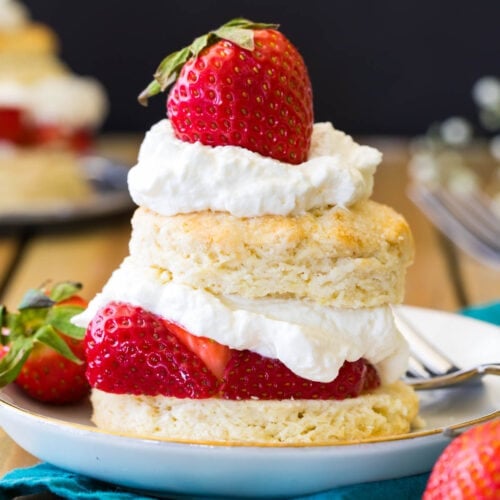
If you’ve ever had traditional strawberry shortcake before, you know it’s a tasty but rustic and humble-looking treat, made of biscuits, whipped cream, and fresh, macerated strawberries. I wanted to do a slightly more impressive and elegant take on this springtime treat and ultimately ended up with my version of strawberry shortcake cake that I’m sharing today.
My recipe combines not-too-sweet vanilla cake with slight variations of the fresh berries and chantilly cream you know and love. It’s light, perfectly sweet, and absolutely amazing with spring and summer strawberries!
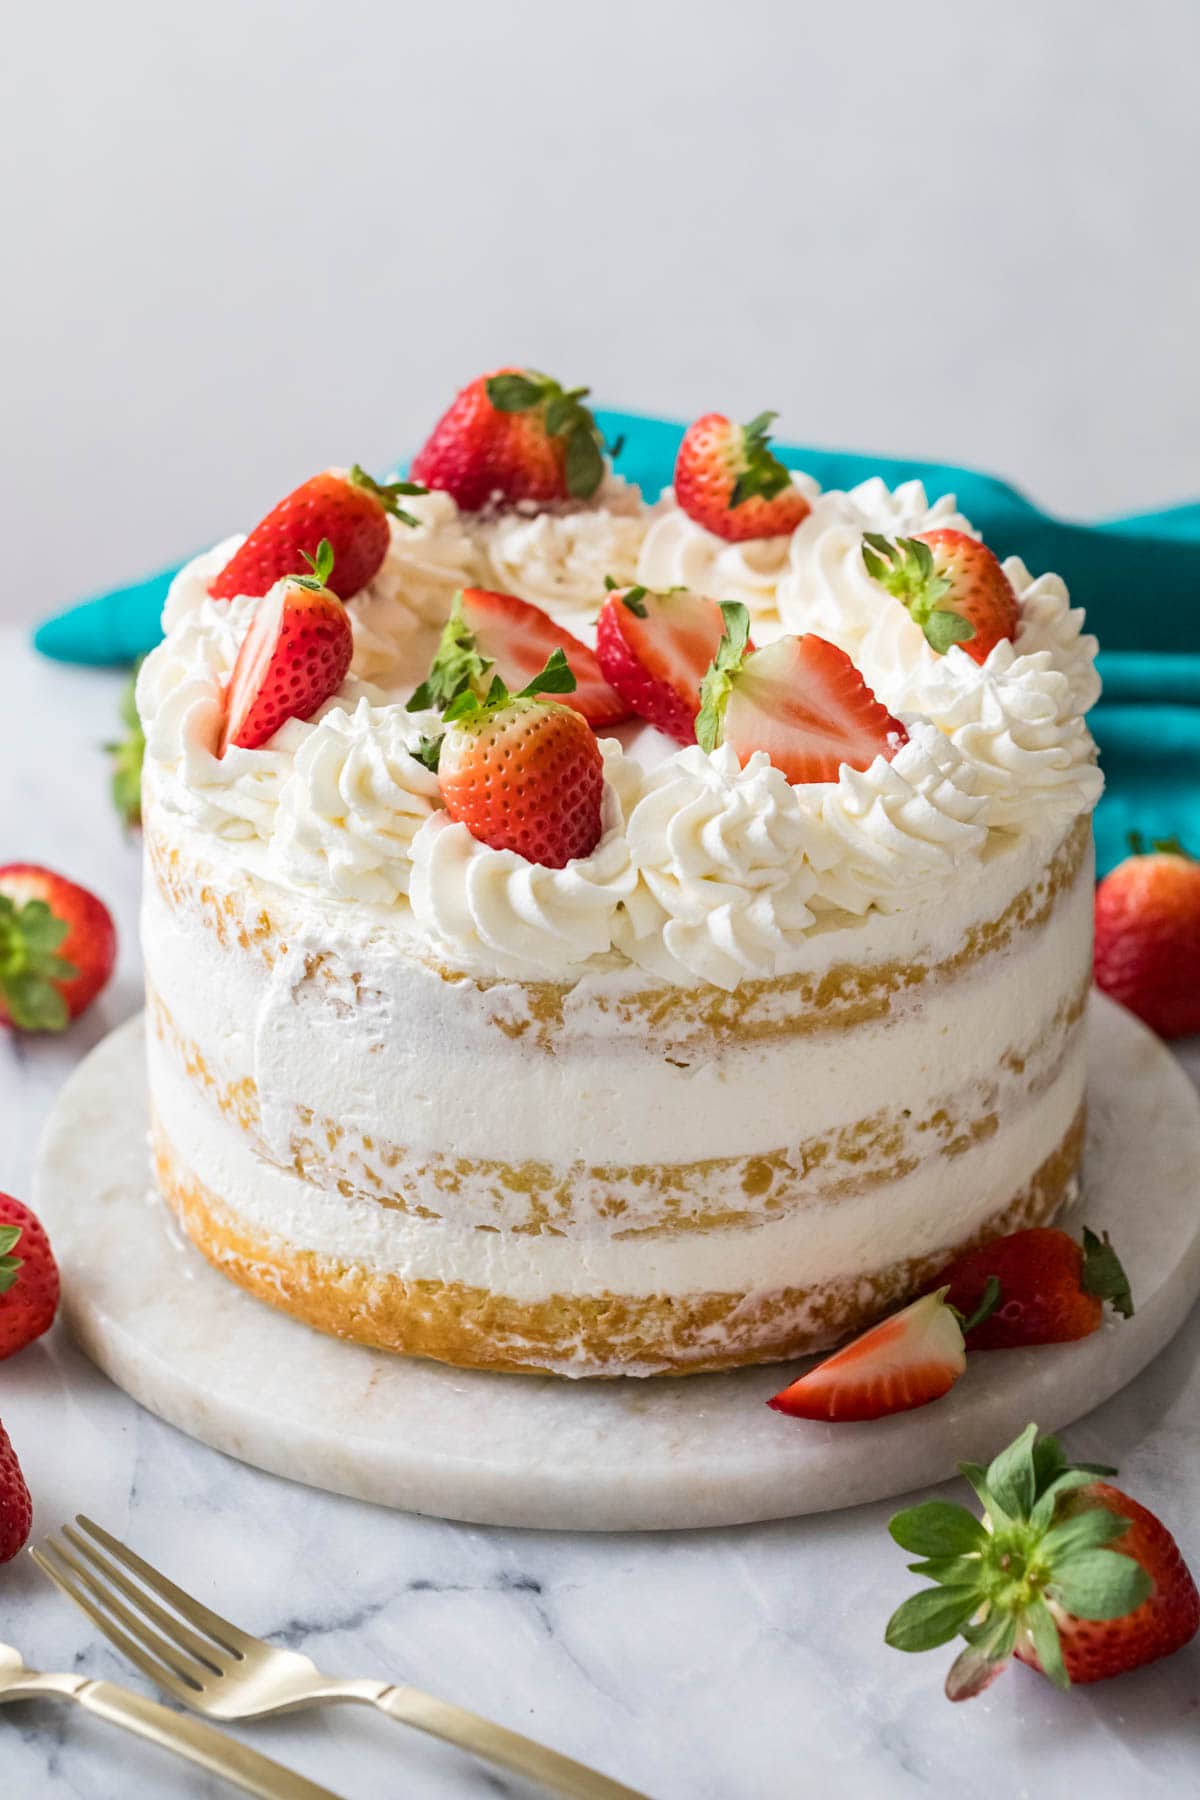
What’s to Love:
- The cake layers are moist, tender, and flavorful, thanks to a few key ingredients like buttermilk and a combination of oil and butter.
- Technically strawberry shortcake cake can be made any time of year, since we will be macerating our strawberries. This technique makes even lackluster December strawberries taste great (though I really must recommend my peppermint bark cake if you’re looking for a December cake!).
- Using stabilized whipped cream frosting means our frosting holds its shape without any weeping or melting. And the best part is, it tastes incredible and is NOT at all too sweet, like a buttercream could be.
- Similar to my recent ding dong cake, this recipe cake takes a smaller, individually-portioned treat and turns it into a party-ready dessert for a crowd!
Ingredients
Before we start our mixers, there are a few key ingredients in this strawberry shortcake cake recipe that I’d like to briefly discuss.
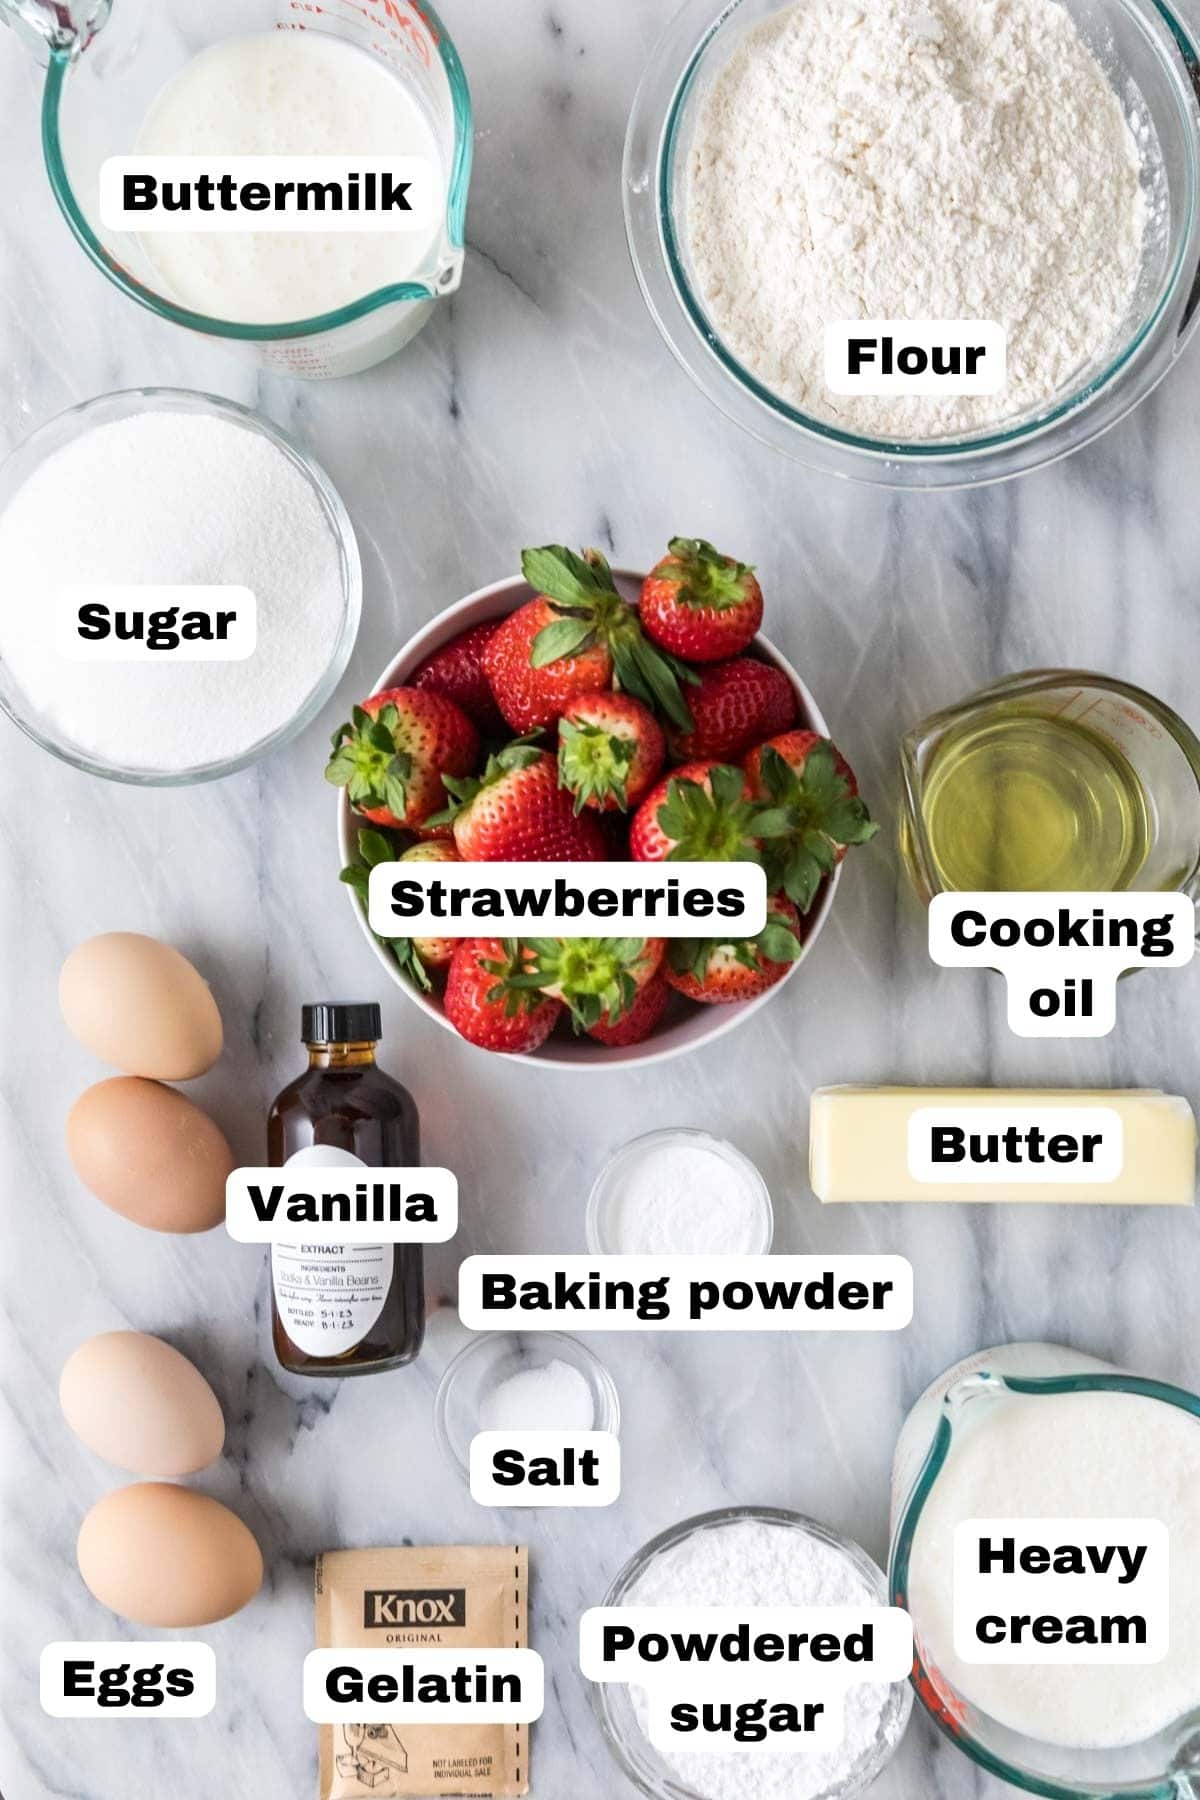
- Buttermilk. Buttermilk adds flavor and moisture to the cake layers. While some of my recipes need real buttermilk, this recipe will work just fine with my buttermilk substitute. It’s made with milk and vinegar or lemon juice, so easily accessible ingredients you might already have on hand.
- Oil + butter. I typically use a combination of oil and butter in my cakes (like my hummingbird cake and coconut cake I just shared. This guarantees moist (from the oil) and flavorful (from the butter) cake layers–the best of both worlds. Avocado oil is my choice here, but any neutral oil (like canola or vegetable) will work!
- Gelatin. This stabilizes our whipped cream frosting to help it hold its shape and to keep the cake sturdy and sliceable as possible.
- Heavy cream. Whipping cream or double cream will also work. This will be the base for our whipped cream frosting.
- Strawberries. I don’t recommend frozen strawberries–they will break down far too much and make your strawberry shortcake cake soggy. Stick with fresh berries. Since we’ll be macerating the strawberries with sugar, it’s okay if your berries aren’t the brightest, juiciest berries; however, if you can get in-season, sun-ripened berries, those are obviously preferable!
SAM’S TIP: Room temperature eggs will incorporate into your batter much more easily than cold ones (meaning a more uniform, tender cake crumb), so try to set yours out ahead of time if you can remember to. If you forget, don’t worry! I have an easy trick that will allow you to quickly bring eggs to room temperature.
This is just an overview of the ingredients I used and why. For the full recipe please scroll down to the bottom of the post.
How to Make Strawberry Shortcake Cake
Make the Cake Layers
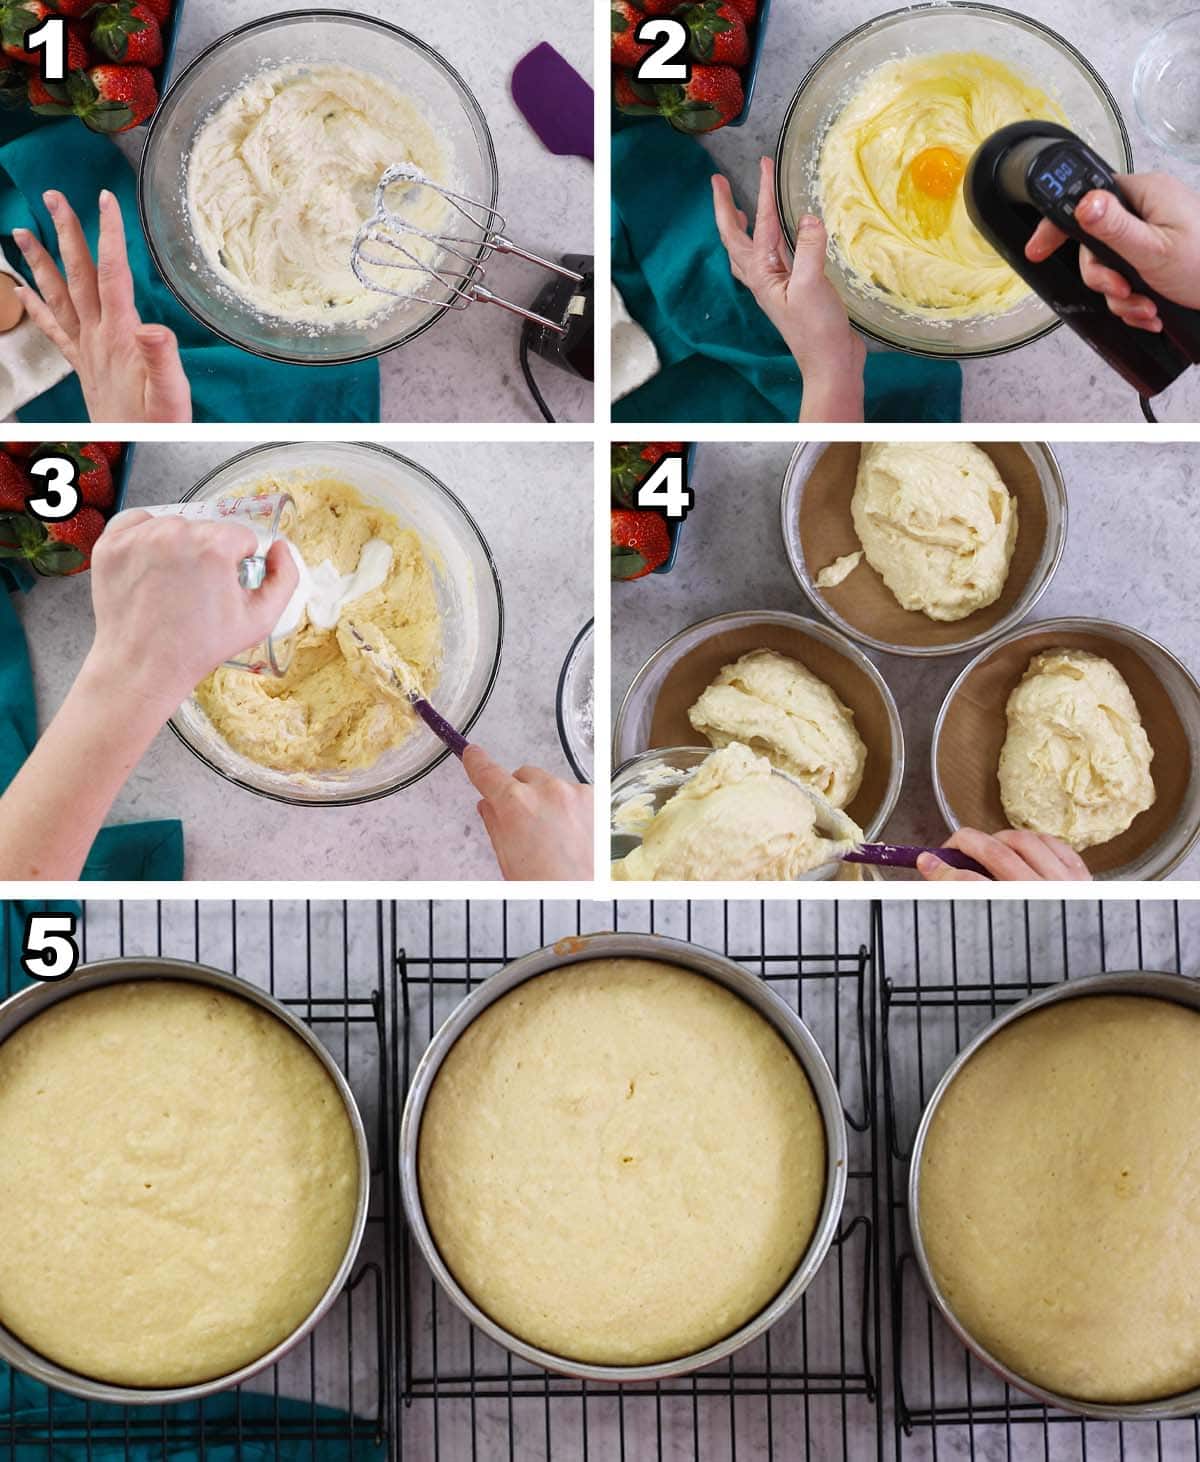
- Cream the butter, oil, and sugar together until well combined.
- Add the eggs one at a time, making sure each is incorporated before adding the next. Stir in the vanilla, then set your mixer aside for now. We won’t need it again until we make the frosting.
- Alternate adding the dry ingredients and buttermilk. I do the dry ingredients in four parts and the buttermilk in three, starting and ending with the dry ingredients. Make sure to use a spatula for this step so you don’t over-mix your batter!
- Divide the batter into your pans, spread into an even layer and bake. If you can’t fit all three pans in your oven, it’s fine to let the third cake sit on the counter while the first two bake. Also, beware of hot-spots in your oven and rotate the pans during baking if needed.
- Let the cakes cool completely before frosting.
Prep the Strawberries
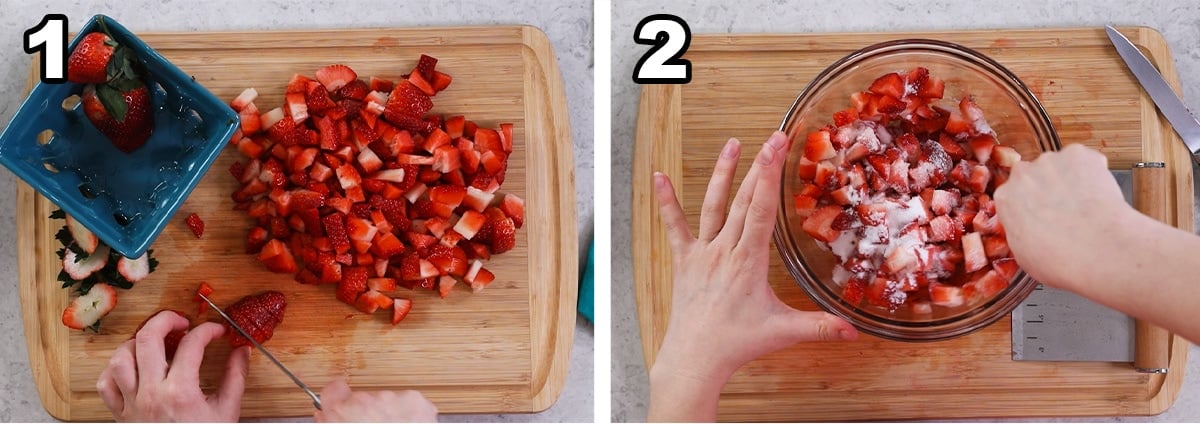
- Prep your strawberries. We’ll reserve some for the top of the cake and then chop the rest into small pieces.
- Toss the chopped strawberries with sugar, then set this aside to macerate (which just means letting them become nice and juicy).
Make the Frosting
Stabilized whipped cream is a bit more involved than my classic homemade whipped cream, but it works well here to keep the layers from sliding and for keeping the cake sturdy, so it’s my preferred choice with this cake.
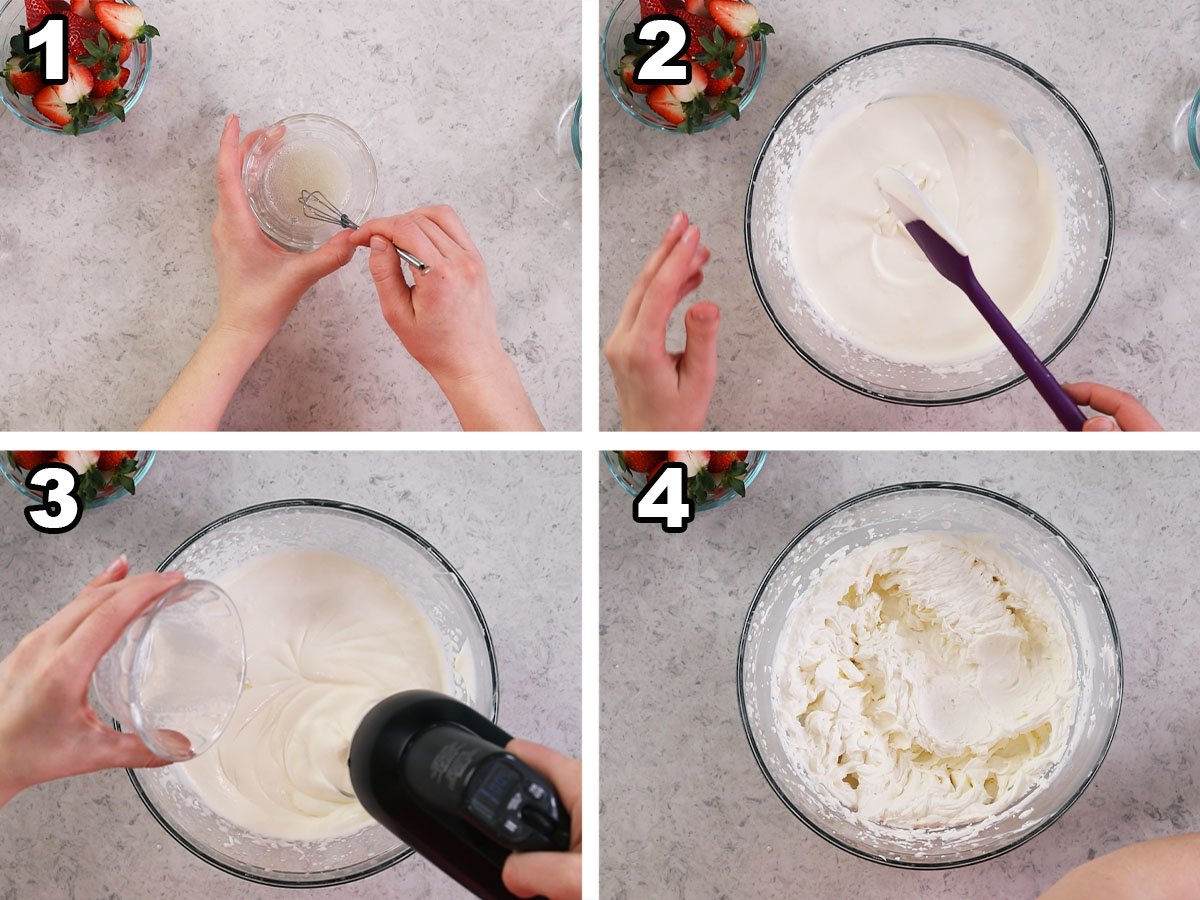
- Whisk the gelatin and water together until absorbed. Set this aside while you start the whipped cream.
- Beat the cream, sugar, and vanilla until thickened. Don’t let the mixture even go to soft peaks, just let it get slightly thicker. We’ll whip it to stiff peaks in a minute.
- Microwave the gelatin just until it is liquid again, and give it a whisk. Slowly drizzle the gelatin into the cream mixture with your mixer on low speed.
- Whip the cream on high speed until it is thick, fluffy, and has reached stiff peaks.
Take care to pay attention to the cues in the written recipe and follow the steps carefully so you don’t end up with little gelatin lumps in your frosting, that’s the worst!
Assembly
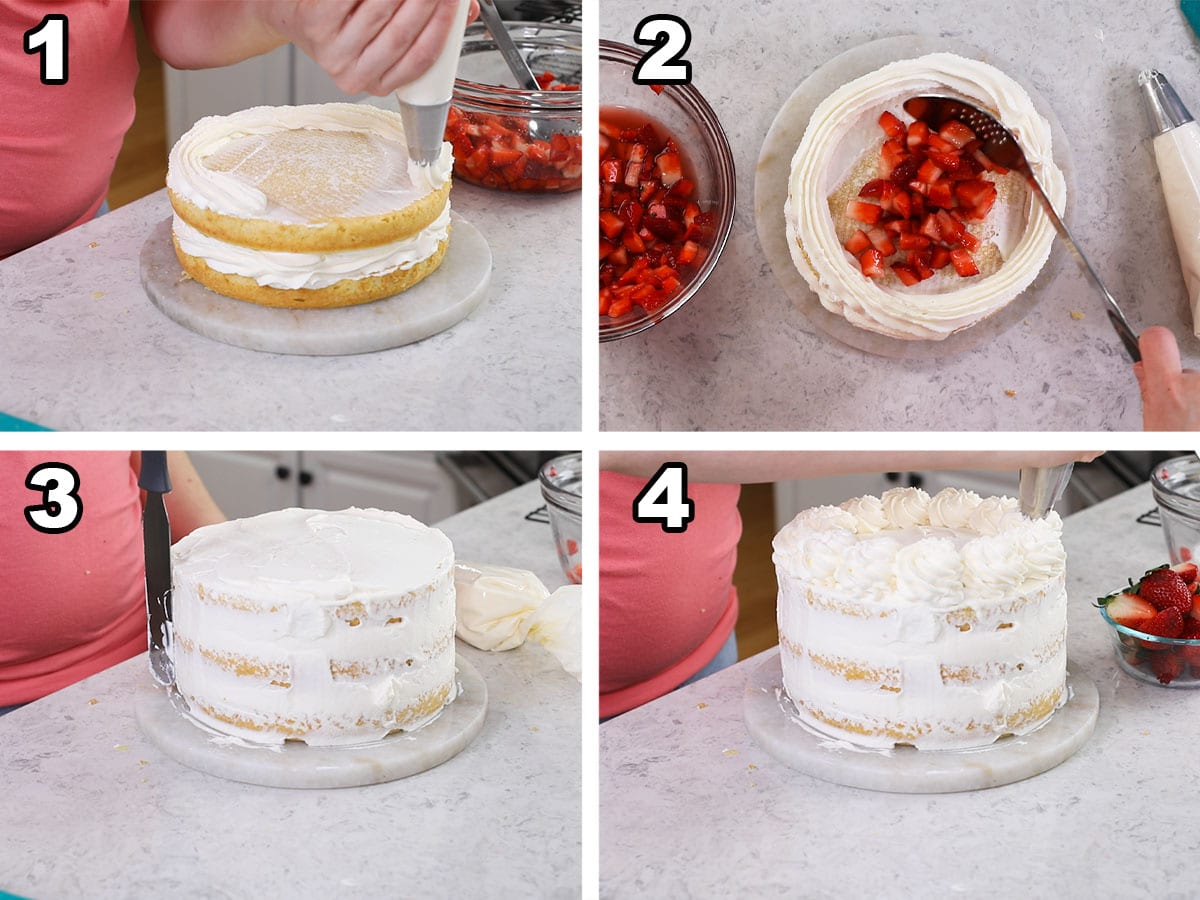
- Level your cooled cakes (recommended, as any dome on top will make it difficult to fill with strawberries and stack properly), then add a thin layer of frosting to the first layer and pipe a frosting dam around the edge. I used the Ateco 848 tip for this, but even just a Ziploc bag with a corner cut off would work fine here. Just make sure the dam is tall enough to hold in the berries!
- Add your macerated strawberries on top, pouring off any juices beforehand. Add another layer of cake, then repeat this process.
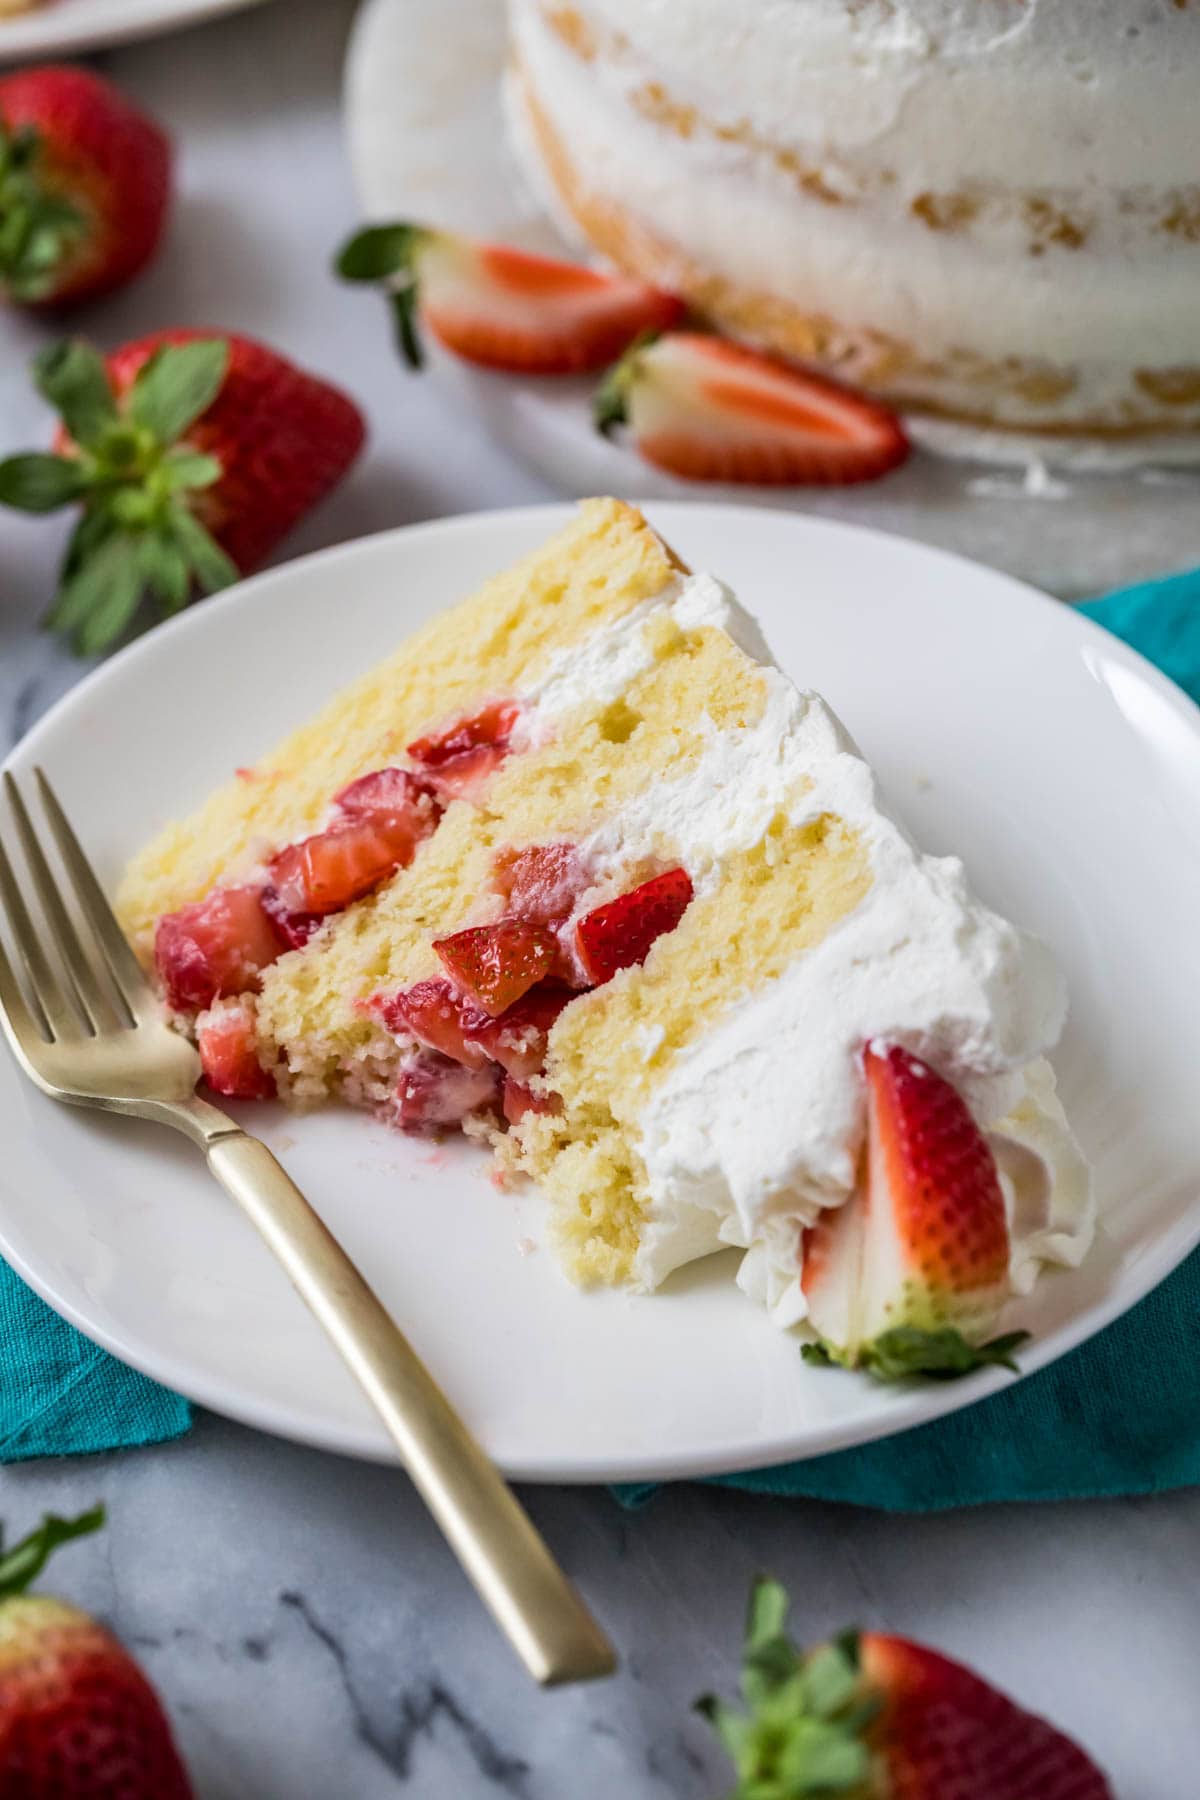
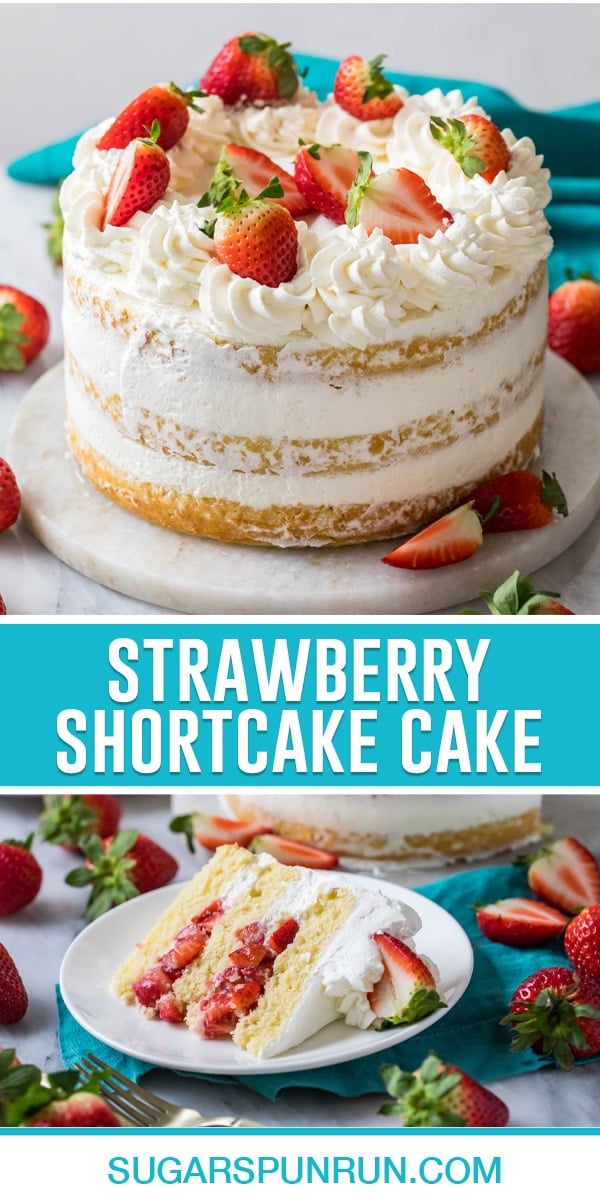
- Smooth a thin, even layer of frosting around the entire cake for a semi-naked look.
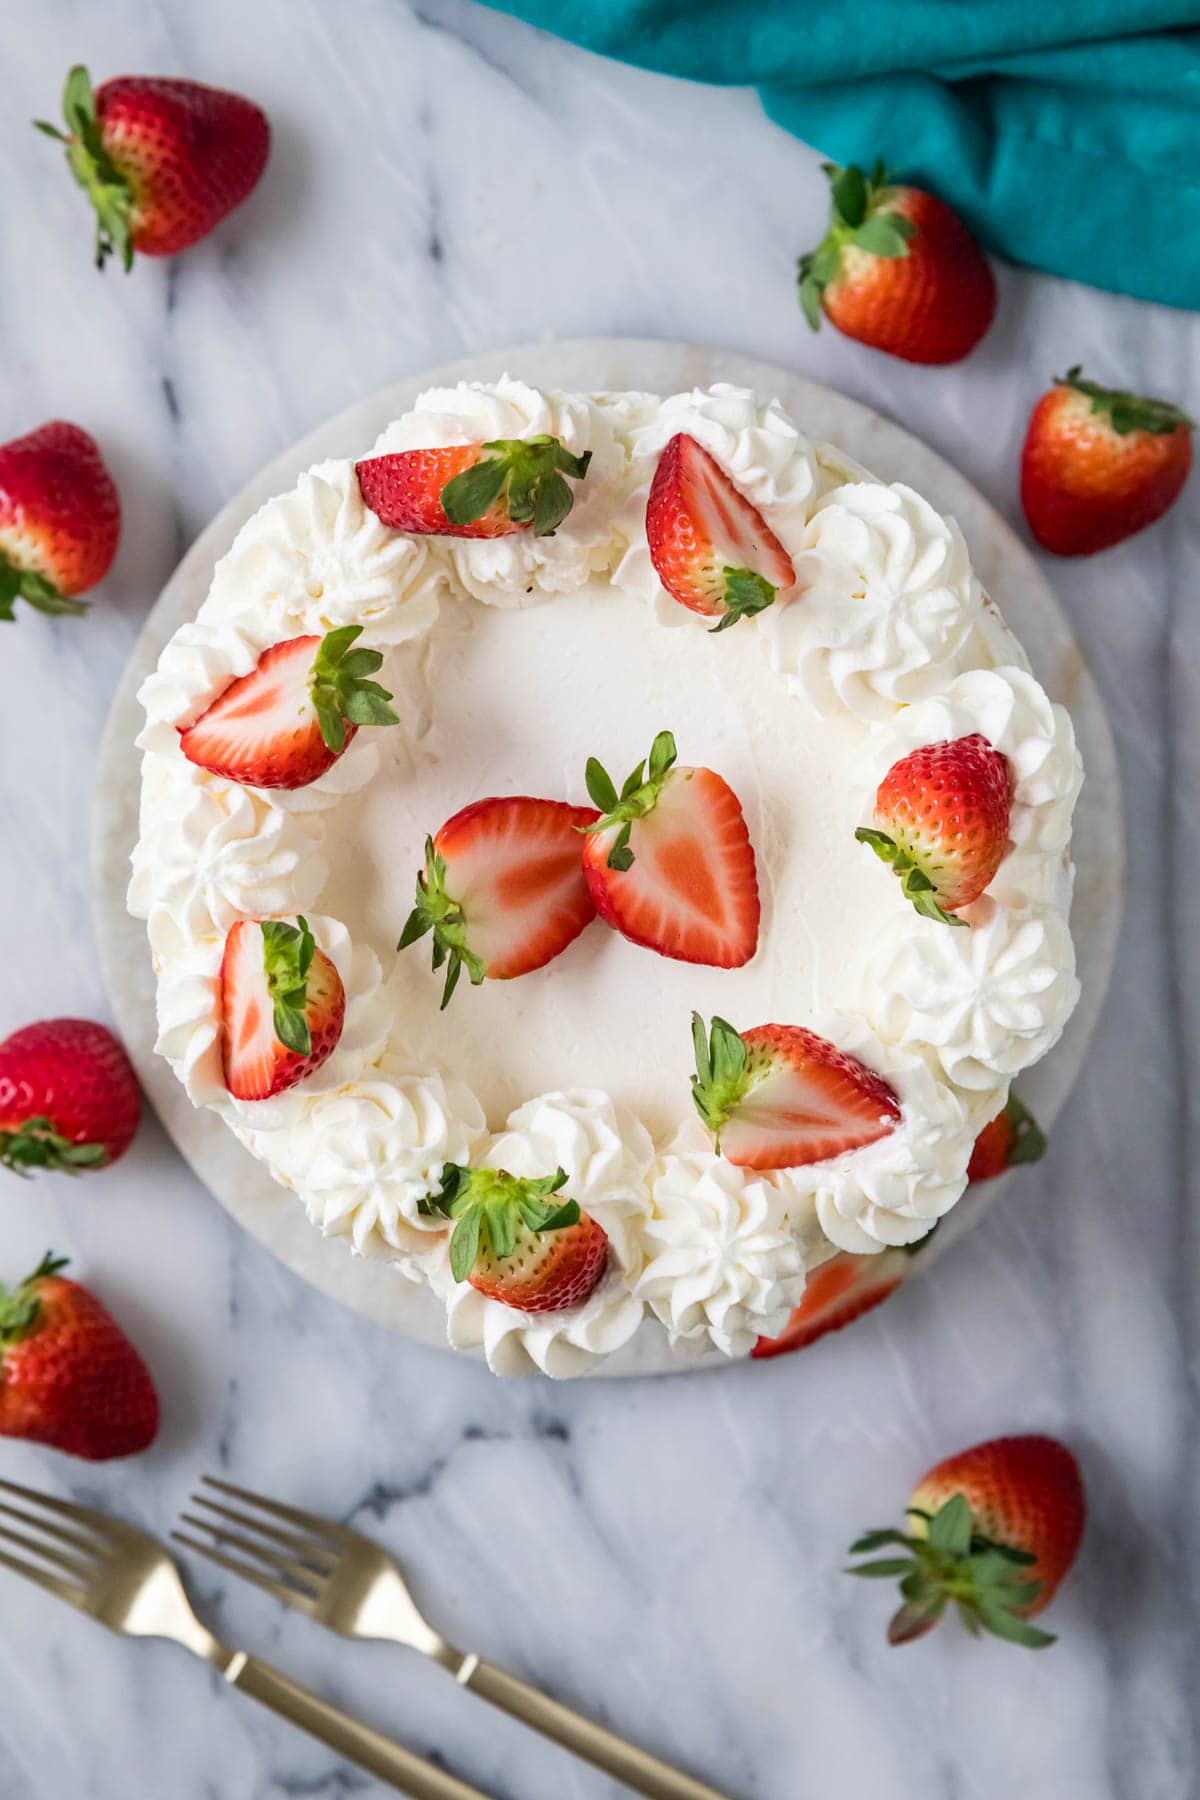
- Decorate with frosting swirls and your remaining strawberries. I used an Ateco 848 for piping the dollops, but any large star tip will work. Let the cake chill before serving, then enjoy!
SAM’S TIP: Strain the juice from your berries before adding them to the cake, otherwise you will have a messy, soggy cake!
Frequently Asked Questions
I recommend enjoying within two days, but you might be able to stretch it to three. The problem is the fruit can make the cake layers soggy as they sit, so it really doesn’t keep for too long.
Yes, of course! Whipped cream is traditional with strawberry shortcake, so that’s why I used a whipped cream frosting here. However, the frosting from my chantilly cake or strawberry cake would also taste great in this recipe and mimic the light texture of the whipped cream. I do personally think something like a classic buttercream might be a bit too rich here, but that is, of course, a matter of preference.
Yes! Because of the whipped cream frosting and fresh fruit, this cake needs to be refrigerated. Make sure to store your cake in a sealed container so it doesn’t dry out in the fridge.
If you’re looking for another spring/summer cake, my lemon blueberry cake is always a big hit!
Enjoy!
Let’s bake together! Subscribe to my newsletter to be notified of all the newest recipes, and find my free recipe tutorials on YouTube 💜
Strawberry Shortcake Cake
Ingredients
Cake
- ½ cup (113 g) unsalted butter softened
- ½ cup (120 ml) neutral cooking oil I recommend avocado oil but canola or vegetable would also work
- 1 ½ cups (300 g) granulated sugar
- 4 large eggs room temperature preferred
- 1 Tablespoon vanilla extract
- 3 cups (375 g) all-purpose flour
- 1 Tablespoon baking powder
- ½ teaspoon table salt
- 1 ¼ cup (300 ml) buttermilk room temperature preferred
Strawberries
- 2 lb (907 g) strawberries divided
- 3 Tablespoons (40 g) granulated sugar
Whipped Cream Frosting
- 1 ½ teaspoons unflavored gelatin
- 2 Tablespoons (30 ml) cold water
- 2 ¼ cups (540 ml) heavy whipping cream
- ¾ cup (94 g) powdered sugar
- 1 ½ teaspoons vanilla extract
Recommended Equipment
- 848 piping tip optional
- Cake leveler optional
Instructions
Cake
- Preheat oven to 350F (175C) and prepare three 8” round cake pans by greasing the sides and lining the bottoms with parchment paper.
- In a large mixing bowl (or the bowl of your stand mixer), use an electric mixer to cream together butter, oil, and sugar until creamy and well combined.½ cup (113 g) unsalted butter, ½ cup (120 ml) neutral cooking oil, 1 ½ cups (300 g) granulated sugar
- Add eggs, one at a time, stirring well after each addition.4 large eggs
- Add vanilla extract and stir until combined.1 Tablespoon vanilla extract
- In a separate, medium-sized bowl, whisk together flour, baking powder, and salt.3 cups (375 g) all-purpose flour, 1 Tablespoon baking powder, ½ teaspoon table salt
- Add about a fourth of the dry ingredients to the butter mixture and use a spatula to gently fold into the batter until mostly combined. Add approximately a third of the buttermilk and gently stir in until combined. Continue to alternate adding the dry ingredients and buttermilk until both have been combined into the batter. You may still have some small lumps in the batter, this is fine. Do not use an electric mixer for this step and take care to not over-mix the batter.1 ¼ cup (300 ml) buttermilk
- Evenly divide your batter between prepared cake pans and bake on the center rack of preheated 350F (175C) oven for 24-26 minutes. Once cakes are finished baking, the tops should spring back if lightly touched and a toothpick inserted in the center should come out clean or with a few moist crumbs.
- Allow cakes to cool in their pans for 10-15 minutes before running a knife around the edges of the cakes to loosen them from the pan then carefully inverting onto a cooling rack to cool completely before frosting.
Strawberries
- Set aside about ½ pound (226g) of strawberries for decorating the top of your cake and slice in half lengthwise. These will be for decorating the top of your cake.2 lb (907 g) strawberries
- Chop remaining strawberries into small pieces (¼ – ½”, about 1cm) and toss in a medium sized mixing bowl with sugar, use a spatula to stir together. Set aside while you prepare your frosting.3 Tablespoons (40 g) granulated sugar
Whipped Cream Frosting
- In a small, microwave safe dish, whisk together gelatin and cold water until all gelatin is absorbed. Set aside.1 ½ teaspoons unflavored gelatin, 2 Tablespoons (30 ml) cold water
- In a large mixing bowl (preferably a chilled metal bowl) use an electric mixer to combine heavy cream, powdered sugar, and vanilla extract. Beat until mixture has thickened, but stop before reaching soft peaks.2 ¼ cups (540 ml) heavy whipping cream, ¾ cup (94 g) powdered sugar, 1 ½ teaspoons vanilla extract
- Your bowl of gelatin should have solidified by this point. Microwave it for 5-10 seconds, just enough to liquify it again (it should not be hot), and whisk until smooth.
- With mixer on low speed, drizzle liquid gelatin into cream mixture until combined. Slowly increase mixer speed to high and continue to beat until you have reached stiff peaks (mixture will be thick and fluffy and will resemble Cool Whip in consistency).
Assembly
- Once cakes are completely cooled, level them if necessary.
- Transfer frosting to a large piping bag fitted with a large round tip or closed star tip (I like the Ateco 848).
- Place one cake layer on cake plate and spread a thin even layer of frosting over the surface. Pipe a dam of frosting around the edge of the cake.
- Use a slotted spoon to layer half of your chopped strawberries into the center, draining the strawberries of excess juices before layering them into the cake. Top with the next layer of cake and repeat. Top with the last layer of cake and spread an even layer of frosting on the top, and a thin, even, semi-naked layer around the sides.
- Use remaining frosting to pipe swirls around the top edge of the cake and arrange reserved strawberries over the top of the cake.
- Place cake in refrigerator to chill for at least 30 minutes before slicing and serving.
- Serving note: the cake can be messy to slice, I recommend a serrated knife and using your hand or a bench scraper to support the side of the cake when slicing. If any berries fall out, just spoon them off the cake platter on top of your slice!
Notes
Storing
This cake is best served the same day it’s made, but may be stored in an airtight container in the refrigerator for up to 2 or 3 days.Nutrition
Nutritional information is based on third-party calculations and should be considered an estimate only. Actual nutritional content will vary based upon brands used, measuring methods, cooking method, portion sizes, and more.

Stephanie
If i want to do 2 thicker 8″ round layers, how much baking time do you suggest?
Sam Merritt
Hi Stephanie! The strawberry layers are really a big part of this cake so I would really encourage you to use the three layers and get all of that strawberry goodness. That being said if you put it in 2 8 inch pans they will probably need to cook somewhere around 30-35 minutes. Enjoy! 🙂
Stephanie
Definitely agree, the strawberry layers are my favorite part too! Sadly, I only have 2 pans and was too impatient to wait to bake the 3rd layer. I did find that it took about that time to bake through. Even though it was a much thicker layer of cake, still turned out really yummy! I hope to make this again, do you have any suggestions on how to adjust the ingredient quantities for only 2 layers?
Sam Merritt
I’m so glad you ultimately enjoyed it! If you wanted 2 thinner layers you could cut the recipe by 33%, but your measurements could get a bit tricky. You could alternatively make the recipe as is, not fill your pans as much and either discard the excess batter or bake it as cupcakes. 🙂
Alyssa
I have made this cake quite a few times and it is always a huge hit! I decided to try to make cupcakes with the recipe (it made approximately 24) for my child’s upcoming birthday and I know these will be loved!
Sam Merritt
I’m so glad you’ve enjoyed it so much, Alyssa! 🙂