These are real deal, authentic whoopie pies (also known as gobs). Cakey chocolate cookies with an old-fashioned, flour-based (NOT marshmallow!) filling –a classic! Recipe includes a how-to video!
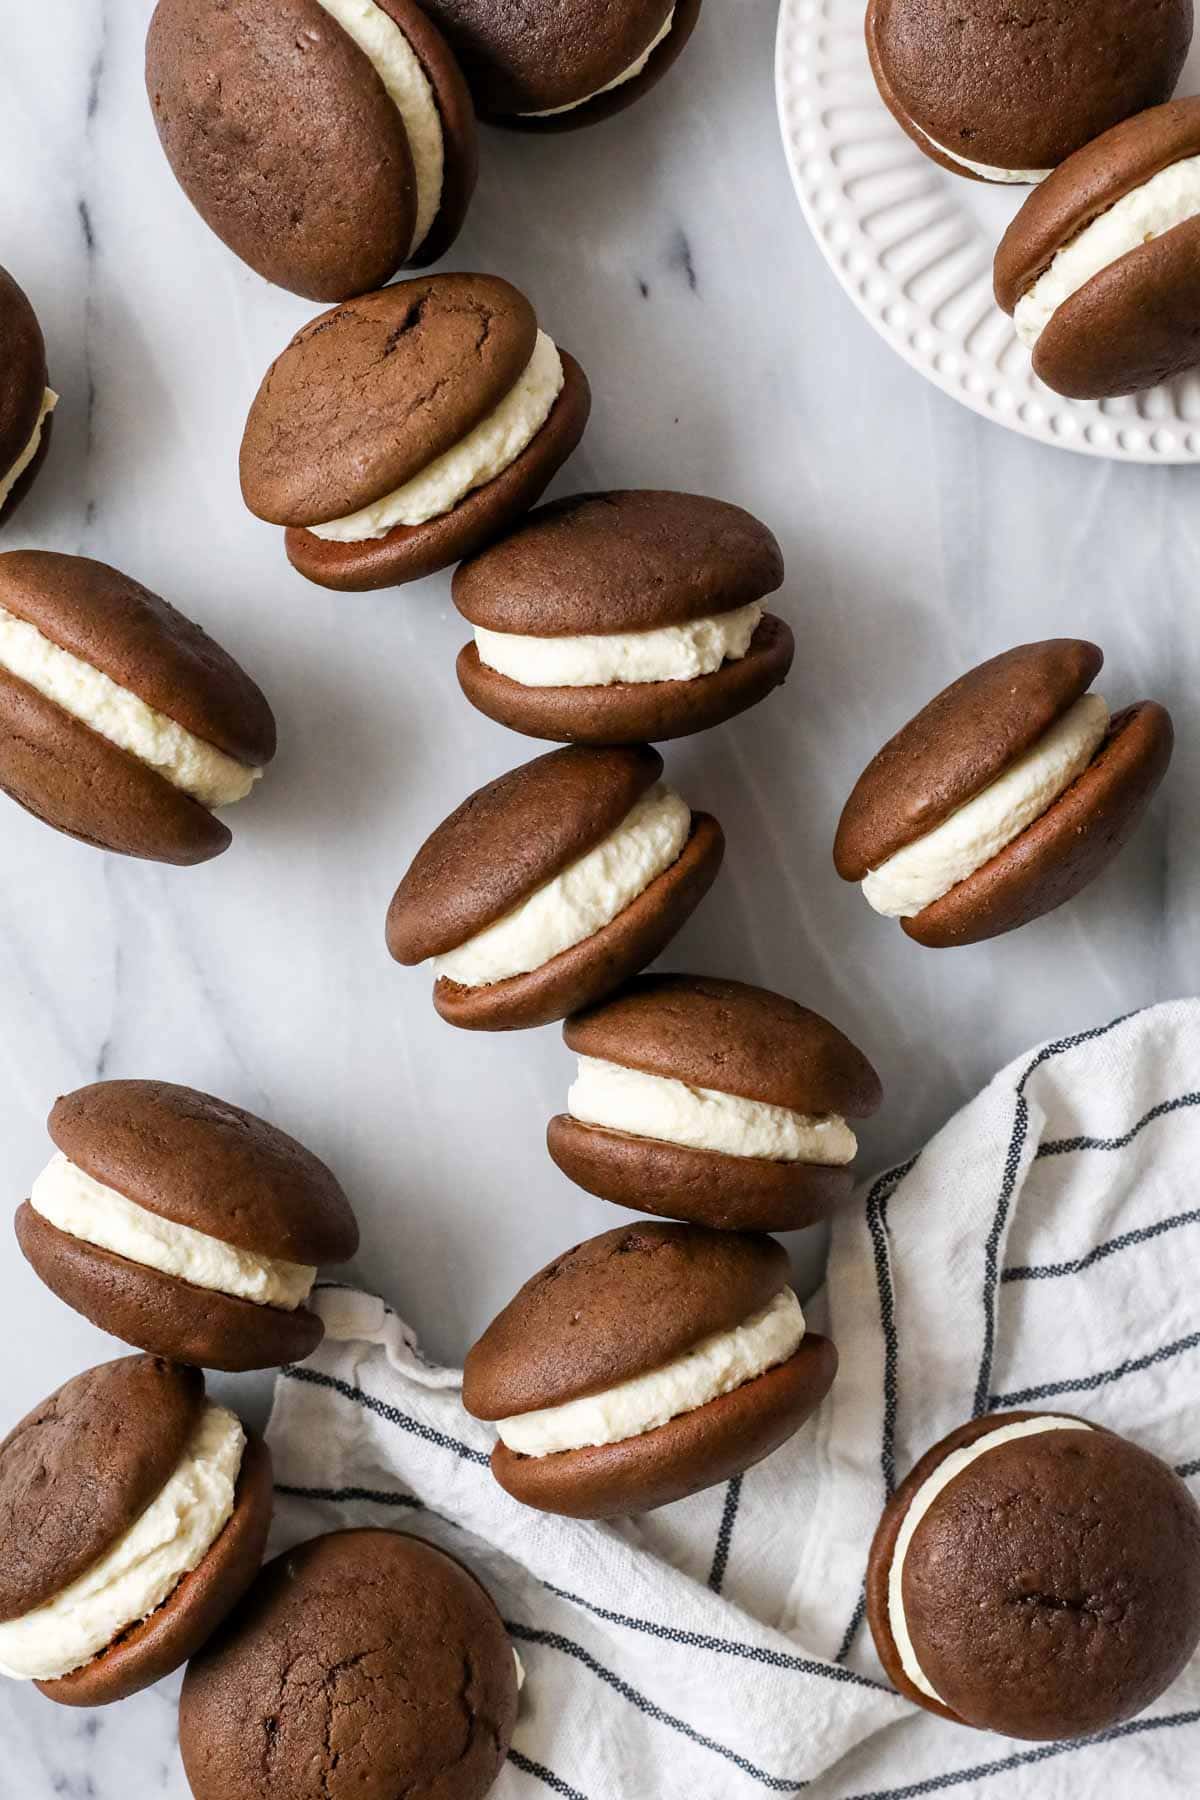
Authentic Whoopie Pies
So what do you call them, whoopie pies or gobs? Or maybe this big, fat, Oreo cookie-looking thing on your screen is totally unfamiliar? If that’s the case, I have a treat for you today!
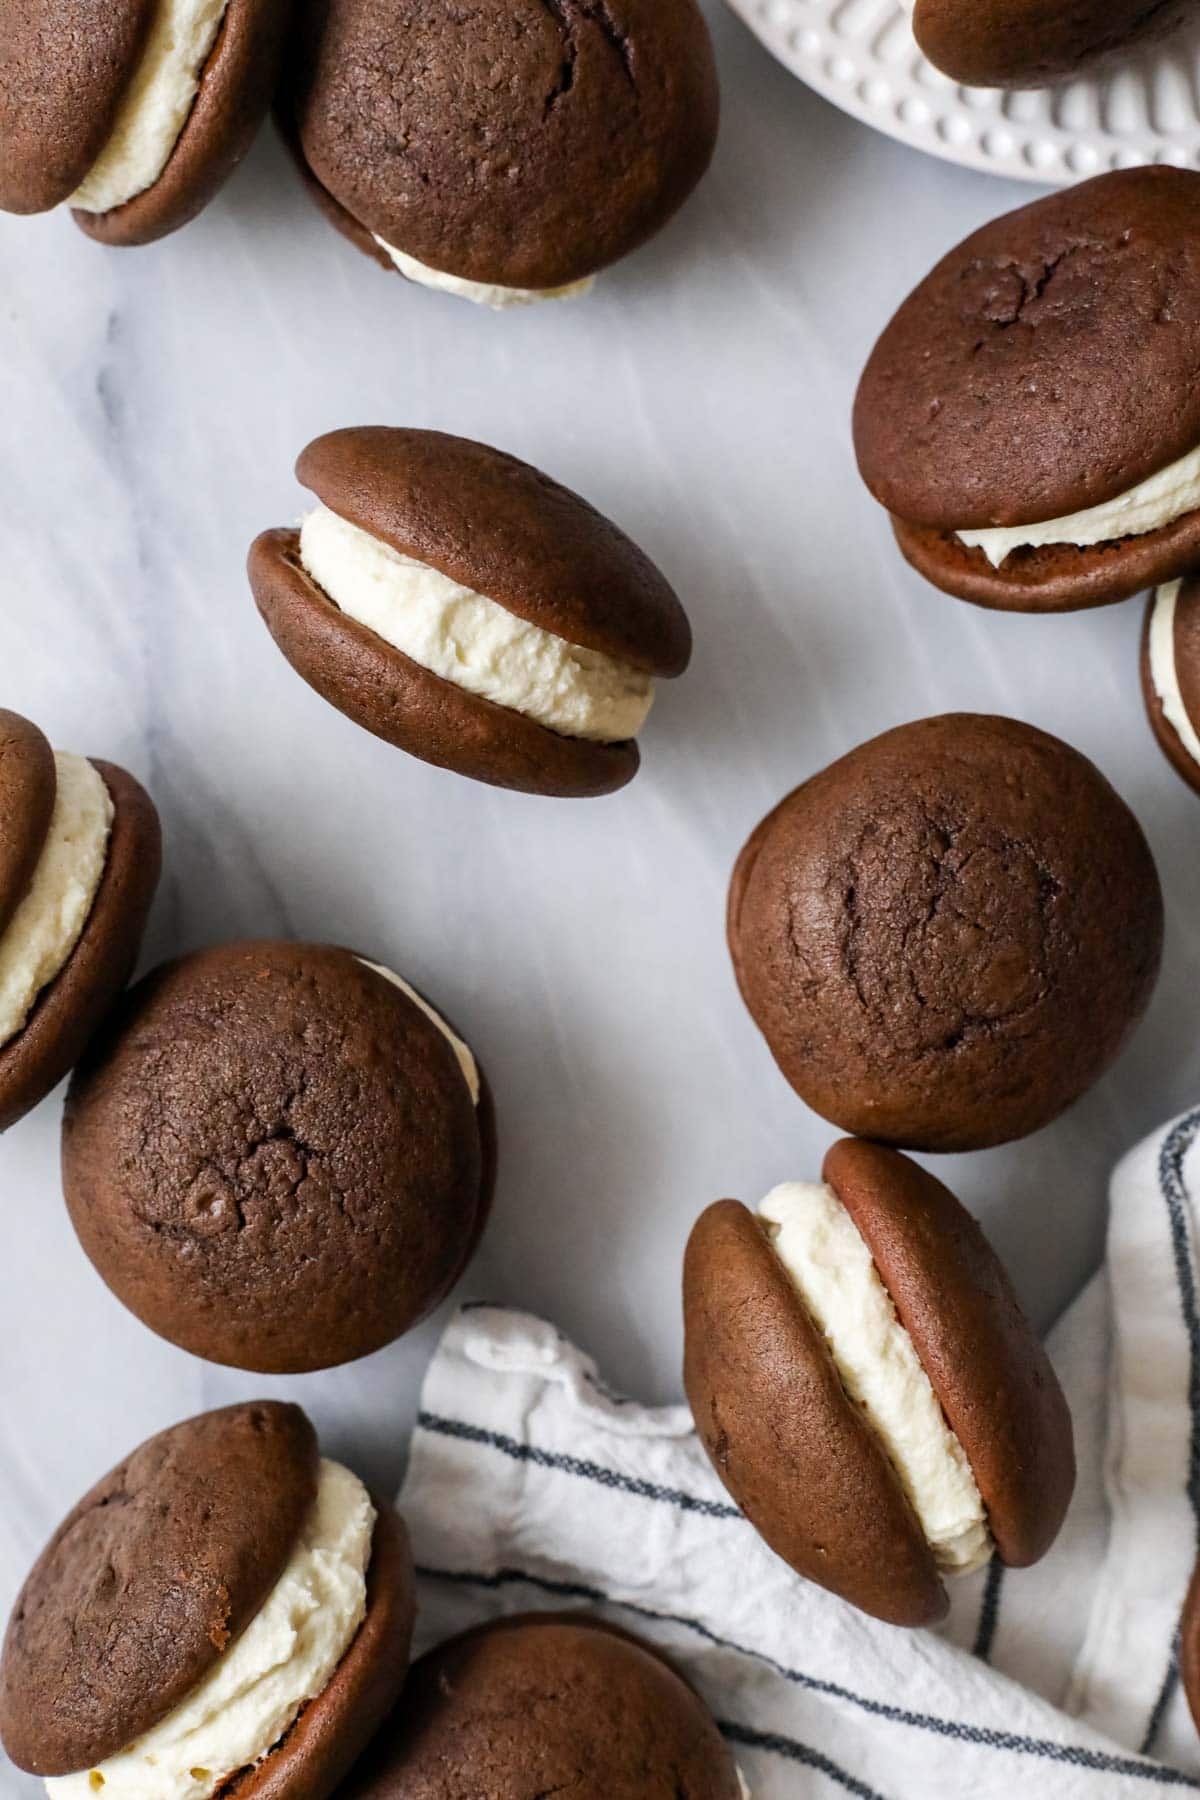
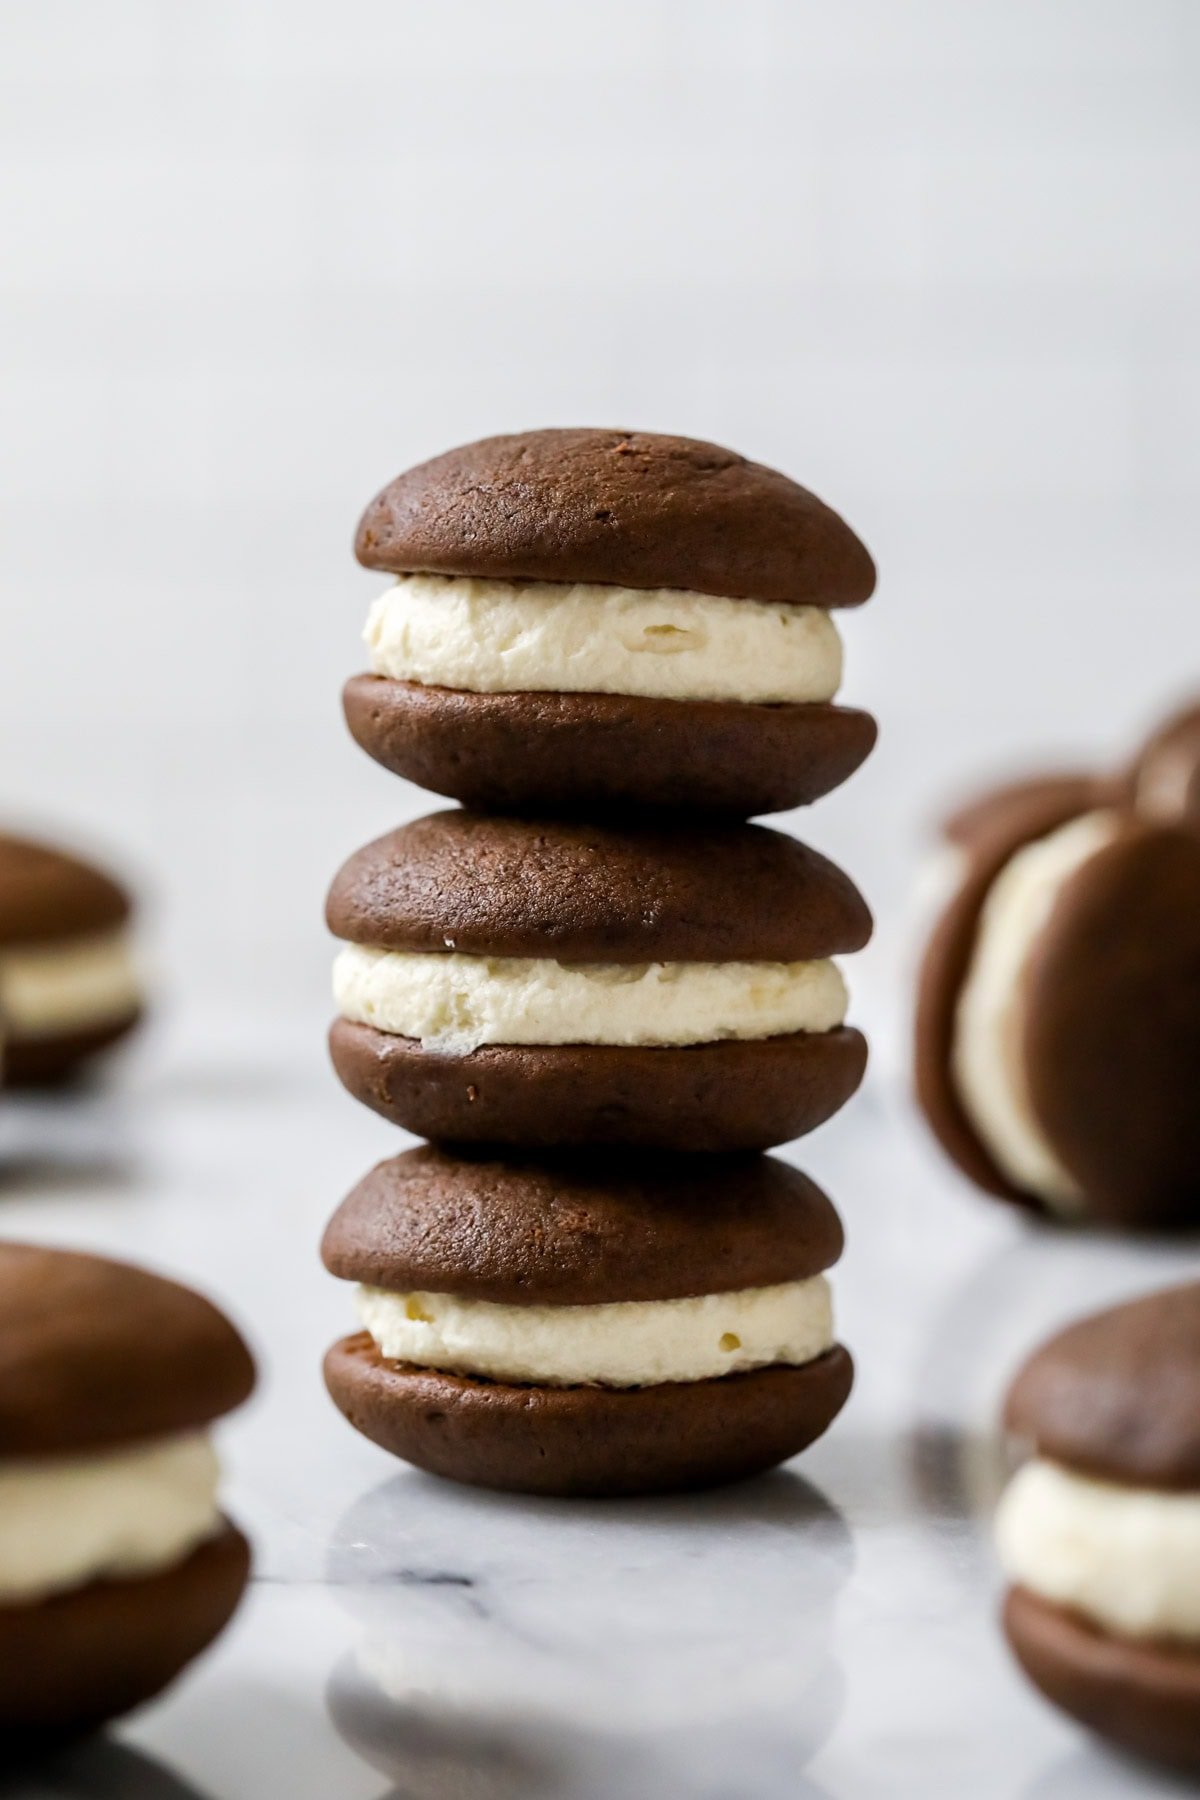
Growing up near the Mason/Dixon line, whoopie pies (we called them “gobs”!) were a staple at all of our family gatherings. My grandmother’s original recipe used shortening, and today I’ve tweaked it (just a tiny bit!) to use butter instead. The result? Soft, cakey, and tender chocolate cookies sandwiched around a not-too-sweet cream filling. Essentially, whoopie pie perfection!
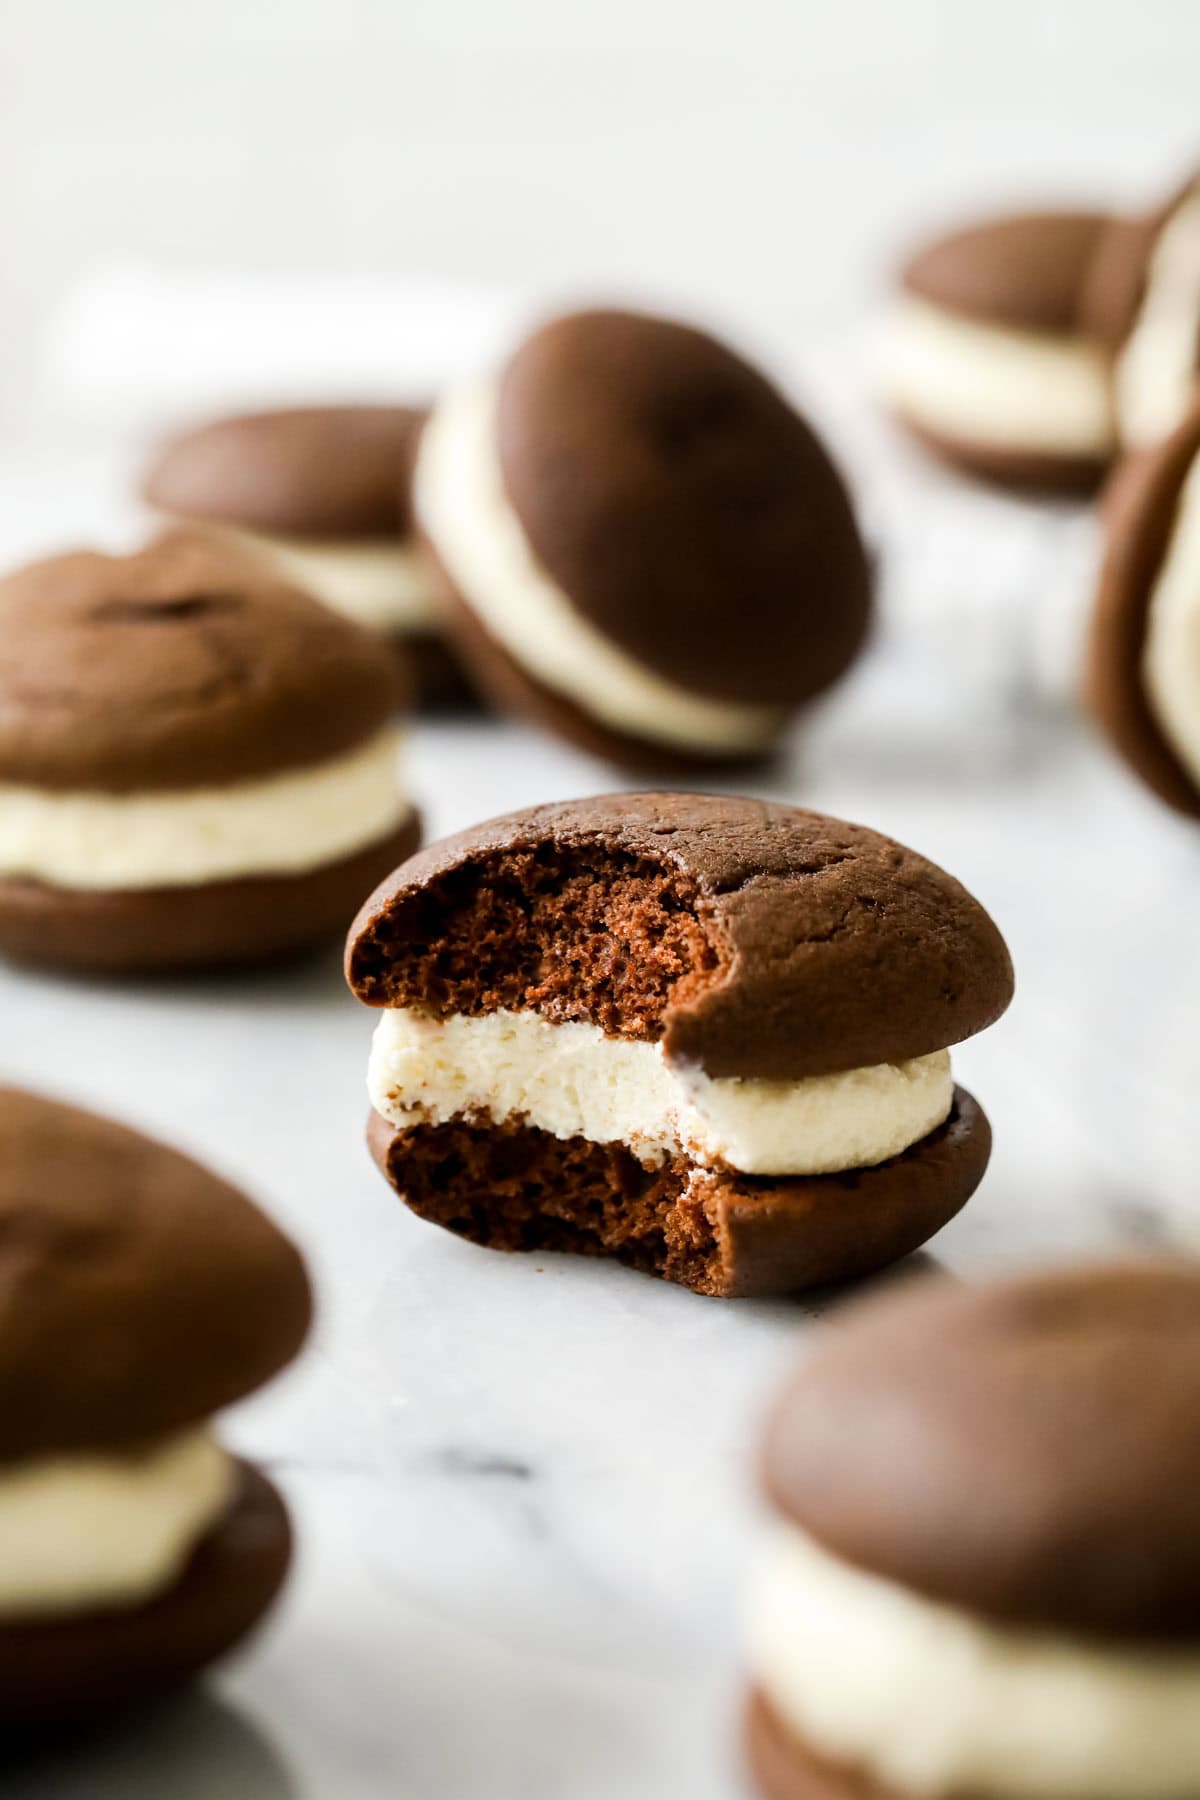
Why You Can Trust My Recipe
- Authentic whoopie pie filling: while some recipes claim that a marshmallow filling is best, real gobs are made with a not-too-sweet, cooked flour filling like I’m sharing today. It balances perfectly with the chocolate cookies!
- Unparalleled flavor: I made some tiny adjustments from the original recipe to use butter instead of shortening. Many bakers avoid shortening, and butter has a much better flavor anyway! I also do this with my peanut butter cookie recipe, and that has 100+ 5-star reviews! 🌟
- Timed just right so your roux (for the filling) is perfectly cooled in time for you to make the frosting. I was careful to include this first in the recipe so you can keep rolling!
- Simple: I’m not overcomplicating anything here–the classic technique is best! Equipment wise, a mixer is about as fancy as it gets in my recipe.
Jump to:
Ingredients
All pantry staples here today, though I am going to go over a few in case you have questions about them. If you’re ready to bake, keep scrolling!
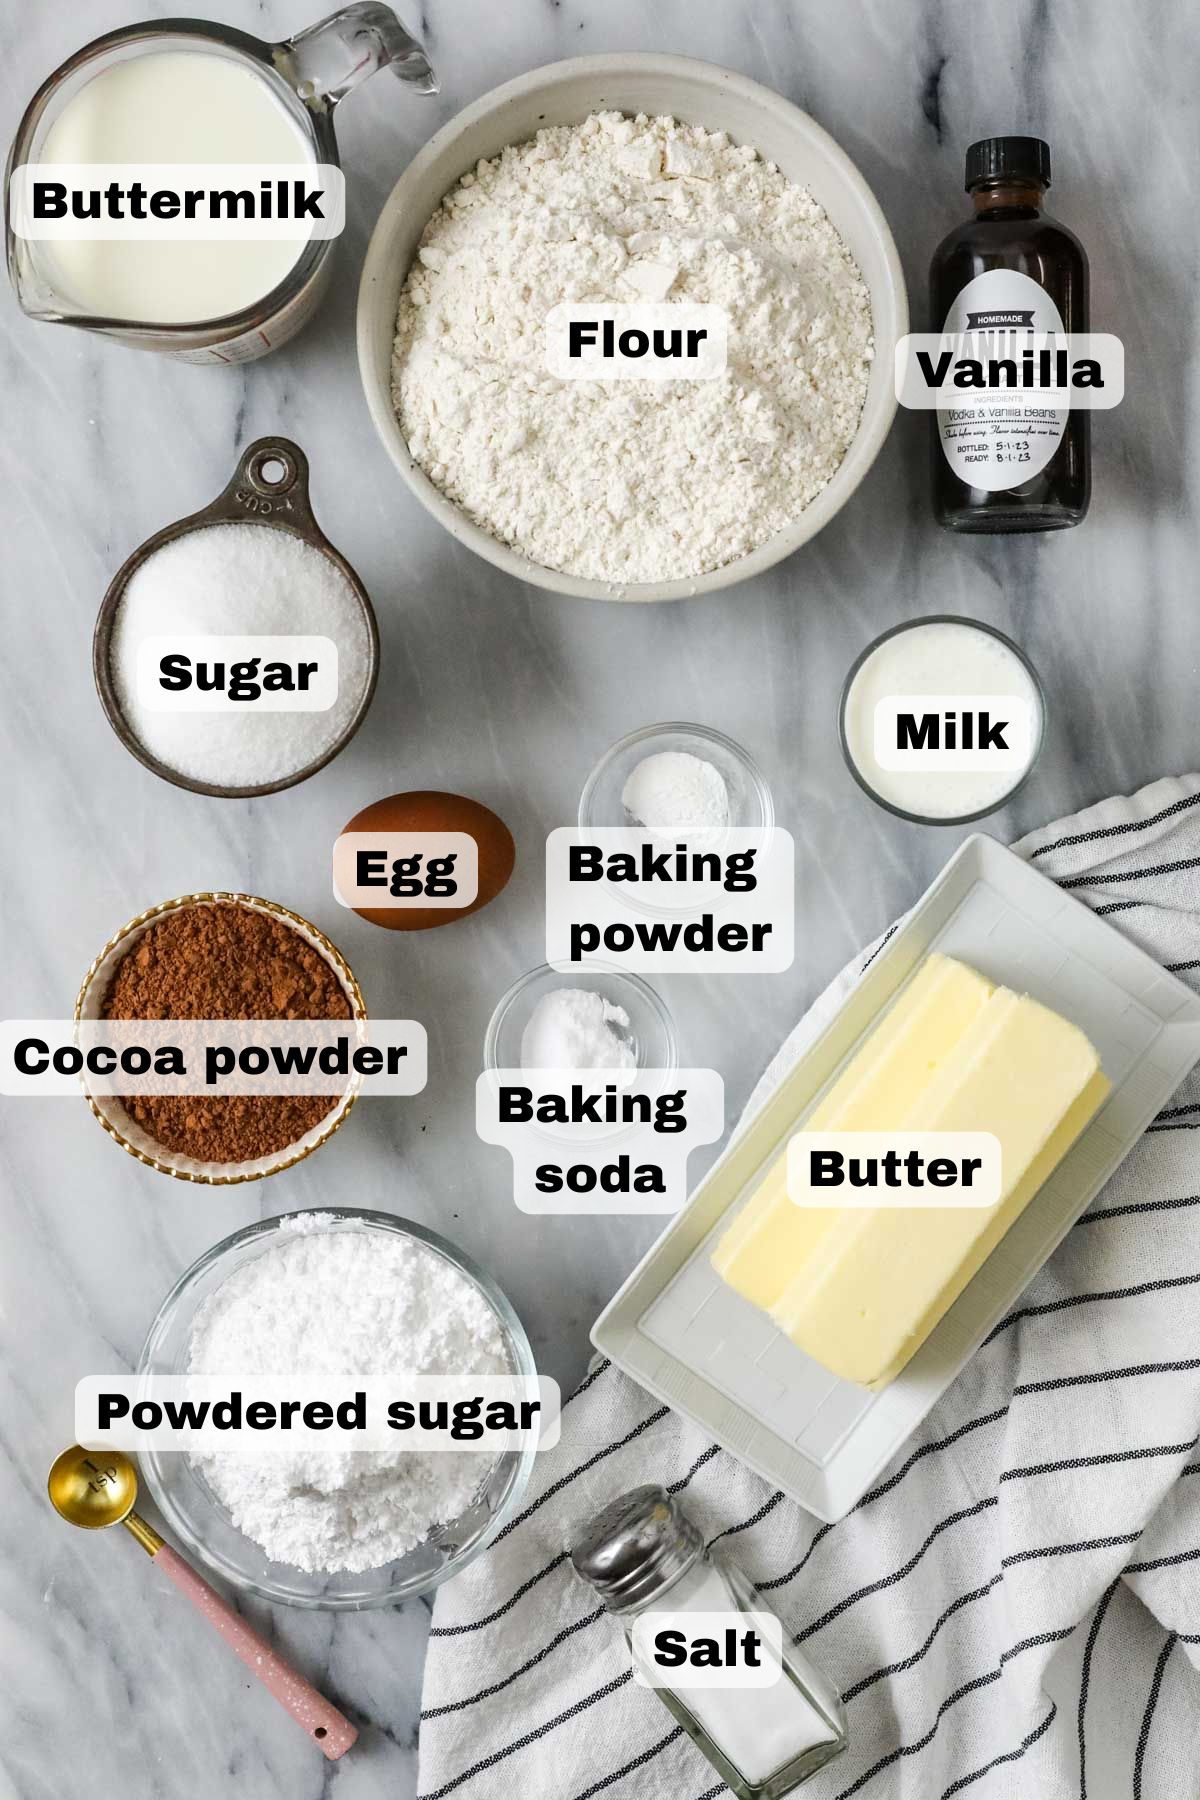
- Buttermilk. Use real buttermilk (while my buttermilk substitute will work in a pinch, the cookies will be a bit flatter) and let it come to room temperature before adding it to your batter. It’s really best if all of your ingredients are the same temperature for this recipe (except for the hot water, of course!).
- Cocoa powder. Stick with natural cocoa powder for the most authentic flavor.
- Boiling water. Just like when making my chocolate cake, a bit of boiling water makes all the difference in the chocolate flavor here. The heat extracts the flavor from the cocoa powder (“blooming” it) similar to how you would brew coffee or steep tea.
- Whole milk. I recommend whole milk for the filling; I haven’t tried this recipe with alternative milks like almond or oat, so I can’t say for sure how they would work.
- Sugar. You’ll need granulated sugar for the cookies and powdered sugar for the filling/frosting. Compared to a traditional buttercream, the frosting we are making today has a fraction of the amount of sugar–just 1 cup!
This recipe originally was made with shortening, I’ve since swapped it out for butter, which I think gives the whoopie pies a better flavor.
SAM’S TIP: Let your butter soften to room temperature, but don’t let it get too warm (for the frosting, anyway) or you may run into issues.
How to Make Whoopie Pies
While I did tweak my grandmother’s recipe for the chocolate cookie shells, I kept the filling as traditional as possible. Many recipes call for a marshmallow frosting, and some simply use a fluffy vanilla buttercream. Both are just too sweet! Instead, we’ll stick with the classic flour-based filling, which is actually pretty similar to ermine frosting, if you’ve ever made that before.
Make the roux and cookies
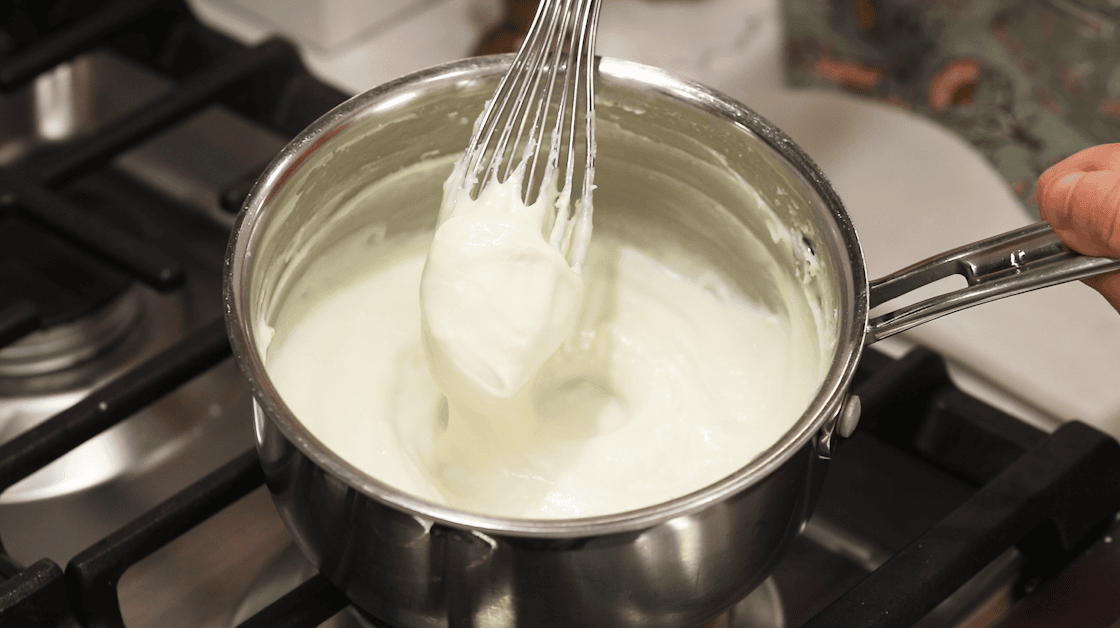
- Step 1: Prep the roux. Whisk together the flour and milk over medium-low heat until thickened, then pour into a heatproof bowl to cool completely. I recommend stirring this occasionally as it cools to prevent a skin from forming on top.
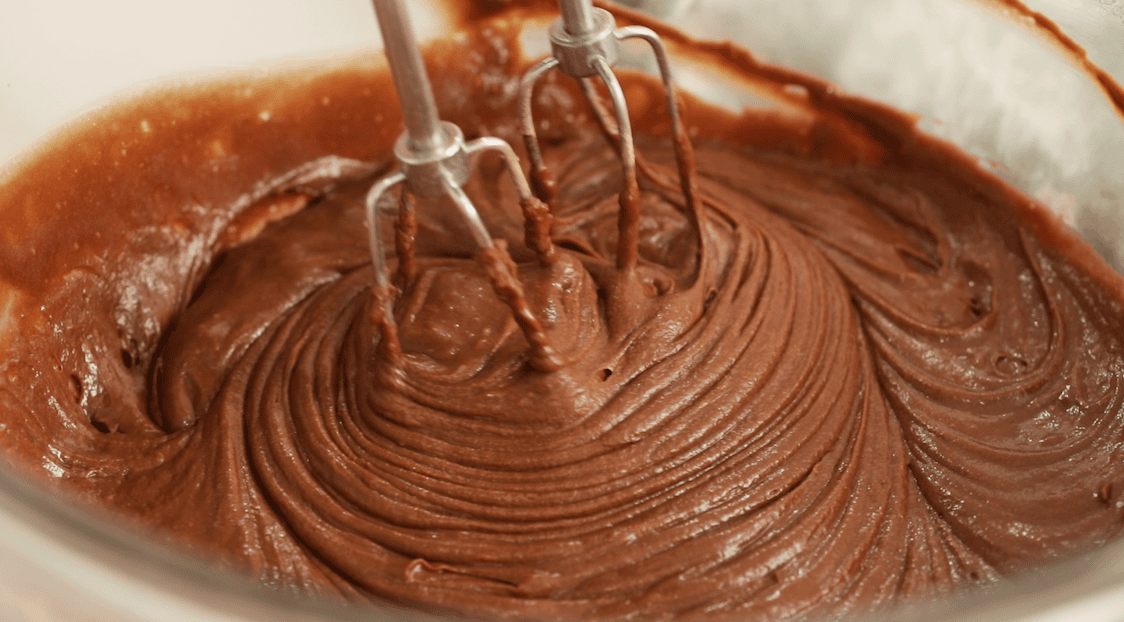
- Step 2: Make the cookie batter. Cream the butter and sugar until well combined, then stir in the egg and vanilla. Slowly pour in the buttermilk, then gradually add the dry ingredients. Carefully stir the hot water into the batter until everything is cohesive–the batter will be thin like a cake batter.
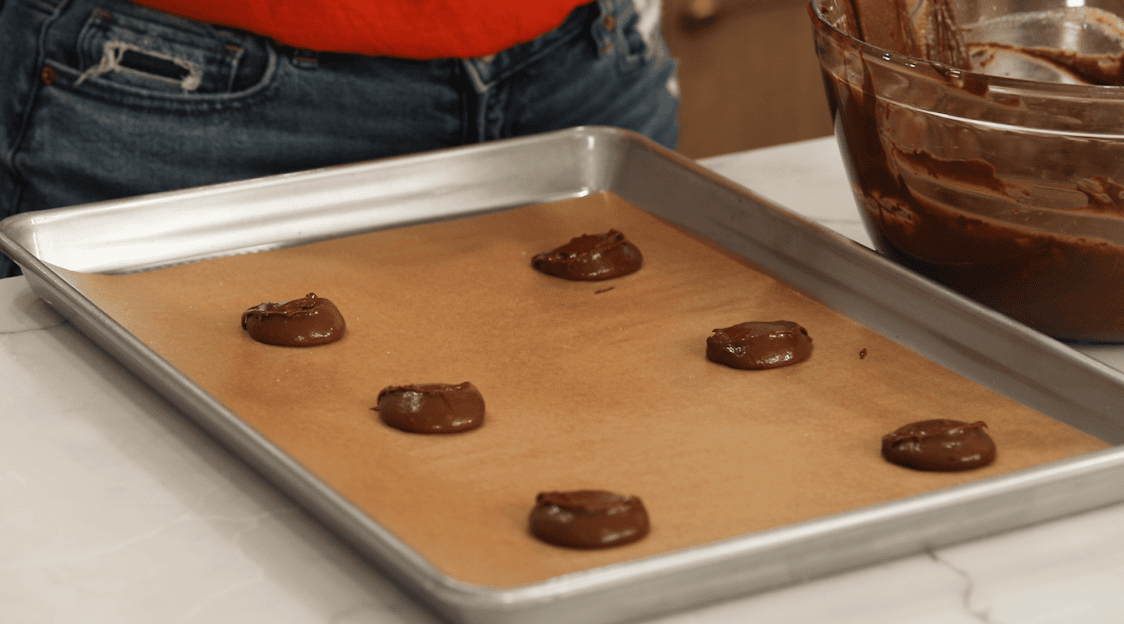
- Step 3: Portion & bake. Drop the batter onto parchment lined baking sheets using a heaping tablepsoon cookie scoop. Bake for about 5 minutes.
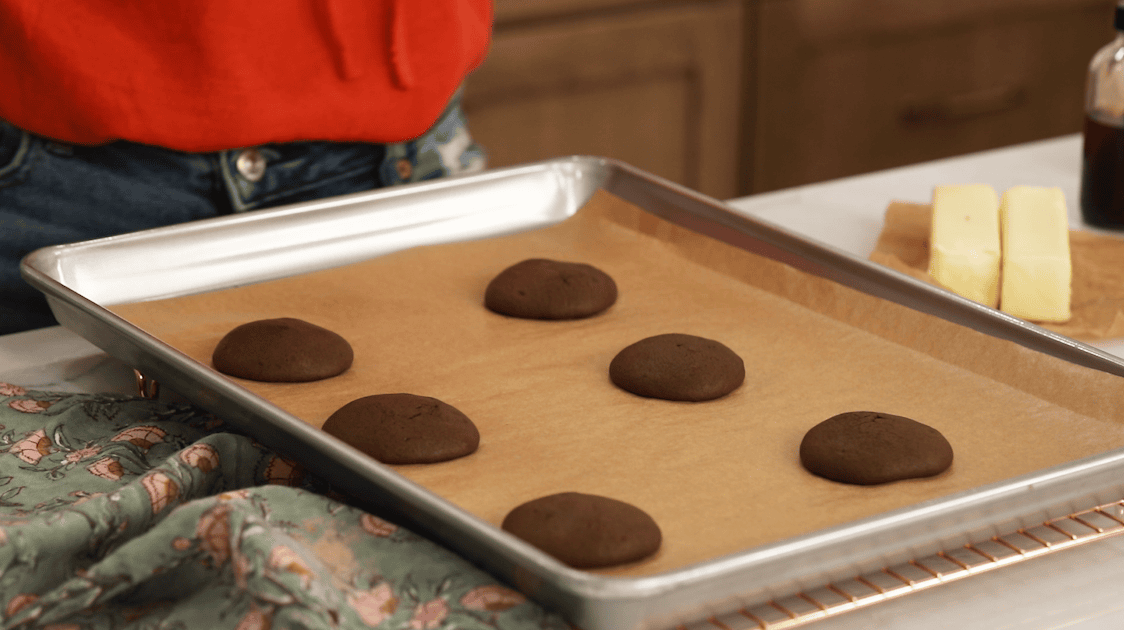
- Step 4: Cool & pair off cookies. Let the cookies cool completely on the baking sheet before removing. Pair off the cookies so you have cookies of similar size/shape together for your sandwiches.
Make the frosting
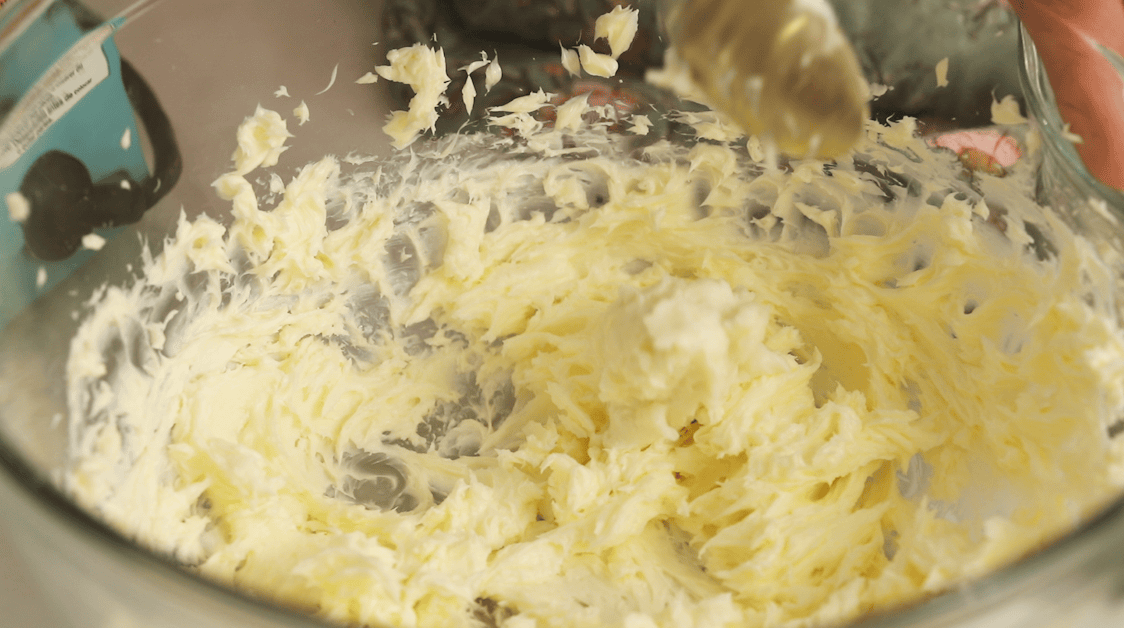
- Step 5: Add the cooled roux to the frosting. Beat the butter until smooth and creamy, then gradually add the roux about a tablespoon at a time. Stir in the salt, vanilla, and sugar until completely combined.
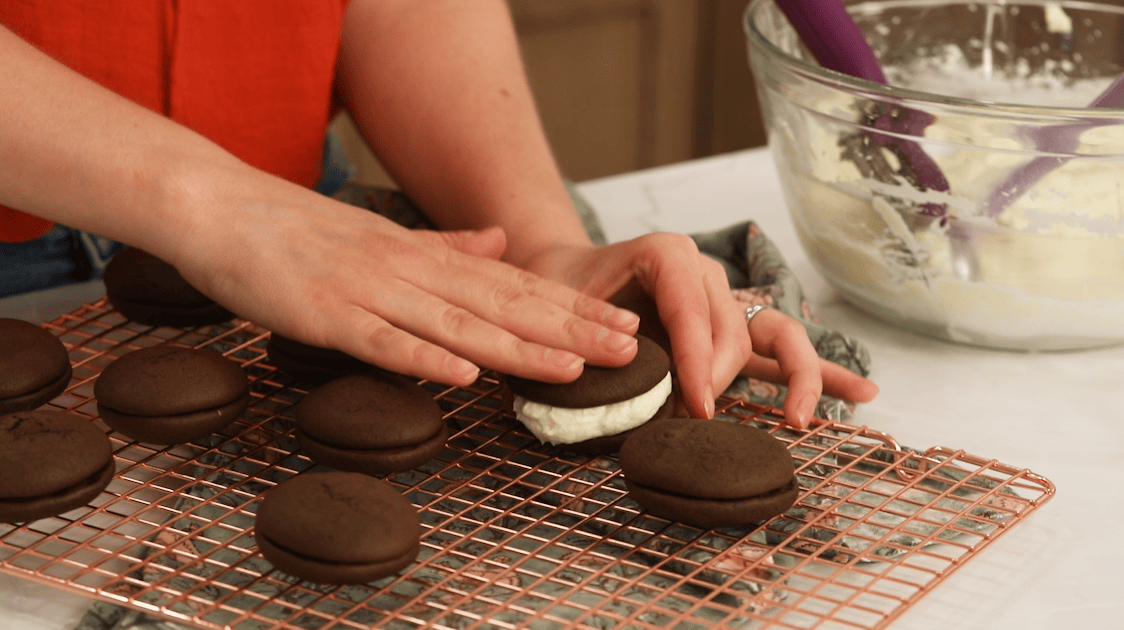
- Step 6: Assemble and serve! Add a heaping tablespoon of filling to the bottom of one cookie, then top with the second cookie. Repeat until sandwiches/pies are assembled.
SAM’S TIP: It’s very important that your butter and roux are the same temperature before you combine them. Let your butter sit out to soften (don’t let it get too warm though!) and make sure you let your roux cool completely. If your filling splits or separate, follow the tips for recovery in the recipe notes below or see the troubleshooting section in my ermine frosting.
Frequently Asked Questions
Several different states lay claim to the creation of whoopie pies, with both Maine and Pennsylvania make strong cases (as a former PA resident guess who I’m siding with).
The name “whoopie pie” is sometimes cited as having Amish origins (another vote for PA 😉), but with so many different origination stories, it’s hard to know for sure.
Yes! Just make sure you wrap them in plastic wrap or keep them in an airtight container so they don’t dry out. To thaw, let sit at room temperature until soft.
I’ve seen SO many flavors in the amish markets near me like chocolate peanut butter, pumpkin whoopie pies, mint chocolate, red velvet, shoofly pie, and more. I’ve also made a few of my own flavors, like cookie dough whoopie pies and peppermint bark whoopie pies.
More Pennsylvania-Dutch Recipes
If you like this flavor combination, give my Ding Dong cake a try next! The flavors are very similar to this recipe.
Enjoy!
Let’s bake together! Subscribe to my newsletter to be notified of all the newest recipes, and find my free recipe tutorials on YouTube 💜

Whoopie Pies
Ingredients
For the roux (for the filling)
- 1 cup (236 ml) whole milk
- ⅓ cup (42 g) all-purpose flour
For the chocolate cookie shells
- 1 cup (200 g) granulated sugar
- ⅓ cup (75 g) unsalted butter softened
- 1 large egg room temperature
- 1 teaspoon vanilla extract
- ½ cup (118 ml) buttermilk
- 2 cups (250 g) all-purpose flour
- ½ cup (50 g) natural cocoa powder
- 1 teaspoon baking soda
- ¼ teaspoon baking powder
- ½ teaspoon table salt
- ½ cup (118 ml) steaming hot or boiling water
For the filling
- Roux from above
- 1 cup (226 g) unsalted butter softened
- ¼ heaping teaspoon table salt
- 1 teaspoon vanilla extract
- 1 cup (125 g) powdered sugar
Recommended Equipment
Instructions
Prepare the roux
- Combine milk and flour in saucepan and whisk until combined. Set over medium-low heat and whisk constantly until mixture is thickened to a near paste-like consistency that wants to cling together.1 cup (236 ml) whole milk, ⅓ cup (42 g) all-purpose flour
- Remove from heat and allow to cool completely, stirring occasionally to prevent a skin from forming. Set aside while you prepare your cookies.
For the cookie shells:
- Preheat your oven to 450F (235C) and line several baking sheets with parchment paper. Set aside.
- In a large mixing bowl, combine sugar and butter and use an electric mixer to beat until well-combined.1 cup (200 g) granulated sugar, ⅓ cup (75 g) unsalted butter
- Add egg and vanilla extract and beat again until pale yellow and well-combined.1 large egg, 1 teaspoon vanilla extract
- With mixer on low-speed, gradually stir in buttermilk. Set aside.½ cup (118 ml) buttermilk
- In a separate, medium-sized bowl whisk together the flour, cocoa powder, baking soda, baking powder, and salt.2 cups (250 g) all-purpose flour, ½ cup (50 g) natural cocoa powder, 1 teaspoon baking soda, ¼ teaspoon baking powder, ½ teaspoon table salt
- Gradually add the dry ingredients to the batter until completely combined.
- Add very hot water (carefully) and stir until batter is well-combined and smooth. It will be thin like a cake batter. Use a spatula to scrape the sides and bottom of the bowl to ensure ingredients are well-combined.½ cup (118 ml) steaming hot or boiling water
- Drop cookie batter by a heaping Tablespoon onto prepared baking sheets, spacing cookies at least 2” (5cm) apart.
- Bake for 5-6 minutes in center rack of 450F (235C) preheated oven, then remove from oven and allow to cool completely before removing from baking sheet. As the cookies cool, prepare your filling.
For the filling
- Important note: The roux must be completely cooled before proceeding.
- Place butter in a large mixing bowl (or the bowl of a stand mixer) and use an electric mixer to beat until smooth, light, and creamy.1 cup (226 g) unsalted butter
- While mixing on medium/low speed, add the flour mixture, a Tablespoon at a time, waiting until each spoonful is incorporated before adding the next.Roux
- Scrape sides and bottom of bowl and stir in salt and vanilla extract.¼ heaping teaspoon table salt, 1 teaspoon vanilla extract
- Gradually stir in powdered sugar until completely combined.1 cup (125 g) powdered sugar
- Pipe or spoon filling onto the bottom of one chocolate cookie and sandwich with another (about 1 ½ Tablespoon of filling per cookie). Enjoy!
Notes
Nutrition
Nutritional information is based on third-party calculations and should be considered an estimate only. Actual nutritional content will vary based upon brands used, measuring methods, cooking method, portion sizes, and more.
I originally published this recipe in March of 2019. I’ve since updated the post to include more helpful information, added a video tutorial, and slightly modified the recipe to use all butter and no shortening (which I think improves texture and flavor).






T
Hi! How can you leave this out at room temp when there is so much milk in the filling? Can you explain for me? Thanks!!
Sam
The filling is cooked so it’s ok at room temperature. If you feel uncomfortable you can certainly refrigerate them. 🙂
Johnny Bravo
While the recipe provided by Sam is a good representation of a ‘Gob’, her historical knowledge is lacking as she couldn’t be more wrong in stating that there is no difference between whoopie pies and Gobs. There is a very distinct difference, which is in the icing used. The marshmallow based filling is a referred to as a whoopie pie and has its origins in eastern PA, whereas the flour based filling is a ‘gob’ and its origins are from western PA — Johnstown, PA to, more specifically.
Gayle Heideman
Do you have a recipe for a non-chocolate whoopie pie? yellow cake, white cake, ginger cake, banana cake, etc? (to still go with marshmallow cream filling) I’ve made your gingerbread Cookie Bars and they are great. I thought perhaps you can help me again. I checked your website but nothing. fingers crossed!
Sam
Hi Gayle! I do have a pumpkin whoopie pie! Perfect for this time of year. 🙂
Gayle Heideman
not a lover of pumpkin. do u think i could do this with sweet potato puree (is there such a thing?). if so, what spices to use? your recipe calls for pumpkin pie spice.
Sam
Unfortunately without having tried it, I can’t really say how to do it. 🙁
Angelique W
Quick question, I’m looking for a cookie sized gob recipe..what size do these end up being? I’m looking for.. about 2-3 inch size? I have made the ding dong cake before, and the filling is ahhhhmazing! Thanks!!
Sam
Hi Angelique! You can see them pretty well in the video. I would say they are a cookie size, probably about 3 inches wide. 🙂
Rusty
I altered it a bit using honey instead of sugar and coconut oil instead of crisco. I thought it was amazing. Much better taste than those overly sweet commercially made versions.
Emily @ Sugar Spun Run
We’re so happy they turned out nicely for you, Rusty 😊
Rhonda Gallaher
Can you double this recipe safely?
Sam
Hi Rhonda! You shouldn’t have any issues doubling this recipe. 🙂
Sharon
Hi there, is it possible to make these with a peanut butter filling? If so, how would you modify? Thank you so much! These were a childhood favorite growing up!
Sam
Hi Sharon! You can fill these with my peanut butter frosting. 🙂
Emily
hi, would substituting European unsalted butter work for the frosting?
Sam
I love using European butter when baking. 🙂
Sharon
Thank you so much! I cannot wait to make these!
Gale
I’m not sure what I did wrong, but the cookies did not come out smooth and rounded. The tops were crinkly but still had a cake-like texture. I’ve used other Whoopie pie recipes and have no issue.
Sam
Hi Gale! Crinkles aren’t necessarily a bad thing. Sometimes if a little extra flour gets in it can cause this.
Marie
I make this recipe often to donate to the local fire company bake sale. I always get lots of compliments. I have used both buttermilk and the buttermilk substitute. Both work well.
Karen Grim
I was so happy to find this recipe! Pittsburgh region growing up. This is exactly my grandmother’s recipe for GOBS! How we grandchildren loved her for making them! Grandma used BlueBonnet or Imperial margarine in the filling. Once you whip it enough it whitens. I smiled when i saw the flour paste base and the buttermilk in the chocolate cookie, then I knew i found “the recipe”! You are a blessing! Thank you.
Sam
I’m so glad you enjoyed them so much, Karen! 🙂
Sharon
Can this be made as a cake instead of cookies?
Sam
I wouldn’t make it as a full cake, you might be interested in my ding dong cake, though, the idea is similar and the filling is the same 🙂
Ann Brennan
Thank you Sam!!! You brought a lot of joy to our family. Continued success to you!
Melissa
Want to be sure that 450 degrees for only 5 minutes is correct. I was thinking the cake would need longer in the oven.
Sam
Hi Melissa! Yes it’s only 5 minutes at 450. They are relatively thin so bake quickly. 🙂
Melissa
Thank you for your reply, Sam!
Angela Eldridge
I have been making a similar version from my family for years. Do you know how long the dough will last in the fridge before baking. We have guests coming in a few days a part and I wanted to make a large batch of dough and just bake half now and then again in 5 days? I am not as pleased with freezing? Or I could bake all the cookies and freeze them and make a small batch of filling on the day I pull them out. Thoughts?
Sam
Hi Angela! I would be very hesitant to save the dough that long in the refrigerator. The safer route would be to freeze them. You could even bake, assemble and then freeze them. 🙂
Alexa
I would love to make a vanilla version. Could you suggest some tweaks I’d make to achieve this? We have made your pies like 20 times, thank you for your amazing recipes! 😊
Sam
Hi Alexa! Without having tried it, it’s going to be tough to say exactly how to do it. 🙁
Alyssa
You might want to specify to use liquid buttermilk. It didn’t say so I assumed it was powdered buttermilk and the mix is SUPER thick. Just a suggestion!
Emily @ Sugar Spun Run
Hi Alyssa! If you check the container for your buttermilk powder, it will tell you how much water to add to equal liquid buttermilk. The dry powder isn’t meant to be used by itself, which is why you had issues here, unfortunately 🙁 Hope that helps!