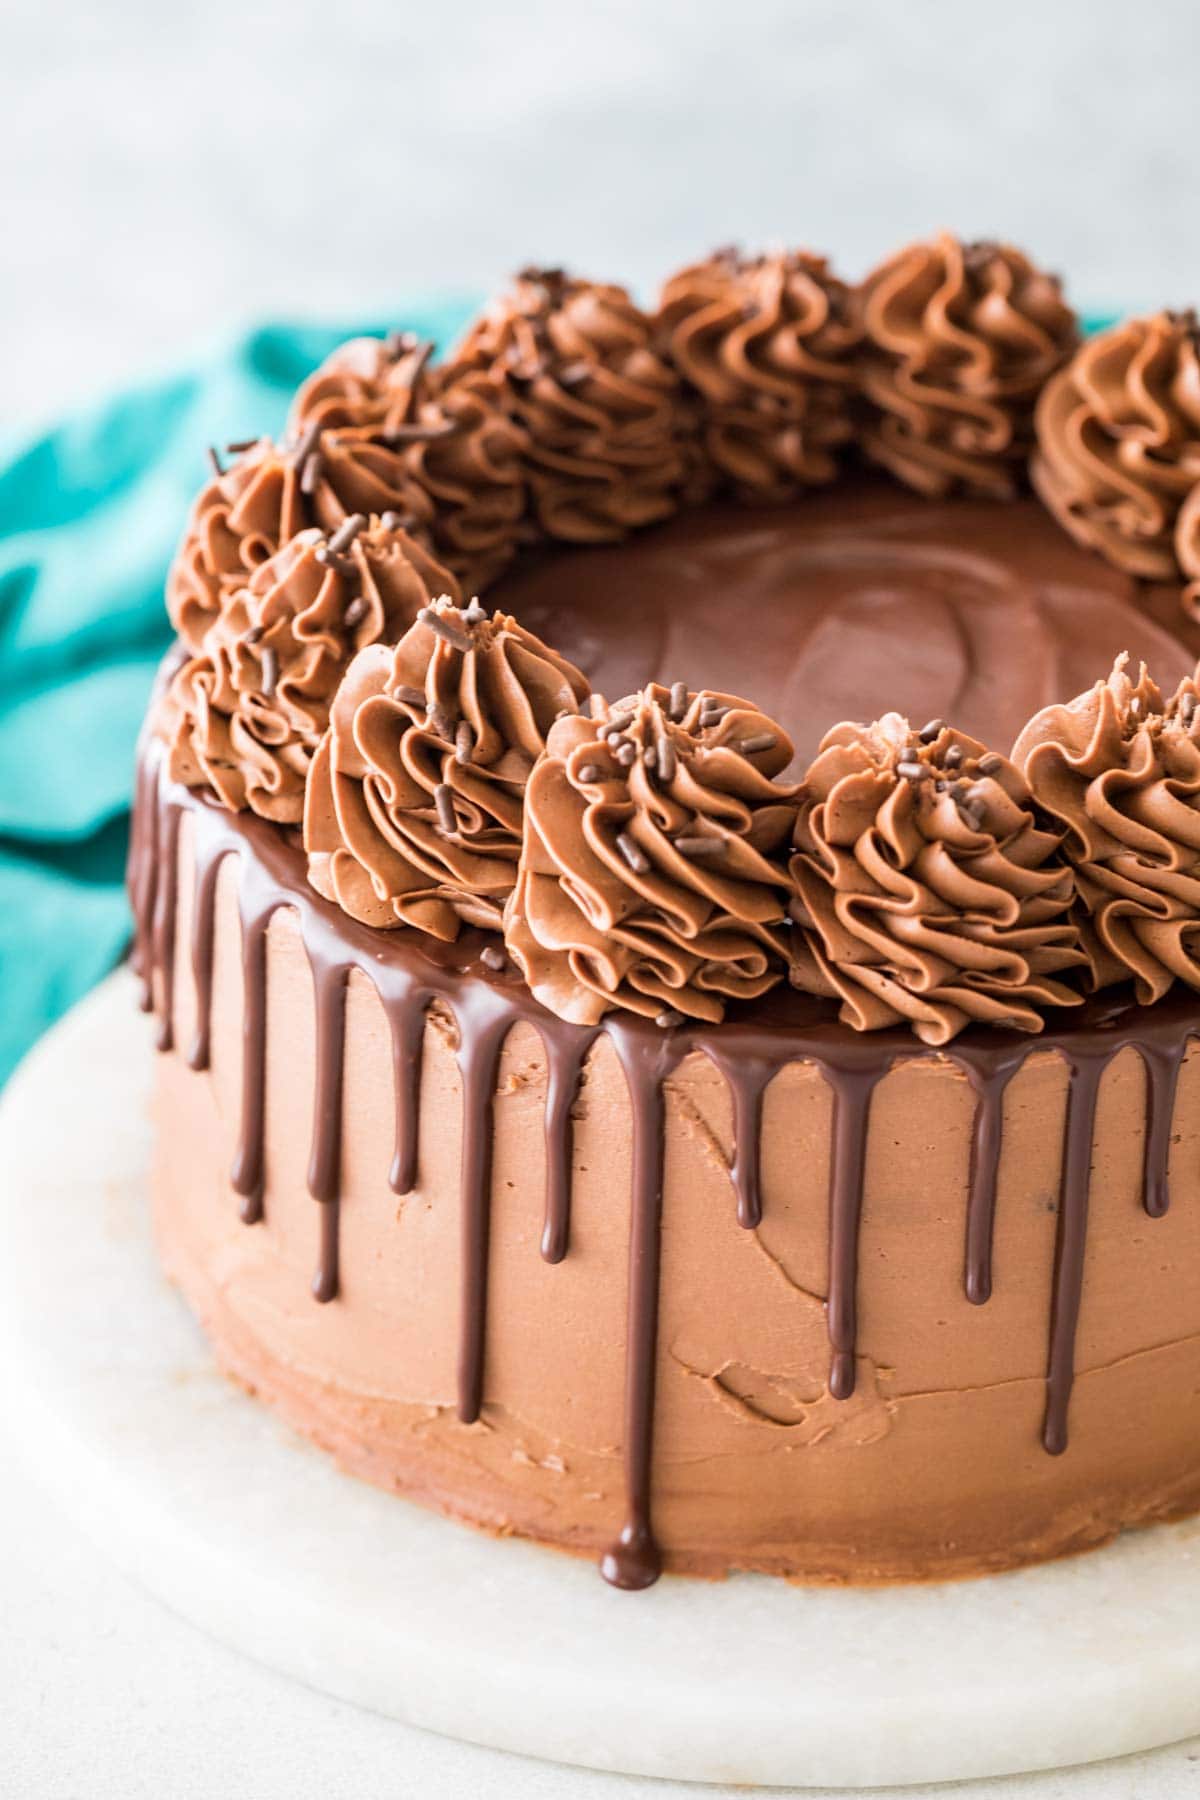
While it may look complicated, adding a chocolate drip to your cake is actually SO simple! Today I’ll be walking you through the process using my favorite ganache drip recipe. Includes a how-to video!
Instantly (And Easily!) Elevate Your Cake
Have you ever admired the silky, tidy chocolate drip on a professional cake, but felt too intimidated to try it yourself? I’ll let you in on a little secret…it’s actually easy to do!
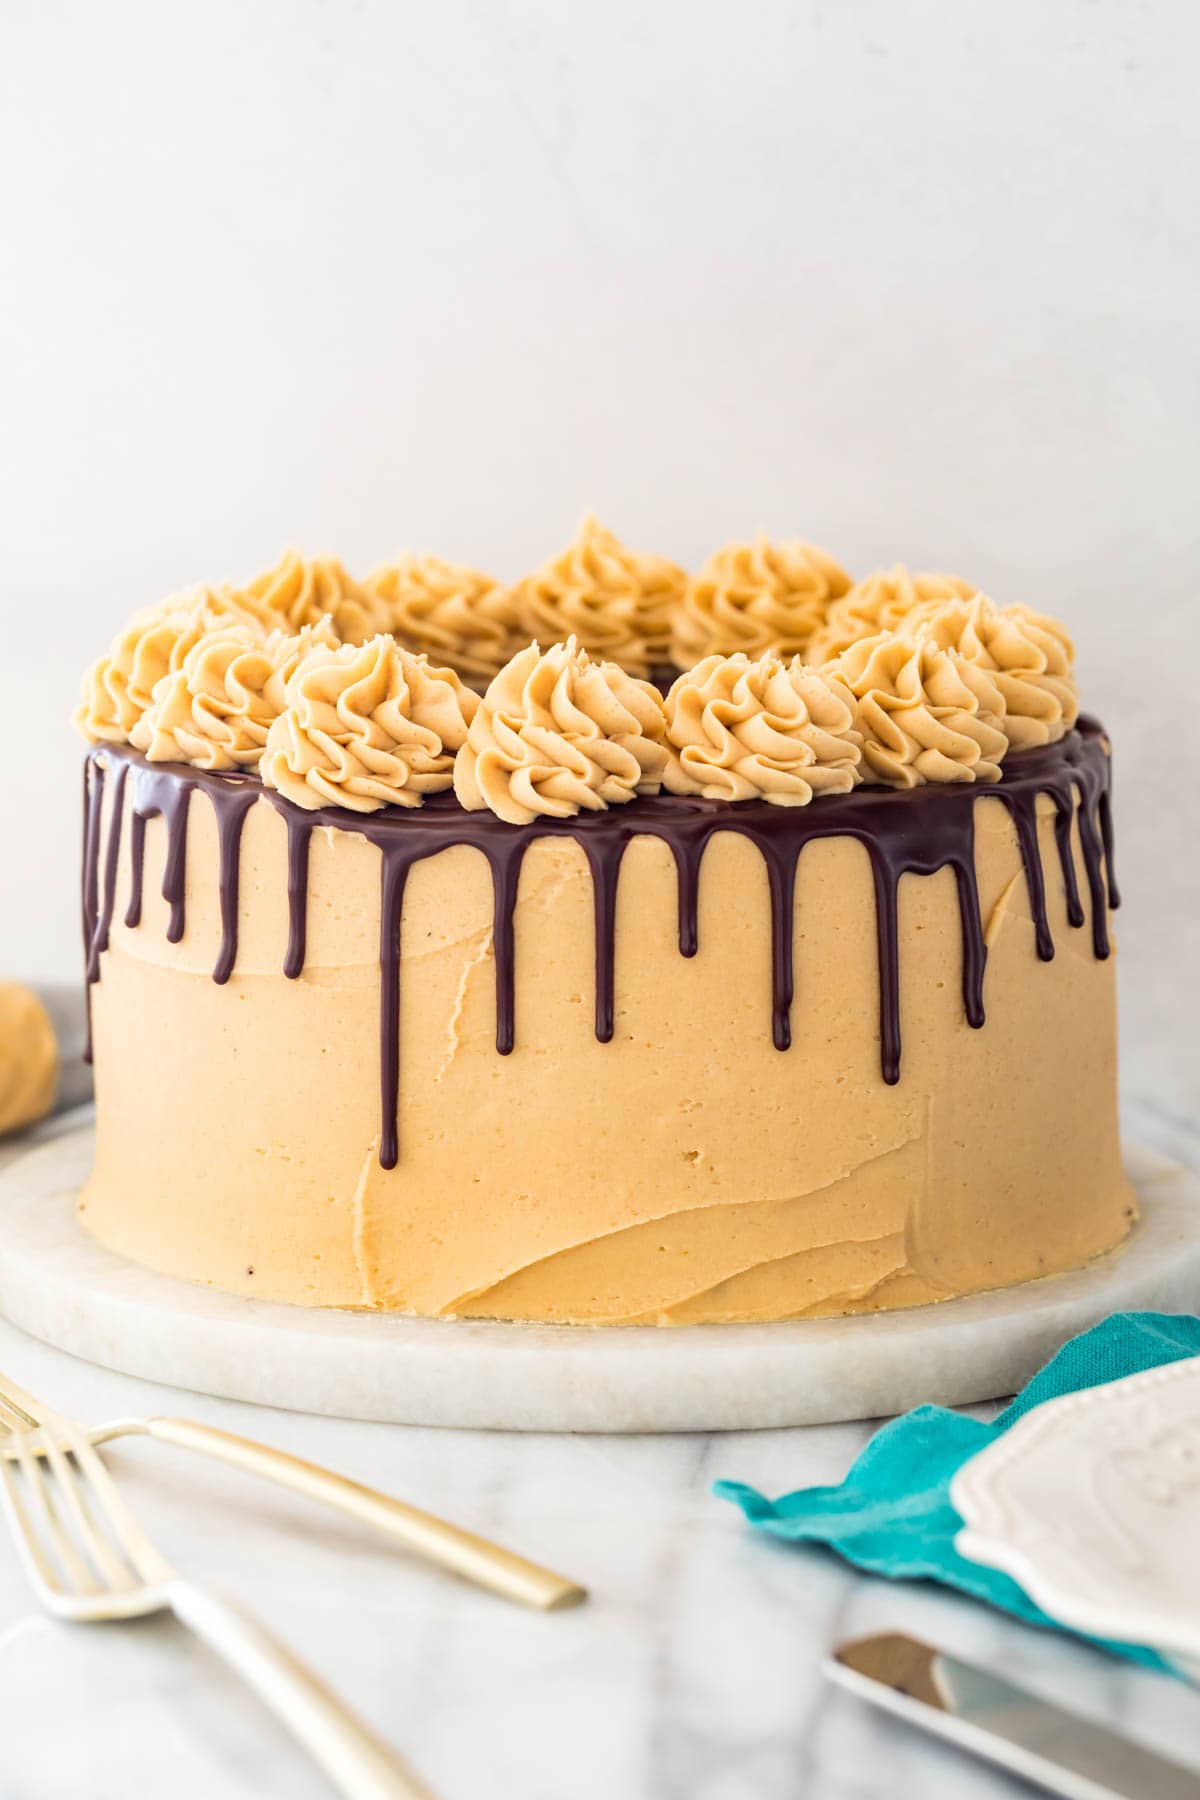
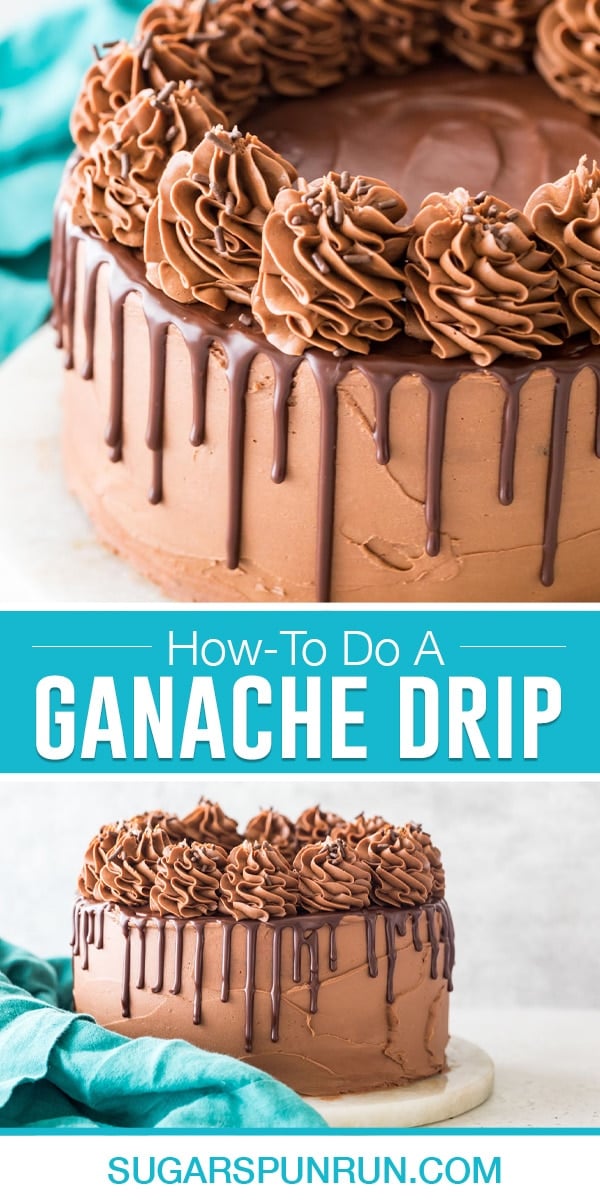
Adding a ganache drip is an easy way to transform a simple cake into something special. It elevates the look of a cake and gives it a professional feel. I’ve added a chocolate drip to my peanut butter chocolate cake and my cheesecake stuffed chocolate cake, and I love how it makes the cakes look as decadent as they taste (to really take things to the next level, pipe thick swirls of frosting over the top after the ganache firms up!).
We’ll be using a half a batch of my chocolate ganache recipe for the ganache drip. This recipe has always been more than enough for a 2-layer 8” or 9” cake, and it will make enough chocolate drip for a 3-4 layer cake or even a 10” round cake. If you do have extra ganache, save it and definitely don’t use all of it if you don’t need to.
If I can do it, you can do it, so let’s get to it!
What You Need
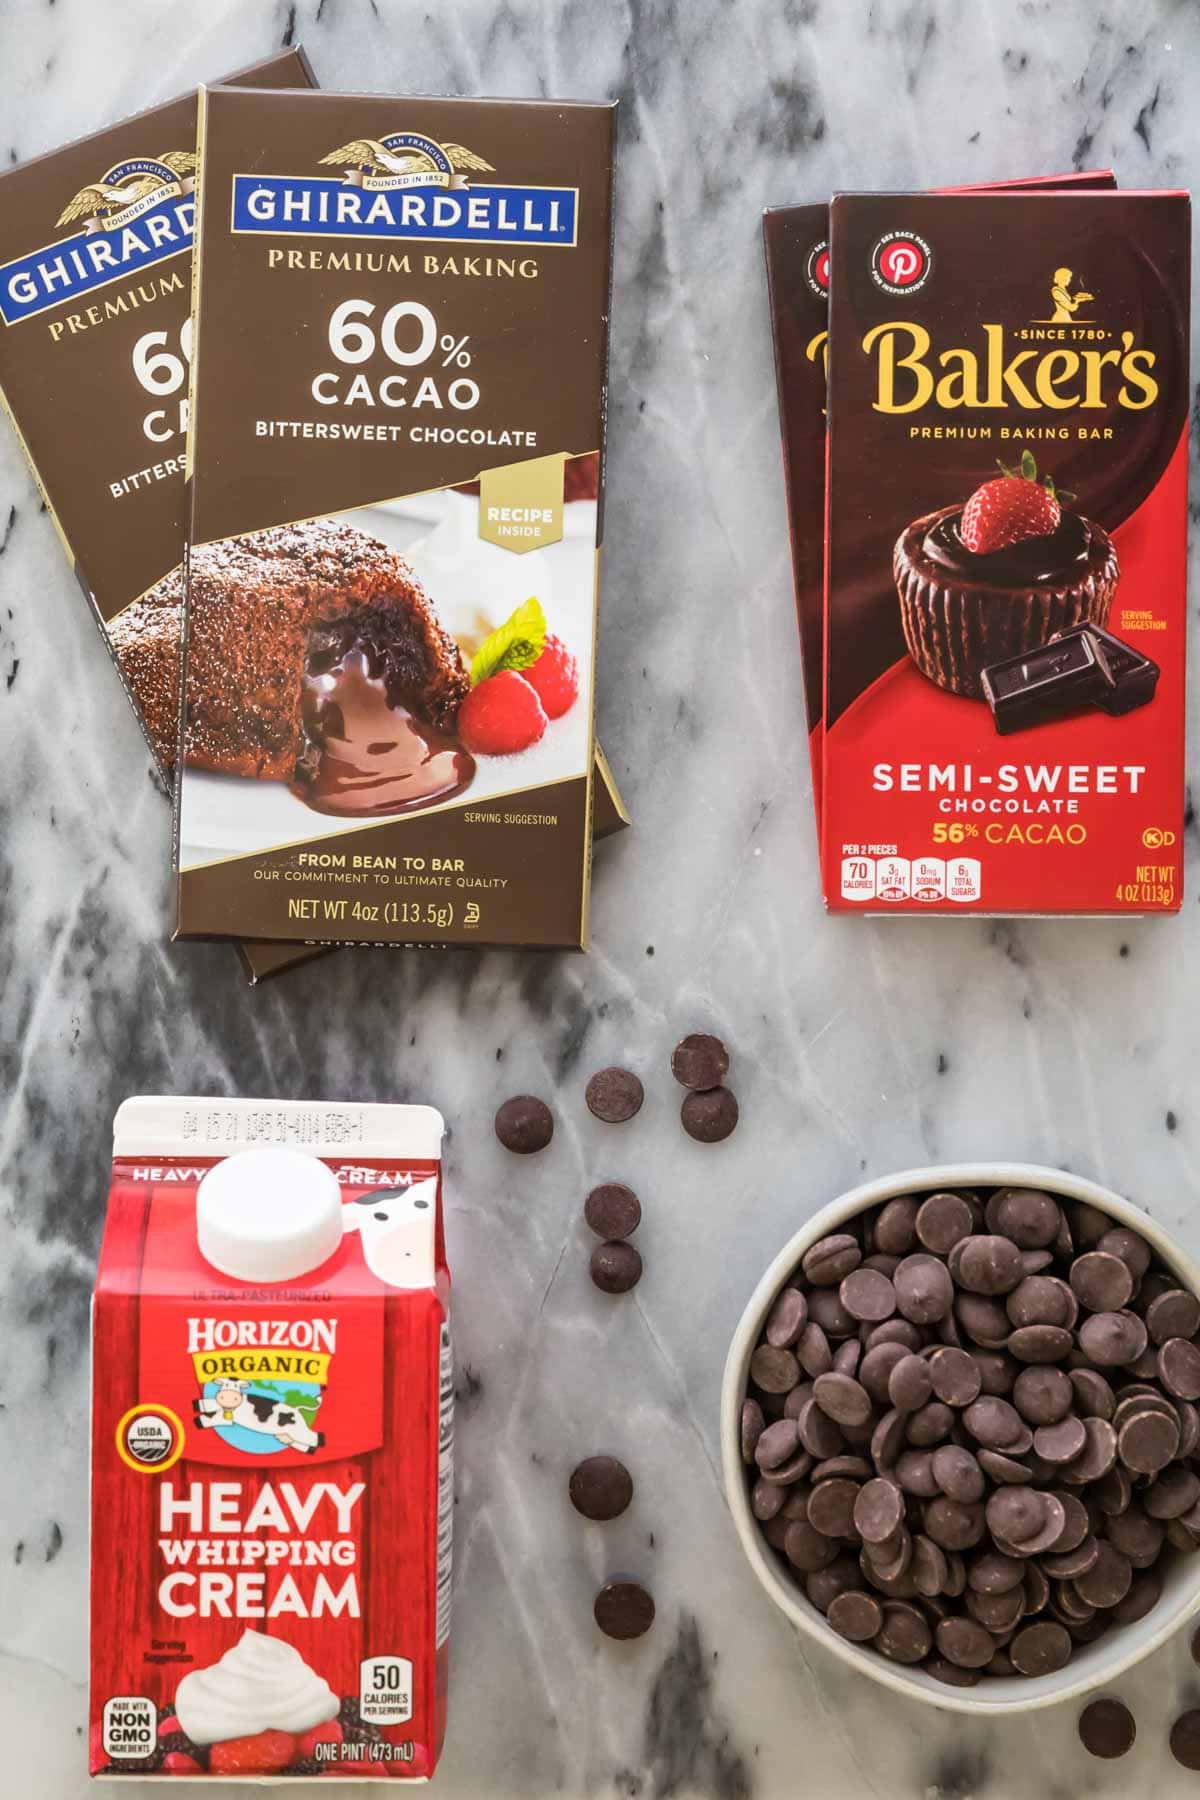
Ganache drips require very few ingredients to make. Here’s what you need:
- A leveled & frosted cake. A level cake looks much better with a chocolate drip than a rounded one, so it’s best to level your cake before frosting and assembling (here is the cake leveling tool I use for my cakes!). You’ll also want to get your icing as smooth as possible and chill the cake before beginning.
- Chocolate. Use semisweet, bittersweet, or dark chocolate. I prefer using a chopped chocolate bar for my chocolate drip, but chocolate chips can work too!
- Cream. Heavy cream, double cream, or whipping cream will work.
SAM’S TIP: Chill your cake for at least 15 minutes in the fridge or freezer before adding your chocolate drip! This will help the ganache firm up and set as it drips down.
Remember, this is just an overview of the ingredients I used and why. For the full recipe please scroll down to the bottom of the post!
How to Do a Chocolate Drip on a Cake
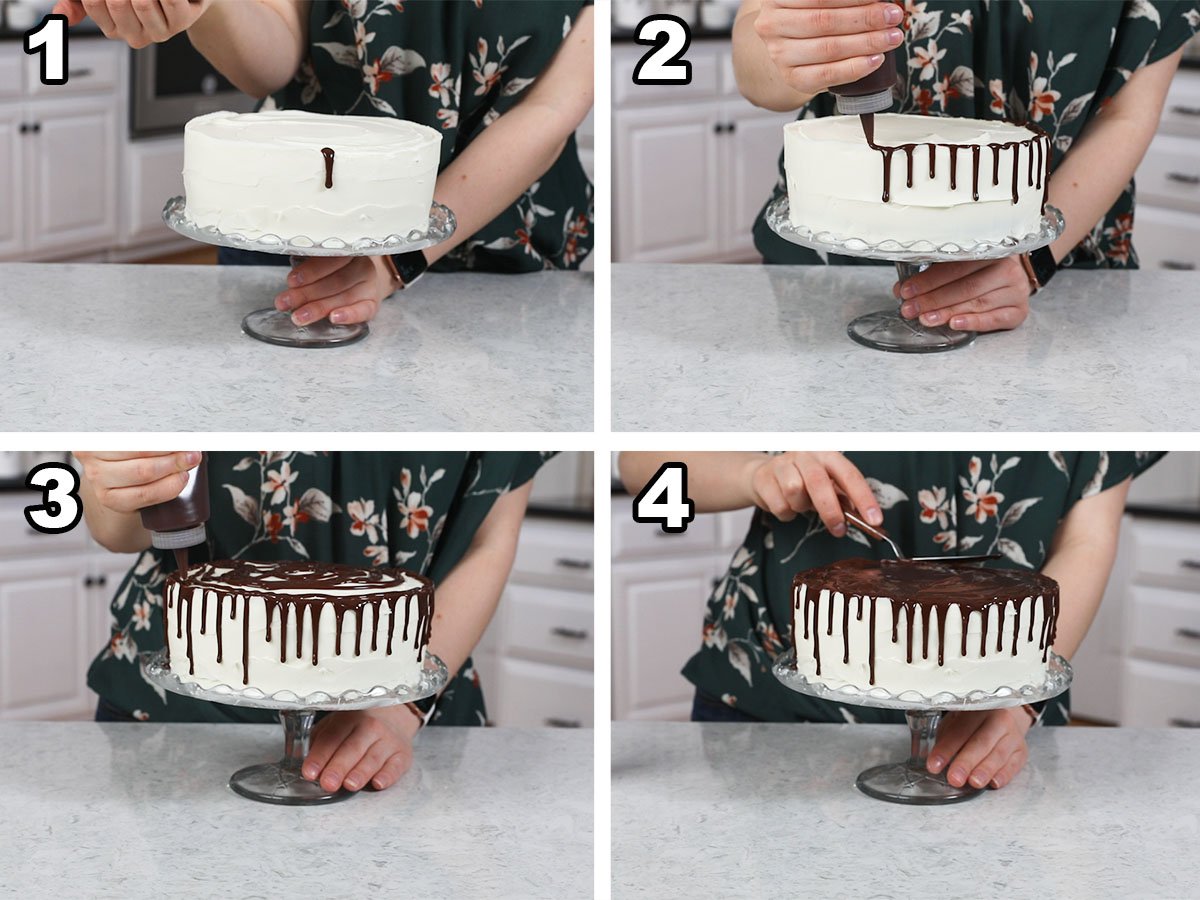
- Squeeze one bead of ganache on the top edge of your cake and gauge how quickly/slowly it drips down before proceeding.
- Continue squeezing beads of ganache around the perimeter, spacing about 1 centimeter apart and varying the lengths of the chocolate drips if desired.
- Drizzle ganache over the entire top of the cake (this part doesn’t have to look pretty!).
- Smooth the ganache on top of cake with an offset spatula.
SAM’S TIP: To test whether your ganache is ready to drip, squeeze a drop onto a paper plate and immediately hold the plate vertically to allow the chocolate to drip down. If the chocolate drip quickly runs down the plate, your ganache isn’t ready. If it runs slowly and then stops before reaching the bottom, you can begin adding your ganache drip!
Frequently Asked Questions
Yes! In fact, buttercream is probably the best icing to use for a chocolate drip because it’s so sturdy. Most of my other icings will work too, but I wouldn’t recommend doing a ganache drip over whipped cream frosting (not unless you freeze it first and make sure the ganache is very cool) since it’s so delicate.
I wouldn’t say it hardens, but it does become quite firm. A ganache drip will never harden the way plain melted chocolate will; instead, it will set to a glossy, fudge-like consistency.
Yes! Do NOT skip this step or you will have a complete mess on your hands when adding your chocolate drip. Follow the steps I mention in this post to test whether your ganache is cool enough before dripping.
Yes! Follow the preparation instructions for making a white chocolate ganache in my chocolate ganache post, then proceed as written here.
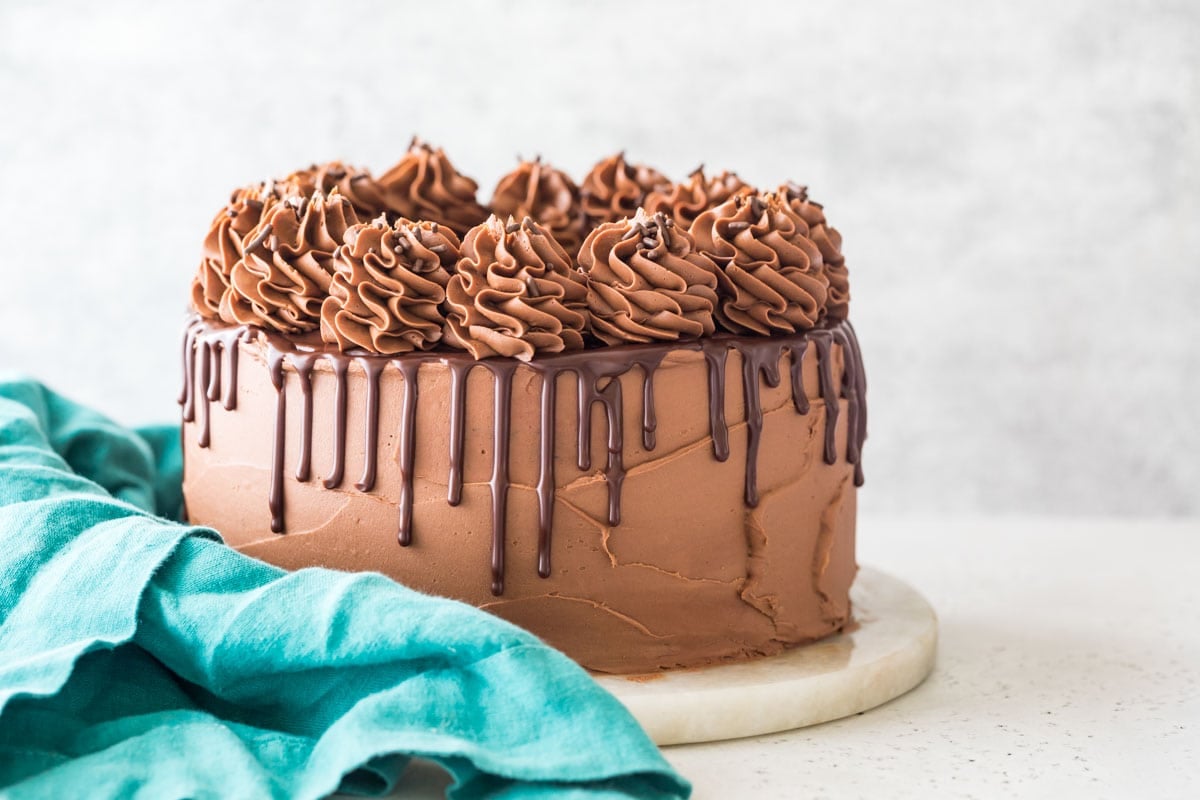
Did you enjoy today’s chocolate drip tutorial? Let me know in the comments if you’d like to see more posts like this one.
Let’s bake together! I’ll be walking you through all the steps in my written recipe and video below! If you try this recipe, be sure to tag me on Instagram, and you can also find me on YouTube and Facebook
How to do a Chocolate Drip on a Cake
Ingredients
- 4 oz (113 g) semisweet or dark chocolate bar coarsely chopped (may substitute chocolate chips)
- ½ cup (118 ml) heavy cream
Recommended Equipment
- Frosted Cake
- Heatproof bowl
- Aluminum foil
Instructions
Preparation
- Begin with a (preferably level) frosted cake. The icing should be as smooth as possible. Place the cake, uncovered, in the refrigerator so the frosting can harden a bit.
- Meanwhile, prepare the ganache by placing the chopped chocolate in a medium-sized heatproof bowl.4 oz (113 g) semisweet or dark chocolate bar
- Pour the cream in a saucepan and bring just to a simmer, then immediately remove from heat and pour evenly over the chocolate. Cover with foil and let sit, undisturbed for 5 minutes. Once 5 minutes has passed, remove foil and gently stir until chocolate is completely melted and mixture is smooth. Allow ganache to cool for 15 minutes before pouring into a squeeze bottle (it should, at most, feel only slightly warm to the touch).½ cup (118 ml) heavy cream
- Do a test before decorating your cake! I like to use a paper plate but a cardboard box would work as well. Drop a small bead of ganache on the surface and then turn vertically to allow the bead to drip. If the chocolate runs too fast or runs completely off the plate, it’s still too warm, cool a bit longer! If it is manageable, remove your cake from the refrigerator.
Decorating
- Hold squeeze bottle vertically and drop a single bead of ganache on the very edge of the top of the cake. Squeeze the bottle until the bead drizzles over the edge and begins to drip down the side of the cake.
- Pause and assess! If your ganache is too thin and runs all the way to the bottom of the cake, let it cool longer. If you squeezed too much chocolate and it went all the way to the bottom, simply know to squeeze less next time. If the ganache didn’t go as far as you wanted it to, simply squeeze a bit more.
- Draw a line along the top of the cake to the next point where you’d like your next drip to be (typically only a few centimeters!). Repeat the above step, squeezing another bead of ganache over the edge of the top of the cake.
- Continue to go around the edge, varying the length of the drips as desired. Once you have dripped ganache all the way around the cake, drizzle a thin layer of ganache over the surface of the cake. Use an offset spatula to spread it evenly.
- Return cake to the refrigerator for about 15-20 minutes to allow ganache to set. If desired, top with swirls of frosting on top the set ganache.
Notes
Squeeze bottle alternative
A Ziploc bag with a corner snipped off could be used if you don’t have a squeeze bottle, but it is a bit more difficult to have precise drips this way. You could also drip the ganache off a spoon, but again this takes a bit more practice to do well.Cake decorating tools
You can find all of my favorite cake decorating tools at Amazon shop “For the Cake Baker & Decorator”Nutrition
Nutritional information is based on third-party calculations and should be considered an estimate only. Actual nutritional content will vary based upon brands used, measuring methods, cooking method, portion sizes, and more.

Sophia
Can I pre-make the ganache to add to a cake the next day? Planning on making and bringing some for my baking class, where the final is making and decorating a tiered cake.
Sam
Hi Sophia! It’s tricky to reheat so I recommend using it when it’s made. 🙁
Martha
Such a fun and easy way to decorate a cake! Will be trying soon!
Sam
I hope you love it! 🙂
C
Question, i saw so many photos of patterned cakes with drip but after watching your video you mentioned it has to be smooth for the drip to go on properly. This will be my first attempt so not sure what to do. Can a cake be patterned with a scraper (I.e ribbed) then apply drip?
Sam
It won’t roll down the side quite as nicely.
Lizzie Sinnett
Hello, can I do this on Swiss meringue buttercream or a cream cheese/mascarpone frosting ?
Sam
Hi Lizzie! It will work on a swiss meringue, but you will want to chill the cake first. If you are using my cream cheese frosting you will want to chill it a little bit before using. If the frosting your are using is softer and fluffier it could cause some issues. 🙂
Sharon
That’s great work for beginners and those who want to prefect their skills
Sam
Thank you Sharon! 🙂
Ben
Hello! I’ve made this recipe for ganache (and others) a couple times before, but no matter what recipe I use, the ganache always ends up too thick after I’ve combined everything. The chocolate melts easily into the cream when I stir them together, but the problem is when I get the ingredients completely combined, the ganache is thick and spreadable. Could it be that the cream is too hot and is causing the ganache to split?
Thank you!
Sam
Hi Ben! Is it splitting? It would look separated and not smooth if so. If it’s not split, what type of chocolate are you using to make it?
Ben
I used 60% Ghirardelli chocolate chips.
Judy
I’m not an experienced baker, but read your question and wondered if simply adding a drop or few drops of liquid called for in the ganache? Just a thought. Mary will have the answer to my suggestion, I’m sure!!