
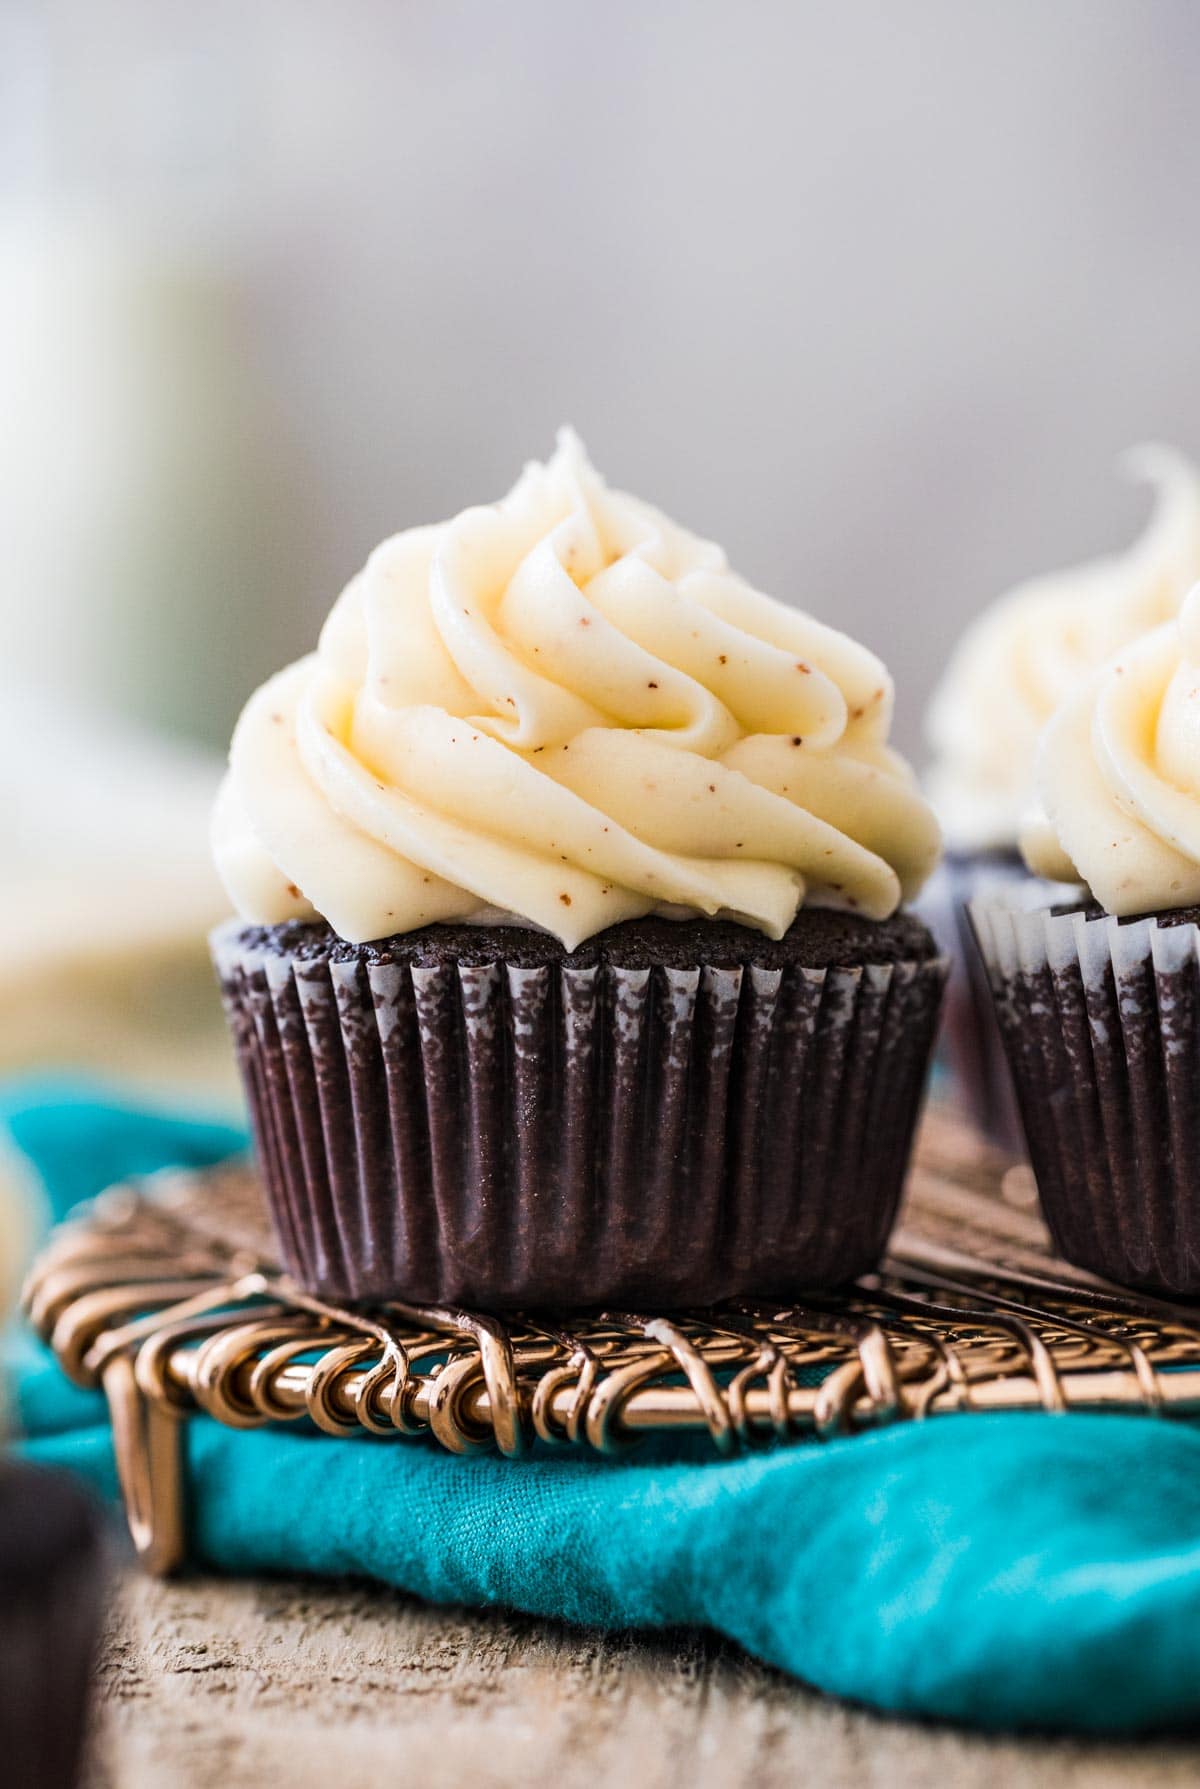
How to Brown Butter (with Video!)
This post may contain affiliate links. As an Amazon Associate I earn from qualifying purchases. Please read my disclosure policy.

Today I’m sharing a simple tutorial on How to Brown Butter in less than 10 minutes! Add it to your favorite baking and cooking recipes for instantly elevated flavor. Includes a how-to video!
A Baker’s Liquid Gold
If you’ve never browned butter before, you are in for a treat! This French technique is not only quick and easy to do, but it also makes your kitchen smell amazing and adds tremendous flavor to any dish. I love incorporating it into my toffee cookies to complement their toffee flavor, but don’t count it out for savory recipes, too — it’s also a key component in my garlic butter shrimp!
Brown butter (or “browned butter”) is simply butter that has been cooked until the milk solids are toasted to a nutty, golden brown color. At the same time, we’re cooking out most of the water (and American butter typically contains about 20% water, so there’s quite a bit to cook out!). This is often done on the stovetop and takes just a few minutes to do.
This technique is simple, but it does require a watchful eye and near-constant stirring–so stay diligent! I’m also including several tips and a how-to video to make sure you’re successful.
Let’s get into it!
What You Need
You only need one ingredient (and it doesn’t have to be fancy!):
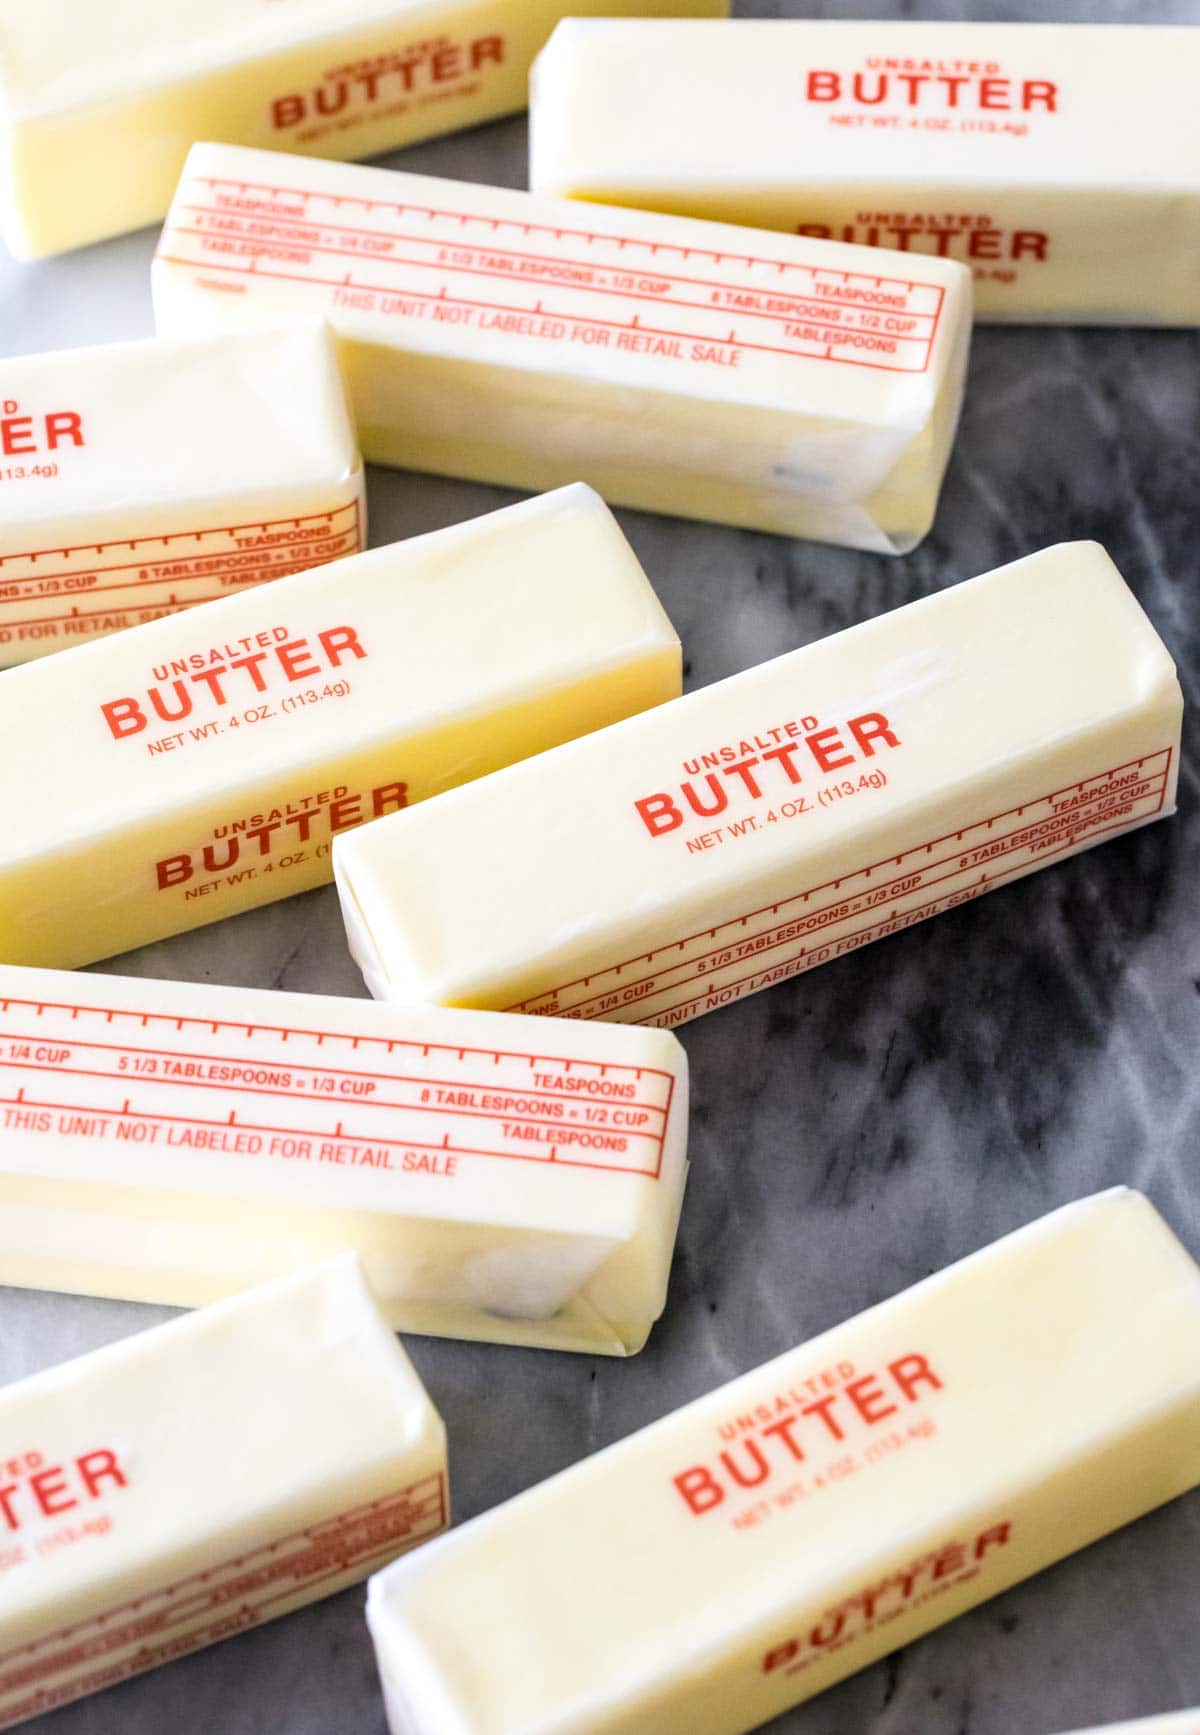
- Butter: The type of butter you need depends on your recipe. If your recipe doesn’t specify, I generally recommend using unsalted butter and adding salt separately. If you’re simply making browned butter for a dipping sauce for veggies or meats, salted butter is best.
SAM’S TIP: I recommend using a light-colored saucepan so you can see when your butter actually starts to turn brown. Using a dark-colored pan isn’t impossible, but it will make the process more difficult and could lead to burned butter.
Remember, this is just an overview of the ingredients I used and why. For the full recipe please scroll down to the bottom of the post!
How to Brown Butter
- Melt butter in a light-colored saucepan over medium-low heat (don’t bump up the heat to speed up the process, as my mom always says, “haste makes waste” and that’s so true here!).
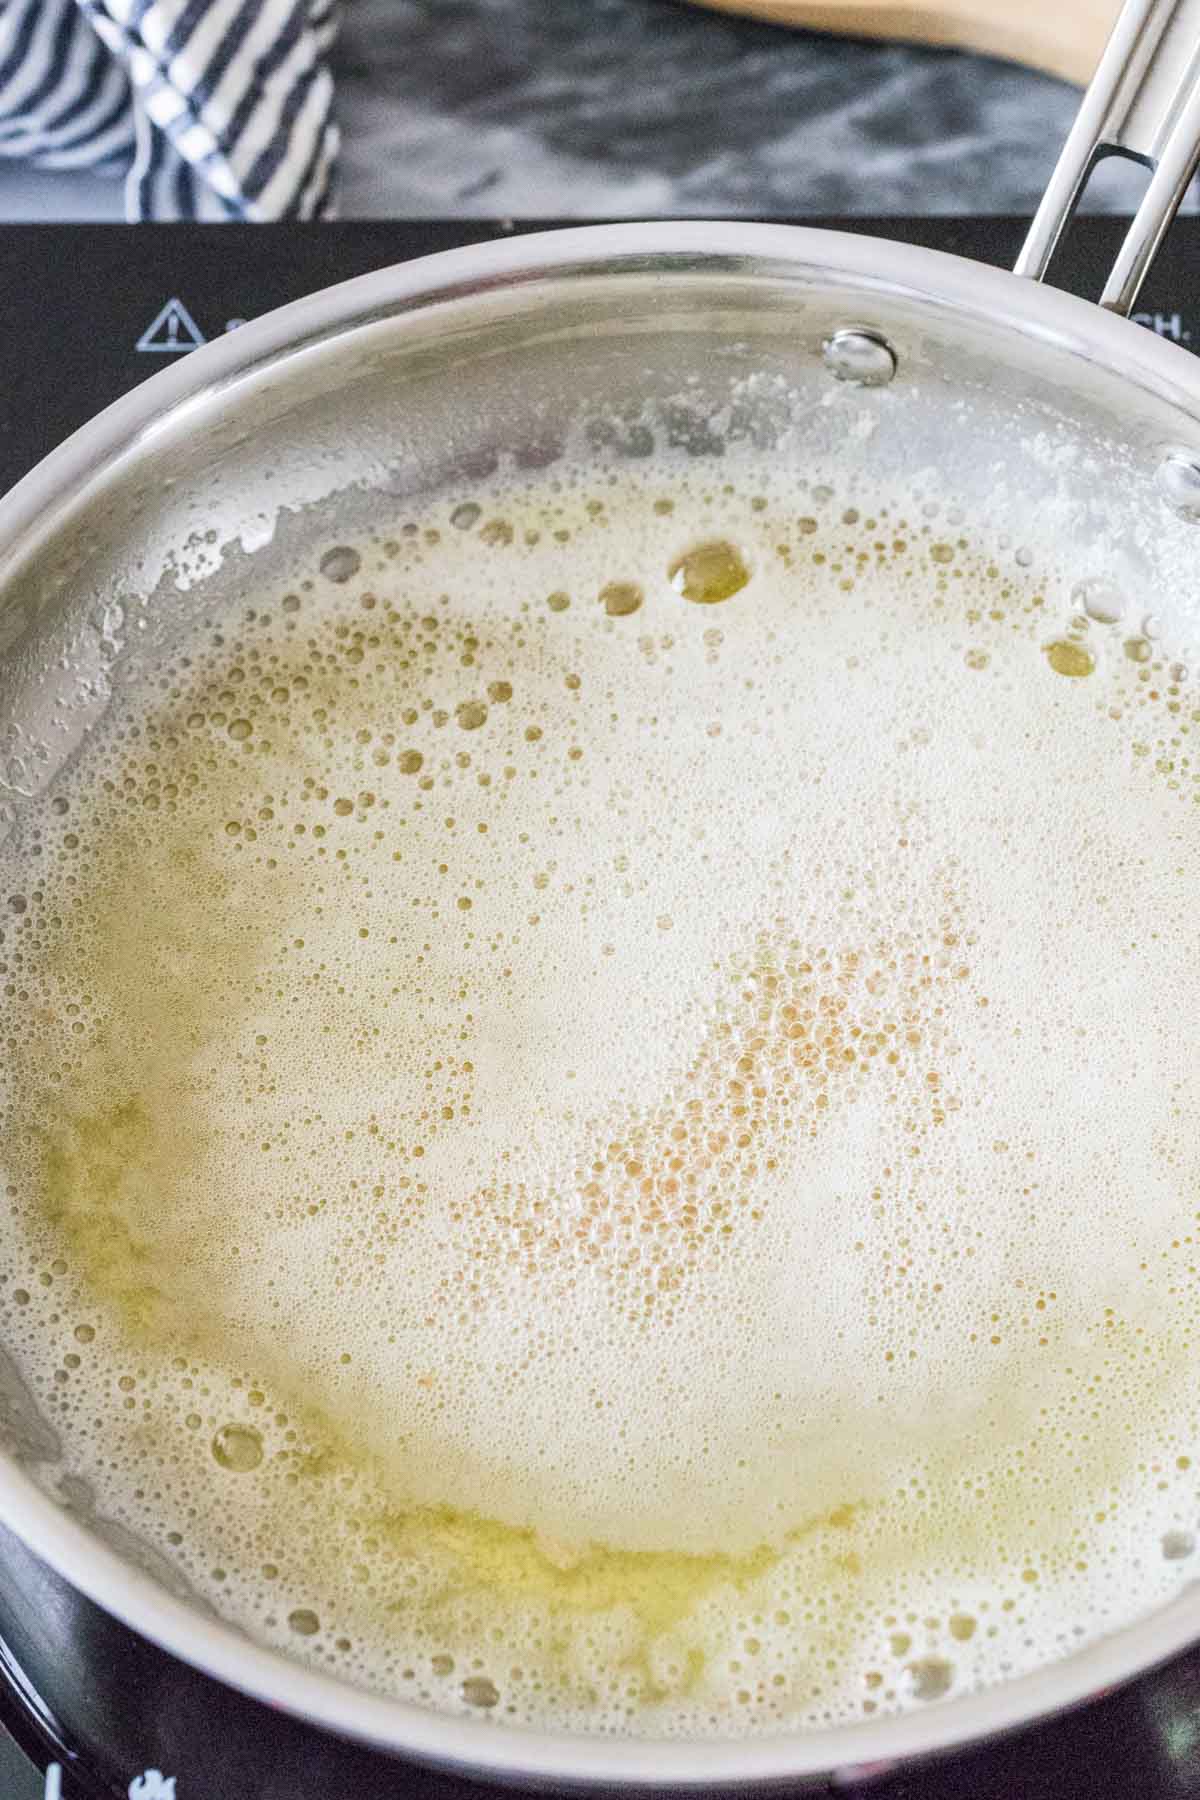
- Increase the heat to medium and stir frequently as the butter starts to foam, pop, and sizzle.
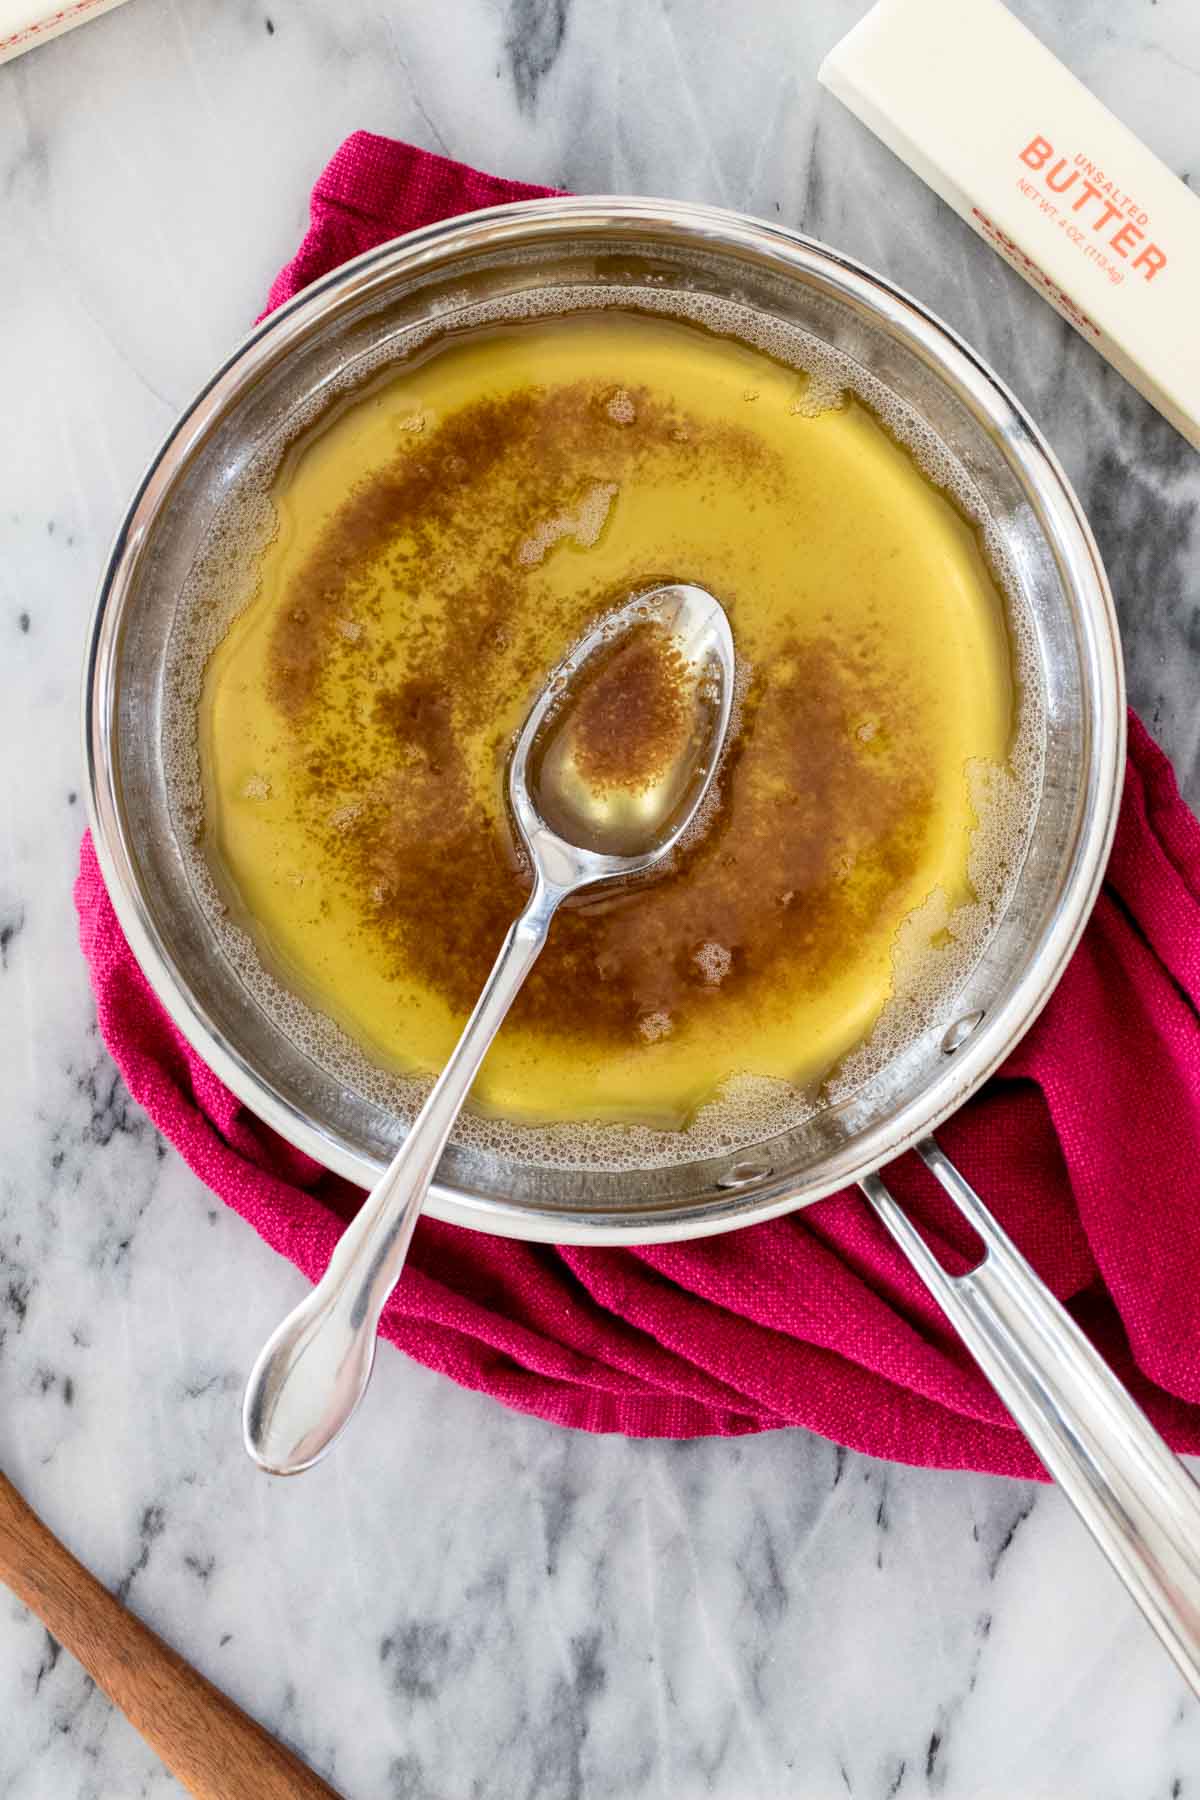
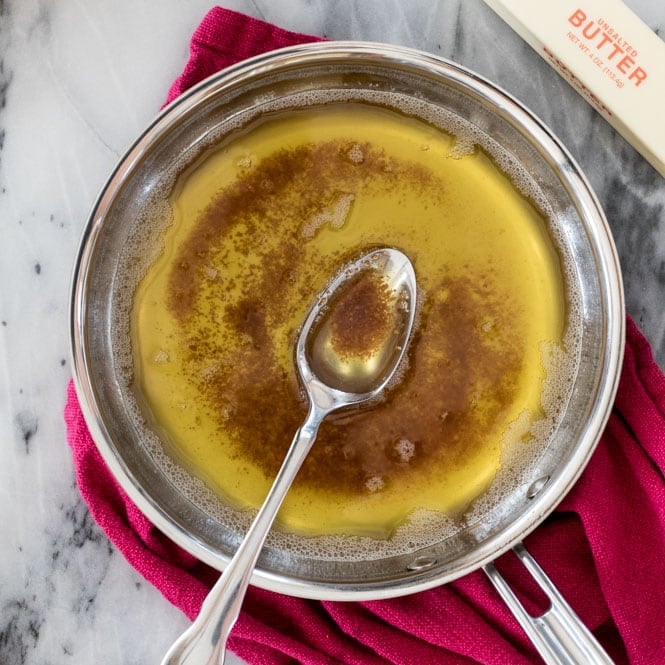
- As the popping and sizzling slows, keep swirling and stirring until you see browned bits forming in the bottom of your pan.
- Remove the butter from the heat and pour into a heatproof container. Use as desired or as indicated in your recipe.
SAM’S TIP: Don’t let your butter turn from brown to burnt! Watch it carefully (don’t walk away from it!) and stir or swirl the pan frequently so the milk solids cook evenly. Frequent motion is the best way to prevent burning!
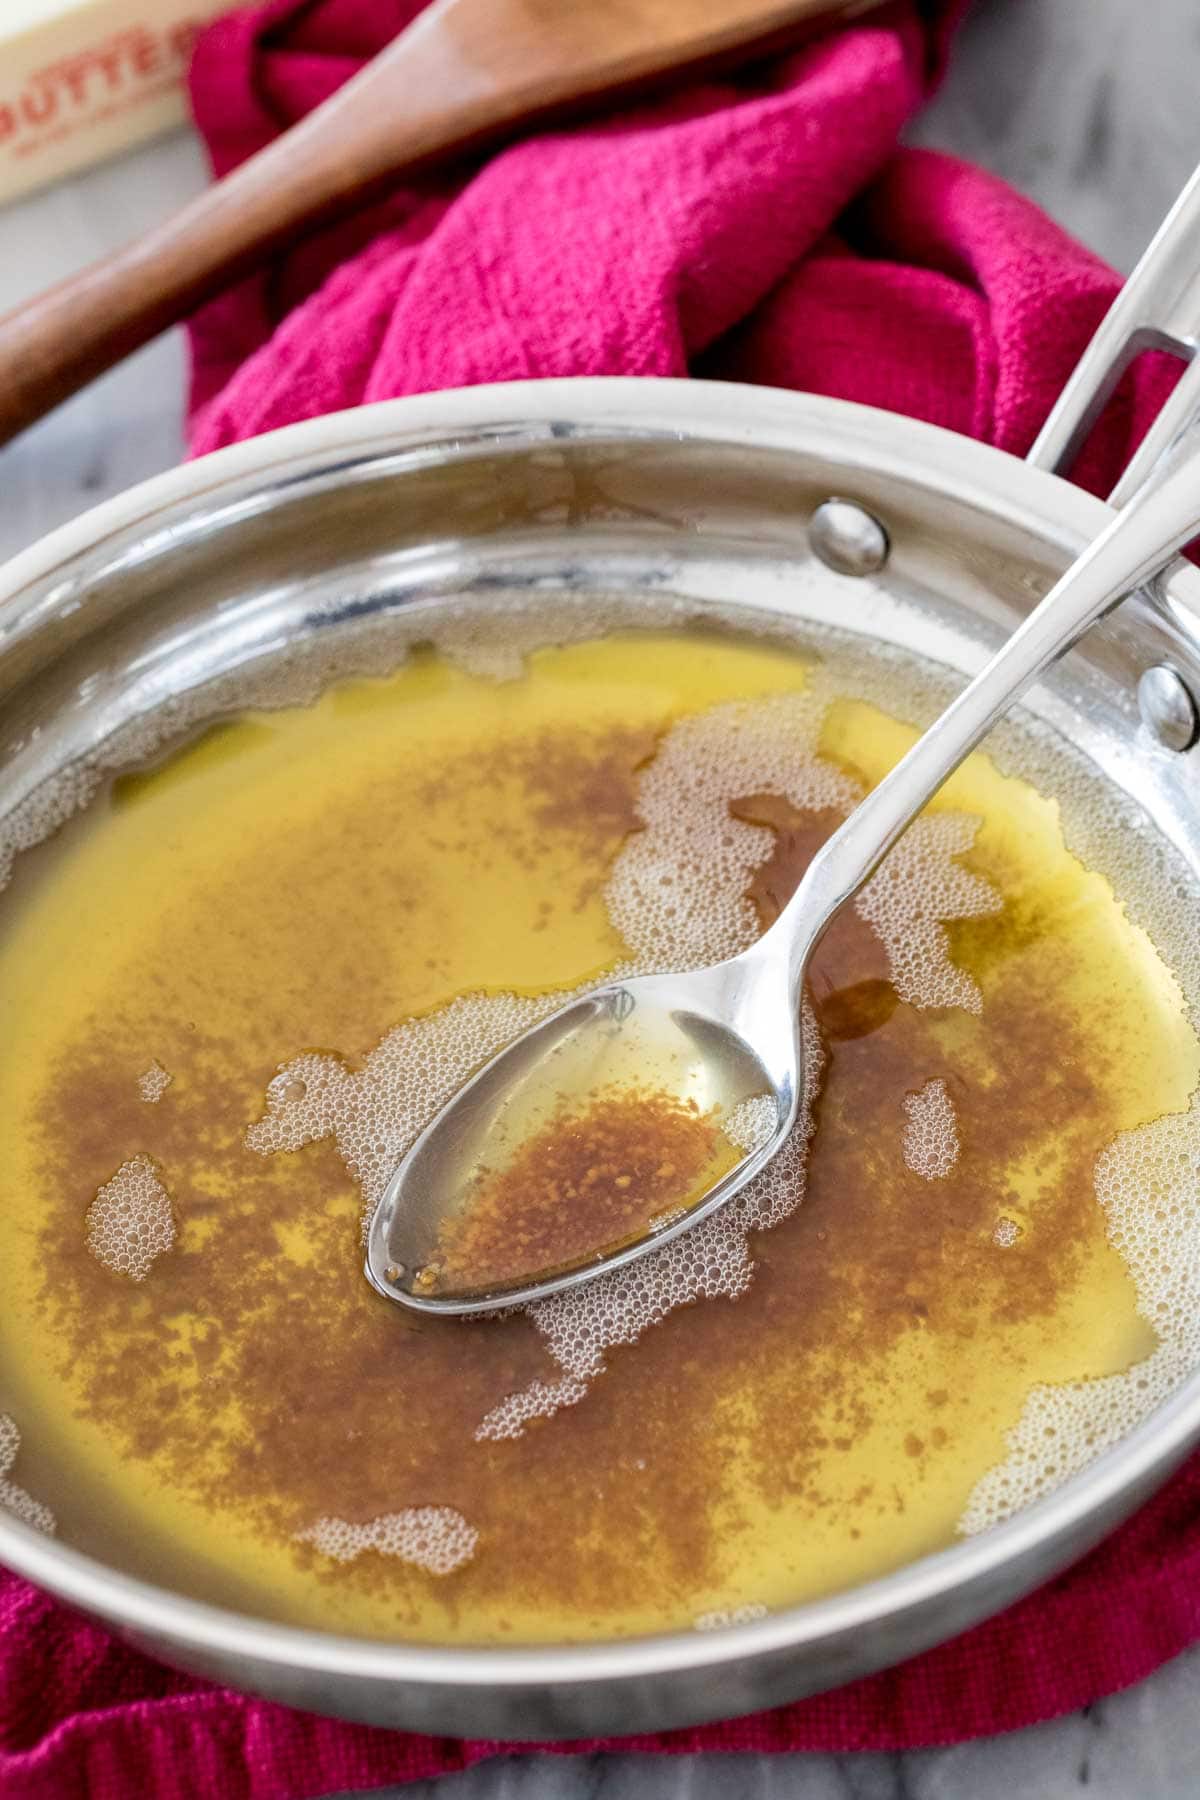
SAM’S TIP: Once you see brown bits (toasted milk solids) forming, remove your skillet from the heat. The pan will still be hot, so immediately pour your butter into a separate heatproof container to stop the cooking process.
Frequently Asked Questions
Unfortunately it won’t always work as an even substitute for regular butter. The browning process ends up cooking out a lot of the water in the butter, and many recipes count on that water to turn out properly.
Unless you’re up for experimenting, I recommend sticking for recipes that have been developed specifically for brown butter, like my brown butter blondies, brown butter chocolate chip cookies, or banana nut muffins.
It has a toasted, almost toffee-like flavor with strong nutty undertones. In fact, brown butter’s direct translation in French (beurre noisette) is hazelnut butter!
You’ll often find it paired with toffee, chocolate, nuts, or caramel in baked goods or with seafood, lemon, sage, or pasta in savory dishes.
As it sits, it will solidify like regular butter, but it will take longer. If you refrigerate it, it will solidify even quicker. You can also freeze brown butter for later use.
I know many of you already know how to do this, but I’m hoping is helpful for some of our newer cooks and bakers 😊
Enjoy!
Let’s bake together! I’ll be walking you through all the steps in my written recipe and video below! If you try this recipe, be sure to tag me on Instagram, and you can also find me on YouTube and Facebook
How to Brown Butter
Equipment
- Medium-sized light-colored saucepan
Ingredients
- Butter
Instructions
- Place butter in a medium-sized saucepan. Ideally you should use one that is light-colored (like stainless steel rather than black cast iron) as this will make it easier for you to see once your butter has begun to brown.
- Heat butter over medium/low heat until butter is completely melted.
- Increase heat to just a notch over medium. The butter should begin to bubble, sputter, and pop. Use a wooden spoon or a heatproof spatula to stir and swirl the butter frequently (make sure to scrape the bottom of the pan while doing this). Do not take your eyes off of your butter.
- Watch your butter very carefully and continue to swirl and stir. Once the sizzling/popping slows down, you will begin to notice bits of brown forming on the bottom of your pan.
- Once you see the butter beginning to brown, remove from heat and immediately pour into a heat-proof bowl.
- Use brown butter as indicated in your recipe, but keep in mind it is very hot after browning and most recipes will require that it cool back down to room temperature before using.
Notes
Here are some recipes you can make with brown butter!
Like this? Leave a comment below!


Hi Sam
Just did this with Snickerdoodles and bourbon choc chunck cookies Came out great but it got me to wondering. Since water is boing out and evaporating do i need to start with a bit more butter to to end up with anount called for in recipe? I weigh almost everything so that would be easy. Or do recipe authors, such as our gracious hostess, figure for it in testing?
Hi Jim! If a recipe calls for brown butter the author should have accounted for the loss in moisture. If you are using brown butter as a substitute you may need to make some minor adjustments. 🙂
Super easy to follow and delicious!
I’m so glad you enjoyed it so much! 🙂
Hi Sam, can brown butter be used to substitute the regular butter in your vanilla cake? Would u recommend a simple cake recipe that would be good using browned butter in the cake (not the frosting)?
Hi Anika! I’m not sure how it would turn out without having tried it. I do have a butter pecan cake that uses brown butter.
I make your brown butter toffee cookie recipe all the time and everyone loves it!!! The only change I make is I put homemade toffee in instead of bagged chocolate/toffee. I do have a question on the browning process. Does the temp of the butter to start make any difference in the process? I seem to get A LOT of foam, which does make it a challenge to see the browning, and I do use a stainless small pot. Thank you.
Hi Paula! The starting temperature shouldn’t make much of a difference. The bubbling is normal. I find the best indicator of browning is when that bubbling slows. You should be able to pull back some of the foam a little bit to see the browning. 🙂
This video was so helpful for me. I have made a browned butter sauce several times to toss my cheese ravioli in and I wasn’t doing it right! After the butter turned golden I thought it was done. I had no idea there were supposed to be browned bits in the bottom of the pan. I have ordered a white enamel saucepan from Amazon and will be trying out your recipe very soon.
I’m so glad it was helpful, Debbie! You’ll really love that flavor it provides. 🙂
How many times have I been to a restaurant and ordered stuffed ravioli in brown butter?! Now that grocery stores sell fresh stuffed pasta, tossing in this browned butter will be fantastic and cost effective! You should add this to your savory section! Yummy
That sounds so tasty! I will definitely have to test it out. 🙂
I love Nutella stuffed cookie try to make few times but not sure on burning butter the proper way . After butter bubble ,nutty smell ,came out keep storing .I saw a white stuff in the bottom of the pan . What is that ? Keep burning 5-7 mts. Am I doing the right way ?
Hmm there shouldn’t be any white stuff after it is done browning. I think the video will be your best help here. When the butter is melting and starting to sizzle you will see some white bits floating around in the butter. This is normal. This is what is going to turn brown. Keep the heat slightly above medium and continue stirring until you start to see those brown bits appear. Once they appear you will want to remove it from that pan and store it in a heat proof bowl so the butter doesn’t burn. I hope this helps. 🙂