
Chocolate Sugar Cookies
This post may contain affiliate links. As an Amazon Associate I earn from qualifying purchases. Please read my disclosure policy.
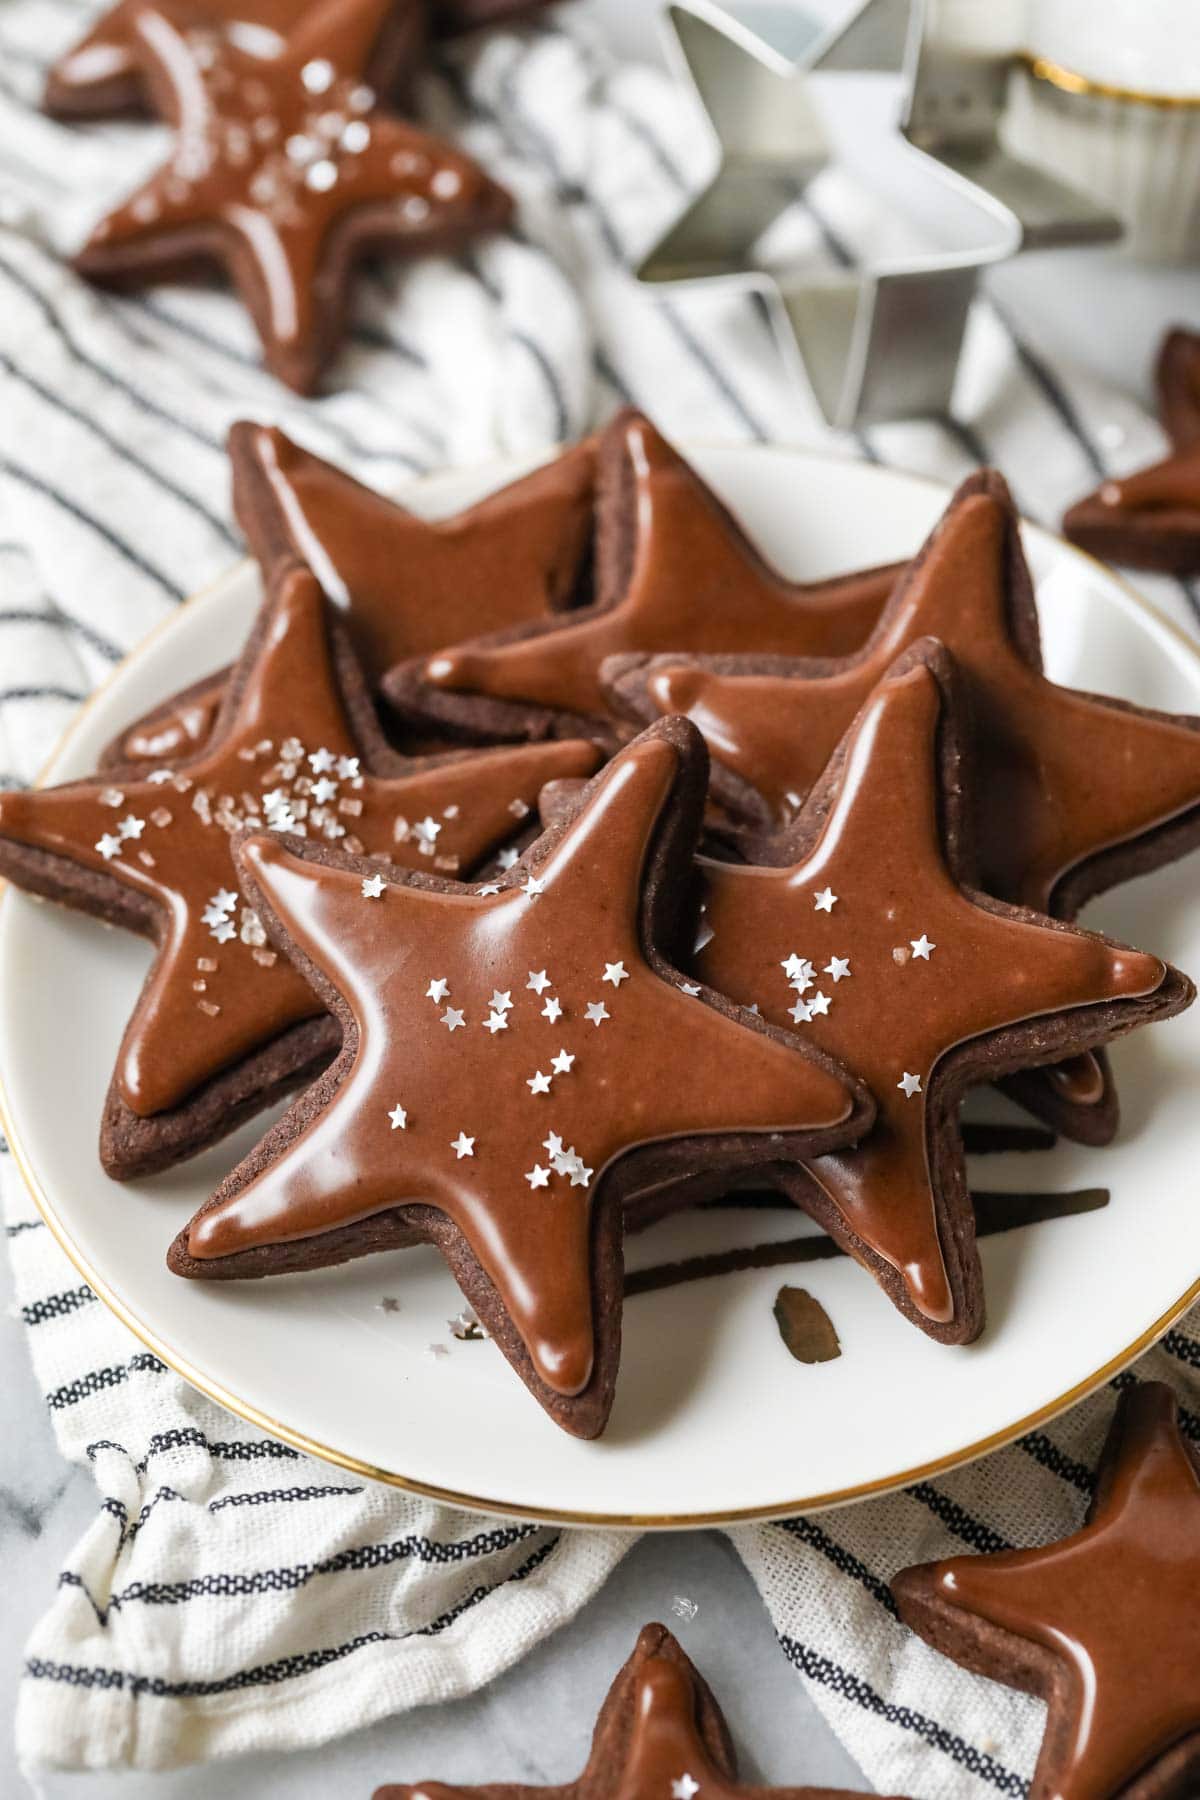
My chocolate sugar cookies are a fun, festive chocolatey treat and a fun twist on the classic. They can be rolled thin for crispy cookies or thicker for a softer and chewier texture (my favorite!). Top them with my shiny and firm (and egg-free, for your meringue-powder haters out there 😉) chocolate icing! Recipe includes a how-to video!
No-Spread Chocolate Sugar Cookies
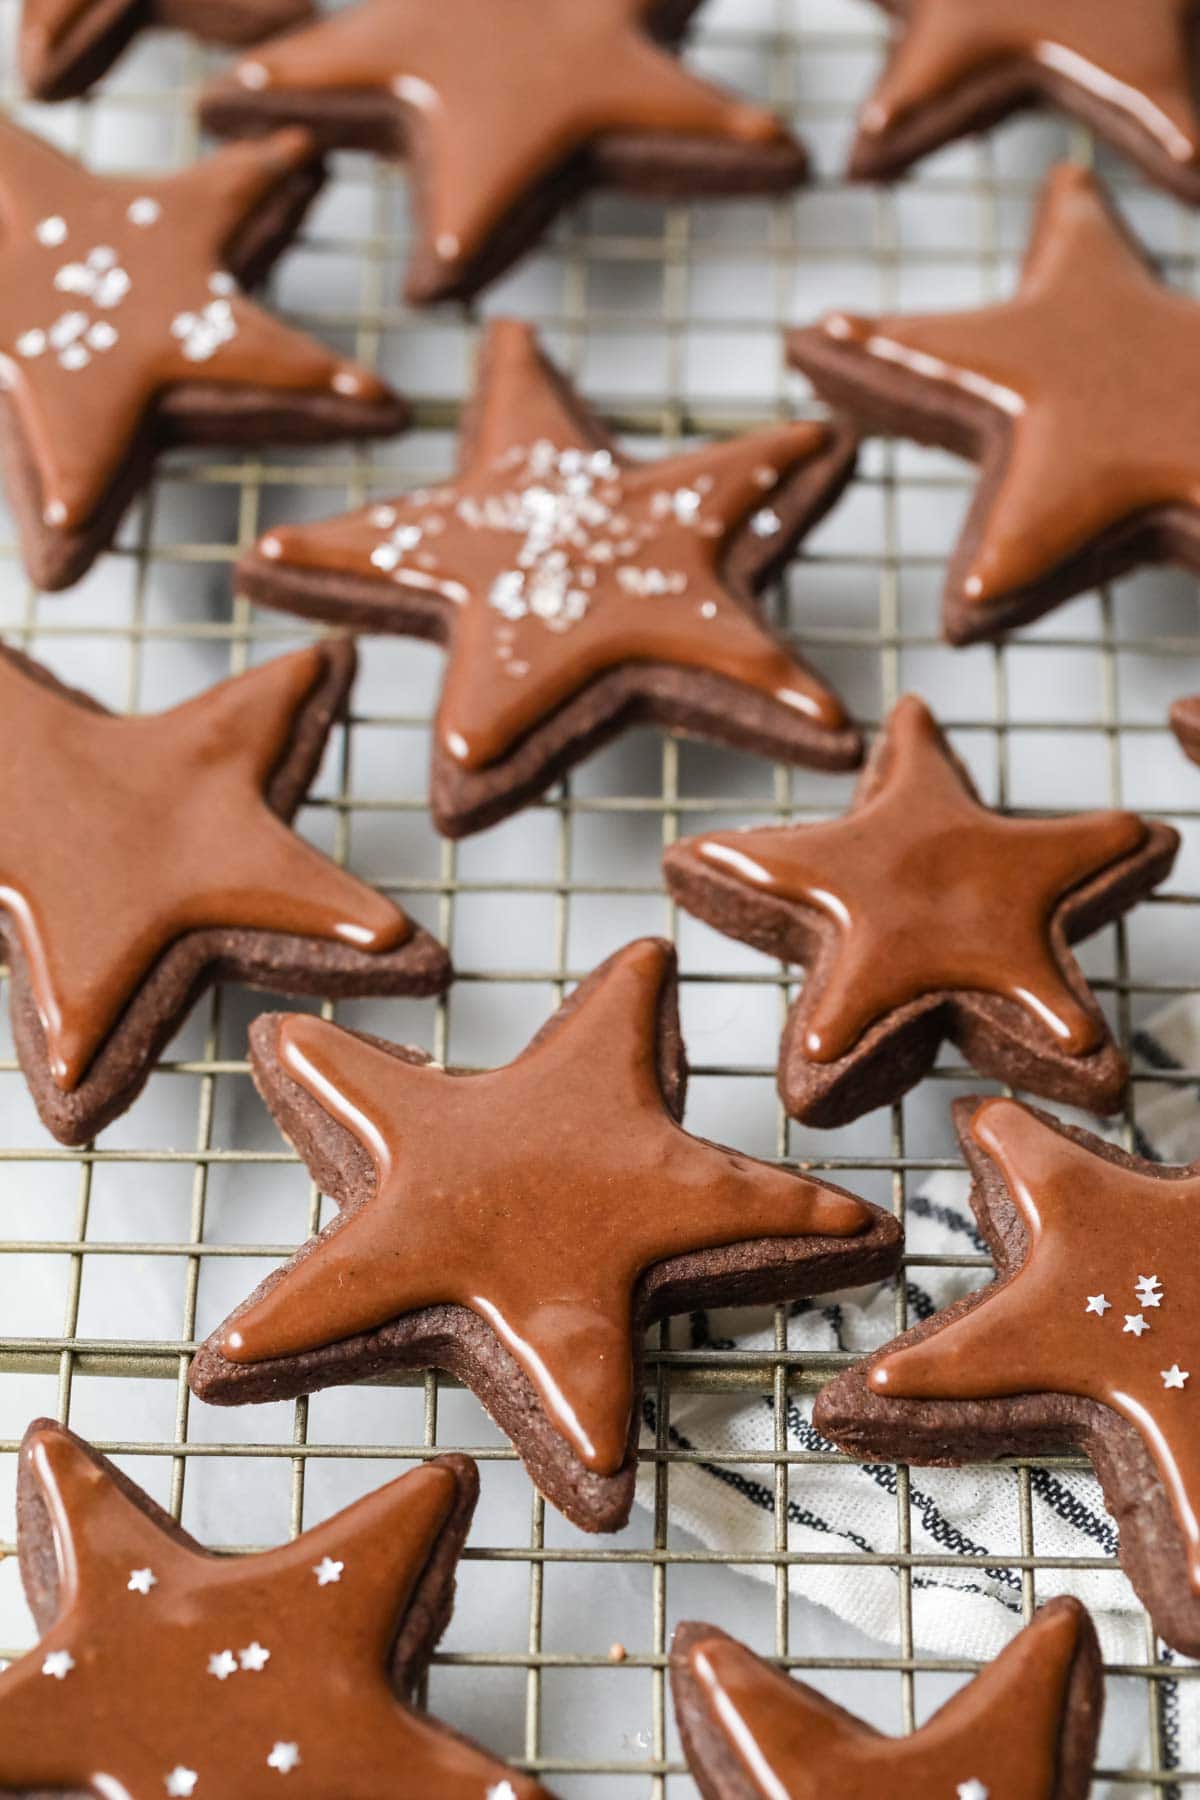
It’s officially (chocolate) sugar cookie season! Based off my faithful original sugar cookie recipe, this is a reliable cookie recipe that bakes up beautifully with defined edges (no spreading!) and a rich chocolatey flavor.
Here’s what’s to love about them:
- NO spreading with crisp, defined edges. It can be SO frustrating to make a cookie dough, wait for it to chill, roll and cut it out, and then have your beautiful cookies turn into unrecognizable blobs in the oven. My reliable recipe maintains its shape the entire way through the the baking process, so you don’t have to worry about this.
- Rich chocolate flavor that reminds me of brownies. These cookies make a great alternative to gingerbread men during the holidays (but they’d be fun as a ghoulishly decorated Halloween dessert too!)!
- Customizable texture: roll the dough thinner for crisp cookies, or keep it thick for soft and chewy results.
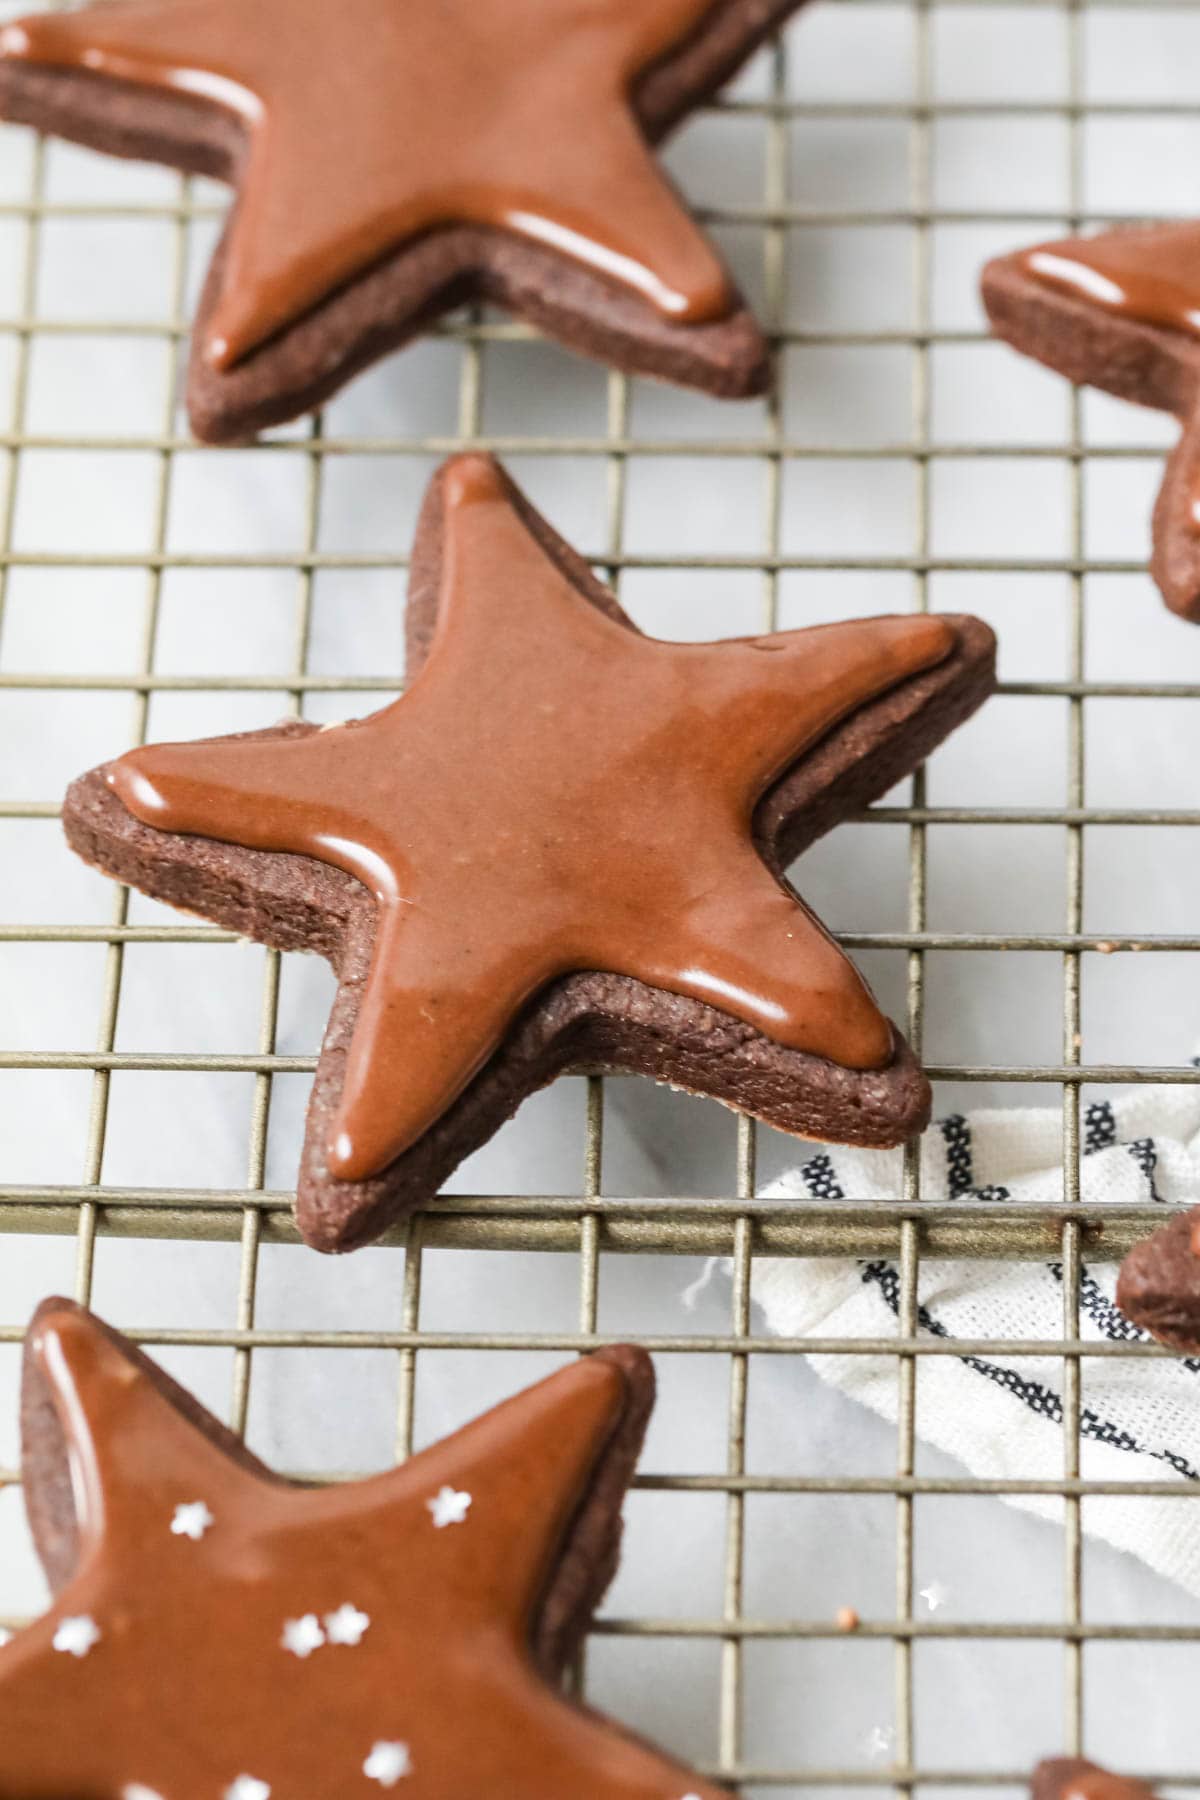
- Easy, shiny chocolate icing that sets firmly without any meringue powder or egg whites. I have both a chocolate and vanilla version you can use, and both are stackable once fully dry.
I topped today’s cookies with a new chocolate version of my favorite easy sugar cookie icing (recipe included below!). I perfected this simple icing years ago (back when I felt intimidated by royal icing), and it’s been my go-to ever since! It dries smooth and shiny, is easy to work with, and is almost impossible to mess up.
Many of the tips that I shared over in my original sugar cookie recipe (and other cutout cookies like linzer cookies and shortbread cookies) still apply here, like keeping your cuts close together, baking cookies of the same size on the same sheet, chilling long enough, and measuring your flour properly. Definitely read through that post first if you are a beginner!
Ingredients
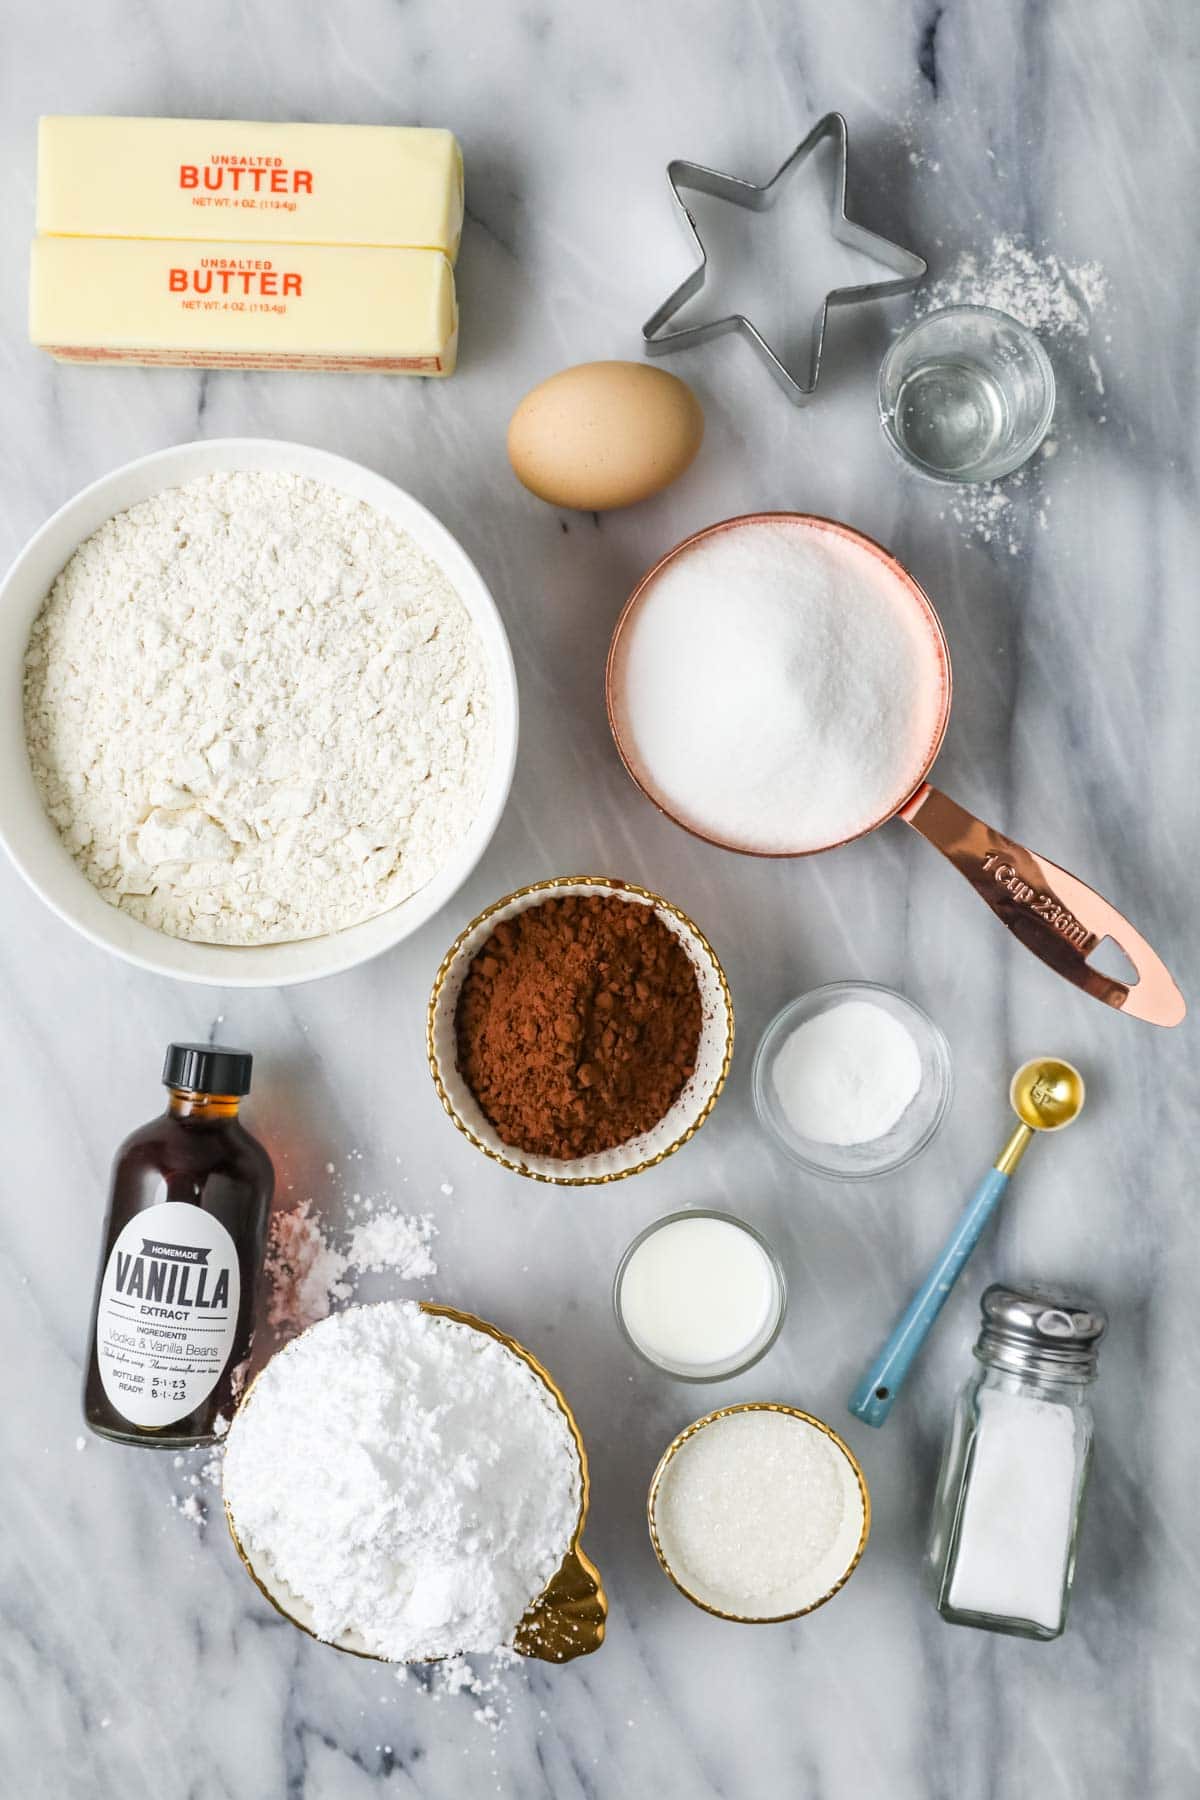
- Cocoa powder. I like to use Dutch process cocoa for both the cookies and icing. I find the flavor and color are richer. Natural cocoa could work in a pinch though, if that’s all you have on hand (and I used to use natural cocoa in this recipe!). I talk more about the differences between the two and when you can substitute one for the other in my post on natural vs. Dutch process cocoa.
- Vanilla extract. This complements the chocolatey flavor so nicely! Don’t skip it.
- Sugar. We’ll use granulated sugar in the cookies themselves and powdered sugar in the icing.
- Milk. We’ll add just a splash of milk to the icing until it reaches the proper consistency. Really any milk will work, so use what you have on hand!
- Corn syrup. Some of you may be hesitant to use this ingredient, but remember, corn syrup is not the same thing as high fructose corn syrup! This is a critical ingredient in my sugar cookie icing, as it helps it set up with a firm, shiny finish. If you really must leave it out, you can, but your cookies won’t be as shiny, won’t set up as firmly, and you may need to add more milk to get the consistency right.
SAM’S TIP: I don’t always do this, but for best practice I recommend sifting your powdered sugar (after measuring it) if you plan on piping your icing. Sometimes powdered sugar has lumps in it that don’t break up when mixing your ingredients together, and left unsifted these can clog your piping tips while you’re decorating. There are few things as frustrating as trying to pry a pocket of sugar out of your piping tip so you don’t have to dump out the whole bag and start over!
This is just an overview of the ingredients I used and why. For the full recipe please scroll down to the bottom of the post!
How to Make Chocolate Sugar Cookies
Make the dough
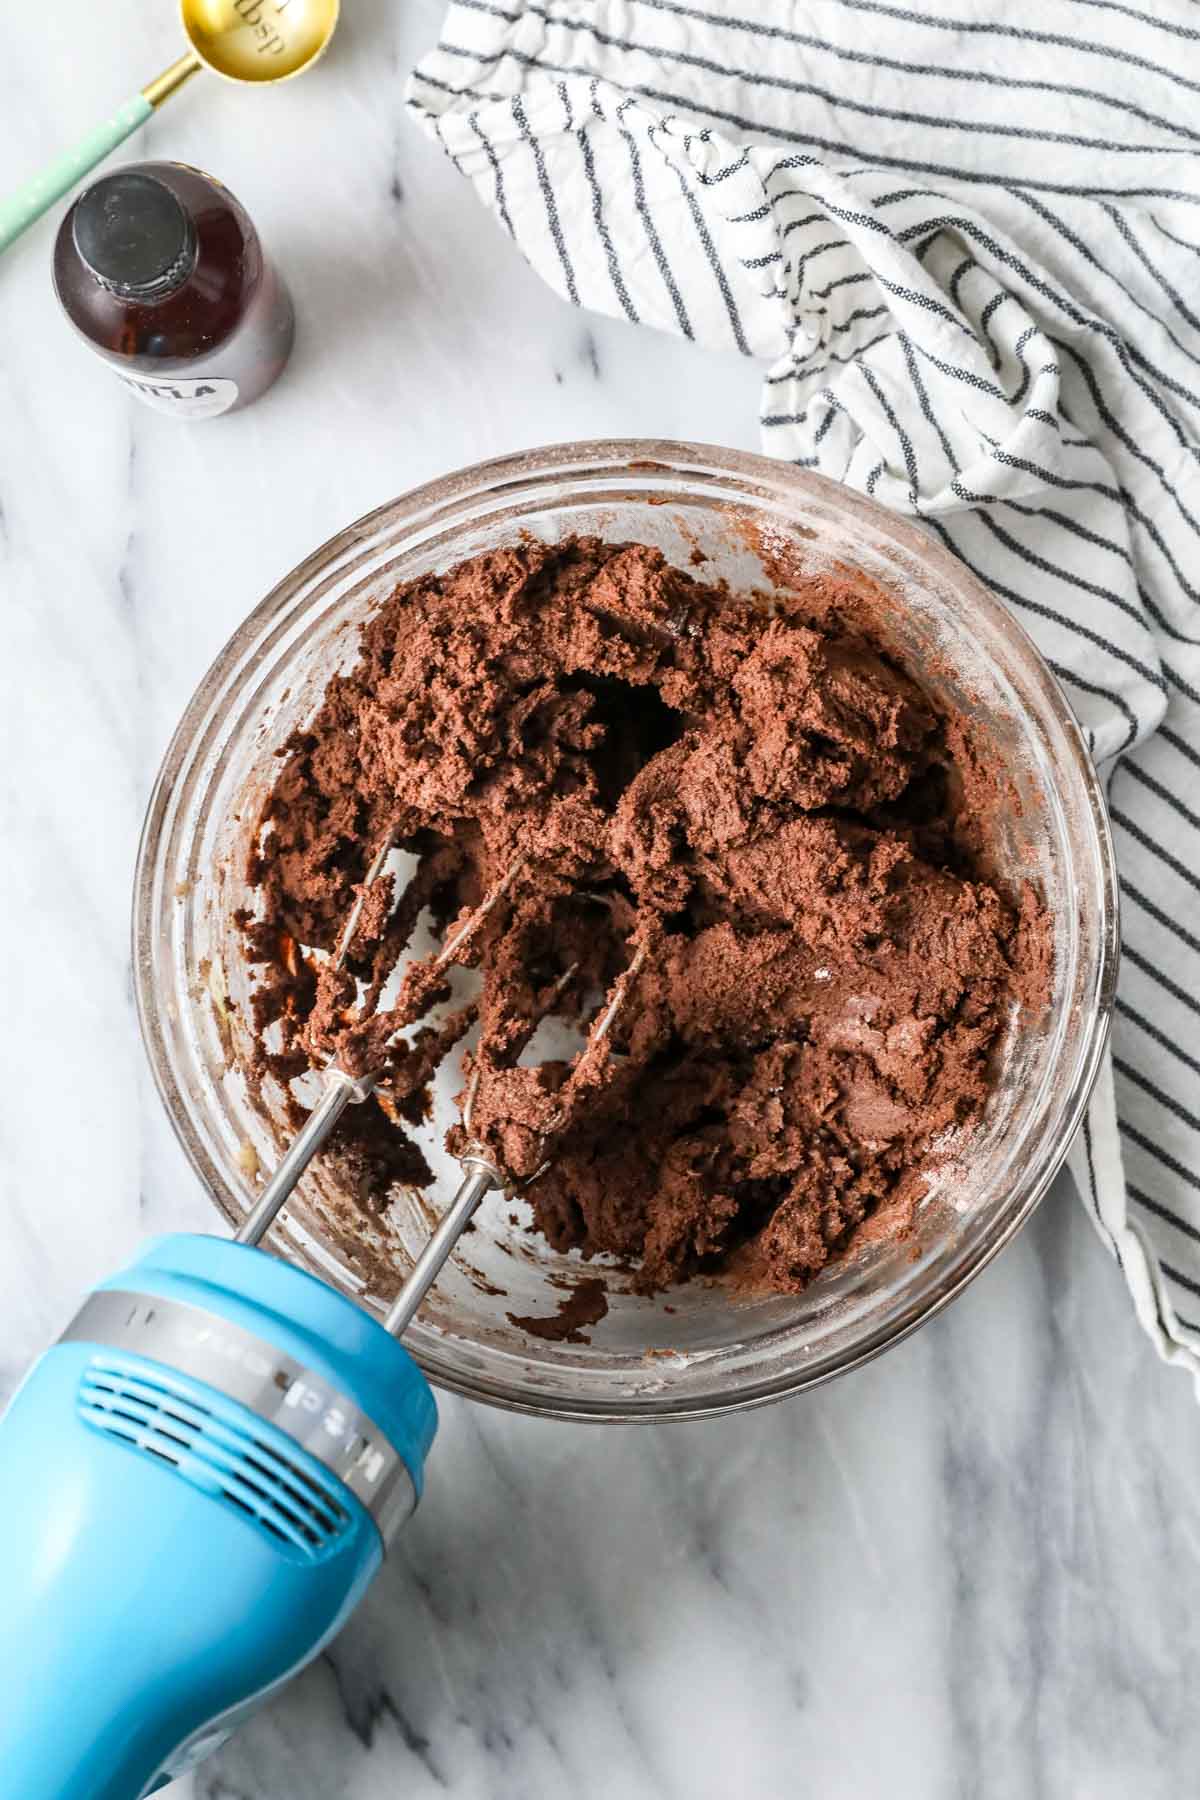
Cream the butter and sugar until well combined, then stir in the egg and vanilla. Set the wet ingredients aside while you whisk the dry ingredients together in a separate bowl.
Gradually add the dry ingredients, working in about 3-4 parts. Do not add them all at once, or you will create a difficult dough!
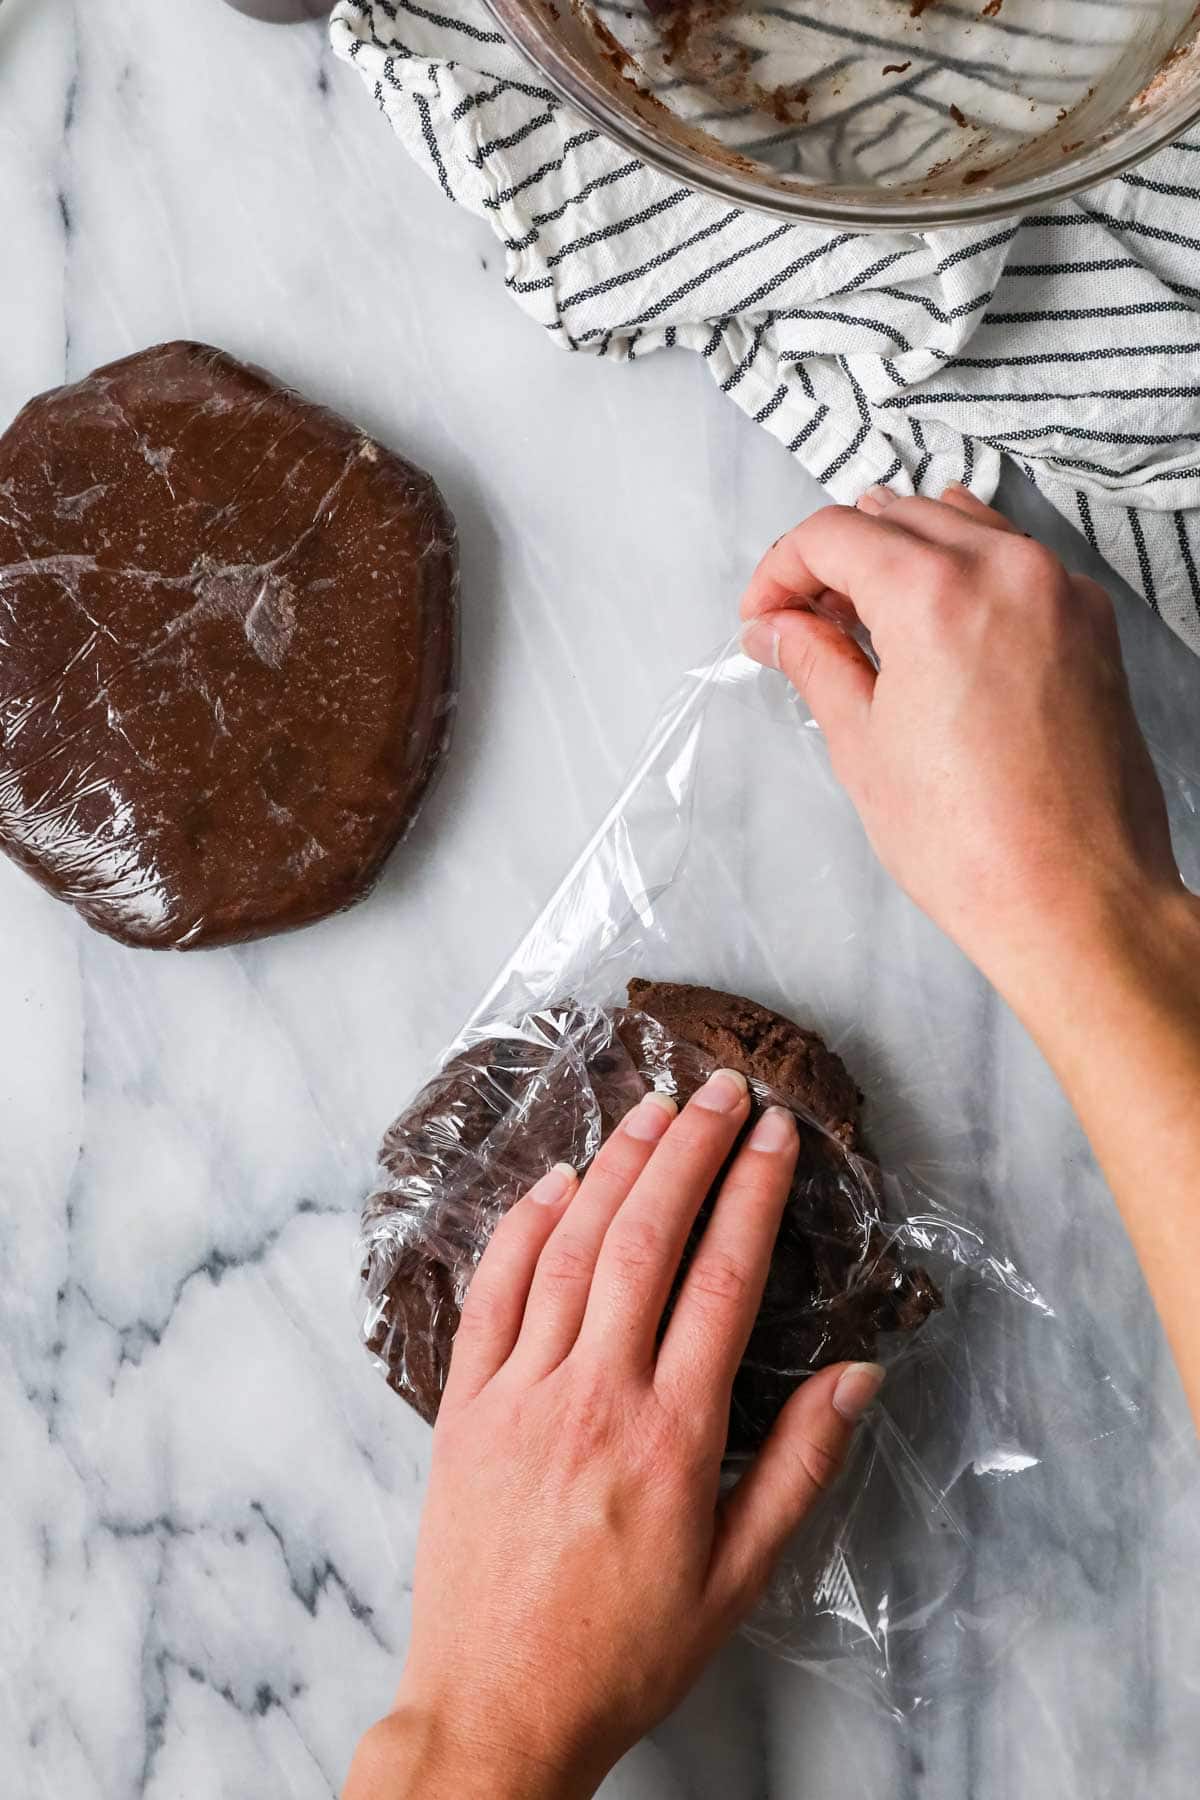
Cover & chill
Turn the dough out onto a sheet of plastic wrap, then divide in half. Wrap each half in plastic and form into a disk. Place in the fridge and let chill for at least 2 hours before rolling.

Roll & cut
Roll out your first disc of dough on a lightly floured surface. If you’d like thicker cookies, roll the dough to ¼” thickness, or if you prefer thinner cookies, roll it to ⅛” thickness. Note that the thicker you make your cookies, the less defined the edges are, so don’t go too thick!
Some people like to dust their countertops with cocoa powder instead of flour. If that works for you that’s great! It’s not my preference though as cocoa powder is actually more drying than flour, can make the outside of the cookie seem more bitter, and honestly it just makes a much bigger mess.
Make sure that after rolling you gather the scraps and re-roll the dough until you have used it all.

Bake & cool
Group cookies of the same size on the same sheet, so they all cook at the same time. Bake until cooked through (this time will vary depending on the thickness and size of your cookies but I list a range/guide in the recipe). Make sure you let them cool completely on the baking sheets before decorating with icing.
Decorate!
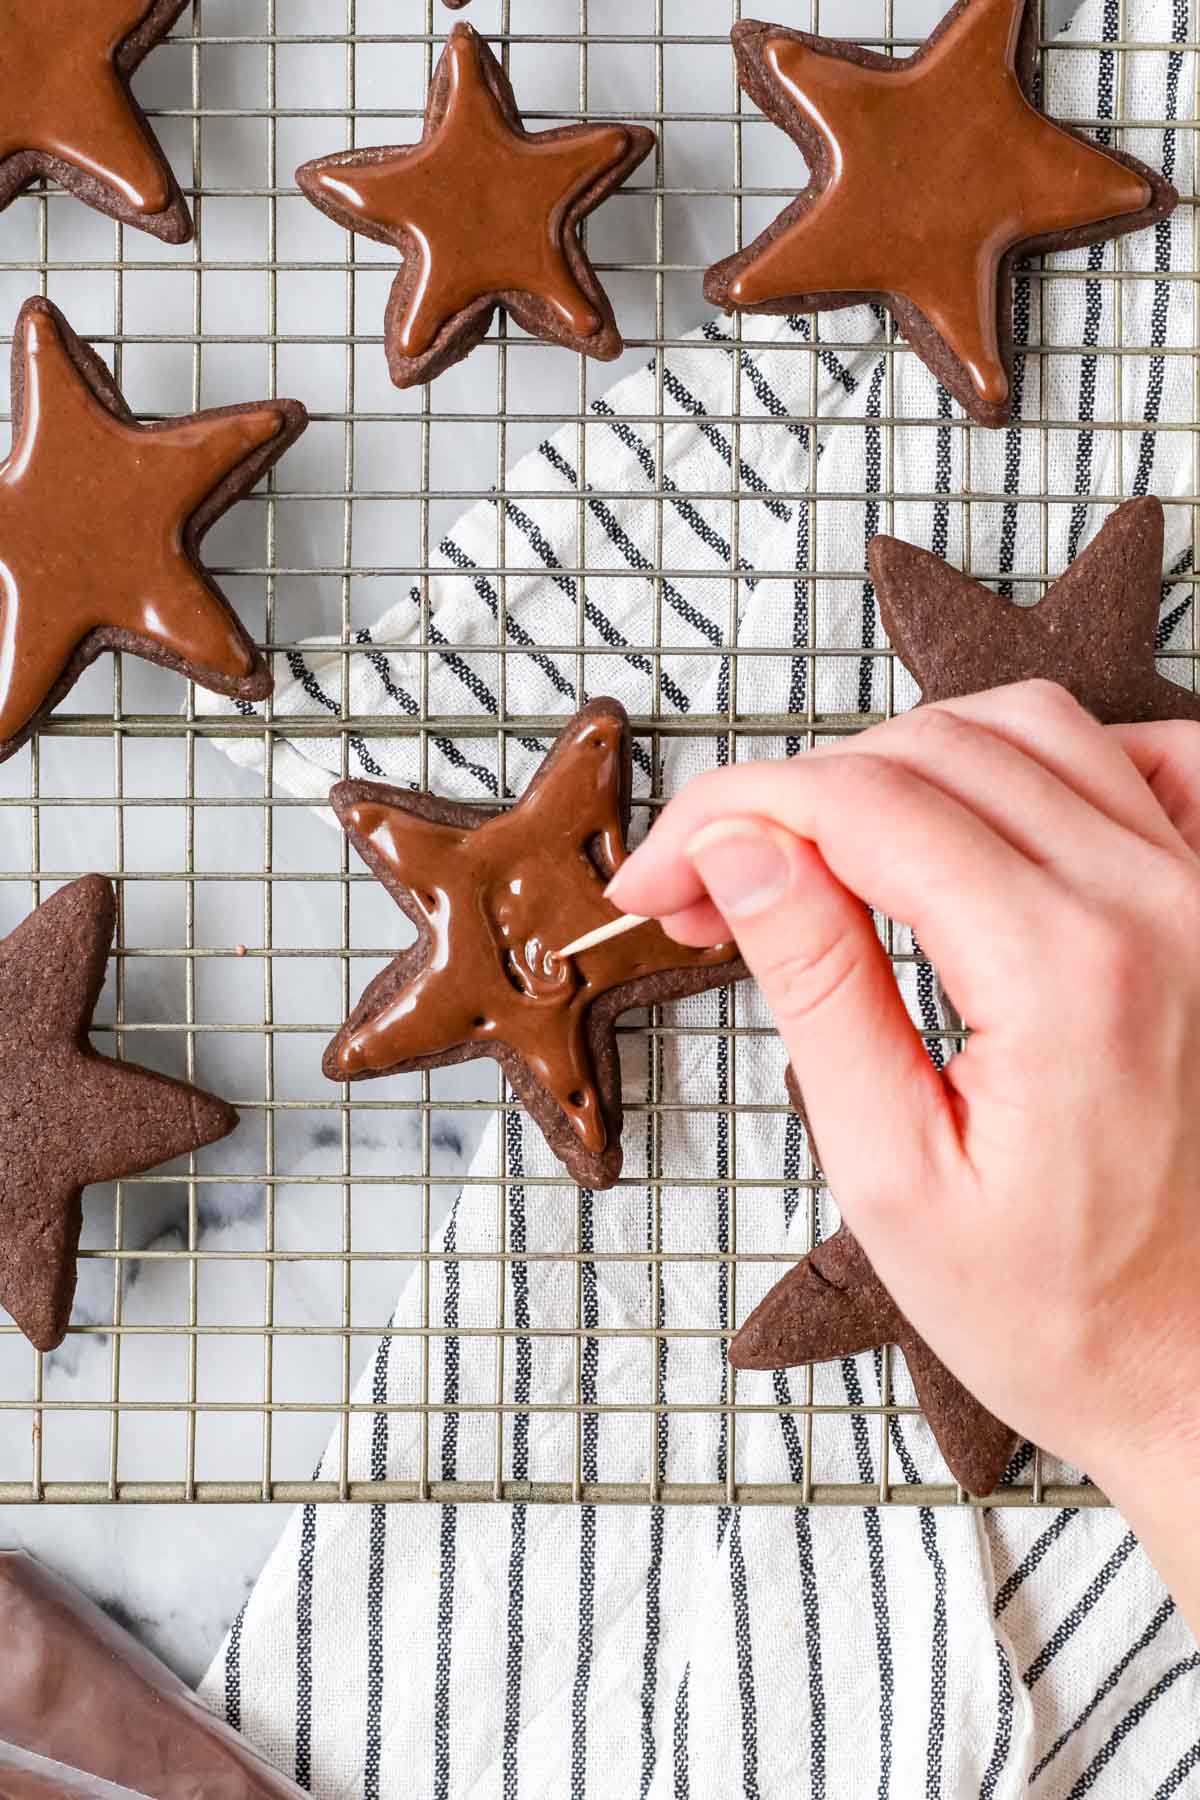
Whisk together the icing ingredients. Getting the icing just right is important for a glaze that can be neatly piped on the cookie without flowing off the edges and that dries firm enough for the cookies to be stackable. I include visual cues in my video but you want it to ribbon smoothly off a whisk and hold its shape for several seconds before dissolving back into the bowl. You can also just use trial and error, drizzle it over an extra cookie with a spoon and add more milk as needed until it behaves as you’d like it to!
Pipe icing onto your cookies and use a scribe tool or toothpick to swirl through the gaps and make a smooth surface. If you want sprinkles on top of the icing, add them while the icing is still wet so that they stick (the icing dries fast!).
SAM’S TIP: If you find that your icing is too thick when you’ve mixed all of your ingredients together, you can simply add more milk (about a teaspoon at a time) until the proper consistency is reached. Conversely, if your icing is too thin, you can add more powdered sugar until it’s thickened.
Helpful Hints
- To make your cookies thinner and crispier, simply roll your dough thinner. I’ve found that about ⅛” is a good thickness for thin cookies that have a nice, crisp texture when they’re finished baking. Keep in mind that very thin cookies will likely need to bake for less time in the oven, so keep an eye on them (you don’t want your edges to turn dark or it means they’ve burned!).
- For thicker cookies, I recommend rolling your dough about ¼” thick. You also want to be sure that you don’t over-bake them in your oven, or they’ll be crisp when they cool. I’ve found that about 10-11 minutes is the sweet spot for my soft sugar cookies, depending on the size. Make sure you let your cookies cool completely before removing them from the cookie sheet as the thicker, softer cookies are a little fragile when warm and may break if you try to move them too soon.
- Don’t feel like decorating? Sprinkle your cookies with coarse sugar before baking for a sparkly and sweet look! Colored sugar can look a bit funky on the dark cocoa backdrop, but white sparkly sugar looks quite nice and the coarser texture adds a nice sweet-subtle crunch!

Frequently Asked Questions
Yes! You shouldn’t need to make any adjustments to the recipe as long as you use a 1:1 gluten free flour. One of our team members (shoutout to Emily, many of you have seen her in the comments section!), has tested this recipe with Cup4Cup gluten free flour and says it works wonderfully.
Yes they do (and they thaw beautifully, too!)! You can freeze them with or without the icing. I recommend using wax paper between your layers and storing in an airtight bag or container for the freshest results.
Yes! The dough can be stored (tightly wrapped in discs) for up to 5 days. You will need to let the dough sit at room temperature a bit before rolling if you chill it this long, as it will be very cold and prone to cracking.
The icing can be prepared several days ahead of time. I recommend putting it in your piping bag and placing that in an airtight container or bag so it doesn’t dry out. If you don’t plan to pipe your icing, simply pour it into a bowl and press a piece of plastic wrap against the surface.

I’d love to see how you decorate your chocolate sugar cookies! Please tag me on Instagram @sugarspun_sam to share your photos with me.
Enjoy!
Let’s bake together! Subscribe to my newsletter to be notified of all the newest recipes, and find my free recipe tutorials on YouTube 💜

Chocolate Sugar Cookies
Ingredients
- 1 cup (226 g) unsalted butter softened
- 1 cup (200 g) granulated sugar
- 1 ½ teaspoons vanilla extract
- 1 large egg
- 2 cups + 2 Tablespoons (265 g) all purpose flour
- ½ cup (50 g) Dutch-processed cocoa powder
- ½ teaspoon baking powder
- ¾ teaspoon salt
Chocolate Sugar Cookie Frosting
- 1 ½ cups (190 g) powdered sugar, sifted (weigh and then sift)
- 1 Tablespoon Dutch cocoa powder
- 2 Tablespoons milk (any kind), plus more as needed
- 1 Tablespoon light corn syrup
- ¼ teaspoon vanilla extract
- Additional sprinkles for decorating, optional
Instructions
Sugar Cookies
- Combine butter and sugar in a large bowl and use an electric mixer to beat until creamy and well-combined.1 cup (226 g) unsalted butter softened, 1 cup (200 g) granulated sugar
- Add egg and vanilla extract and beat well.1 ½ teaspoons vanilla extract, 1 large egg
- In a separate bowl, whisk together flour, cocoa powder, baking powder, and salt.2 cups + 2 Tablespoons (265 g) all purpose flour, ½ cup (50 g) Dutch-processed cocoa powder, ½ teaspoon baking powder, ¾ teaspoon salt
- Gradually add dry ingredients into wet until completely combined.
- Lay out a large piece of plastic wrap and transfer half of the dough onto the wrap — it will be pretty sticky!
- Cover with clear wrap and mold into a disk. Repeat with remaining cookie dough in a separate piece of cling wrap. Transfer cookie dough to the refrigerator and chill for at least 2-3 hours.
- Once dough has chilled, preheat your oven to 350F (175C) and line a baking sheet with parchment paper. Set aside.
- Generously dust a clean surface with flour and place one unwrapped cookie dough disk onto the surface. Lightly flour the dough and roll out to ⅛" (for thinner, crispier cookies) or ¼" (for thicker, softer cookies). Continue to add flour as needed both on top of and beneath the dough so that it doesn't stick.
- Use cookie cutters to cut out shapes and use a spatula to transfer shapes to prepared baking sheet. If you don’t intend to frost your cookies with the icing listed below, you can instead sprinkle them with sanding sugar at this point (before baking).
- Bake on 350F (175C) for 9-11 minutes (may need more time for larger or thicker cookies, or less for smaller or thinner ones).
- Allow cookies to cool completely on cookie sheet before moving and frosting.
Sugar Cookie Frosting (see note for classic sugar cookie frosting)
- Combine sugar, cocoa powder, 1 Tablespoon of milk, corn syrup, and vanilla extract in a medium-sized bowl and stir until combined. If your frosting seems too thick, add more milk, about a teaspoon at a time, until the frosting is thick but pipeable. If you accidentally add too much milk, add powdered sugar until desired texture is reached.1 ½ cups (190 g) powdered sugar, 2 Tablespoons milk (any kind), 1 Tablespoon light corn syrup, ¼ teaspoon vanilla extract, 1 Tablespoon Dutch cocoa powder
- Transfer frosting to a piping bag with a piping tip (I used Wilton 5), or place in a Ziploc bag and snip a small piece of the corner off (this technique is not as neat, but this will still work, just take care that the frosting isn’t so thick that it breaks open the seam of the bag when you are squeezing).
- Pipe frosting on cookies. Decorate with sprinkles, if desired.Additional sprinkles for decorating
- Allow frosting to harden before enjoying (this usually takes several hours)
- Store uneaten cookies in an airtight container at room temperature.
Notes
*Yield
Yield varies greatly depending both on how thick you roll the dough and the size of the cookie cutters that you use. This recipe can be doubled.Cocoa powder
Dutch cocoa powder will give you a better, deeper flavor. Natural cocoa powder will “work” but the flavor just isn’t as good.Bake time
My cookie cutters were about 3″ in length, if you’re using smaller cookie cutters you will need to bake for less time, keep an eye on the edges of your cookies to know when they are done.Sprinkles
A lot of people have asked me where I got the glitter star sprinkles for the cookies, I found them here on Amazon!Frosting
For a non-chocolate frosting, see my easy sugar cookie icing or my royal icing recipe.Making in advance
The dough can be tightly wrapped and stored for up to 5 days. You will need to let the dough sit at room temperature a bit before rolling if you chill it this long, as it will be very cold and prone to cracking. The icing can be prepared several days ahead of time. I recommend putting it in your piping bag and placing that in an airtight container or bag so it doesn’t dry out. If you don’t plan to pipe your icing, simply pour it into a bowl and press a piece of plastic wrap against the surface.Nutrition
Nutrition information is automatically calculated, so should only be used as an approximation.
Like this? Leave a comment below!
I originally published this recipe in 2018. I’ve updated the recipe to use Dutch cocoa and to include helpful hints and notes.


These cookies are the best chocolate sugar cookies I have ever made! Thank you, Sam, for sharing this recipe! ❤️
Thank you so much, Simcha! We’re so happy they were a hit for you 😊
Could a buttercream frosting be used with this cookie instead? My family are not fans of royal icing. Would buttercream bee too much for this cookie?
Hi Lyndsey! The buttercream will be a little sweeter but if that’s what you prefer that’s fine. It won’t quite set the same as this frosting so I wouldn’t recommend trying to stack them. 🙂
Thank you so much Sam for your response and help! I am excited to start baking with this recipe! Thank you for creating this recipe and helping 🙂
Delicious, wonderful recipe
Hi. Can this be frozen for more that 2 hours? I want to make the dough and then go to work. I don’t have the best track record with cookies
Hi, Nyaziah! You will want to chill your dough in the refrigerator for 2-3 hours, longer is fine. Be sure you wrap the dough well so it does not dry out. I hope that you enjoy your cookies. 🙂
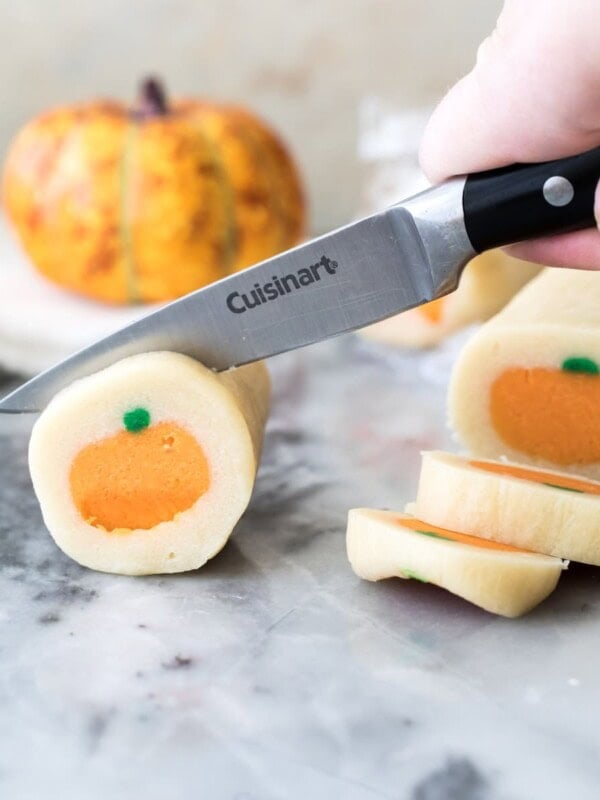
These were simply delicious! I tried your sprinkle cookie recipe last week and it was a hit so this week I made chocolate pumpkin cutouts using this recipe. I went for the thicker cookie and baked them for 10min and oh man were they fudgy and delicious!!!! I was going to frost them, but they were so good by themselves that I opted to serve these on top of scoops of vanilla ice cream. My daughters loved them! 2 for 2 on recipes from your website. Can’t wait to bake next week!
That is so awesome, Katie! I am so glad everyone has enjoyed everything so much! I can’t wait to hear how the next one goes. 🙂
Hi! Can I make the frosting one day ahead? And if so, can I store them in the piping bag? How should I do it please? Will use it for party and I have no time during/before the party. Thank you soooooo much!
Hi Lexi! Unfortunately it will start to harden after a few hours so I don’t recommend trying to keep it overnight. 🙁
Made the cookies last night. They were much easier to make than I expected. Iced them this evening. I have never iced cookies before. They were fun and easy to pipe and flow. Your directions were spot on! I think this will be added to our cookie repertoire. Thank you!
I am so glad you enjoyed them, Wendy! 🙂
Just an FYI…When using a Ziploc bag to pipe…I have found using a FREEZER BAG works the best. It’s a thicker plastic and the seems are stronger.
Thank you so much, Nicole. 🙂
This is an excellent chocolate sugar cookie. Thank you for sharing the recipe!
I am so glad you enjoyed it so much, Alan! 🙂
Hi, could the dough be chilled overnight if I wanted to prep the dough one night and bake them the next evening? (For a school function so thinking this might too much to do all on one school night)
Hi Meera! Absolutely. It will be pretty firm after chilling all that time so it may need to sit at room temperature for 10-15 minutes or so to soften enough to be rollable without cracking. Enjoy!
My cookie cutter is longer then 3inches what’s a good recipe that hold together well
Hi Jerry! This one will hold together just fine. 🙂
Can I make the cookies ahead of time and store them without freezing them? I’m thinking of doing them this coming week and pulling them out of the fridge on Xmas Eve
Hi, Stephanie. I typically only suggest keeping cookies for a week to ensure freshness. 🙂
thanks Sam. Happy Holidays!
Can this cookie dough be frozen?
Hi Dawne. You can freeze it. I would wrap it tightly in cling wrap before placing in the freezer. Enjoy! 🙂
Can gluten free flour be used to make these cookies? Almond flour?
I am sorry, Eva. I am not familiar with using those flours so I can’t be certain if it would work. If you try it out, let me know how it works. ☺️
Hi Sam,
Does the cookie have more like a brownie texture?
Thank you
Hi Monika! It does not, it’s much like a regular sugar cookie only chocolate. I do have this brownie cookie recipe, though, if that’s what you are looking for! 🙂
Thank you! Chocolate is what I’m looking for. 😍 Will definitely be trying this. Thanks again.
I hope you love it!! 🙂
I was just wondering does this frosting spread nicely on the cookies, rather than piping? Also is this frosting softer than Royale icing, which seems to get too hard for my taste.
It’s not really a great spreading frosting, I think it’s a bit too thin for that. It could work, but the results wouldn’t be very neat. And yes it is softer than royal icing, it dries hard but not brittle or crunchy like royal icing. It has a firm finish (the cookies are stackable) but it gives easily to your teeth. I hope that helps!
Hey Sam, thanks so much for answering my question, it definitely helps! I also watched your video on piping the frosting on the cookies. It looks super easy…I will be giving it a try this year for sure.
Thanks again,
Patty 😊
I am so glad the video was helpful, I love to hear that.☺️