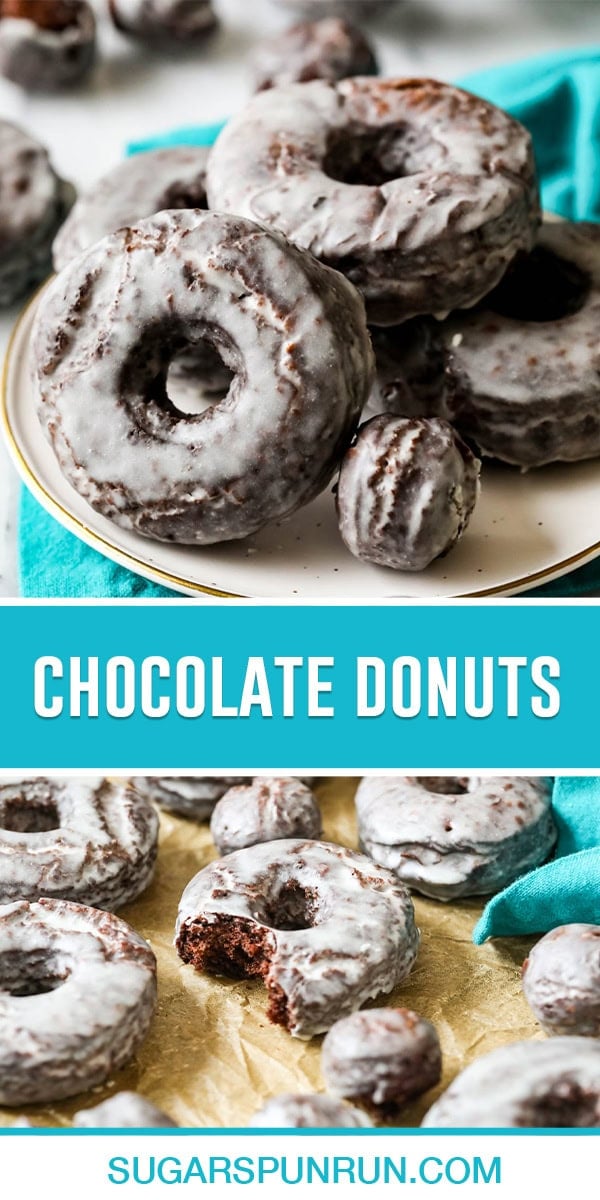
My chocolate donuts are old-fashioned cake donuts made with sour cream and no yeast! We’ll fry them on the stovetop before dunking in a sweet vanilla glaze. Recipe includes a how-to video tutorial!
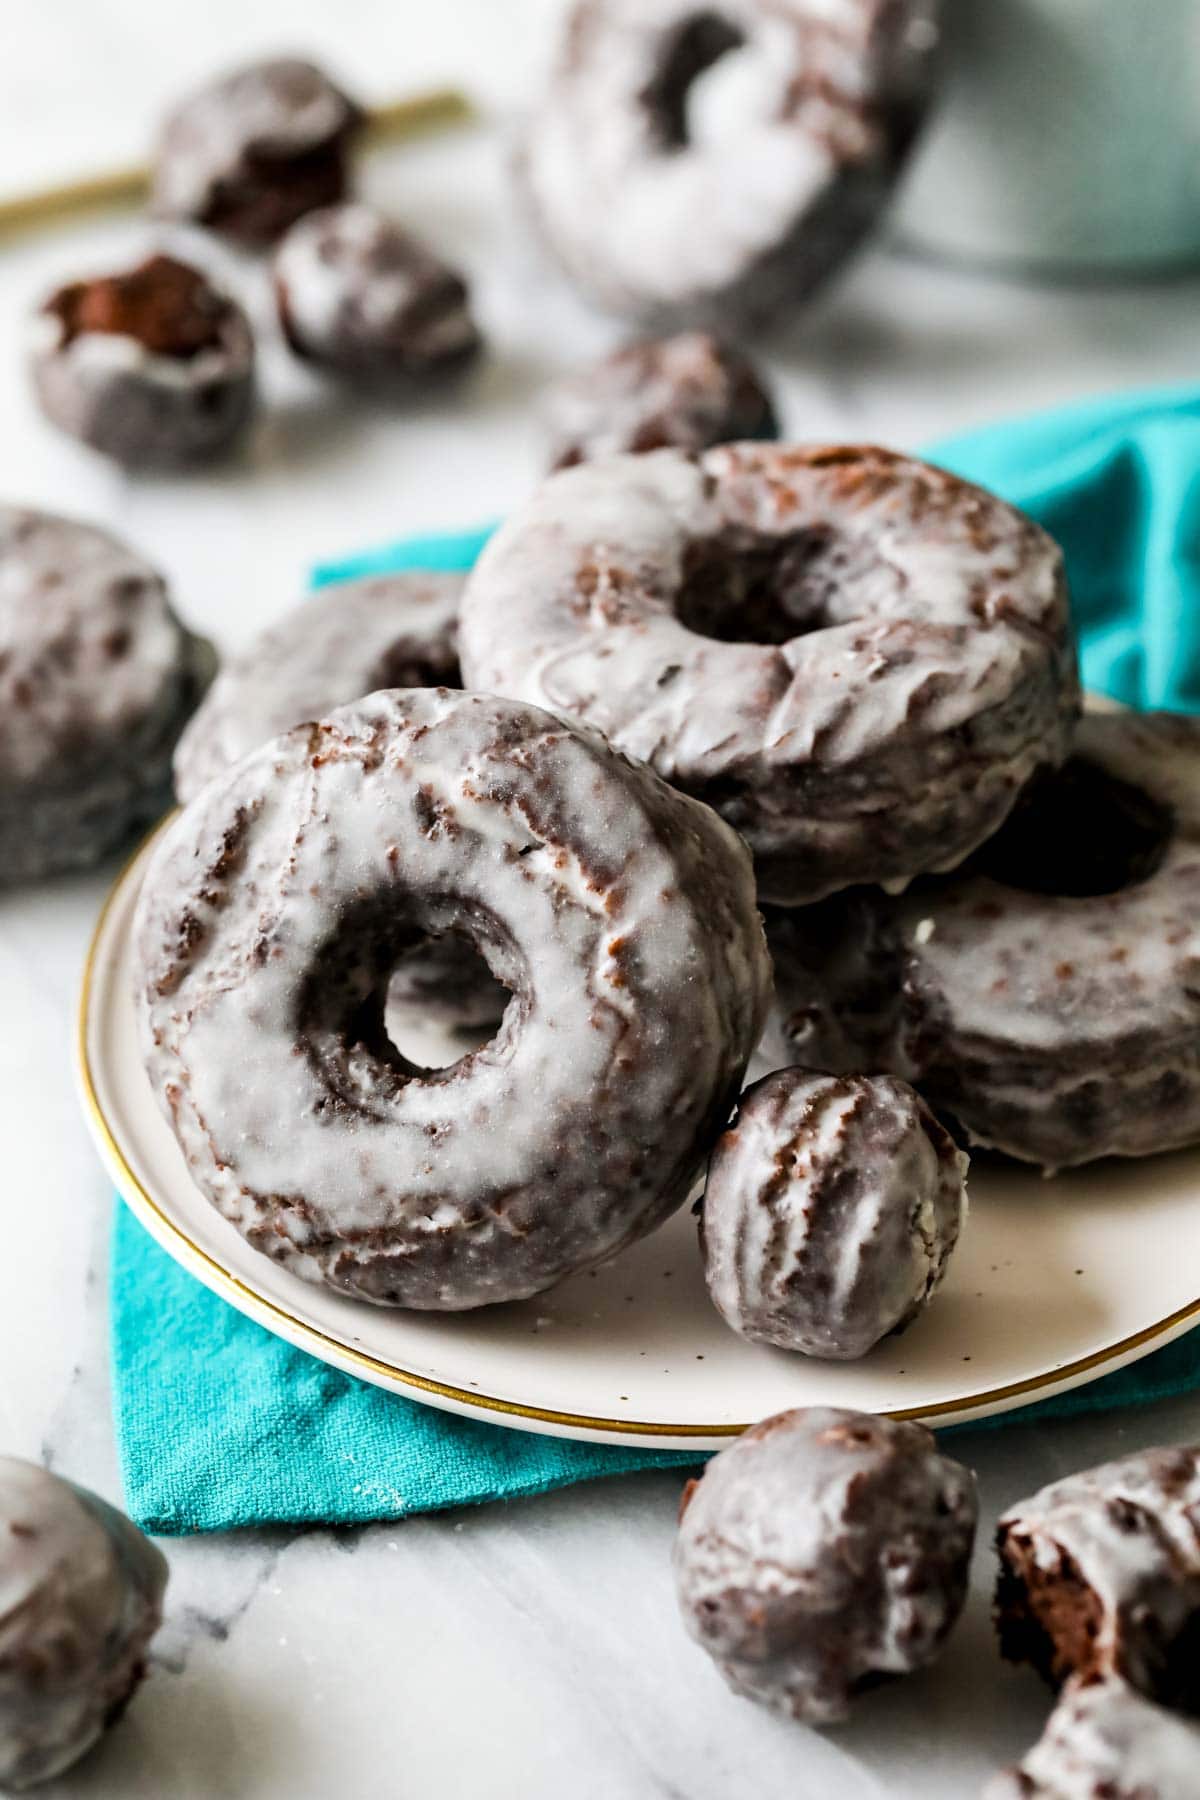
Fried Chocolate Cake Donuts
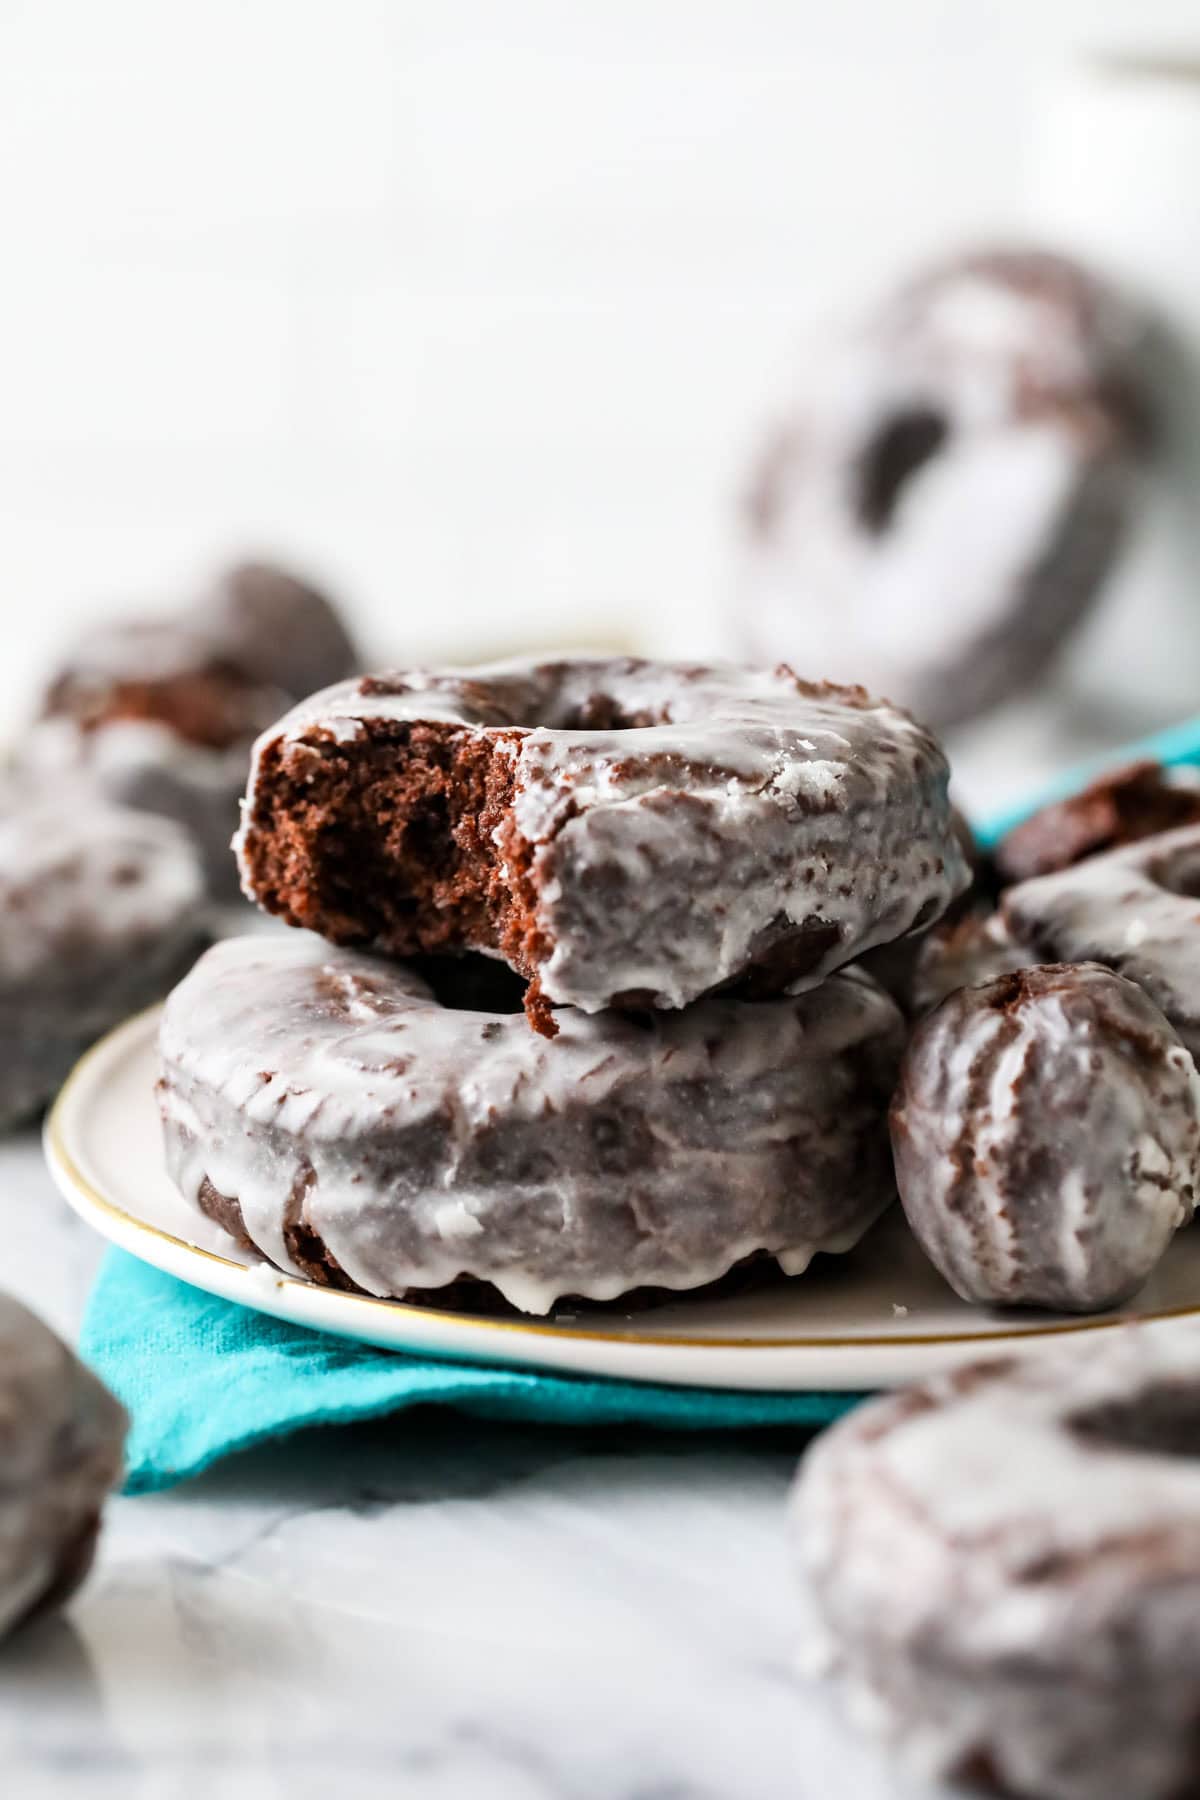
A deeper, darker, and slightly more indulgent variation of my sour cream donuts, these old-fashioned chocolate donuts are an indulgent breakfast treat. They are cake donuts (meaning no yeast needed!) and are perfectly chocolatey with a sleek vanilla coating.
While yeast donuts have a place in my heart, this version is straightforward to make with no complicated techniques or ingredients. Even if you’ve never fried anything before, my recipe is easy enough that you can be successful. And with a warm, tender chocolate donut as the reward, a little bit of effort really isn’t so bad 😉
Why You’ll Love This Recipe
- There’s no rising or kneading required, since they’re made without yeast.
- Moist, tender texture thanks to intentionally selected ingredients like egg yolks and sour cream.
- Rich chocolate flavor (thanks to Dutch cocoa!) that pairs just right with the vanilla glaze.
- Old-fashioned taste and appearance that pairs perfectly with a cup of coffee or glass of milk.
Ingredients
Mostly basics you’ll be familiar with:
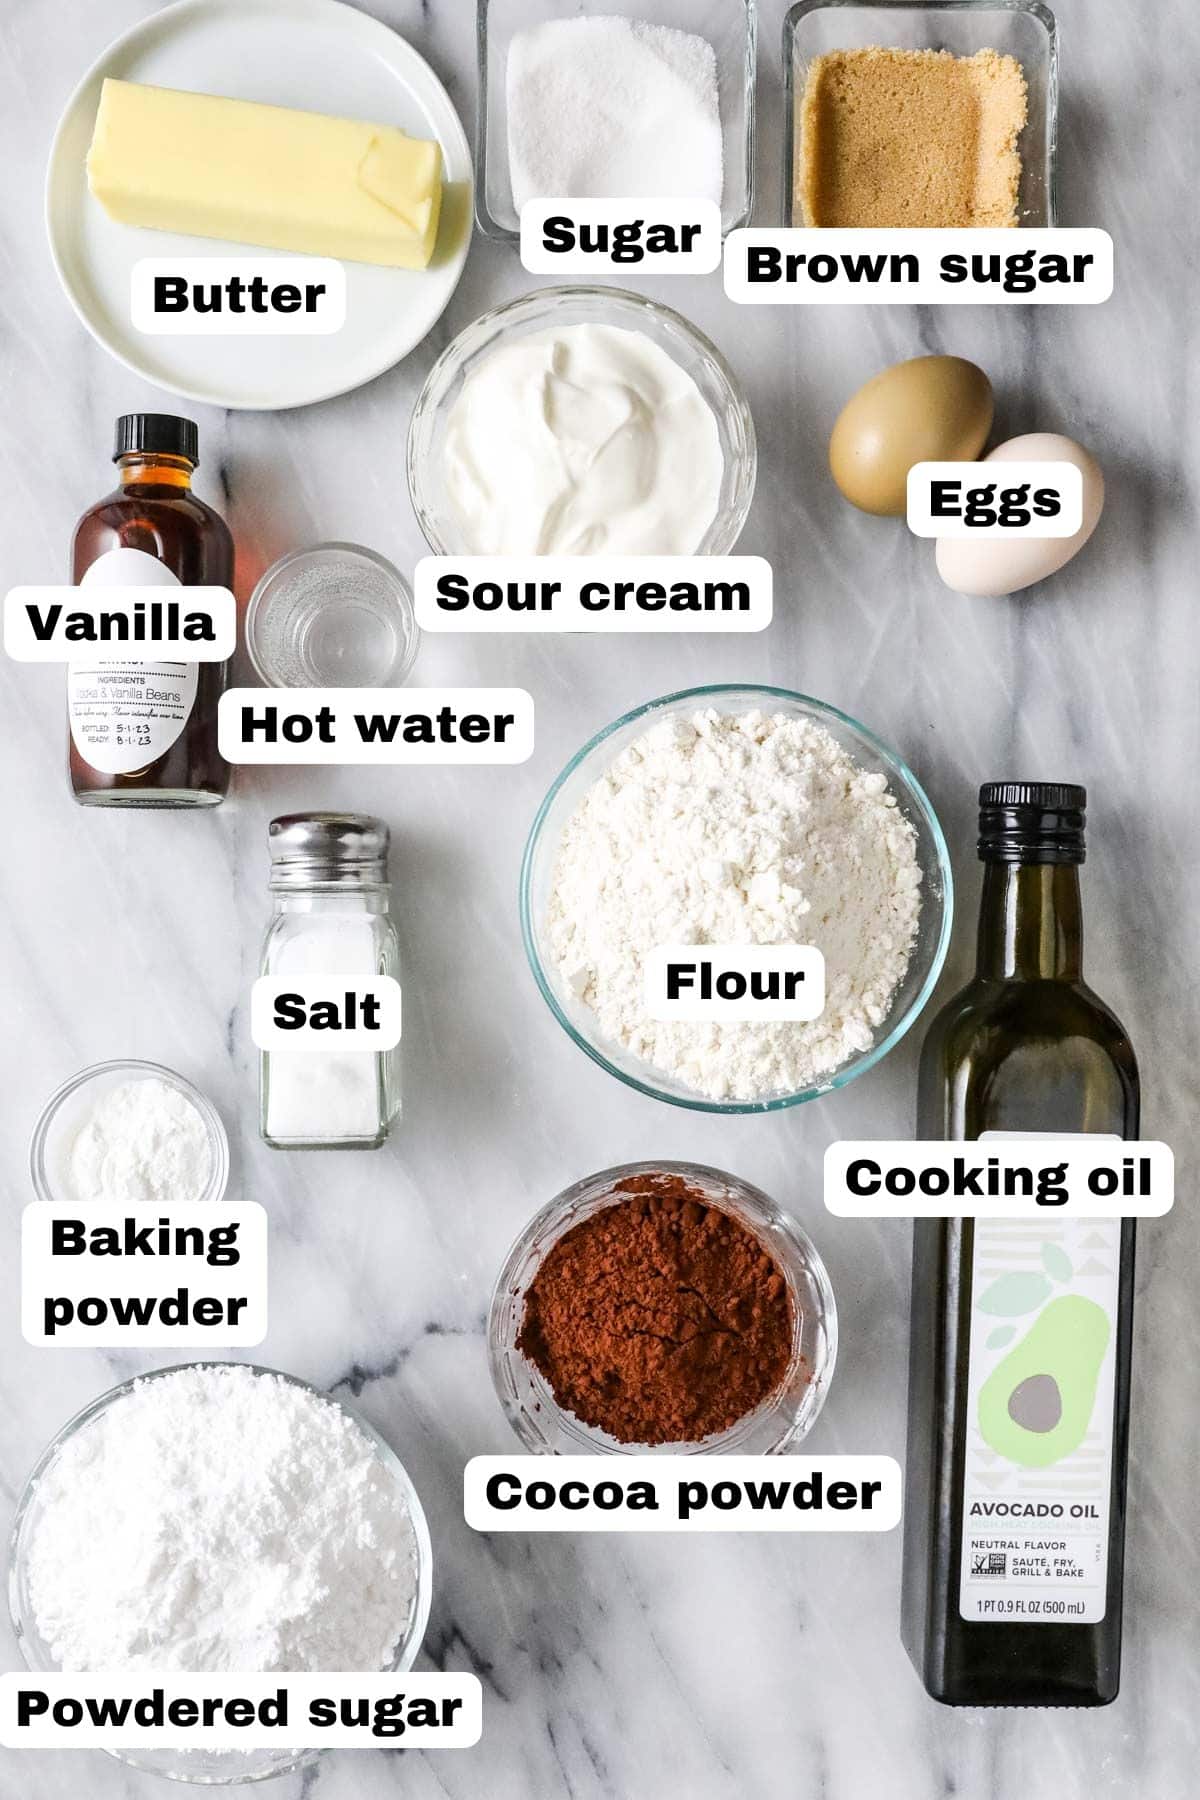
- Cocoa powder. Dutch cocoa works best; it’s smoother and richer than natural cocoa powder, which is more acidic and bitter, and the donuts end up more rich and chocolatey for it. I talk more about the differences between the two in my natural vs. dutch process cocoa powder post.
- Eggs. We use the yolks only for richer, more tender chocolate donuts. You can save the whites for meringue cookies, if you’d like.
- Sour cream. The sour cream does a great job of adding a depth of flavor (though the donuts won’t taste like sour cream). I think you could substitute plain, full-fat Greek yogurt, though I haven’t tried this myself to be sure.
- Butter. I use unsalted butter in the donuts themselves and salted butter in the glaze. If you don’t have salted butter on hand, you can simply add ⅛ teaspoon of salt to the glaze.
- Neutral oil. Any neutral oil (like canola or vegetable oil) will work; I personally use avocado. Since avocado oil is so expensive, I use a smaller pot (so I don’t have to use as much) and fry just one donut at a time. Frying one at a time also helps you maintain your oil temperature easier and allows you to make adjustments if your first donut is too dry or greasy.
SAM’S TIP: As with most recipes, this recipe works best if all of your ingredients are the same temperature. Let your sour cream, butter, and eggs sit out ahead of time so they can warm up. This will make for the easiest mixing and a more uniform dough.
Remember, this is just an overview of the ingredients I used and why. For the full recipe please scroll down to the bottom of the post!
How to Make Chocolate Donuts
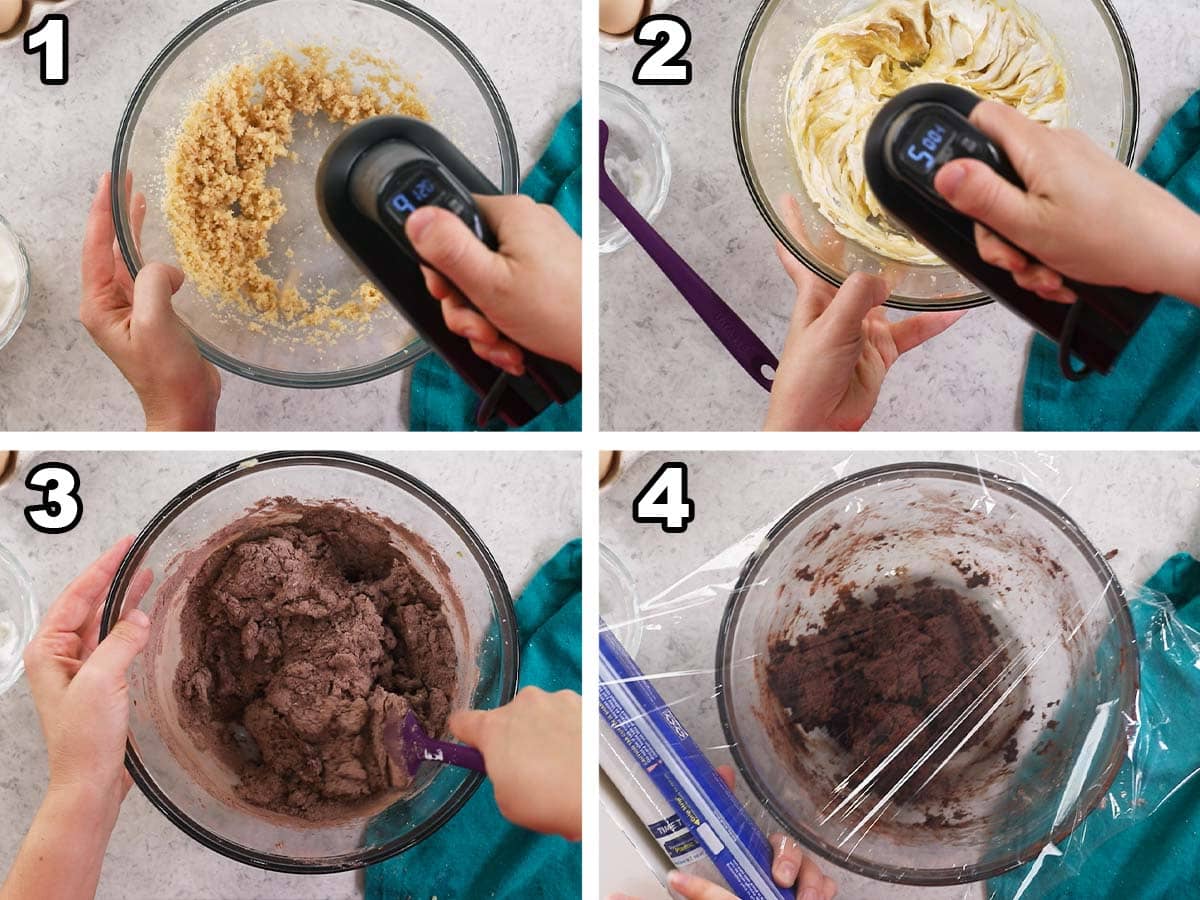
- Cream the sugars and butter with a mixer until well combined, then stir in the egg yolks and vanilla.
- Add the sour cream and keep stirring until you have a uniform batter. I like to pause to scrape the sides and bottom of the bowl here to make sure everything is incorporated.
- Whisk the dry ingredients together in a separate bowl, then use a spatula to gradually add them to the wet ingredients. I do this in three parts, otherwise the dough will be very difficult to manage as it’s quite dry and the wet ingredients need a little time and patience to fully absorb the dry.
- Cover the dough and chill in the fridge. You can do this for up to two days.
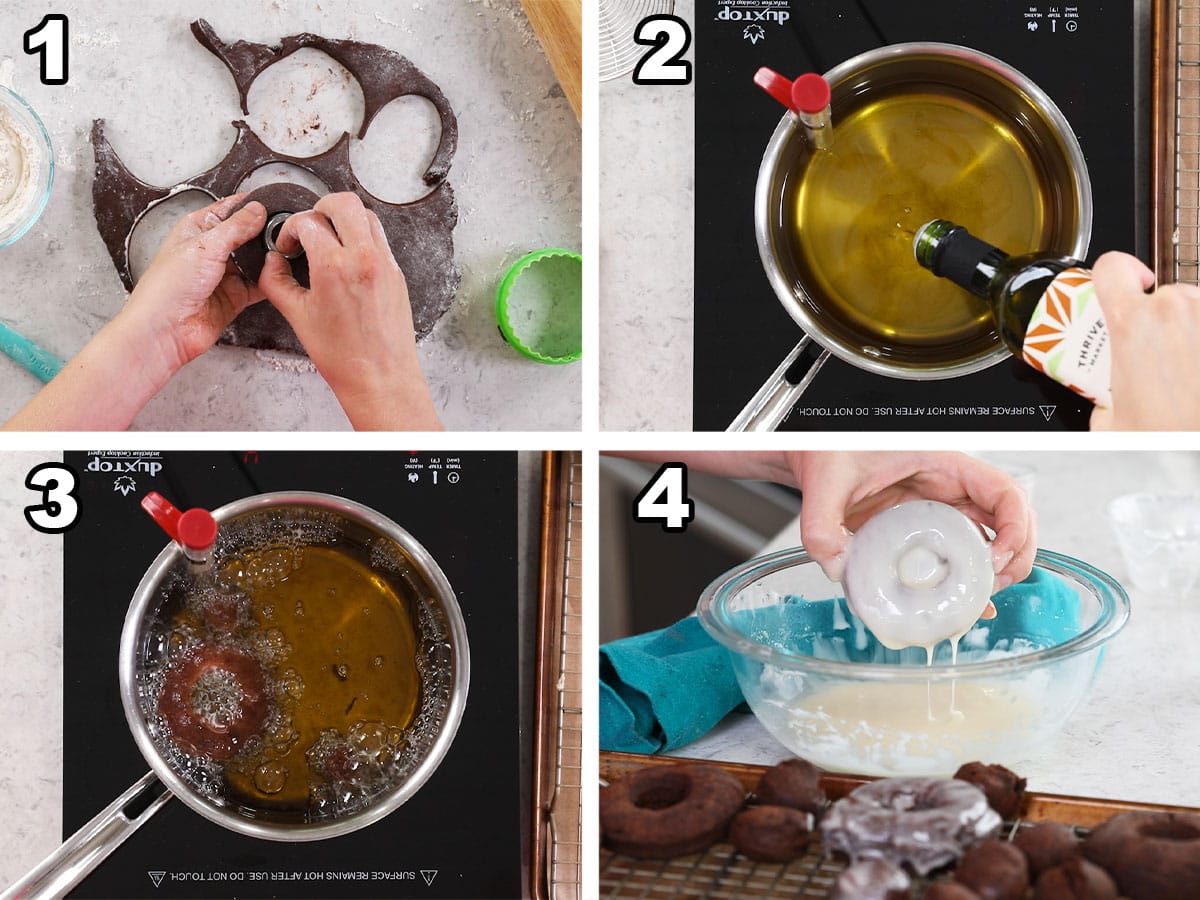
- Roll out the dough and make your cuts (flouring your cookie cutter will help prevent the dough from sticking). Place donuts on a covered baking sheet in the fridge while your oil heats.
- Heat oil in a deep pan over medium heat and use a frying or candy thermometer to make sure it reaches the proper temperature (which is around 350F/175C). Do this slowly–it should take around 15 minutes! Heating the oil too fast makes it difficult to control the temperature and likely that you’ll burn your donuts.
- Fry 1-2 donuts at a time. Make sure you allow the oil to come back to temperature between batches, or you could end up with greasy donuts. Personally, I like to use an instant read thermometer to make sure the internal temperature of each donut reaches 185F before removing to a cooling rack, but alternatively use your first donut as a test to gauge exactly how long it needs to cook.
- Dip in glaze and allow to set (or don’t!) before enjoying.
SAM’S TIP: Use a frying thermometer to monitor your oil temperature! Otherwise the donuts won’t cook properly; I talk more about this in the FAQ section below.

Frequently Asked Questions
This can happen if you fry too many donuts at a time OR if don’t let your oil come back to temperature between batches. The oil cools down too much, so the donuts take longer to cook and start to absorb the oil. This is why it’s so important to use a thermometer and monitor the temperature while you are frying (this applies to everything from donuts and funnel cake to fried pickles and arancini)!
I (strongly!) recommend frying for best results; however, I do include notes for baking as well. Really though, if you don’t want to fry your chocolate donuts, I’d recommend my baked chocolate donuts instead (you can still use the vanilla glaze I shared here).
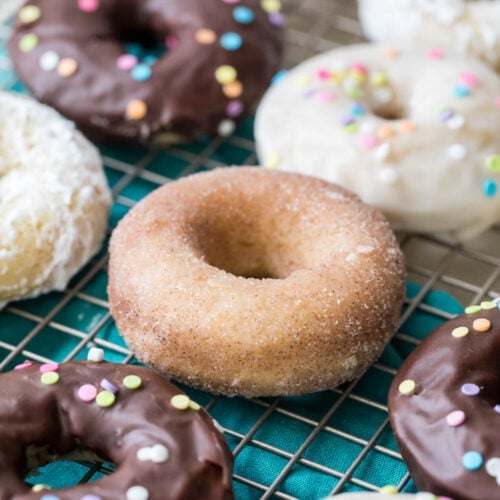
Absolutely! While vanilla glaze is the traditional topping for old-fashioned chocolate donuts, they also taste great topped with powdered sugar, chocolate ganache, or even cinnamon sugar.
If you love old-fashioned recipes try my hot milk cake or chocolate fudge next!
Enjoy!
Let’s bake together! Subscribe to my newsletter to be notified of all the newest recipes, and find my free recipe tutorials on YouTube 💜
Old-Fashioned Chocolate Donuts

Ingredients
For the chocolate donuts
- 3 Tablespoons (43 g) unsalted butter softened
- ¼ cup (50 g) granulated sugar
- ¼ cup (50 g) light brown sugar firmly packed
- 2 large egg yolks
- 2 teaspoons vanilla extract
- ⅔ cup (160 g) sour cream
- 1 ⅔ cups (210 g) all-purpose flour
- ½ cup (50 g) Dutch process cocoa powder
- 2 teaspoons baking powder
- ½ teaspoon table salt
- Neutral cooking oil for frying (I use avocado, vegetable, or canola oil)
For the glaze
- 1 ½ cups (190 g) powdered sugar
- ¼ cup (56 g) salted butter melted (or use unsalted butter with ⅛ teaspoon salt)
- 2-3 Tablespoons (30-40 ml) hot water
- ½ teaspoon vanilla extract
Recommended Equipment
Instructions
For the donuts
- Combine butter and sugars in a large mixing bowl and use an electric mixer to beat until creamy and well-combined.3 Tablespoons (43 g) unsalted butter, ¼ cup (50 g) granulated sugar, ¼ cup (50 g) light brown sugar
- Add egg yolks and vanilla extract and beat well.2 large egg yolks, 2 teaspoons vanilla extract
- Add sour cream and stir again until batter is uniform. Be sure to scrape the sides and bottom of the bowl to ensure all ingredients are well-combined.⅔ cup (160 g) sour cream
- In a separate, medium-sized mixing bowl whisk together flour, cocoa powder, baking powder and salt until well-combined.1 ⅔ cups (210 g) all-purpose flour, ½ cup (50 g) Dutch process cocoa powder, 2 teaspoons baking powder, ½ teaspoon table salt
- Gradually add the dry ingredients to the wet (I do this in three parts) and use a spatula to gently stir together until ingredients are completely combined (again, scrape the sides and bottom of the bowl to ensure everything is nicely incorporated).
- Cover bowl tightly with plastic wrap and refrigerate for at least one hour or up to 48 hours.
Cut Donuts
- Once dough has chilled, remove from the refrigerator and turn out onto a clean, lightly floured surface. Use a rolling pin to roll to about ½” (1.3cm) thickness and use a 3” (7.5cm) donut cutter to cut out donuts (and donut holes, we fry these separately as well). Gather any dough scraps and re-roll to get as many donuts as possible from the dough.
- Place donuts on a parchment paper lined baking sheet, cover loosely with plastic wrap, and return to the refrigerator while you heat your oil.
Frying
- Fill a medium-sized saucepan about 2” (5cm) deep with cooking oil and fit a frying thermometer to the side (make sure it is suspended midway through the oil and not touching the bottom). Heat the oil over medium heat until it reaches 350-360F (175-185C) (this should take around 15 minutes or so, don’t heat the oil too rapidly or the donuts may not cook properly).Neutral cooking oil
- When oil has reached temperature, remove donuts from the refrigerator. Working with just one or two donuts at a time, carefully lower into oil (I use a frying spider) and cook for about 60-90 seconds per side. Use tongs or a frying spider to carefully remove from the oil to a paper towel lined wire rack. I recommend letting the first donut cool for several minutes and then checking the interior to make sure it is cooked properly through (should not be gooey inside nor should it be crumbly, adjust your frying time if needed). You may also use an instant read thermometer and look for an internal temperature of 185F (85C) to know the donuts are done.
- Repeat with remaining donuts, being sure to allow the oil to return to the proper temperature for baking. Note that donut holes will cook much faster than whole donuts. Allow donuts to cool slightly while you prepare the glaze.
For the glaze
- Combine powdered sugar, melted butter, 2 Tablespoons (30ml) hot water and vanilla extract in a small bowl and whisk until smooth. Check consistency, it should be thin and drizzle easily off the spoon. If it’s too thin, add more powdered sugar, if too thick add a bit more water.1 ½ cups (190 g) powdered sugar, ¼ cup (56 g) salted butter, 2-3 Tablespoons (30-40 ml) hot water, ½ teaspoon vanilla extract
- Dip each donut and donut hole in the glaze then place on a wire rack to allow the glaze to become firm before enjoying.
Notes
Storing
These are best enjoyed fresh the same day they are made, however they will keep for several days in an airtight container at room temperature.Baking
Place donuts on a parchment paper lined baking sheet and bake in the center rack of a 375F (190C) preheated oven for 8-10 minutes.Nutrition
Nutritional information is based on third-party calculations and should be considered an estimate only. Actual nutritional content will vary based upon brands used, measuring methods, cooking method, portion sizes, and more.



Donna
Can the chocolate glazed doughnuts be made with gluten free flour?
Sam Merritt
Hi Donna! Unfortunately, I have not tried a gluten free flour so I can’t say for sure. I would think a 1:1 gluten free flour would be your best bet. If you do try this I would love to know how they turn out. 🙂
Gen
Is there any way to make these vanilla / plain with the glaze? My husband wants chocolate, my son wants vanilla. Am I able to just omit the coco powder and substitute flour?? Thank you! LOVE your page 🙂
Sam
Hi Gen! I do have a sourcream donut that is pretty similar that you could try. 🙂
Tricia
Thank you, Sam! Your recipes and your instruction style are the BEST! Thank you from a serious donut lover. I appreciate all you do to share your expertise!
Sam
You’re welcome, Tricia! I’m so glad you enjoyed them so much! 🙂
Lauren
Question: instead of full size donuts, can it be made into donut holes?
Sam
Sure thing!