My classic New York cheesecake recipe makes a rich and creamy cheesecake with a smooth sour cream topping. There is NO water bath needed for my recipe! Recipe includes a how-to video!
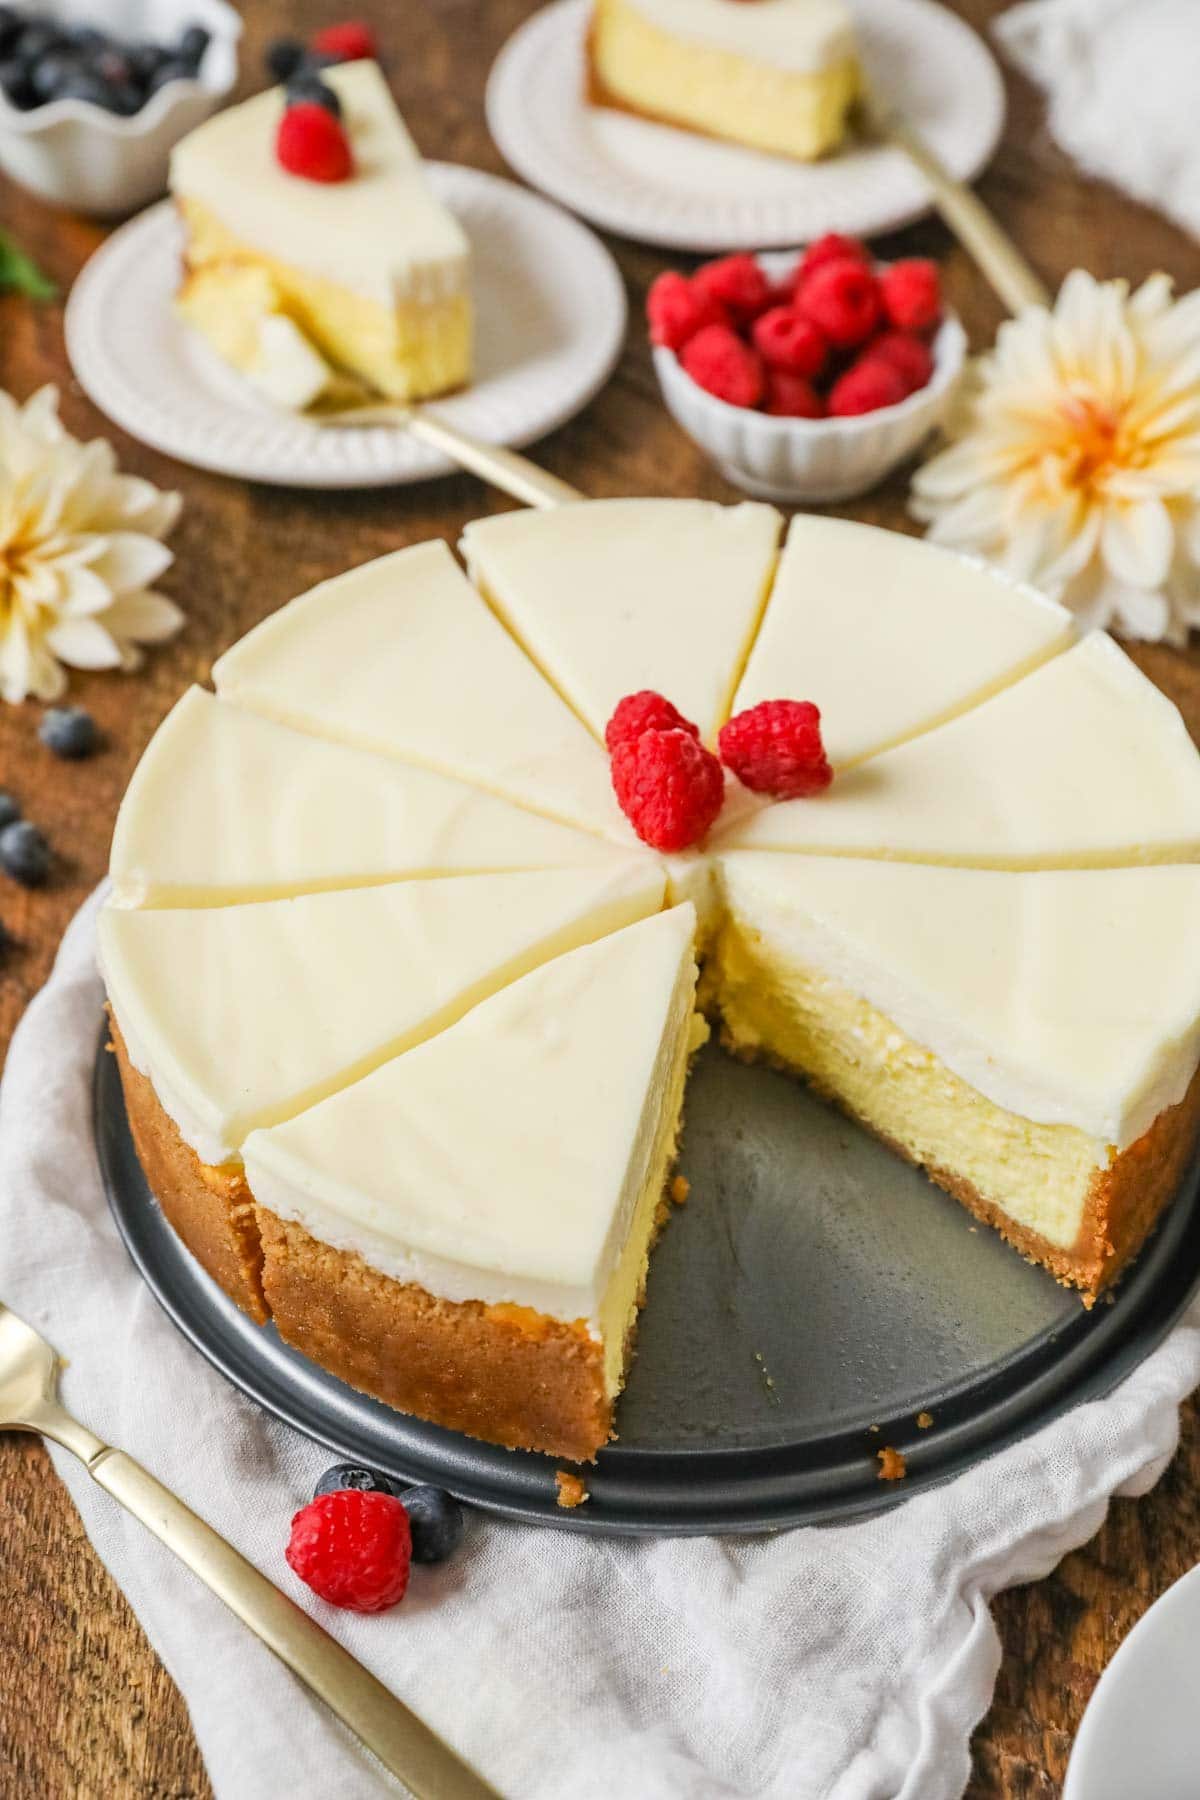
Cheesecake With Sour Cream Topping
A must-have for your holiday dessert table, this New York cheesecake is straight from my grandmother’s recipe book. She’s been making it for decades, and it’s been a beloved family staple for generations. Everyone in my family looks forward to it during the holiday season (among many of her other recipes, like sand tarts, apple dumplings, and coconut cake)!
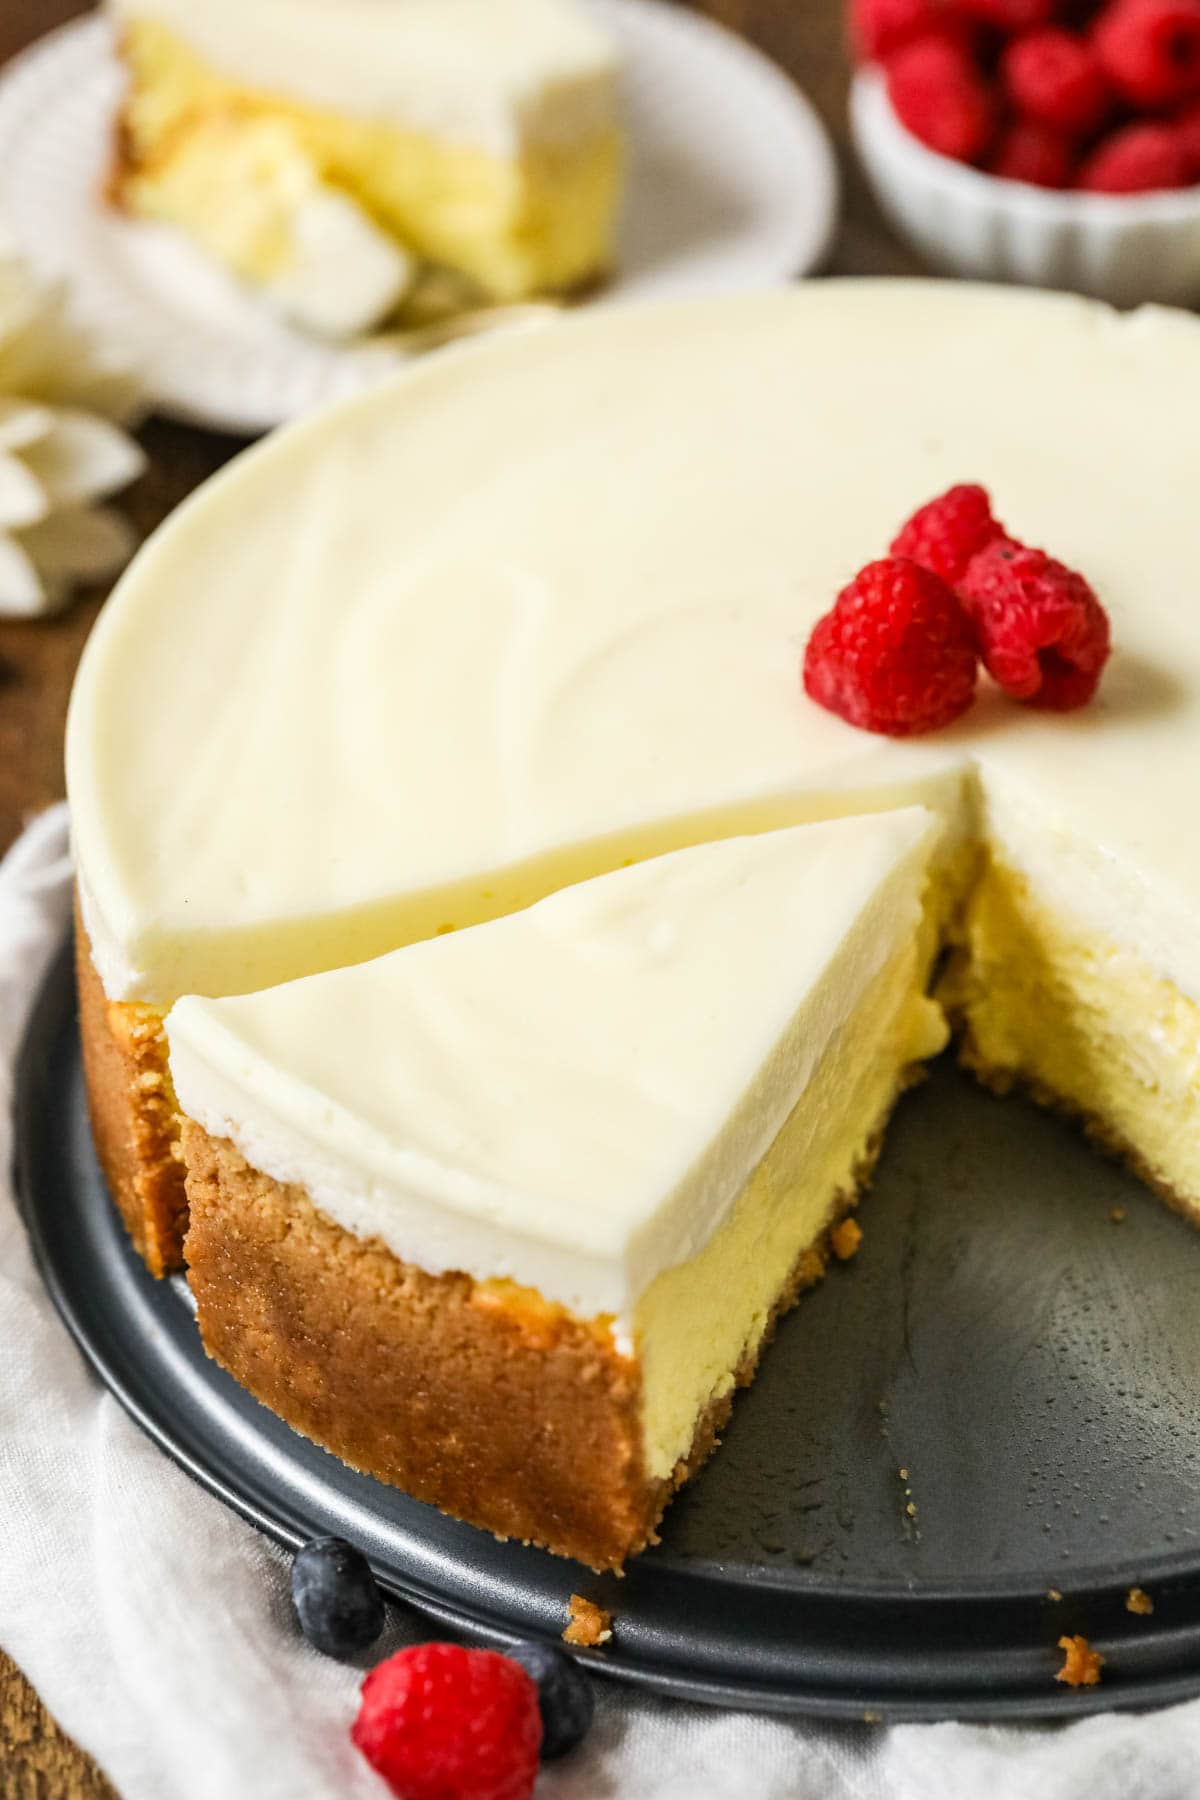
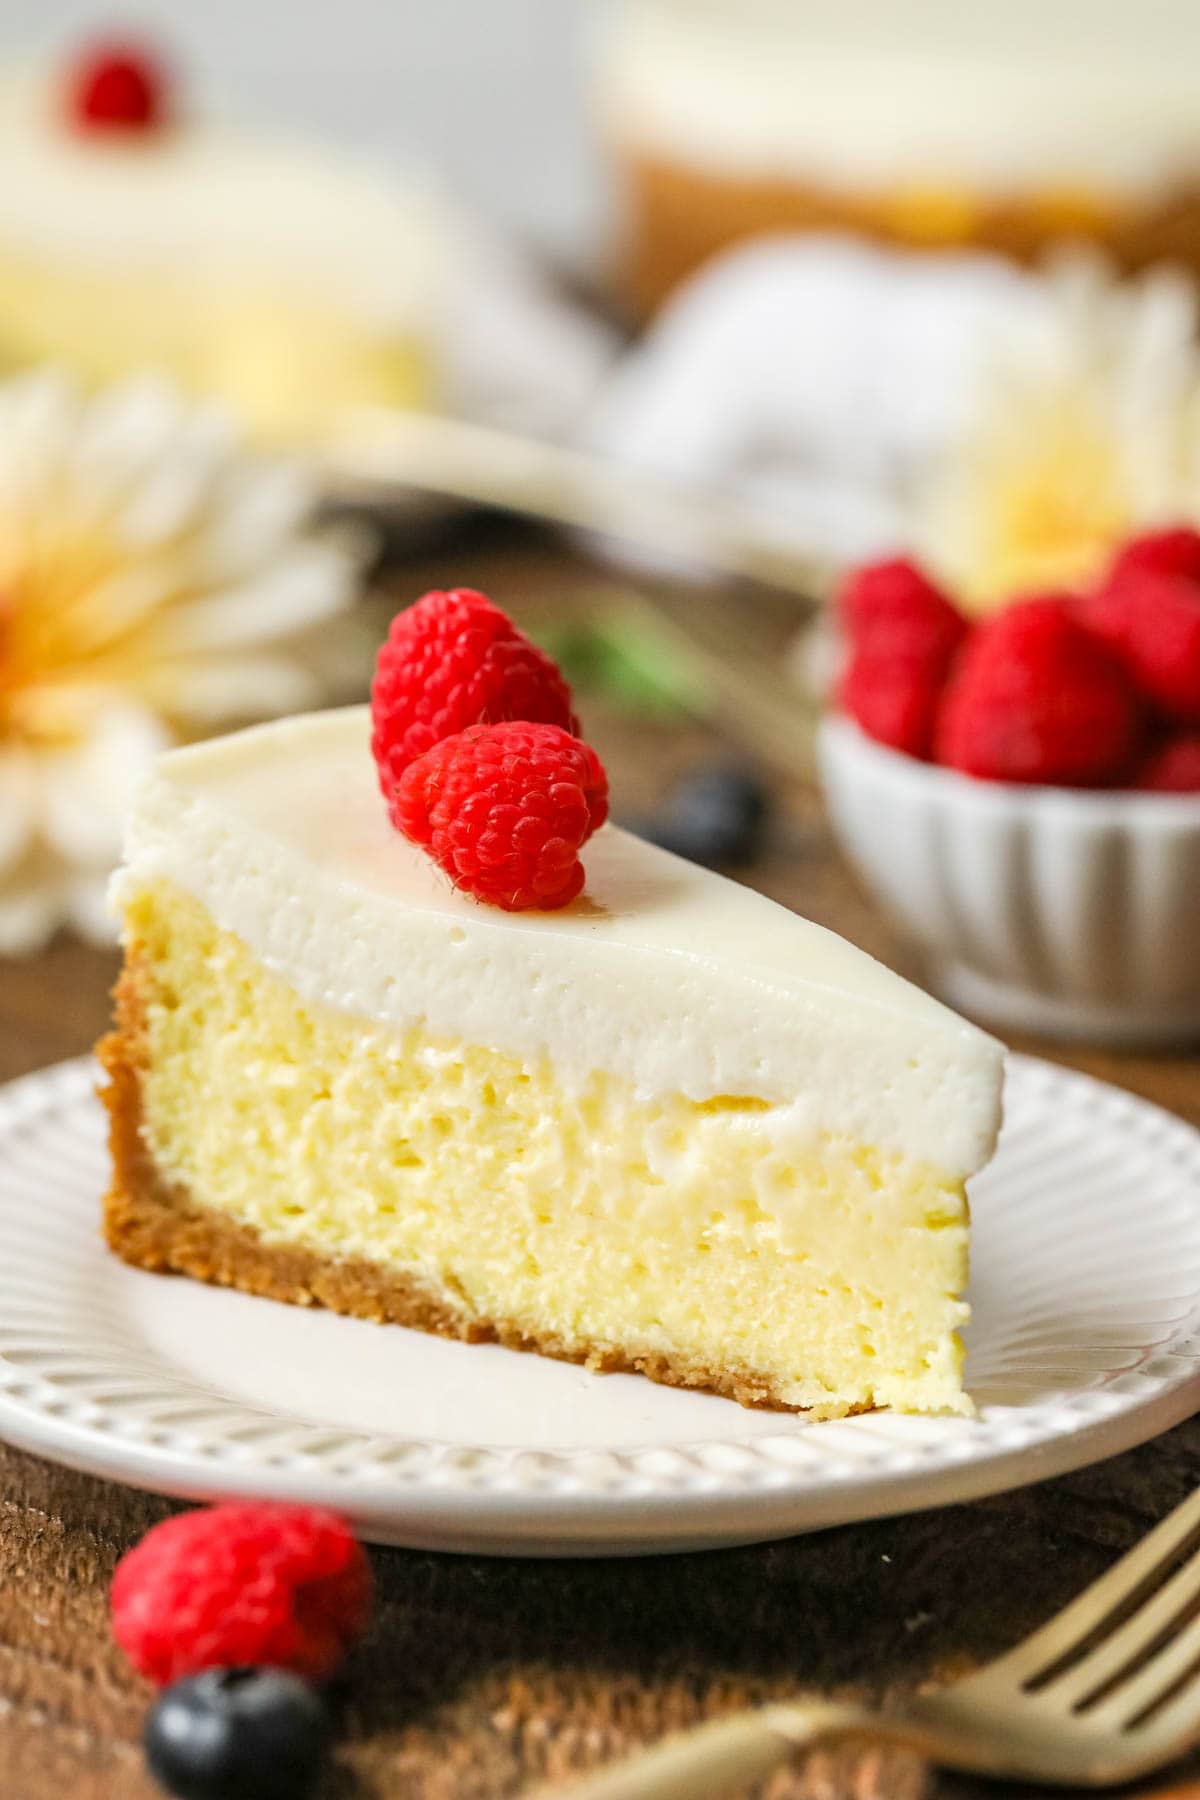
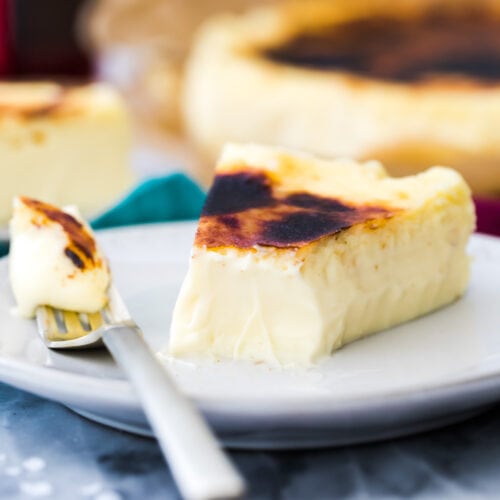
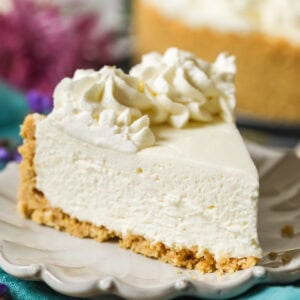
Compared to my classic cheesecake, this is quite a bit different, but it’s so good. It has a rich custardy filling and crumbly crust (both of which are different from my other recipe), but the real star here is the sour cream topping. It’s smooth and sweet, and it just so happens to hide any cracks that might happen during baking–it’s magic ✨
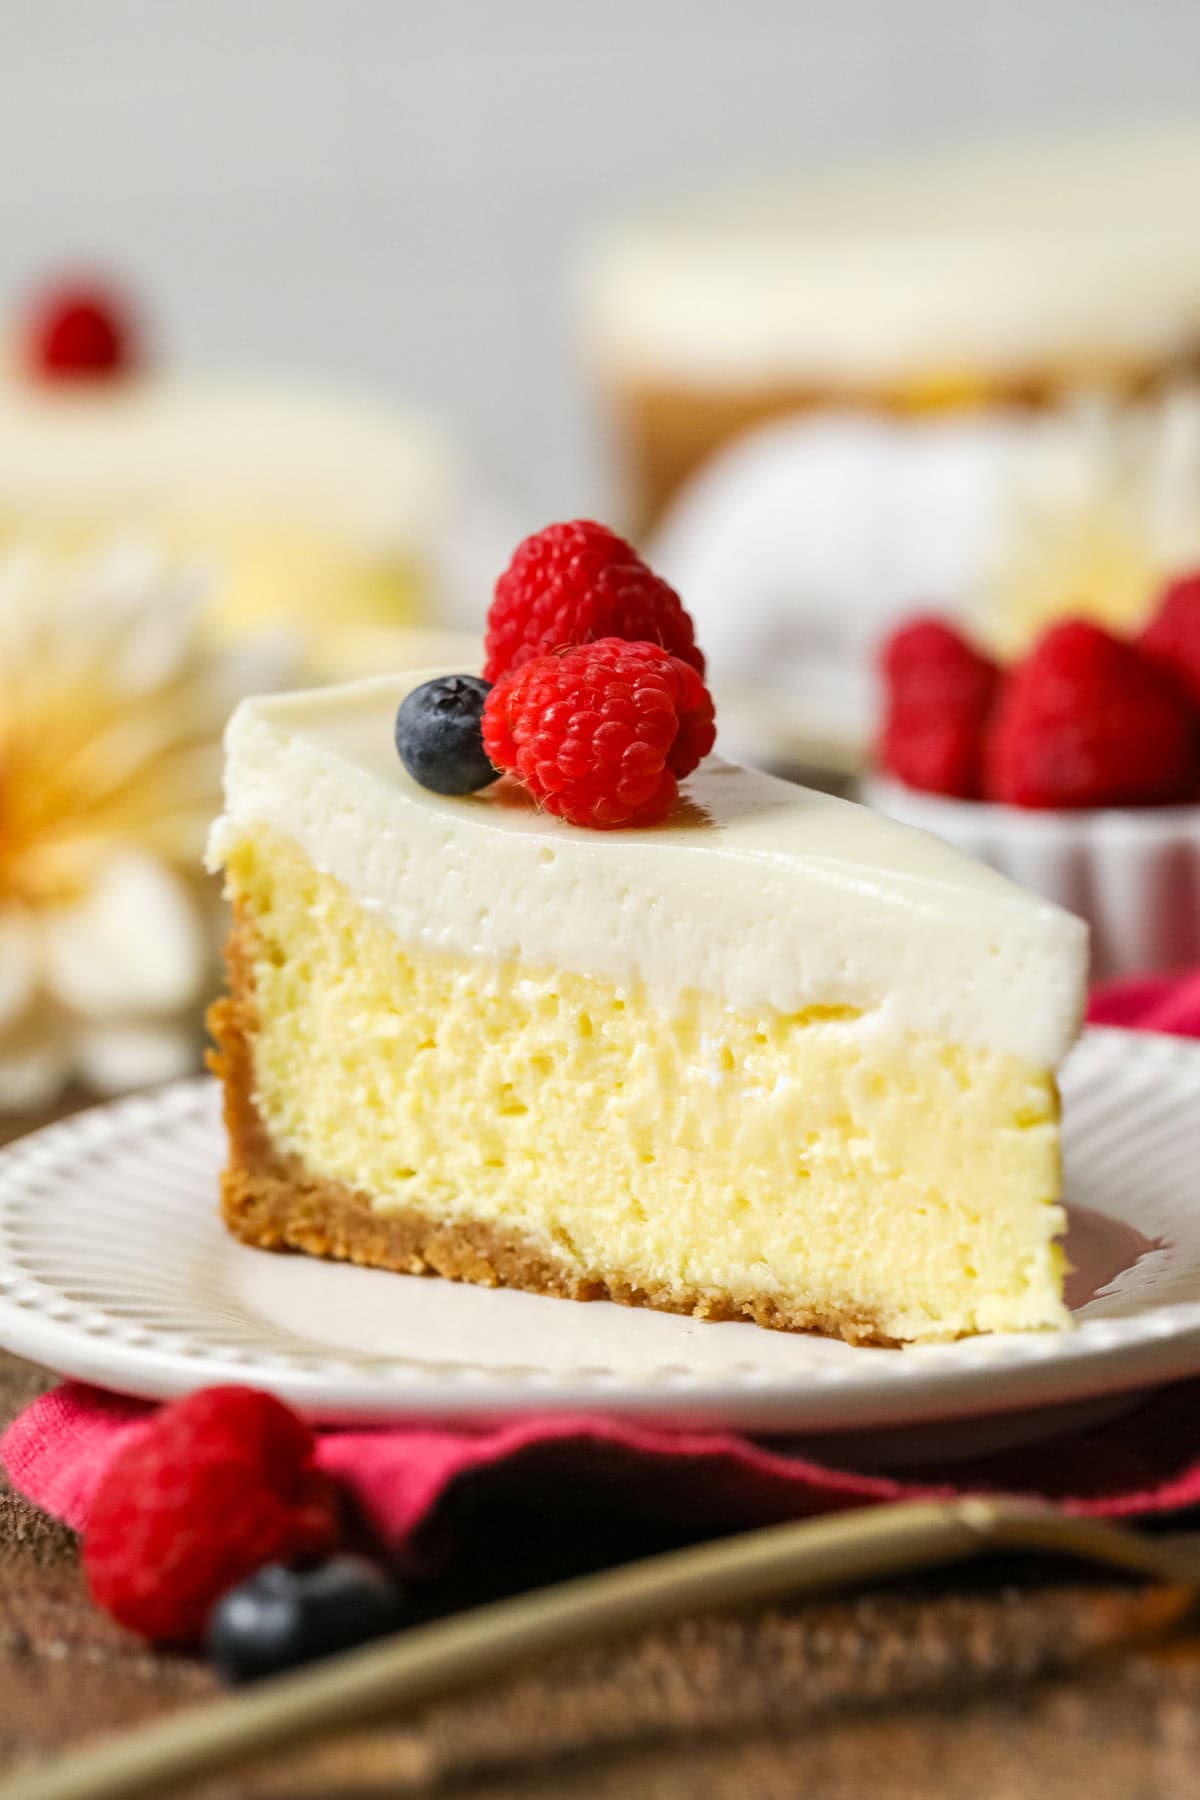
Why You’ll Love This Recipe
- NO FUSSY WATER BATH NEEDED! Just like the rest of my cheesecake recipes, we are skipping the water bath today. I rarely have issues with my cheesecakes cracking, and that’s because I follow my basic cheesecake tips mentioned throughout this post (and even if it does crack, you’re going to be covering it anyway!).
- Can be baked in a 9 or 10″ springform pan. My grandmother always made this in a 10″ pan, but I usually stick with my 9″ pan. Note that if you do use a 10″ pan, your bake time will likely be closer to 60 minutes.
- Perfect for making ahead of time, since it needs to chill for several hours (or preferably, overnight!).
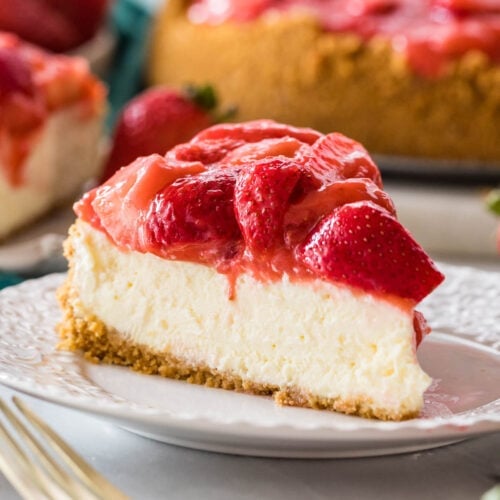
- Stands on its own beautifully, but can also be dressed up with your favorite fruit or other topping (we love it plain, but like to get fancy with strawberry sauce or raspberry sauce, whipped cream, hot fudge sauce or salted caramel sauce.
Also, while my family calls this a New York style cheesecake, I know there are many different opinions on what New York cheesecake really is. I talk more about this below and would love to know if you agree!
Ingredients
Before we begin, let’s talk about a few of the important ingredients in my recipe. Don’t skip this section if you are a beginner cheesecake baker!
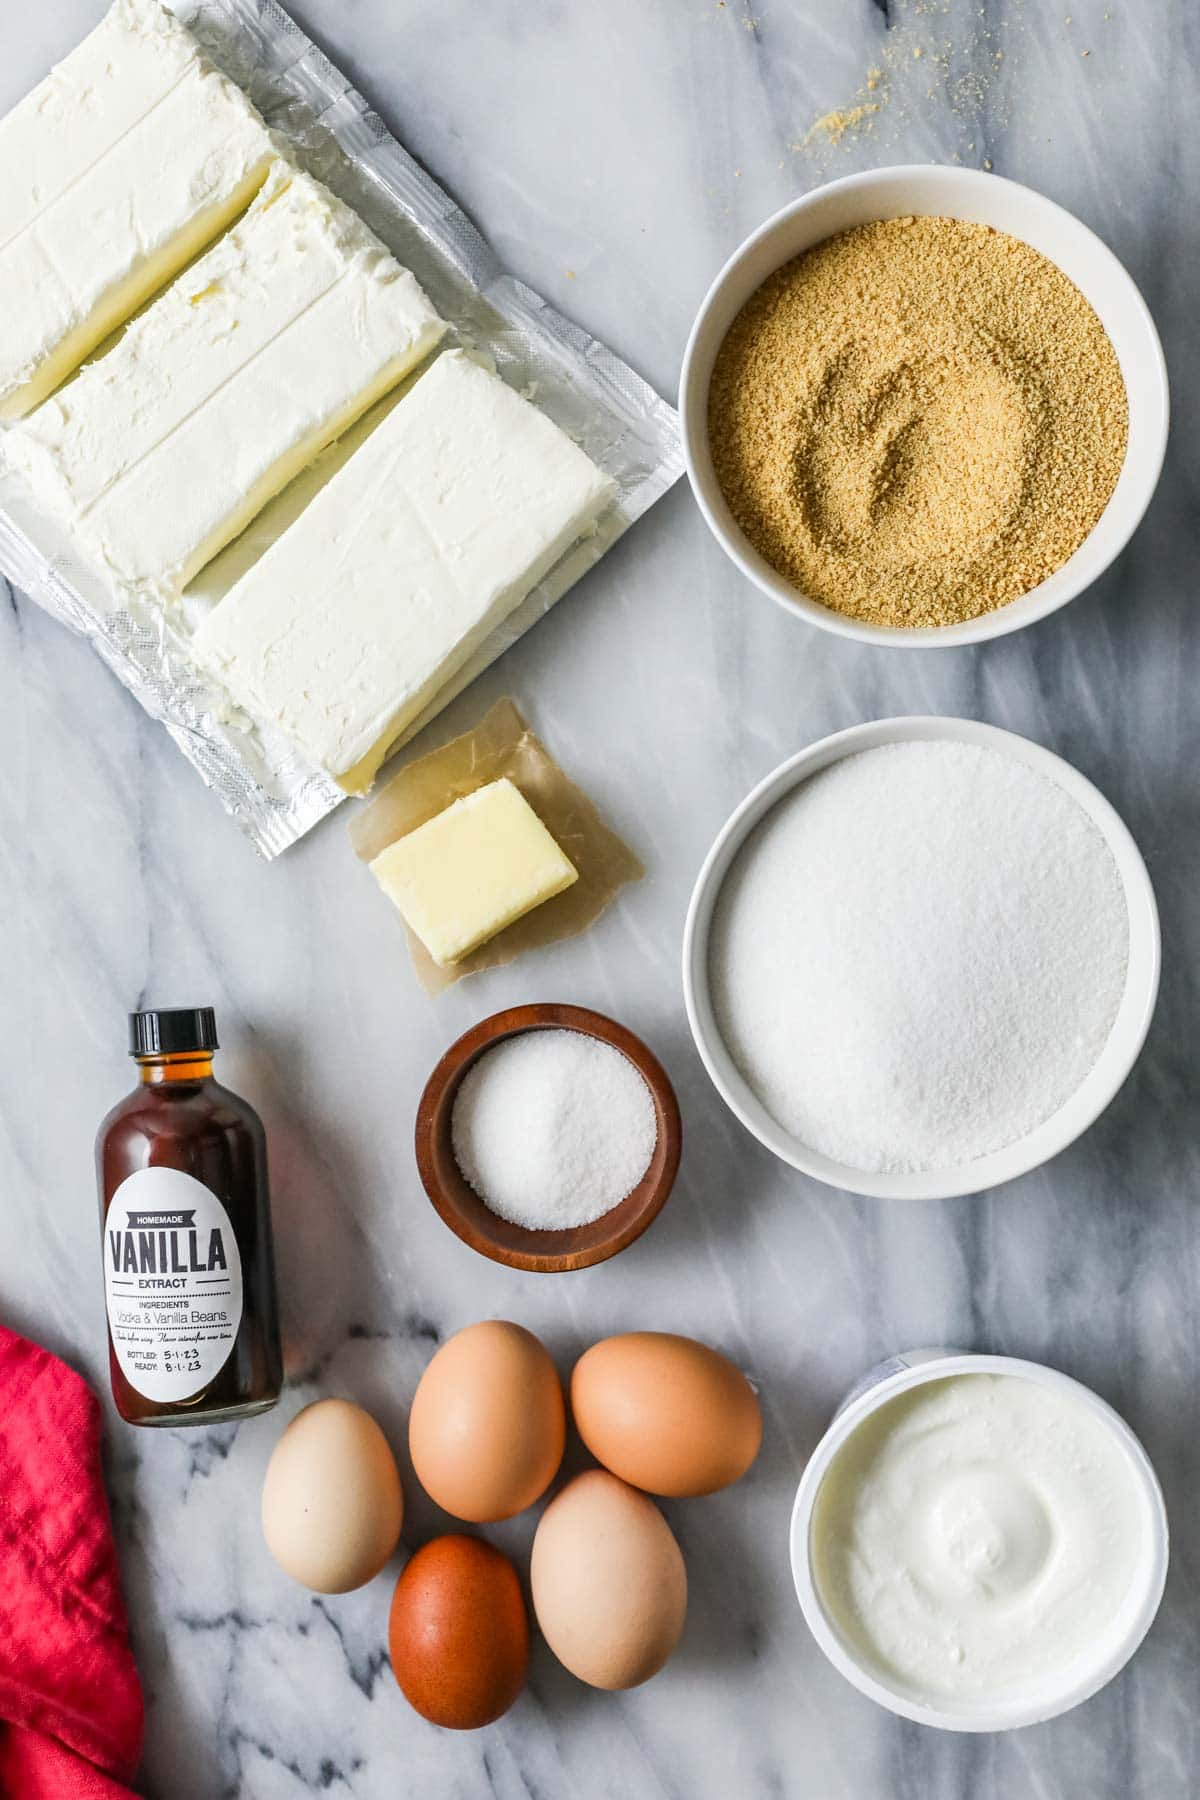
- Sour cream. You will need a pint of full-fat sour cream for the topping. I haven’t tried this recipe with full-fat plain Greek yogurt, but I have strong suspicions it would work.
- Cream cheese. We are using three bricks of cream cheese for this recipe. Just like when making my turtle cheesecake or blueberry cheesecake, it’s SO important that you do not use low-fat or spreadable cream cheese! Make sure this has softened to room temperature before beginning; I talk about why this is so important below.
- Vanilla extract. Regular vanilla will work, but I especially love my homemade vanilla extract in this recipe–the little flecks of vanilla beans are so pretty!
- Eggs. I recommend making sure that your eggs are at room temperature before beginning, and be very gentle when adding them to the batter. Over-mixing the eggs can be so detrimental to cheesecake!
- Butter. Today’s crust uses less butter than my standard cheesecake crust. This particular cheesecake filling is very liquidy, so using a more dry crust minimizes the chances of leaking and having a soggy bottom.
SAM’S TIP: It is so important for all of your cold ingredients to be at room temperature. Cold cream cheese will be difficult to mix and almost always results in a lumpy texture. Cold eggs are an even bigger problem and will require much more effort to incorporate them into the batter. This can cause all sorts of issues, from a sunken cheesecake to a mealy texture.
This is just an overview of the ingredients I used and why. For the full recipe please scroll down to the bottom of the post!
How to Make New York Cheesecake
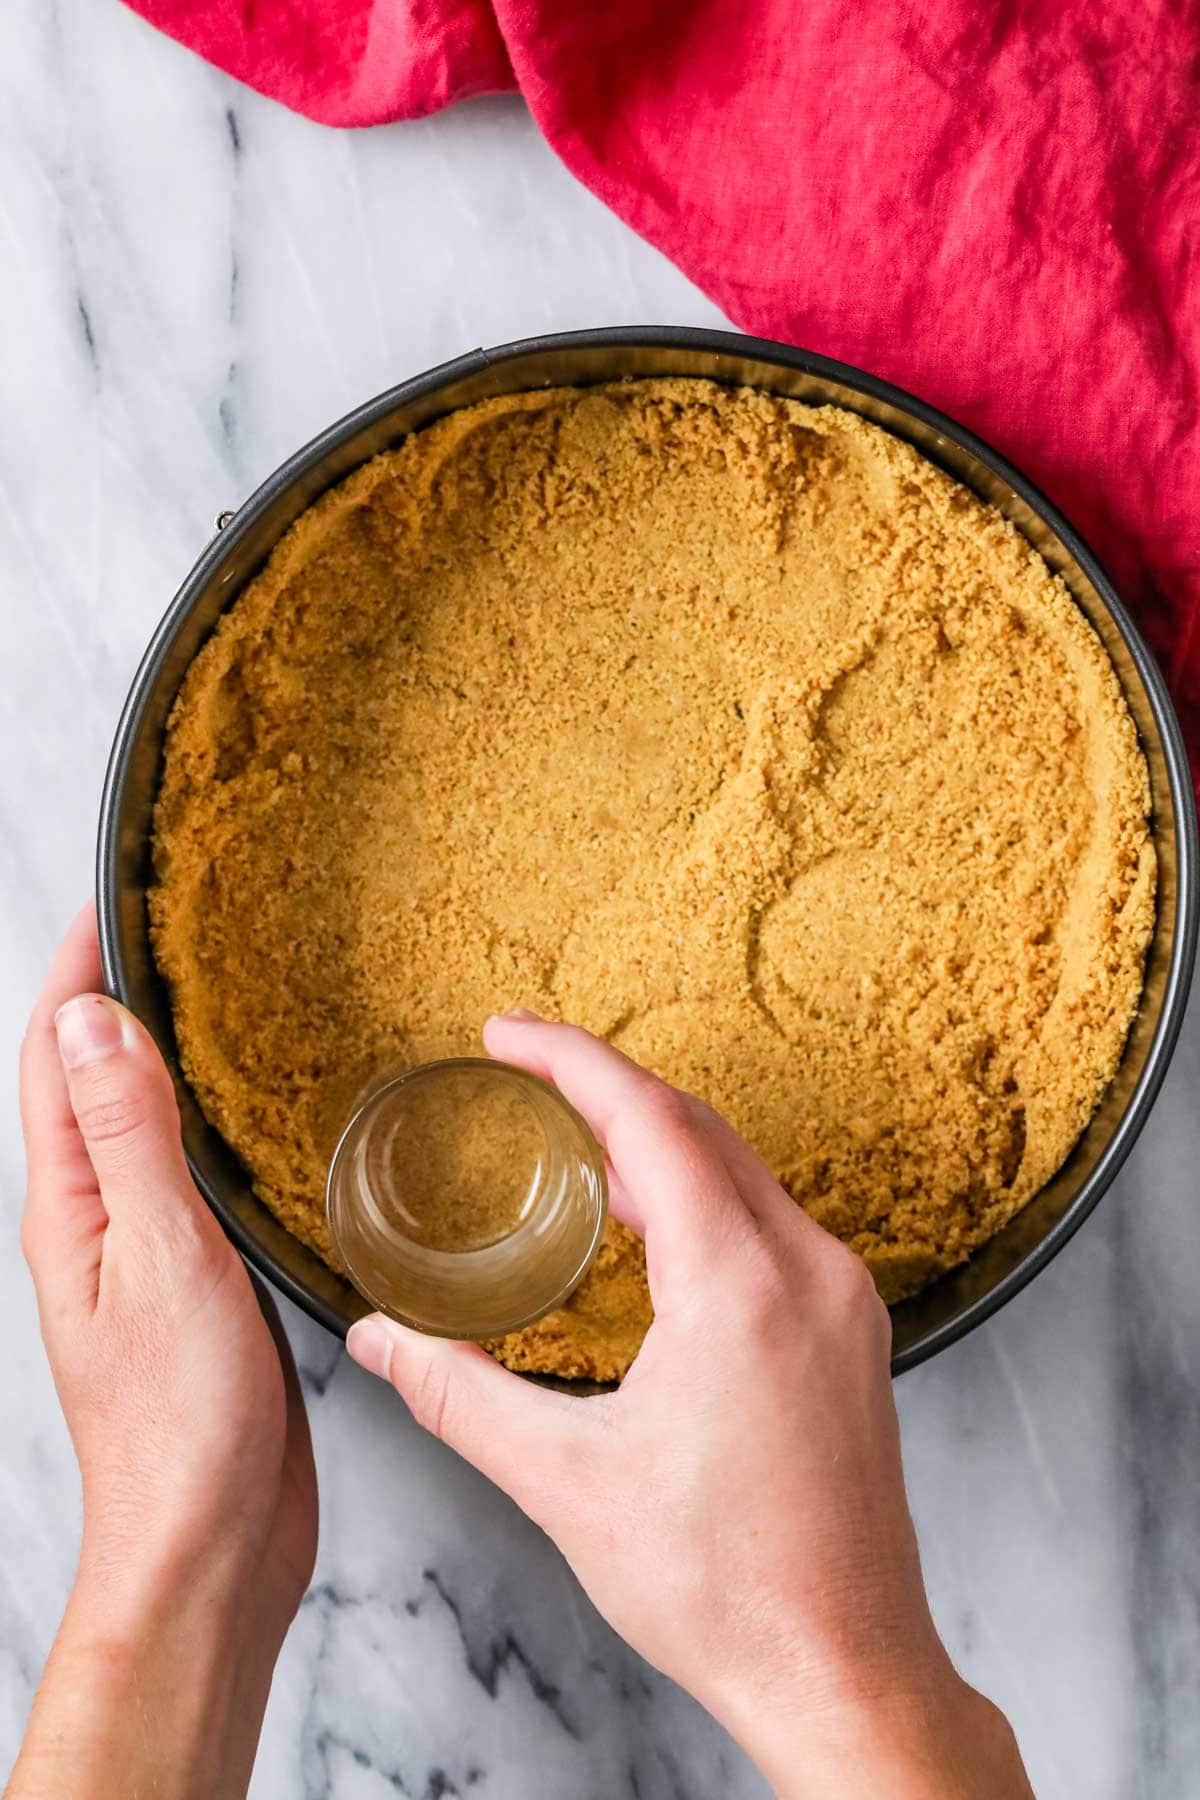
Make the crust
Stir together the graham cracker crumbs and sugar until combined, then stir in the melted butter (make sure it’s cooled down first!). When everything is properly combined, the crumbs will be lightly moistened and the mixture will seem sandy.
This particular crust is a bit more crumbly than my other cheesecake crusts and my go-to graham cracker crust, so you may not be able to press it has high up the sides as usual (though if you can, it will help prevent cracks). Set aside while you prepare your filling–there is no need to pre-bake the crust.
With many of my cheesecakes (like my chocolate cheesecake and pumpkin cheesecake), I usually recommend you press the crust as high up the sides of the springform pan as you can to prevent cracks, but it’s really not necessary here. In fact, my mom and grandmother (who have made this recipe for years) usually don’t. It’s honestly quite difficult to press this crust up the sides, since it’s so crumbly before it is baked. Luckily, cracks rarely happen with this recipe, and even if they do, we’re going to be hiding them with the sour cream topping. All this to say — don’t stress it!
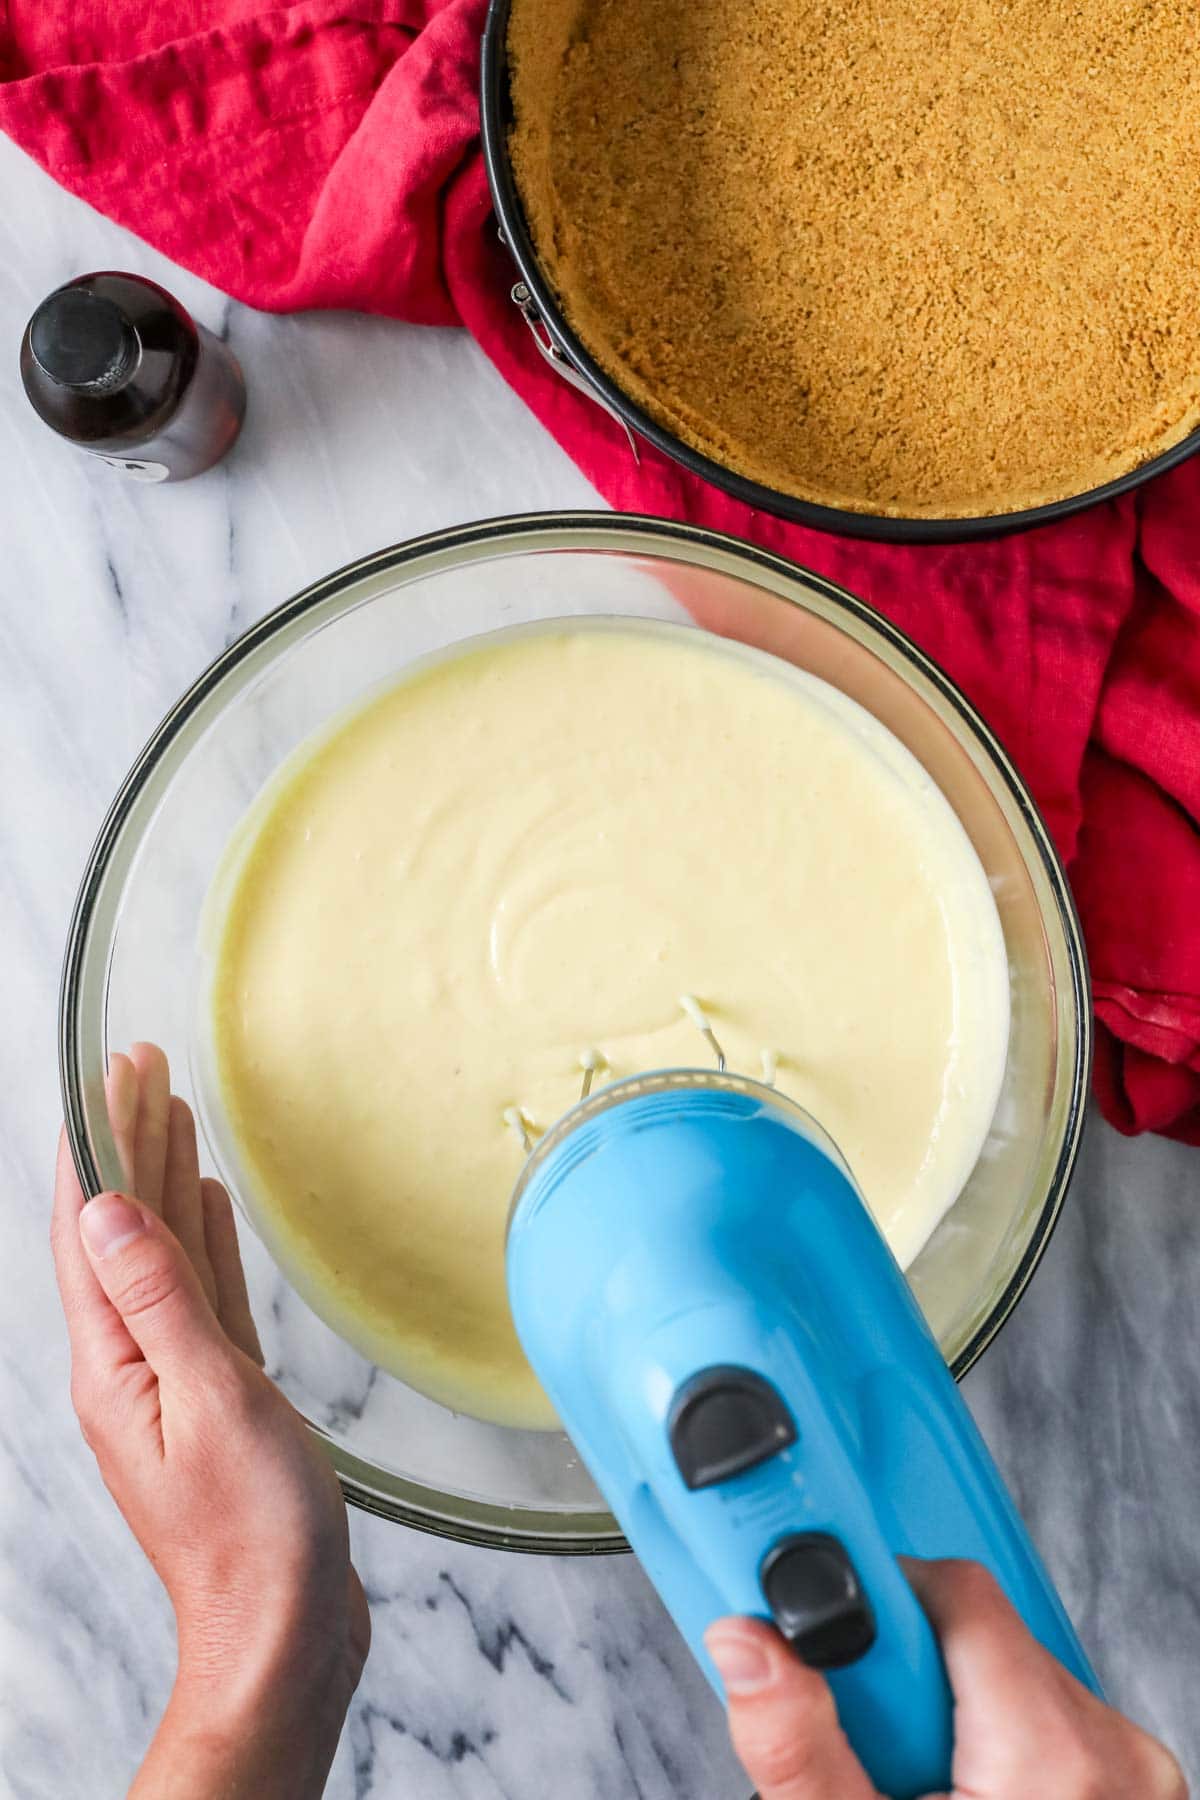
Make the batter
Beat the cream cheese and sugar just until smooth and creamy. Beating the cream cheese with the sugar helps work out any lumps, but don’t beat for too long on too high of a speed as you don’t want to whip too much air into the cheesecake. Periodically scrape the sides and bottom of your bowl during this process to make sure there are no lumps hiding in your bowl.
When it comes to the eggs, gently beat them separately first, then add them in one at a time and mix until just incorporated after each addition. This is going to keep from whipping in too much air and helps keep the filling of the New York cheesecake appropriately smooth and custardy.
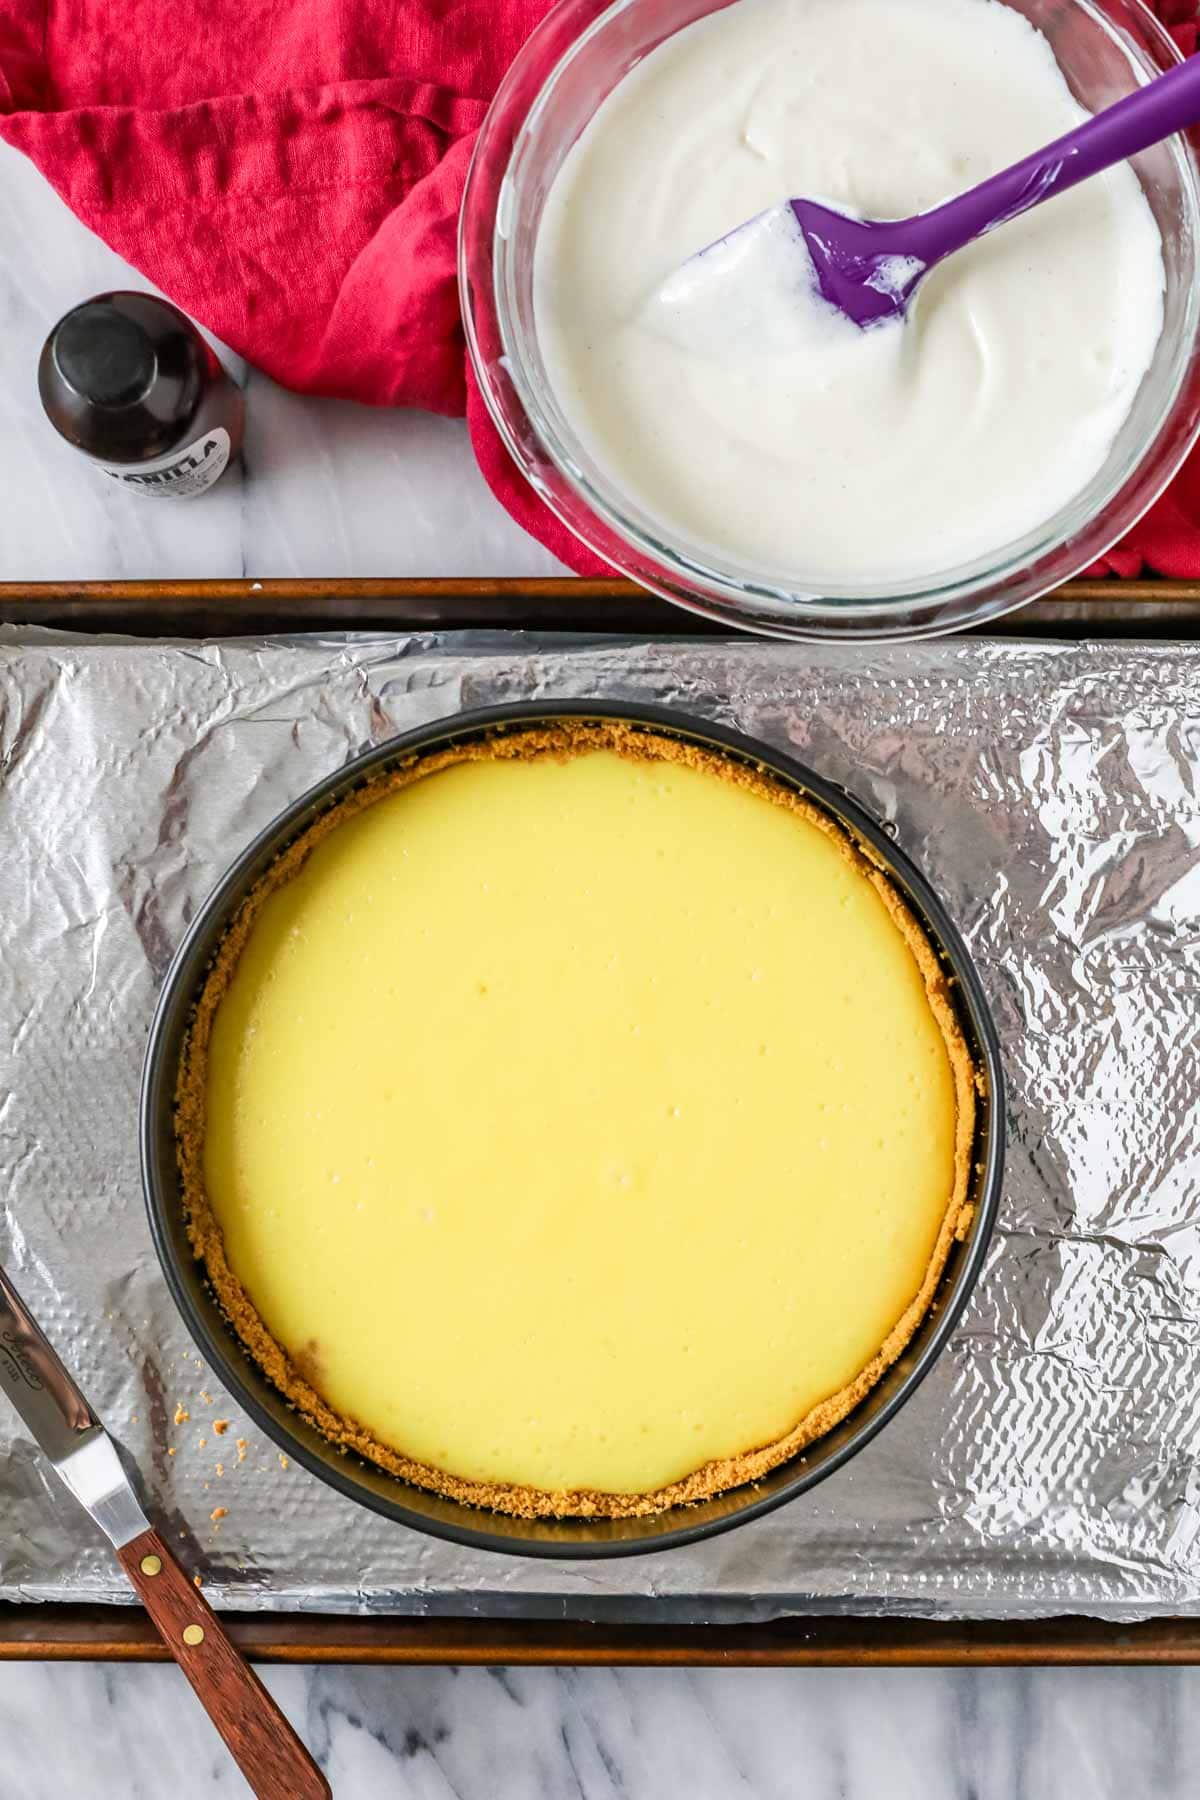
Bake & add the topping
Bake on a lined baking sheet until the edges are set and the center is jiggly and jello-like. You can use a thermometer to confirm that the cheesecake is done (look for 165F/74C). Remove from the oven (leave it on!) and set aside while you prepare the sour cream topping.
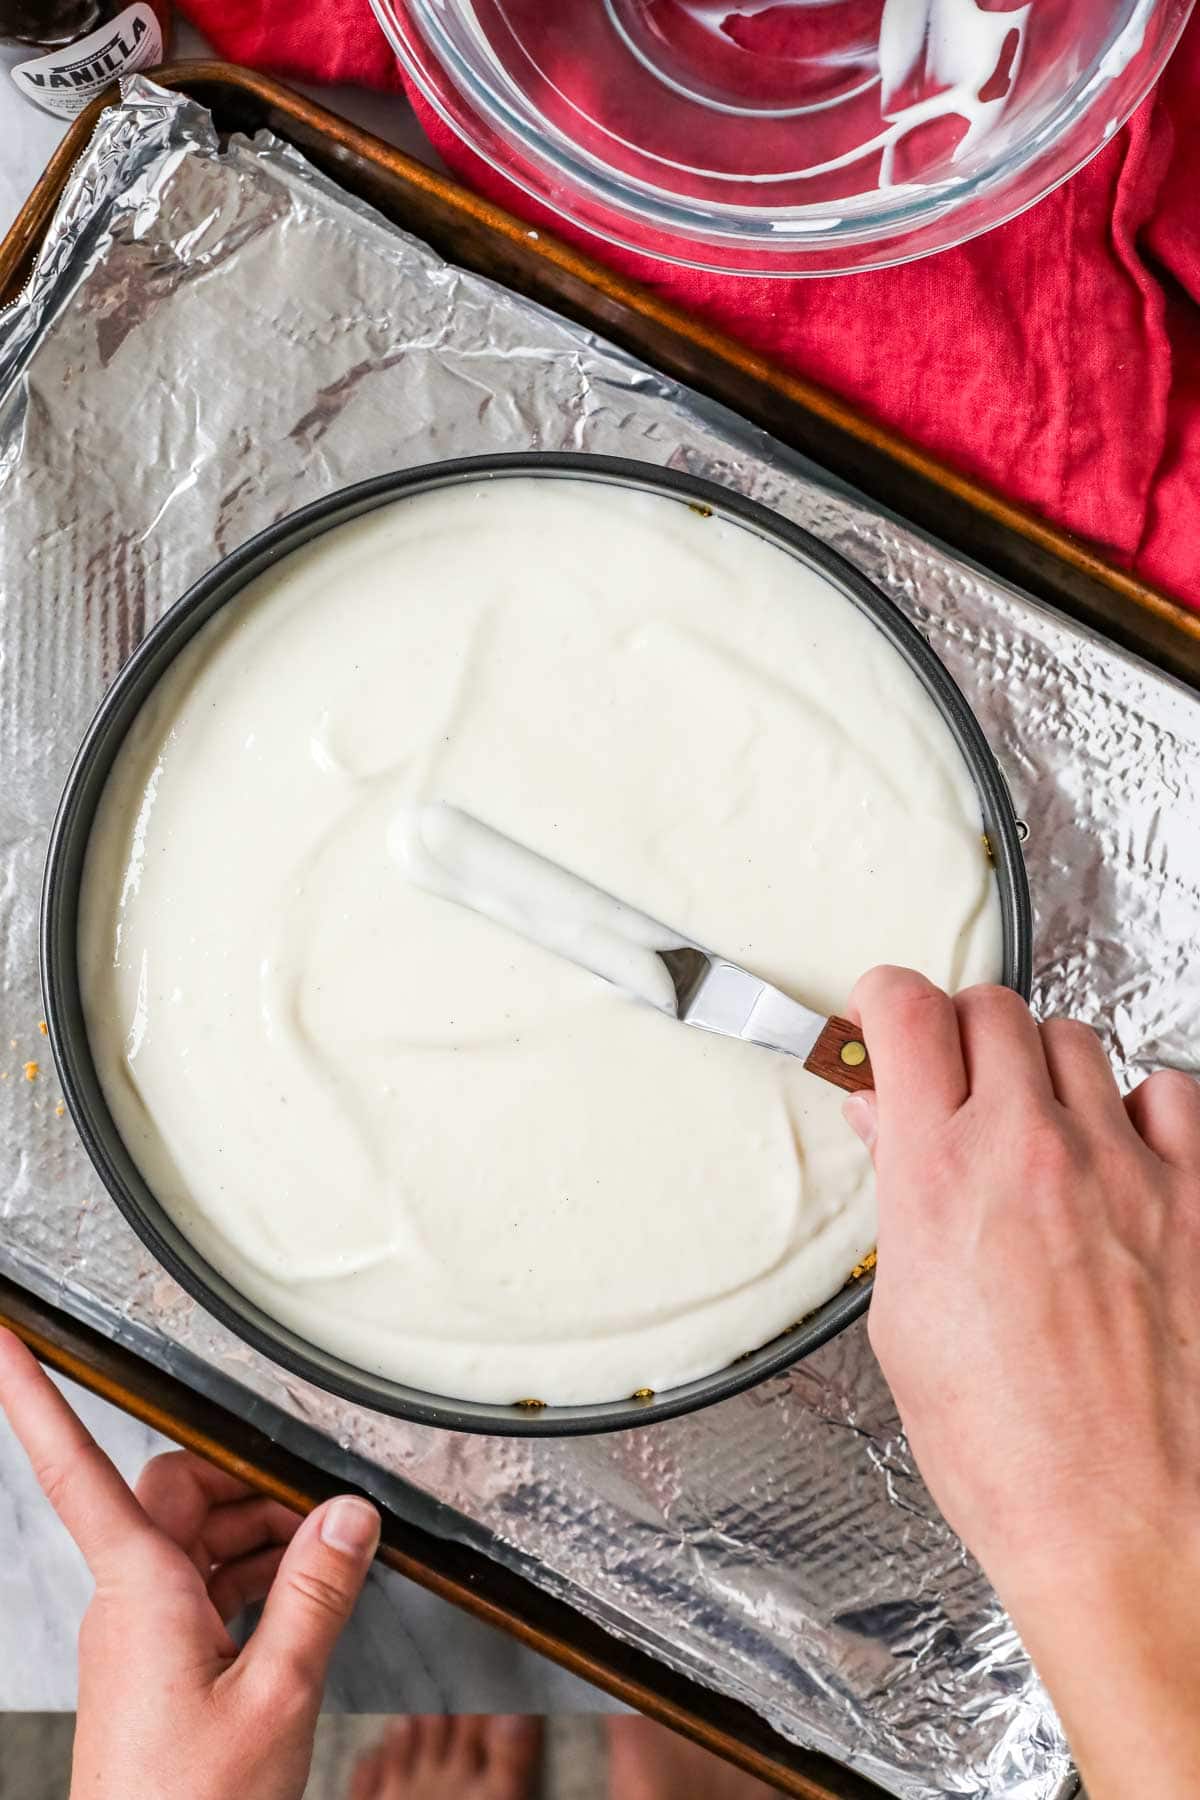
Finish the cheesecake
My grandmother’s recipe calls for letting the cheesecake rest for 5 minutes before you begin making the topping. This step has never failed me, so take a quick pause.
Then, whisk the sour cream, sugar, and vanilla together until smooth (you can use an electric mixer or a whisk), then evenly pour over your cheesecake.
Bake 5 minutes more, then remove and let cool at room temperature for an hour or so before transferring to the fridge to chill. Don’t panic if it looks like nothing has changed with the sour cream topping when you take it out of the oven, it has and it will set up beautifully after a stint in the fridge!
SAM’S TIP: I keep my cheesecake in its springform pan until I’m ready to serve, then I just remove the collar and serve directly from the pan. When I am ready to store it again, I put the collar back on and cover with foil or plastic wrap. Easy peasy!
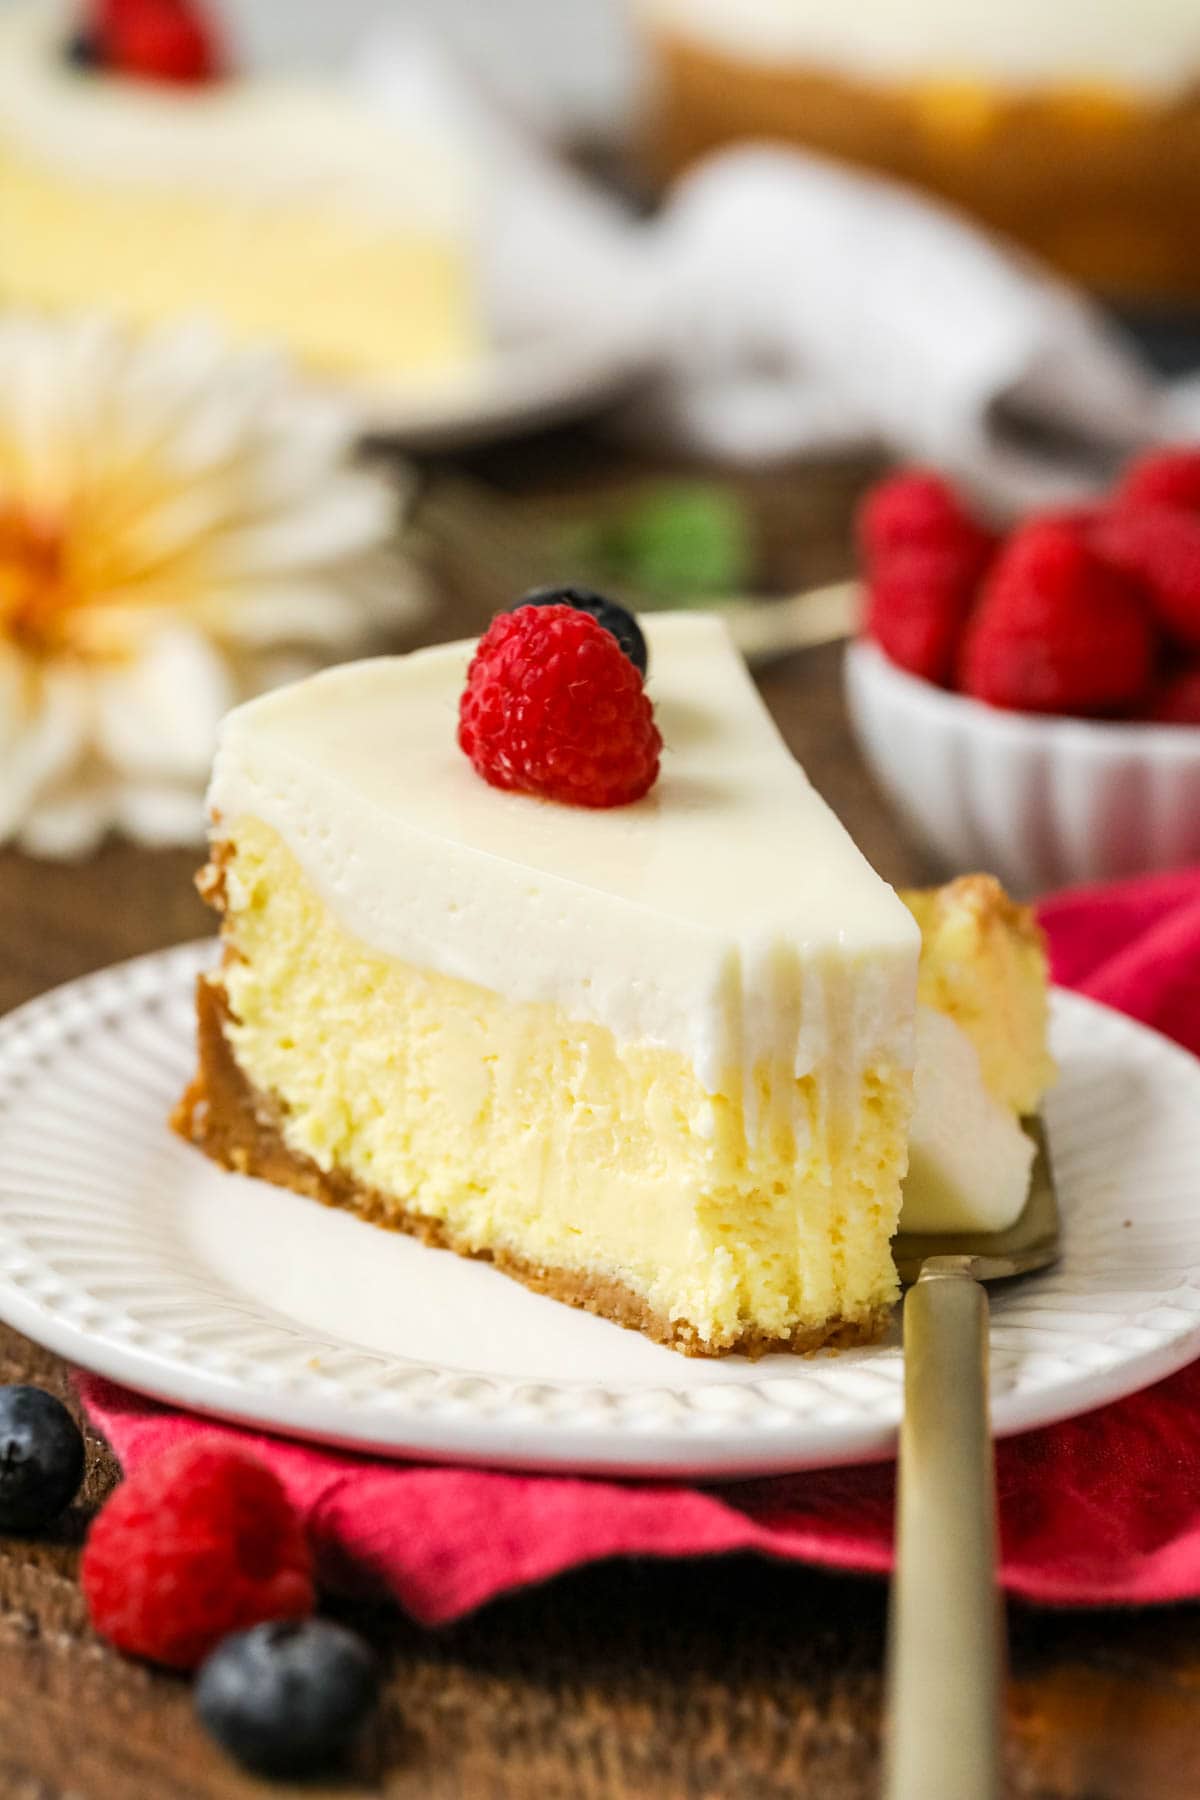
Spruce Up Your Cheesecake!
- Swap the crust. Use an Oreo crust instead of a classic graham cracker crust. Note that I recommend using the crust from my Oreo cheesecake instead of my classic Oreo crust, which can leak out of your springform pan.
- Add a topping. A few of my favorites include caramel sauce, chocolate ganache, macerated strawberries, a drizzle of lemon curd, or a dollop of blueberry sauce.
- Add lemon zest. Add a teaspoon of fresh lemon zest to the batter for a subtle citrus note! If you really want a strong lemon flavor, try my lemon cheesecake.
- Freeze it! Cheesecake freezes surprisingly well, either whole or by the slice (and it actually tastes pretty good frozen too!). I talk about how to do this in the FAQ section below.
Frequently Asked Questions
While different different people have different ideas of exactly what that means, we’ve always called a New York cheesecake one that has a sour cream topping on top. My classic cheesecake recipe has sour cream baked right into it. This version is more creamy/custardy than my classic version, which is more firm.
This recipe doesn’t need a water bath, and using one may even cause issues. As long as you follow my tips listed above (use room temperature ingredients, no over-mixing, cool slowly, etc.), you should have a crack-free cheesecake.
If for some reason you do get a crack (it happens!), we’ll be covering it right up with our sour cream topping. No one will know! 😉
It sure can! Just make sure to store it in an airtight container so it doesn’t absorb any freezer smells. You can let it sit in the fridge to thaw overnight, or enjoy it semi-frozen (yum!).
While we serve this recipe year round in my household, it always makes an appearance on the holiday dessert tables, so I’m really excited to hear if you decide to make it for your own get-togethers this year!
Enjoy!
Let’s bake together! Subscribe to my newsletter to be notified of all the newest recipes, and find my free recipe tutorials on YouTube 💜
New York Cheesecake
Ingredients
Crust
- 1 ½ cups (170 g) graham cracker crumbs
- 1 Tablespoon granulated sugar
- 4 Tablespoons (55 g) unsalted butter melted
Cheesecake
- 24 oz (630 g) brick style cream cheese softened to room temperature
- 1 cup (200 g) granulated sugar
- 1 ½ teaspoons vanilla extract
- ⅛ teaspoon table salt
- 5 eggs room temperature
Topping
- 2 cups (454 g) 1 pint sour cream
- 1 cup (200 g) granulated sugar
- 1 ½ teaspoons vanilla extract
Recommended Equipment
Instructions
For the crust
- Preheat oven to 300F (150C).
- Combine graham cracker crumbs and sugar In a medium-sized bowl and stir together. Add melted butter and use a fork to stir together until crumbs are moistened.1 ½ cups (170 g) graham cracker crumbs, 1 Tablespoon granulated sugar, 4 Tablespoons (55 g) unsalted butter
- Pour crumbs into 9” springform pan and firmly press into the bottom and up the sides of your pan (if the crust won’t go all the way up the side of your pan don’t stress, my grandmother and my mother often make this recipe just pressing the crust flat into the bottom, either works!). Set aside.
For the cheesecake
- Combine cream cheese and sugar in a large mixing bowl (or in the bowl of a stand mixer, using the paddle attachment) and use an electric mixer to beat until smooth and creamy (don’t over-beat or you’ll add in too much air). Scrape the sides and bottom of the bowl to make sure there are no lumps and then stir briefly again.24 oz (630 g) brick style cream cheese, 1 cup (200 g) granulated sugar
- Add vanilla extract and salt and stir until combined, scraping the sides and bottom of the bowl with a spatula to be sure all ingredients are well incorporated.1 ½ teaspoons vanilla extract, ⅛ teaspoon table salt
- With the mixer on low speed, add lightly beaten eggs, one at time, stirring just until each egg is incorporated into the batter. Scrape the sides and bottom of the bowl with a spatula again to be sure all ingredients are mixed.5 eggs
- Pour cheesecake batter into prepared springform pan and place on a parchment or foil lined baking sheet. Transfer to center rack of 300F (150C) preheated oven and bake for 60-70 minutes. To tell that the cheesecake is done, give it a light jostle. The center will still be jiggly (like jello) but the edges should be set. If you still aren’t sure if it’s done, you can use an instant read thermometer to check the temperature of the center of the cheesecake, it should read at least 165F/74C.
- When cheesecake is done baking, remove from the oven and let cool at room temperature for 5 minutes before preparing the topping (leave the oven on as the cheesecake will return.)
For the topping
- After the cheesecake has cooled for 5 minutes, combine sour cream, sugar, and vanilla extract and use an electric mixer to beat together until thoroughly combined.2 cups (454 g) 1 pint sour cream, 1 cup (200 g) granulated sugar, 1 ½ teaspoons vanilla extract
- Pour mixture evenly over the cheesecake and return to the 300F (150C) oven for 5 minutes.
- Remove cheesecake from the oven and allow to cool for at least an hour before transferring to the refrigerator to chill overnight, or at least 6 hours, before serving.
Notes
Pan
This recipe may also be baked in a 10” springform pan (just press the crust directly into the bottom of the pan)Storing
Cover springform pan with foil or plastic wrap and store in the refrigerator for up to 5 days. I serve my cheesecake right in the springform pan it’s cooked in, I remove the collar to slice and serve it and then return the collar for storage.Nutrition
Nutritional information is based on third-party calculations and should be considered an estimate only. Actual nutritional content will vary based upon brands used, measuring methods, cooking method, portion sizes, and more.


A
Would chocolate ganache be ok on this? I know you said yes but the sour cream top is a little sour (admittedly I had to use a little full fat greek yogurt! So I’ll tell you how it goes. Looks perfect)
Sam Merritt
I think if I were to try it I would make sure the sour cream layer set completely in the refrigerator, but I think it could work. 🙂
Kirrin Peart
Could you add a berry jam or compote to the sour cream? My dad had the best cheesecake recipe and I know he did this, but he has passed away and I never got his recipe.
Sam Merritt
Hi Kirrin! I have never mixed it in so I can’t say for sure how it would work. I have only served it on the side. Let me know how it goes if you try it. 🙂
Donna M Lord
I used your recipe but lined my Springform pan with a chocolate chip cookie dough mix for the crust. I added chocolate chips to the cheesecake filling. It took an extra 20 minutes because of the cookie dough crust. It came out absolutely perfect. This could be my all-time FAVORITE cheesecake recipe ❤️ 😋🤤
Sam
That sounds so delicious, Donna! I’m so glad you enjoyed it! 🙂
Katrin
I was so anxious about trying this recipe, but I just trusted the instructions and did it ever deliver! I felt like a dessert champion when i got to serve this delicious New York Cheesecake.
Casey @ Sugar Spun Run
We’re so glad you enjoyed it, Katrin! Thanks so much for the review! ☺️
Anne
Happy new year! For the sour cream topping, can I substitute the granulated sugar for an equal amount of powdered sugar? So the sour cream topping won’t be grainy/gritty.
Sam
Hi Anne! The topping shouldn’t be gritty. The oven should help the sugars dissolve. Powdered sugar has cornstarch so could alter the topping a bit. I’m not sure how it would work.
Anne
Thanks! And still 300 degrees for baking the topping for 5 mins, right? No need to change the temperature?
Sam
Yup. 🙂
Roman
Is it okay to leave it in the fridge for longer than overnight? Would it be ruined if it was left in the fridge for 12 hours?
Sam
Hi Roman! Once the cheesecake is done baking and cooling to room temperature, it should be stored in the refrigerator. 🙂
Kris S.
I have to admit, I was I was very nervous about the jiggly wiggly at 60-70 minutes and then releasing the collar after it set in the refrigerator all night. But this cheesecake was absolutely beautiful and amazing. Picture perfect and tasted fabulous. This will definitely be my go to cheesecake. Your detailed directions are definitely appreciated.
Sam
I am so thrilled to hear this, Kris, thank you so much for trying my recipe and letting me know how it turned out! I really appreciate it!
Simon
Hey Sam, I made this for my husband’s birthday and he has declared it the best cheesecake he’s ever had 🙂 Thanks for sharing, keep up the great work!
Emily @ Sugar Spun Run
We are so happy your husband enjoyed his birthday cheesecake 🥰 Thanks for coming back to leave a review!
Mecca
My daughter bought me my first springform pan for Christmas and I wanted to surprise my family with my first cheesecake for our New Years dinner and it turned out perfect! Thanks so much for this simple but, elegant recipe😊 It was a hit for New Year’s day and picture perfect💫I pray your 2025 has the same results for your kindness in sharing!
Emily @ Sugar Spun Run
We are so happy it was such a hit, Mecca! Happy New Year! 🥳