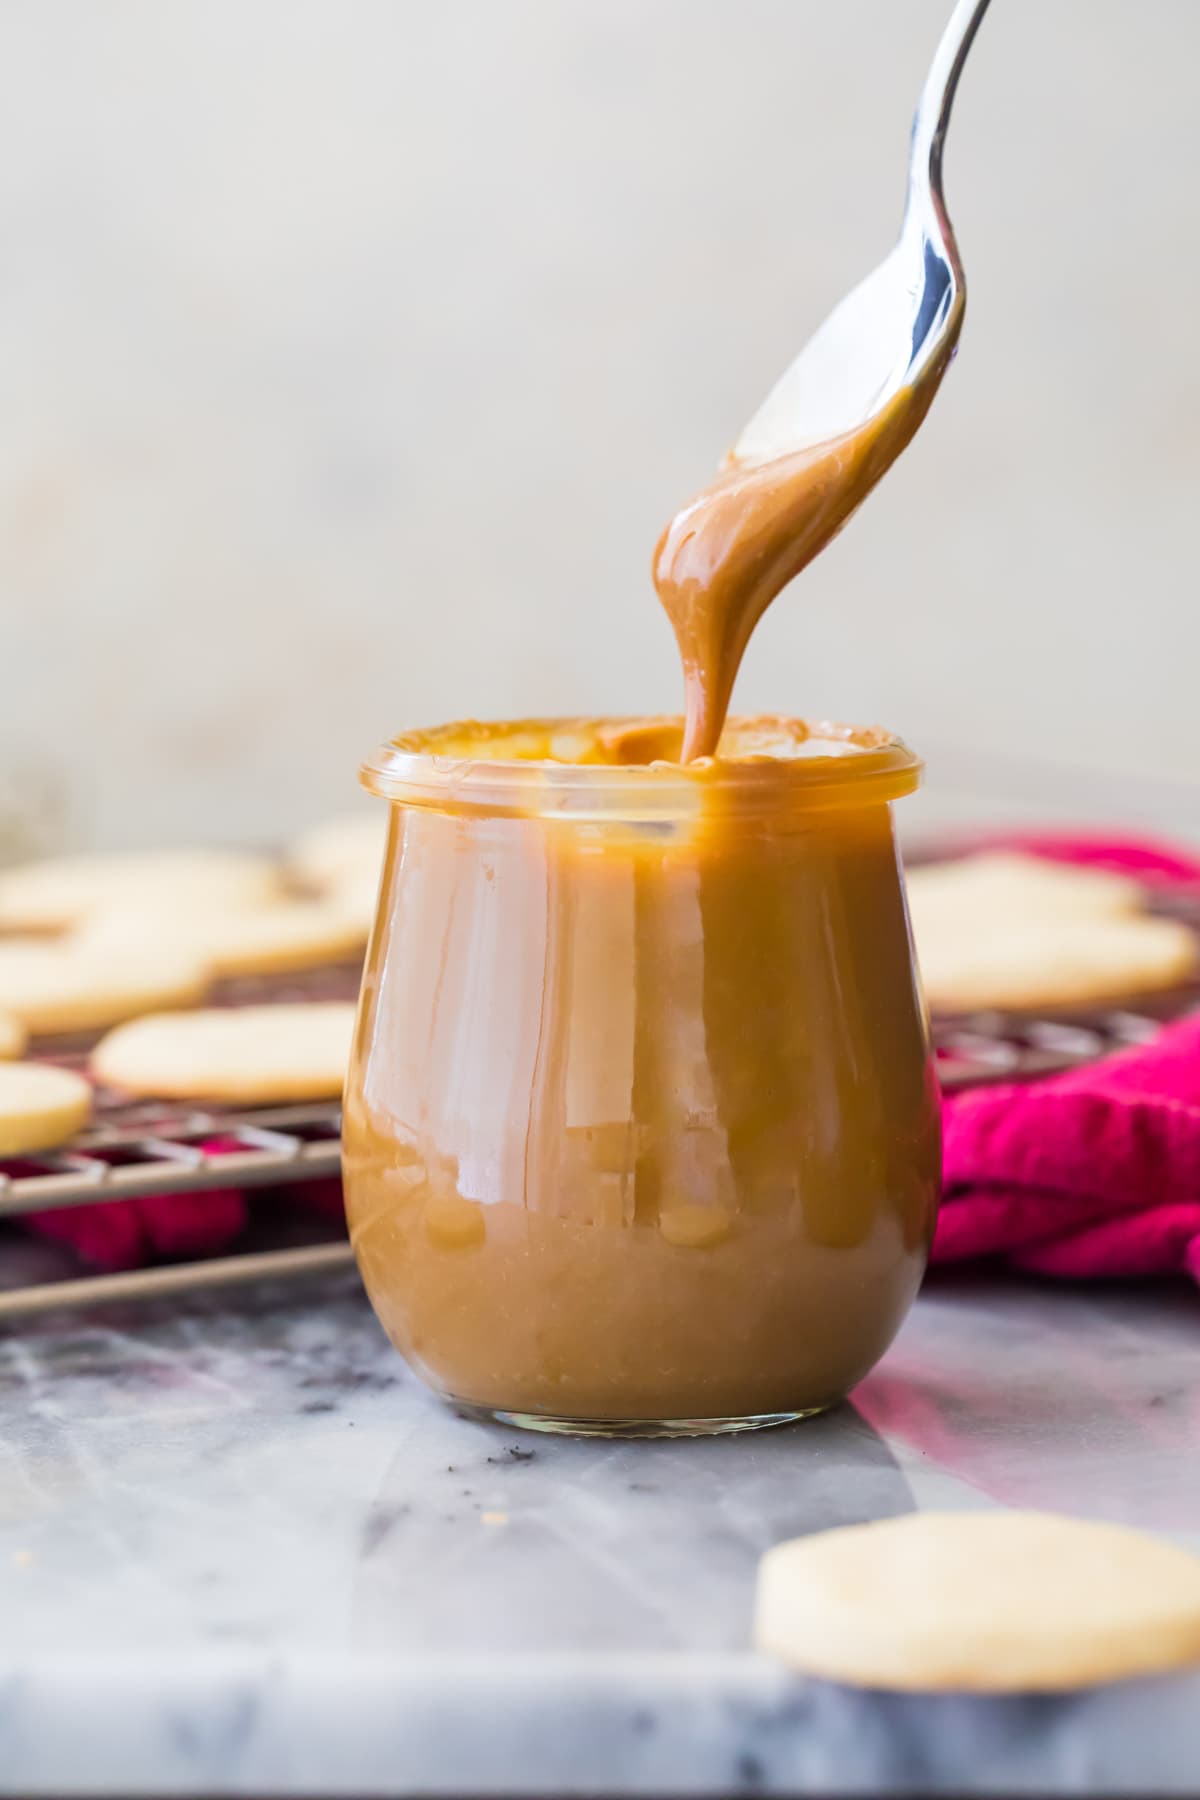
A 1-ingredient recipe showing you how to make dulce de leche at home! All you need is a can of sweetened condensed milk and a little bit of patience. Be sure to read the post for tips and tricks!
Dulce de Leche
Well, here’s the easiest “recipe” I’ve ever shared. Just one ingredient and a couple of hours and you can have your own sweet, caramel-ly dulce de leche. This is a key ingredient in many recipes (including one I have coming up for you on Wednesday).
I talk a lot more in this post than you would think is necessary for a one ingredient recipe, so without further ado let’s get to it.
What IS Dulce de Leche?
Dulce de leche is actually quite similar to caramel (or, when it’s heated, to caramel sauce). It’s gooey, sweet, and is essentially caramelized milk and sugar. It’s of Latin American origins (originating in Argentina, or Uruguay, depending on who you ask… here’s a short dive into its history)!
What You Need
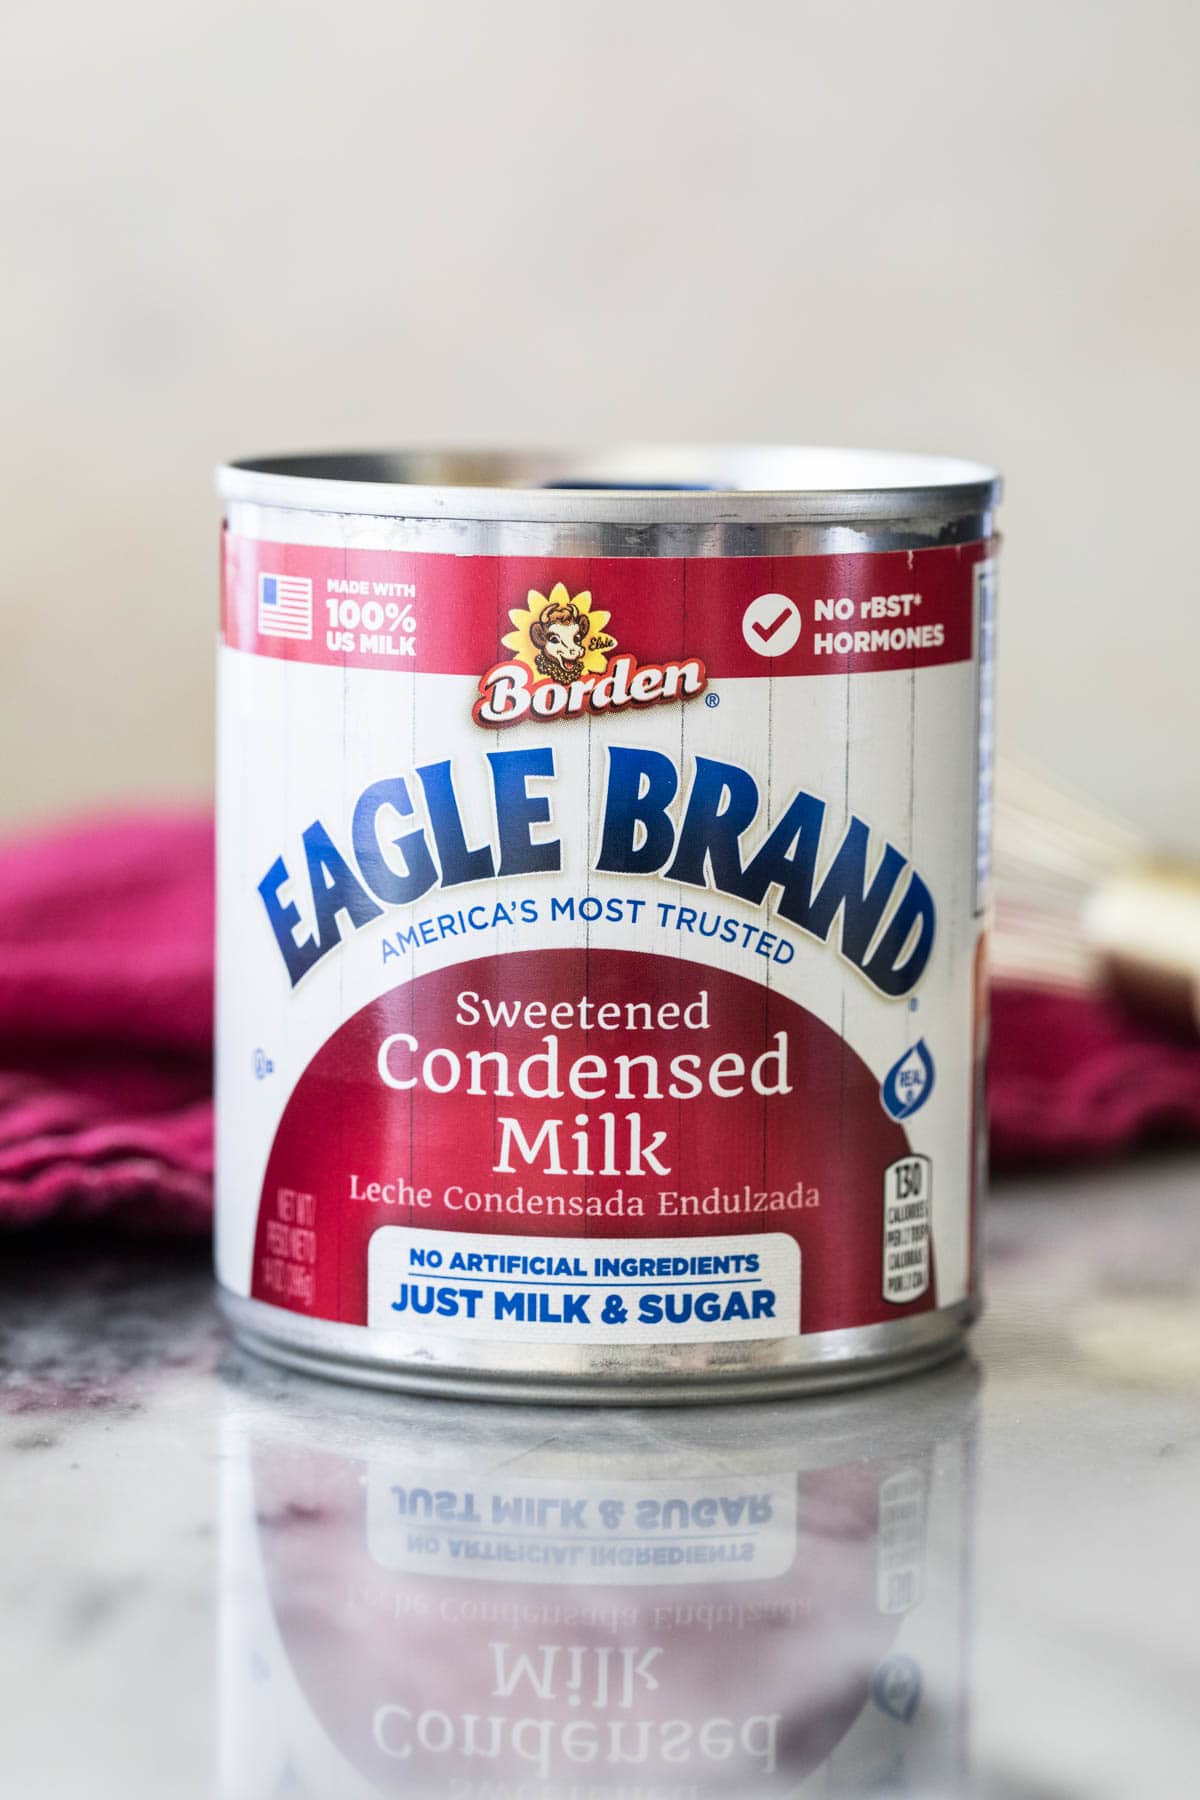
Literally all you need for this recipe is a can of sweetened condensed milk. Make sure the only ingredients on the can are milk and sugar. And no, you cannot substitute evaporated milk for this recipe, it just won’t work!
If you’d like, after cooking you can add a splash of vanilla extract and a sprinkle of sea salt to taste.
How to Make Dulce de Leche:
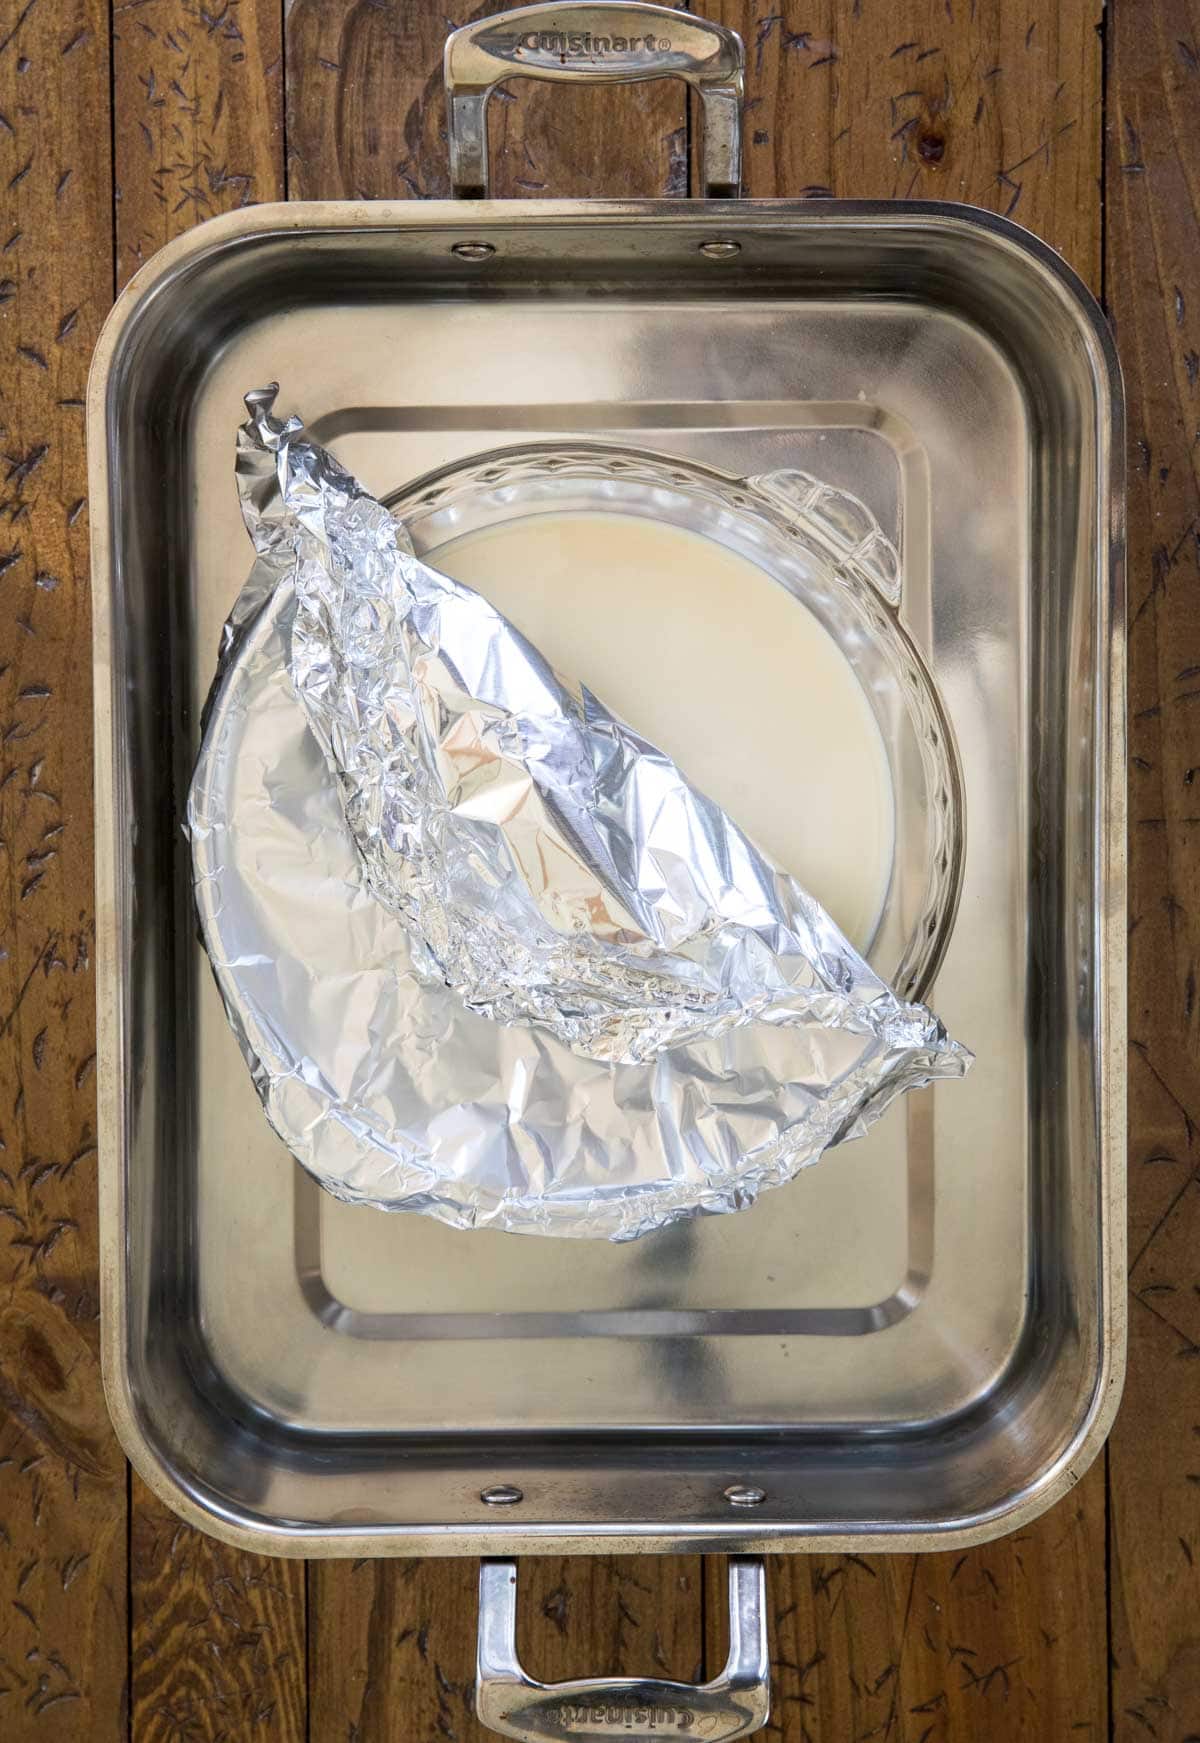
- Pour the condensed milk into a pie plate.
- Place this in a large pan (I use a roasting pan) and add enough water so the water level is higher than the condensed milk (but not higher than the pie plate, of course).
- Cover with foil and bake for 2-3 hours.
I’ve never been a big fan of water baths (you know I proudly don’t use one with my cheesecake!), but unfortunately it’s necessary here. Without one, the condensed milk is very likely to burn.
Tip: Cover the pie plate tightly with foil but don’t fold it under the plate or let the foil touch the water. Remember, you’ll need to check that the dulce de leche is the right color, so make it easy for yourself to peel back the foil and take a peek at 2 hours.
Other Methods of Preparation:
There are other methods to prepare dulce de leche, but they aren’t as simple. You can boil a can of condensed milk for several hours, but there’s the chance the can could explode and there’s no way to check if the dulce de leche is cooked enough without opening it (and there’s no going back if it’s not!).
Alternatively, you can make it completely from scratch with milk and sugar. Typically, completely from-scratch is my preference with things (I make my own chocolate sauce, lemon curd, and just about everything else), but I found it to yield results that weren’t much better and frankly weren’t worth the effort. Additionally, if you make dulce de leche from scratch it requires at least two hours of active stirring. I prefer the more passive method of simply letting the oven do all the work.
How Long Should I Cook the Condensed Milk?
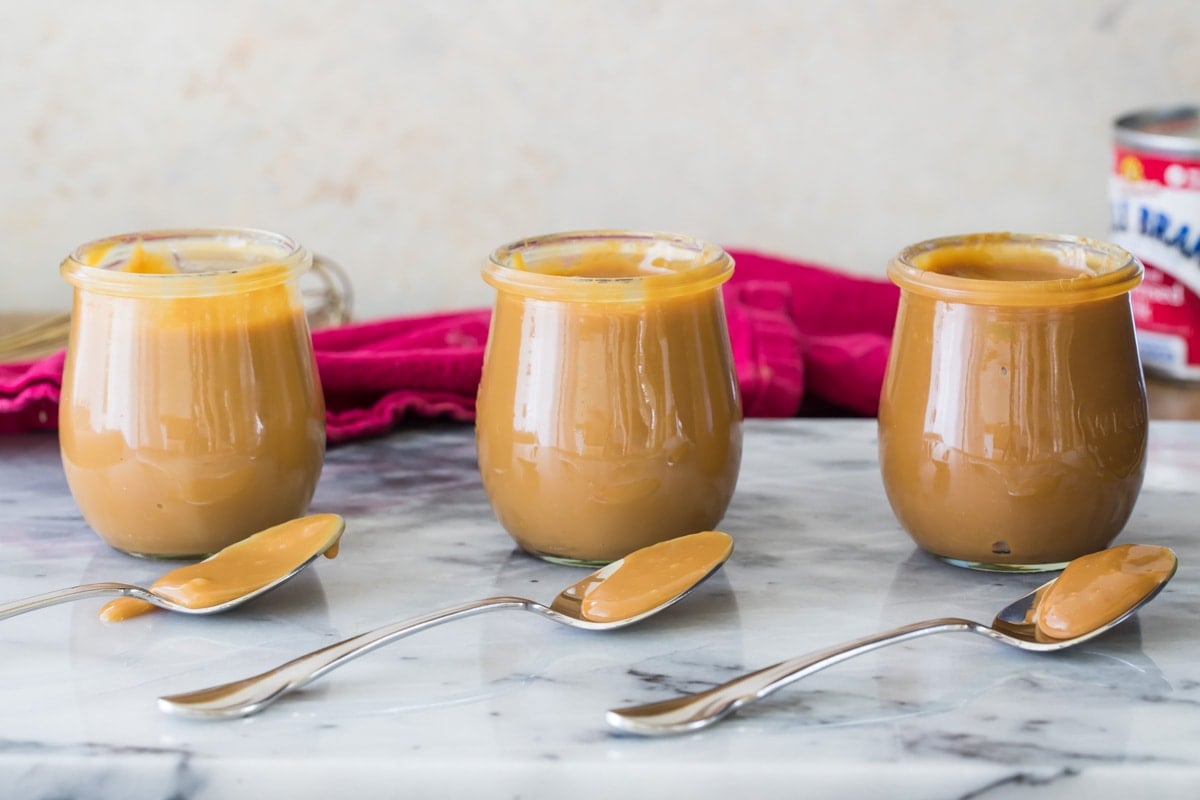
Many dulce de leche recipes recommend cooking in a water bath for 2 hours.
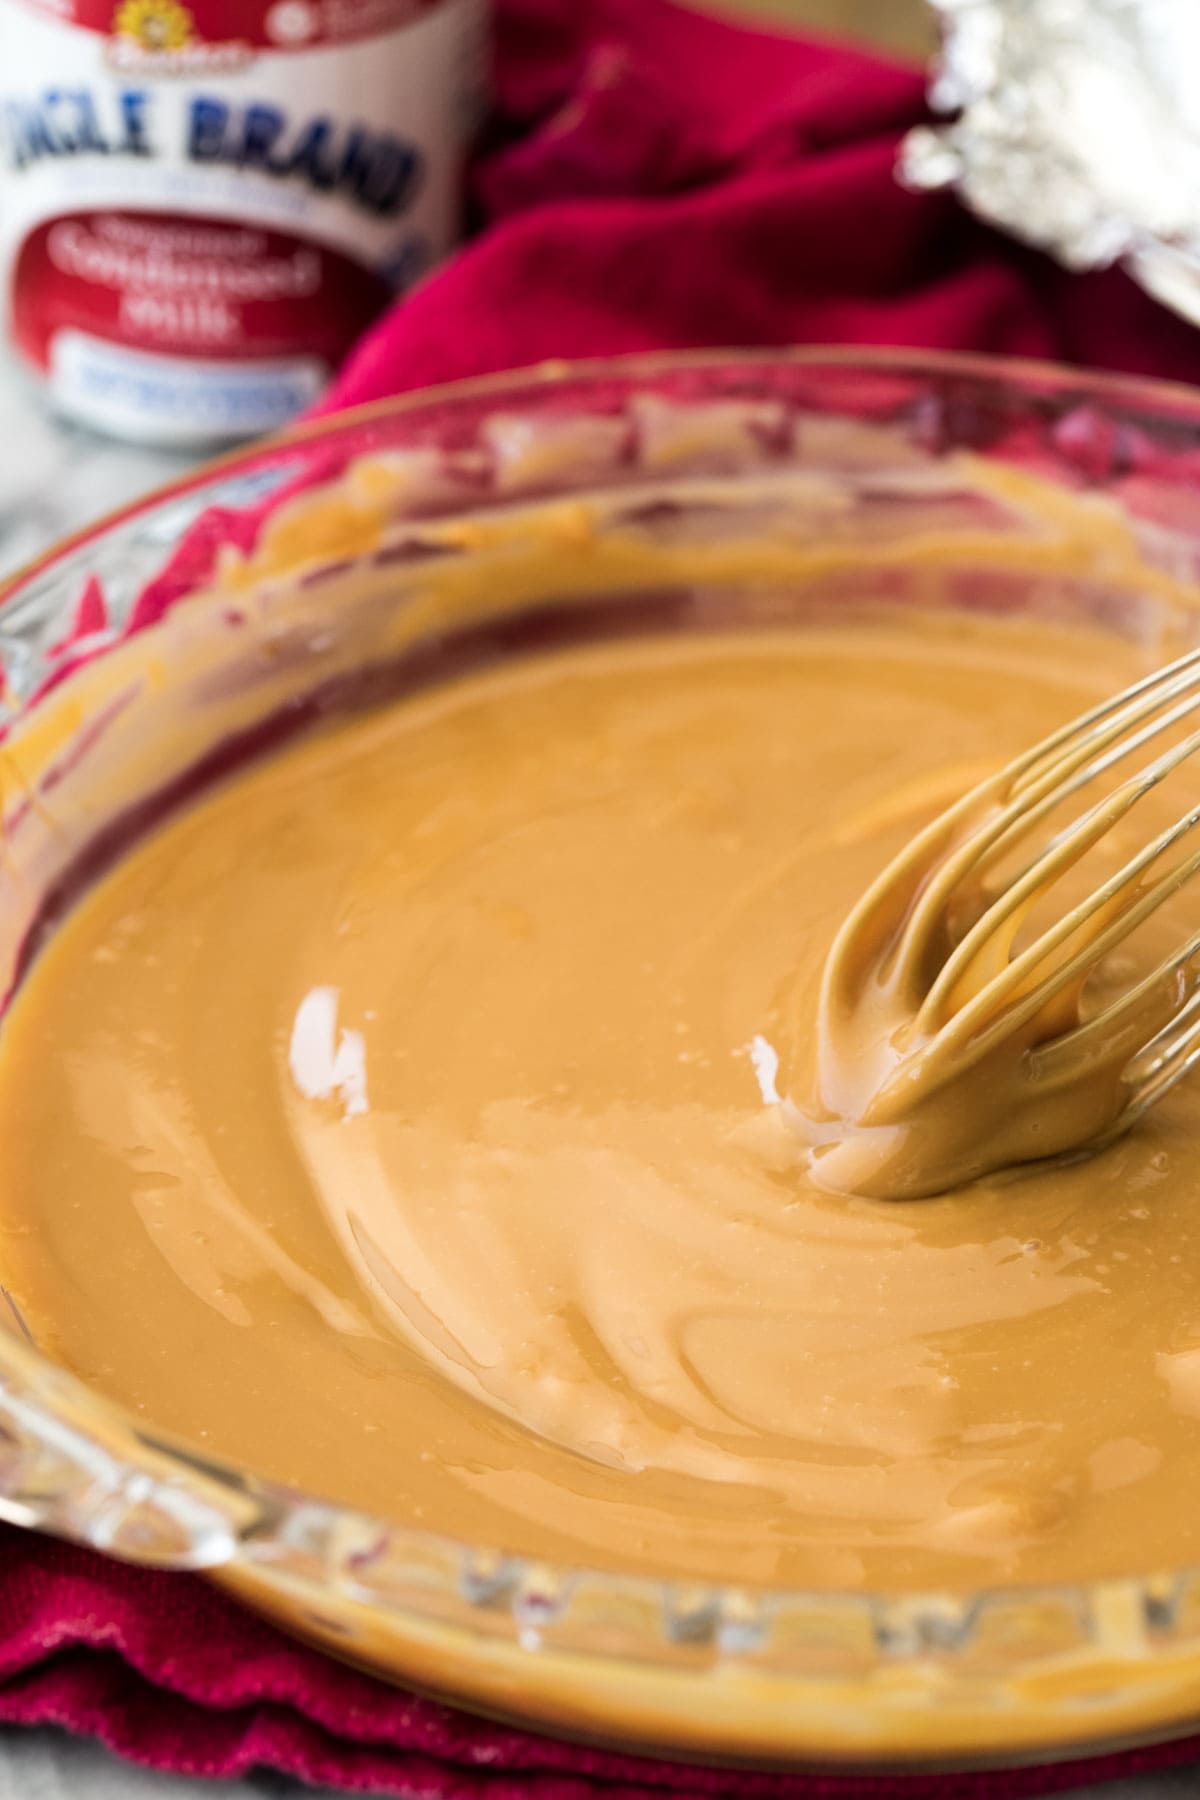
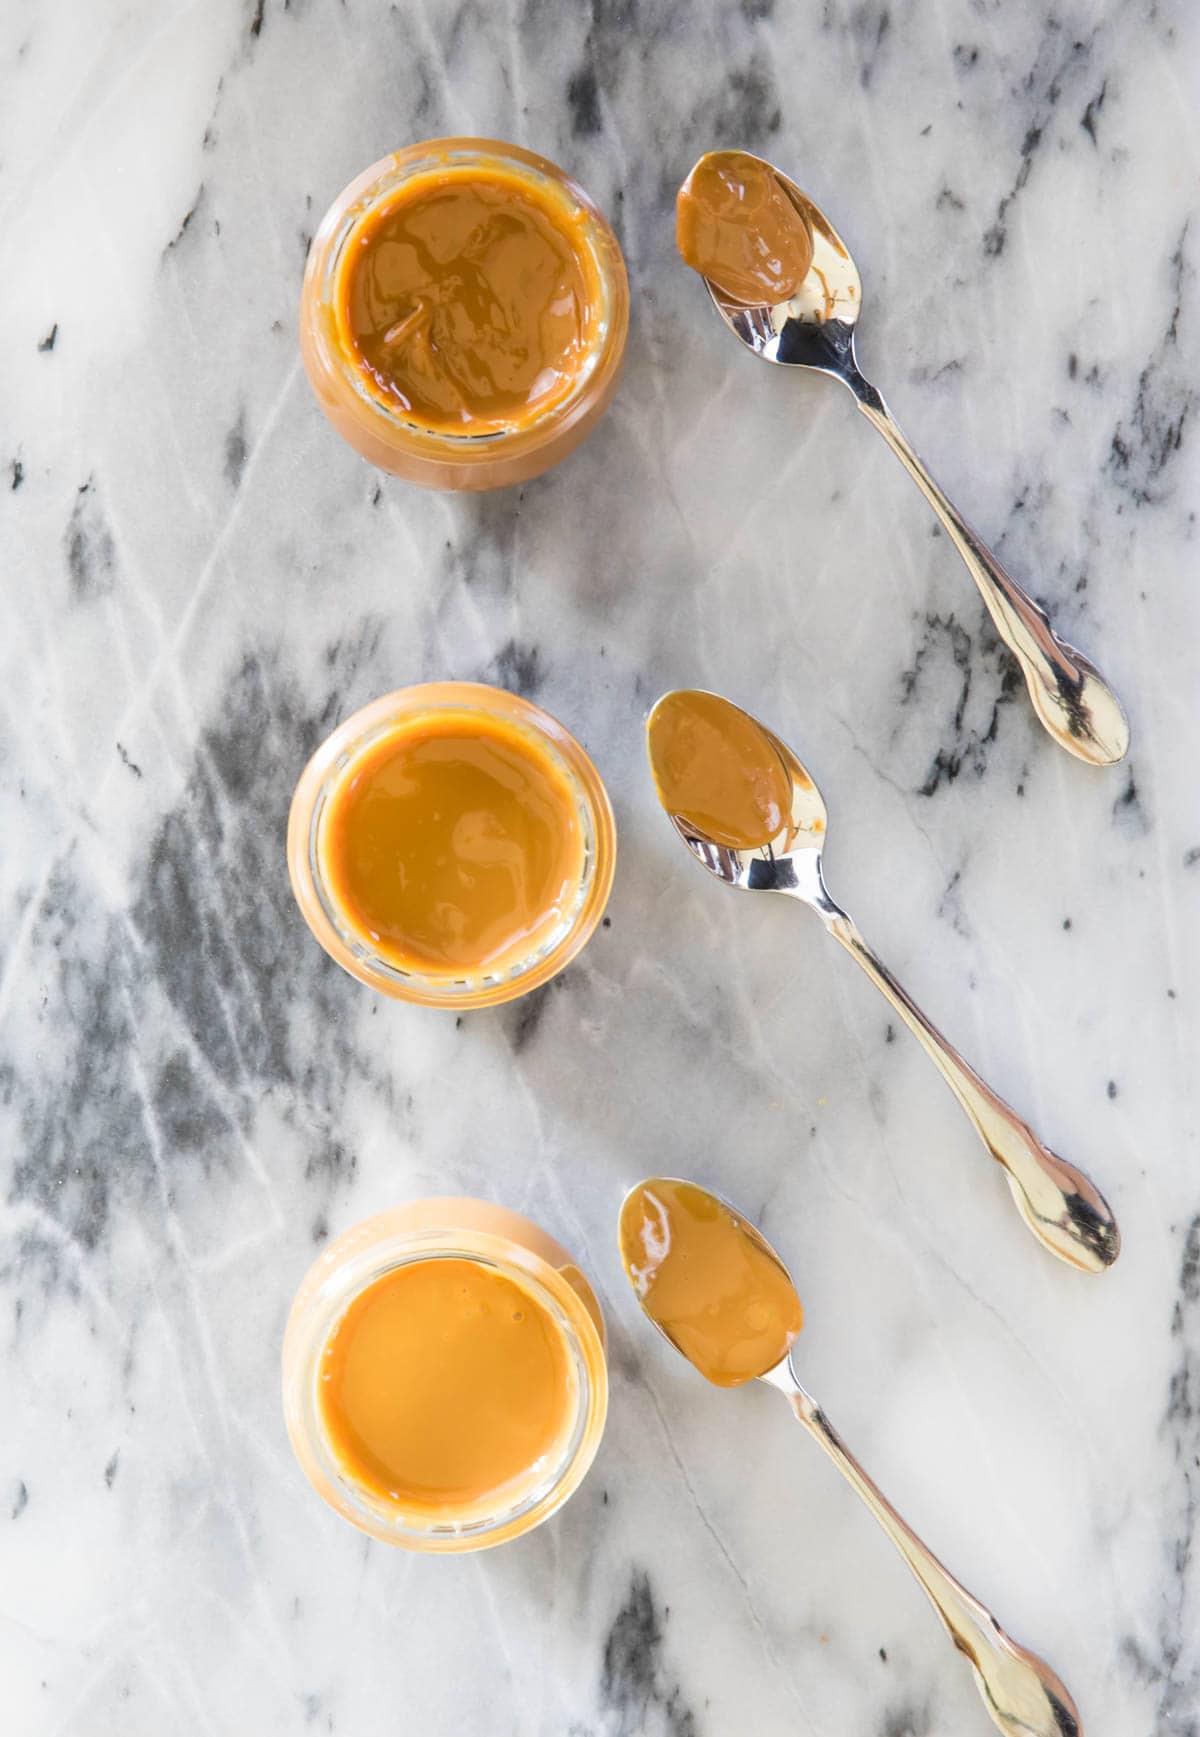
While this will work, I personally prefer 3 hours. One hour is not long enough: it turns the condensed milk a light caramel color, but as you can see in the photo above it’s still thin and runs off the spoon. Two hours is better; the color is deeper, the flavor richer, and the dulce de leche holds its shape better, but it’s still a bit messy. Three hours is my personal preference, it’s thicker, deep in color, richly flavored, and it has the perfect thick consistency (great for using in alfajores!).
I still recommend checking your dulce de leche at two hours. This way you can add water if needed and it’s better to check early just in case your oven runs hot. Take a peek at two hours and then assess from there.
Frequently Asked Questions
Whatever you do, do not try to use evaporated milk instead! Lots of people have made this mistake with my easy fudge recipe because the two are sold side by side and look so similar, but they are not the same and you won’t get the same results.
If you don’t have a pie plate, a glass, oven-safe 8×8, 7×11, 9×9, or 9×13 pan will work instead. It just needs to fit in your roasting pan!
It’s not uncommon for it to seem lumpy at first, but as you whisk the lumps should disappear and it should be smooth. If you’ve whisked for 15 seconds and things are still lumpy, you might have burnt your dulce de leche, unfortunately (did the water level get too low?).
Refrigerate in an airtight container for about two weeks. You may also freeze.
What should I do with dulce de leche?
- Swirl it over a batch of blondies or brownies! A few tablespoons swirled into the top of the batter with a butter knife just before baking is SO good!
- Drizzle it over Tres Leches Cake. Is it traditional? No, it’s not. But it is delicious!
- Use as a filling in Petit Fours or drizzle over your favorite cake recipe!
- Pour over pancakes, crepes, or waffles for a decadent breakfast treat!
- Make a batch (or two) and save it for Wednesday’s recipe (hint, hint)!
More Recipes/Tutorials You Might Like:
As with all of my recipes, I’ve included a how-to video in the recipe card, but honestly I felt a little silly making a video for such a simple recipe! Hopefully it’s helpful so you can see the color and consistency.
Enjoy!
Let’s bake together! Make sure to check out the how-to VIDEO in the recipe card!

Dulce de Leche
Ingredients
- 14 oz (396 g) sweetened condensed milk (one can)
- 8 cups water for water bath, you may need more or less depending on the size of your pan; only use it to fill the roasting pan as indicated.
Recommended Equipment
Instructions
- Make sure your roasting pan will fit in the center rack of your oven (adjust racks if needed) and preheat oven to 425F (220C).
- Pour condensed milk into a glass, oven-proof 9.5-10" pie plate¹. Cover tightly with foil, but don't wrap the foil below the pie plate (make it easy for yourself to lift the foil after cooking to check if the dulce de leche is ready, you don't want the foil touching the water or difficult to remove).14 oz (396 g) sweetened condensed milk
- Place the pie plate in a roasting pan and add enough water so that the water is about ½" above the level of the condensed milk (you do not want the water to get into the pie plate, but it should be higher than the level of milk).8 cups water
- Transfer to the center rack of your preheated oven and bake on 425F (220C) for 2-3 hours. Check at 2 hours, and if the dulce de leche is not dark enough, add another 30 minutes, then check again and add another 30 minutes if desired (see post for a visual of how my dulce de leche usually looks at each point). Keep in mind it will continue to thicken as it cools.
- When desired color and thickness is reached, remove from oven and whisk the dulce de leche to remove any lumps (it may seem quite lumpy at first, just keep whisking!). Allow to cool completely, then use as desired!
Notes
Nutrition
Nutritional information is based on third-party calculations and should be considered an estimate only. Actual nutritional content will vary based upon brands used, measuring methods, cooking method, portion sizes, and more.




Kenny
Hi Sam. Thank you for this recipe. I wan wondering how this can be incorporated into your best vanilla cake recipe. I want this flavour to be in the cake, not the buttercream. Any tips please?
Sam
Hi Kenny! Honestly I would probably put it in between the layers. I haven’t tried incorporating it into the cake and it would take some tweaking. You could check out my caramel cake. 🙂
Karen
If you use the leftover SCM (roughly 1/2 a cup) from the Key Lime Pie cookies – does the cooking time change?
Sam
Hi Karen! It’s going to depend what you bake it in. If you have roughly 4 ounces you’ll need a lot smaller pan to bake it in and I just don’t know what the bake time would look like. I just haven’t done it with such a small amount. 🙁
Miss Karen
I just made this using about 1/2 a can of SCM leftover from the KLP cookies (which are completely SNARFY!!- YUM.)
After 21/2 hours it looked like light colored peanut butter. So, it appears that the cooking time does not need to change for a small amount. Thanks 🙂
Tracy
I would like to use this Dulce de Leche in your cheesecake recipe. Do you have any recommendations on the best way to add it in? Thanks for your help!
Sam
Hi Tracy! I might swirl some through the batter and then top it when it’s finished baking. 🙂