
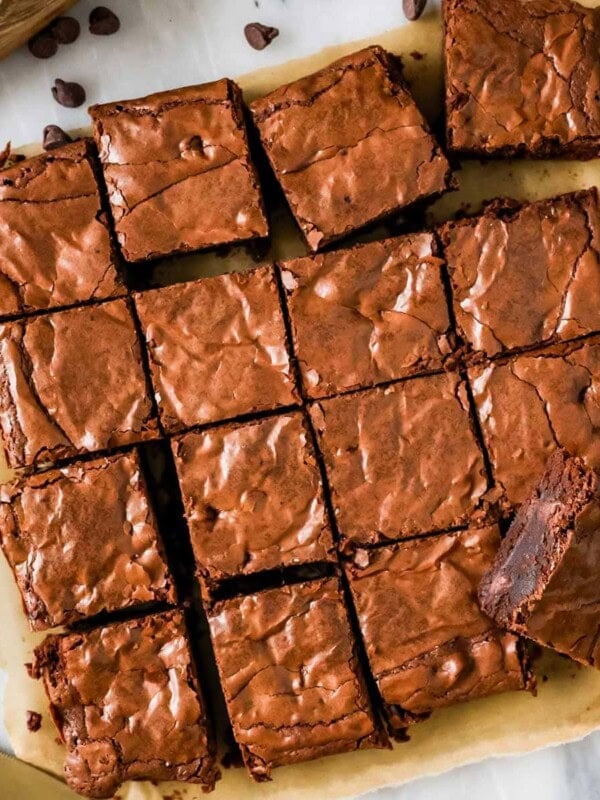
Oreo Brownies
This post may contain affiliate links. As an Amazon Associate I earn from qualifying purchases. Please read my disclosure policy.

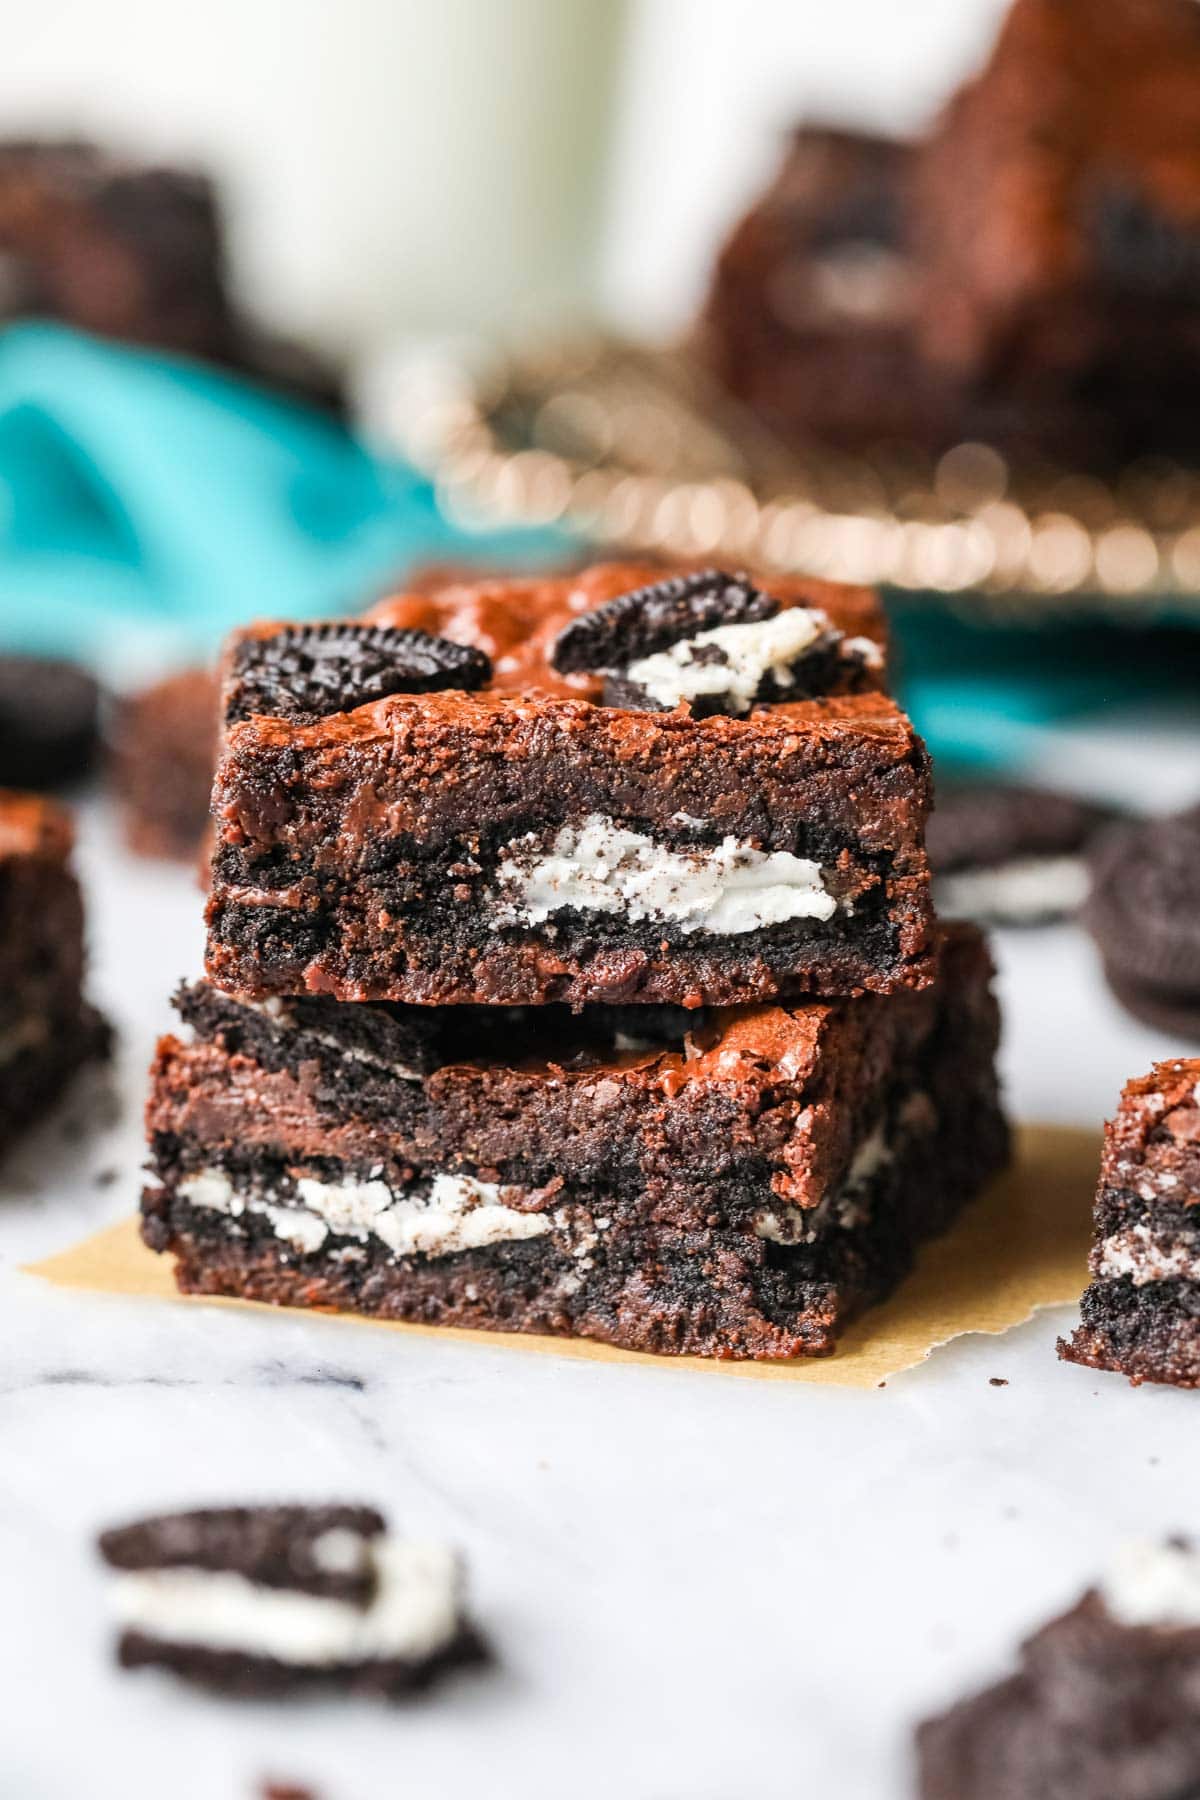
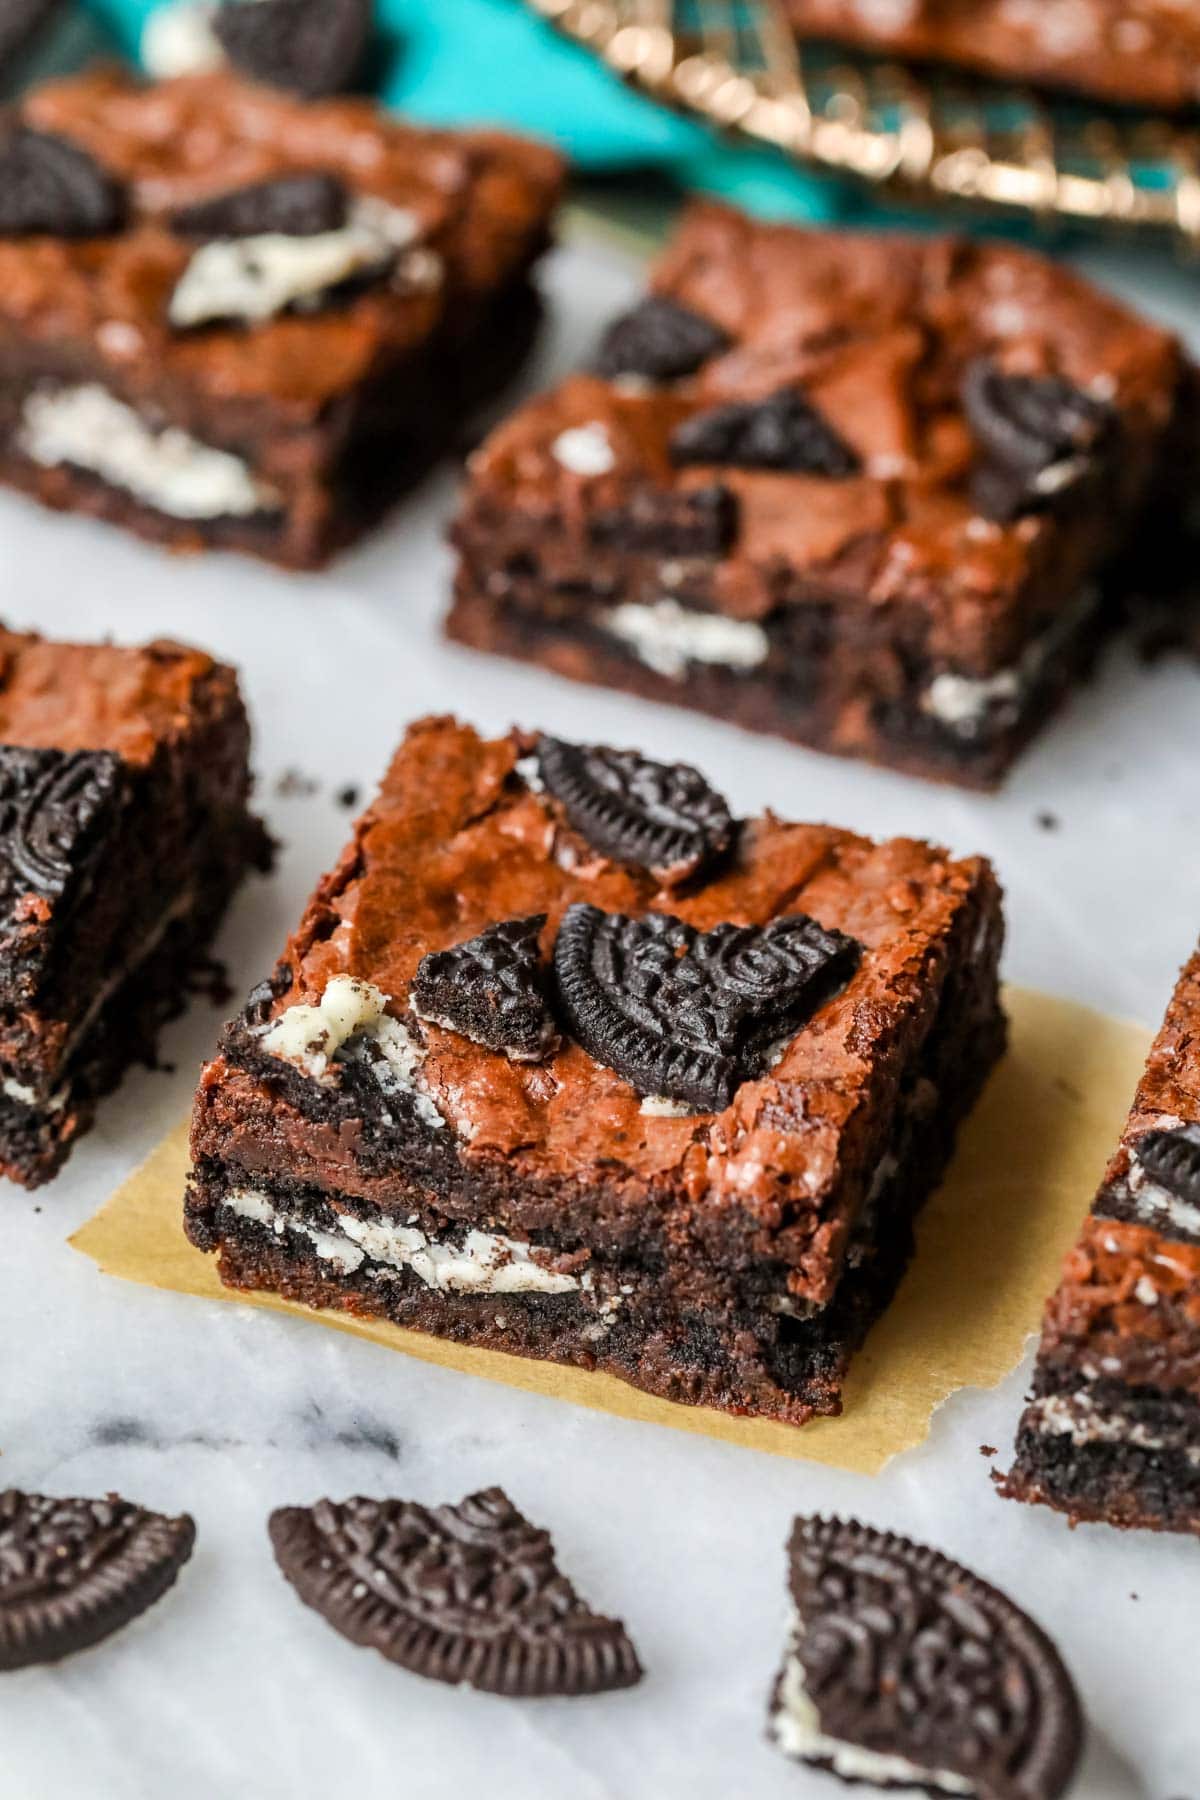
These better than ever Oreo brownies are rich, fudgy, and incredibly easy to make. My recipe squeezes almost an entire pack of Oreos into one batch for the best tasting brownies you’ve ever had! Recipe includes a how-to video!
New & Improved Oreo Brownies
As of today, I’ve shared more than 20 brownie recipes on the blog…can you believe that?! From my cheesecake brownies to my buckeye brownies, I’ve experimented with nearly every possible way to enjoy these fudgy squares. Today the saga continues with these new and improved Oreo brownies!
My new changes to the recipe:
- Swapped natural cocoa with Dutch process cocoa (and we will bloom it for extra flavor!).
- Whipped the eggs and sugar separately for shiny, crackly, brownie tops.
- Used a fun, new technique to create a bold, distinct Oreo layer (similar to what I do with my dirty brownies!).
I wanted something a bit more unique than my classic homemade brownies from scratch with Oreos mixed in (though that’s still delicious, and if you’re looking for the original, that’s all you need to do). I’m so pleased with how they turned out!
What You Need
You’re just 10 ingredients away from irresistibly fudgy and chocolatey Oreo brownies. Not only is this recipe incredibly easy, but it also uses ingredients you will likely already have in your pantry:

- Oreos. I used classic Oreo cookies, but feel free to substitute your favorite variety (there are so many to choose from now!). Mint, peanut butter, or birthday cake Oreos would make delicious Oreo brownies. You could even use my homemade Oreo cookies, if you want to go 100% homemade!
- Cocoa. I like to use Dutch process cocoa here for a deeper flavor, but natural cocoa will work too. Whichever you use, make sure to add the cocoa when the butter and chocolate are still warm; this is how we will bloom the cocoa and enhance its flavor.
- Eggs. Crack your eggs in a separate bowl and whisk them vigorously with the sugar. This step is what creates those crinkly meringue-esque brownie tops!
- Chocolate. We’ll start with a melted semisweet chocolate bar and also add mini chocolate chips into the batter (clearly I can never have enough chocolate). If that’s too much chocolate for you, you can always leave out the mini chocolate chips.
SAM’S TIP: You can either melt your butter and chocolate in the microwave or on the stove in a double boiler. Make sure to chop them both beforehand so they melt evenly.
Remember, this is just an overview of the ingredients I used and why. For the full recipe please scroll down to the bottom of the post!
How to Make Oreo Brownies

- Melt the chopped chocolate and butter together using either a microwave or a double boiler, then immediately stir in the cocoa powder.
- Vigorously whisk together the eggs and sugar in a separate bowl until lightened in color, then drizzle in the melted chocolate mixture. Stir in the vanilla.
- Sprinkle the flour and salt over the batter and stir until it is completely combined. Fold in the chocolate chips, if using.
- Layer half the brownie batter into a parchment lined 9×9 pan, then top with 20 Oreos.
- Add the remaining brownie batter before breaking and pressing the remaining 5 Oreos into the top.
- Bake at 350F for 30 minutes or until a toothpick inserted in the center comes out clean or with a few fudgy crumbs. Let the brownies cool completely before serving.
SAM’S TIP: Lining your pan with parchment makes for easy removal and cleanup. I do this with many of my brownies and bars, like my cosmic brownies.
Frequently Asked Questions
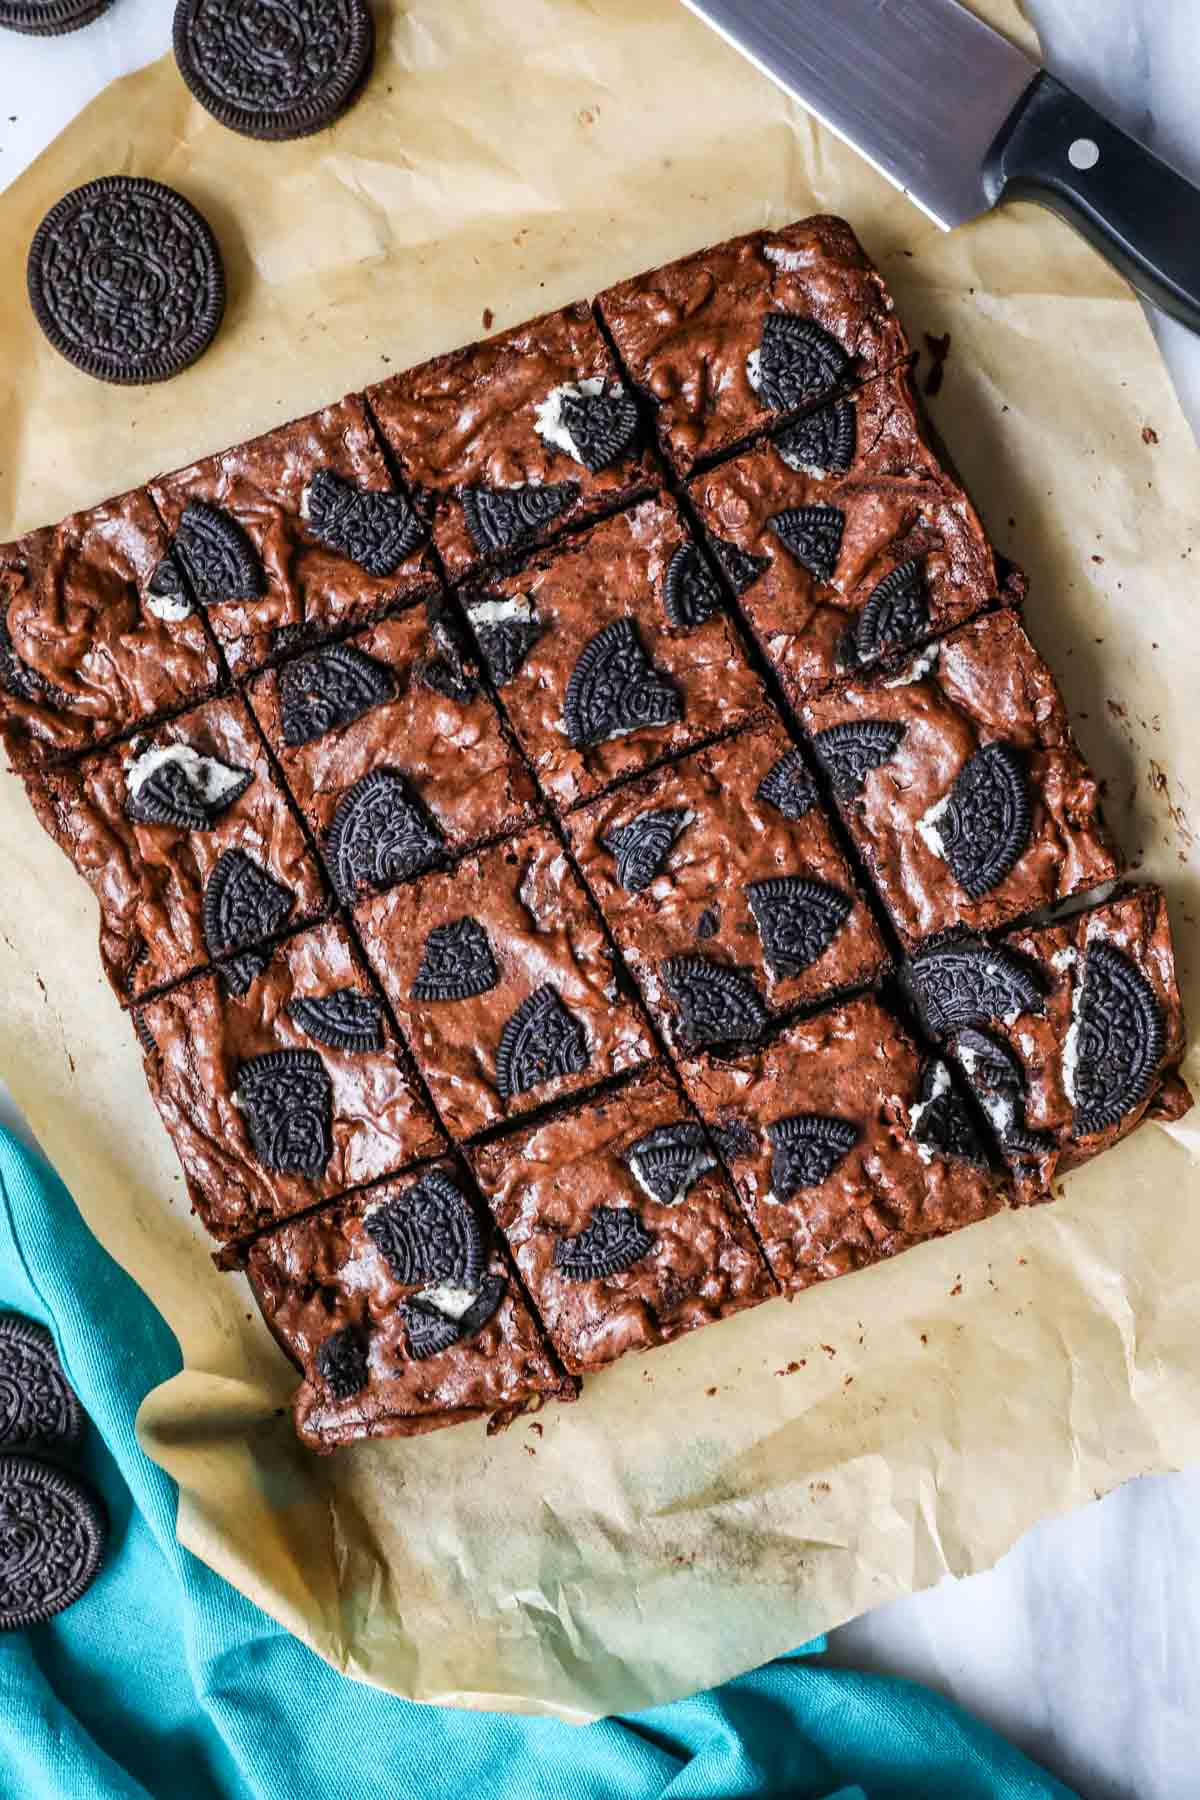
If you make this recipe as is in a 9×13 pan, your Oreo brownies will be very thin. I’d suggest doubling the recipe if you want your brownies to look like mine do in the pictures. Keep in mind your bake time will be different if you use a different pan (especially so if you use a glass pan, they just take much longer to cook!).
It’s very important to let your Oreo brownies cool completely before trying to cut them. Then, use your parchment sling (this is SO helpful!) to lift the brownies out of the pan. Press down with a sharp knife and clean the knife in between each cut–this may seem silly, but it really does make a difference! You can also run the knife under very hot water (then wipe it dry) between cuts, too.
Yes, as long as it pairs well with chocolate! I wouldn’t recommend using lemon Oreos to make Oreo brownies, but pretty much any other flavor out there (right now anyway) would taste great here. Have fun with it and let me know which flavors you try!
I’d love to hear how you like this recipe, especially if you were a fan of the old version! Please leave a comment in the recipe below if you do 😊
Enjoy!
Let’s bake together! I’ll be walking you through all the steps in my written recipe and video below! If you try this recipe, be sure to tag me on Instagram, and you can also find me on YouTube and Facebook

Oreo Brownies
Equipment
- 9” square pan
Ingredients
- 10 Tablespoons (141 g) unsalted butter cut into pieces
- 4 oz (113 g) semisweet or dark chocolate bar, chopped (see note)
- ½ cup (50 g) Dutch process cocoa powder
- 1 ½ cups (300 g) granulated sugar
- 2 large eggs
- 1 teaspoon vanilla extract
- ⅔ cup (85 g) all-purpose flour
- ½ teaspoon salt
- ½ cup (85 g) mini chocolate chips, optional
- 25 Oreo cookies, divided
Instructions
- Preheat your oven to 350F (175C) and line a 9×9” baking pan with parchment paper (or lightly grease). Set aside.
- In a microwave-safe bowl, combine butter and chopped chocolate. Microwave for 30 seconds. Stir well and continue to heat in 20 second intervals until butter and chocolate are completely melted and combined.10 Tablespoons (141 g) unsalted butter cut into pieces, 4 oz (113 g) semisweet or dark chocolate bar
- Immediately add cocoa powder to the melted chocolate mixture and stir well.½ cup (50 g) Dutch process cocoa powder
- In a separate large mixing bowl, vigorously whisk together sugar and eggs until lightened in color (I use an electric mixer but this may be done by hand).1 ½ cups (300 g) granulated sugar, 2 large eggs
- Drizzle the chocolate mixture into the egg mixture and stir until just combined.
- Add vanilla extract and stir well.1 teaspoon vanilla extract
- Sprinkle flour and salt over the batter and stir until completely combined and batter is uniform.⅔ cup (85 g) all-purpose flour, ½ teaspoon salt
- Stir in chocolate chips, if using.½ cup (85 g) mini chocolate chips
- Pour half of the brownie batter into the bottom of the prepared pan and spread into an even layer. Nestle 20 Oreo cookies into the batter in even rows. Spread remaining batter evenly over Oreo cookie layer.25 Oreo cookies
- Break or crumble your remaining 5 Oreo cookies and press gently into the top of your brownie batter.
- Bake on 350F (175C) for 30 minutes (note: I use a metal pan, a glass pan will take longer) or until a toothpick inserted in the center comes out clean or with fudgy crumbs (but not wet batter). Allow brownies to cool completely in the pan before cutting and serving.
Notes
Chocolate
May substitute ⅔ cup (113g) semisweet chocolate chips. I like to use a 60% bar of chocolate.Storage
Store in an airtight container at room temperature for up to 5 days.Original recipe
I’ve updated and improved this recipe as of September 2023. If you are looking for the original recipe, you can find it here.Nutrition
Nutrition information is automatically calculated, so should only be used as an approximation.
Like this? Leave a comment below!
Recipe was originally published in April of 2018. It has been updated and improved September 2023.


Hi Sam,
I have made these magnificent brownies 3 times now. They are soooooo good. I need to make several, so I was going to use a 10 x 15-inch sheet pan. Should I triple the recipe or should I just double and do two 9 x 13″ pans.
I am always skeptical of doubling baking recipes as baking is such a science!
Thank you for all your incredible recipes.
Warm Regards,
Kathee
Thank you so much for trying my recipe, Kathee! I’m so glad they’ve been such a hit! I haven’t personally done it in a 10 x 15, but I think you would just need to double the batter. I think it could work, but I’m just not sure. If you want to go the 13 x 9 route, you would have to increase the recipe by 50% to fill one 13 x 9 so I think you would need a triple batch to do 2 13 x 9s. I hope that helps. 🙂
amazing! they turned out delicious and pretty
I’m so glad you enjoyed them so much, Abby! 🙂
Great recipe brownies turned out perfect nice gooey texture
I’m so glad you enjoyed them, Ruby! 🙂
can I make in an 8×8 with a genach topping or will they be too thick even if they are cooked properly?
Hi Jennifer! An 8×8 will work, but the bake time will be longer. A ganache topping sounds tasty 😋
Amazing would highly recommend
I’m so glad you enjoyed them so much, Alessio! 🙂