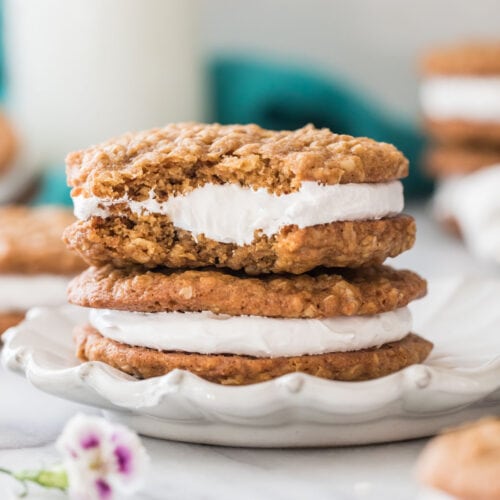
My gingerbread sandwich cookies are soft, chewy, and perfectly spiced with a delectable, smooth and creamy filling. A fun twist on the festive classic and a stunning, sparkly addition to any cookie tray! Recipe includes a how-to video!
The Perfect Christmas Cookie Recipe
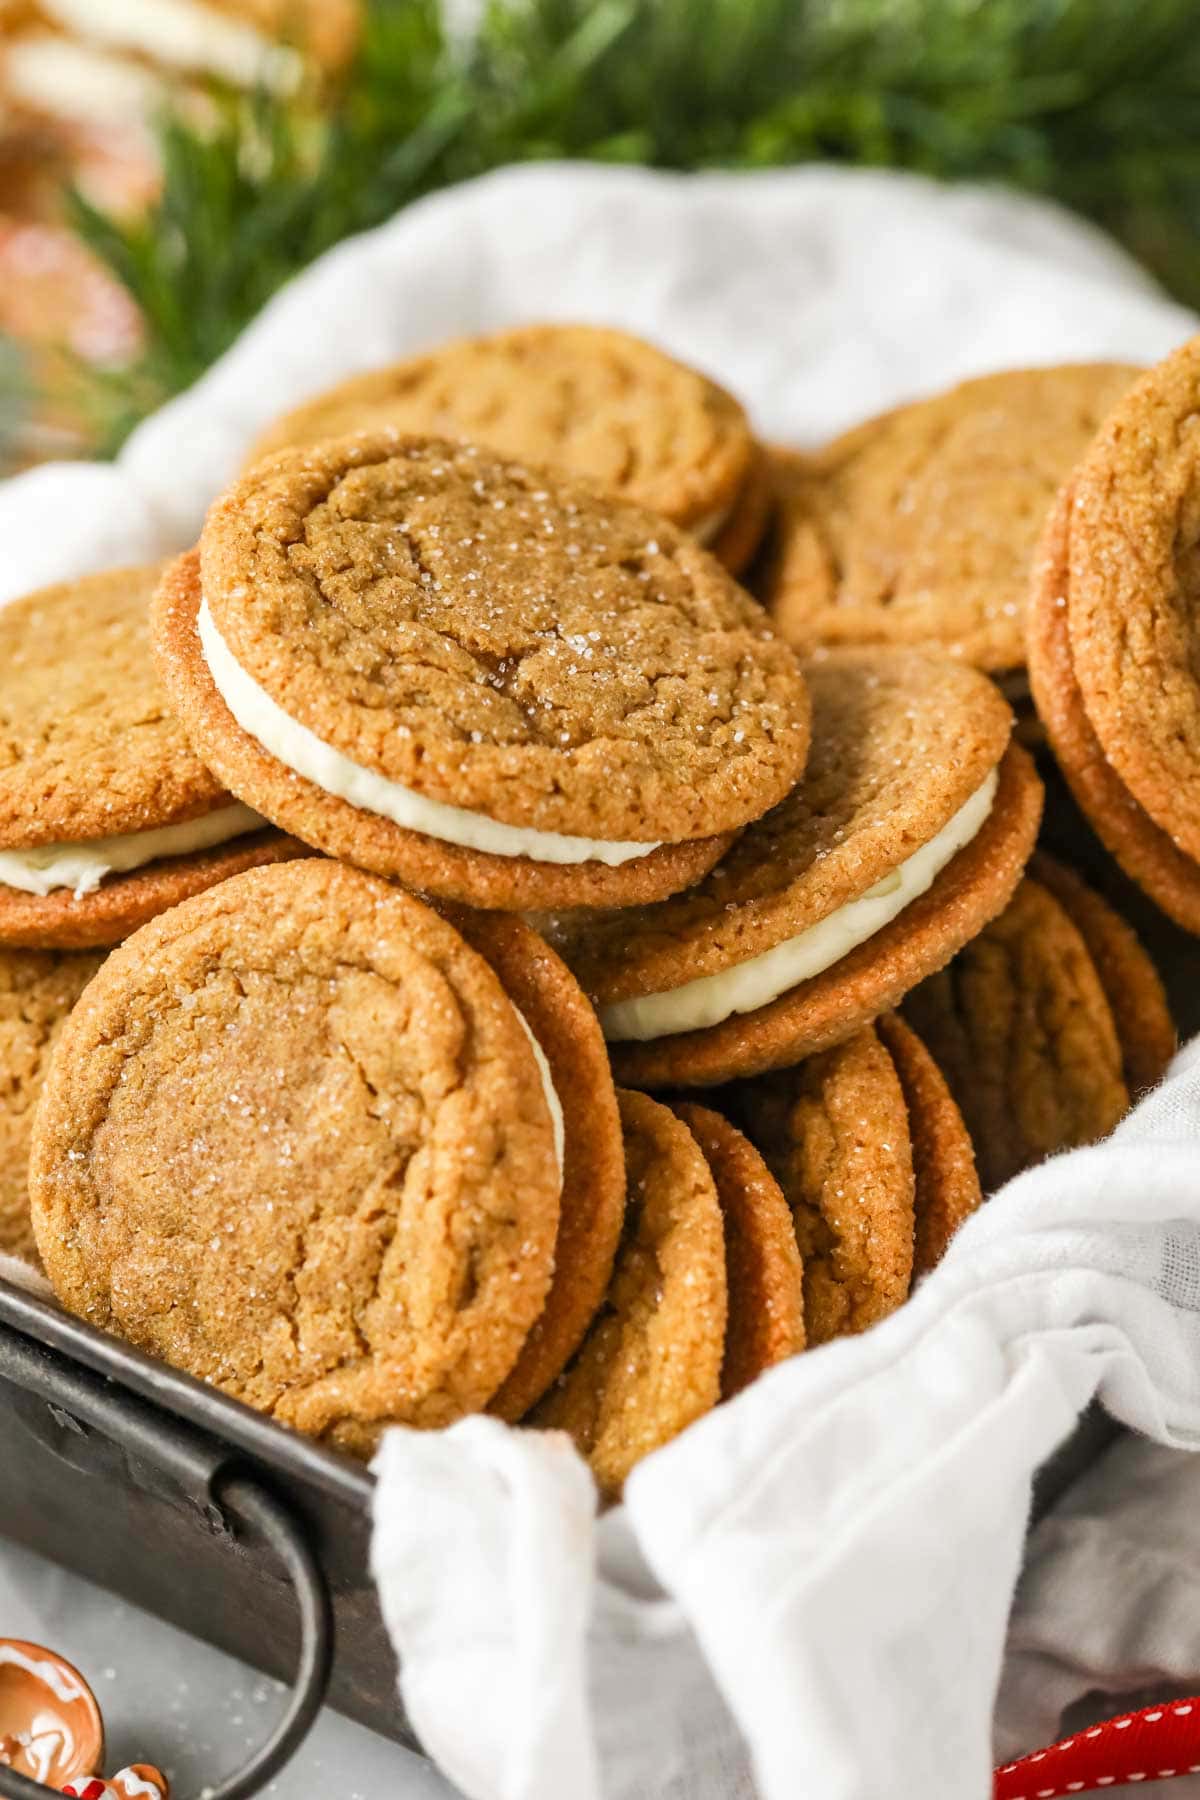
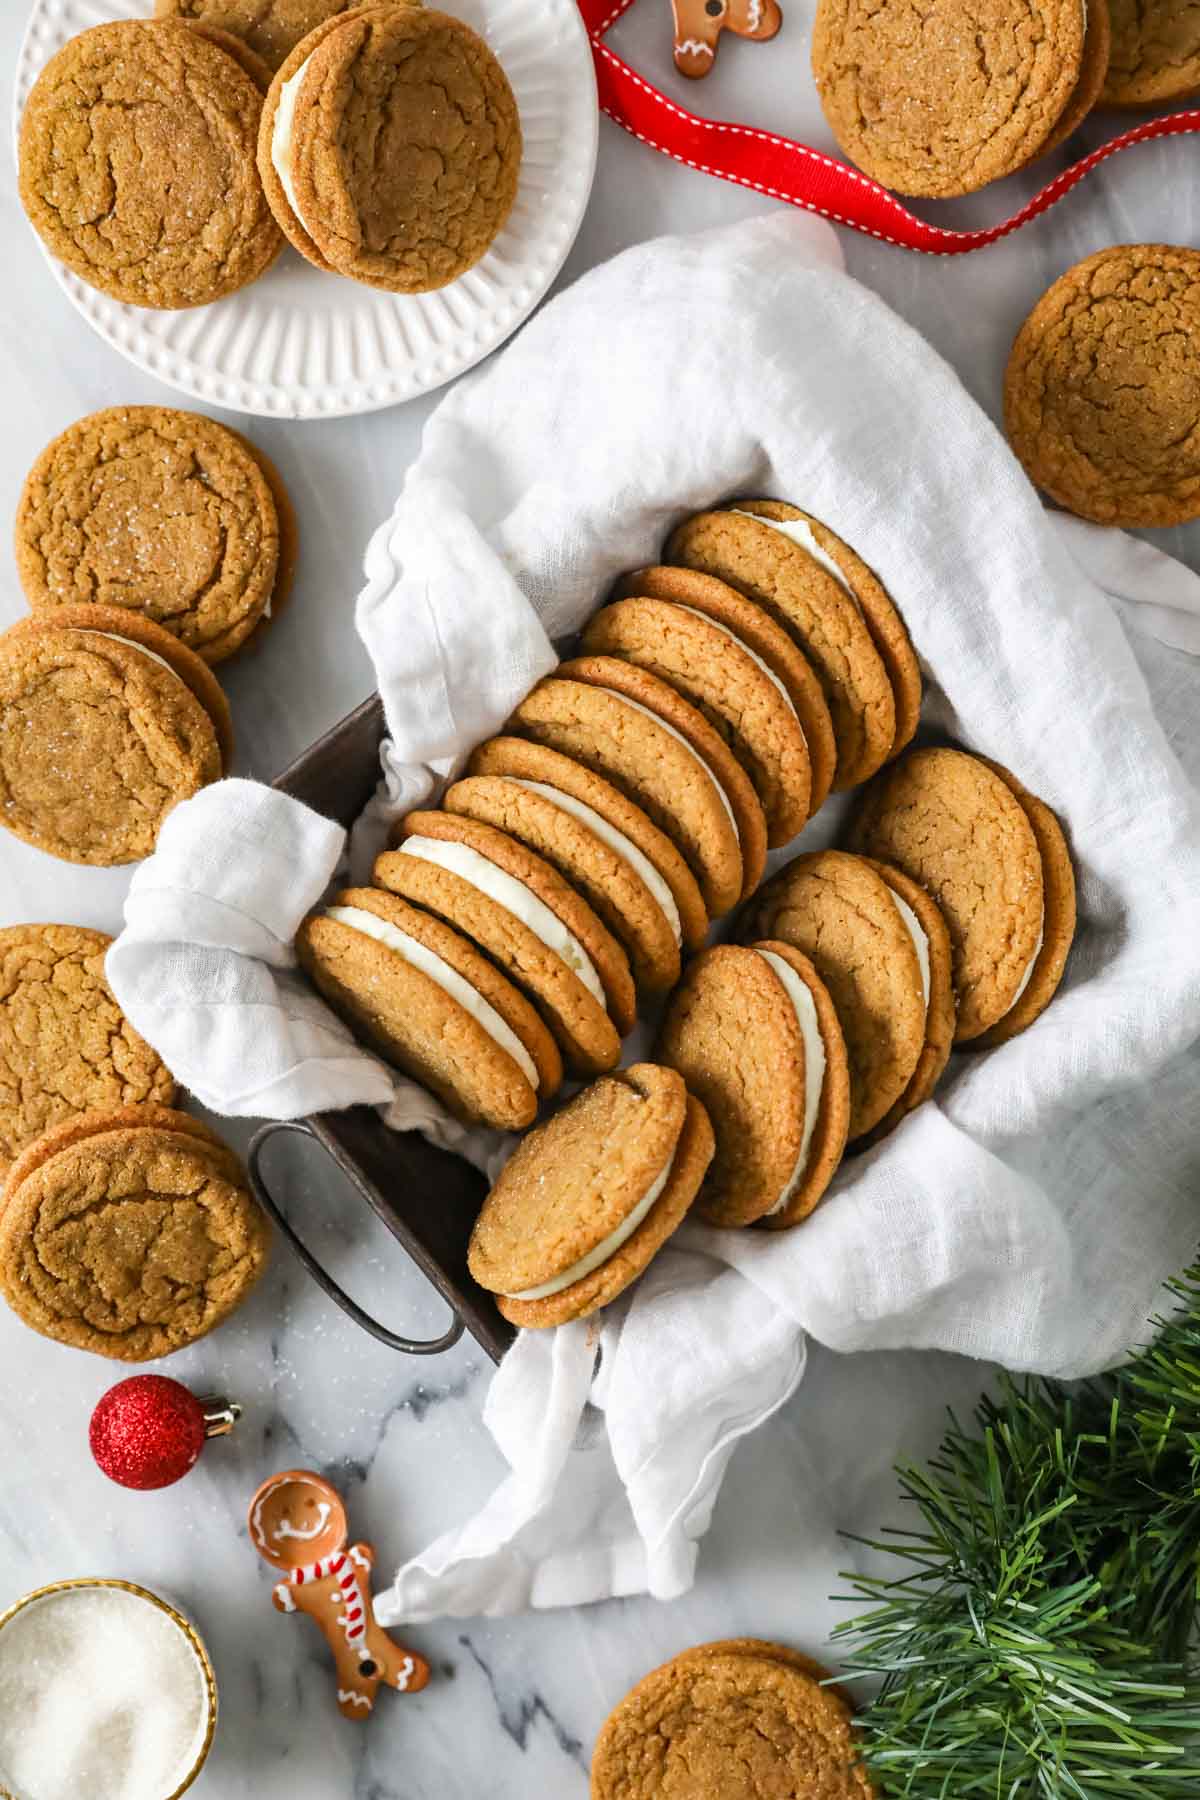
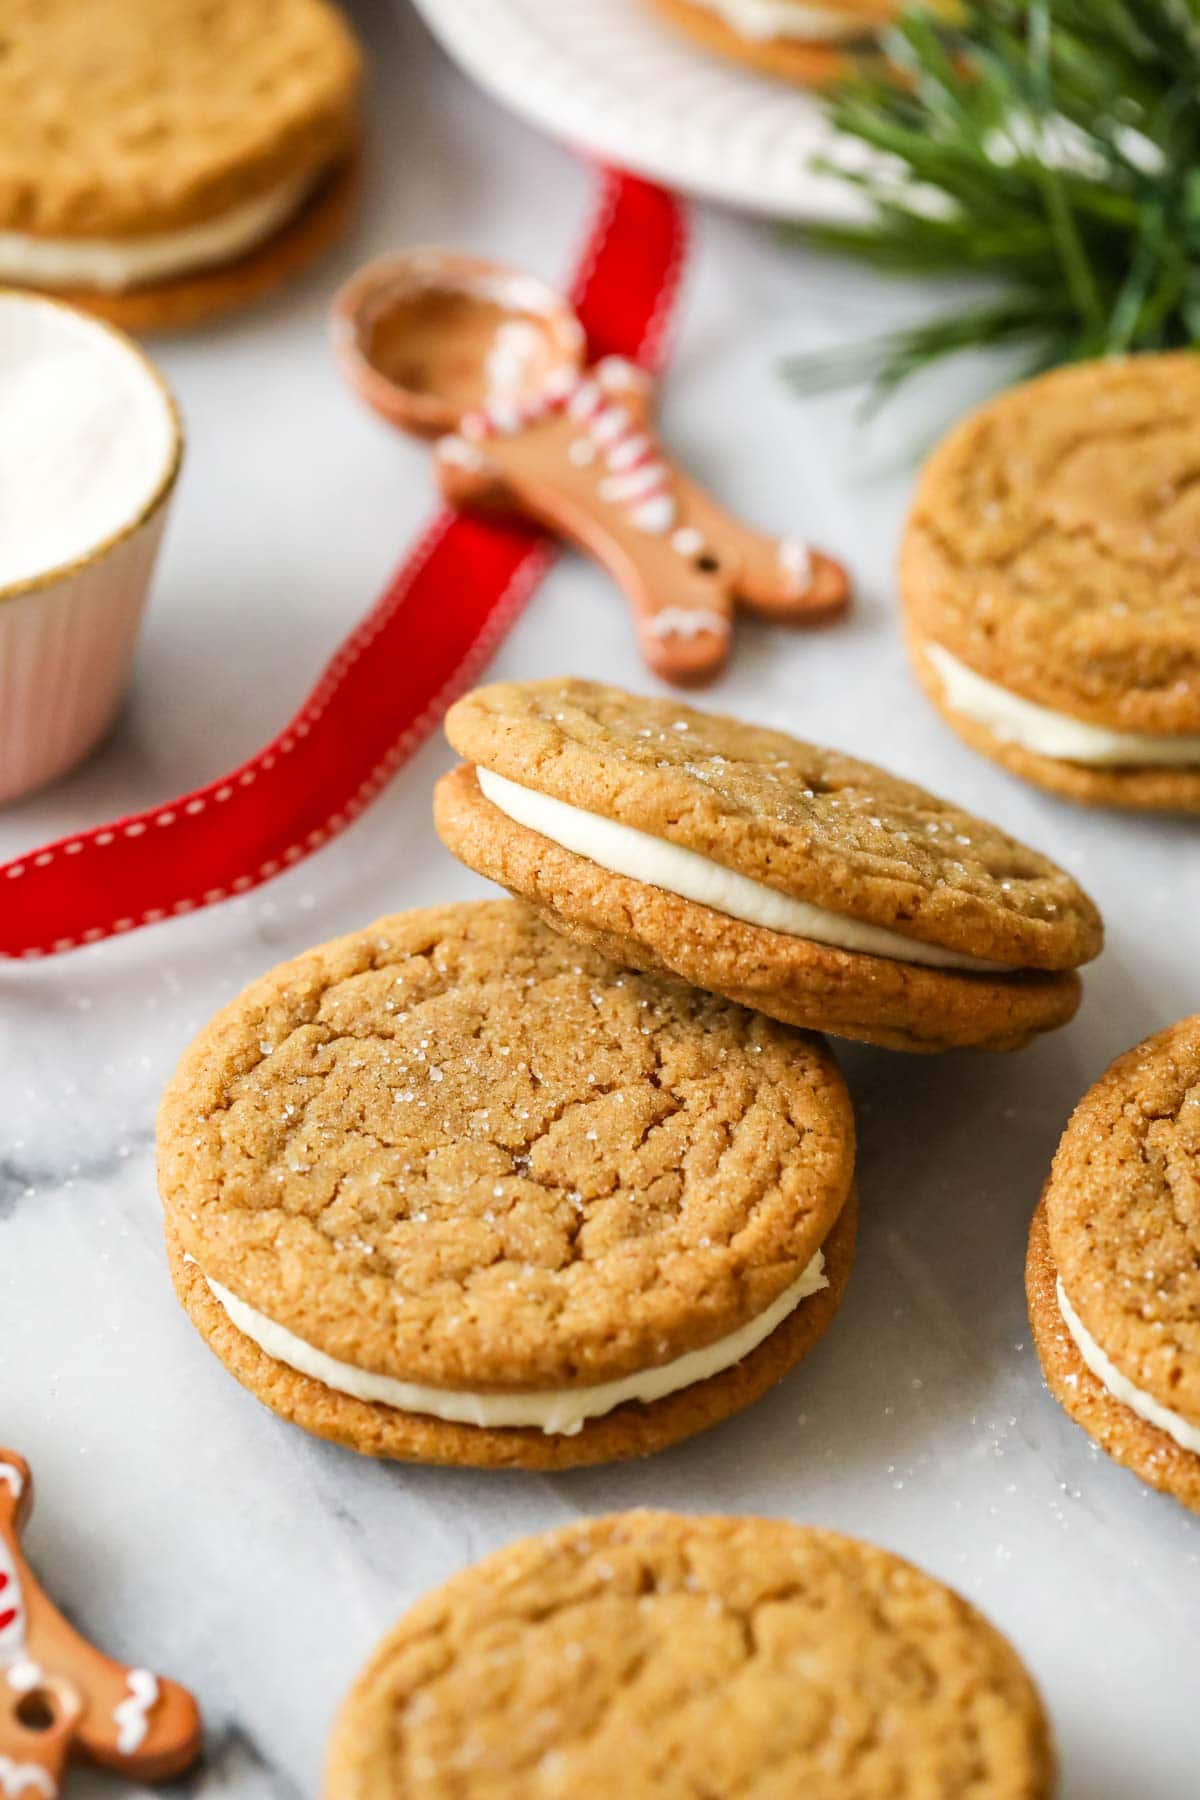
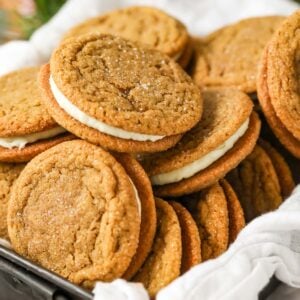
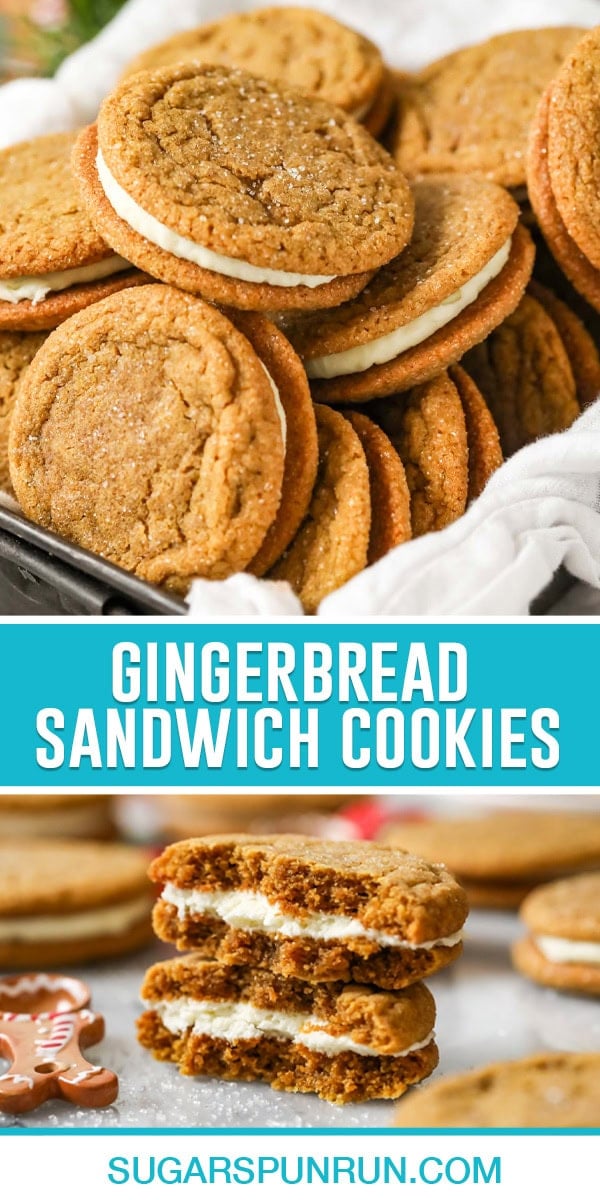
Perfectly spiced, thin, soft and chewy cookies sandwiched around the most delectable (and not too sweet!) buttercream frosting, these gingerbread sandwich cookies are my new holiday favorite (and they look stunning on a Christmas cookie tray beside other seasonal favorites like sugar cookies and peppermint bark cookies!).
Here’s what’s to love about them:
- Gourmet twist on classic gingerbread cookies. We transforms them into soft and chewy, cream filled gingerbread sandwich cookies. They’re similar to oatmeal cream pies in concept, but much more festive!
- Not-too-sweet filling. I tried so many different flavor pairings and settled on a white chocolate buttercream — it’s a brilliant (if I do say so myself) flavor pairing with the gingerbread spice. Despite the multi-layers of the cookie, it never feels like it’s “too much”.
- Soft and chewy texture with a true gingerbread flavor. Slightly underbaking the cookies in the oven ensures this texture lasts for days.
- Perfect for holiday baking! Not only are they seasonally festive, the dough can be made ahead of time or even frozen (follow the instructions in my post on how to freeze cookie dough).
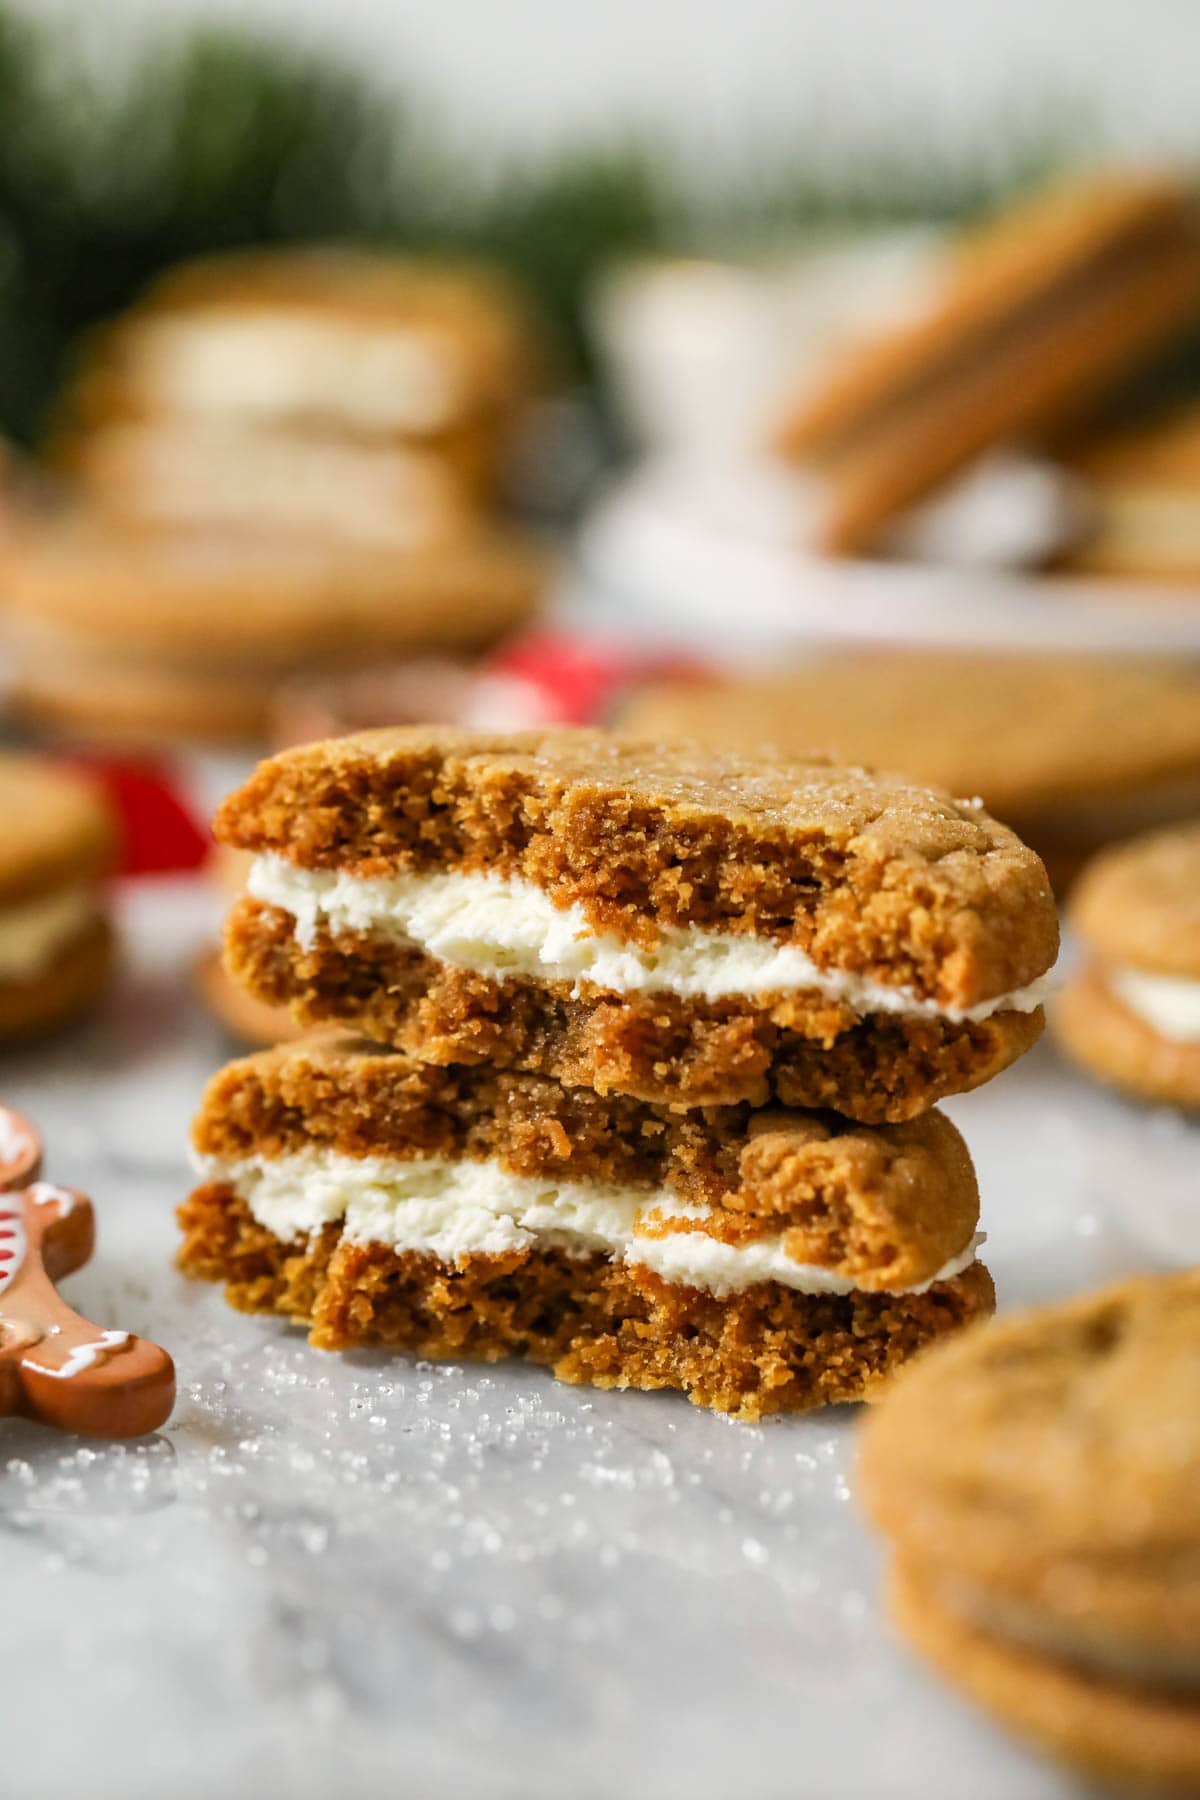
Pretty and gourmet as they are, I actually consider these to be much easier than their gingerbread-men counterparts. No rolling, no cutting, and no fussy decorating so no need to stress over your lackluster decorating skills (speaking for myself here, nothing quite gives me anxiety so much as having to whip out the royal icing and decorate a sugar cookie).
I tried a bunch of different fillings for this recipe before settling on my white chocolate buttercream. It’s one of my favorite not-too-sweet frostings and also my preferred filling for my macarons. I do include a few other options below in case white chocolate isn’t your thing (though I do recommend you try it at least once–it was the favorite of mine and all my taste testers!).
Ingredients
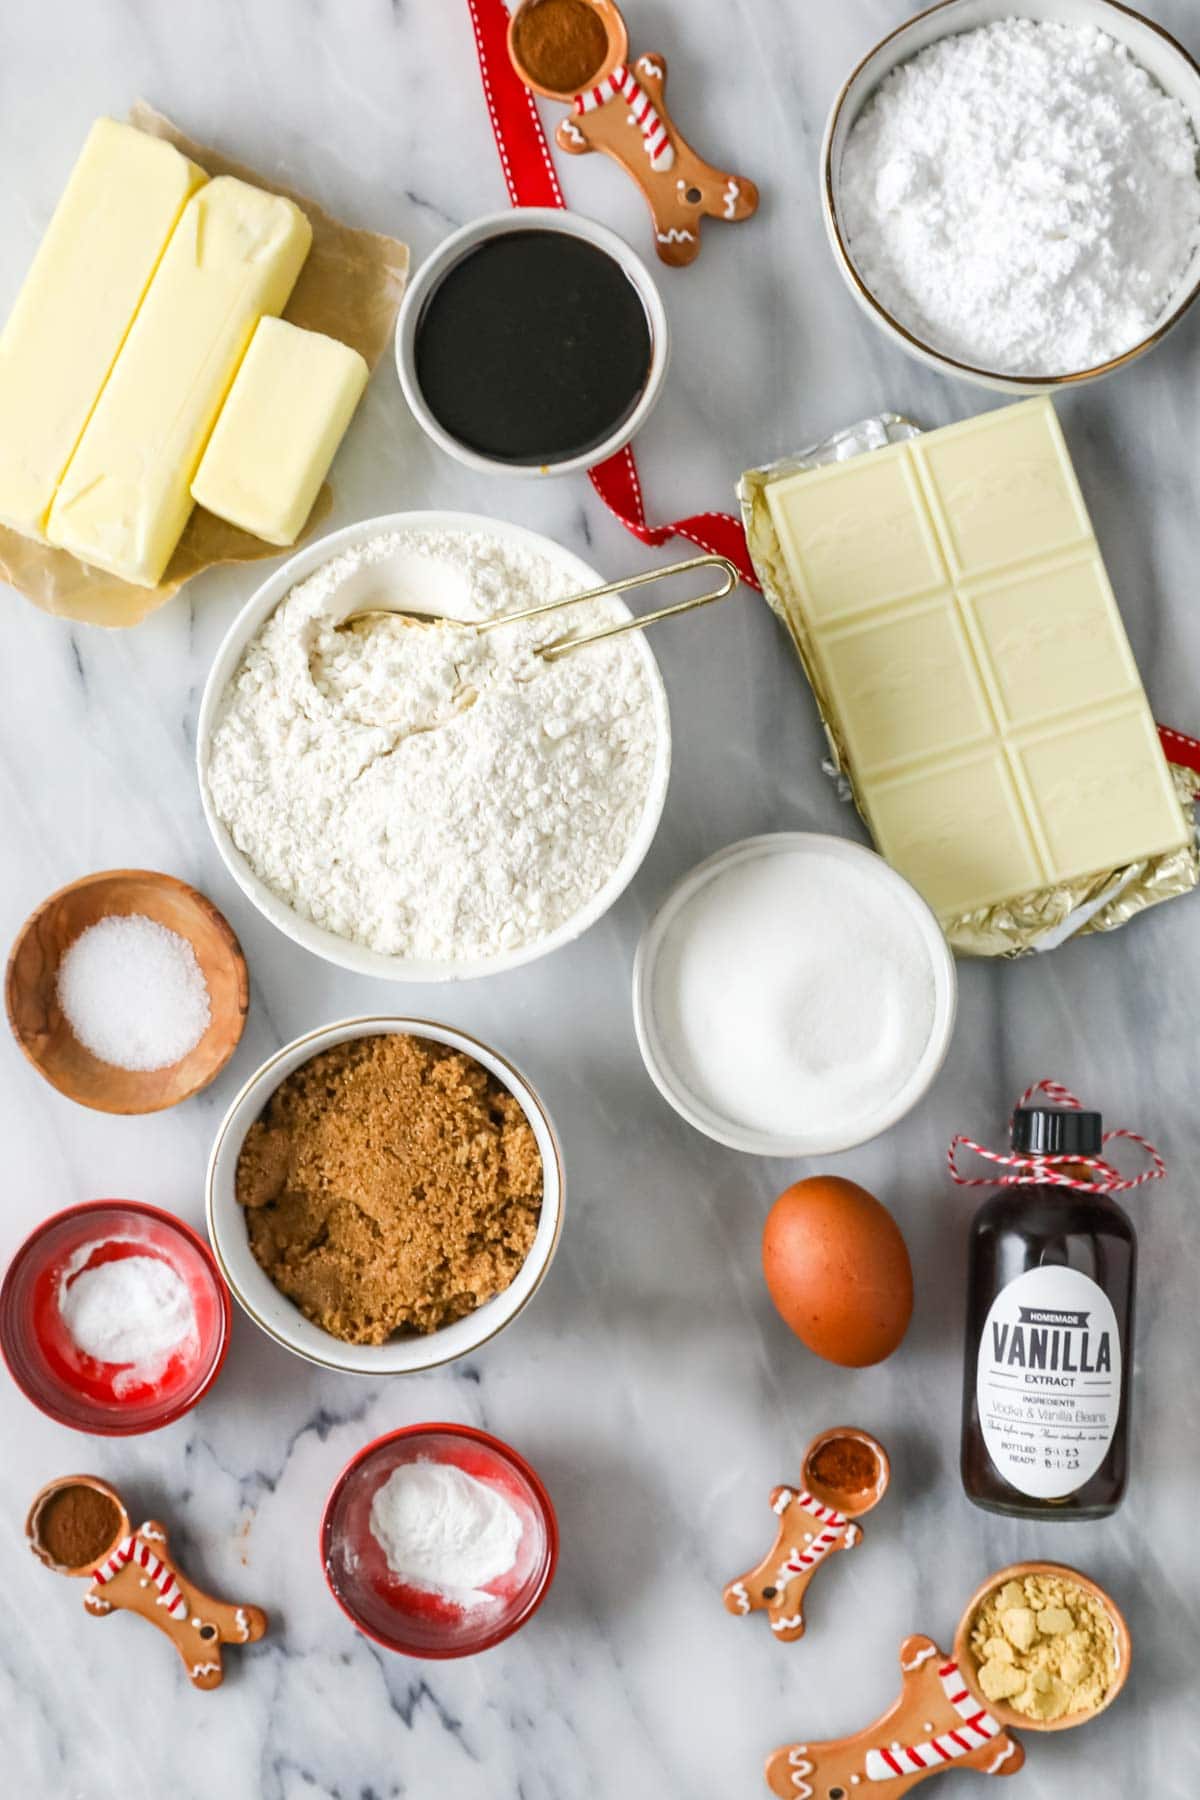
- Molasses. Do NOT use blackstrap molasses! The flavor is too strong and can make for dark and bitter cookies. Stick with regular unsulphered molasses like Grandma’s or the Brer Rabbit “Full Flavor” variety.
- Spices. Including ginger, cinnamon, clove, and cayenne pepper. The cayenne pepper works well with the other flavors and gives the cookies a true gingersnap flavor. If you are worried about the cookies being too spicy, you can leave it out; however, my 2 year old has no problem with the spice level of these cookies.
- Sugar. We’ll use a combination of granulated and dark brown sugar in the cookie dough itself for chewy, deeply flavored cookies. Before they go in the oven, we will roll the cookies in granulated sugar; I prefer to use a slightly coarser sugar for this step–you can read more about this in the notes section below. And don’t forget the powdered sugar for the frosting!
- White chocolate. I prefer and recommend using a chopped premium white chocolate baking bar for the white chocolate buttercream filling. White chocolate chips can work in a pinch, but they are not my preference. If you use chips, you would need ½ cup.
SAM’S TIP: Make sure your spices are fresh! Spices can be easily forgotten in the back of your pantry, and while most have a decent shelf life (a few years), your cookies will taste MUCH better with fresh spices vs. spices that are years old.
Remember, this is just an overview of the ingredients I used and why. For the full recipe please scroll down to the bottom of the post!
How to Make Gingerbread Sandwich Cookies
Make the dough
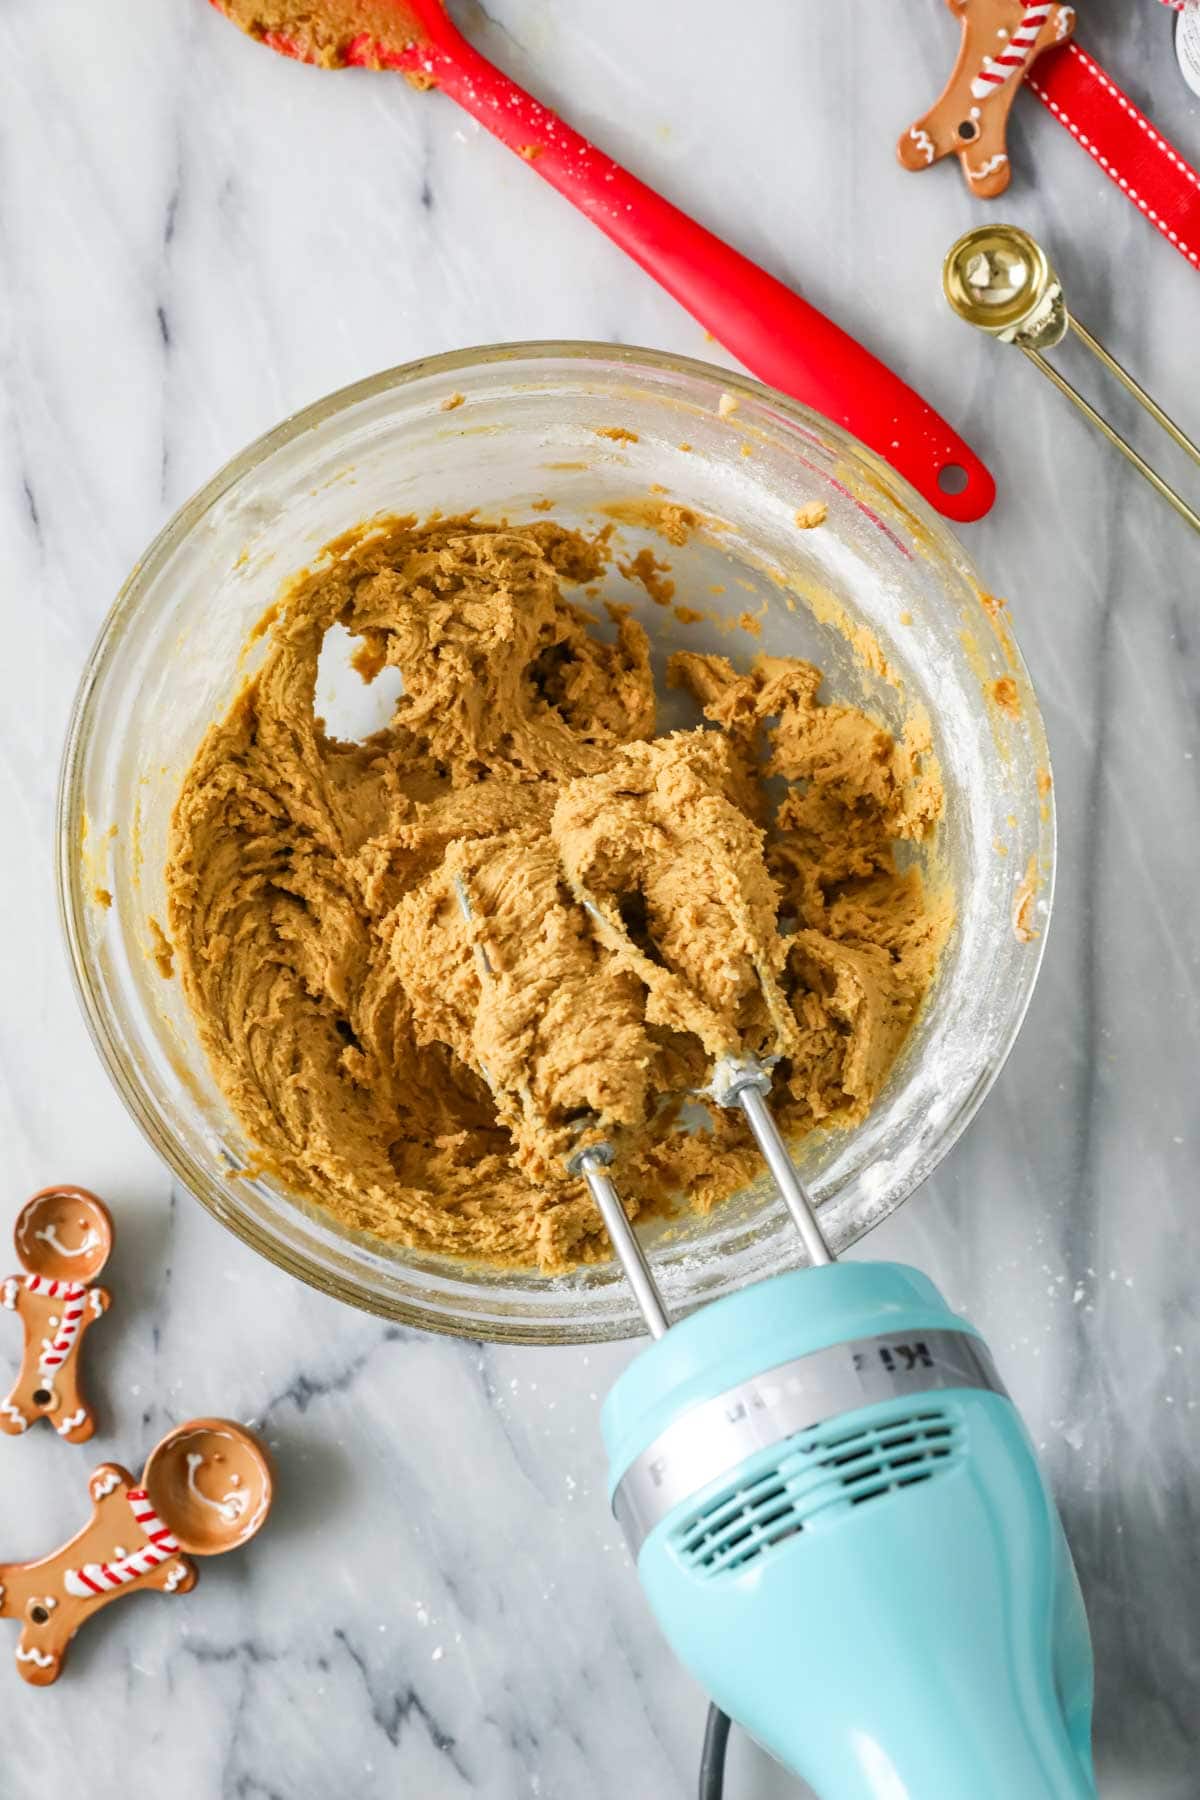
Use your stand mixer (with the paddle attachment) or an electric mixer so you can effectively cream together the butter and sugar. Molasses, vanilla and spices all get added next (I like adding the spices with the butter rather than with the other dry ingredients, helps with the flavor!). Your kitchen should be smelling fantastic already! Stir in the egg, then whisk the rest of your dry ingredients together.
Gradually add the flour mixture to the wet ingredients. I do this in 3-4 parts and stir until just combined after each addition.
Now, the dough will be a bit soft at this point so it will need to chill a bit, at least 30 minutes, or it can even be left in the fridge (covered) for 2-3 days.
Roll & bake
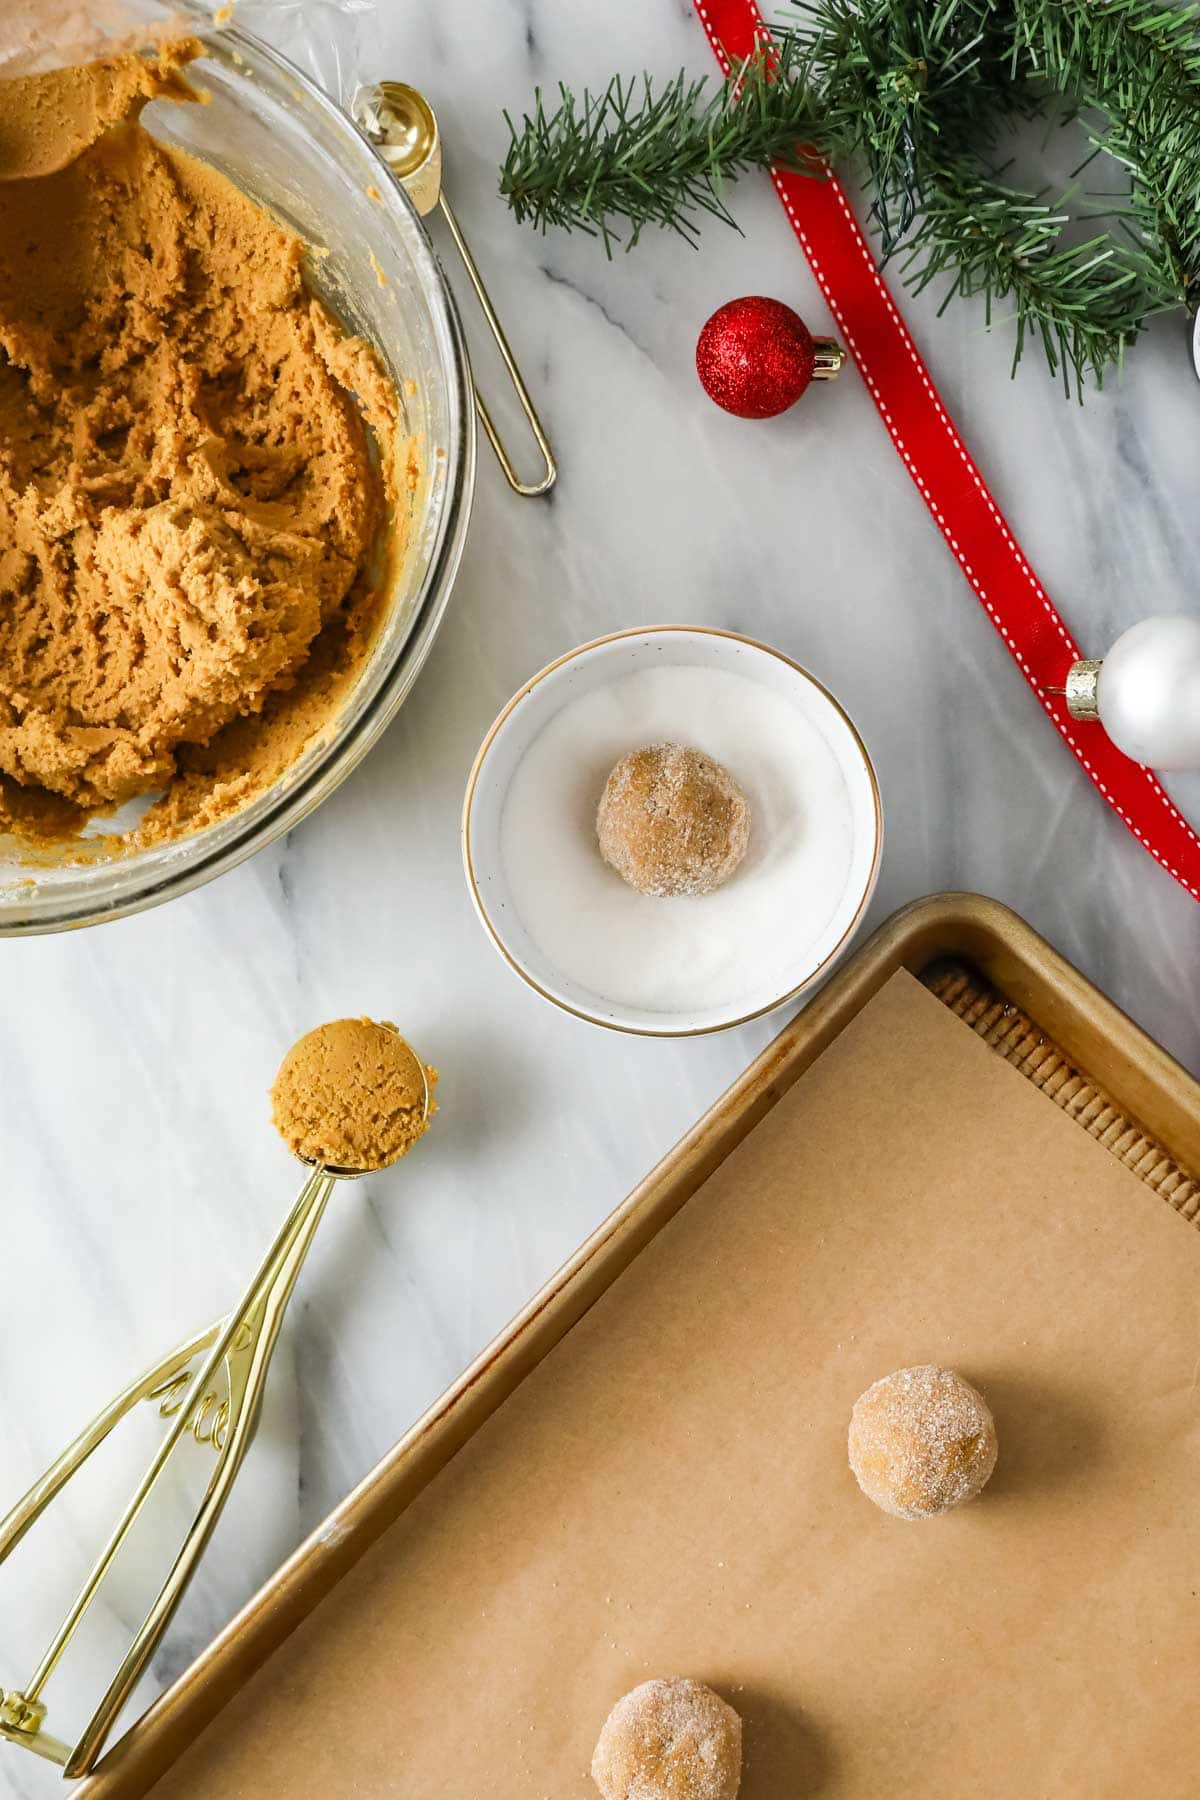
I recommend scooping the dough balls no larger than 1 ½ tablespoons (27 grams for you precise scale-users). Any larger and they don’t cook quite as evenly and honestly are just a bit much. If the dough is still too sticky to work with after 30 minutes, don’t panic, your butter or kitchen may have just been a bit warm. Just pop the dough back in the fridge until it’s manageable.
I like to roll the dough through a coarser sugar than typical granulated. Turbinado was a bit much for my preference, but my grocery store carries organic sugar that’s less refined so the crystals are larger. This leaves the cookies with a sparkly exterior when baked, whereas the granulated disappears a bit more into the cookie (don’t skip it though!).
Alright, now not to alarm you but this next note is very important. DO NOT OVER-BAKE THE COOKIES. Anytime I see a comment on any cookie recipe that says “dry” or “flavorless” but they measured everything perfectly, I just want to cry. It means the cookie was over-baked and unfortunately this can happen quickly. Not to mention many ovens are deceptive, running hotter or colder than they let on (which is why I recommend keeping an oven thermometer — affiliate — in your oven to keep it honest, my old oven ran over 15 degrees hot and that’s not unusual!).
The cookies should look just the teensiest golden on the edges (too dark/golden and they’ll be crisp, which is not ideal). they may look a bit puffed when they come out of the oven but should settle down to be nice and flat as they cool.
Assemble the sandwiches
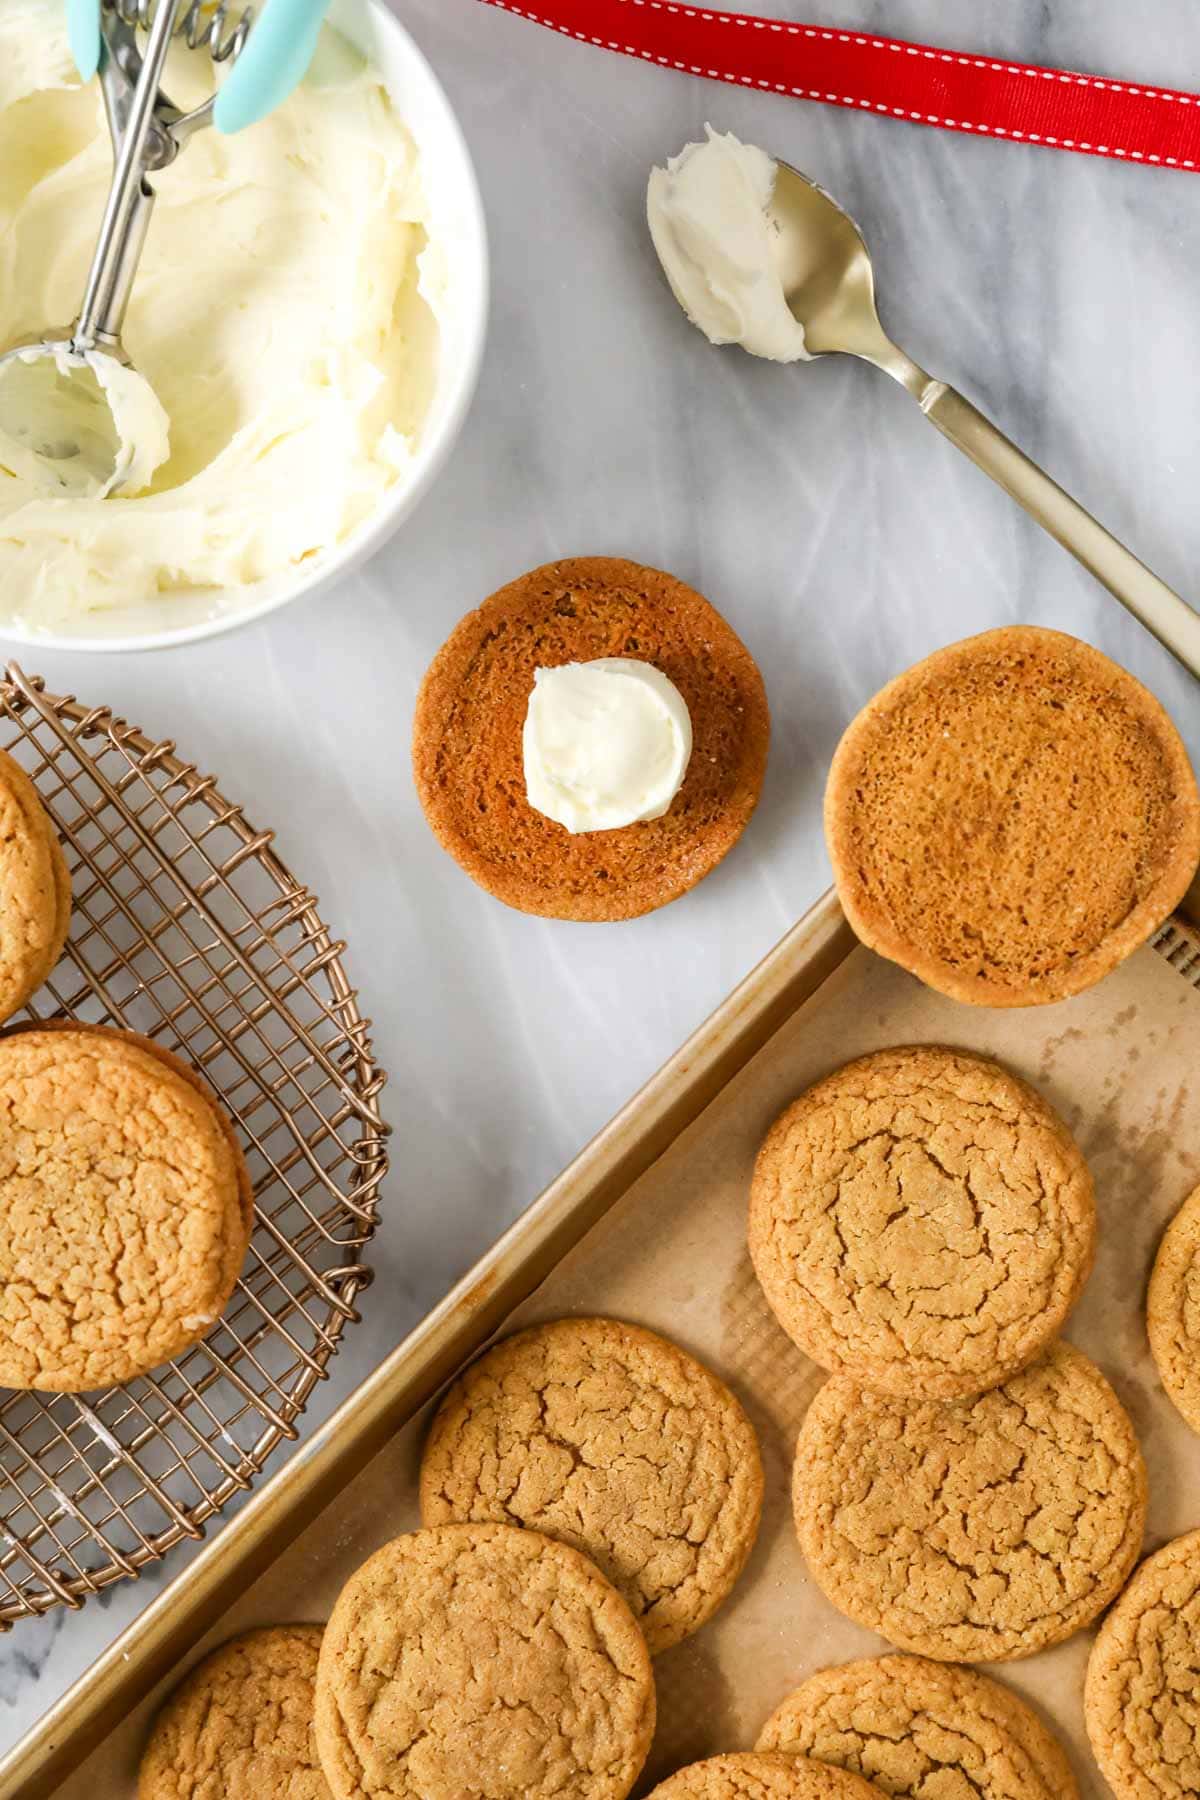
Drop a tablespoon of frosting (I use a 1-Tbsp cookie scoop to drop the frosting right in the center of each cookie) onto the bottom of one cookie. Add the top halves and gently press the sandwiches together so the frosting becomes an even layer (it doesn’t need to squish all the way to the edges or it’ll actually spill out when you bite into the cookies).
Enjoy!
Frequently Asked Questions
Yes! Buttercream or cream cheese frosting both work well in these gingerbread sandwich cookies. I haven’t tried it, but I bet brown butter frosting or marshmallow frosting would also be tasty. I also have a brown sugar version of my swiss meringue buttercream that I’ve been dying to try with this recipe (I was hoping to have that one ready to go before I shared these cookies but the holiday frenzy has caught up with me, can’t wait to share it soon!).
IMPORTANT NOTE: for any of these frosting/fillings you would need less than a half batch, so don’t make a full batch (or if you do, just double the cookie recipe!).
No (at least, not when made with the frosting listed), for best results you can store them at room temperature in an airtight container for up to three days. If you’d like to keep them longer, you can store them in the fridge for up to a week (wrap them tightly in plastic to keep them fresh!) but I recommend letting the cookies come to room temperature before enjoying.
Mine have never lasted long enough to freeze, but I absolutely don’t see why not! Just make sure to store your cookies in an airtight container. When you are ready to enjoy, let them thaw at room temperature until softened.
If you love gingerbread, try my gingerbread fudge, gingerbread house, or gingerbread cake next!
Enjoy!
Let’s bake together! Subscribe to my newsletter to be notified of all the newest recipes, and find my free recipe tutorials on YouTube 💜
Gingerbread Sandwich Cookies
Ingredients
Cookies
- ¾ cup (170 g) unsalted butter softened
- ½ cup (100 g) granulated sugar
- ½ cup (100 g) dark brown sugar firmly packed
- ¼ cup (60 ml) unsulphured molasses
- ¾ teaspoon vanilla extract
- 2 ½ teaspoons ground ginger
- ¾ teaspoon ground cinnamon
- ½ teaspoon ground cloves
- ⅛ teaspoon ground cayenne pepper
- 1 large egg room temperature preferred
- 2 ¼ cups (280 g) all-purpose flour
- 1 teaspoon baking powder
- ¾ teaspoon baking soda
- ¾ teaspoon table salt
- ½ cup (100 g) granulated sugar for rolling (see note)
Filling
- 3 oz (85 g) white chocolate finely chopped (see note)
- ½ cup (113 g) unsalted butter softened
- 1 cup (125 g) powdered sugar
- ¼ teaspoon vanilla extract
- Pinch of table salt about 1/16th teaspoon
Recommended Equipment
Instructions
Cookies
- Combine butter and sugar in a large mixing bowl (or the bowl of a stand mixer fitted with paddle attachment) and use an electric mixer to beat together until creamy and well-combined.¾ cup (170 g) unsalted butter, ½ cup (100 g) granulated sugar, ½ cup (100 g) dark brown sugar
- Add molasses, vanilla extract, ginger, cinnamon, cloves, and cayenne pepper and stir together until all ingredients are thoroughly incorporated.¼ cup (60 ml) unsulphured molasses, ¾ teaspoon vanilla extract, 2 ½ teaspoons ground ginger, ¾ teaspoon ground cinnamon, ½ teaspoon ground cloves, ⅛ teaspoon ground cayenne pepper
- Add egg and stir well.1 large egg
- In a separate, medium-sized bowl, whisk together flour, baking powder, baking soda, and table salt.2 ¼ cups (280 g) all-purpose flour, 1 teaspoon baking powder, ¾ teaspoon baking soda, ¾ teaspoon table salt
- Gradually add the dry ingredients into the wet ingredients (I do this in 3 or 4 parts), stirring until just combined after each addition.
- Cover dough tightly with plastic wrap and transfer to the refrigerator to chill for at least 30 minutes and up to 2 days.
- When cookie dough is almost done chilling, preheat your oven to 350F (175C) and line baking sheets with parchment paper.
- Once dough is chilled and oven is preheated, scoop dough by 1 ½ Tablespoon-sized scoop (27g) and roll gently between your palms to create a smooth surface (if dough is too sticky to roll, return it to the refrigerator to chill a bit longer). Roll cookie dough through granulated sugar and place on prepared baking sheets, spacing at least 2” (5cm) apart.½ cup (100 g) granulated sugar
- Transfer to center rack of preheated 350F (175C) oven and bake for 10 minutes. Cookies may appear slightly underdone in the centers when finished. It’s best if the edges are not browning or at most are just turning a very very light golden when finished, as over-baking will make the cookies dry and crisp when they should be soft and chewy.
- Allow cookies to cool completely on baking sheet (they will be fragile when warm) before filling.
Filling & Assembly
- Add chocolate to a small, microwave-safe bowl and heat in microwave for 30 seconds. Stir, then return to microwave in 15-second instruments, stirring in between, until chocolate is completely melted and smooth. Set aside and allow to cool (stirring occasionally) until chocolate is still melted but no longer warm to the touch before proceeding.3 oz (85 g) white chocolate
- Place butter in a medium-sized mixing bowl and use an electric mixer to beat the butter until creamy.½ cup (113 g) unsalted butter
- Add melted, cooled chocolate and stir on low-speed until well combined.
- With mixer on low-speed, gradually stir in powdered sugar. Be sure to scrape the sides and bottom of the bowl periodically to incorporate all ingredients.1 cup (125 g) powdered sugar
- Add vanilla extract and salt and stir again.¼ teaspoon vanilla extract, Pinch of table salt
- Once cookies are completely cooled, scoop 1 Tablespoon of filling (14g) onto the bottom of one cookie. Top with another cookie to make a sandwich and press the cookies together gently but firmly to distribute the frosting in the cookie. Repeat with the remaining cookies. Enjoy!
Notes
White chocolate
I like to use a baking bar and finely chop it. Alternatively, while they’re not my preference, you can use white chocolate chips. You would need ½ cup.Sugar for rolling
Regular granulated sugar works just fine here but I prefer to use a slightly more coarse sugar for rolling. My grocery store sells organic sugar which is slightly more coarse and looks a bit more sparkly than the granulated sugar after baking and I use this for rolling the cookies that you see in the photos and video. Turbinado sugar is a bit too coarse for rolling the cookie dough in in my opinion (too much texture on the outside of the cookies).Storing
Store in an airtight container at room temperature for up to 3 days.Nutrition
Nutritional information is based on third-party calculations and should be considered an estimate only. Actual nutritional content will vary based upon brands used, measuring methods, cooking method, portion sizes, and more.





Katrina
I made these for my Christmas Boxes. These were a favorite from everyone! Including me, it was hard to not keep half of them for myself haha
The spices from the gingerbread cookie and the sweetness from the white chocolate frosting is just perfection!
Casey @ Sugar Spun Run
We’re so glad you love these cookies, Katrina! The gingerbread / white chocolate combination is a great one!
Earl
if I wanted to make them smaller, would that effect the baking time?
Sam Merritt
Hi Earl! I haven’t personally made them smaller, but yes if you don’t make them as large they will not take as long to bake. Just be sure to keep an eye on them. 🙂
Laurie Elkin
Fabulous!
Sam
I’m so glad you enjoyed them so much, Laurie! 🙂
Joan
This is a wonderful cookie recipe. I did freeze some of my cookies. After spending some time in the freezer the cayenne is more evident. Not unpleasant, just more evident. Thank you for your recipes!
Sam
I’m so glad you enjoyed them so much, Joan! Thank you for the feedback when freezing them! 🙂
T. Love
This is a REALY great recipe. I made them, they came out perfect. Make sure to let them cool completely. I tried them before they cooled and felt like they were not cooked all the way\, but they were. Lovely soft texture. My son game in and said you baked moon pies. LOL
Sam
I’m so glad everyone enjoyed them so much! 🙂
Maggie Davis
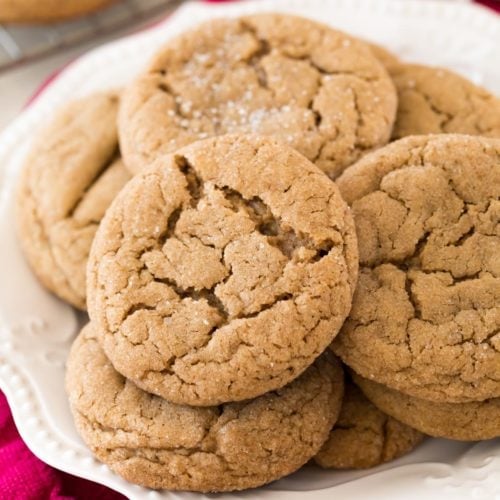
I want to make the plain cookies because they look so crispy and chewy! I noticed that this recipe is quite similar to your gingersnap recipe, but the Gingersnaps look tall and soft while these look chewy and thin, which I much prefer! Is the difference in the fact that these have more molasses? Also, would the baking powder make these cakey?