Christmas kiss cookies are a festive twist on classic crinkle cookies. They are fudgy, chocolatey, and just plain fun with your favorite holiday Hershey kisses! Recipe includes a how-to video!
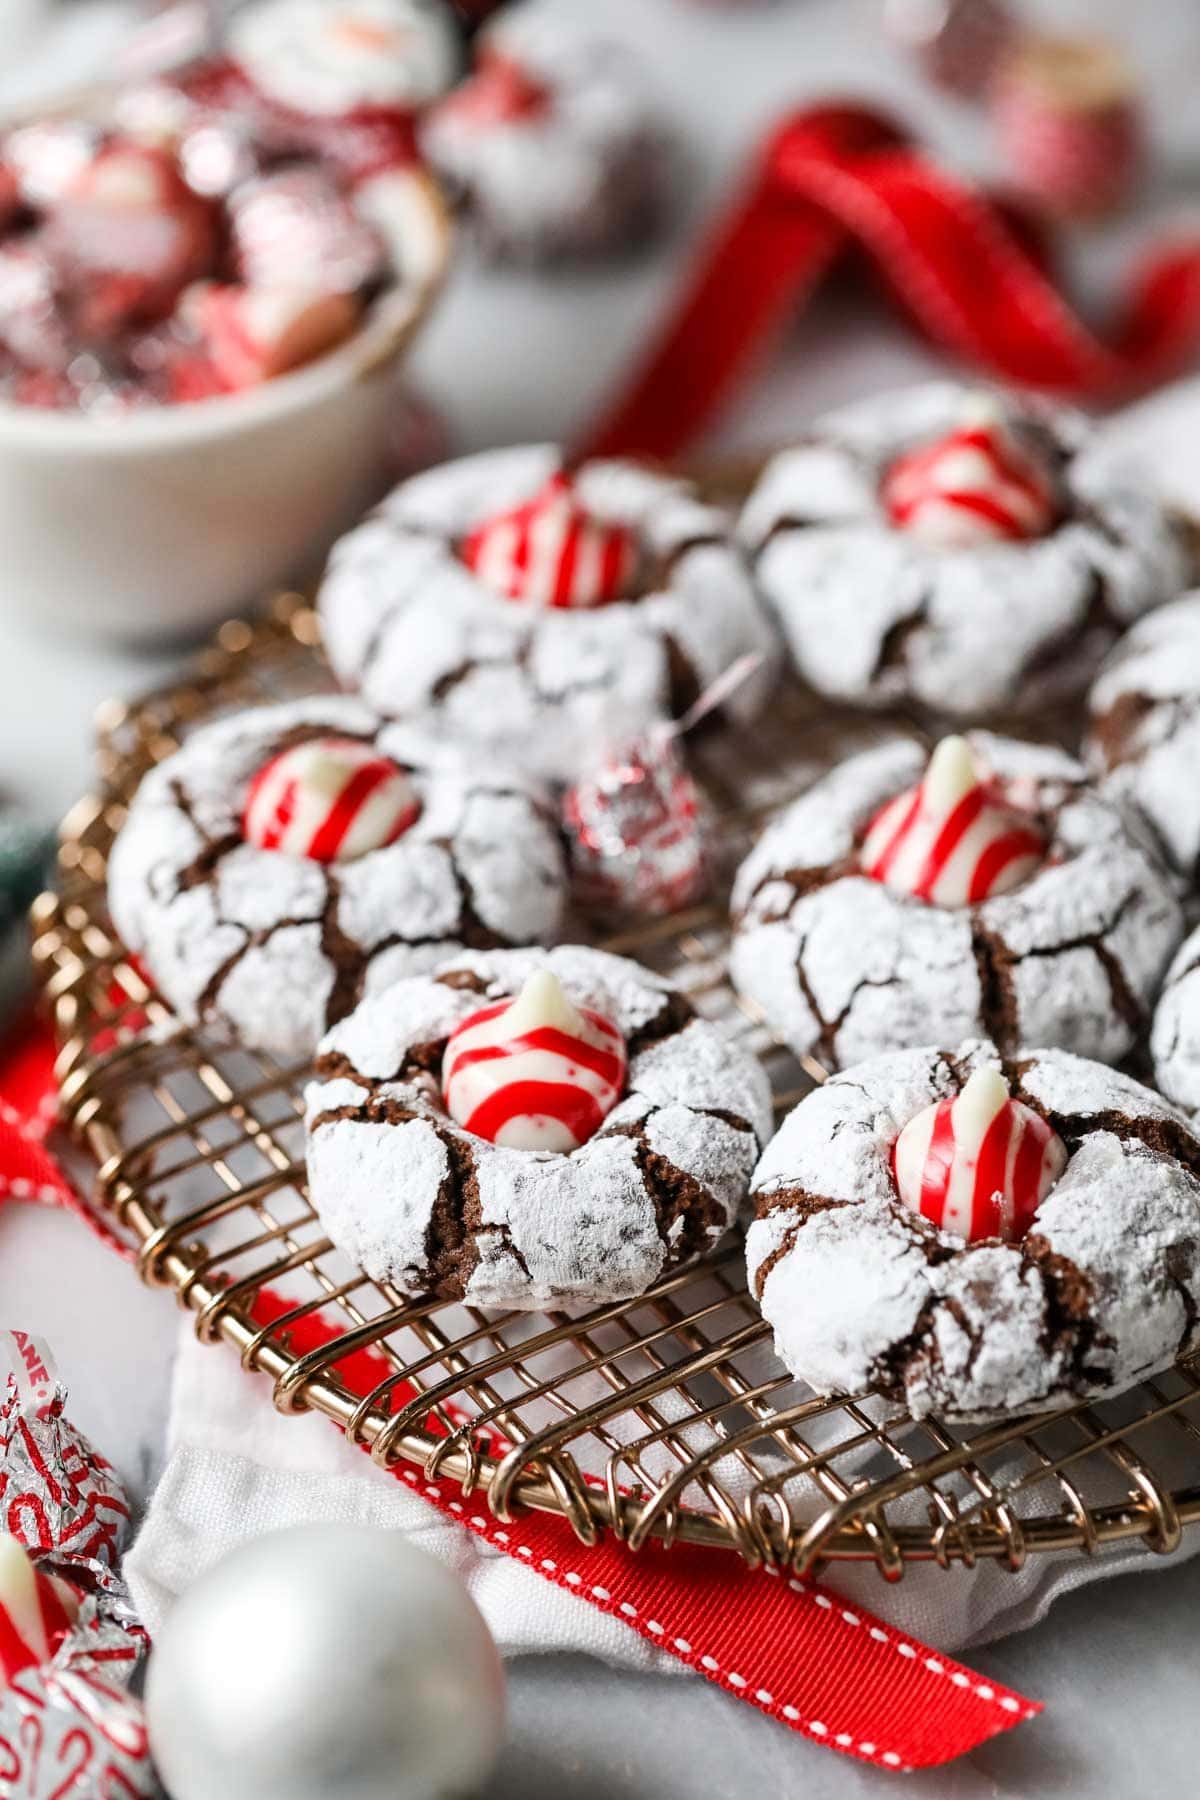
Chocolate Christmas Blossom Cookies
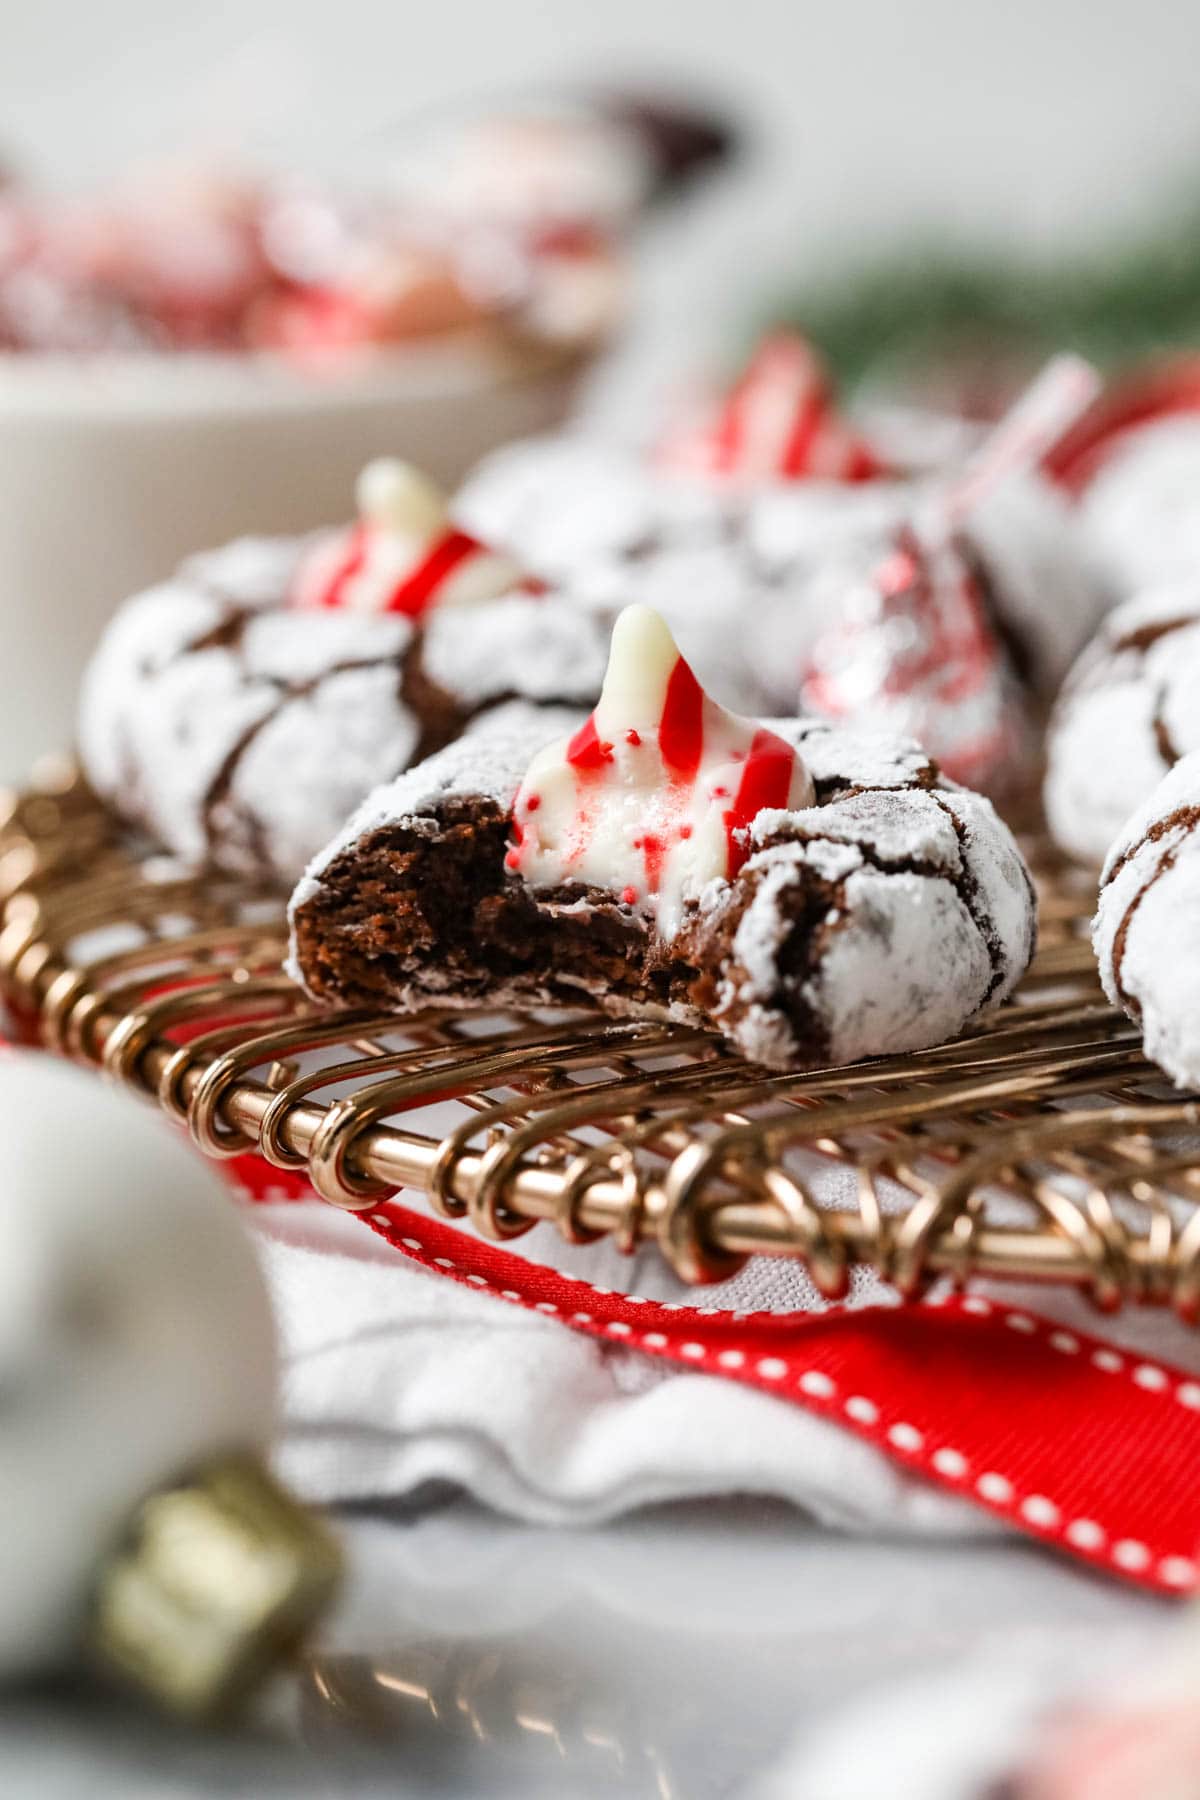
My latest Christmas cookie creation, these Christmas kiss cookies are simply my crinkle cookies dressed up for the holidays with seasonal Hershey kisses. They are so festive and tasty–one of my all-time favorite cookies (you know how I feel about chocolate)!
The dough is easy to make but does require some chilling. I usually prep it one day and bake the next, but you can always freeze it if you like prepping your holiday cookies in advance.
Why You’ll Love This Recipe
- Flavor: rich chocolate flavor bolstered by whatever flavor kiss you choose. I like the candy cane kisses for a peppermint bark flavor!
- Texture: fudgy, soft, and chewy with solid chocolate centers. The kisses will re-solidify after a few hours, turning back to their original texture after melting slightly when first added to the warm cookies (just like the marshmallow in my hot chocolate cookies or the milk kisses in my peanut butter blossoms).
- Customizable: use your favorite kiss flavor, swap the sugar for holiday sprinkles, etc. This recipe is very versatile and fun for the kids (split the dough and let them get creative with their toppings).
- Make it in advance: the dough needs at least four hours to chill but can stay in the fridge for up to three days. Or, freeze your cookie dough balls and bake them later!
What You Need
Nothing too complicated here, but I will review a few of our key ingredients before we dig in.
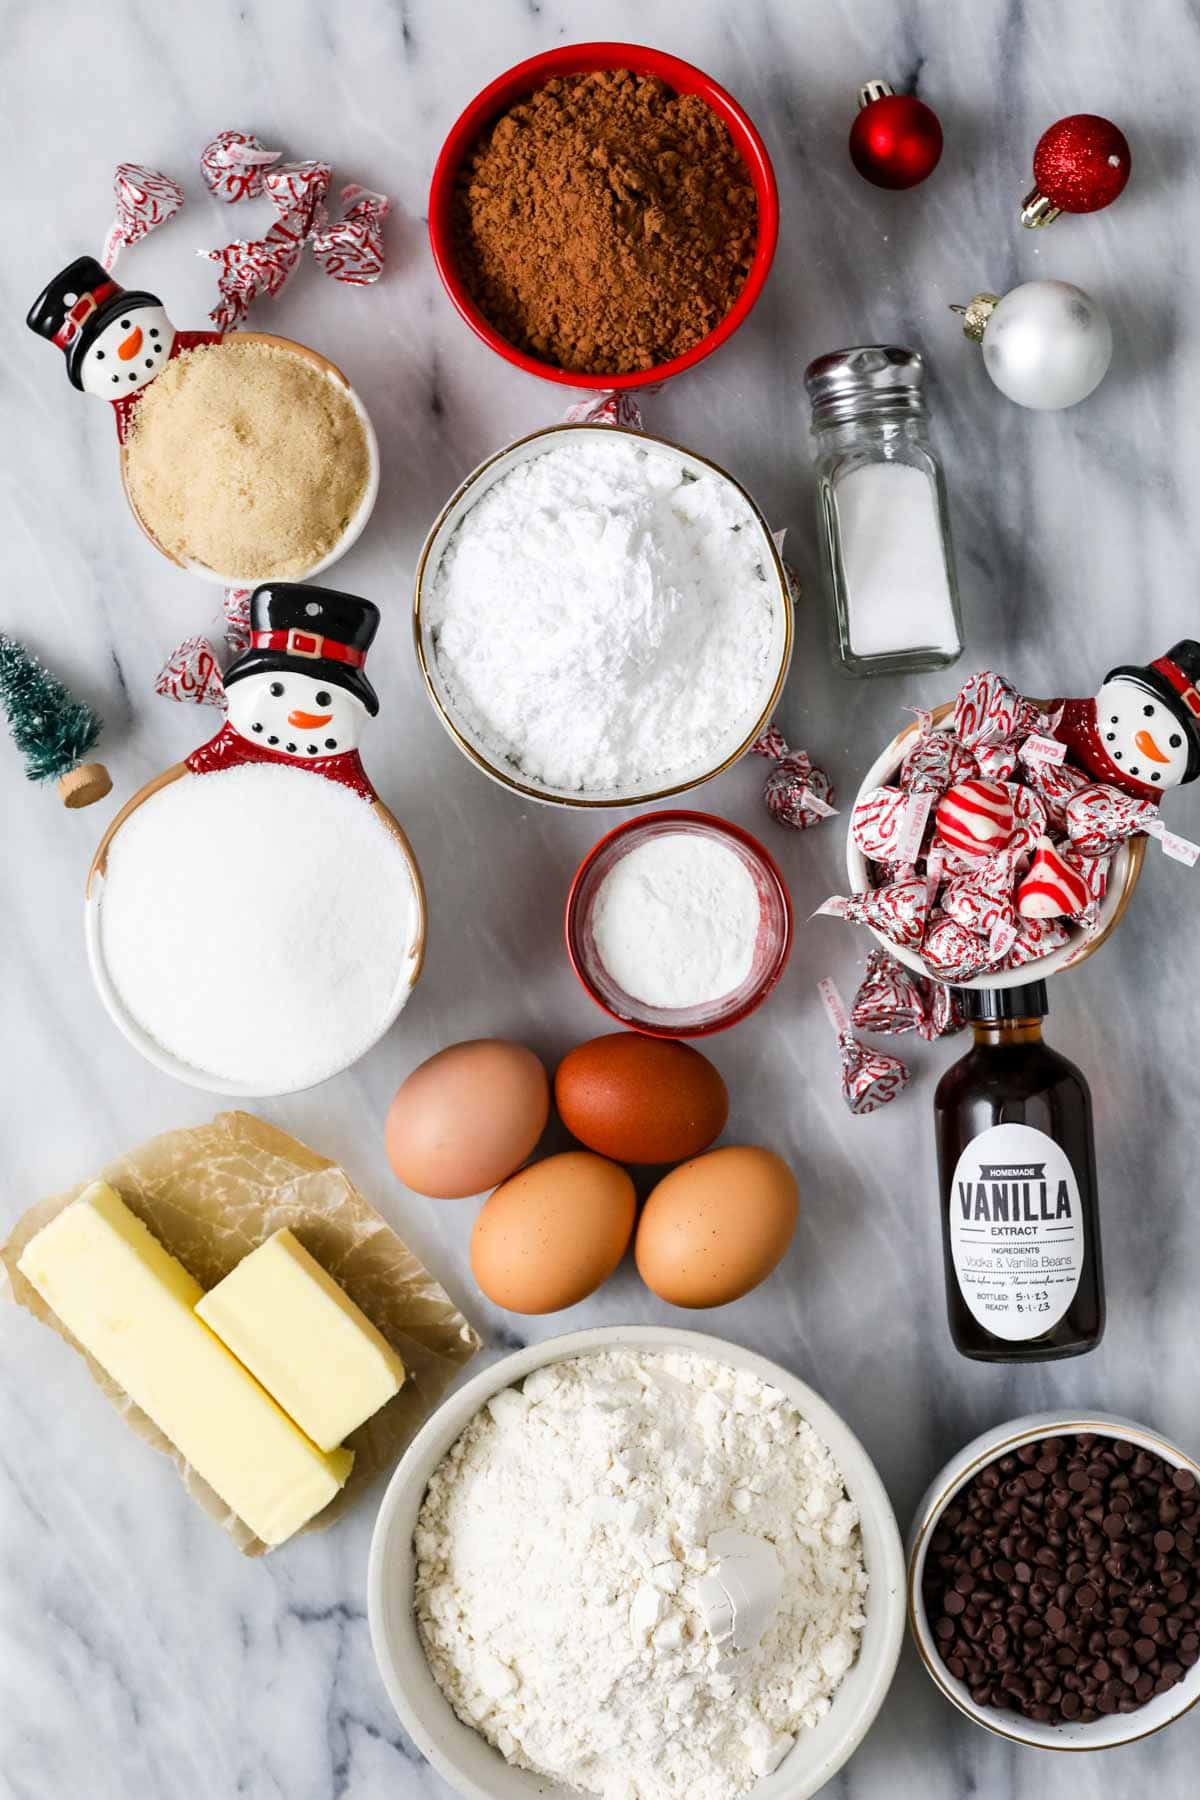
- Sugar. Three types, to be exact (those of you opposed, please refer to my blog name 😉), Granulated, brown (light or dark works!), and powdered. The combination of granulated and brown sugar in the dough makes these cookies flavorful and chewy. And of course, that powdered sugar coating is a necessity that adds that snow-kissed look!
- Eggs. Four, to be exact. If you can remember to set your eggs out ahead of time so they are at room temperature when you add them, that’s perfect! If not, follow my trick to quickly bring eggs to room temperature.
- Cocoa powder. Natural cocoa is my preference here, but Dutch process can work too. Dutch process will impart a richer, deeper flavor and darker color.
- Baking powder. We’re using a full tablespoon! This encourages our cookies to puff up a bit and helps with that crinkly look too.
- Hershey kisses. I like using the candy cane kisses (not going to lie, while they’re totally festive, from a distance the cookies do remind me a bit of Jigsaw from Saw, anyone else?) but you can use any of the fun seasonal flavors or the traditional kisses. I talk more about this below!
SAM’S TIP: You can’t always substitute Dutch process cocoa for natural cocoa powder (and vice versa!). I talk more about when this is safe and the differences between the two in my post on natural vs. Dutch process cocoa, if you like to learn more about the science-y side of baking!
This is just an overview of the ingredients I used and why. For the full recipe please scroll down to the bottom of the post!
How to Make Christmas Kiss Cookies
Make the dough
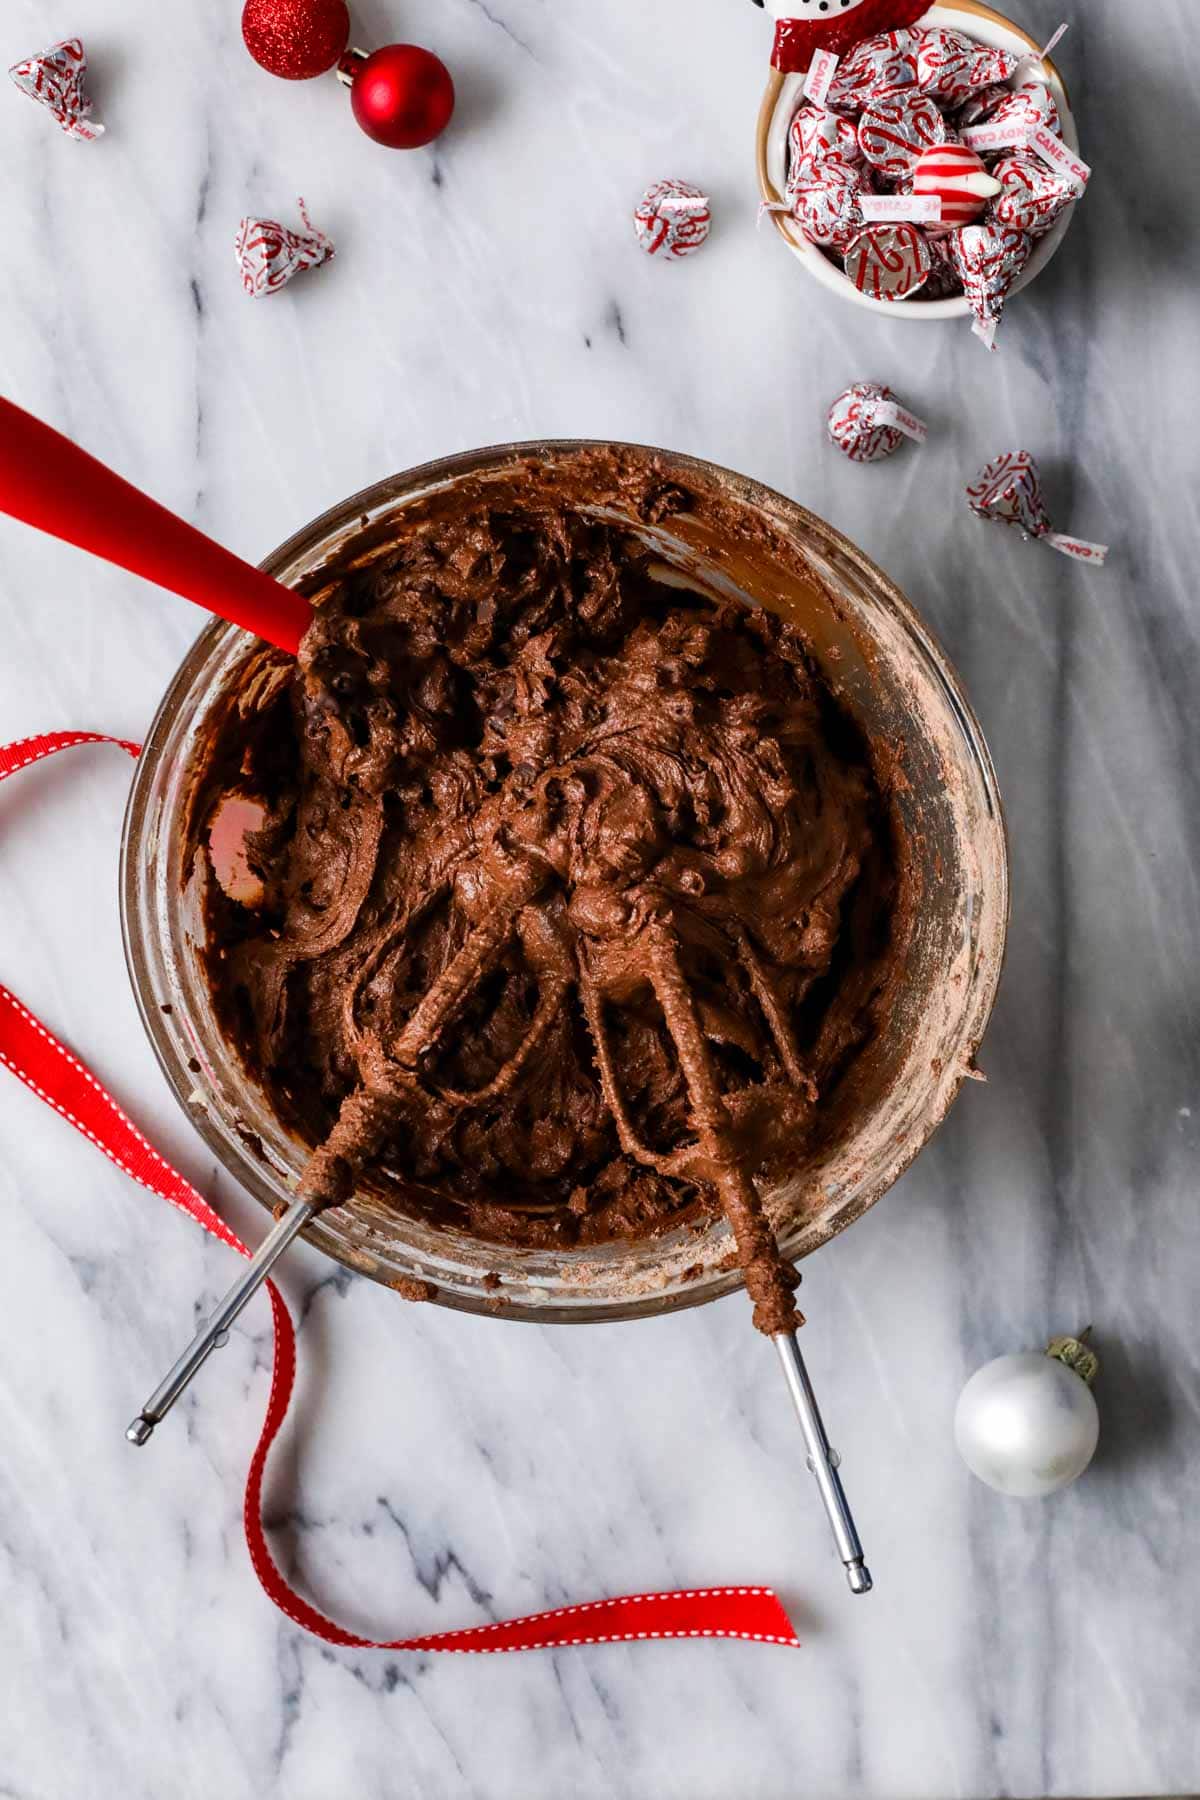
Cream the butter and sugars until fluffy and well-combined (this is usually at least two minutes with an electric mixer), then add the eggs one at a time. Make sure each egg is fully incorporated before adding the next, this . Stir in the vanilla, then set the wet ingredients aside while you whisk the dry ingredients together in a separate bowl.
Gradually add the dry ingredients to the dough; I do this in 3-4 parts. Make sure you scrape the sides and bottom of the bowl to make sure there are no dry pockets of ingredients hiding there. You’ll notice the dough is much softer than traditional cookie dough like chocolate chip cookies, unfortunately this means we’re going to have to chill it (the wait is worth it, I promise).
Fold in some mini chocolate chips (for an extra punch of chocolate flavor), then cover the dough and chill in the fridge for at least four hours. You can chill the dough longer if needed–up to three days–but it will likely need to sit at room temperature for a bit before you can scoop it as it gets quite firm.
Scoop and roll
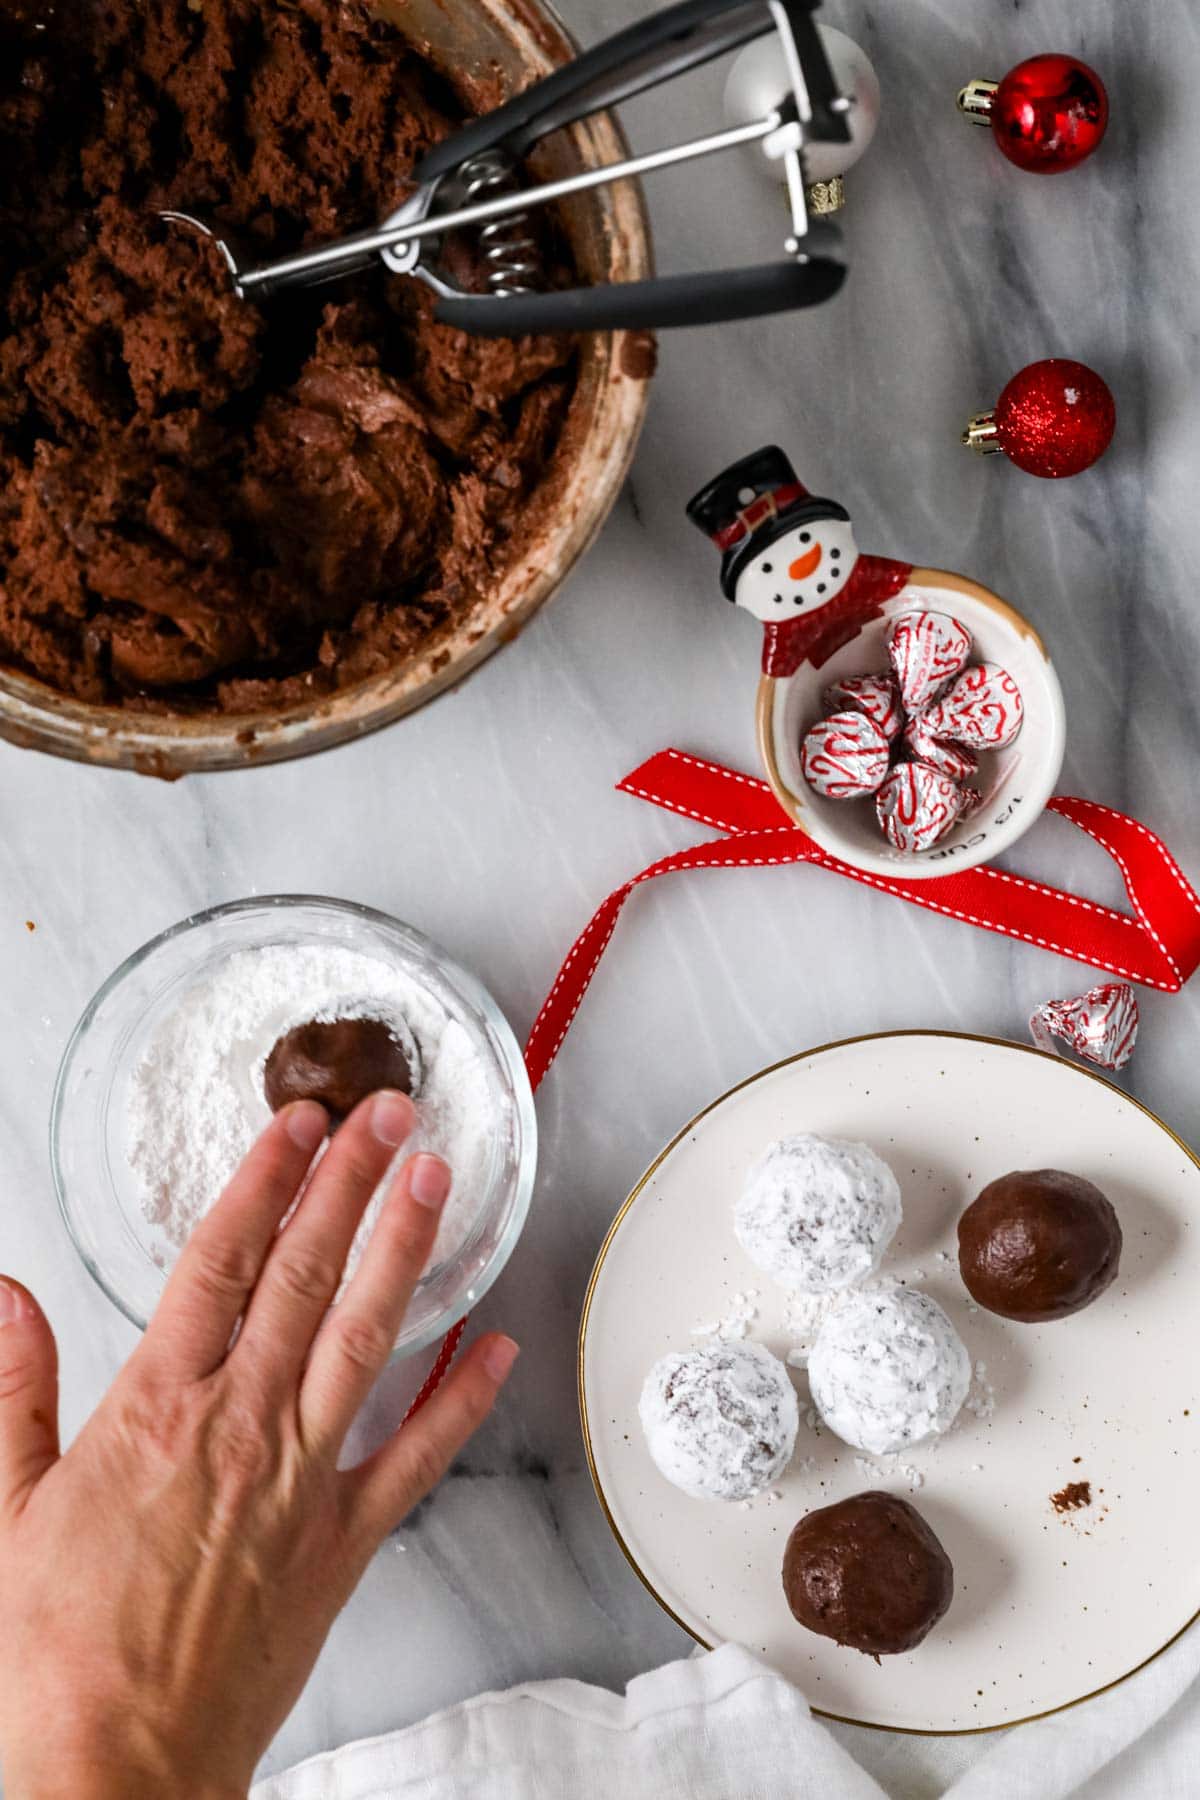
Scoop and roll the dough into 1 ½ tablespoon balls before rolling through powdered sugar. Make sure you are generous with the powdered sugar; sometimes I like to roll all of my cookies, wash my hands, then roll them between my palms again before giving them one more dunk in the powdered sugar–this really coats them nicely!

Bake and cool
Bake on parchment lined baking sheets for 9-10 minutes. Do not overbake or they’ll be dry and crumbly. In fact, if they’re anything other than fudgy/melt-in-your-mouth with something of a brownie cookie consistency after they’ve cooled, they’ve sadly been over-baked.
While the cookies bake, unwrap your Hershey kisses so they are ready to go when the cookies come out of the oven.
Remove the cookies from the oven and immediately press a kiss into the center of each cookie. Let cool completely before removing and enjoying.
SAM’S TIP: The kisses will stay VERY soft for several hours after you add them (white chocolate doesn’t set up nearly as quickly as the milk chocolate I use in my chocolate blossoms), even if they don’t look melty. It’s best to let them set up completely before trying to stack or store the cookies.
Make This Recipe Work for You!
- Prep the dough ahead of time: You can make the dough up to three days in advance, or you can freeze it for several months. I have a whole post on how to freeze cookie dough, if you are interested in doing this (hint: you’ll want to scoop and roll the dough before freezing, but don’t roll it through the powdered sugar).
- Customize your coating: If you’d like, you can swap the powdered sugar for coarse sugar, colored sugars, or even sprinkles (nonpareils would work best). Note that colored sugars don’t show up very well on chocolate cookie dough, but they will add some subtle color.
- Swap the kisses: Candy cane kisses are my preference here, but really any of the seasonal flavors will work, like hot chocolate kisses, cherry cordial kisses, sugar cookie kisses, or mint truffle kisses. Or stick with the classic–those are always a hit!
- Freeze your cookies: This is the perfect recipe for getting a head start on your holiday baking! Christmas kiss cookies freeze surprisingly well; simply store in an airtight container in the freezer for up to several months. They’ll take just a little bit of time to thaw on the countertop when you’re ready to enjoy them.
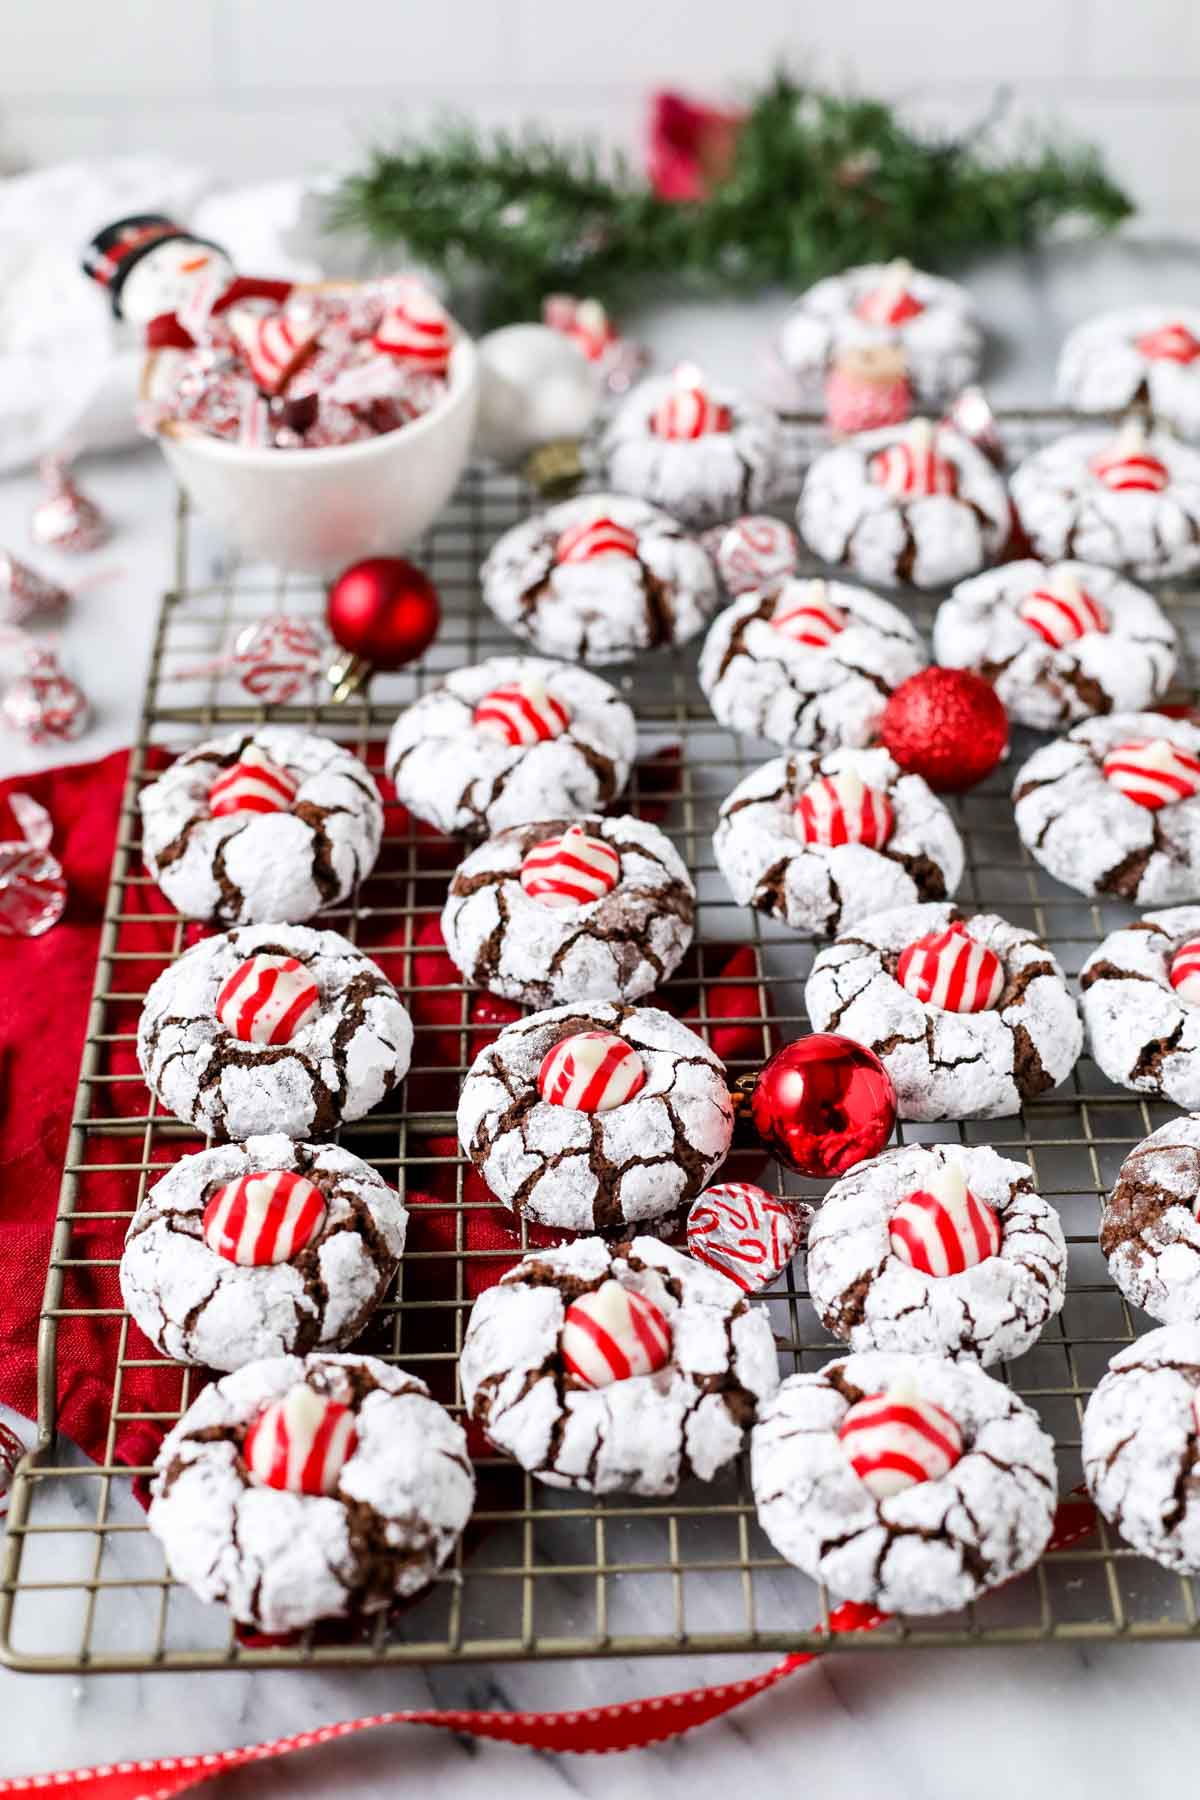
Are Christmas kiss cookie a staple on your holiday cookie tray? I’d love to hear how you make yours!
Enjoy!
Let’s bake together! Subscribe to my newsletter to be notified of all the newest recipes, and find my free recipe tutorials on YouTube 💜

Christmas Kiss Cookies
Ingredients
- 12 Tablespoons (170 g) unsalted butter softened
- 1 ½ cups (300 g) granulated sugar
- ½ cup (100 g) light or dark brown sugar firmly packed
- 4 large eggs room temperature preferred
- 2 teaspoons vanilla extract
- 2 ½ cups (313 g) all-purpose flour
- 1 cup (100 g) natural cocoa powder
- 1 Tablespoon baking powder
- ¾ teaspoon table salt
- 1 cup (180 g) mini chocolate chips
- 1 cup (125 g) powdered sugar for rolling
- 36 candy cane Hershey kisses unwrapped (or your favorite christmas kiss)
Recommended Equipment
Instructions
- Combine butter and sugars In a large mixing bowl and use an electric mixer to beat together until light, fluffy, and well-creamed.12 Tablespoons (170 g) unsalted butter, 1 ½ cups (300 g) granulated sugar, ½ cup (100 g) light or dark brown sugar
- Add eggs one at a time, stirring after each addition to be sure each is fully incorporated before adding the next.4 large eggs
- Stir in vanilla extract.2 teaspoons vanilla extract
- In a separate, medium-sized bowl, whisk together flour, cocoa powder, baking powder, and table salt.2 ½ cups (313 g) all-purpose flour, 1 cup (100 g) natural cocoa powder, 1 Tablespoon baking powder, ¾ teaspoon table salt
- Gradually add dry ingredients into wet and stir together until completely combined.
- Add mini chocolate chips and stir to distribute.1 cup (180 g) mini chocolate chips
- Cover bowl of dough with plastic wrap and refrigerate for at least 4 hours and up to 3 days.
- When you’re almost ready to bake, preheat oven to 350F (175C) and line baking sheets with parchment paper.
- Remove dough from refrigerator and scoop 1 ½ Tablespoon sized ball of dough and roll gently with your palms to create a smooth ball. Roll through powdered sugar to evenly coat the entire ball of dough.1 cup (125 g) powdered sugar
- Transfer cookie dough to prepared baking sheet, spacing cookies at least 2” (5cm) apart. Transfer to center rack of 350F (175C) oven and bake for 9-10 minutes.
- Immediately after removing cookies from oven, gently press one hershey kiss into the center of each cookie.36 candy cane Hershey kisses
- Allow cookies to cool completely on baking sheet before enjoying (note that the hershey kisses will take quite a while to resolidify completely)!
Notes
Storing
Once cookies have cooled completely and hershey kisses have re-solidified, store in an airtight container at room temperature for up to 5 days.Nutrition
Nutritional information is based on third-party calculations and should be considered an estimate only. Actual nutritional content will vary based upon brands used, measuring methods, cooking method, portion sizes, and more.







Bev
Hello,
I was wondering if these cookies will stay thick if I don’t roll them in the powdered sugar. We (not me!) have some aversions to sweets rolled in powdered sugar, and I’m having trouble finding a “blossom” type cookie that stays thick and puffy. I love every recipe I’ve tried from your site, but with the increased cost of EVERYTHING, I don’t want to waste ingredients or $$. Thank you for your time.
Sam Merritt
Hi Bev! Sorry I am just seeing this, but yes they should turn out just fine not being rolled in powdered sugar. 🙂
Juliet Finnegan
The recipe calls for 4 eggs. I have never used that many eggs in a cookie recipe.
Just wondering why so many. Getting ready to make today.
Thank you.
Sam Merritt
Hi Juliet! This one is based on a crinkle cookie, which use 4 eggs. Enjoy! 🙂
Jamie
These look delicious! Can I use salted butter and just not add the extra salt?
Sam
Hi Jamie! You can use salted butter. I would still add a slightly heavy 1/4 teaspoon or a scant half teaspoon of salt. 🙂
Jody
will this recipe work if I cut it in half? I dont want a lot of cookies
Sam Merritt
Hi Jody! That should work just fine. 🙂
Carol from Pasadena, CA
These are heavenly!!! They’re the first crinkle cookies I’ve made, and they came out perfectly. So delicious! I followed you directions for double-coating them in powdered sugar. They look great, and taste even better! Thank you, Sam!
Emily @ Sugar Spun Run
Yay! We’re so happy they turned out nicely for you, Carol 🩷
Carol
“Nicely”. is a bit of an understatement!
Emily @ Sugar Spun Run
🤣