
Cheese Crackers
This post may contain affiliate links. As an Amazon Associate I earn from qualifying purchases. Please read my disclosure policy.

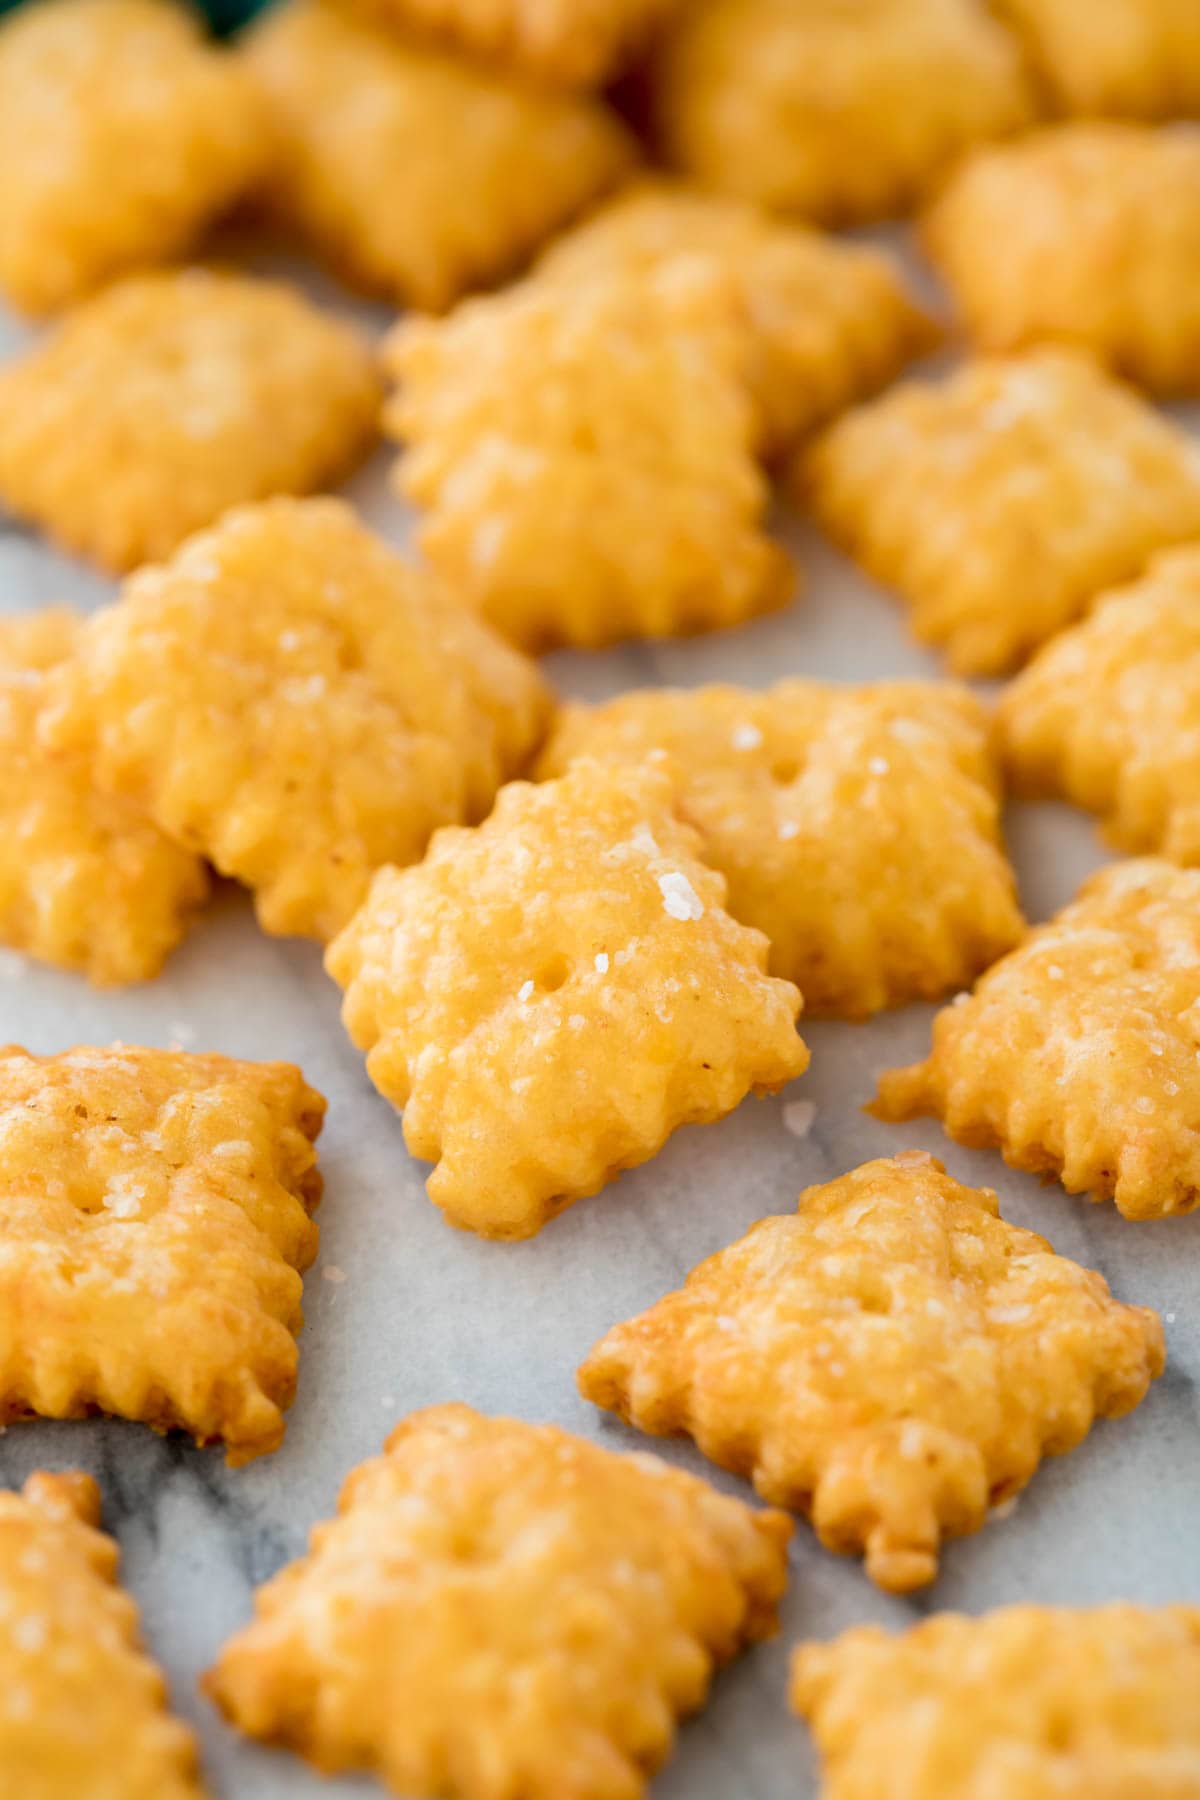
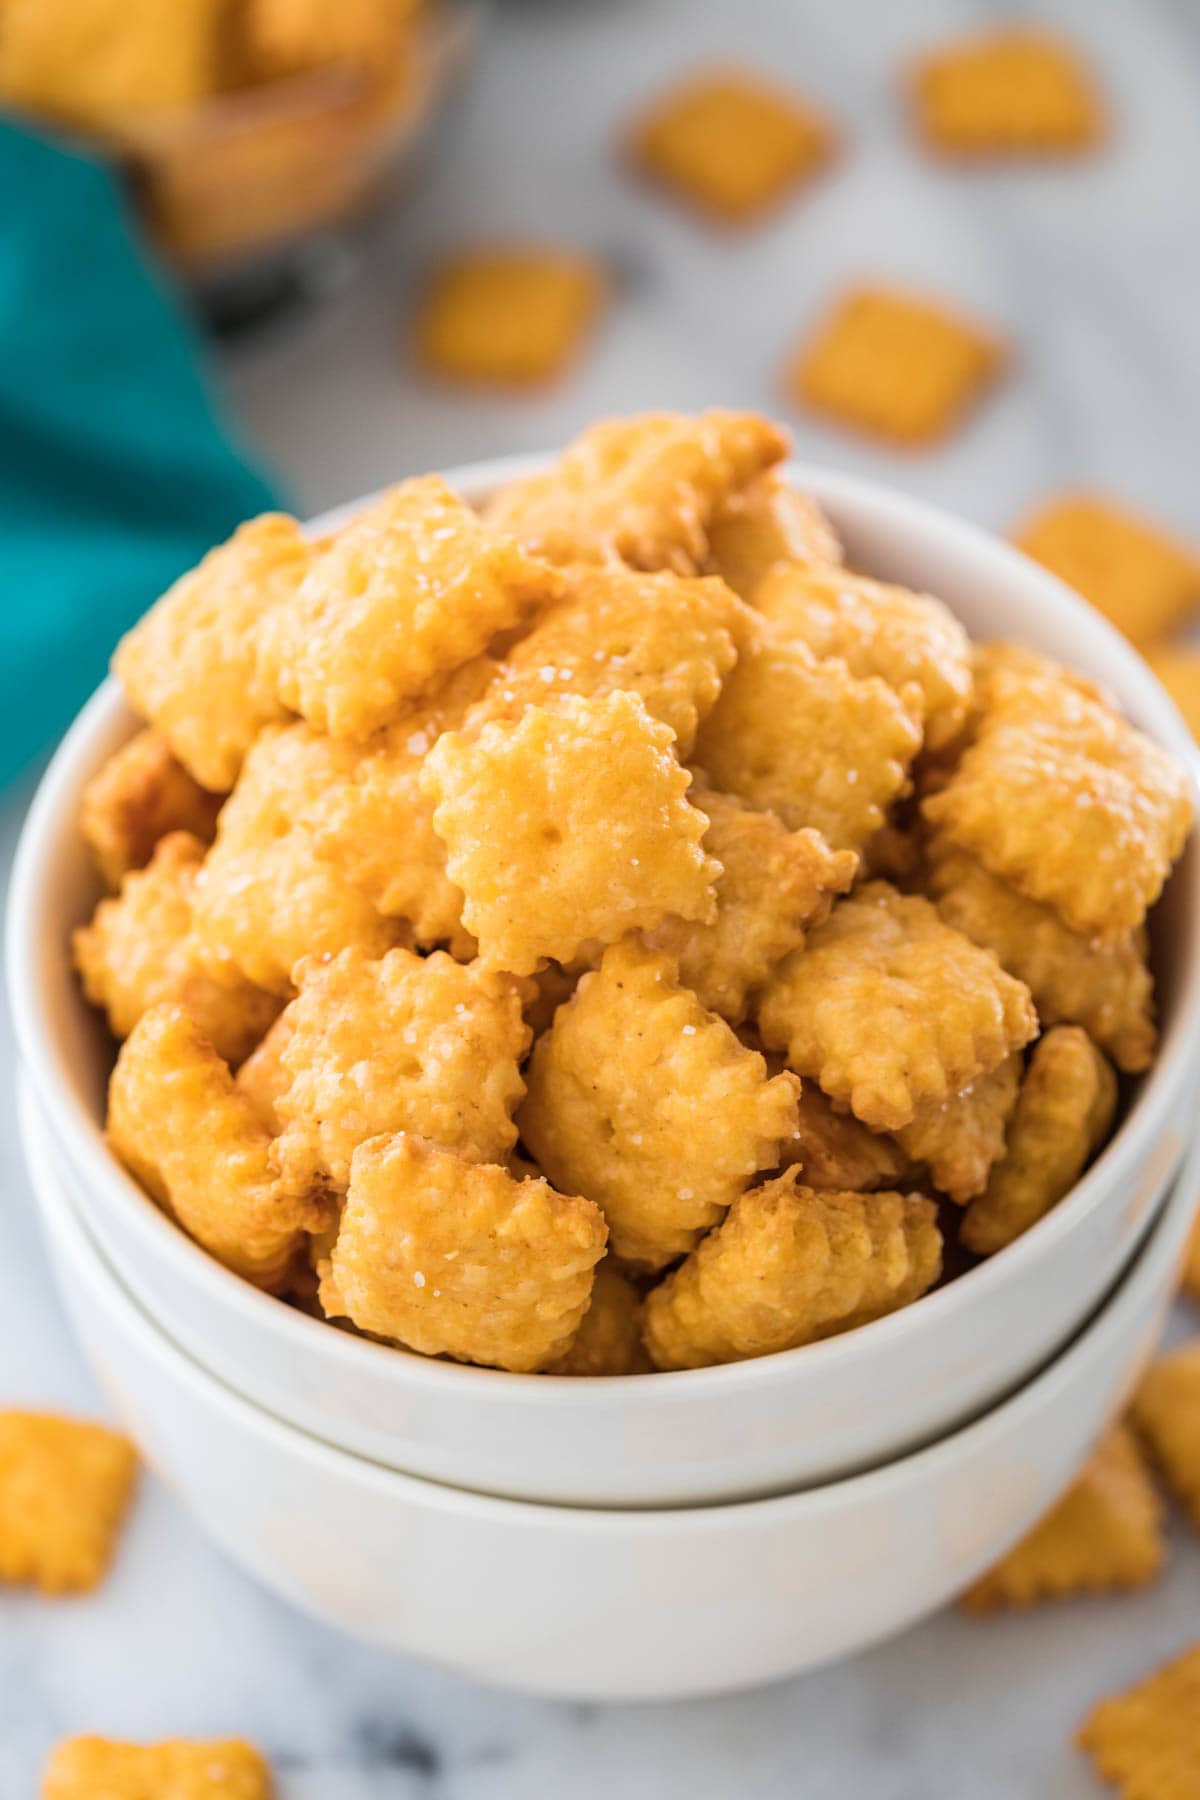
These crispy, crunchy Cheese Crackers are here just in time for back-to-school. They come together quickly in the food processor with only a few simple ingredients, and they taste so much better than the store-bought version. The best part? They pack perfectly in lunchboxes. Recipe includes a how-to video!
Homemade Cheese Crackers
These cheese crackers are Luke’s newest favorite snack, and I couldn’t be happier about it. After he developed something of an obsession for the red box available in stores, I knew I had to try making a homemade alternative. After lots of testing, he loves these even more than the store-bought version, and I think you will, too!
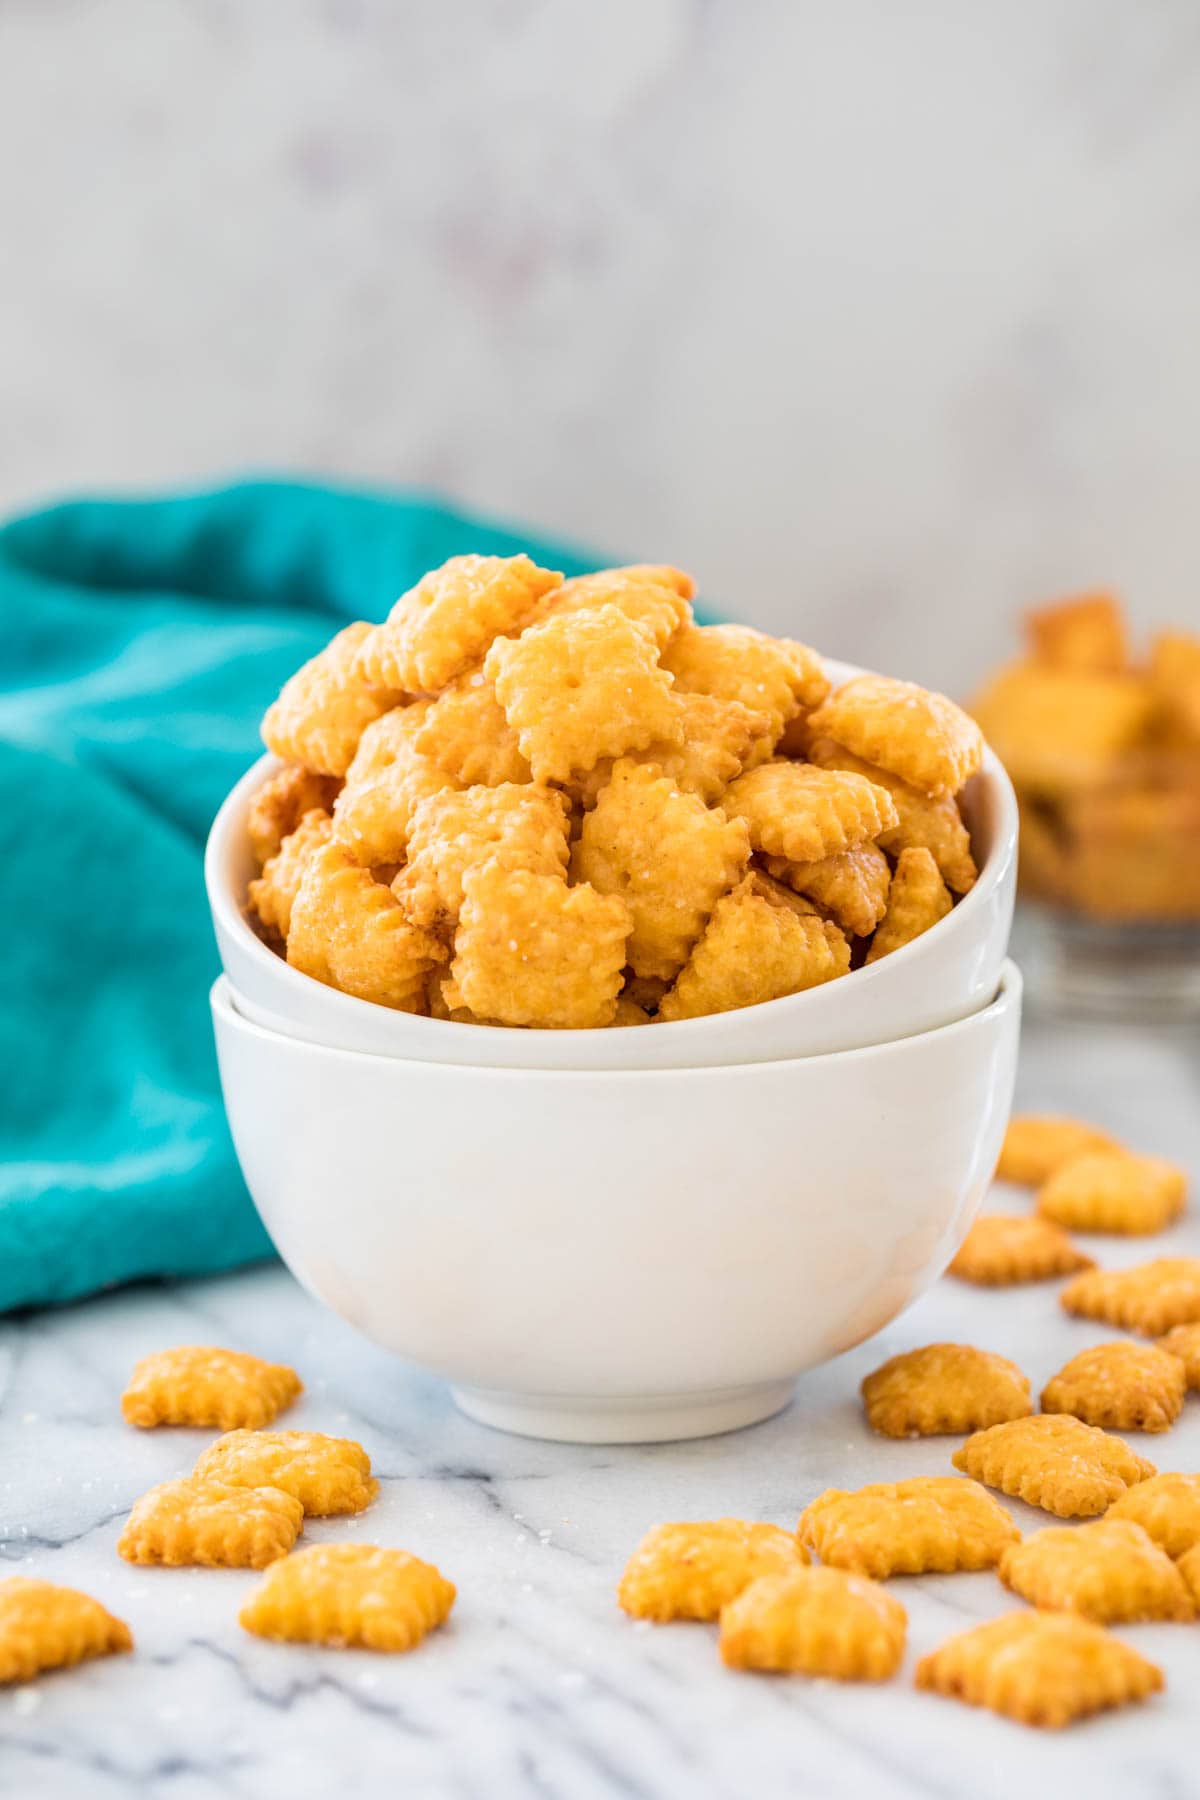
Unlike the ones you can buy in stores, these cheese crackers have only a handful of ingredients. But don’t worry, they’ve still got all the flavor!
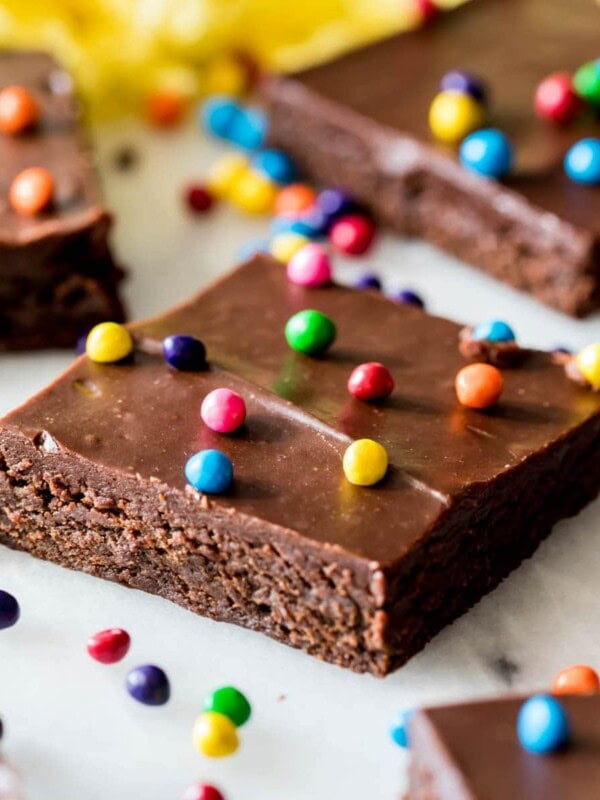
With school starting soon, I can’t think of a better time to share this recipe. Crisp, light, and packed full of cheddar, my cheese crackers are the ideal salty treat for after school snacks or end-of-summer parties. They also pair perfectly with my Cosmic Brownies or my Rice Krispie Treats to make for a kid-approved lunch box!
The process for making these cheese crackers is super simple. If you’ve ever made my pie crust before, this recipe is similar in that the food processor does the hard work–so all you need to do is roll, cut, and enjoy! Let’s get into the ingredients.
What You Need
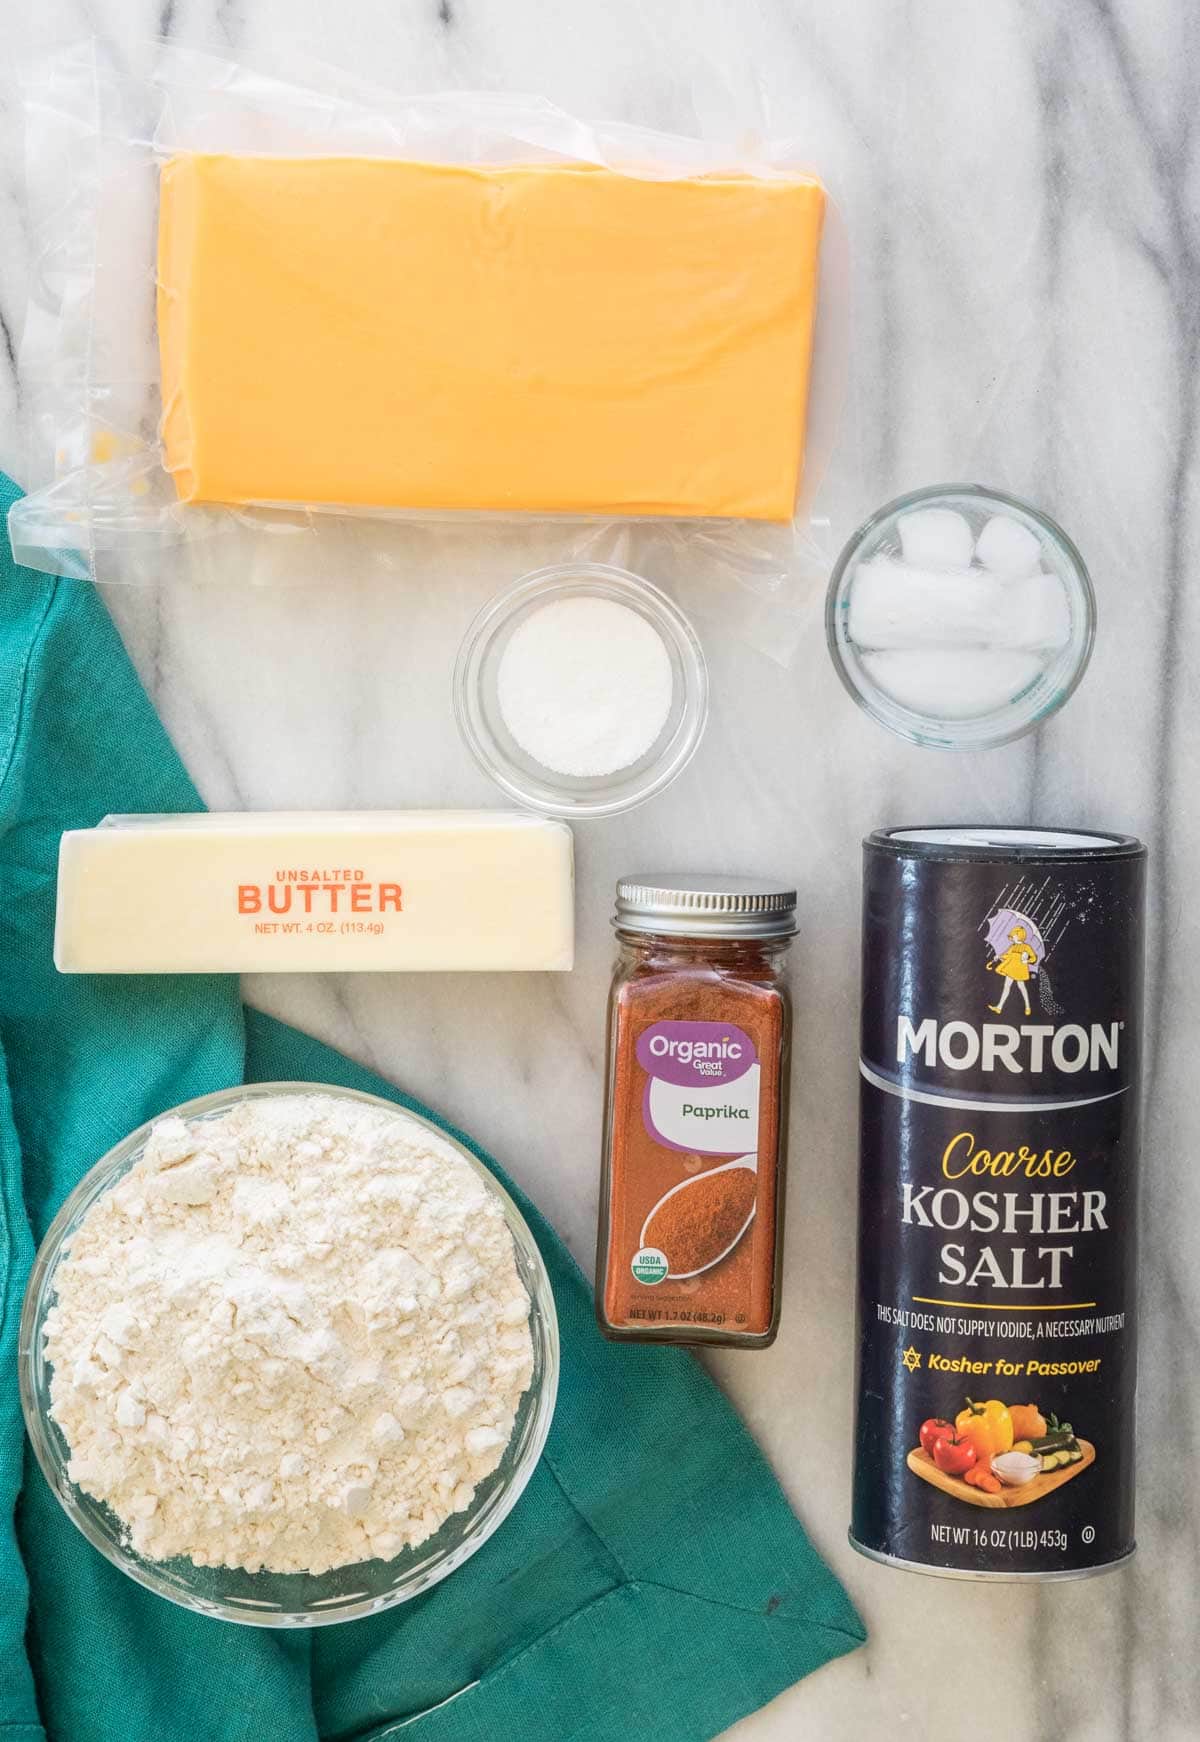
These crackers have a delightfully crisp exterior and light, flaky layers–thanks to a few carefully chosen ingredients.
- Cheddar cheese. Besides flavor, cheddar also adds fat and binds the rest of the ingredients together. You can always substitute another similar hard cheese; just don’t use anything softer, or your crackers might not bake properly.
- Sugar. Just a little bit of sugar helps balance the savory notes in these crackers. It adds depth of flavor but does not make them sweet!
- Paprika. Paprika adds a very subtle taste while also boosting the gorgeous orange glow that is signature to these cheese crackers.
- Salt. I add salt in the dough and sprinkle some on top as well. This makes for a flavorful cracker that, once baked, has some bright little punches of salt you’ll taste as you’re crunching away. A coarse salt like kosher salt is required, if you use table salt the end results will be much too salty.
- Butter. Not only does butter add flavor, but by making it very cold, it gives these cheese crackers their flaky, light texture.
- Ice water. Water serves two purposes in these cheese crackers. It binds all of our dry ingredients together, and it also preserves their texture by preventing the butter from melting out of the dough.
SAM’S TIP: I recommend buying a block of cheese and shredding it yourself rather than buying a bag of shredded cheese. Shredded cheese is more expensive, contains additives, and usually doesn’t taste as good.
Remember, this is just an overview of the ingredients I used and why. For the full recipe please scroll down to the bottom of the post!
How to Make Cheese Crackers
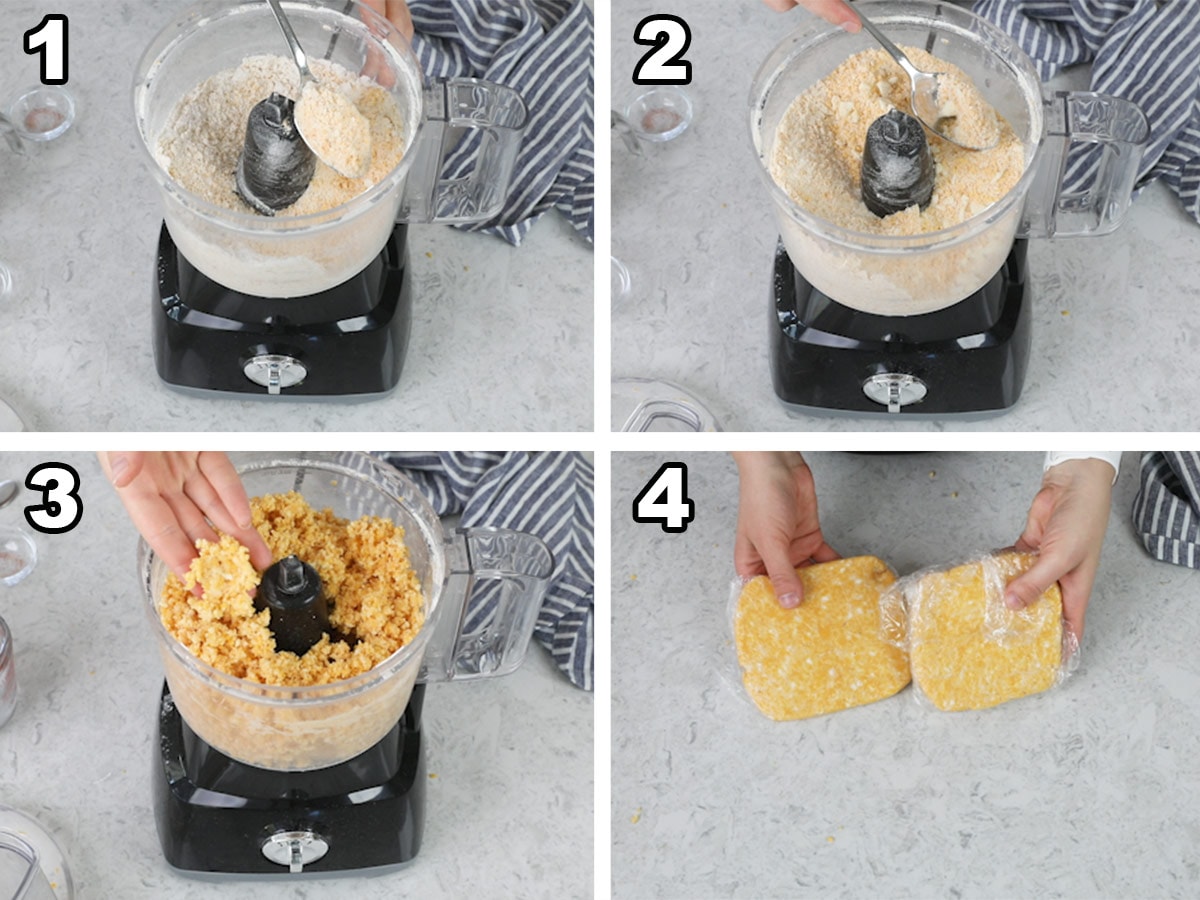
- Pulse your shredded cheese and dry ingredients in the food processor for 15-20 seconds or until well combined and chopped.
- Add butter pieces and pulse again until the mixture appears pebbly/crumbly. Butter should be incorporated throughout.
- Add water and pulse until dough begins to cling together. Don’t overdo it!
- Divide dough into two or three pieces and then form into balls. Flatten the balls into squares and wrap in plastic wrap. Chill in the fridge for at least one hour.
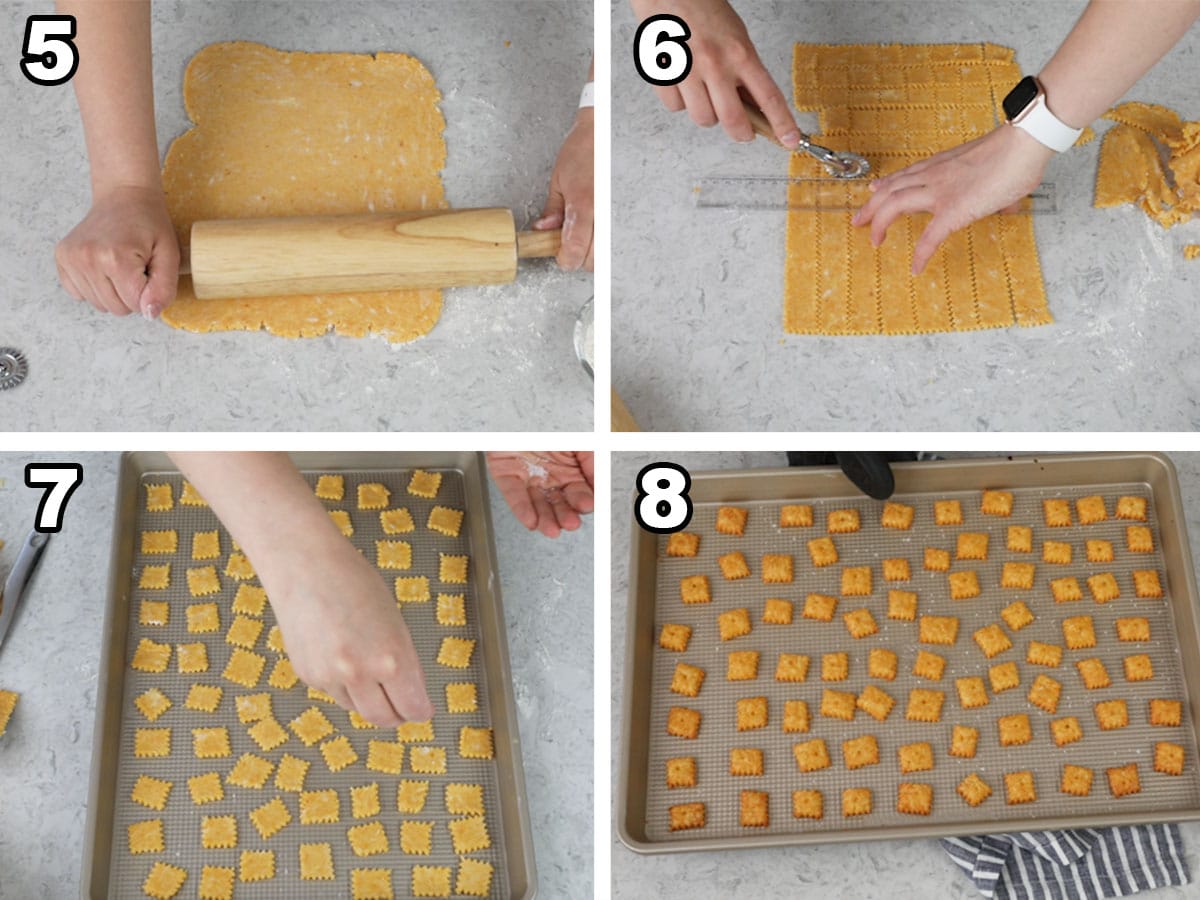
- When your dough has nearly finished chilling, preheat the oven. Pull your dough out of the fridge and roll each square until it is between ⅛ and ¼” (0.3-0.6cm) thin.
- Cut dough into 1” squares using a pastry wheel or pizza cutter. I like the fluted edge that you get with a pastry wheel, but it’s not necessary, and you could even just use a sharp knife to cut the crackers.
- Transfer crackers to a baking sheet (give them a bit of breathing room between crackers, but you should be able to fit a lot on your baking sheet) and use a toothpick to pierce the center of each square. Sprinkle lightly with kosher salt and bake for 18-20 minutes.
- Allow to cool completely on baking sheet before enjoying.
SAM’S TIP: Crackers will be a bit soft while they are still warm but will become crispier as they cool. If your crackers are still soft after cooling, they may just need more time in the oven or may have not been rolled quite thin enough.
Frequently Asked Questions
Adding a pinch of cayenne to the dough will give these cheese crackers a nice kick!
For a different (incredible) flavor, I’ve also experimented by substituting smoked paprika for regular (delicious!) and by adding some BBQ seasoning into the mix (I love using my friend Susie’s Sweet Rub, it adds an incredible flavor to the crackers and I always have some in my pantry anyway!)
You could try using another similar hard cheese like monterey or pepper jack. If you do, let me know how it turns out!
You can do any shape you like! Just know that you may need to adjust cooking time depending on how large you cut them.
Enjoy!
More Recipes You Might Like
Let’s bake together! I’ll be walking you through all the steps in my written recipe and video below! If you try this recipe, be sure to tag me on Instagram, and you can also find me on YouTube and Facebook
Cheese Crackers
Equipment
- Pastry cutter
Ingredients
- 8 oz (226 g) sharp cheddar cheese, grated, for best results grate your own cheese from a block rather than using pre-shredded cheese
- 1 ½ cup (165 g) all-purpose flour
- 1 ½ teaspoons granulated sugar
- ¼ teaspoon paprika or smoked paprika
- ¼ teaspoon Kosher salt, plus additional for sprinkling on top
- 8 Tablespoons unsalted butter, very cold
- 3 Tablespoons ice water
Instructions
- Combine shredded cheese, flour, sugar, paprika, and ¼ teaspoon kosher salt in the basin of a food processor fitted with the blade attachment and pulse until ingredients are combined and cheese is well chopped up (about 15-20 seconds).8 oz (226 g) sharp cheddar cheese, grated, 1 ½ cup (165 g) all-purpose flour, 1 ½ teaspoons granulated sugar, ¼ teaspoon paprika or smoked paprika, ¼ teaspoon Kosher salt
- Scatter cold butter pieces over the surface of the ingredients and pulse again until butter is cut into the mixture and the mixture appears pebbly/crumbly.8 Tablespoons unsalted butter
- Add water and pulse until ingredients begin to cling together.3 Tablespoons ice water
- Divide dough into two or three parts and form each into a ball. Flatten each into a square shape and wrap individually in plastic wrap. Place in refrigerator and chill for at least one hour and up to 3 days.
- Once dough has nearly finished chilling, preheat oven to 375F (190C).
- Working with one square at a time, roll dough to be between ⅛ and ¼” (0.3-0.6cm) thin.
- Use a pastry wheel or pizza cutter to cut dough into 1” squares.
- Transfer to an ungreased baking sheet and use a toothpick or the blunt end of a wooden skewer to pierce the center of each square.
- Sprinkle lightly with additional kosher salt (I use about 1-2 teaspoon total for all of the crackers) and transfer to 375F (190C) oven and bake for 18-20 minutes.
- Allow crackers to cool completely on baking sheet before enjoying.
Notes
Storing
Store in an airtight container at room temperature for up to one week.Nutrition
Nutrition information is automatically calculated, so should only be used as an approximation.
Like this? Leave a comment below!


Can these be made gluten-free? If so, what type of flour?
Hi Jackie! Unfortunately I am not familiar with gluten free baking so I can’t say for sure how it would work. I would imagine a 1:1 gluten free flour would work, but I just haven’t tried it. If you do try it I would love to know how it goes. 🙂
Hi,
Can the dough be made ahead and frozen for a week or two before rolling out?
I haven’t personally tried it, but I don’t see any reason that you couldn’t do it. 🙂
Loved the crackers – I used 1/4 teaspoon cayenne pepper and they were absolutely delish (and not too spicy). The issue I had was rolling them out – the 3 packs sat in the fridge for 2 days, and when I took the first one out it was so hard it was almost impossible to roll out. I foolishly tried to roll it out with my Kitchen Aid pasta roller, and that just made a mess of my pasta roller. When it finally softened enough that I could roll it out, it was a bear to try and get off my counter onto the cookie sheet – any suggestions?
I’m glad you ultimately were able to enjoy them Karen! There is kind of a balance where you want them be warmed enough to roll out but not too warm, but if they are sticking too much to the counter, feel free to add some flour to the surface where you are rolling it out. 🙂
Hi Sam! I’m doing some early Xmas baking planning (due to 5 weeks minimum strict bedrest, thanks to a fractured kneecap, and a few cracked ribs 😕)
I’d like to include these as part of a charcuterie gift basket for friends, but would like to make them 1.5 – 2″ square. How much longer would you suggest I bake them for?
Thanks, and I appreciate all the work y’all do,to provide us with these yummy recipes!
Oh no! I’m so sorry to hear that, Terry! I wish you a speedy recovery! I would imagine it would just take an extra minute or two in the oven. 🙂
Thanks for both the well wishes, and the reply. Have a great week!
These are the best cheese crackers ever! They never last long in my house.
I’m so glad everyone enjoys them so much, Miriam! 🙂
another fantastic recipe. mine weren’t as pretty as Sam’s, but I didn’t break out the ruler! they are crunchy and delicious. I added the little bit of cayenne and that gave them a nice little kick.
I’m so glad you enjoyed them so much, Carrie! 🙂
What brand of Kosher salt do you use?
Hi Pam! There’s an image within the post that shows all the ingredients, including the salt 😊
Thank you, I found it, that’s what I get for jumping to the recipe. Lol
I am a box reader, and cheezit boxes always claim their crackers are made with real cheese. I have to admit, I was skeptical that crackers could be made from a block of cheese, but these are sooooo tasty and surprisingly simple to make!!! I can’t wait to pack them for lunch this week! Thanks for another great recipe Sam!! Your website is my go-to for so many recipes and always the first place I look for new recipes!! Thanks for all your hard work!
You’re very welcome, Julia! I’m so thrilled to hear you have been enjoying the recipes, that means a lot to me! 🙂
All your recipes are hits at my house, except this one. Recipe says sharp cheddar but your video says extra sharp cheddar? Everything mixed and baked as described but these just weren’t anything special. Keep up the good work as we love all your other recipes we have tried.