An easy pumpkin pie recipe, made completely from scratch! My carefully tested and perfected recipe uses heavy cream instead of canned milk, resulting in creamy, perfectly textured, (and not-too-sweet!) dessert your family will love. Scroll down to watch the how-to video!
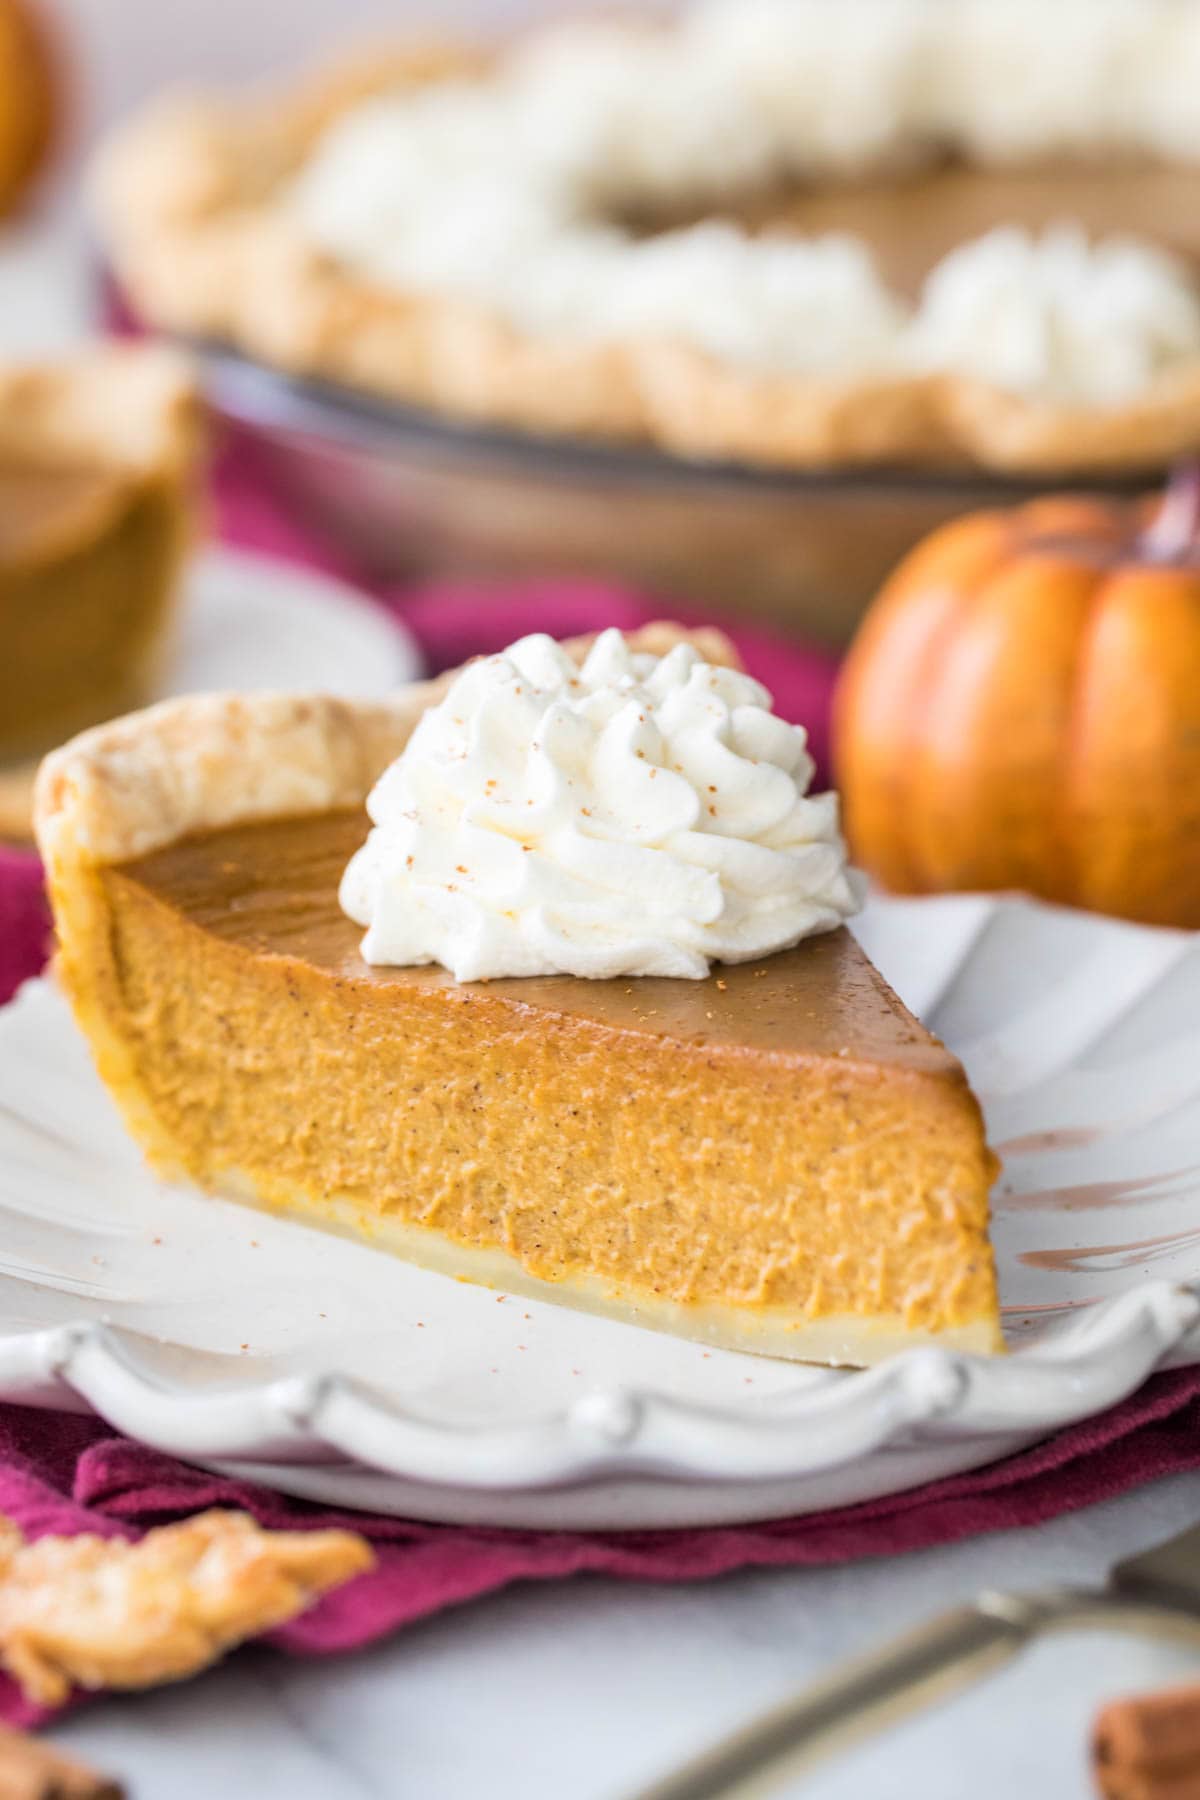
It’s Finally Here: My Easy Pumpkin Pie Recipe
After sharing dozens of pumpkin recipes over the past few years, I’m finally caving and sharing the big one. The one I get requests for daily this time of year but have always shied away from… pumpkin pie!
If you follow me on Instagram, you know this recipe took quite a few tries to nail down and that I avoided this recipe for years because, well, while I don’t like pumpkin, I absolutely loathe pumpkin pie. I know, I said it! In order to make sure this one turned out absolutely perfect, I had to enlist the help of Zach as well as half a dozen other taste-testers, while my pumpkin-snob-self turned up my nose at each one. Tack on being pregnant and particularly pumpkin-averse and I had a rough few weeks getting this one just right.
BUT, we did it! After rigorous research, testing and taste-testing this is the perfect pumpkin pie.
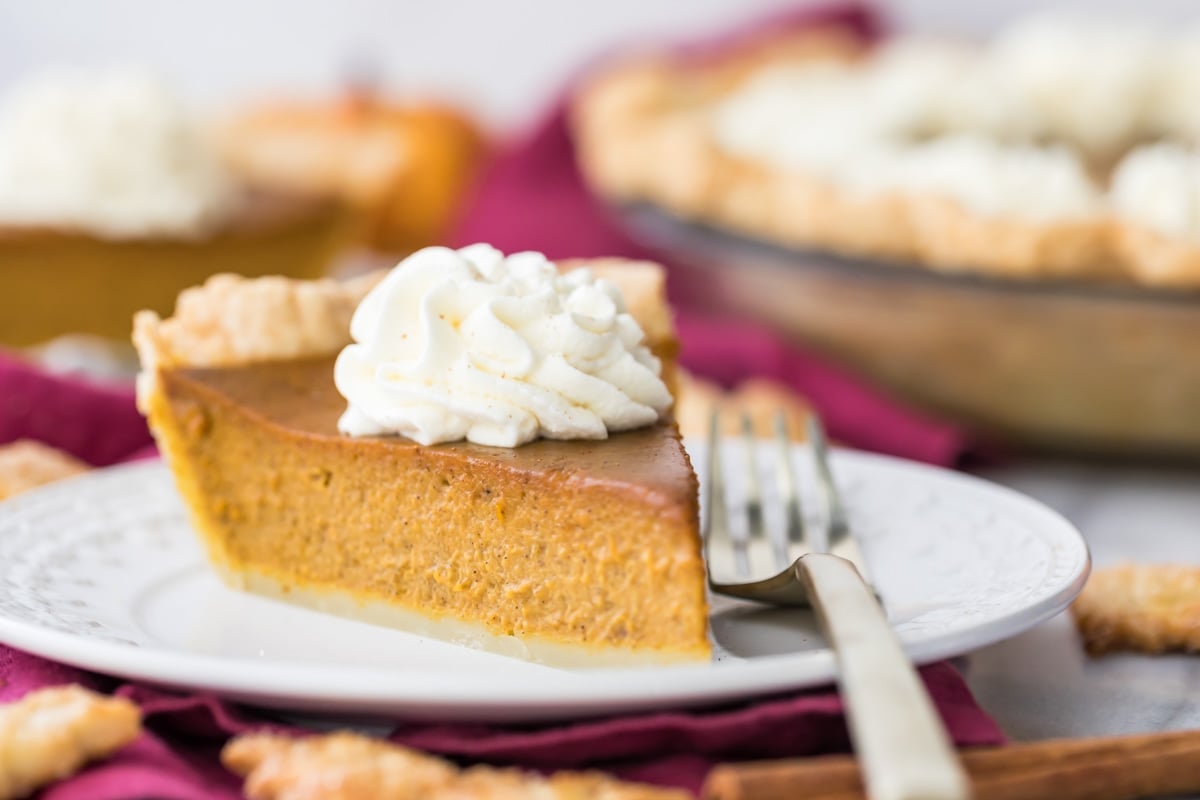
What’s To Love:
Rich, smooth, sweet, and perfectly spiced, my pumpkin pie recipe is utterly divine… at least that’s what they tell me (I did try it myself! I even tried it at the end of today’s video so you can see for yourself, I even enjoyed it!). It’s also incredibly easy to make, which was important for me since this pie is typically made around Thanksgiving when you’re probably juggling dozens of other recipes like stuffing and mashed potatoes and maybe even my easy apple pie at the same time.
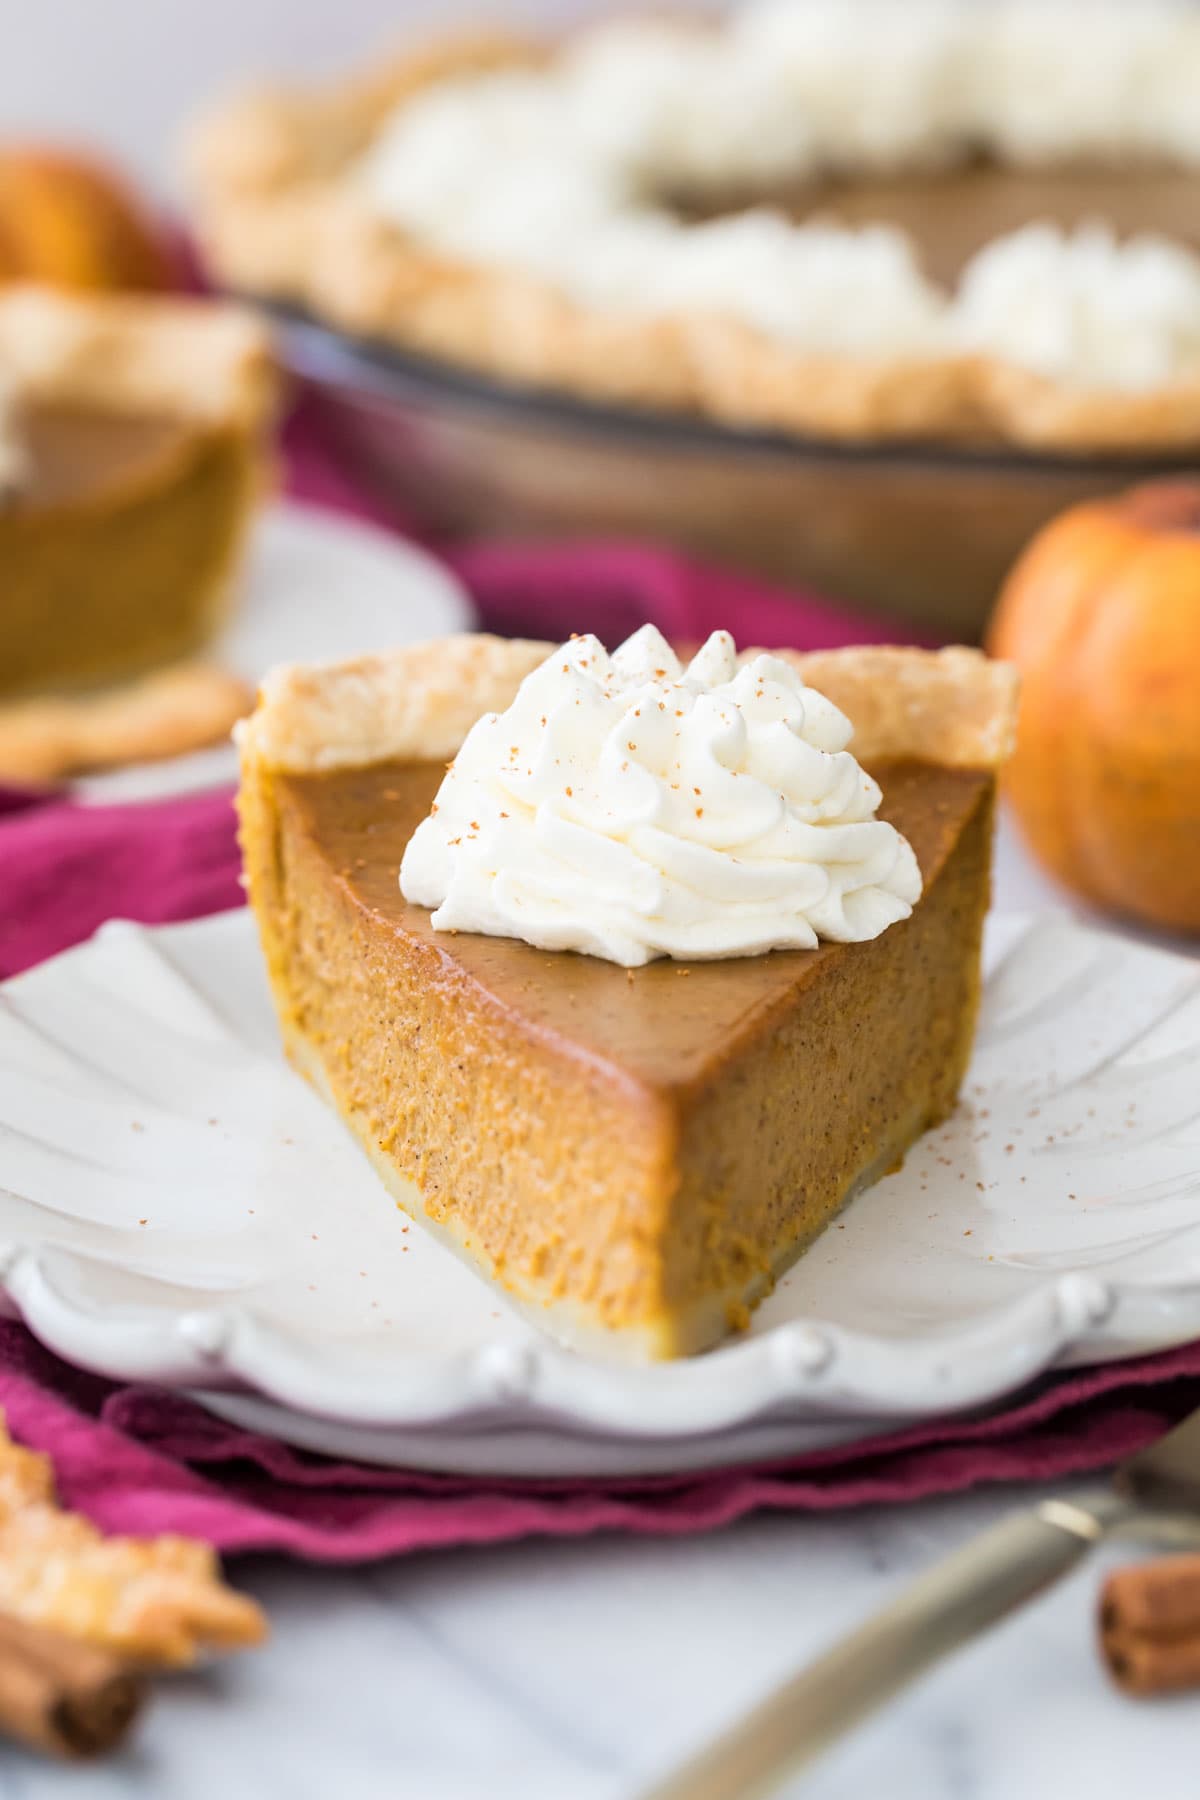
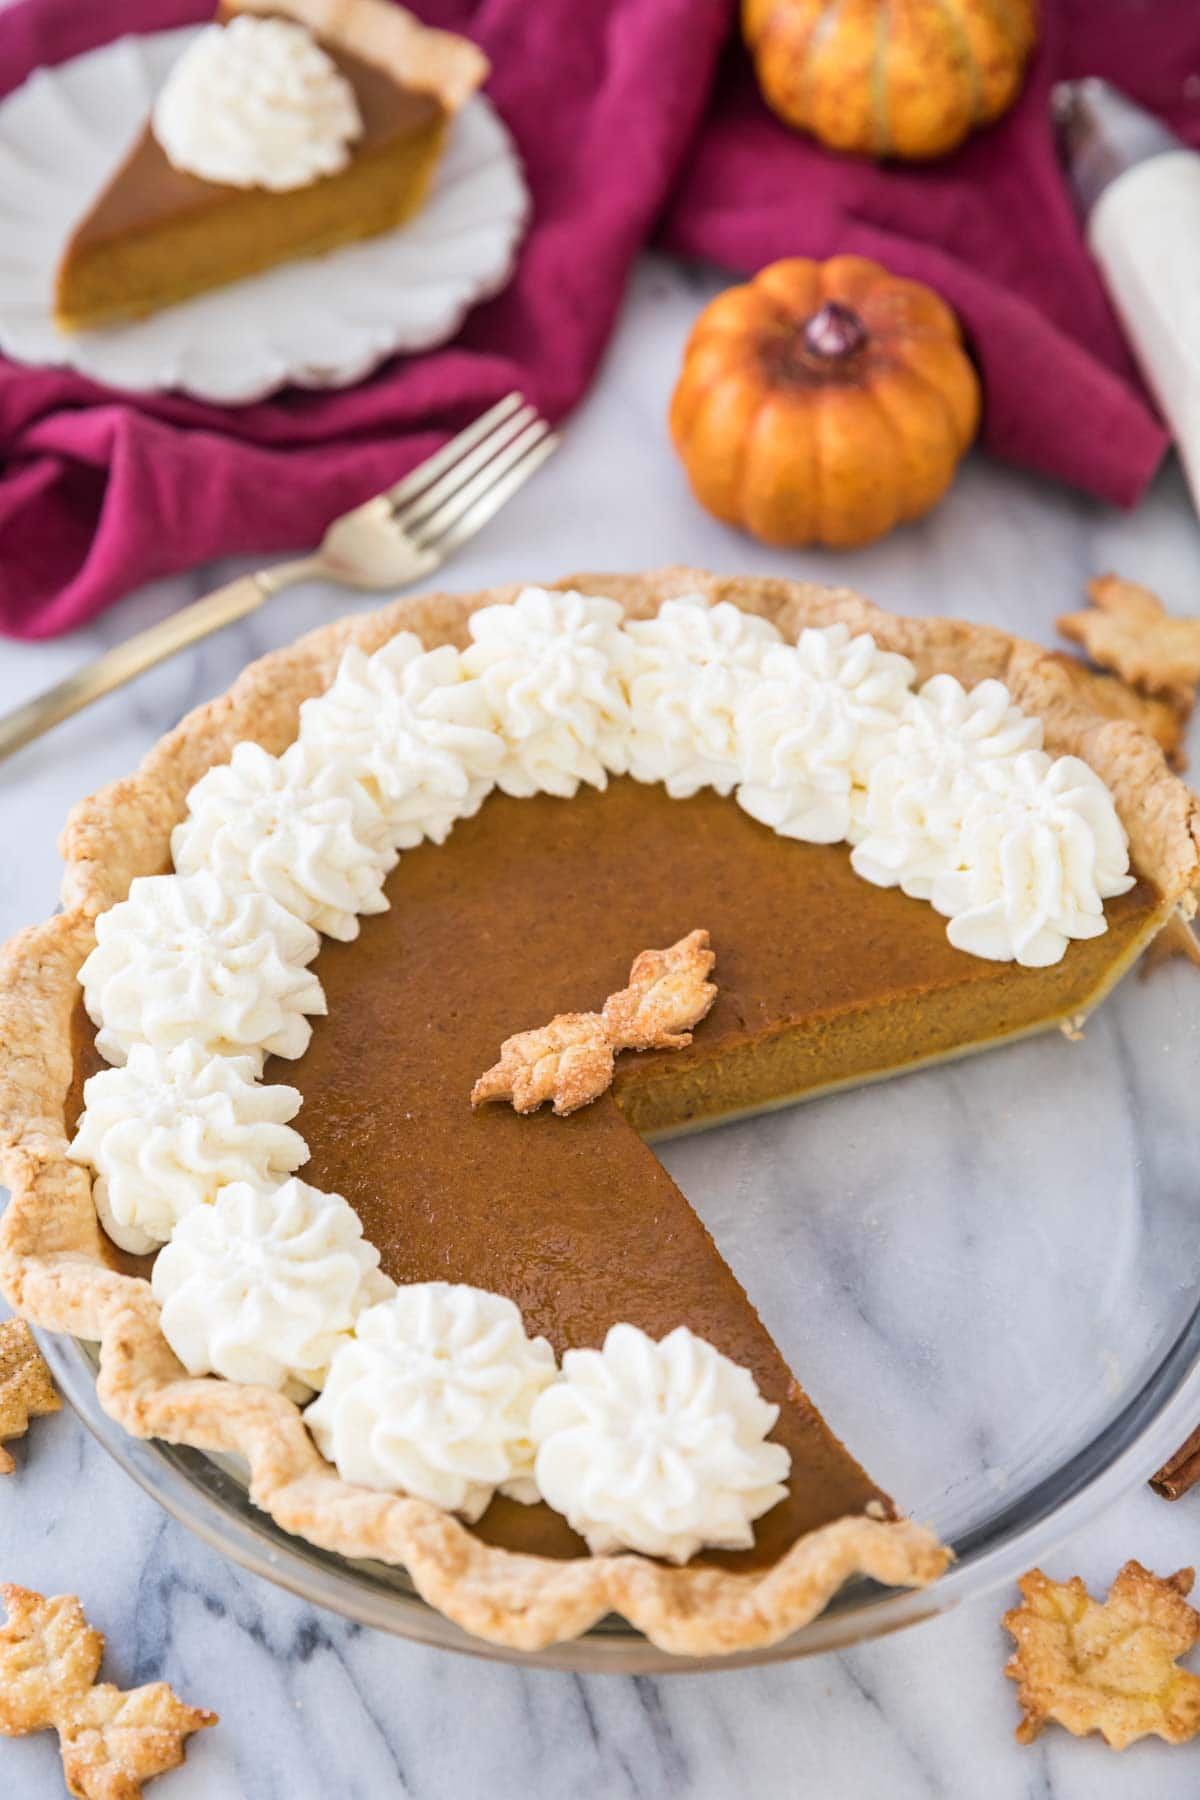
We start out with my chilled homemade pie crust, which is filled with a velvety pumpkin custard. Then top it all off with piles of pillowy homemade whipped cream (the best part, in my opinion). I know you’re excited for this one, so let’s get right to the details!
What You Need
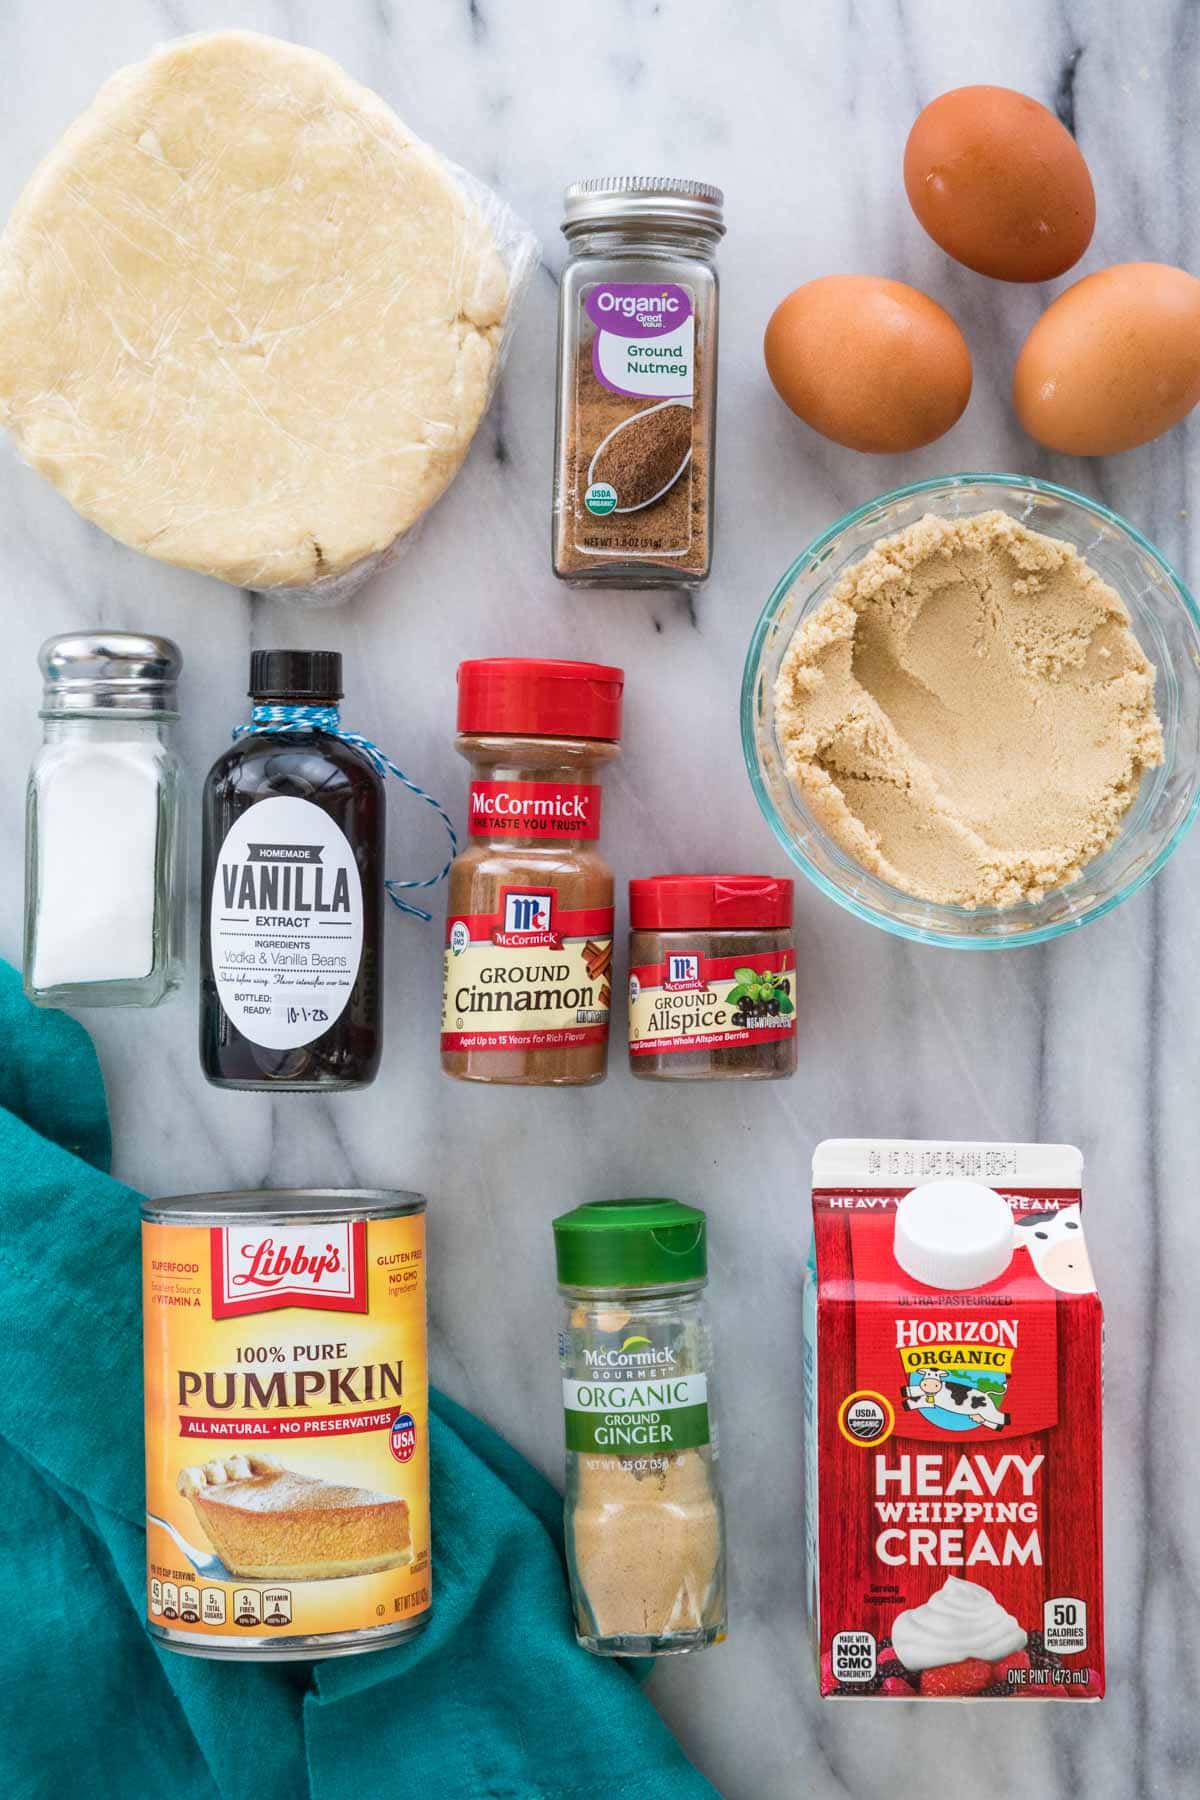
There are a few unique twists in my recipe, including swapping in brown sugar for granulated and using heavy cream instead of evaporated milk. This results in a beautiful texture and flavor that truly makes this recipe the best. Here’s everything you’ll need:
- Pie dough. Blind bake your pie crust before filling to avoid a soggy bottom. I highly recommend using my easy pie crust recipe for best taste, but you could use a pre-made crust if that’s what you prefer (or try my sourdough pie crust).
- Pumpkin. Make sure you use pure pumpkin and not pumpkin pie filling. When you check the ingredients on the can, the only ingredient listed should be pumpkin–nothing else. I recommend canned pumpkin for this recipe for best results.
- Brown Sugar. I expected to use a blend of granulated and brown sugar, but found that all brown sugar provided a depth that pairs beautifully with the spices without being too much.
- Vanilla. I add a generous splash of vanilla extract for a rich, smooth flavor.
- Spices. After MUCH taste testing, I decided ginger, cinnamon, allspice and nutmeg provided the perfect flavor (not surprisingly, all the same spices used in my pumpkin spice recipe). Some pumpkin pie recipes use cloves as well, but in my opinion (and in that of many of my taste-testers!) the cloves overwhelmed the flavor of the pie and gave it too much of a gingerbread taste.
- Salt. Just a pinch of salt adds balance to the flavor while keeping things from being too sweet.
- Eggs. Pumpkin pie is a custard-based pie, and we need eggs to form our custard. Ideally, they’ll be room temperature when you add them. Make sure you lightly beat them before adding them to the rest of the filling; I’ve found that being too rough when combining the eggs and the filling can cause cracks, so be gentle.
- Cream. I considered and tested a number of different options to make the filling for this recipe including evaporated milk, whole milk, cream, and even condensed milk. High fat cream won out every time. It makes a smooth, perfectly textured pie. Heavy cream, double cream, or whipping cream will work.
SAM’S TIP: If you don’t have brown sugar on hand, save yourself a trip to the store and make my homemade brown sugar recipe! All you need is granulated sugar and molasses.
How to Make the Best Pumpkin Pie
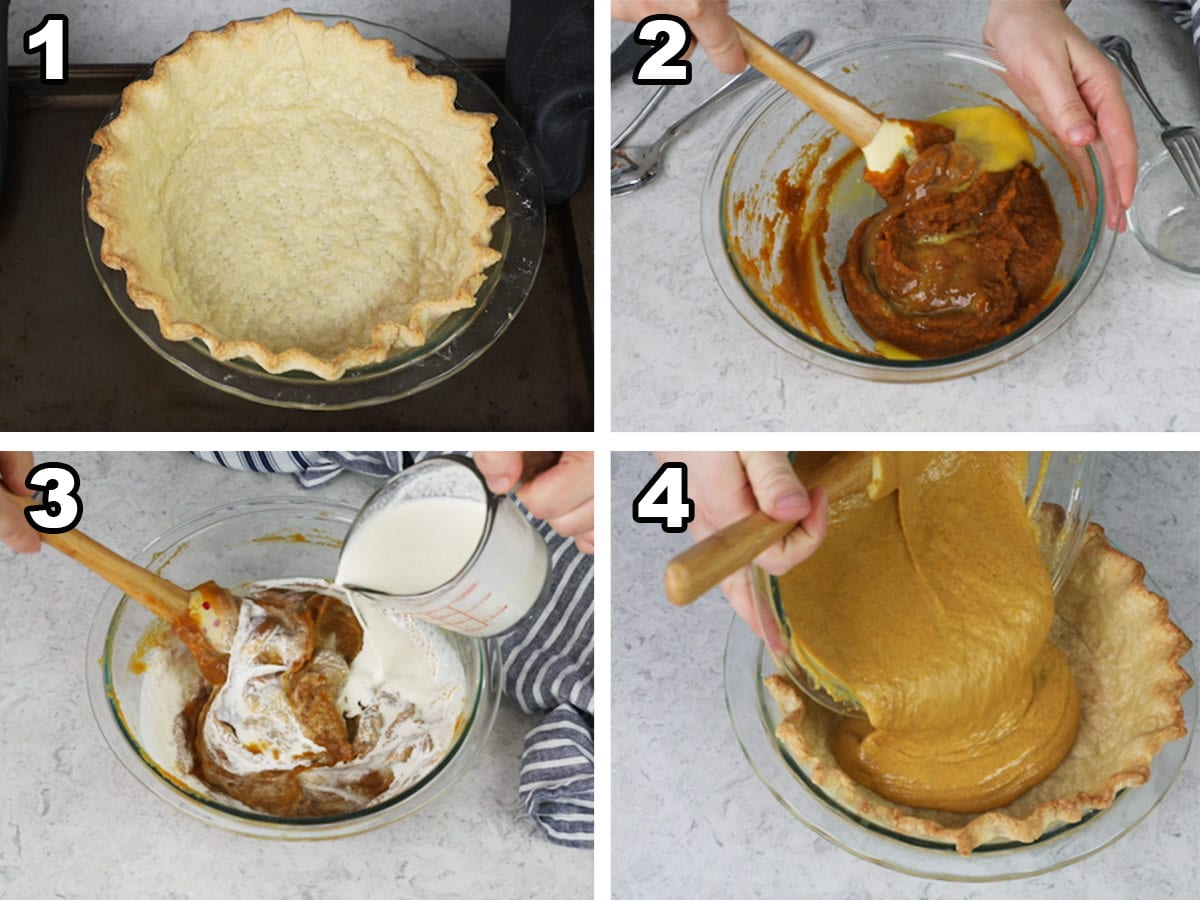
- Begin by blind baking your pie crust, this is important for preventing a soggy crust! You’ll simply pre-bake the crust before adding the filling until its golden brown by baking it in the pie tin and filling with pie weights.
- Combine all pie filling ingredients except the eggs and cream. Working one at a time, lightly beat each egg before gently incorporating into mixture by hand. Do not over-mix! Just as with my cheesecake, I’ve found that being too rough when combining the eggs can cause cracks or a less-than-smooth texture.
- Gently stir in heavy cream until the batter is smooth and incorporated. Don’t use an electric mixer for this step. We want to be gentle!
- Pour filling into warm crust and bake at reduced heat (325F) for 55-60 minutes, until center is almost or completely set. Cool until pie reaches room temperature before transferring to fridge to chill for 4-6 hours. Top with whipped cream and enjoy!
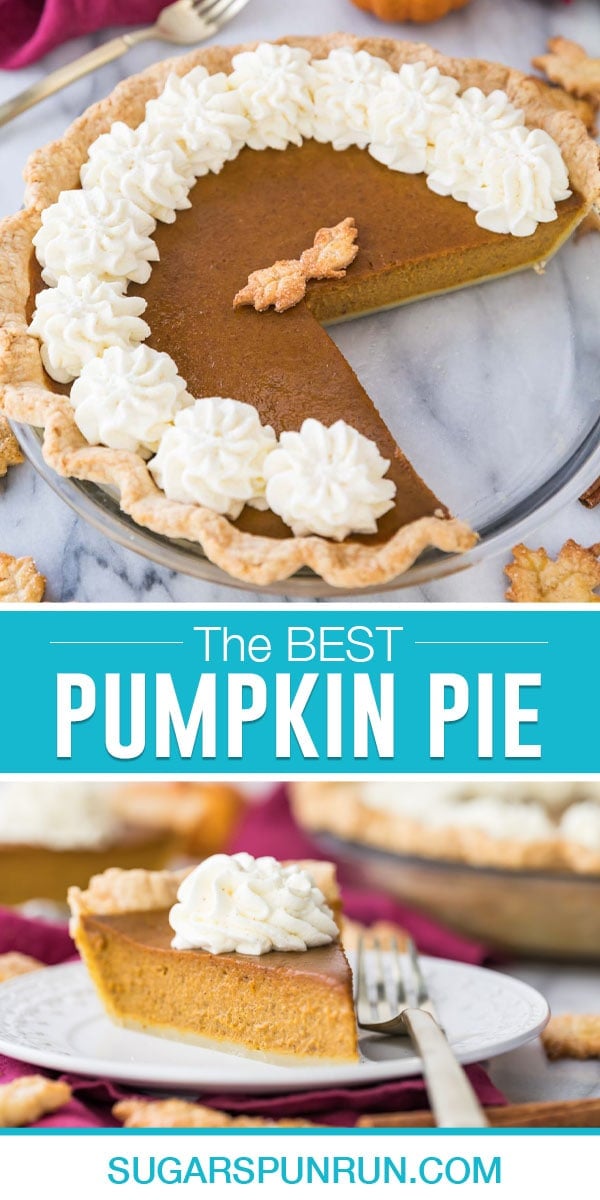
SAM’S TIP: The leaf decorations that you see in some of the photos are simply scraps of pie crust that’s been cut into shapes and baked. Technically, these are called pie crust cookies, and they’re a great way to use up pie dough scraps.
Frequently Asked Questions
Small cracks along the outer edges of the pie aren’t a big deal and can be a good indicator the pie is finished baking. If you do find a big crack in the center, you may have over-beaten your eggs. Make sure you lightly beat them and gently incorporate them (don’t use an electric mixer!). Baking on too high of a temperature or over-baking can also cause this to happen, so be aware of that too.
If this happens to you, the easiest thing to do is just cover the crack with some whipped cream. No one will know! 😊
An undercooked and even overcooked pumpkin pie can be watery. Your pie will thicken as it cools, but if it’s still very watery after cooling, you probably didn’t bake it long enough. You can return it to the oven until it looks to be more set (but not totally set, since it will still cook after it bakes). Using homemade pie filling that has not been properly prepared is another culprit for watery pie.
To prevent an overcooked pie, keep a close eye on it and take it out when there’s still a slight jiggle in the center. You can also use the knife test to see if it’s done. My mom likes to take a clean knife and insert the blade right into the center of the pie. If it comes out clean, the pie is done. Now this does leave a blemish on your pie and can cause a crack as it cools, but if you’re covering the pie with whipped cream it won’t matter in the long run!
Yes! This is a custard-based pie (like lemon meringue pie), so it needs to be refrigerated. It will stay good in the fridge for up to 2-3 days.
Yes, leave out the cinnamon, ginger, nutmeg and allspice in the recipe and instead use 3 ½ teaspoons of your favorite pumpkin pie spice.
Enjoy!
Let’s bake together! I’ll be walking you through all the steps in my written recipe and video below! If you try this recipe, be sure to tag me on Instagram, and you can also find me on YouTube and Facebook
THE Perfect Pumpkin Pie Recipe
Ingredients
- 1 Pie dough click link for my homemade recipe
- 15 oz (425 g) canned pumpkin puree make sure you use pure pumpkin puree made with 100% pumpkin, not “pumpkin pie filling
- ¾ cup (150) light brown sugar firmly packed
- 1 ½ teaspoons vanilla extract
- 1 ¾ teaspoons ground cinnamon
- ¾ teaspoon ground ginger
- ½ teaspoon ground allspice
- ½ teaspoon ground nutmeg
- ½ teaspoon table salt
- 3 large eggs lightly beaten (room temperature preferred)
- 1 cup (236 ml) heavy cream
- Homemade whipped cream for serving, optional
Recommended Equipment
Instructions
Pie Crust
- Prepare and chill pie dough according to recipe instructions.1 Pie dough
- Roll out chilled pie dough into a 12” circle on a clean, well-floured surface and then arrange into a 9” (22cm) or 9.5” (24cm) pie plate, crimping or fluting the edges of the crust. Place pie plate in the freezer and preheat oven to 375F (190C).
- Once oven is preheated, place pie plate on a baking rack (to make it easier to transfer in and out of the oven) and line with parchment paper (I like to crumple my parchment paper first — when it’s wrinkly it’s easier to arrange in the pie plate) and then fill with pie weights. Transfer to the center rack of 375F (190C) preheated oven and bake for 15 minutes.
- After 15 minutes, carefully remove pie plate and carefully remove parchment paper and pie weights. Pierce the bottom of the pie plate repeatedly with a fork and then return to the oven (without paper or weights) and bake 10-12 minutes or until the sides are beginning to turn light golden brown. While pie crust is baking, prepare your pie filling.
Pie Filling
- Combine pumpkin puree, brown sugar, vanilla extract, cinnamon, ginger, allspice, nutmeg, and salt in a large bowl and stir until completely combined.15 oz (425 g) canned pumpkin puree, ¾ cup (150) light brown sugar, 1 ½ teaspoons vanilla extract, 1 ¾ teaspoons ground cinnamon, ¾ teaspoon ground ginger, ½ teaspoon ground allspice, ½ teaspoon ground nutmeg, ½ teaspoon table salt
- Add lightly beaten eggs, one at a time, stirring until just-combined after each addition (eggs should be completely incorporated, but stir by hand (not with an electric mixer) and don’t over-beat the mixture).3 large eggs
- Gently stir in heavy cream until completely combined and batter is smooth and uniform.1 cup (236 ml) heavy cream
Assembly
- Once pie crust has finished baking, remove from the oven and reduce oven temperature to 325F (165C).
- Pour filling into warm pie crust and return to the center rack of 325F (165C) oven. Bake for 55-60 minutes or until center is set or almost completely set (a very, very small amount of wobble in the very center is fine, especially if the edges are showing small cracks!). Depending on how your oven bakes, you may wish to check your pie halfway through baking and keep an eye on the edges of the pie crust. If they begin to turn too dark, simply tend with a bit of aluminum foil. You may also test if the pie is done by inserting a sharp knife in the center of the pie, if it comes out clean it is done baking!).
- Allow pie to cool to room temperature then transfer to refrigerator and chill for 4-6 hours or preferably overnight before slicing and serving (ideally topped with homemade whipped cream!).Homemade whipped cream
Notes
Storing
Store, covered, in the refrigerator, for up to 2-3 days. This recipe may also be frozen for a month, but I recommend cooling completely and chilling before freezing.Nutrition
Nutritional information is based on third-party calculations and should be considered an estimate only. Actual nutritional content will vary based upon brands used, measuring methods, cooking method, portion sizes, and more.






Chris
Am sorry it took so long to write this. Wanted to let you know that my husband’s favorite pie in the world is pumpkin, but I had yet to find a recipe that was up to his “standards”. I made your pie with your crust recipe. When he bit into it after having our Thanksgiving meal, he… and I kid you not… got teary-eyed. He said he has never tasted better and asked if I could make another one the following week… and then another one! Your recipe actually made a very non-emotional guy cry! The spices were right on. The one thing that I do not care for in other recipes is that there is never enough spice. Yours was perfect and creamy. Thanks so much!
Sam Merritt
That’s such a wonderful compliment! I’m so glad to hear it was such a hit! 🙂
Elizabeth
I love this recipe!!! It is so great
Sam
I’m so glad you enjoyed it so much, Elizabeth! 🙂
Ron Walker
When I made this, the filling came out very dark with a grey appearance. It did not crack, but it wasn’t appetizing in appearance, though it had a great taste. What would cause the filling turning to a grey color? Recipe was followed exactly with no substitutions. Also, I bake constantly, not a newcomer when it comes to pies.
Sam
Hi Ron! That’s really interesting. Did your pumpkin seem ok? That’s really the only thing I can think of that could cause any issues like that. 🙁
Justin Bianco
Excellent recipe. Very well-balanced in terms of amount of spice and sweetness, and great texture.
Sam
I’m so glad you enjoyed it so much, Justin! 🙂
Marlene A Kass
I love your receipes, but what are pie weights? I’ve never seen any in stores…
Sam
Hi Marlene! They are just little round weights that help your pie crust keep shape. You can use something different needed. Common things to use as pie weights are dried beans, uncooked rice, or even granulated sugar. I hope this helps! 🙂
Sarah
This was lovely. Thank you for the recipe. I want to make it again, but they only had light cream at the store. Will it be an acceptable substitute?
Sam
Hi Sarah! I think it will work. I think I would use a little bit less, slightly more than 3/4 cup?
Patricia
THE BEST! I am sooooo happy I chose this recipe for Thanksgiving dinner. My whole family (including picky nephews) couldn’t stop eating it, it was such a hit. This will be the only recipe I use for now on for pumpkin pie!
Sam
I’m so glad everyone enjoyed it so much, Patricia! 🙂