Learn how to make your own warm, gooey Pizookie completely from scratch so you can enjoy your own without ever stepping foot in a restaurant! This super easy skillet chocolate chip cookie bakes for just 30 minutes and makes enough to share. Recipe includes a how-to video!
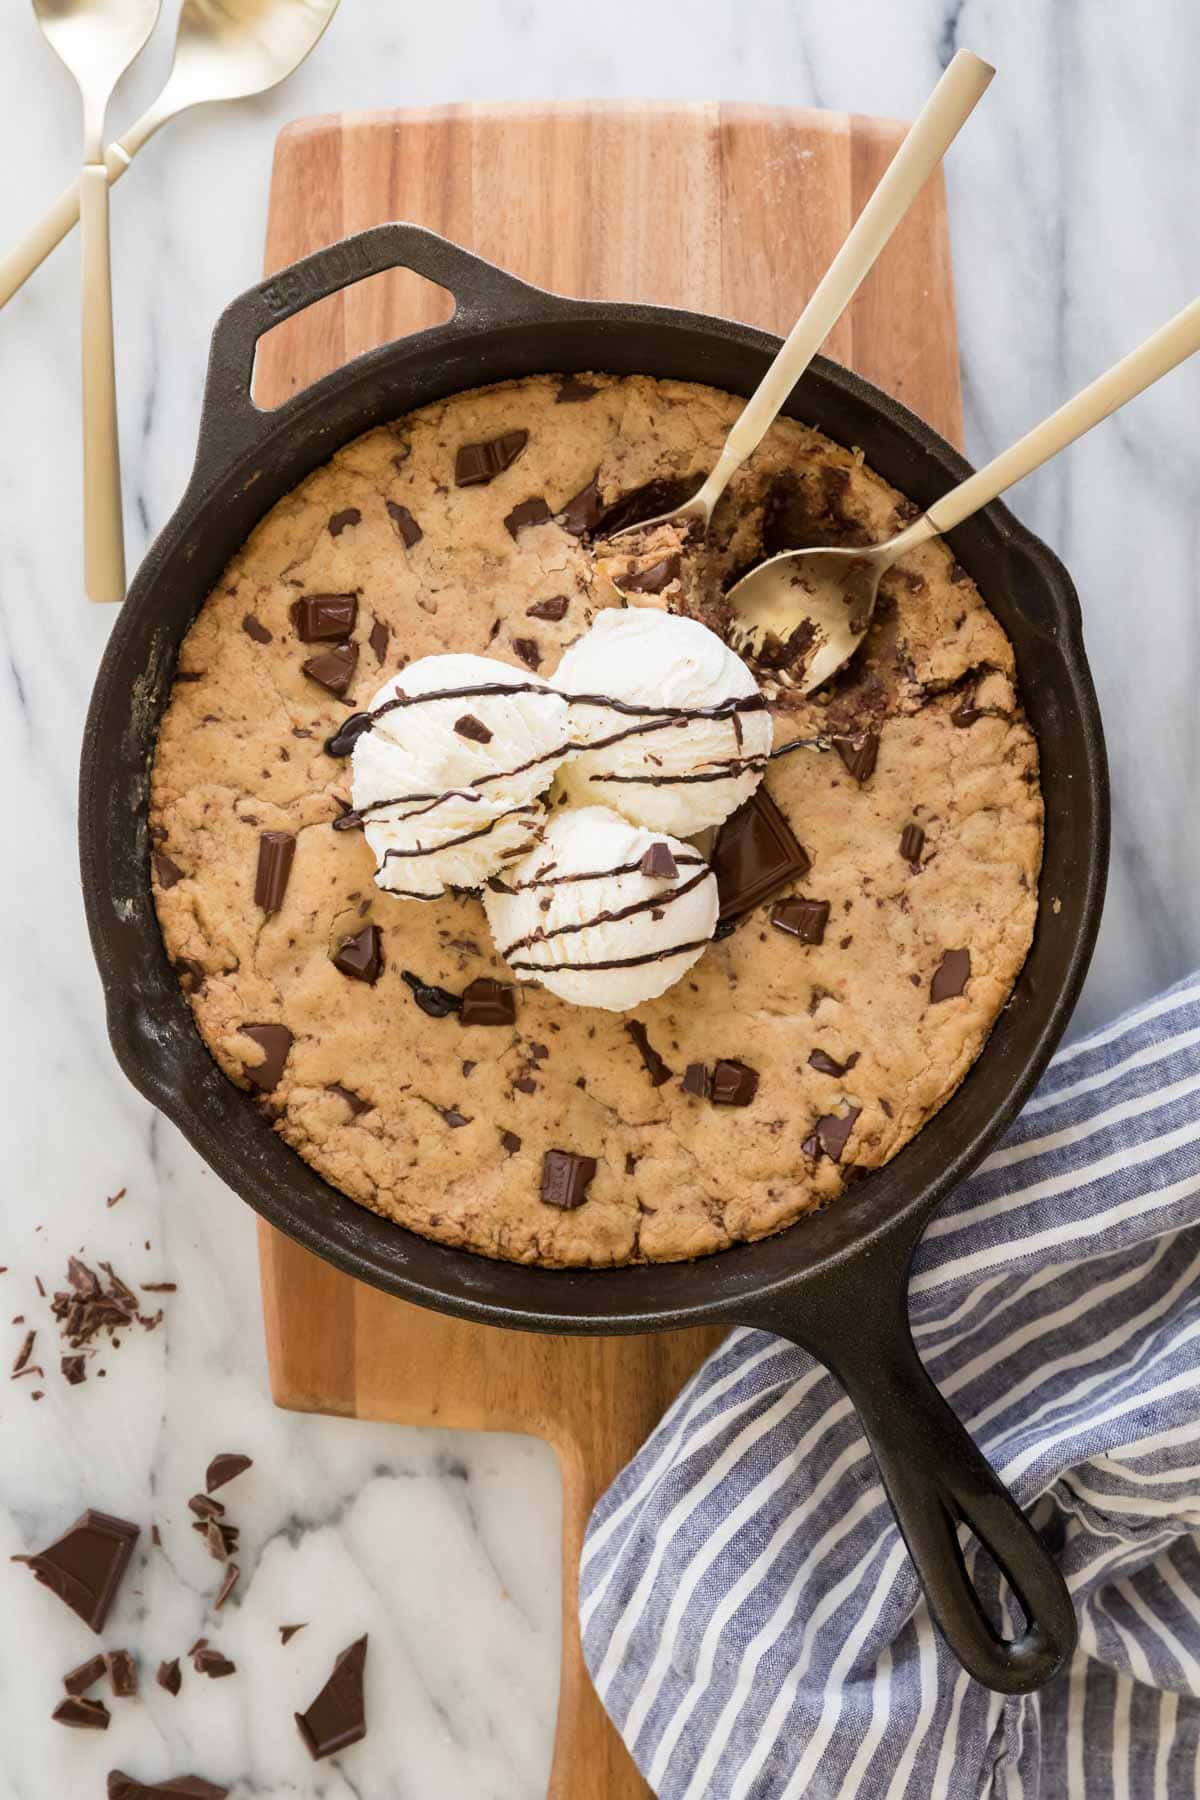
Pizookie, AKA the Skillet Chocolate Chip Cookie of Your Dreams
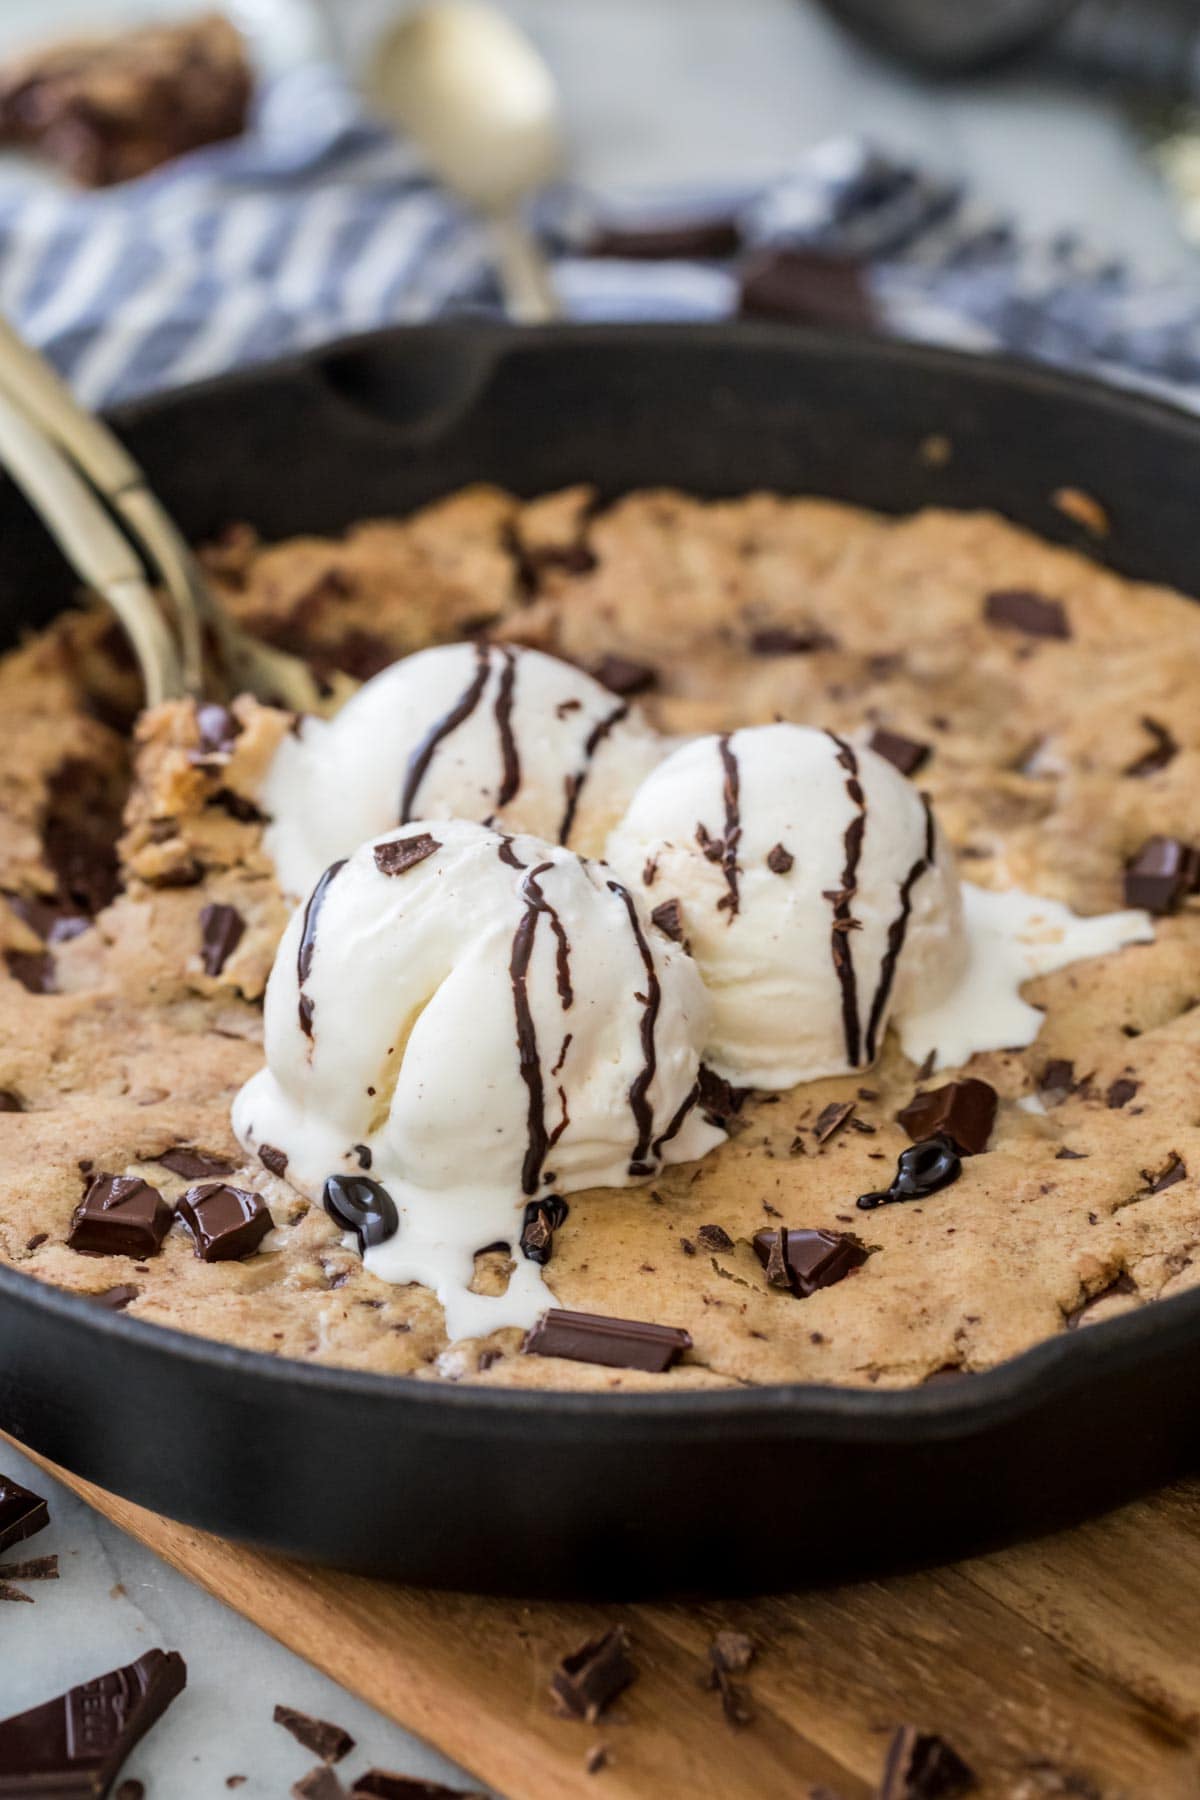
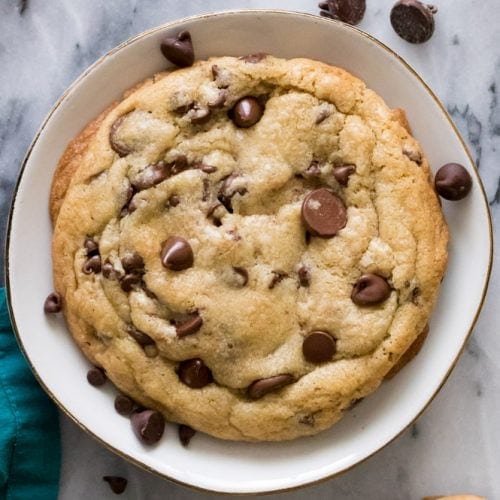
Introducing my take on the pizookie, AKA the best skillet chocolate chip cookie recipe you’ll ever try. If you’ve ever been to a BJ’s Restaurant & Brewhouse, then you already know the satisfaction of dipping your spoon into this soft, molten cookie/pizza hybrid (if you ask me though, I think its more closely aligned to an extra thick chocolate chip cookie than a dessert pizza, but I digress…🙃).
My pizooke recipe is easy to make and takes just half an hour in the oven. Flavor-wise, its perfectly gooey and rich with obvious brown butter and brown sugar overtones. Like any good chocolate chip cookie, the pizookie is studded with chocolate chunks that are still melty (since it’s eaten warm!) and tastes absolutely divine when topped with a few scoops of vanilla ice cream and hot fudge sauce.
While this recipe certainly makes enough to share, the beauty of making pizookie at home is that no one will know if you eat the whole thing yourself!
Let’s get to it!
What You Need
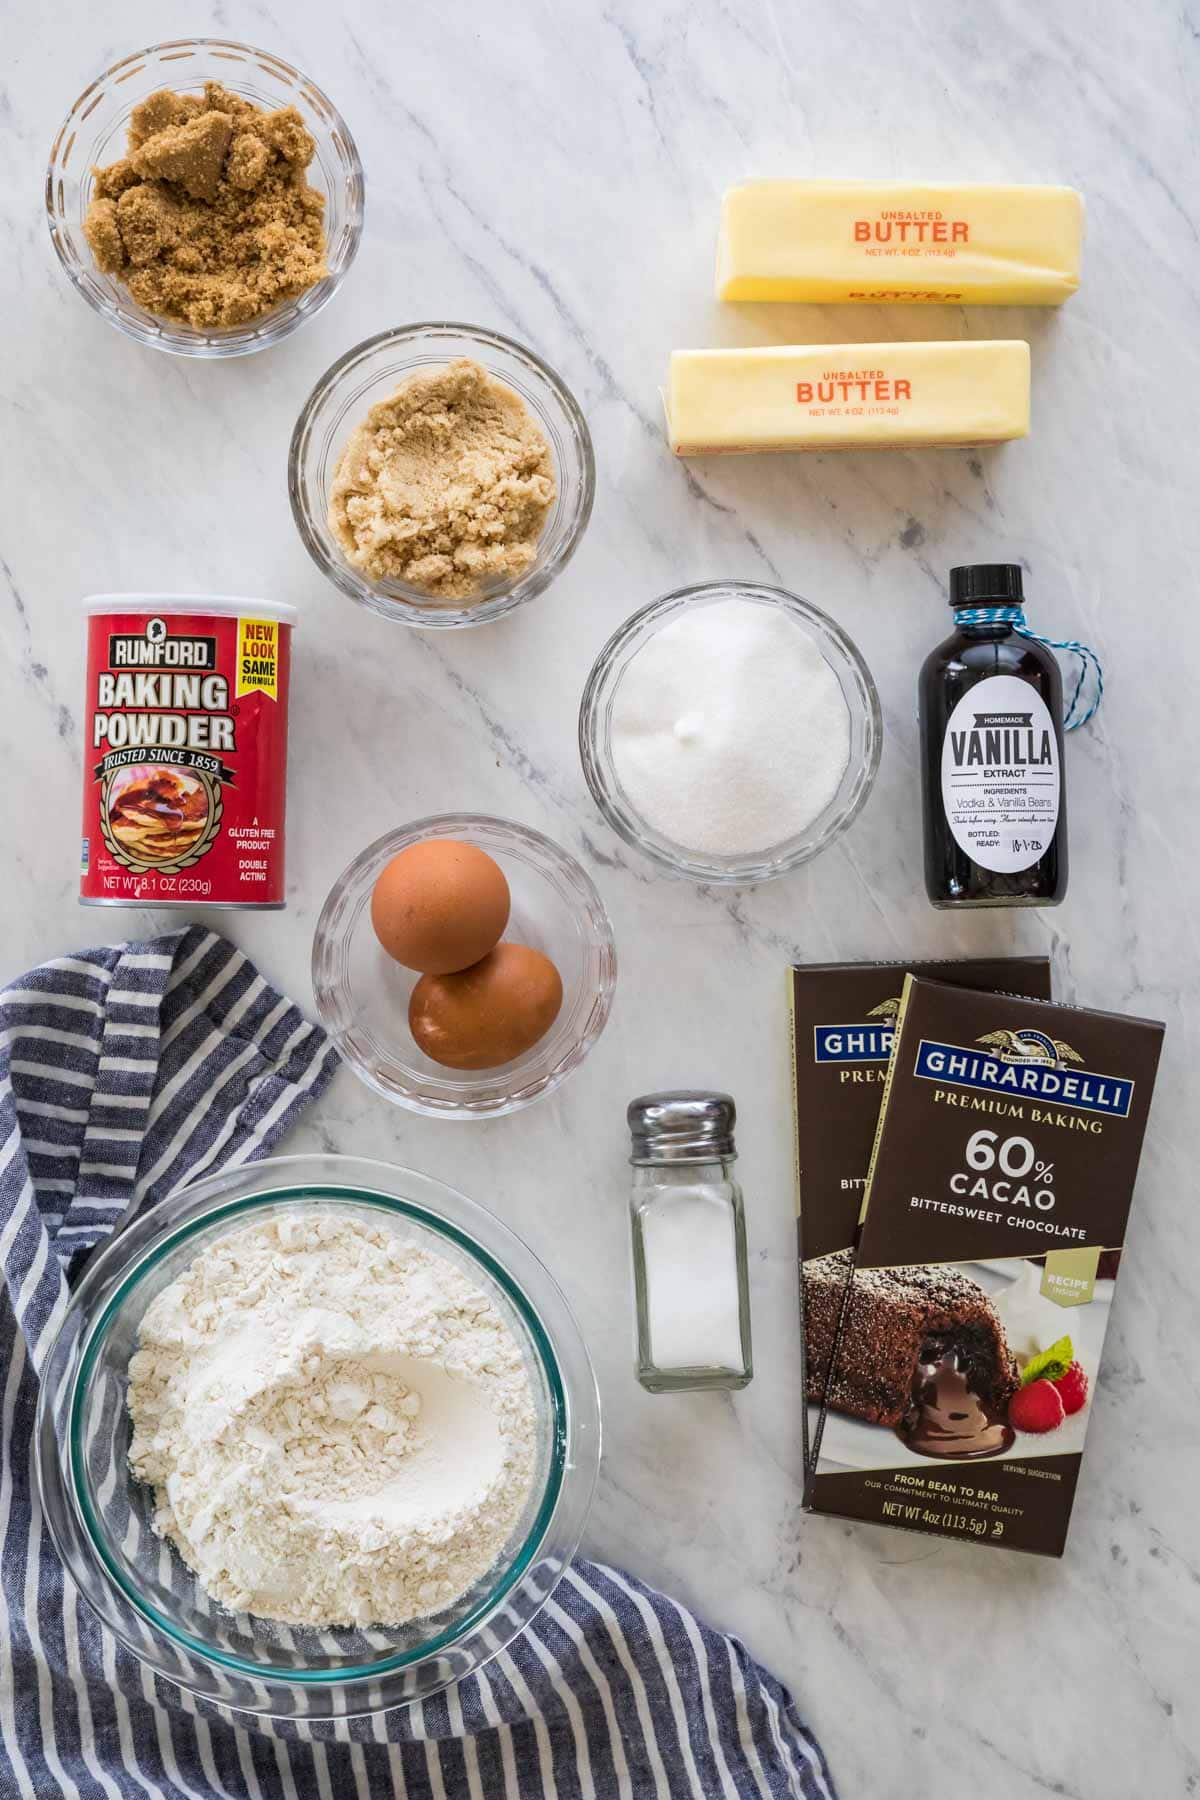
You’re just a few simple ingredients away from a homemade skillet chocolate chip cookie. Here’s what you need!
- Butter. To really take this pizzokie to the next level, I decided to first brown the butter, which adds an absolutely incredible richness and unparalleled flavor. If you aren’t familiar with this process, check out my post on how to brown butter for some pointers.
- Sugar. I use both brown sugar and granulated sugar for that classic cookie flavor. For the brown sugar, you can use either light or dark, or a combination of the two!
- Egg + egg yolk. We’ll add an extra egg yolk for a super soft, chewy cookie texture.
- Vanilla. Use your homemade vanilla extract if you have some!
- Flour. All-purpose flour works fine for this recipe.
- Salt. To balance out the sweetness of this pizookie, we’ll add just a little salt. Plain table salt is fine!
- Chocolate. I prefer to use a chopped semisweet or dark chocolate baking bar, but chocolate chips will work too.
- Vanilla ice cream. This is optional, but I can’t think of a better pairing than a gooey chocolate chip cookie and vanilla ice cream!
SAM’S TIP: This pizookie is meant to be eaten warm not long after it’s made. My favorite way to serve it is with with ice cream and chocolate or caramel sauce, but it’s also great as-is, too!
Remember, this is just an overview of the ingredients I used and why. For the full recipe please scroll down to the bottom of the post!
How to Make a Pizookie
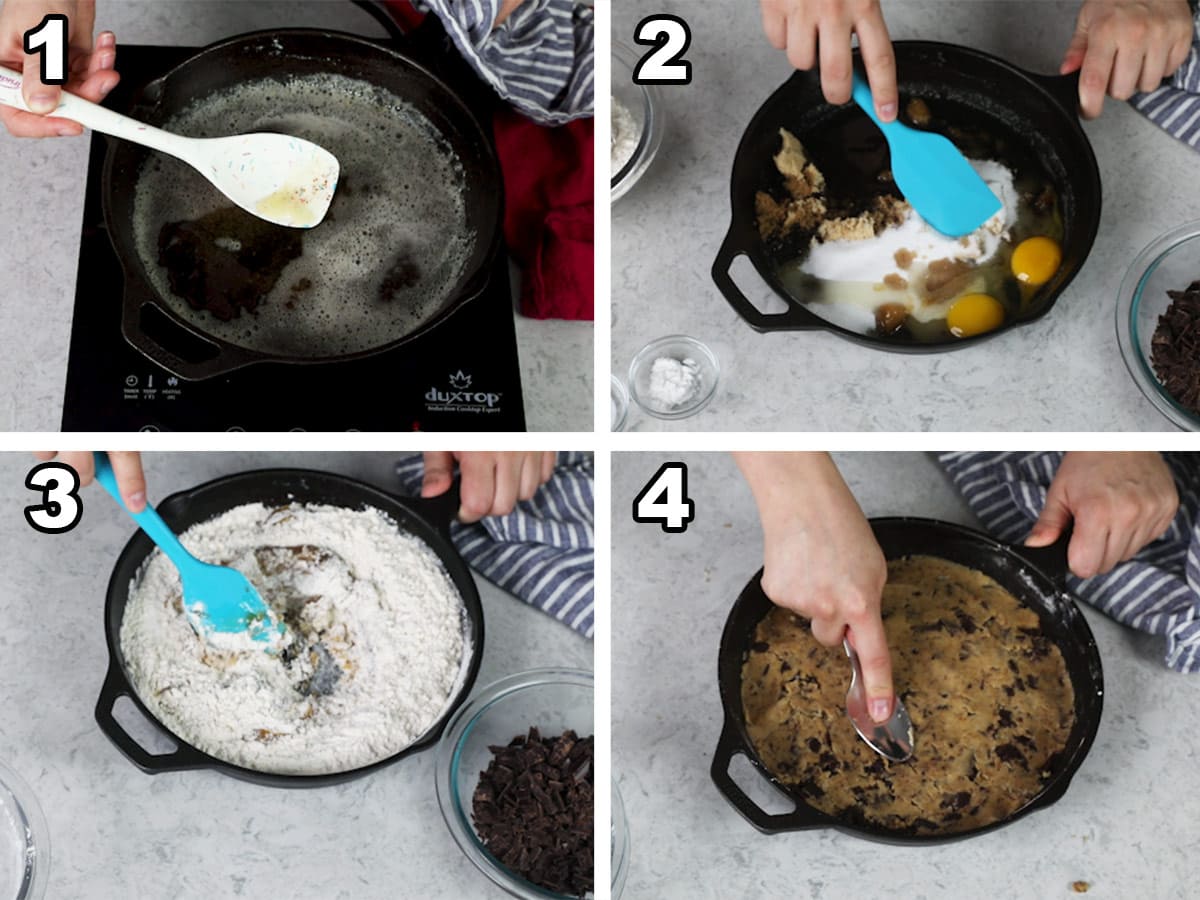
- Cook your butter over medium heat until it’s melted. Once melted, begin stirring constantly until your butter is browned. Immediately remove your pan from the heat and stir for a few seconds more. Set aside to cool.
- Add the sugar, egg, egg yolk, and vanilla to your cooled melted butter. Stir well to combine.
- Combine the dry ingredients in a separate bowl, then gradually add them to your wet ingredients. Stir everything together until cohesive and combined.
- Add your chocolate, then smooth the dough down into your skillet. Bake at 350F for 28-30 minutes. Let your pizookie cool for 10-15 minutes before serving warm with ice cream.
SAM’S TIP: I like to brown my butter in a cast iron skillet and then use that same skillet to make the dough and bake the pizookie. If you don’t have one, just brown your butter in a regular skillet then bake the pizookie in a 9.5 or 10” pie plate. A springform pan would also work!
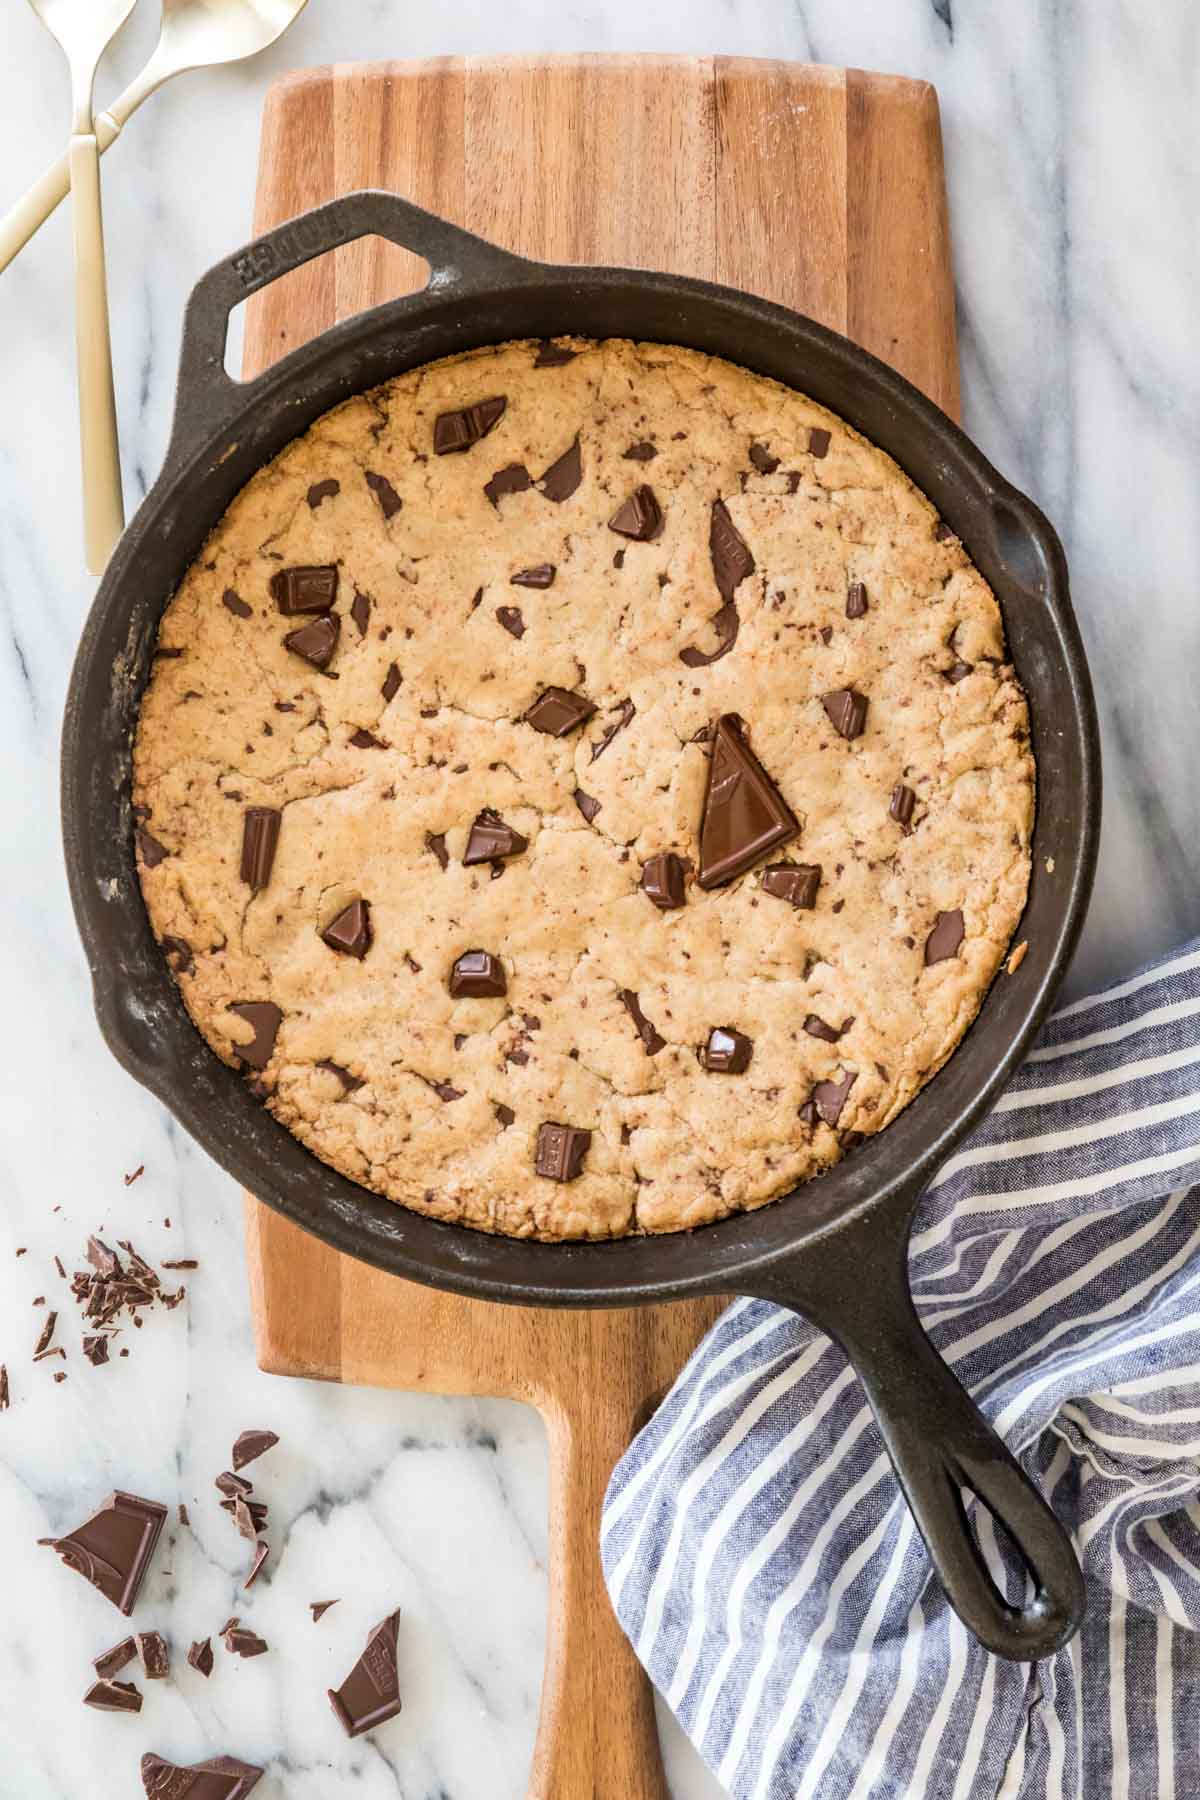
Frequently Asked Questions
Pizookies get their name from being what many believe is a pizza and cookie hybrid. As I mentioned above, I think they’re more like an extra thick chocolate chip cookie than an actual dessert pizza.
Salted caramel sauce, sprinkles, peanut butter chips, toffee chips, hot fudge sauce, nuts, and dulce de leche are all great pizookie add-ins or toppings!
While it’s best served fresh, pizookie leftovers can be warmed in the oven (if it’s still in its skillet/baking dish) or individual servings heated up in a microwave will work fine too!
Enjoy!
More Recipes You Might Like
Let’s bake together! I’ll be walking you through all the steps in my written recipe and video below! If you try this recipe, be sure to tag me on Instagram, and you can also find me on YouTube and Facebook
Pizookie
Ingredients
- ¾ cup (170 g) unsalted butter
- ¾ cup (150 g) light brown sugar (or a blend of light and dark brown sugar), firmly packed
- ⅔ cup (135 g) granulated sugar
- 1 large egg
- 1 large egg yolk
- 1 teaspoon vanilla extract
- 2 cups (250 g) all-purpose flour
- ½ teaspoon baking powder
- ¾ teaspoon table salt
- 6 oz (170 g) coarsely chopped semisweet or dark chocolate or 1 heaping cup chocolate chips
- Vanilla ice cream for serving
Recommended Equipment
Instructions
To Brown the Butter:
- Place butter in skillet (if baking in a cast iron skillet you can brown the butter directly in the same skillet you’ll be baking in) and cook over medium heat until butter is melted.¾ cup (170 g) unsalted butter
- Once melted, continue to cook while constantly stirring as butter sizzles and pops. Once butter begins to brown (you’ll see golden brown flecks forming and floating in the pan) immediately remove from heat. Continue to stir for several seconds, then allow butter to cool (in the pan) for 30 minutes before proceeding.
Making the Pizookie
- While butter cools, preheat oven to 350F (175C).
- Once butter is no longer warm to the touch, add sugars, egg, egg yolk, and vanilla extract and stir well to combine.¾ cup (150 g) light brown sugar, ⅔ cup (135 g) granulated sugar, 1 large egg, 1 large egg yolk, 1 teaspoon vanilla extract
- In a separate bowl, whisk together flour, baking powder, and salt, then gradually stir into the butter mixture until dough is cohesive and completely combined (dough can seem a bit dry and crumbly, so be gradual with adding the flour and stir until it comes together).2 cups (250 g) all-purpose flour, ½ teaspoon baking powder, ¾ teaspoon table salt
- Stir in chocolate and flatten the surface of the cookie with a spatula or the back of a spoon.6 oz (170 g) coarsely chopped semisweet or dark chocolate
- Transfer to 350F (175C) preheated oven and bake for 28-30 minutes or until cookie is baked through.
- Allow to cool for 10-15 minutes before topping with ice cream and serving still warm. Enjoy!Vanilla ice cream for serving
Notes
Baking dish
I like to brown the butter and mix the dough together all in the same 9” cast iron skillet. However, if you do not have one you can instead bake the pizookie in a 9.5” or 10” pie plate instead. Note that the bake time will likely be longer than indicated, especially if using a glass pie plate. Use the toothpick test to check for doneness and look for the edges to be beginning to turn golden brown.Nutrition
Nutritional information is based on third-party calculations and should be considered an estimate only. Actual nutritional content will vary based upon brands used, measuring methods, cooking method, portion sizes, and more.


Erin Suarez
Recipe was easy and fast but so delish!! My family and I topped it with some vanilla ice cream and it was fantastic! Thanks for another great recipe.
Sam Merritt
I’m so glad it was such a hit, Erin! 🙂
Manveen
Hi Sam, Just wondering can i mix everything up and flatten the mixture with a spoon and keep it ready ahead of time ? I would like to put it in the oven just in time guests are here so we can enjoy it warm and fresh. Can i keep it ready ahead of time and how many hours ahead.
Sam
Hi Manveen! That will work just fine. I would say it would be good for at least a day in advance. Make sure to cover it in the refrigerator. 🙂
amy
Hi Sam
I love ALL of your recipes. They always come out, perfectly!
I want to try this Pizookie recipe but I only have a 12 inch cast iron pan–what would you recommend? Should I 1.5X the recipe or double it? I’m afraid doubling it would be too think and may not bake through? Or just use the same recipe and get a thinner pizookie?
thanks for your help and all your wonderful recipes 🙂
Happy new year!
Sam
Hi Amy! I would do 1.5 times the recipe. Happy New Year! 🙂
Dave McClain
Sam,
I get all my ingredients prepared prior to beginning a recipe. I did the same with this recipe, but I didn’t with the chocolate chips. As I was bringing everything together I grabbed a two cup bag of chocolate chips and mixed them in. After I put the pan in the oven I saw the correct amount. At that point I just hoped for the best. When I took it out it looked amazing. I let it set for about 20 minutes. It was very chocolaty, but it was very delicious! Thank you for dedication and for sharing with all of us!
Dave M
Sam
I’m so glad you enjoyed it so much, Dave! 🙂
Nelly
Tried this the other day and it came out wonderfully! I used a 9″ cake pan after browning my butter and I will say that mixingthe dough in a shallow pan was quite difficult given the texture of the dough and the amount (I would probably mix it in a deep bowl next time and then transfer it to a shallow bowl). As opposed to the other review, mine actually took 26 min so it really depends on the oven but I could tell by its golden brown colour that it was done baking! My family loved it.
Sam
I’m so glad everyone enjoyed it so much! 🙂
Michelle Brown
Making this tonight! I’m so excited to have a yummy dessert for Father’s Day! I noticed that you don’t list a weight for your flour. I usually weigh my measurements, and find that you usually list the weights as well… You have the weight for the sugars, but didn’t know if you meant to have the flour weight as well? I can do a quick look at other recipes to get the conversion, no biggy, just thought I’d ask if it was intentional or not?
Sam
I hope you love it, Michelle! I’m so sorry about the missing weights on the flour. That was a complete oversight! The proper weight there should be 250g for 2 cups. I’ll make sure to update it. 🙂
Michelle Brown
It was delicious!!! Thank you so much! Your recipes are always 100% amazing! I found the conversion on a different recipe – it was no big deal. I only have an 8″ cast iron pan but, it worked. It was a little tricky to mix everything right in the pan, because it was so full. I’m sure a 9″ would have made that part easier. I baked it for 35 min before checking it since it was thicker. That seemed to work. The toothpick test doesn’t work well because there are so many choc chunks, that it always just pulled up chocolaty! haha. So, I just pulled it at 35 min. *Maybe* it could have used about 2 more min? But we ate it warm, so the gooeyness could have just been from that. It doesn’t matter though, it was divine!! I’m so glad I made this, everyone LOVED it! (I mean, what’s NOT to love???) We used Breyer’s Natural Vanilla ice cream on top, and it was just perfect! Thanks again!
Nicole
I have a large family and a 12” iron skillet, so I’m going to try doubling this recipe. I’ll report back how it goes! Looks fun and delicious!!