
No Bake Cheesecake Recipe
This post may contain affiliate links. As an Amazon Associate I earn from qualifying purchases. Please read my disclosure policy.
For the days where you don’t feel like turning on the oven, fussing over a water bath, worrying about cracked edges or waiting all night for things to set in the fridge, my no bake cheesecake has you covered. Made with simple ingredients (and no gelatin or condensed milk), this has all the flavor and texture of the classic version you’re used to. Includes a how-to video tutorial.
A No Bake Cheesecake to Rival All Others
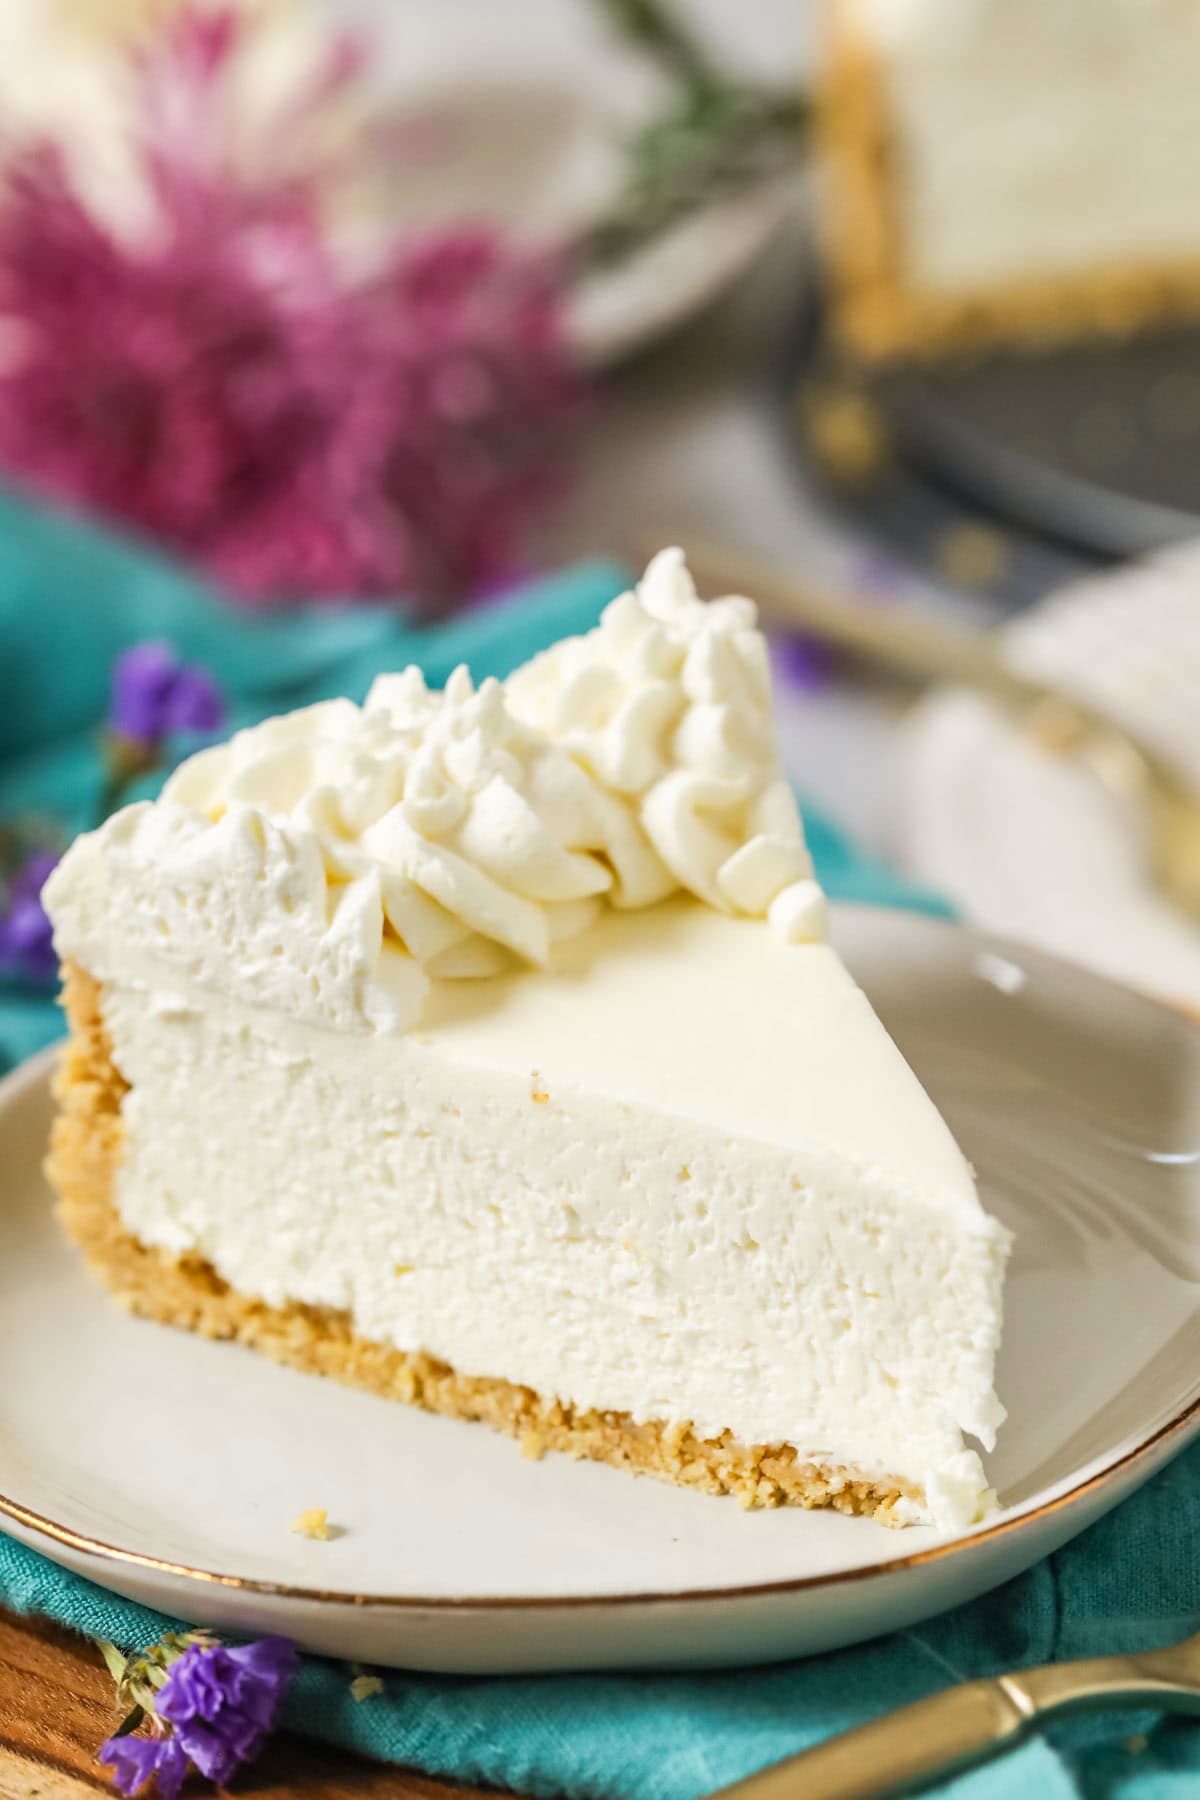
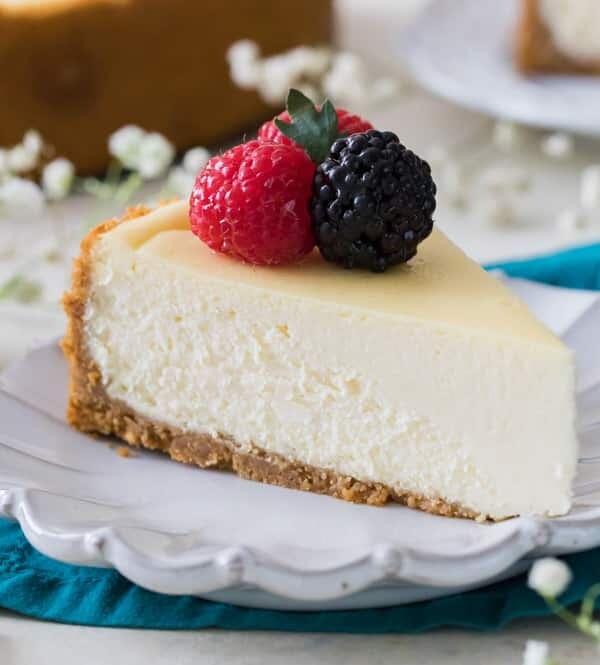
I take cheesecake, including no bake cheesecake, seriously here. I demand a smooth, creamy (but sturdy!) texture, the perfect balance of sweetness and tang, a graham cracker crust with just the right amount of crispy crumble, and a texture that’s sturdy enough to handle a fun topping like a drizzle of caramel sauce or a scoop of strawberry sauce.
The internet abounds with recipes for no bake cheesecakes, but they’re sometimes fussier than the real (baked) thing, using ingredients like gelatin (can be tricky to keep the texture lump-free!) or even condensed milk, which just doesn’t ring true for flavor. I developed my version years ago specifically for the home baker who wants true-tasting results without a lot of fuss. It’s been one of my top recipes for nearly 8 years, and while I wanted to update the photos and add a new video, the recipe itself has stood the test of time and needed no edits.
Why my recipe works:
- Truly 100% no-bake, right down to the crust!
- Uses the same ingredients as classic cheesecake (minus the eggs) for classic flavor.
- Whipped cream gives us a sturdy base, no need for gelatin.
- Great for beginners. This recipe is simple, straightforward, and less fussy than a baked cheesecake.
What You Need
For an authentic-tasting no bake cheesecake, I made sure we stayed as true as possible to the classic ingredients.
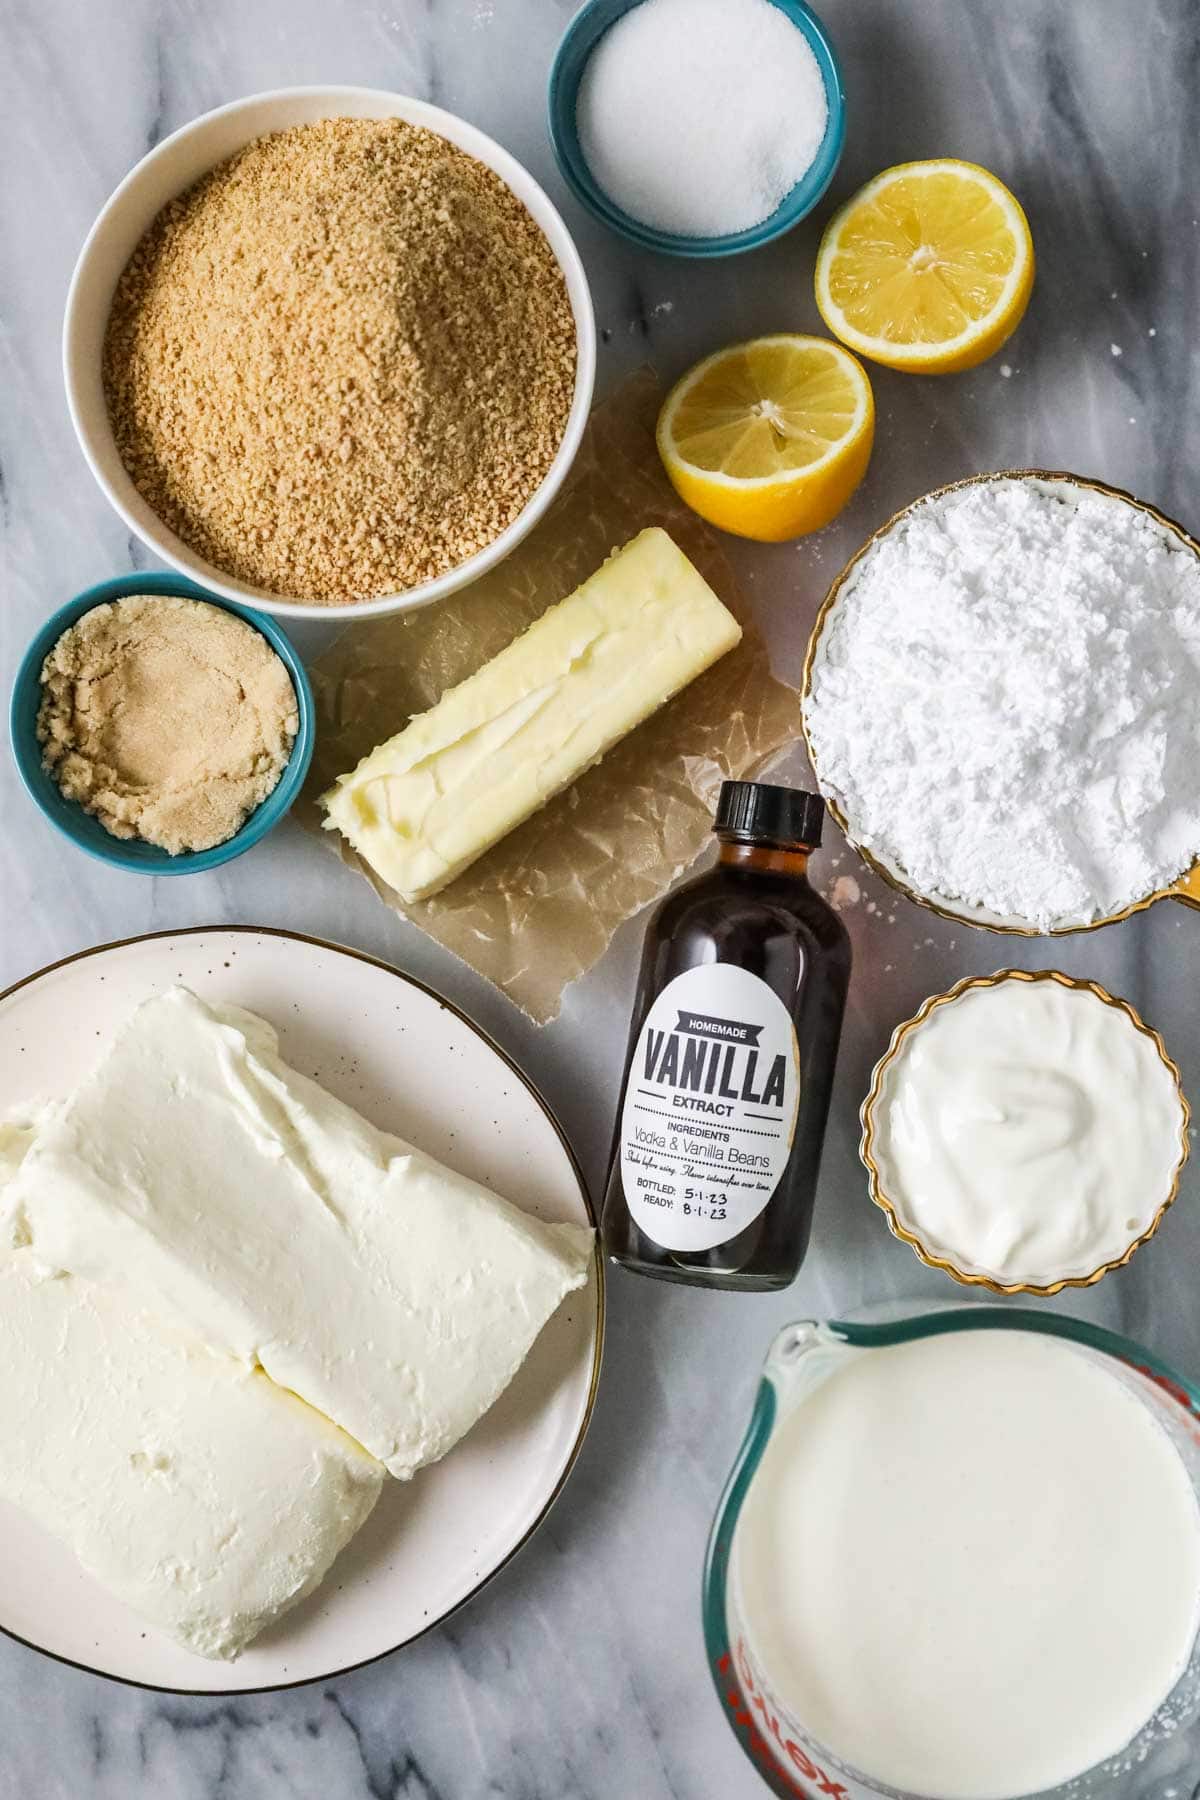
- Cream cheese. Tub-style, spreadable cream cheese is not reliable, contains additives the brick-style doesn’t, and can make for a too-soft and unsliceable cheesecake. Because of this I recommend sticking with a brick-style, full-fat cream cheese. Let it soften to room temperature to minimize your risk of lumps when mixing!
- Sour cream. Sour cream adds a depth of flavor and tang that you can’t quite reach with cream cheese alone. If you don’t have it on hand, you could substitute full-fat Greek yogurt.
- Heavy cream. While not typical for traditional cheesecake (though you will find it in my basque cheesecake), heavy cream is essential for this no bake cheesecake. We’ll be whipping this to stiff peaks and folding it into our cheesecake mixture for a sturdy base that will give us that sliceable, custardy texture. This eliminates the need for ingredients like gelatin and the no bake cheesecake stays sturdy its entire life.
- Sugar. Brown and granulated sugar flavor the graham cracker crust (and also play a part in helping hold it together) and powdered sugar is essential for not only sweetening the no bake cheesecake, but helping encourage firm, fully-set texture.
- Lemon juice. Just a splash enhances the flavor and adds a slight tang without making it taste like a lemon cheesecake. Bottled or fresh lemon juice will work here and this ingredient could even be left out if you just don’t have it or if you prefer a sweeter, less tart cheesecake.
Sam’s Tip: My no bake cheesecake recipe makes too much filling to fit into a store-bought crust, so I recommend making yours from scratch using my graham cracker crust recipe. If you still want to use a store-bought crust, you can just store the extra filling in a bowl, chill it, and enjoy it crustless!
This is just an overview of the ingredients I used and why. For the full recipe please scroll down to the bottom of the post!
How to Make (The BEST) No-Bake Cheesecake
Make the crust
I strongly recommend using my homemade graham cracker crust (digestive biscuits work if you don’t have graham crackers!) or Oreo crust depending on what you prefer (no need to remove the filling from the cookies if you go this way).
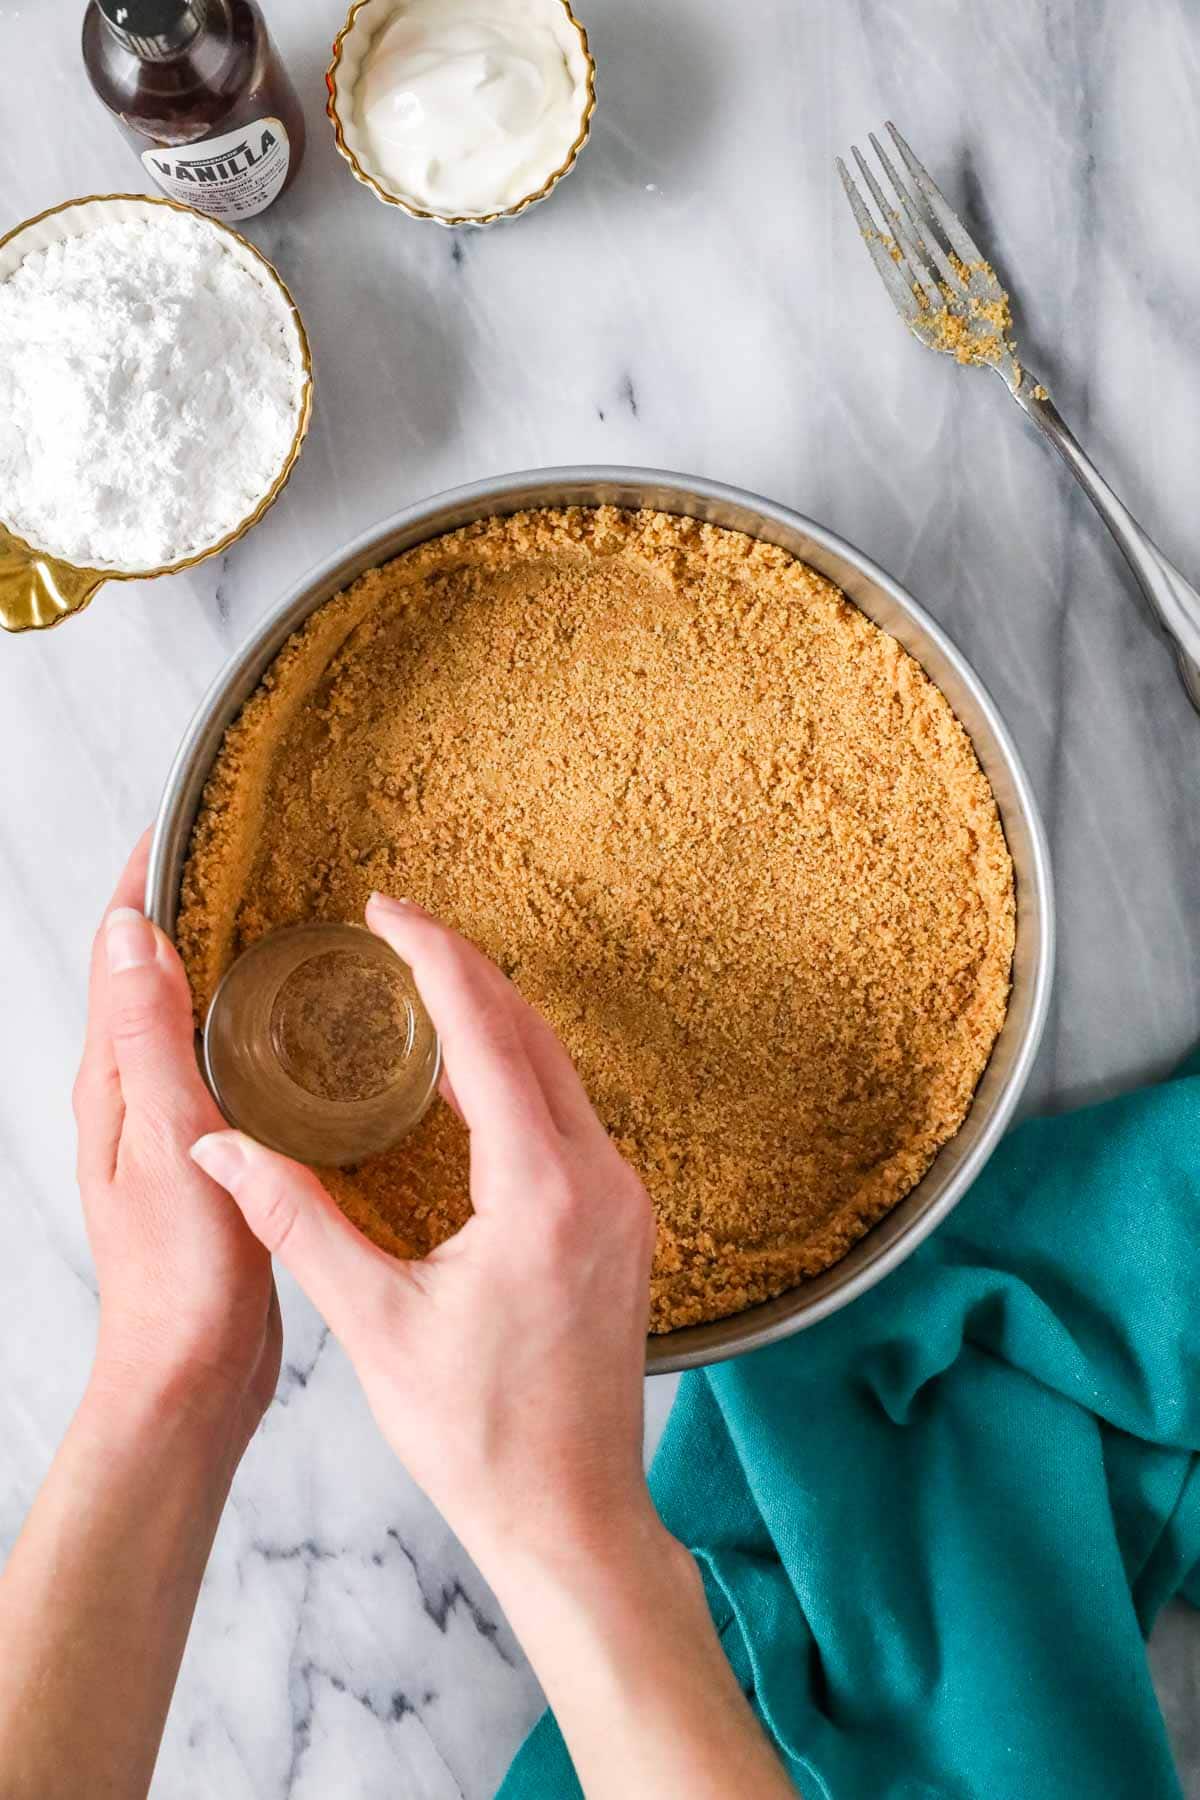
Stir together your cookie/cracker crumbs and the sugars, then add the cooled melted butter. If the butter is too hot, it could make your crust soggy, so let it cool to the touch. Stir until well-combined and the mixture resembles damp sand.
Don’t let the mixture sit before pressing it firmly and evenly into the bottom and up the sides of a 9″ springform pan (if it rests too long, the butter will resolidify before you’re ready and won’t form together in the pan). Press the mixture firmly and evenly into the bottom and up the sides of a springform pan. Pressing all the way up the sides isn’t as essential here as it is with other cheesecakes like my strawberry cheesecake since there is no risk of cracks.
Let the crust just hang out, in the fridge or at room temperature, while you prepare the filling–there is no need to bake it!
Make the filling

Mix together the cream cheese, powdered sugar, vanilla, and lemon juice first and make sure the mixture is completely smooth and lump free. This will make folding in the whipped cream quick and easy.
Once that mixture is ready, grab a second bowl and whip the cream to stiff peaks (pictured above). You’ll know you’ve reached stiff peaks when you have a thick, voluminous and fluffy texture similar to Cool Whip. This can take a few minutes, usually between 3-5.
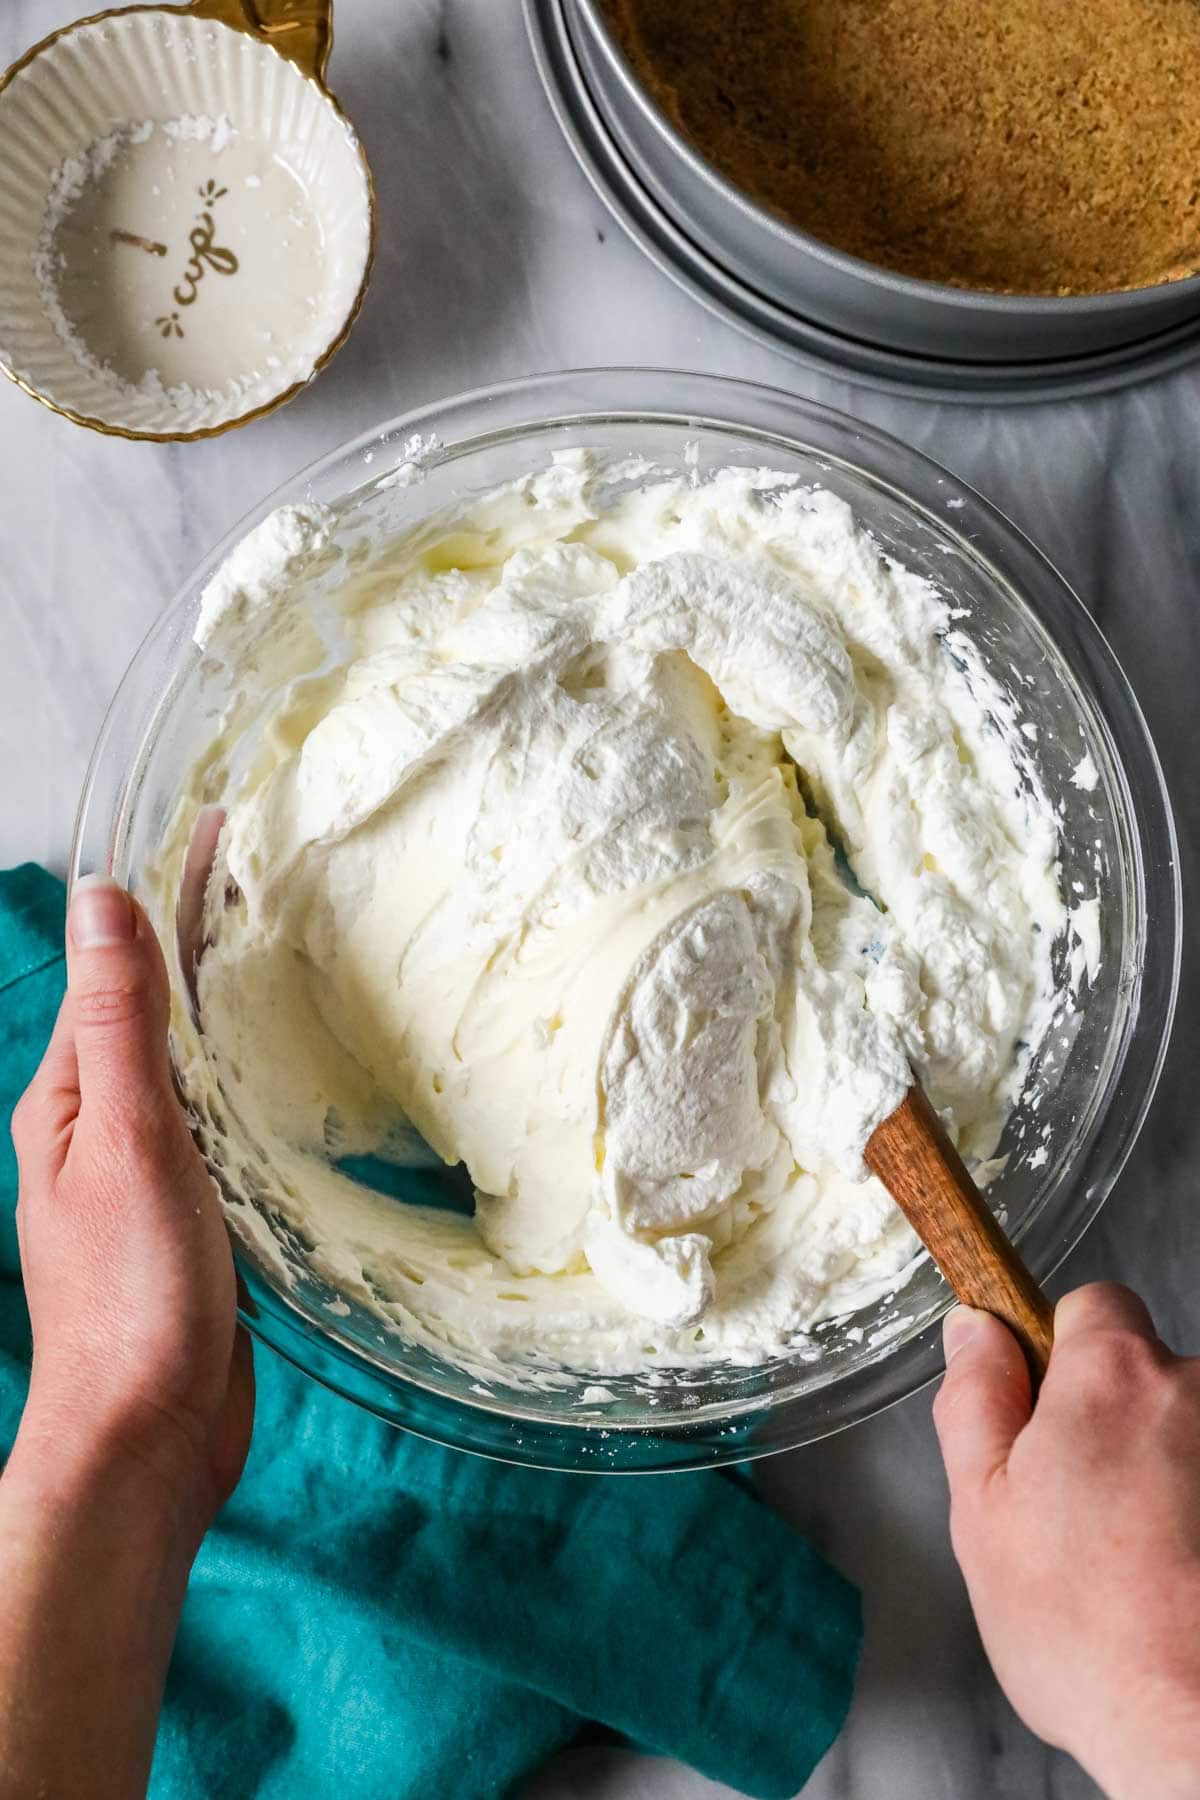
Gently fold the whipped cream into the cream cheese mixture until things are uniform. Do NOT use a mixer for this step–stick with a spatula!
Fill and chill
Evenly spread the cheesecake filling into your prepared crust. It’s important that you push the filling all the way to the edge so it makes contact with the corners/crust, if you don’t completely fill the shell/crust, it won’t meld with the filling and when you go to cut into it, the crust will just crumble! So make sure you fill in the bottom well!
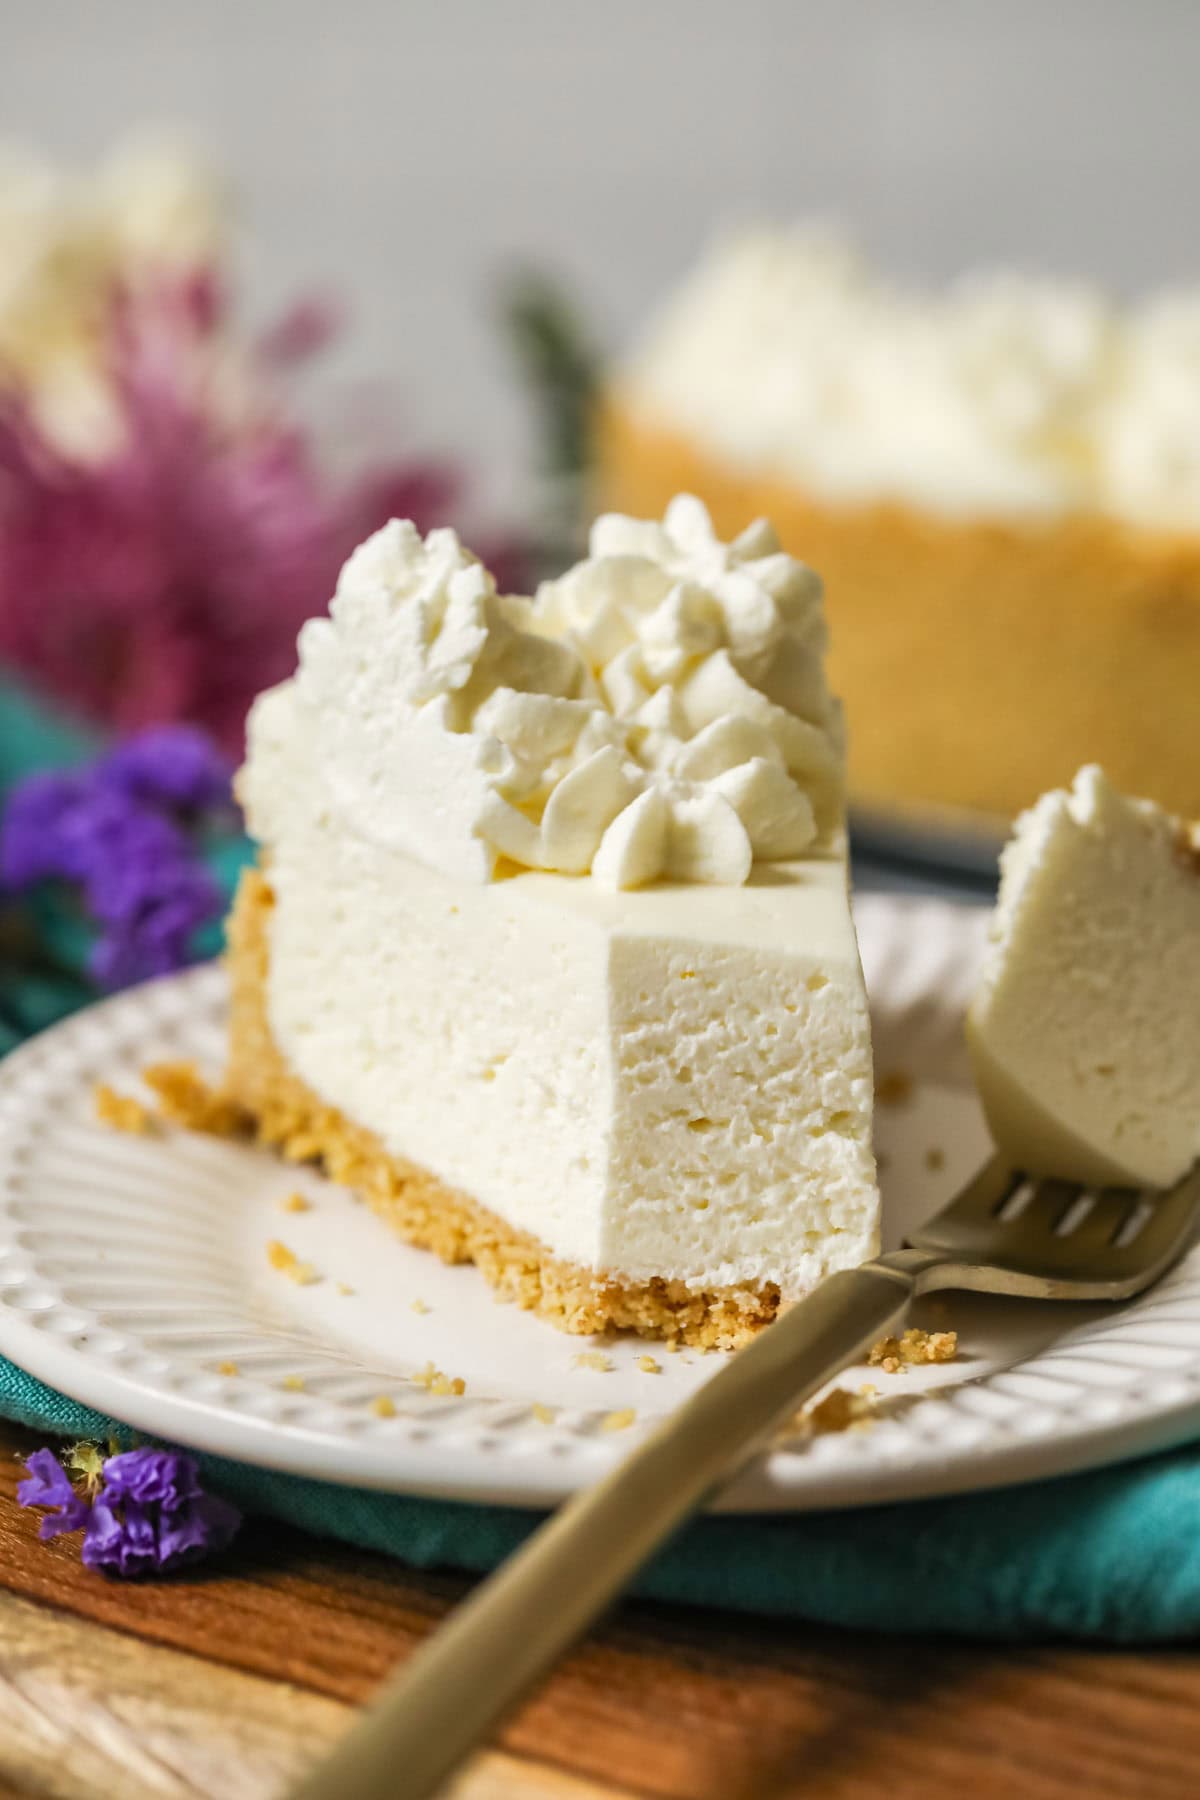
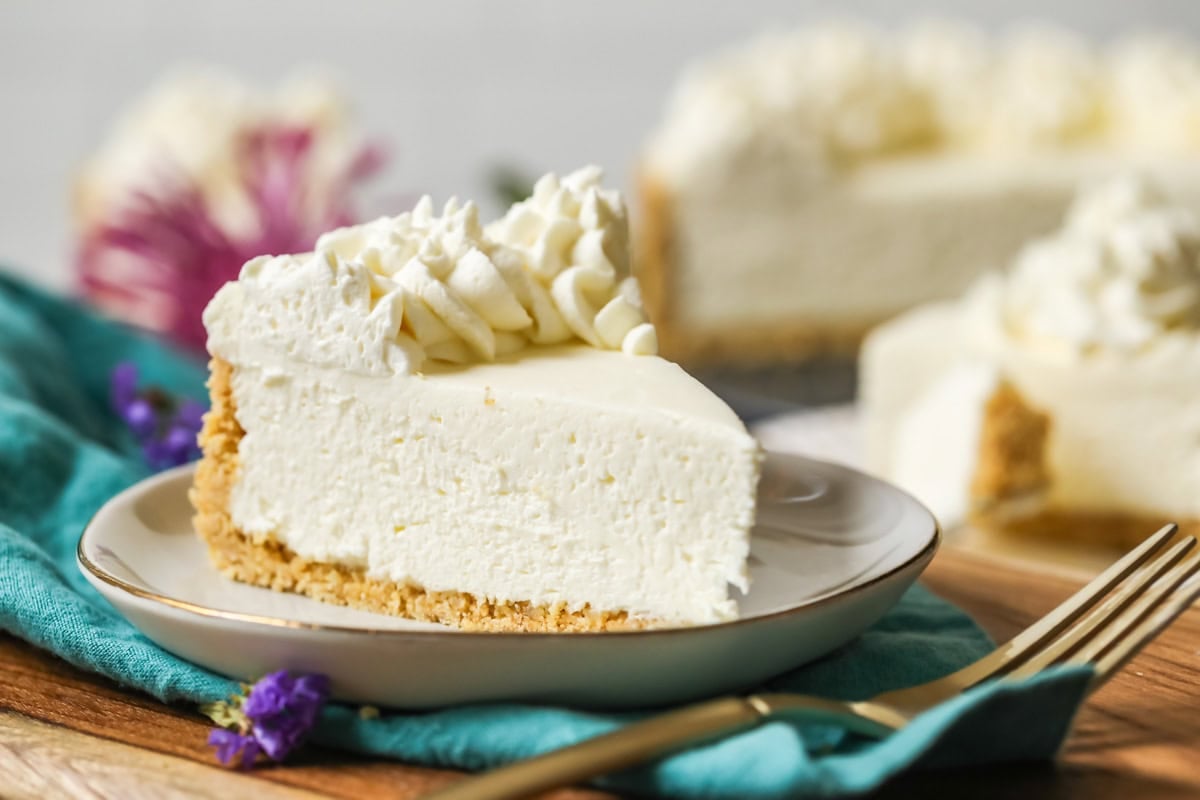
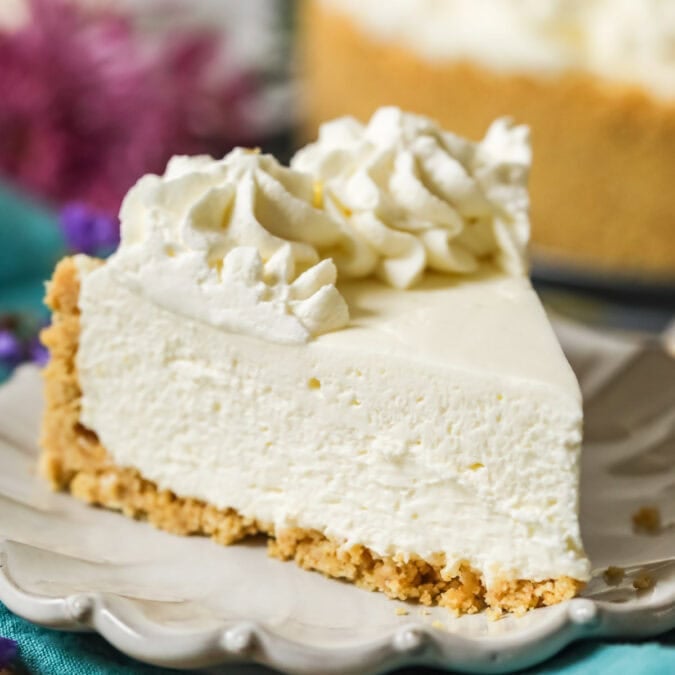
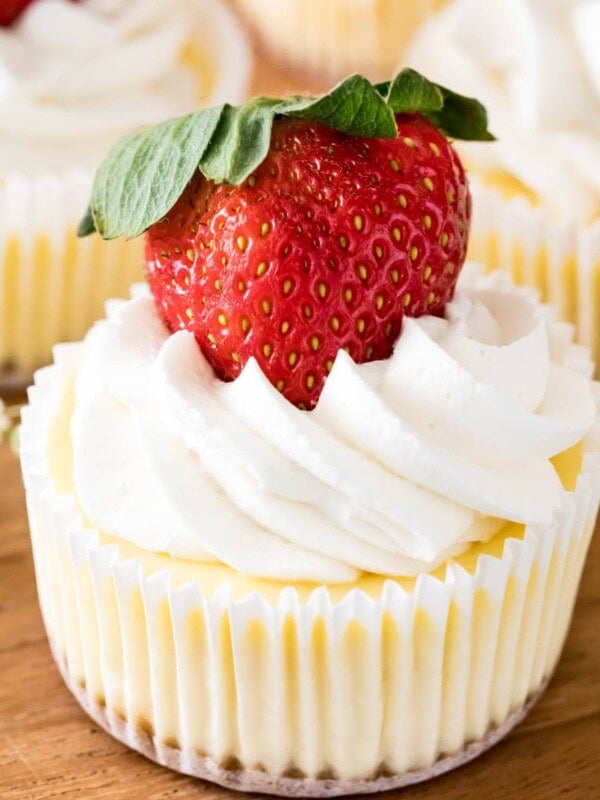
Chill for several hours (at least 4-6!) before slicing and serving. You’ll also want to top with homemade whipped cream (or chocolate whipped cream!) after chilling; it adds a touch of sweetness and lightness. 😋
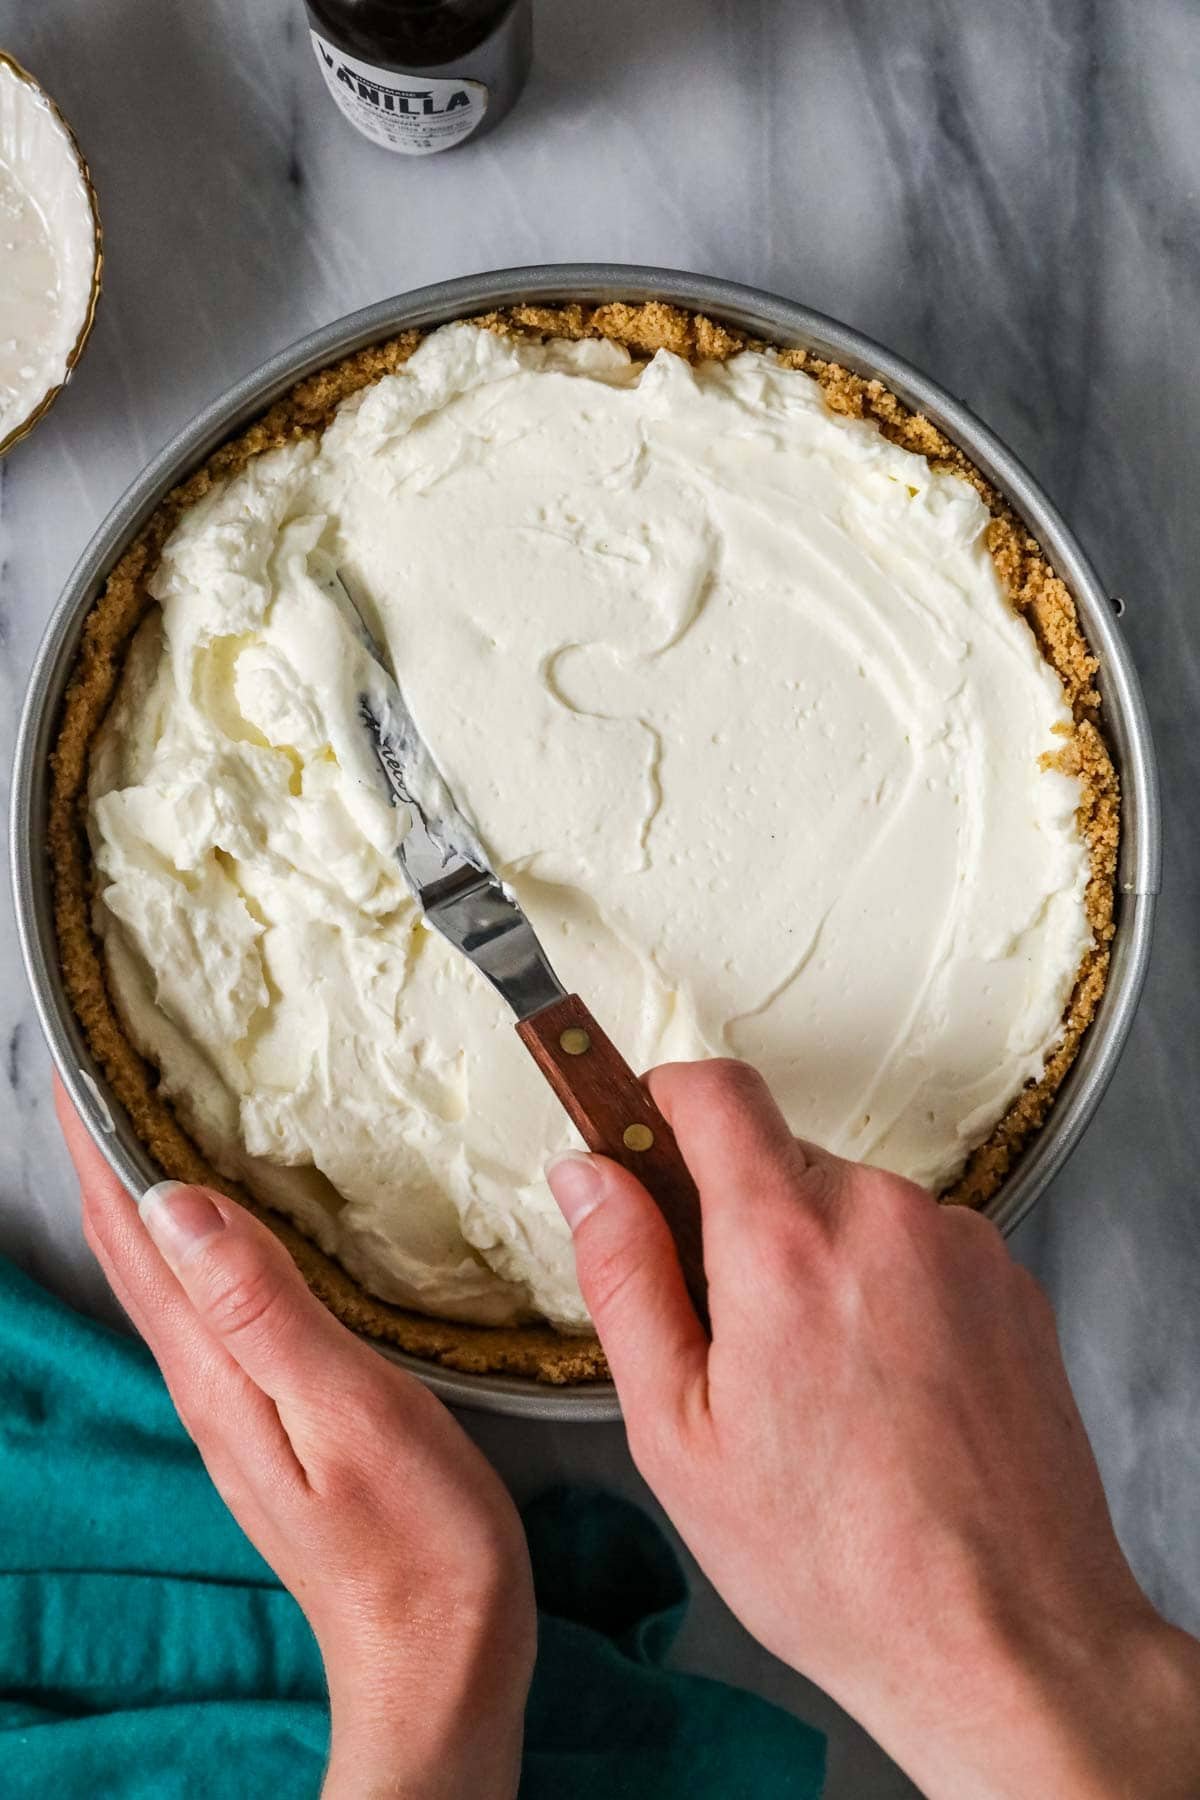
SAM’S TIP: Keep in mind that since we’re not baking this cheesecake, the top won’t be smoothing/evening itself out in the oven. I like to (a bit meticulously 😅) smooth the top of my cheesecake with an offset spatula before chilling for a pretty appearance.
Frequently Asked Questions
Yes, this recipe can absolutely be frozen and it’s very refreshing to enjoy straight from the freezer in the summertime. However, you do still need to let it chill in the refrigerator for at least 4-6 hours before freezing it so that it can set properly.
After it’s set and chilled, wrap the whole cheesecake or individual slices in plastic wrap, place in an airtight container, and freeze. If you have decorative toppings like whipped cream on top, I would recommend placing the (unwrapped) cheesecake in the freezer for 30 minutes so that all parts of it can freeze enough to be wrapped/easily handled, then wrapping and freezing.
You can enjoy the frozen cheesecake straight from frozen or return it to the refrigerator to allow it to thaw before enjoying.
If you used the wrong kind of cream cheese or didn’t whip your cream long enough, your cheesecake may not set. Make sure to use full-fat, brick-style cream cheese and not the spreadable kind that comes in a tub.
Also, make sure you have a little patience! No-bake cheesecake takes at least 4 hours to chill, but could take even longer if your cream cheese or other ingredients were particularly warm.
Enjoy!
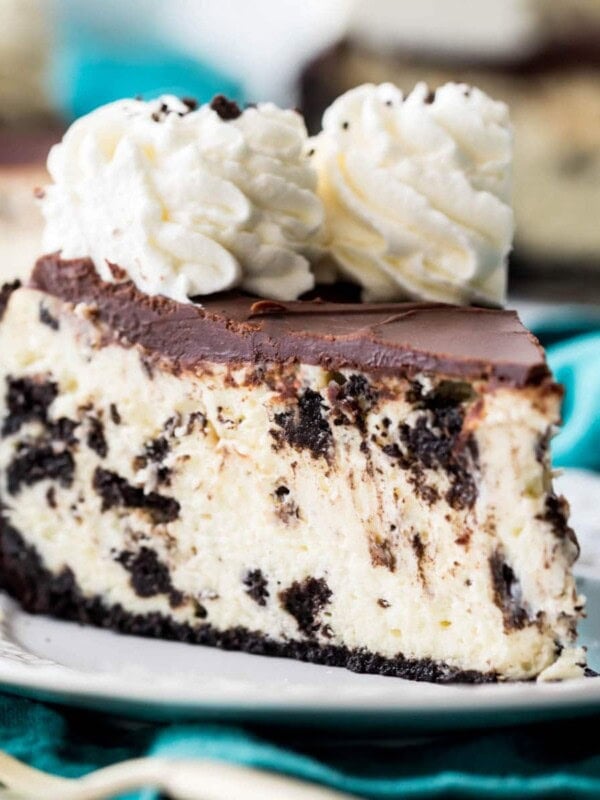
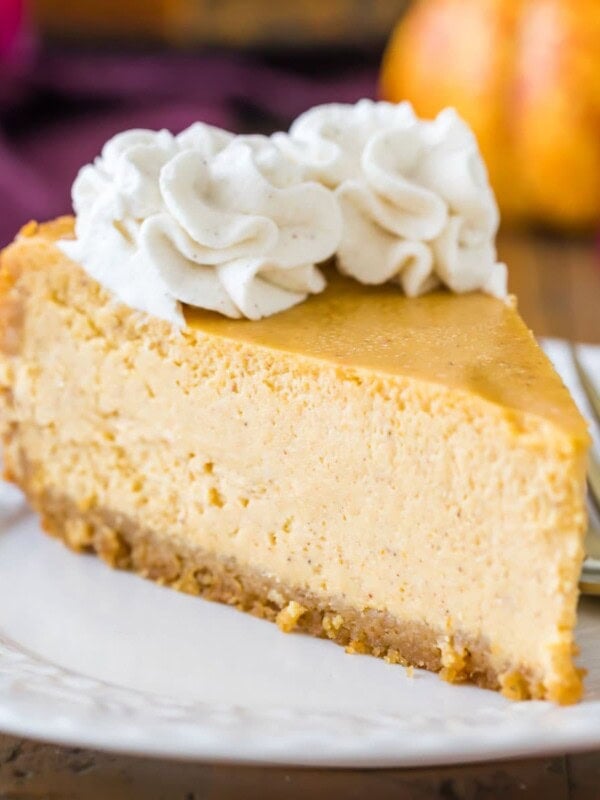
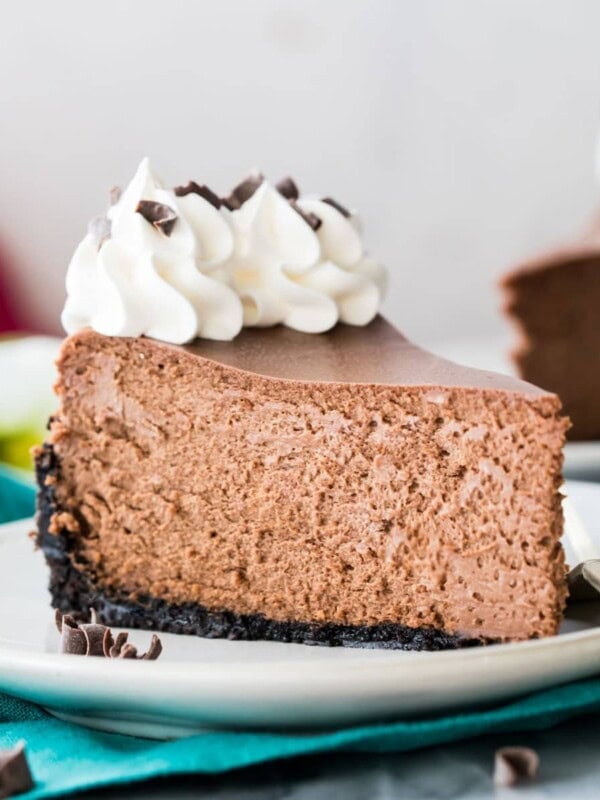
More Cheesecake Desserts to Try:
- New York cheesecake
- Raspberry cheesecake
- Turtle cheesecake
- Cheesecake bars
- Pumpkin cheesecake
- Peanut butter cheesecake
The Best No Bake Cheesecake Recipe
Ingredients
- 1 graham cracker crust, prepared in springform pan (please click link for graham cracker crust recipe, no need to bake the crust)
- 16 oz (450 g) cream cheese, softened to room temperature (use brick-style cream cheese, not the spreadable kind sold in tubs)
- 1 cup (150 g) powdered sugar
- 1 teaspoon vanilla extract
- 2 teaspoons lemon juice
- ⅓ cup (75 g) sour cream
- 1 ½ cup (355 ml) heavy cream
Whipped Cream
- ¾ cup (177 ml) heavy cream
- ¼ cup (40 g) powdered sugar
- ½ teaspoon vanilla extract
Instructions
- Prepare graham cracker crust in a 9" springform pan according to recipe instructions. Set aside (room temperature or refrigerator, either is fine) while you make the filling.
Cheesecake filling
- Place cream cheese in a large bowl and, using an electric mixer, beat until smooth and creamy.16 oz (450 g) cream cheese
- Add powdered sugar and stir until combined.1 cup (150 g) powdered sugar
- Stir in vanilla extract and lemon juice, pausing to scrape down the sides and bottom of the bowl.1 teaspoon vanilla extract, 2 teaspoons lemon juice
- Add sour cream and stir well.⅓ cup (75 g) sour cream
- Pour heavy cream into a separate, medium-sized bowl (preferably a chilled metal bowl). Whisk on high speed until stiff peaks are achieved (mixture will be thick, fluffy, voluminous and will hold a peak).1 ½ cup (355 ml) heavy cream
- Using a spatula, gently fold the whipped cream into cream cheese mixture until smooth and well-combined and mixture is uniform.
- Spread cheesecake mixture evenly into prepared graham cracker crust (be sure to fill the crust completely, if there is any gapping between the filling and the crust it will crumble when cut into).1 graham cracker crust
- Cover and refrigerate at least 4 hours or overnight. Top with whipped cream topping before serving (see note).
Whipped Cream Topping
- Combine heavy cream, powdered sugar, and vanilla extract in a medium-sized mixing bowl. Use an electric mixer to beat until thick, fluffy, and stiff peaks form. Spread or pipe over cheesecake before serving (or after the cheesecake has had time to set). I use an Ateco 846 for piping the swirls in the photos and video.¾ cup (177 ml) heavy cream, ¼ cup (40 g) powdered sugar, ½ teaspoon vanilla extract
Notes
Whipped cream topping
I prefer to add the whipped cream before serving but this topping does maintain its shape and can be prepared and added to the cheesecake at any point after at least 2 hours of chilling.Storing
I store this cheesecake right in the springform pan, covered with foil or plastic wrap (remove the collar for slicing and serving and replace for storing). Will keep in the refrigerator for up to 5 days. You may also freeze for up to 3 months (it’s actually quite good frozen!).Nutrition
Nutrition information is automatically calculated, so should only be used as an approximation.
Like this? Leave a comment below!
This recipe was originally posted 06/05/2017, the recipe remains the same but post has been updated to be more helpful and new photos and a new video have been added.


This is my 6 or 7th time making this cake. It’s so darn delicious. I think I like it better than the original version. Every time I make it people love it. Thank you for posting and sharing this recipe.