My homemade Oreo cookie recipe makes crisp, black cocoa-infused cookies sandwiched around a creamy vanilla filling. These cookies are SO nostalgic and as close to the original as you can get! Recipe includes a how-to video!
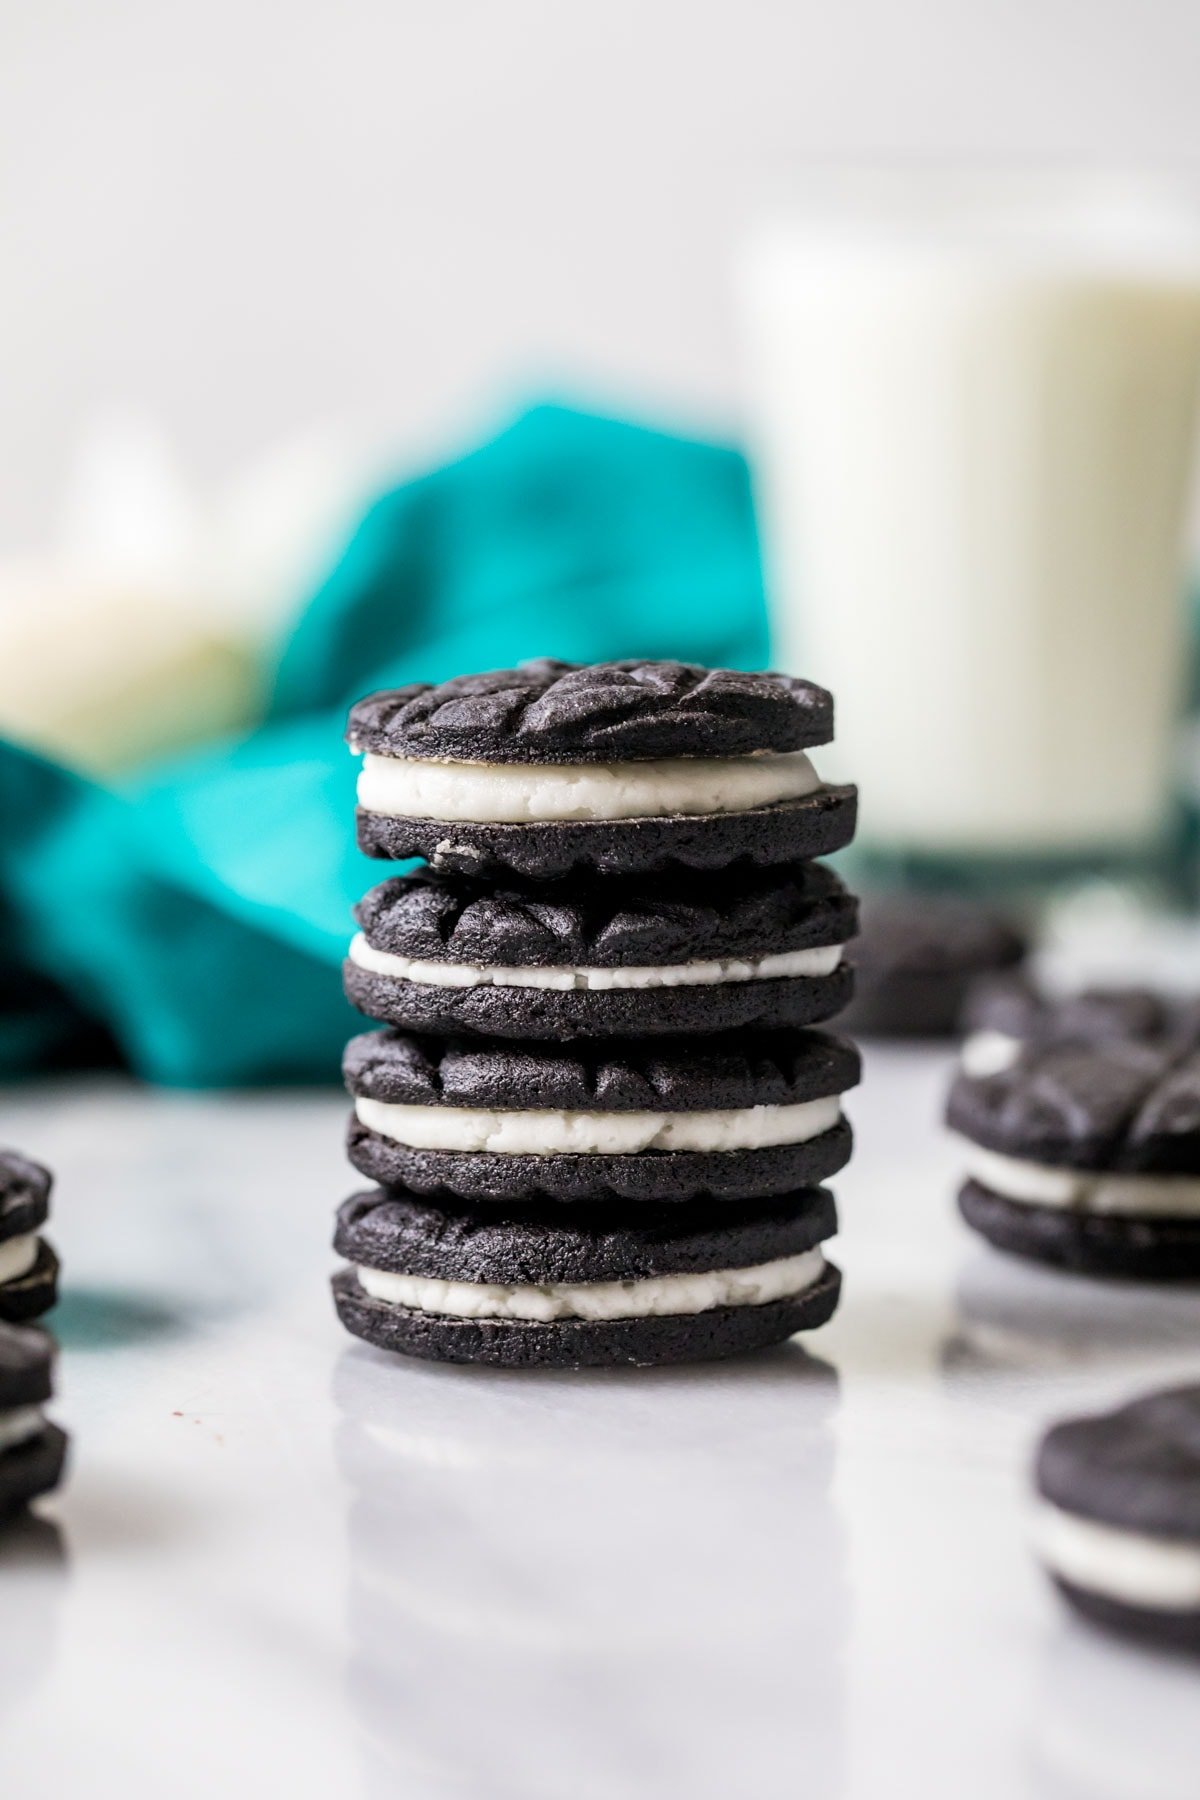
Oreo Cookies From Scratch
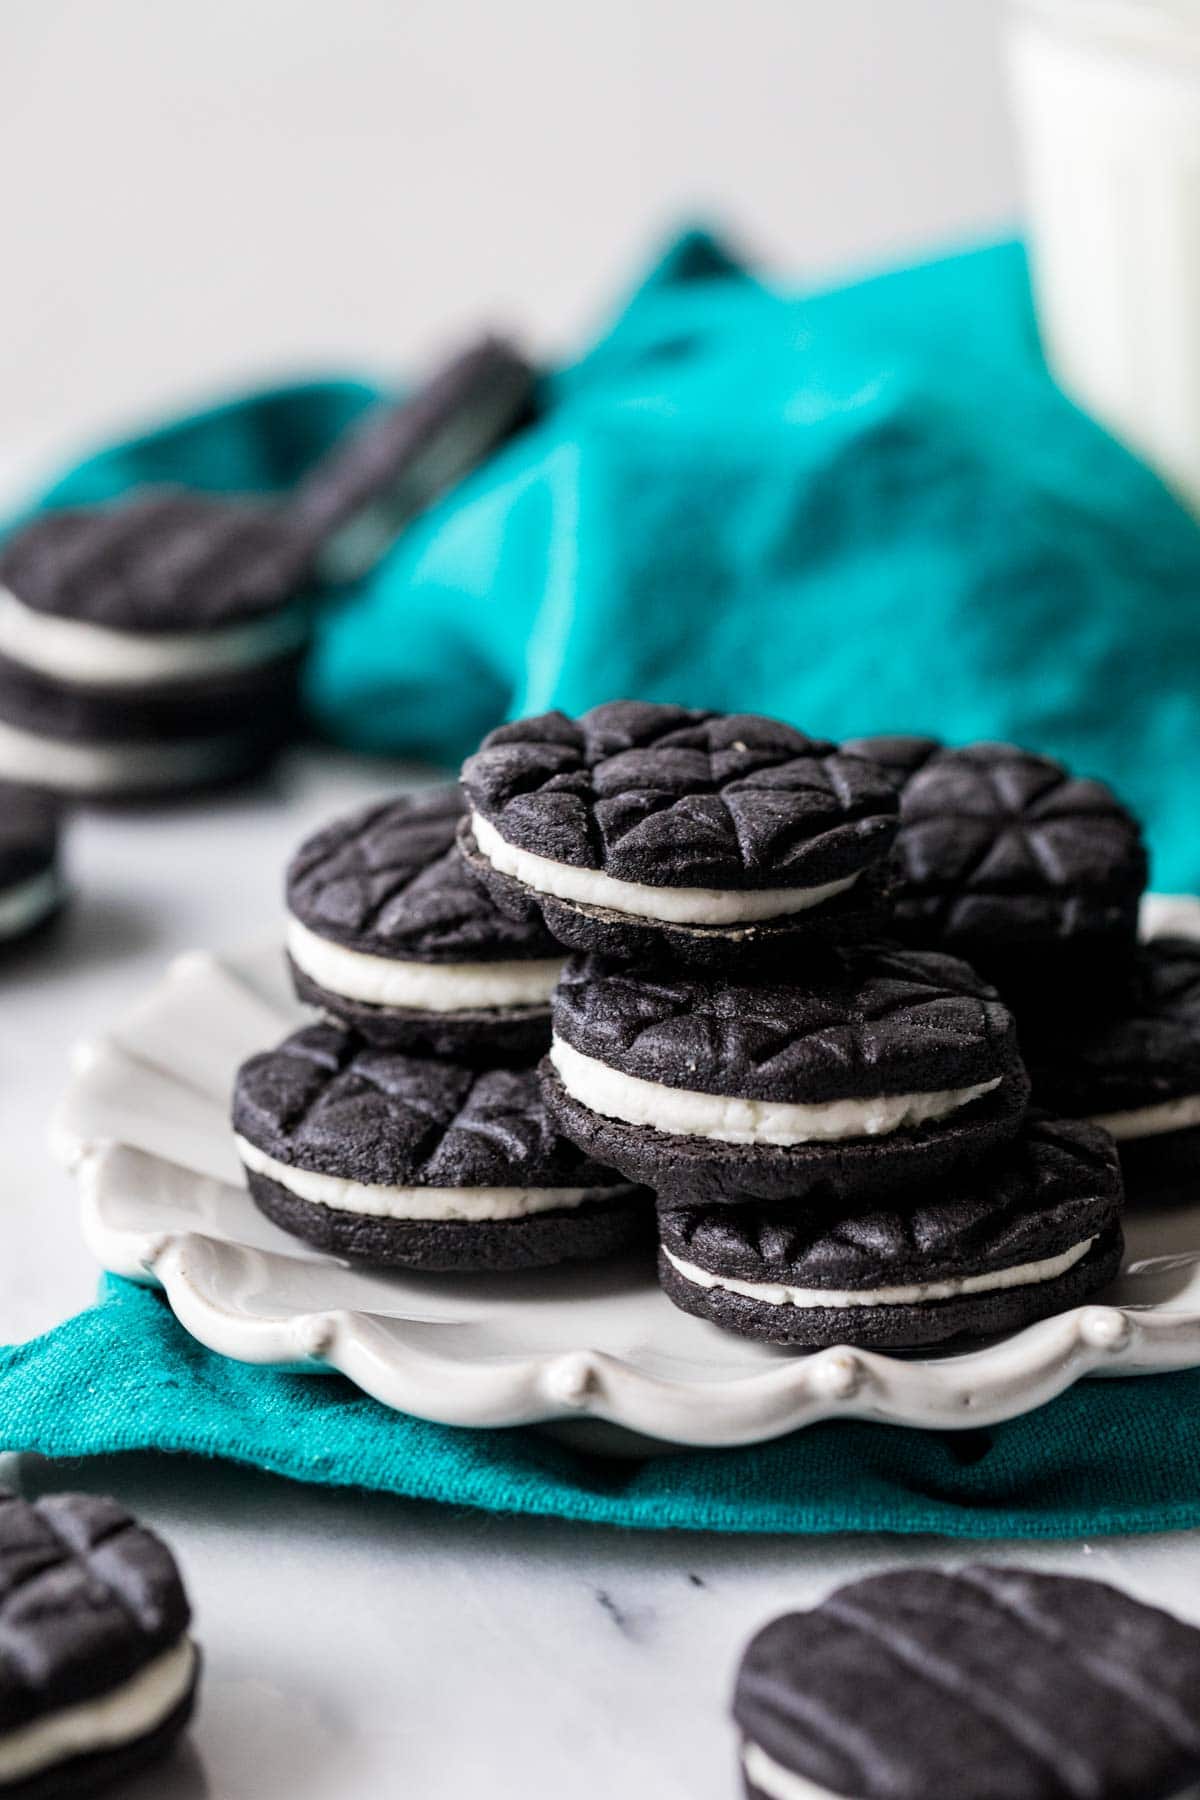
This Oreo cookie recipe is my homemade take on the classic, super nostalgic treat. I wanted thin, crisp, black cookie shells with a creamy white filling; something that completely evoked the memory of Oreo cookies. My recipe is spot on (if I do say so myself🤓)–these cookies taste like my childhood!
I feel like it’s important to mention that my recipe makes homemade Oreos that are CRISP! So many recipes mimic the flavor, but don’t quite achieve the texture of the real thing. To me, Oreo cookies should not have soft “shells” like whoopie pies; they need to be perfectly crisp. Mine are just that, and they break easily beneath your teeth, just like the real thing! The filling is also carefully crafted to be perfectly sweet, creamy and just the right consistency. I love it.
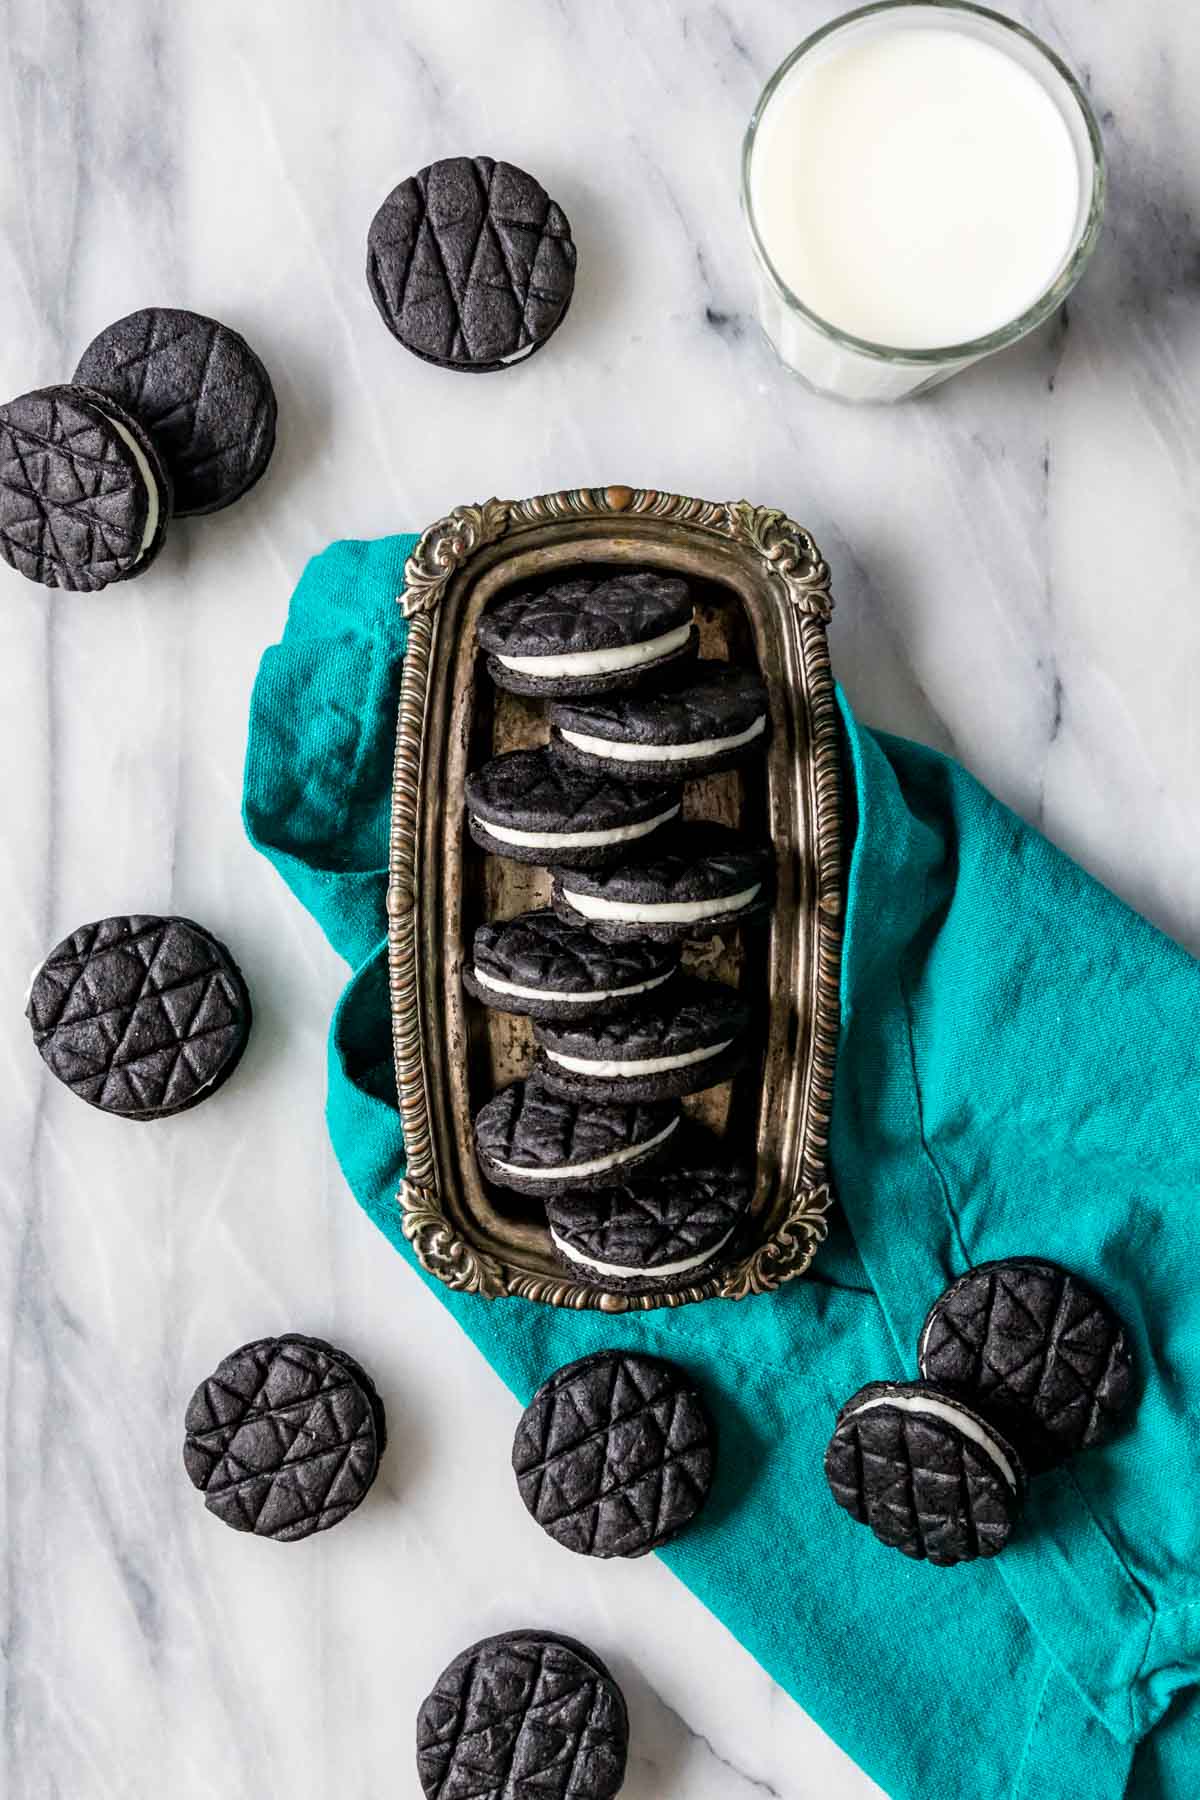
What You’ll Love About these Homemade Oreos
- Tastes like the real thing — but better! You’ll recognize the taste and texture of the store-bought classic, but these are next level in flavor thanks to our ingredients.
- Has the right texture I feel like Oreos ought to be textured, even the homemade kind. I had to get creative with my method because I don’t have a textured rolling pin (I’ve had my eye on this embossed one but haven’t pulled the trigger on it yet), but you can definitely use one (or leave yours smooth!)
- CRISP and snappy. They break perfectly beneath your teeth, just like a real Oreo ought to!
- Authentic black & white color. You won’t get the deep black color for the cookie shells by using traditional cocoa, so I’ve included notes on where to buy black cocoa, instead (it’s inexpensive and available on Amazon).
What You Need
For the Cookies
Homemade Oreos are surprisingly simple to make. While there aren’t too many ingredients in my Oreo cookie recipe, I’d like to go over a few before we get started.
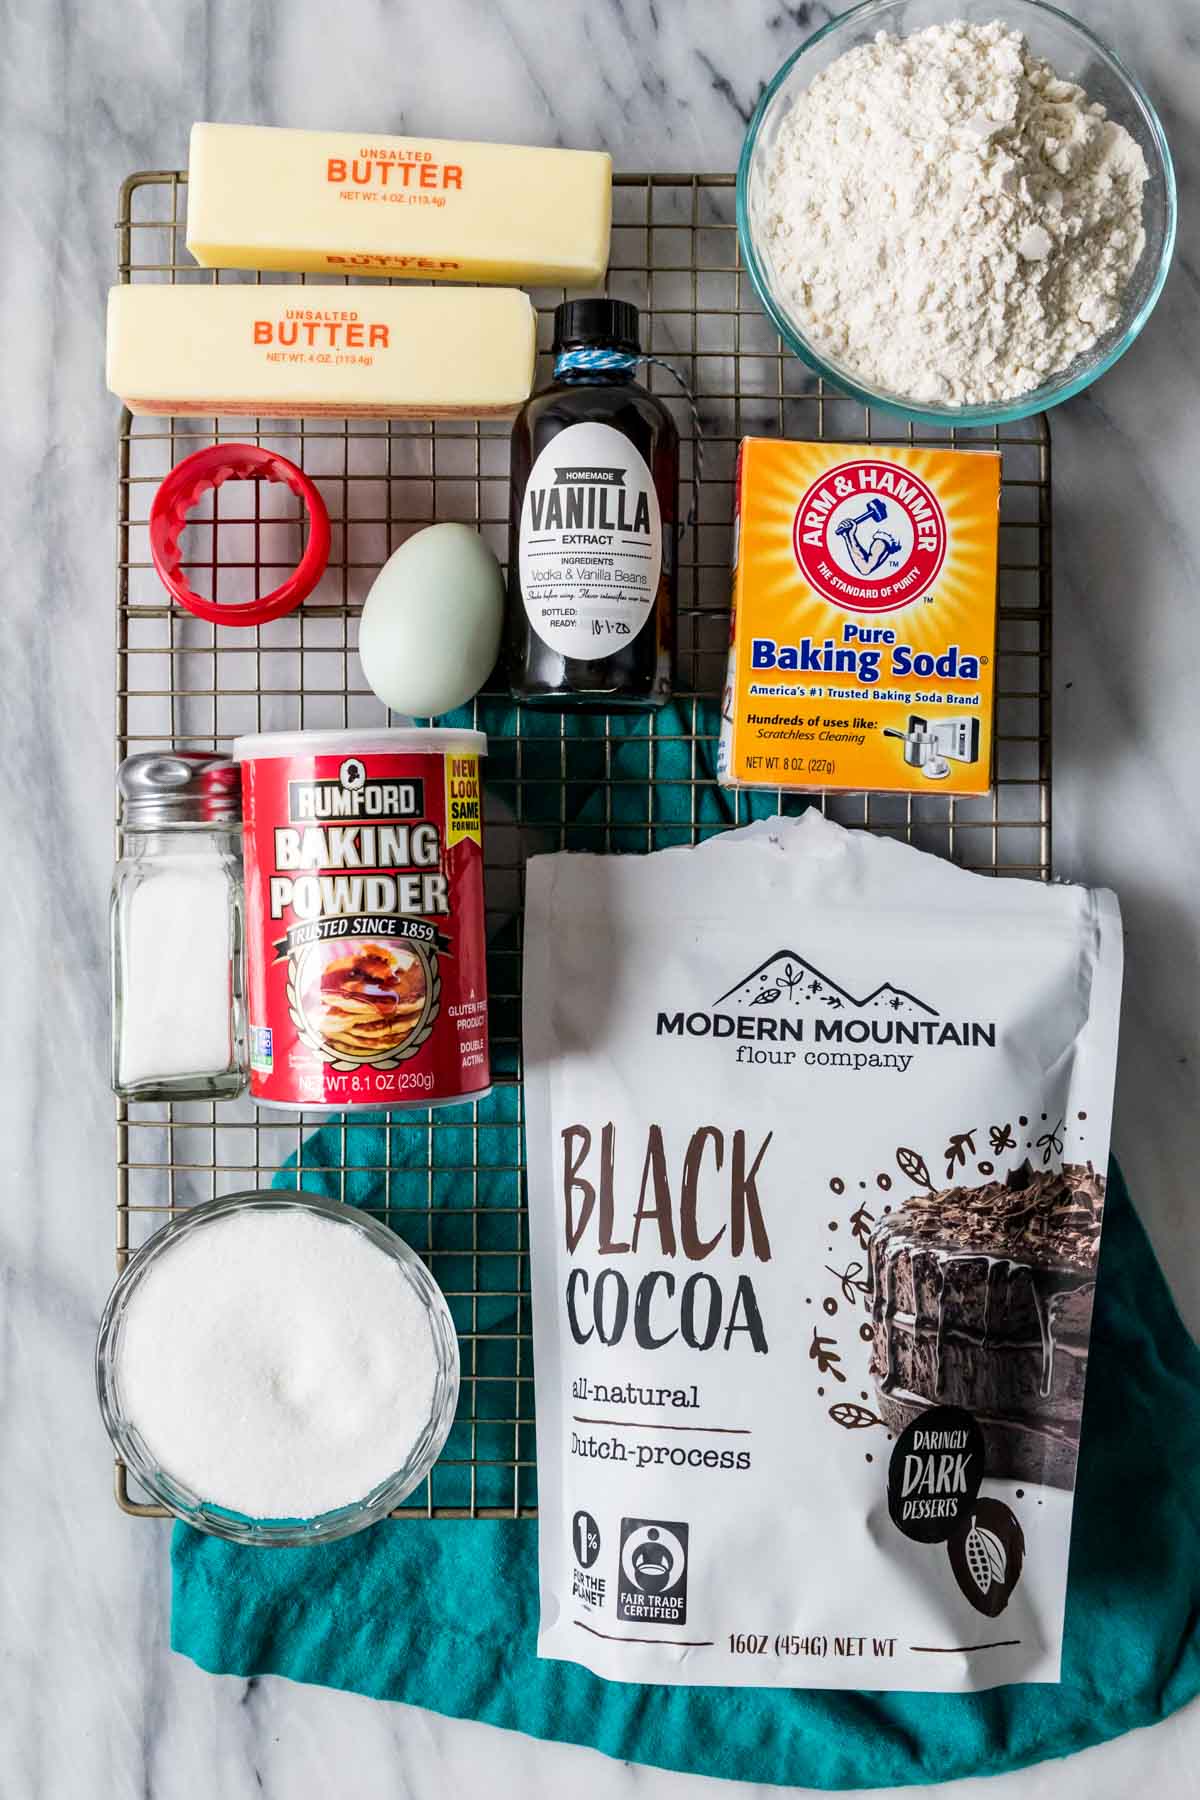
- Black cocoa. I talked briefly about black cocoa in my natural vs. dutch process cocoa post, but you can read more about it here. This type of cocoa powder is critical for proper Oreo flavor and color. I include notes on substituting other types of cocoa in the recipe notes below, but just know that it really won’t be the same cookie or have that classic taste without black cocoa. I buy my black cocoa here on Amazon (affiliate).
- Butter. I like to use unsalted butter, but if you only have salted butter on hand, you can reduce the salt in the cookies to just ¼ teaspoon. Make sure your butter is softened before beginning.
- Baking soda. This helps make the cookies a bit more brittle, which helps them snap perfectly under your teeth. We’ll also add some baking powder, which is not the same thing as baking soda! You can read more about the differences between the two in my baking powder vs. baking soda post.
- Vanilla. I use two types of vanilla in this Oreo cookie recipe; natural vanilla in the cookies themselves, and clear vanilla for the filling. More on this below.
For the Filling
We need just 5 ingredients for the filling, one of which might surprise you: shortening! I typically don’t like to bake with shortening, but I found it necessary here. Keep reading to find out why, and your options for substitutes.
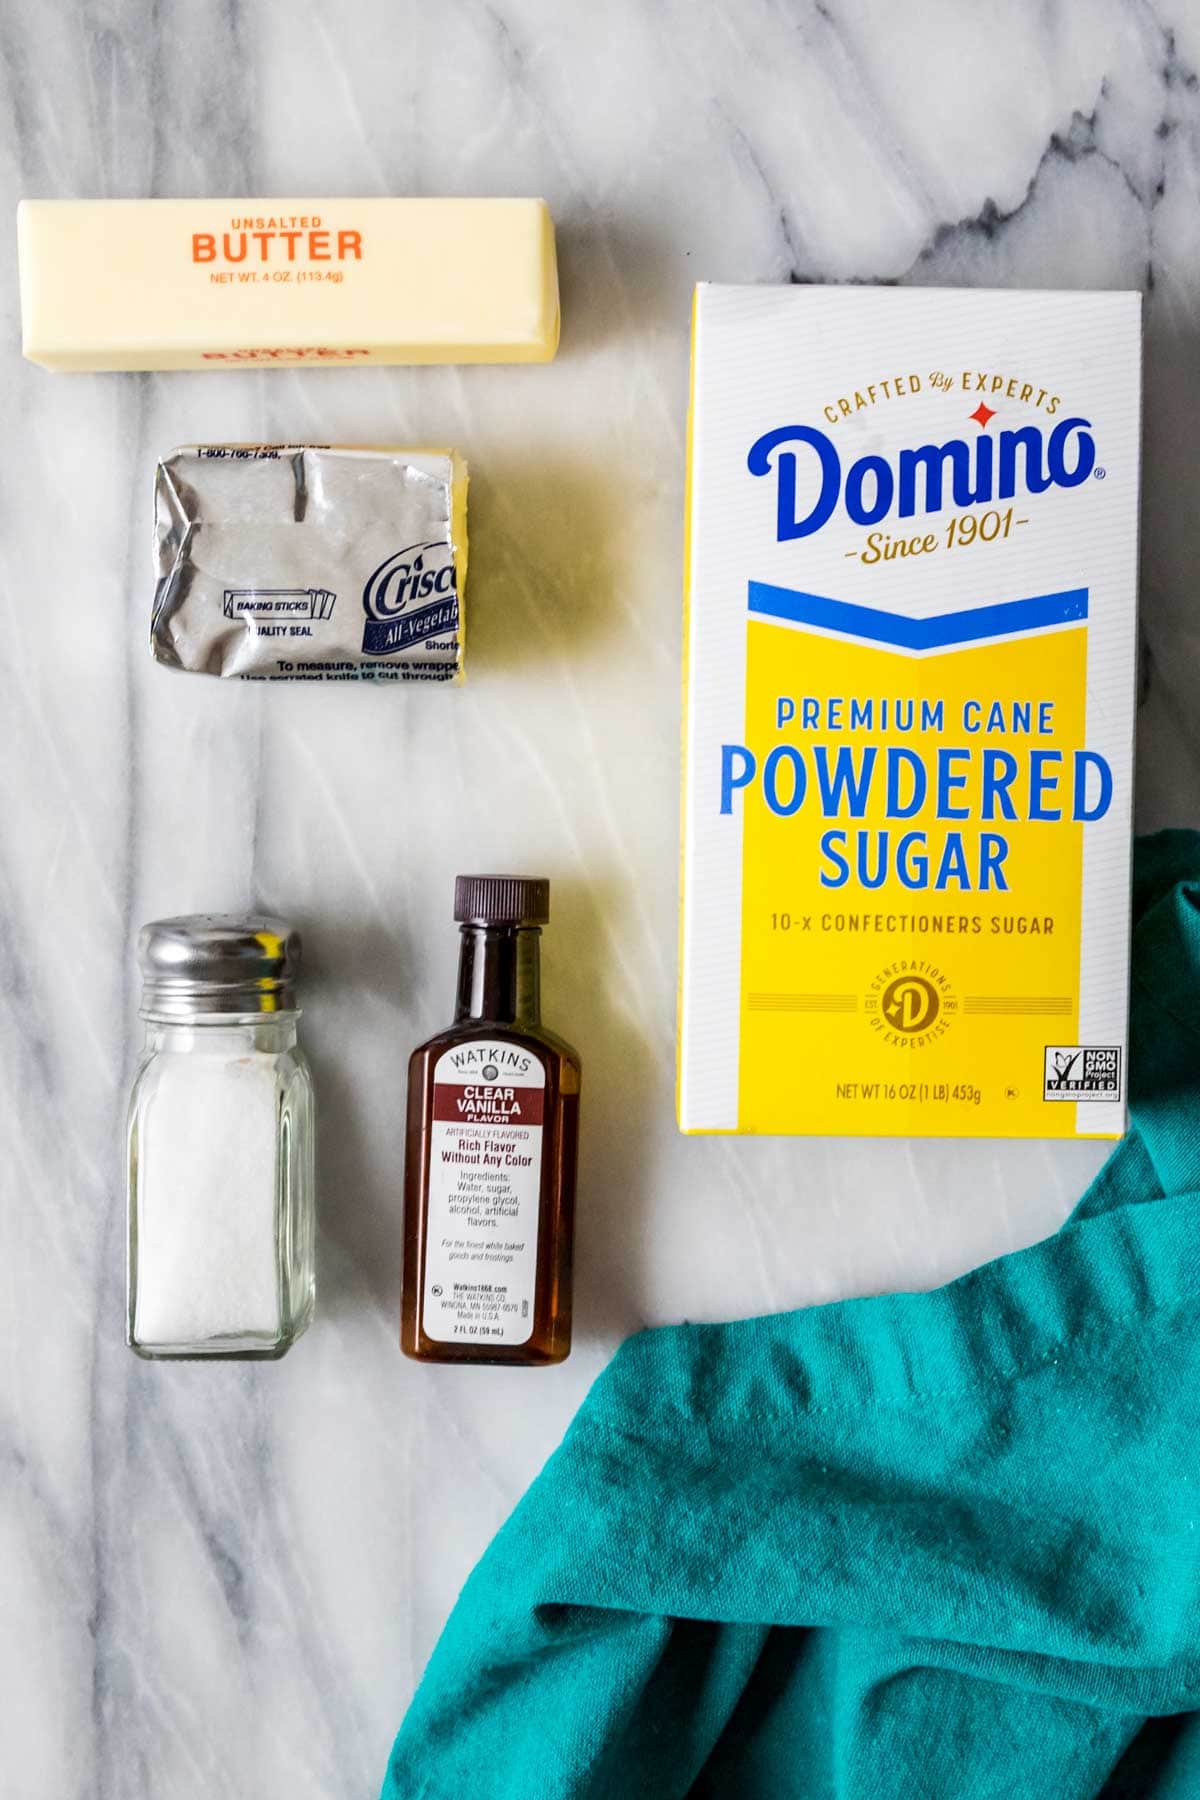
- Butter. Once again, make sure your butter is softened before getting started. I use unsalted butter here too and add additional salt myself.
- Shortening. I found at least some shortening was necessary to keep the filling from being too rich. Real Oreos use shortening in their filling too, so it makes sense to use it here for the most authentic results. Despite this, many of you won’t want to use shortening, and, honestly, I get it! You can just substitute the shortening with an equal amount of butter, but just know it won’t be as true to the original and will be quite rich.
- Powdered sugar. Much like measuring flour, it can be easy to over-measure powdered sugar. Make sure you know how to measure properly to avoid a frosting that is too thick or too thin.
- Clear vanilla. This keeps the filling pure white and also gives it that classic Oreo filling flavor. You can use regular vanilla if that’s all you have on hand, but the clear vanilla has a more artificial taste like the real thing (is that a little backwards for you to read, too? 🙃).
SAM’S TIP: If you want even BETTER tasting (less authentic, but better) homemade Oreos, substitute the shortening in the filling for softened (full-fat) cream cheese. Yum!
Remember, this is just an overview of the ingredients I used and why. For the full recipe please scroll down to the bottom of the post!
How to Make Homemade Oreo Cookies
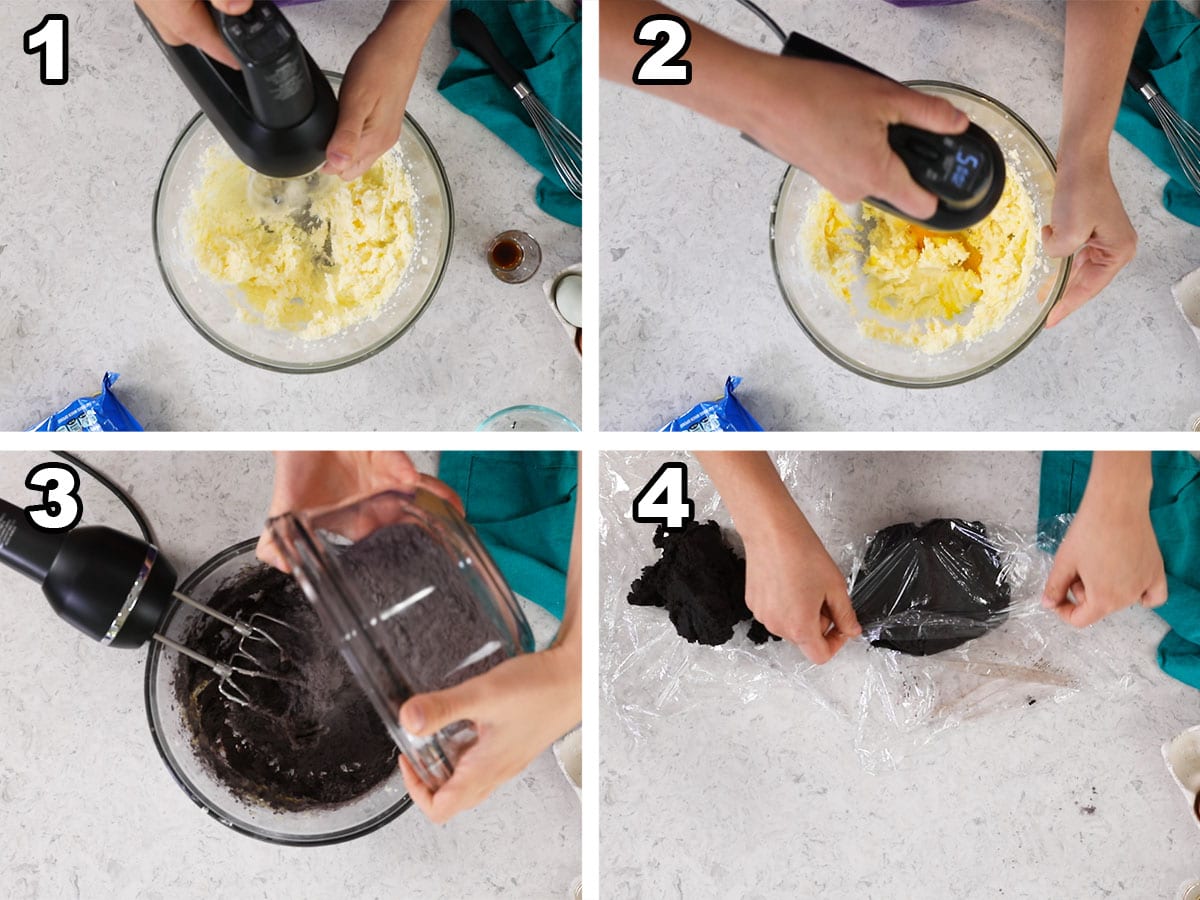
- Cream the butter and sugar until well combined.
- Add the egg and vanilla and stir well.
- Combine the dry ingredients in a separate bowl, then gradually add them to the wet ingredients and stir until combined.
- Form the dough into two discs, then wrap in plastic. Place in the fridge to chill for at least one hour.
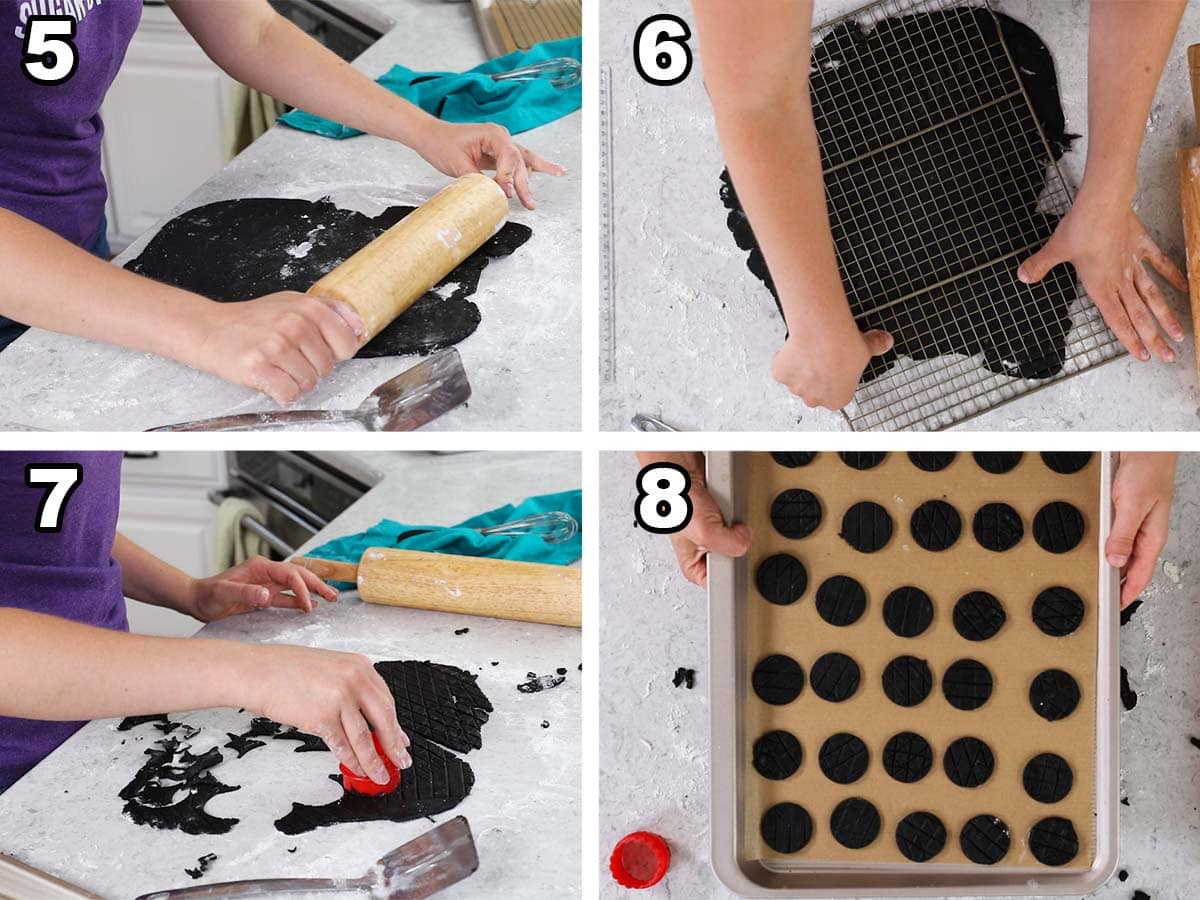
- Unwrap one disc of dough and roll it to 1/16-⅛″ thick on a lightly floured surface. Periodically use a spatula to scrape and loosen the dough as you roll to prevent it from sticking.
- If you’d like to add a pattern to your cookies, use an embossed rolling pin or press an upside down grid-patterned cooling rack into your dough to create a diamond shape. You could also skip this step for texture-free cookies.
- Cut out the cookies with a small circle cookie cutter (I use 1 ¾”). Combine any scraps and re-roll after cutting. Repeat with the second disc of dough.
- Place the cookies on a parchment lined baking sheet, spacing 1″ apart. Bake for 8-10 minutes at 450F.
SAM’S TIP: I personally prefer my Oreo cookies to be a bit on the thinner side, so I roll them closer to 1/16″. You’ll get more cookies this way, but you will likely need to shave a minute off the bake time too.
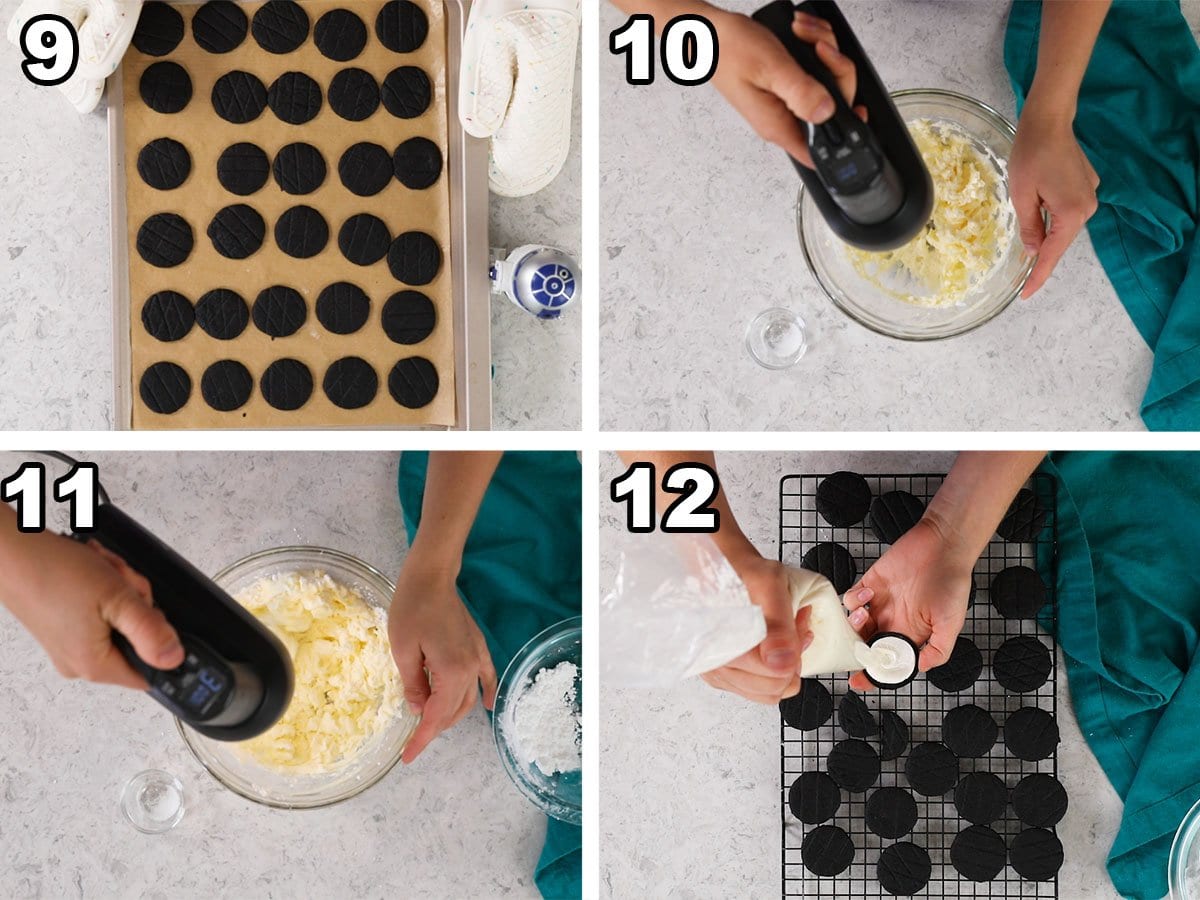
- Let the cookies cool completely before filling and sandwiching.
- Make the filling by creaming together the butter and shortening.
- Gradually add the powdered sugar, then add the vanilla and salt.
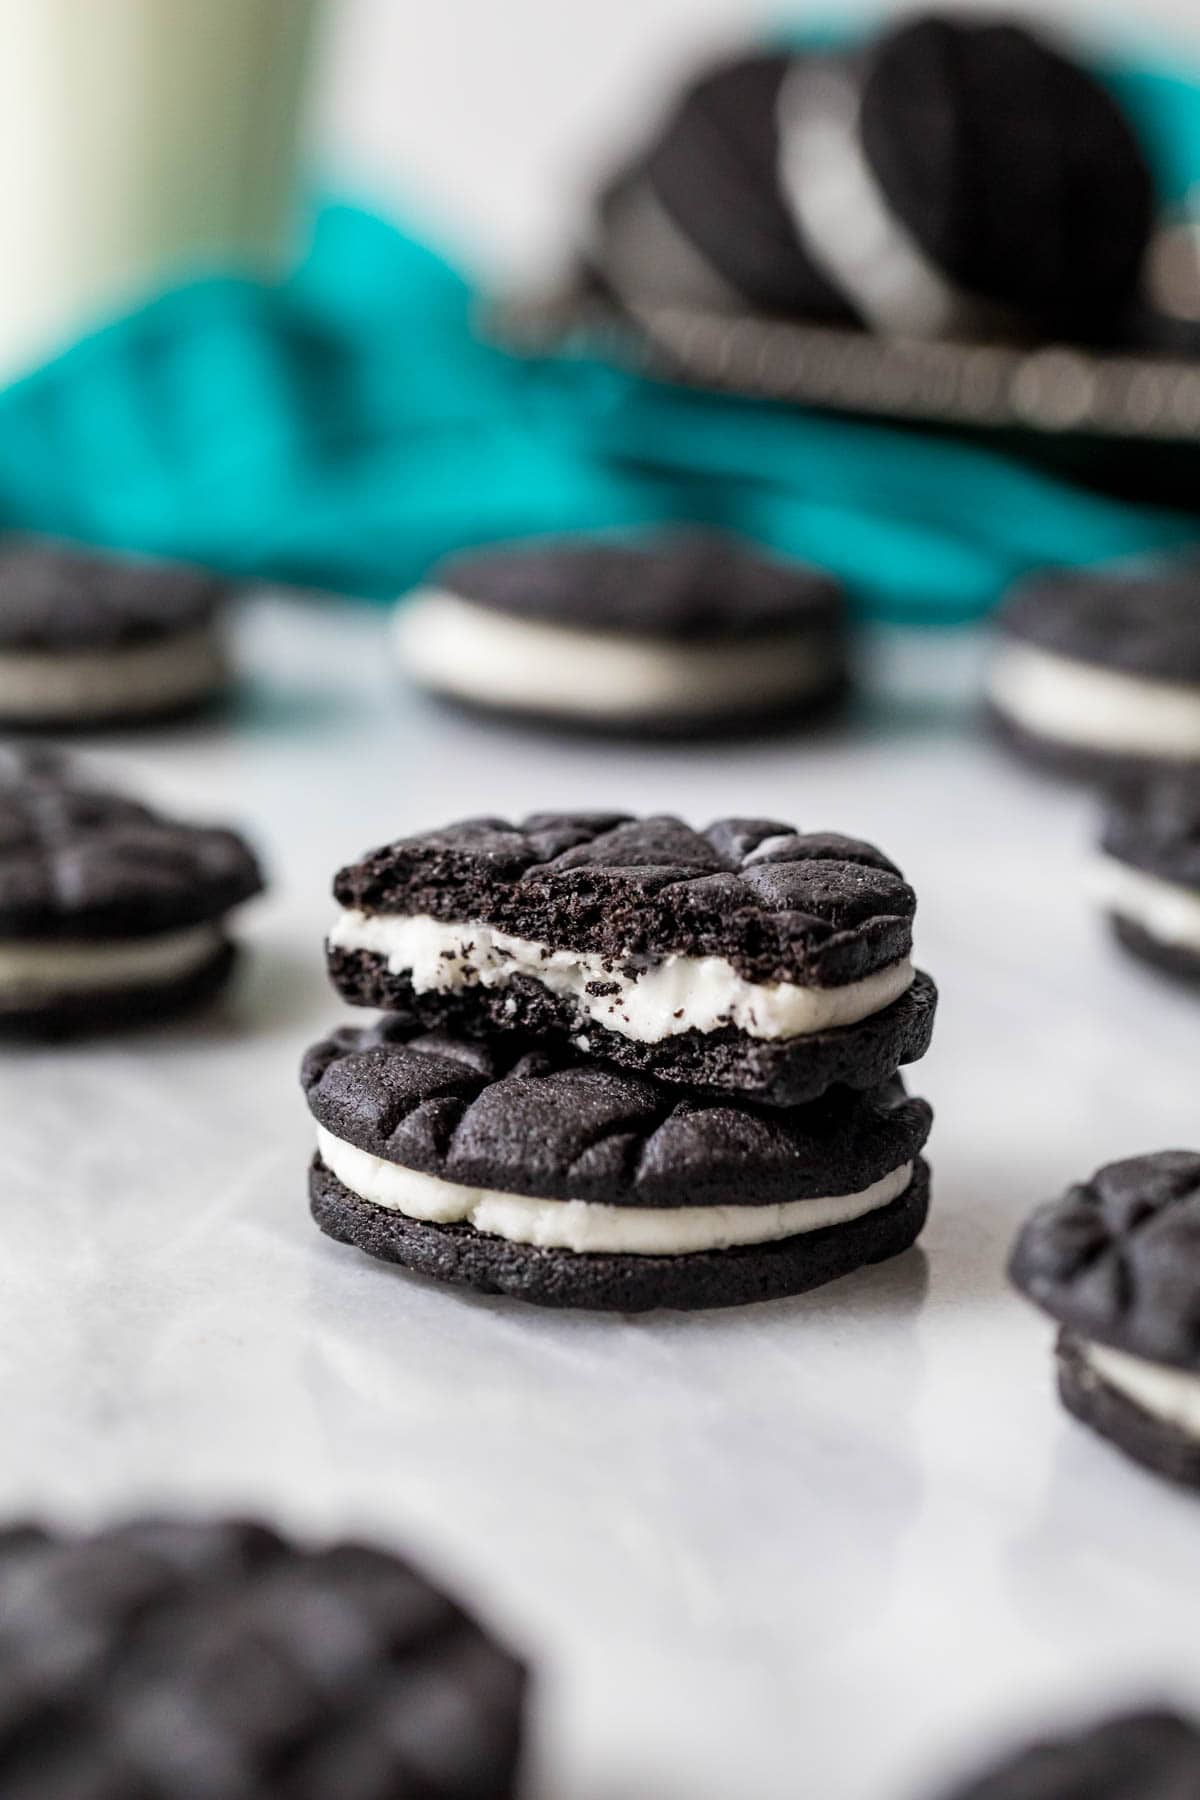
- Pipe or spread the filling onto the flat side of one cookie, then top with the flat side of another. Repeat with the remaining cookies, and enjoy!
Frequently Asked Questions
Sure! You can double the frosting recipe if you’d like to make your homemade Oreos extra indulgent. Note that this frosting is a bit less stiff than the store-bought kind, so it might squish out when you bite into your cookies if you double stuff them.
Yes! My peanut butter frosting, strawberry frosting, or raspberry buttercream, caramel buttercream, and chocolate frosting would all work nicely in this Oreo cookie recipe. Ooh, or make them cookie dough filled! If you’d like to make mint chocolate Oreos, try using the icing in my peppermint bark whoopie pies.
Store them at room temperature and enjoyed within 5 days. Unfortunately the homemade version doesn’t last near as long as the store-bought kind (no artificial preservatives here), but that’s okay, because these never last long in my house anyway!
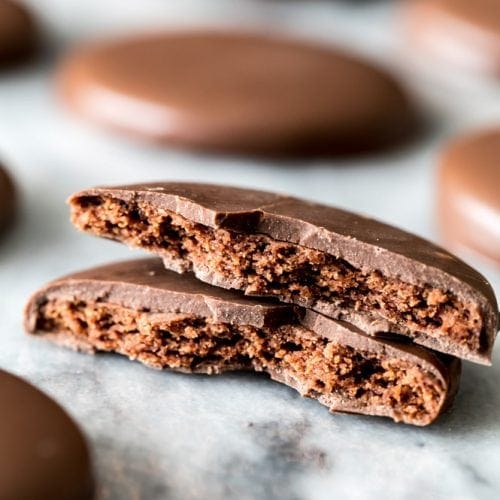
I’m hoping to test these cookies to see how they do in other recipes, like my Oreo pie or Oreo cheesecake, will keep you posted on how it turns out!
Enjoy!
Let’s bake together! I’ll be walking you through all the steps in my written recipe and video below! If you try this recipe, be sure to tag me on Instagram, and you can also find me on YouTube and Facebook
Homemade Oreo Cookie Recipe
Ingredients
For the Cookie Shells:
- 1 cup (226 g) unsalted butter, softened
- 1 cup (200 g) granulated sugar
- 1 large egg room temperature preferred
- ¾ teaspoon vanilla extract
- 1 ¾ cups (220 g) all-purpose flour
- ⅔ cups (67 g) black cocoa powder
- ½ teaspoon baking powder
- ¼ teaspoon baking soda
- ¾ teaspoon salt
For the Filling:
- ½ cup (113 g) unsalted butter softened
- ¼ cup (45 g) vegetable shortening see note!
- 2 cups (250 g) powdered sugar
- ½ teaspoon clear vanilla extract
- ⅛ teaspoon salt
Recommended Equipment
Instructions
For cookie shells
- In a large bowl cream together the butter and sugar using an electric mixer (or use a stand mixer) until well combined.1 cup (226 g) unsalted butter, softened, 1 cup (200 g) granulated sugar
- Add the egg and vanilla to the butter mixture and stir well.1 large egg, ¾ teaspoon vanilla extract
- In a separate medium-sized bowl, whisk together the flour, black cocoa powder, baking powder, baking soda, and salt.1 ¾ cups (220 g) all-purpose flour, ⅔ cups (67 g) black cocoa powder, ½ teaspoon baking powder, ¼ teaspoon baking soda, ¾ teaspoon salt
- Gradually add the dry ingredients to the wet ingredients, mixing until well combined.
- Divide the dough into two equal parts, form each into a disk about 1″ thick, and wrap in plastic wrap. Chill for at least 1 hour before proceeding.
- Preheat the oven to 350°F (175°C) and line cookie sheets with parchment paper. Set aside.
- Working with one disc of dough at at time, unwrap dough and transfer to a clean, lightly floured surface. Lightly sprinkle flour over the dough and use a rolling pin to roll the dough to about ⅛-1/16″ (0.2cm) thickness. To help keep the dough from sticking to the counter, periodically use a spatula to scrape beneath the dough and loosen it from the counter.
- To make the pattern shown on my cookies: take a clean, grid-patterned cooling rack and flip it upside down. Gently press into the cookie dough, then gently lift, rotate the cooling rack, and press again before gently lifting and removing. Alternatively, use an embossed rolling pin or skip the design altogether.
- Usea small round cookie cutter (I use 1 ¾” (4.5cm) circles) to cut out circles and transfer to baking sheet, spacing 1” (2.5cm) apart. Once you’ve made as many cuts as possible, be sure to recombine the dough scraps, roll out again, and cut out more cookies to maximize the dough yield.
- Bake the cookies in the preheated oven for 8-10 minutes. Allow them to cool completely before filling.
For the Filling:
- In a medium-sized bowl, cream together the softened unsalted butter and shortening using an electric mixer.½ cup (113 g) unsalted butter, ¼ cup (45 g) vegetable shortening
- Gradually add the powdered sugar, stirring until well-combined.2 cups (250 g) powdered sugar
- Stir in vanilla extract and salt.½ teaspoon clear vanilla extract, ⅛ teaspoon salt
To Assemble:
- Pipe or spread a thin layer of the filling on the flat side of a cooled cookie, and then sandwich with another cookie, flat side down.
- Repeat with the remaining cookies and filling. Enjoy!
Notes
Cocoa
I recommend black cocoa for best results. This is the black cocoa that I use. You may substitute Dutch process cocoa or even natural cocoa, but the color and taste will not be the same.Shortening
I found shortening was necessary to give these cookies the proper taste and mouthfeel. However, if you simply won’t use shortening, substitute with an equal amount of butter. Note the filling will be richer, sweeter, and less authentic tasting.Vanilla
Clear vanilla is recommended for the filling to keep it pure white and to contribute to the more artificial flavor of the store-bought Oreo cookie. Feel free to substitute with regular vanilla extract.Storing
Store in an airtight container at room temperature for up to 5 days.Nutrition
Nutritional information is based on third-party calculations and should be considered an estimate only. Actual nutritional content will vary based upon brands used, measuring methods, cooking method, portion sizes, and more.






Krystle
It was a lot of work rolling the dough to where it got sticky even with scraping it up. I do have one question. For the filling, when I made it the filling would spread out whenever you took a bite. What causes that i used avocado shortening and butter and for the sugar I just blended up sugar until it was a powder. Would the blended sugar make the filling spread out?
Emily @ Sugar Spun Run
The sugar could definitely be the issue here; confectioner’s sugar typically has cornstarch added to it, which acts as a thickener. You may have also filled your cookies just a bit more than we did, but we’d be willing to bet the sugar was the culprit.
Krystle
That makes sense I’ll try adding cornstarch next time. Also is there a way to half the recipe because I don’t want to eat 40 cookies in a weekend 😅😅
Emily @ Sugar Spun Run
Some of the measurements could get tricky (particularly the egg!), but it’s worth a try!
Sophia
So good! Thank you for this recipe.
Sam Merritt
I’m so glad you enjoyed it, Sophia! 🙂
Decker
I made Oreo cookies a few years ago using this same recipe. I love Oreos cookies and every year they come out with a new flavor , I like to try them when they come out but some don’t appeal to my taste. The best one I think was ever made was the icecream berry blast (2011). As some aren’t available in some area and are only limited to some areas. I perfer the seasonal ones over the regular Oreos as they have a little more filling the the regular ones and less then the Double stuff Oreos. Orange and chocolate make a great combination but still never seen it available. As soon as Hershey Restocks the Dark Cocoa again this will be my next cookie! The blueberry pie sounds so good but was never introduced I our area, that would be another one I would love to make. This is the best recipe for Oreos and yes I do use the Shortening in my cookies. 🥰
Sam Merritt
I’m so glad you enjoy them so much, Decker! 🙂
Robin
These are so good. I didn’t make the creme, only the chocolate wafers. They are delicious, chocolatey and crisp. My tip is if you don’t care about having a design on top, roll the dough into two LOGS, and after you chill them you can slice and bake the cookies. This was much easier for me than rolling out. Great recipe!
Sam Merritt
I’m so glad you enjoyed them so much, Robin! 🙂
Damien
Do you think the cookies would work to make a crumble or crust for a dirt pie dessert? My husband developed a soy allergy so he can’t have Oreos but misses them so I’d love to make him a dirt pie again using these if possible.
Sam Merritt
Yes! I actually just made a from-scratch “Dirt cake” very recently and used the cookies to make the (no-bake) crust. It’s a bit crumbly, but for a dirt type dessert it’s not really a big deal in my opinion, even if it’s a bit messier.
Whitney
Delicious and so close to store bought. I used tallow instead of vegetable shortening in the filling and it tastes amazing and kept with the texture of the store bought.
Emily @ Sugar Spun Run
We are so happy you enjoyed them, Whitney! 😊
Catina
❤️❤️❤️❤️❤️❤️💯👌👌
Misty Richards
I’m making these in order to make my family oreo truffles and this recipe is the full truth! Thank you so very much! I can’t wait to see their faces on Christmas morning! Merry Christmas!
Sam
I hope everyone loves them, Misty! 🙂
Mary B Oshiro
about how many cookies does this recipe yield?
Sam
40 🙂
Karole Johnson
woah! simple and delicious! I did change out the powdered sugar for a monk fruit / erythritol substitute and it turned out great!
Sam
I’m so glad you enjoyed them so much, Karole! Thank you for the feedback using the sugar substitute. 🙂
Jessica Draughn
Do you think this portion size would work for a 9 inch “cake”? My son has requested a giant Oreo cookie/cake for his birthday. I’ve made them for the last few birthdays but was mostly winging it and using actual Oreos to do it. Just wasn’t sure if this would be enough to make one giant Oreo or needed any adjustments. Thank you!
Sam
Hi Jessica! That sounds really cool! I haven’t tried it so I can’t say for sure how it would work. If you do try it, I would bake it on a lower temperature and it will need to bake longer. Let me know how it goes if you do try it! 🙂