
Homemade Garlic Knots Recipe
This post may contain affiliate links. As an Amazon Associate I earn from qualifying purchases. Please read my disclosure policy.
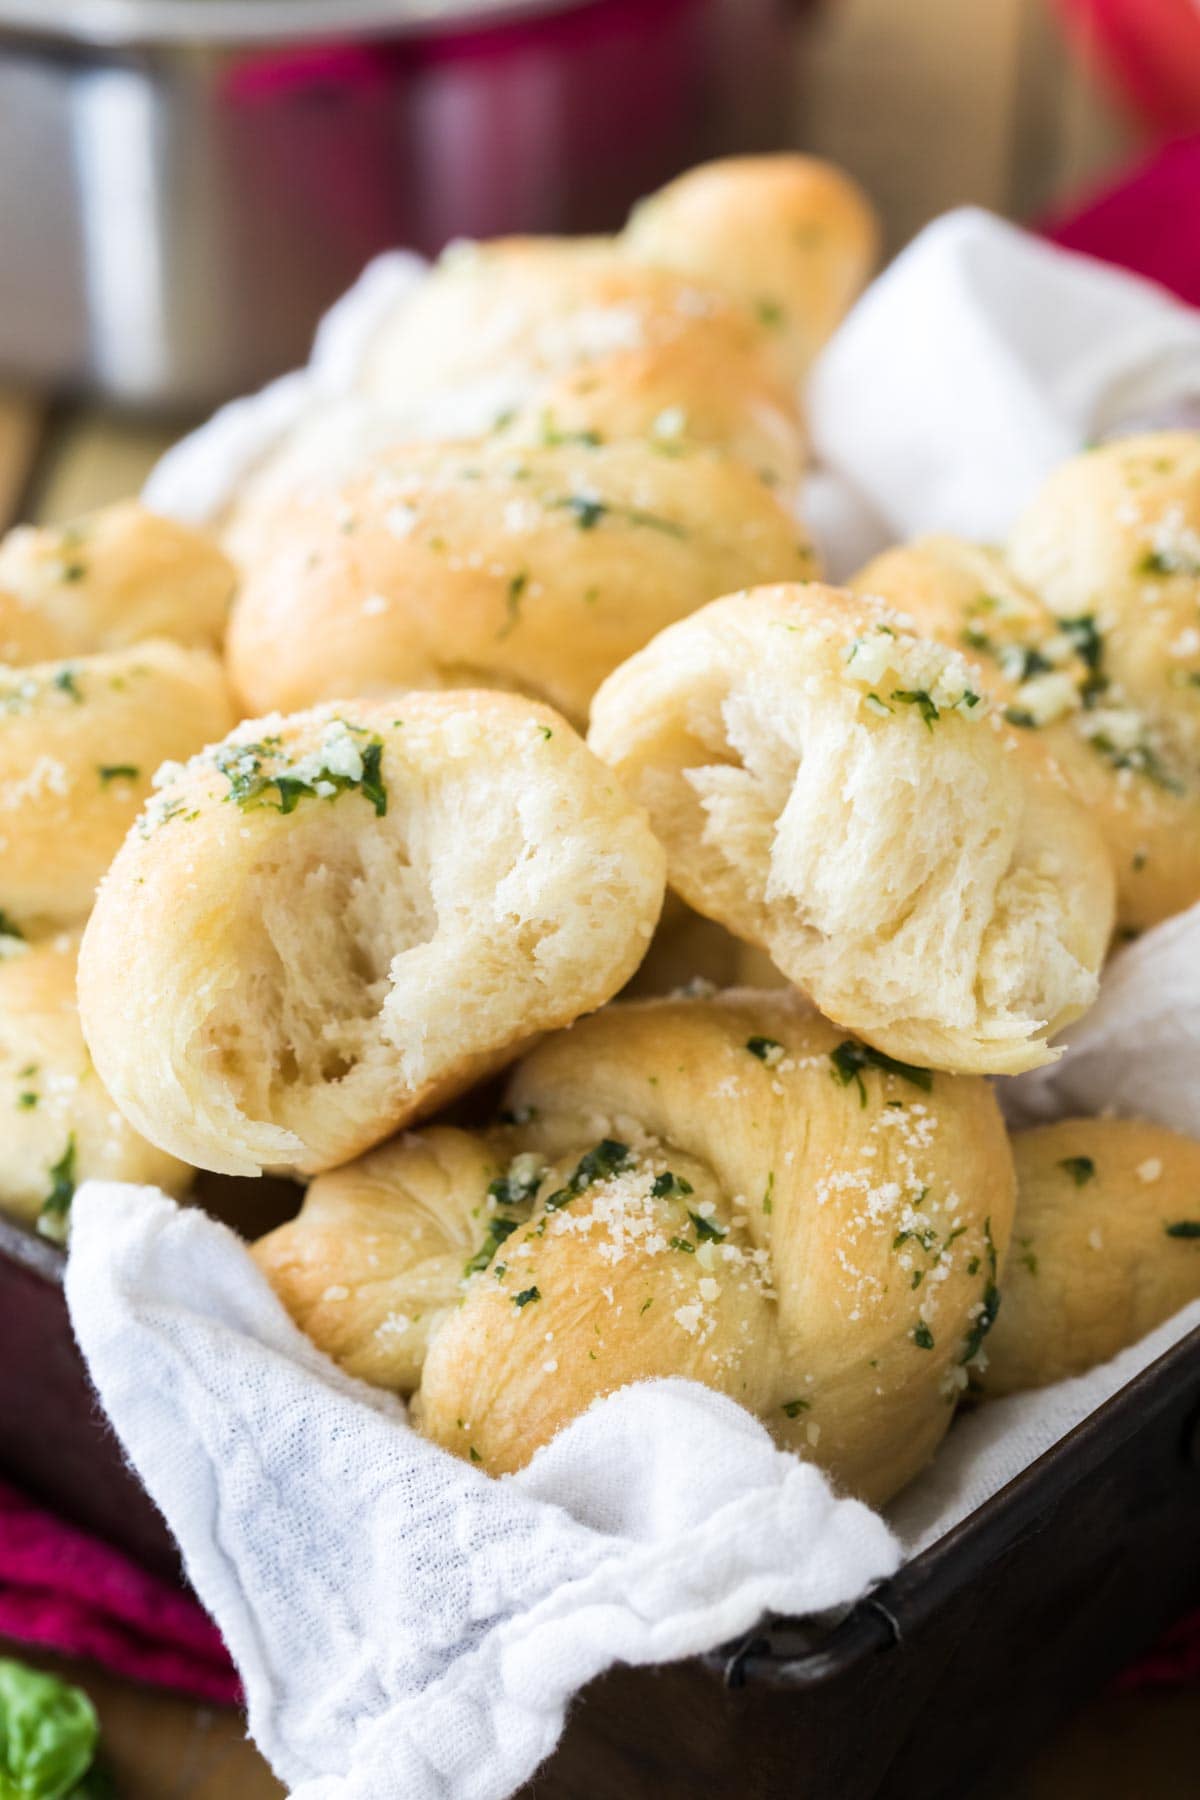
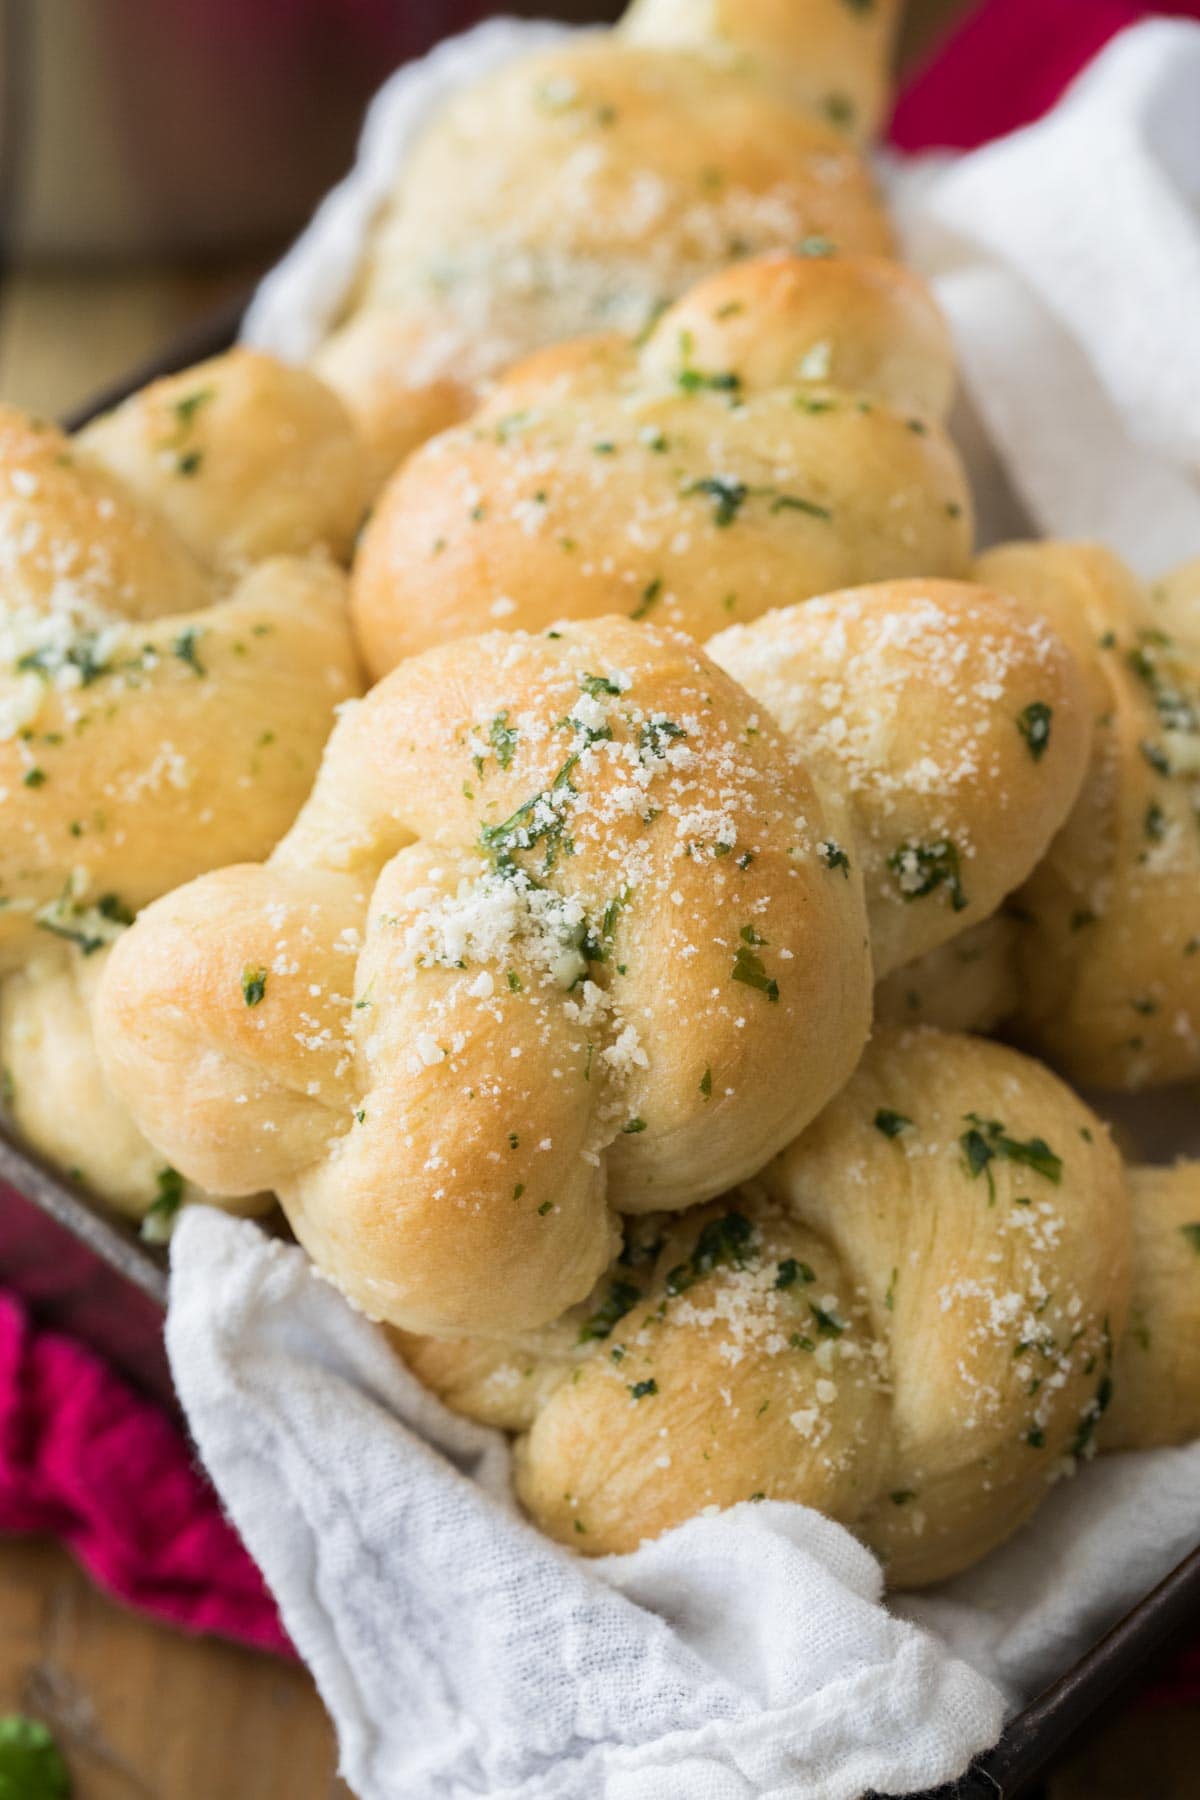
These homemade Garlic Knots are made completely from scratch in just over an hour! My recipe is easy (no mixer needed) and makes perfectly chewy, buttery, and garlicky knots. Includes a how-to video!
Quick & Easy Garlic Knots
So many recipes for garlic knots start with pre-made dough, and while I totally understand being in a rush, nothing stacks up to the taste of a completely from-scratch recipe. Maybe I’m biased, but homemade is always better! Especially with a recipe as easy as this one.
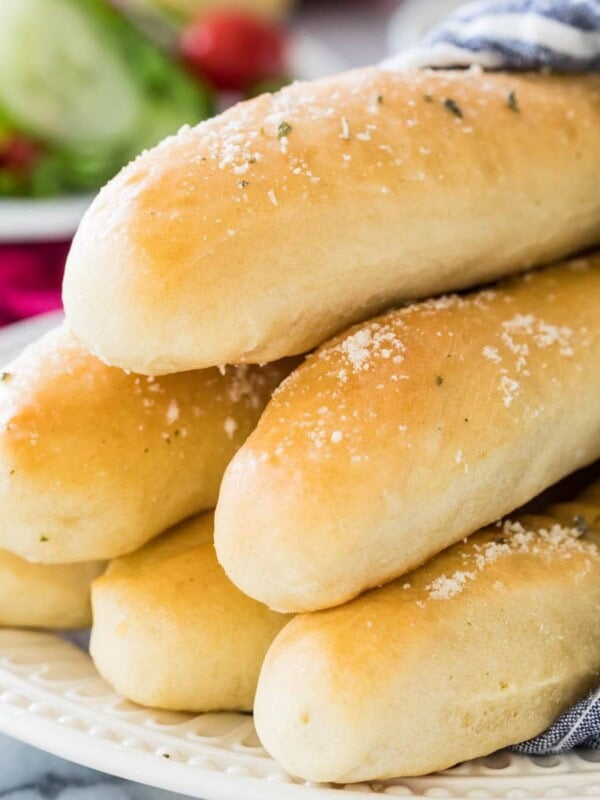
Just like my homemade breadsticks, this homemade garlic knots recipe starts with my simple, from-scratch pizza dough. It’s a very easy yeast dough that’s great for beginners, so don’t be intimidated if you don’t often bake with yeast (like I was for the longest time). If you can stir and you can tie a knot, you can make this recipe!
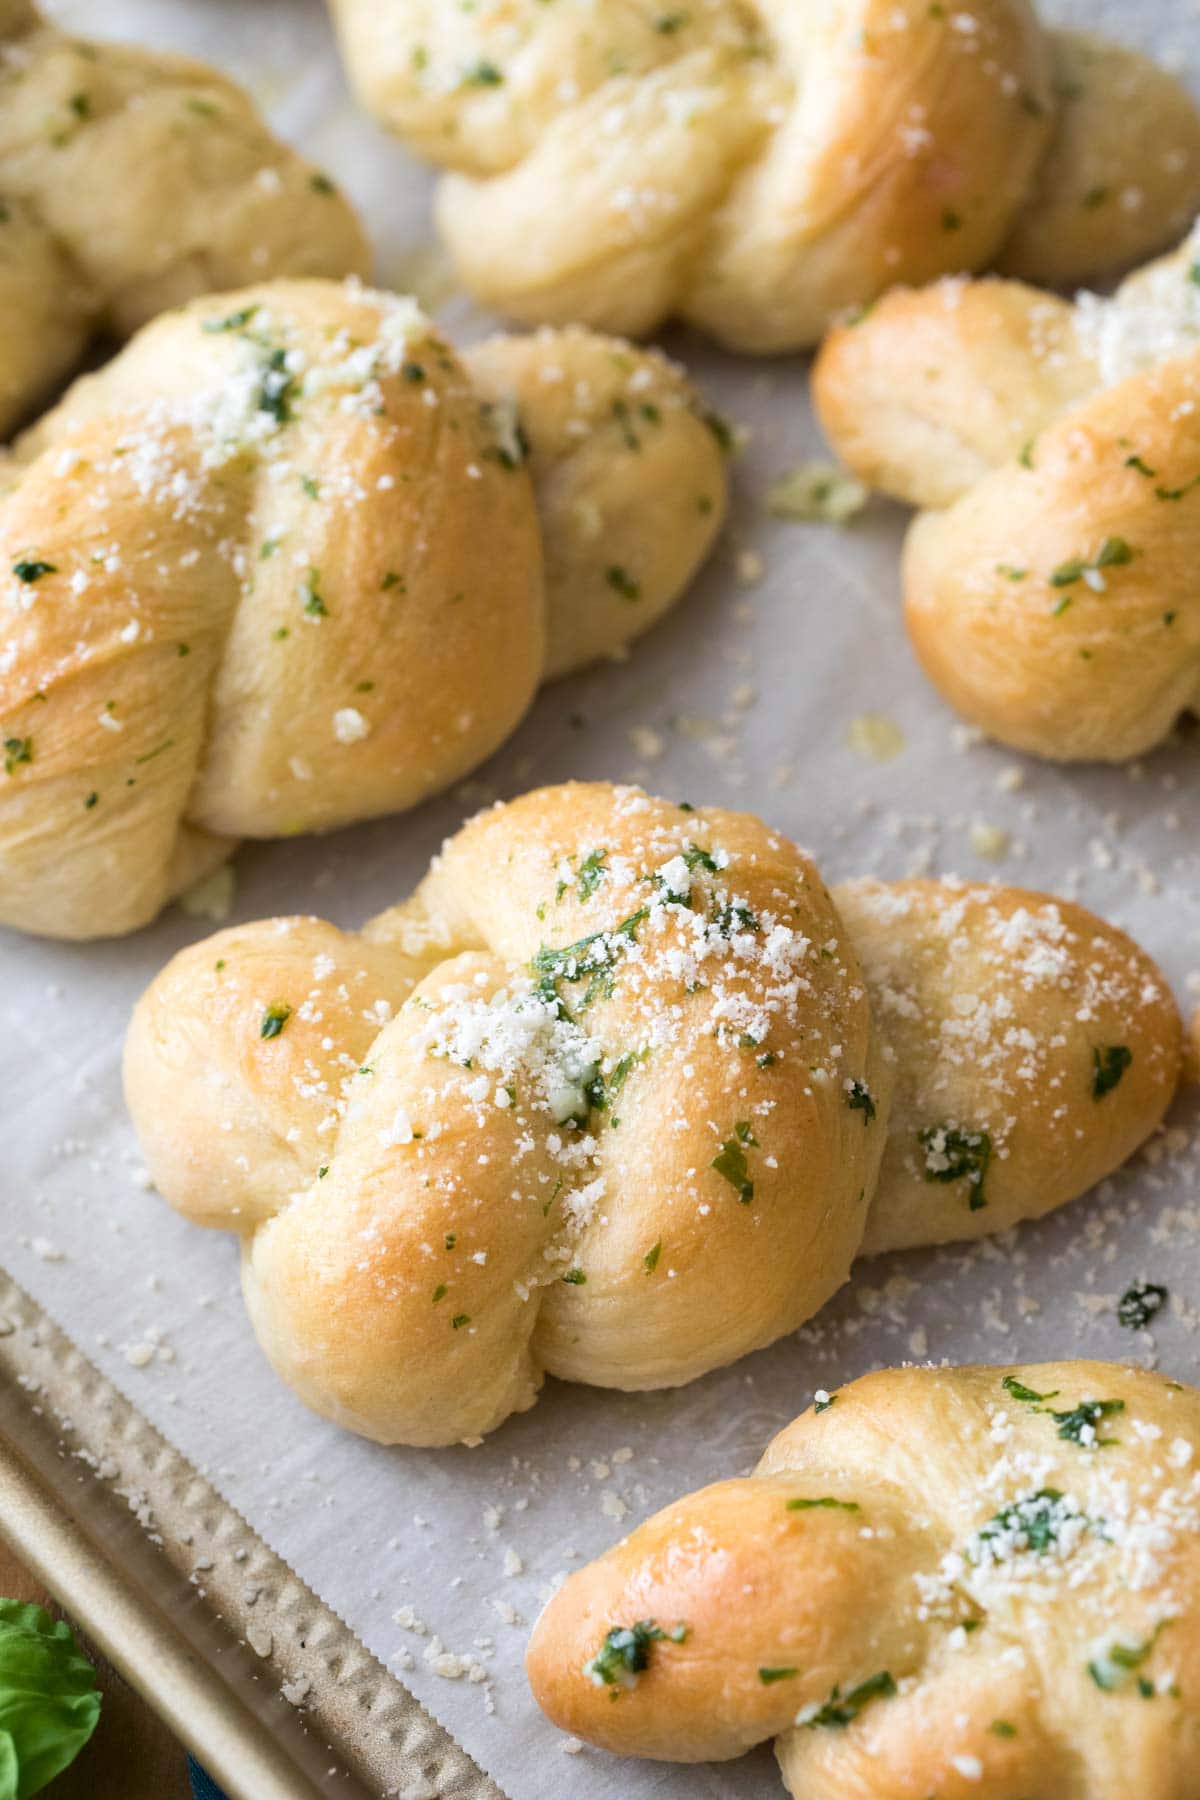
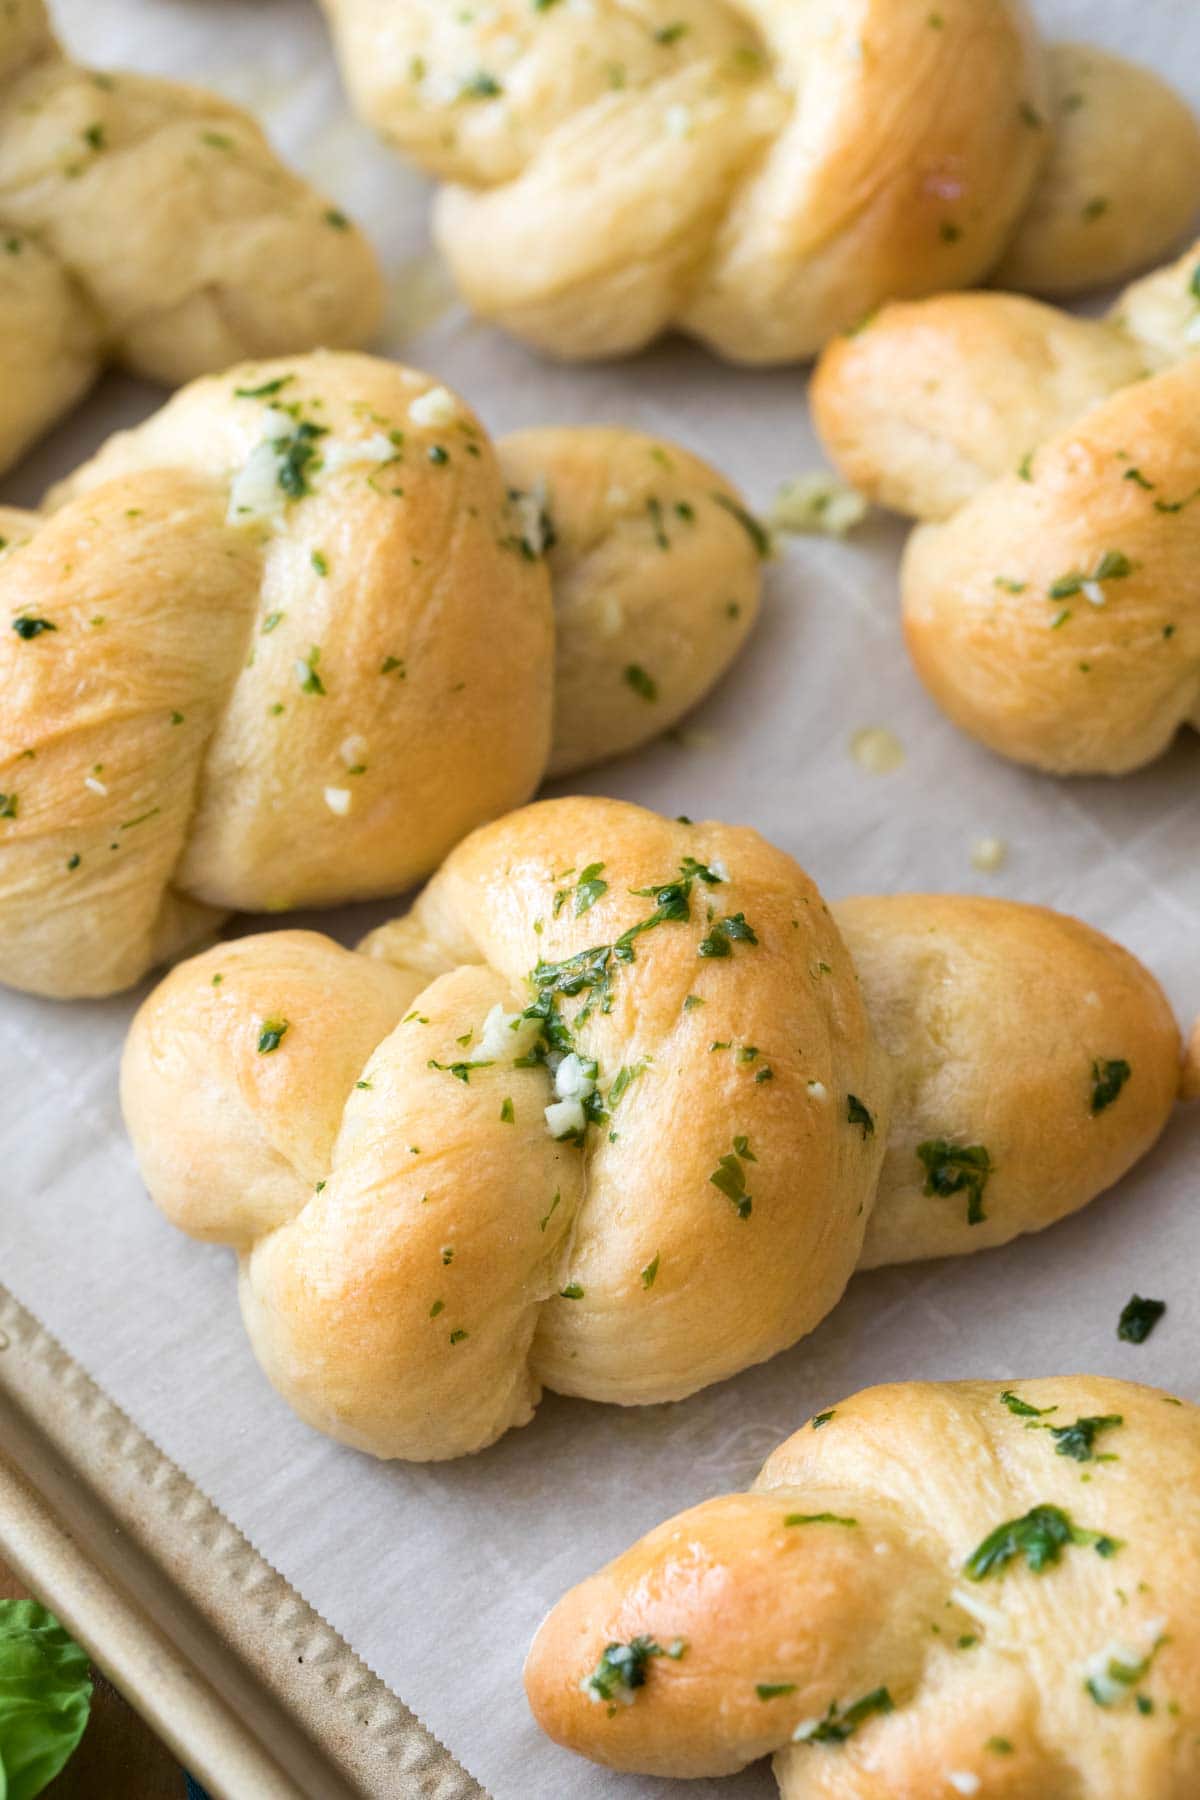
Once your knots are tied and baked, you will generously brush them with garlic butter before serving. The butter (and that garlicky flavor) will absorb into the bread for a burst of lip-smacking goodness. The final result is equally as tasty on its own as it is when dipped in sauce from baked ziti, beef ragu, or chicken pasta. You are just going to love these!
What You Need
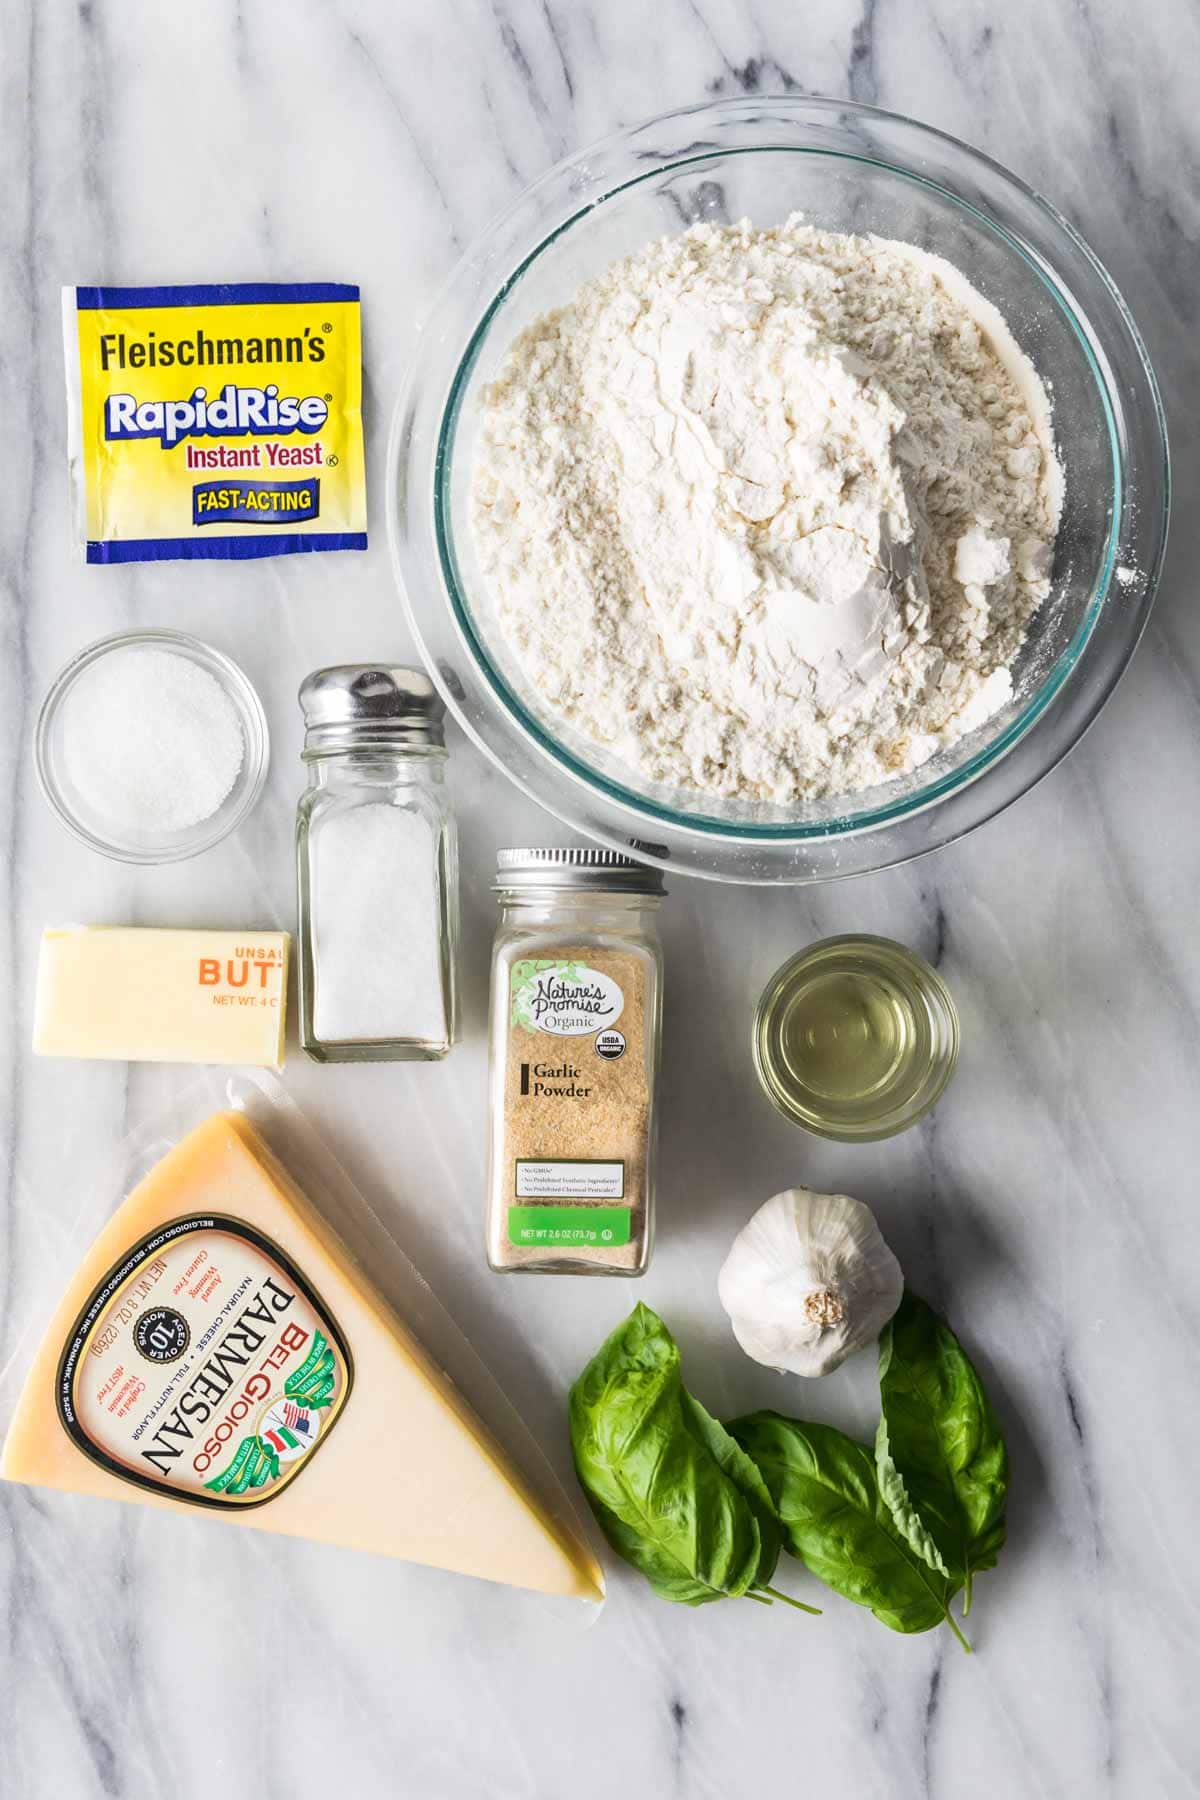
Look at that, only 10 ingredients! I told you this recipe was easy 😉 Here’s what you need:
- Flour. Either bread flour or all-purpose flour will work, but you will get slightly different results from each. Bread flour is my preference, as it gives the knots a slightly more crisp exterior and a chewier interior. All-purpose flour will make them softer and fluffier. While I like my cakes to be soft and fluffy, I prefer my garlic knots to be a bit chewier.
- Yeast. This recipe uses instant/rapid rise yeast for quick and easy results. If you’d like to use active dry yeast, you can. I talk a bit more about this below!
- Garlic. We are adding a bit of garlic powder (just half a teaspoon) into our dough, but most of the garlic flavor is going to come from our buttery, garlic-infused topping.
- Fresh basil. Fresh parsley would alternatively work!
- Parmesan cheese. Optional, but highly recommended for restaurant-style knots.
SAM’S TIP: As with many of my yeast recipes, the amount of flour you will ultimately need will vary depending on the conditions of your kitchen. Do NOT dump it all in at once; just add it gradually until your dough reaches the right consistency. Watch the video below if you would like a visual of what this looks like!
Remember, this is just an overview of the ingredients I used and why. For the full recipe please scroll down to the bottom of the post!
How to Make Garlic Knots
- Dry ingredients – Combine 1 cup of flour with the remaining dry ingredients, then stir in the oil and warm water.
- Gradually add more flour as needed until the dough becomes elastic and cohesive.
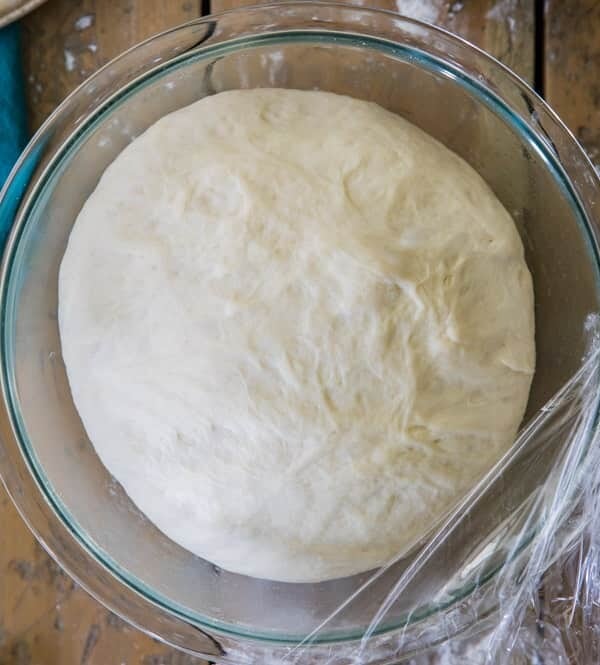
- Let rise – Place the dough in a lightly oiled bowl and cover with plastic wrap. Let rise in a warm spot for 30 minutes or until doubled in size.
- Deflate and divide – Gently deflate the dough and form it into a 15″ log before cutting into 9 even pieces.
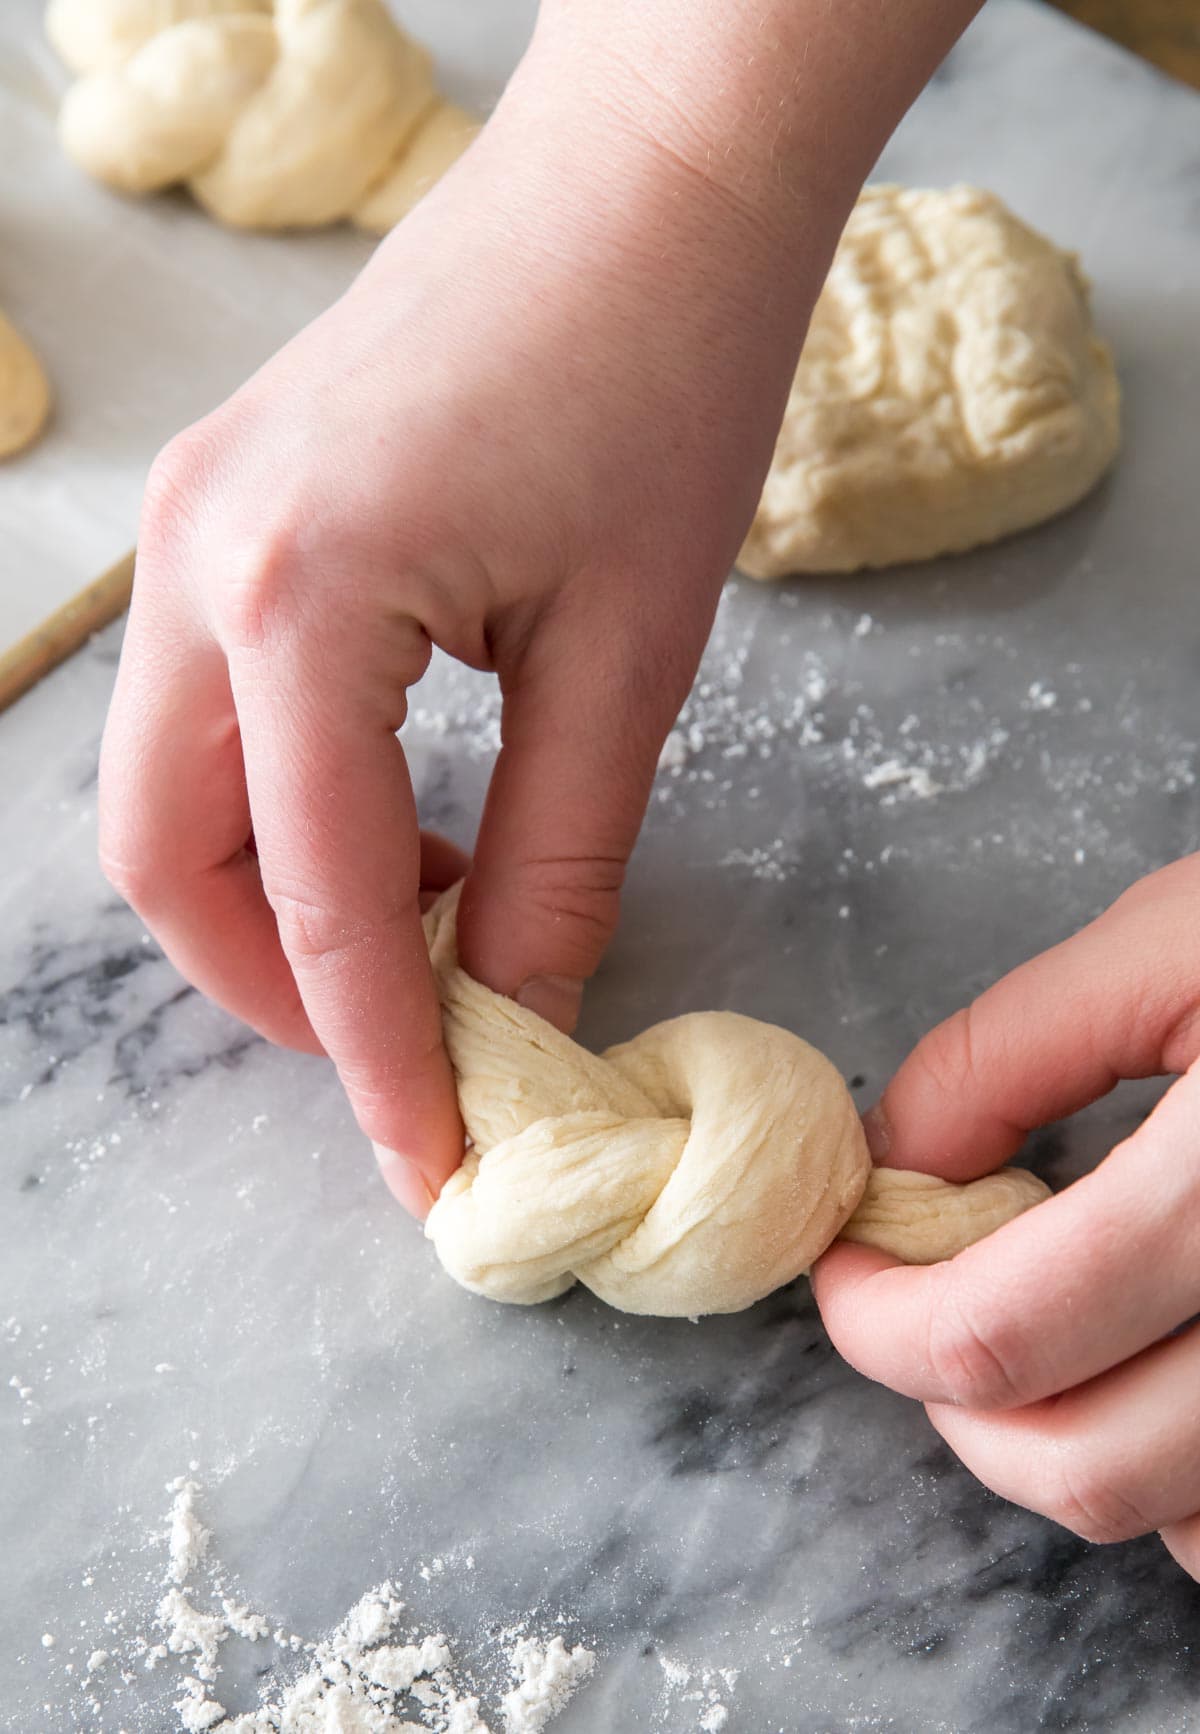
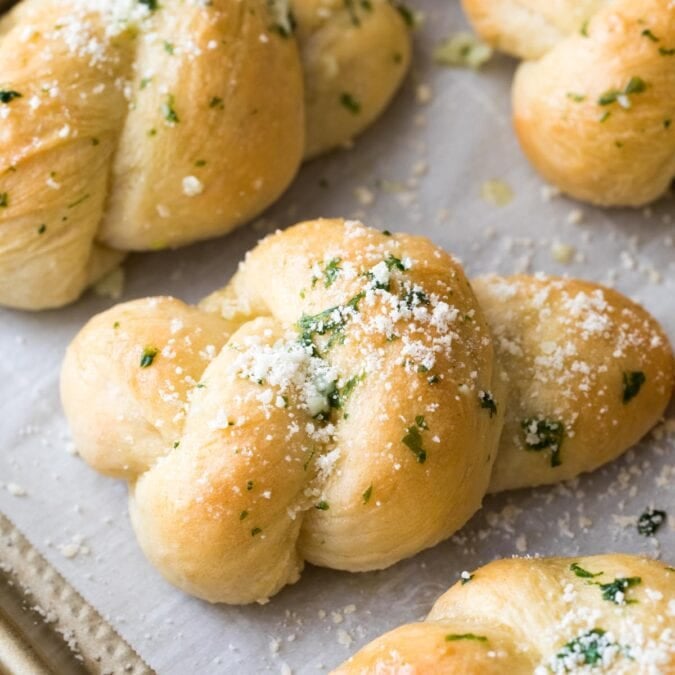
- Tie into knots – Roll each piece into an 8″ rope, tie in a knot, and place on a parchment lined baking sheet.
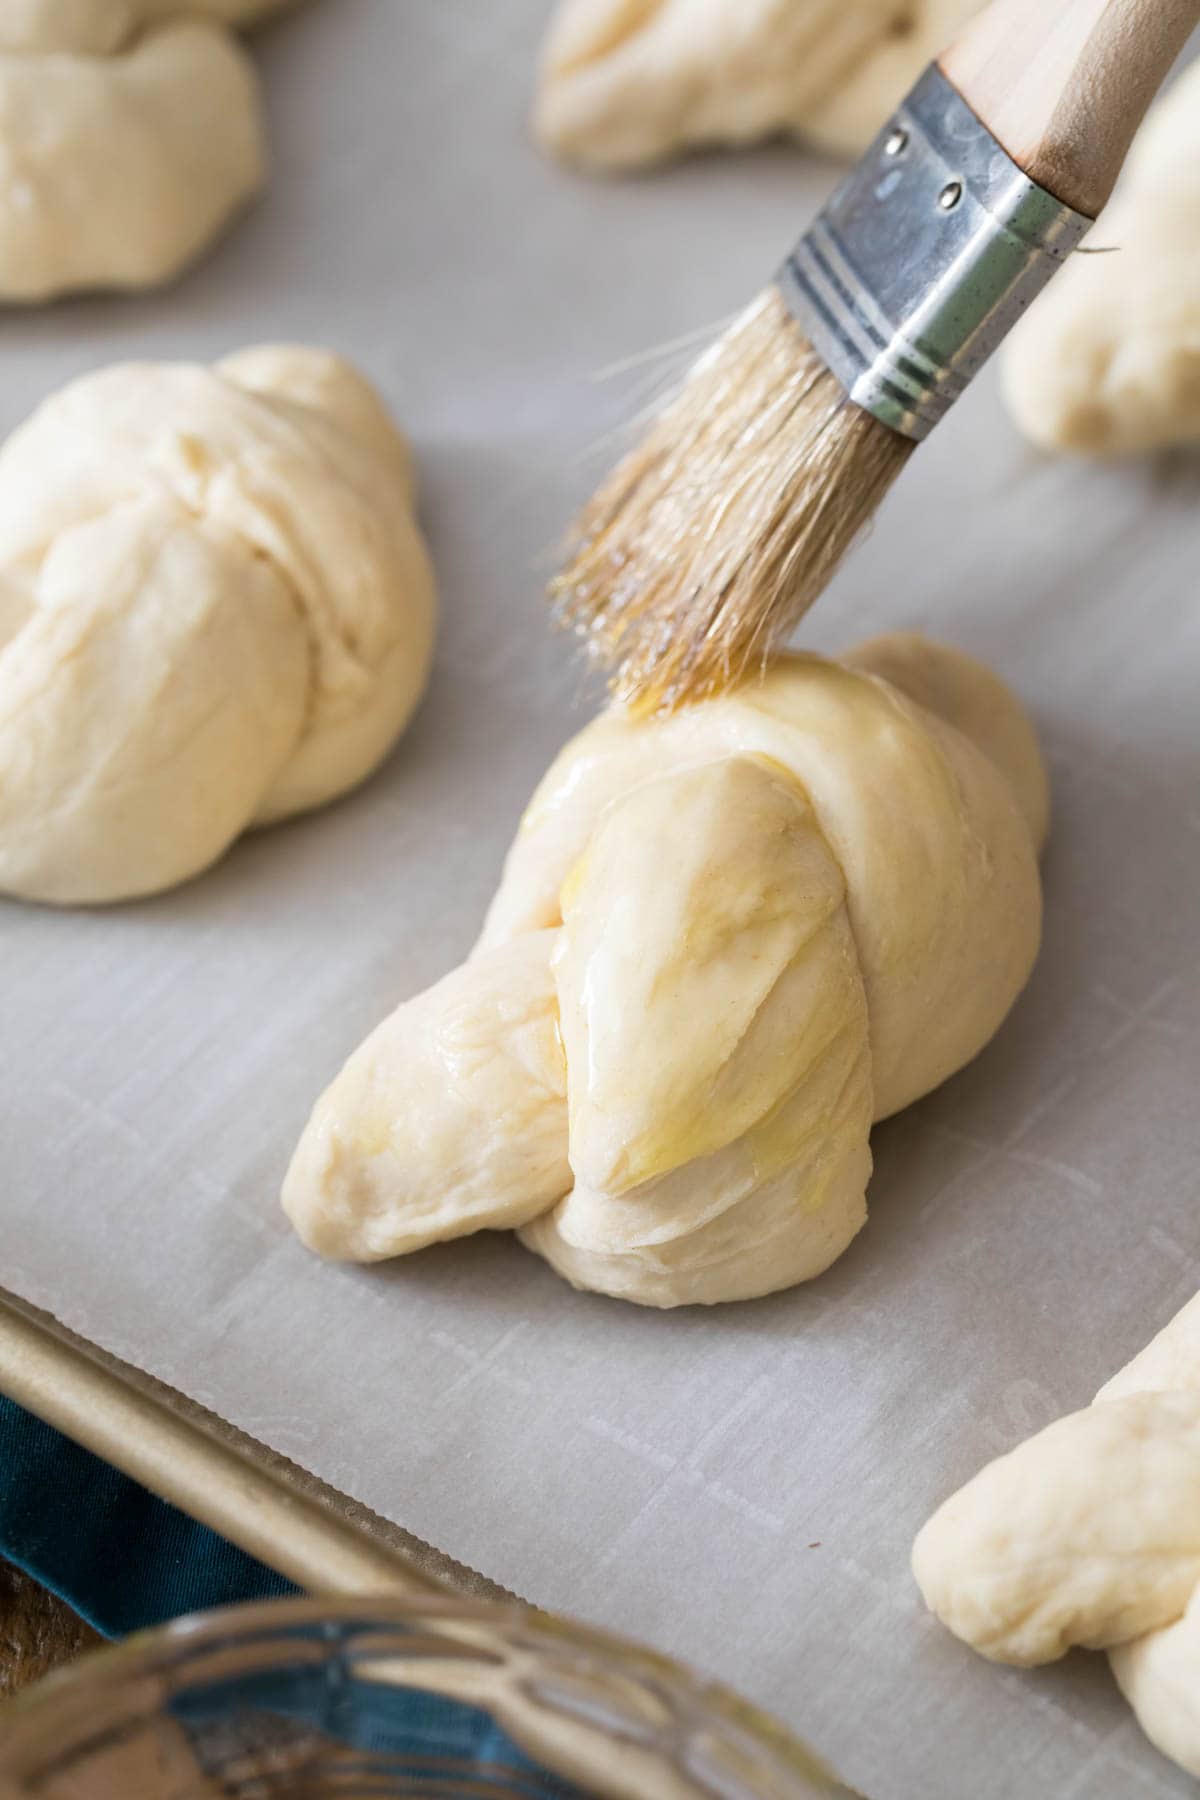
- Bake – Brush each garlic knot with olive oil (optional) and let sit for 5 minutes. Bake for 13 minutes at 400F.
- Brush with garlic butter after baking and sprinkle with grated parmesan just before serving.
SAM’S TIP: This is optional, but I like to brush my knots with olive oil before baking to encourage them to turn a beautiful golden brown in the oven. It’s a quick and simple extra step!
Frequently Asked Questions
Yes! You can prepare the dough as indicated and place in an airtight container in the fridge overnight. When ready to bake, brush your knots with olive oil and bake as directed.
If you’d like to freeze your homemade garlic knots before baking, make sure to do so in an airtight container as well. Frozen knots can be baked straight from the freezer (don’t forget to brush with olive oil before baking!), but they will need to a minute or two longer in the oven.
Active dry yeast will work, but your rise times will be longer than indicated here. I suggest you proof the yeast with the warm water and a pinch of the sugar before adding it to the dry ingredients.
Just like you would tie a regular knot! Once you have your dough in a rope shape, bring the two ends together, then cross one end over, under, and through the other. I demonstrate this in my video below, if you’d like a visual.
I hope you enjoy this recipe! We make these frequently and pair them with everything from my meatballs to beef stew! If you’re serving them as an appetizer instead of a side, I highly suggest making a batch of my homemade marinara for dipping.
Enjoy!
Let’s bake together! I’ll be walking you through all the steps in my written recipe and video below! If you try this recipe, be sure to tag me on Instagram, and you can also find me on YouTube and Facebook
Garlic Knots
Ingredients
- 2-2 ⅓ cups (250-295 g) bread flour*, divided
- 1 packet instant yeast, 2 ¼ teaspoons
- 1 ½ teaspoons sugar
- ¾ teaspoon salt
- ½ teaspoon garlic powder
- 2 Tablespoons olive oil
- ¾ cup (180 ml) warm water, 105-115F [40-46C]
- Additional olive oil for coating bowl
Garlic Butter:
- 4 Tablespoons salted butter
- 3 cloves minced garlic, about 1 ½ Tablespoons
- 1 Tablespoon minced fresh basil
- Grated parmesan cheese, optional
Instructions
- Preheat oven to 400F (205C) and line a baking sheet with parchment paper. Set aside.
- In a large bowl, combine 1 cup (125g) of flour, instant yeast, sugar, salt, and garlic powder and stir well.1 packet instant yeast, 1 ½ teaspoons sugar, ¾ teaspoon salt, ½ teaspoon garlic powder
- Add olive oil and warm water and use a wooden spoon to stir until all ingredients are well-combined.2 Tablespoons olive oil , ¾ cup (180 ml) warm water
- Gradually add another 1 cup (125g) of flour. Add any additional flour as needed (I've found that sometimes I need as much as an additional ⅓ cup), stirring until the dough forms a cohesive, elastic ball and is beginning to pull away from the sides of the bowl (see video below recipe for visual). The dough will still be tacky but still should be manageable with your hands.
- Drizzle a separate, large, clean bowl generously with olive oil and use a pastry brush to brush up the sides of the bowl.Additional olive oil for coating bowl
- Transfer your dough to prepared bowl and roll the dough through the oil until the entire surface of the dough is lightly coated with oil, then cover the bowl tightly with plastic wrap and place on top of your oven to rise for 30 minutes or until doubled in size.
- Once the dough has risen, use your hands to gently deflate it and transfer to a lightly floured surface. Form into a log about 15” long and cut into 9 even pieces.
- Roll each piece between your palms and slightly pull it to form a rope about 8” long (lightly dust the dough with flour if needed).
- Carefully tie each rope into a knot (see video for guidance) and place on prepared baking sheet. Lightly brush with olive oil if desired.
- Set tray on top of warm oven and let garlic knots rest/rise for 5 minutes before baking.
- Transfer to oven and bake on 400F (205C) for 13 minutes or until just beginning to turn a light golden brown. Meanwhile, prepare garlic butter.
Garlic Butter
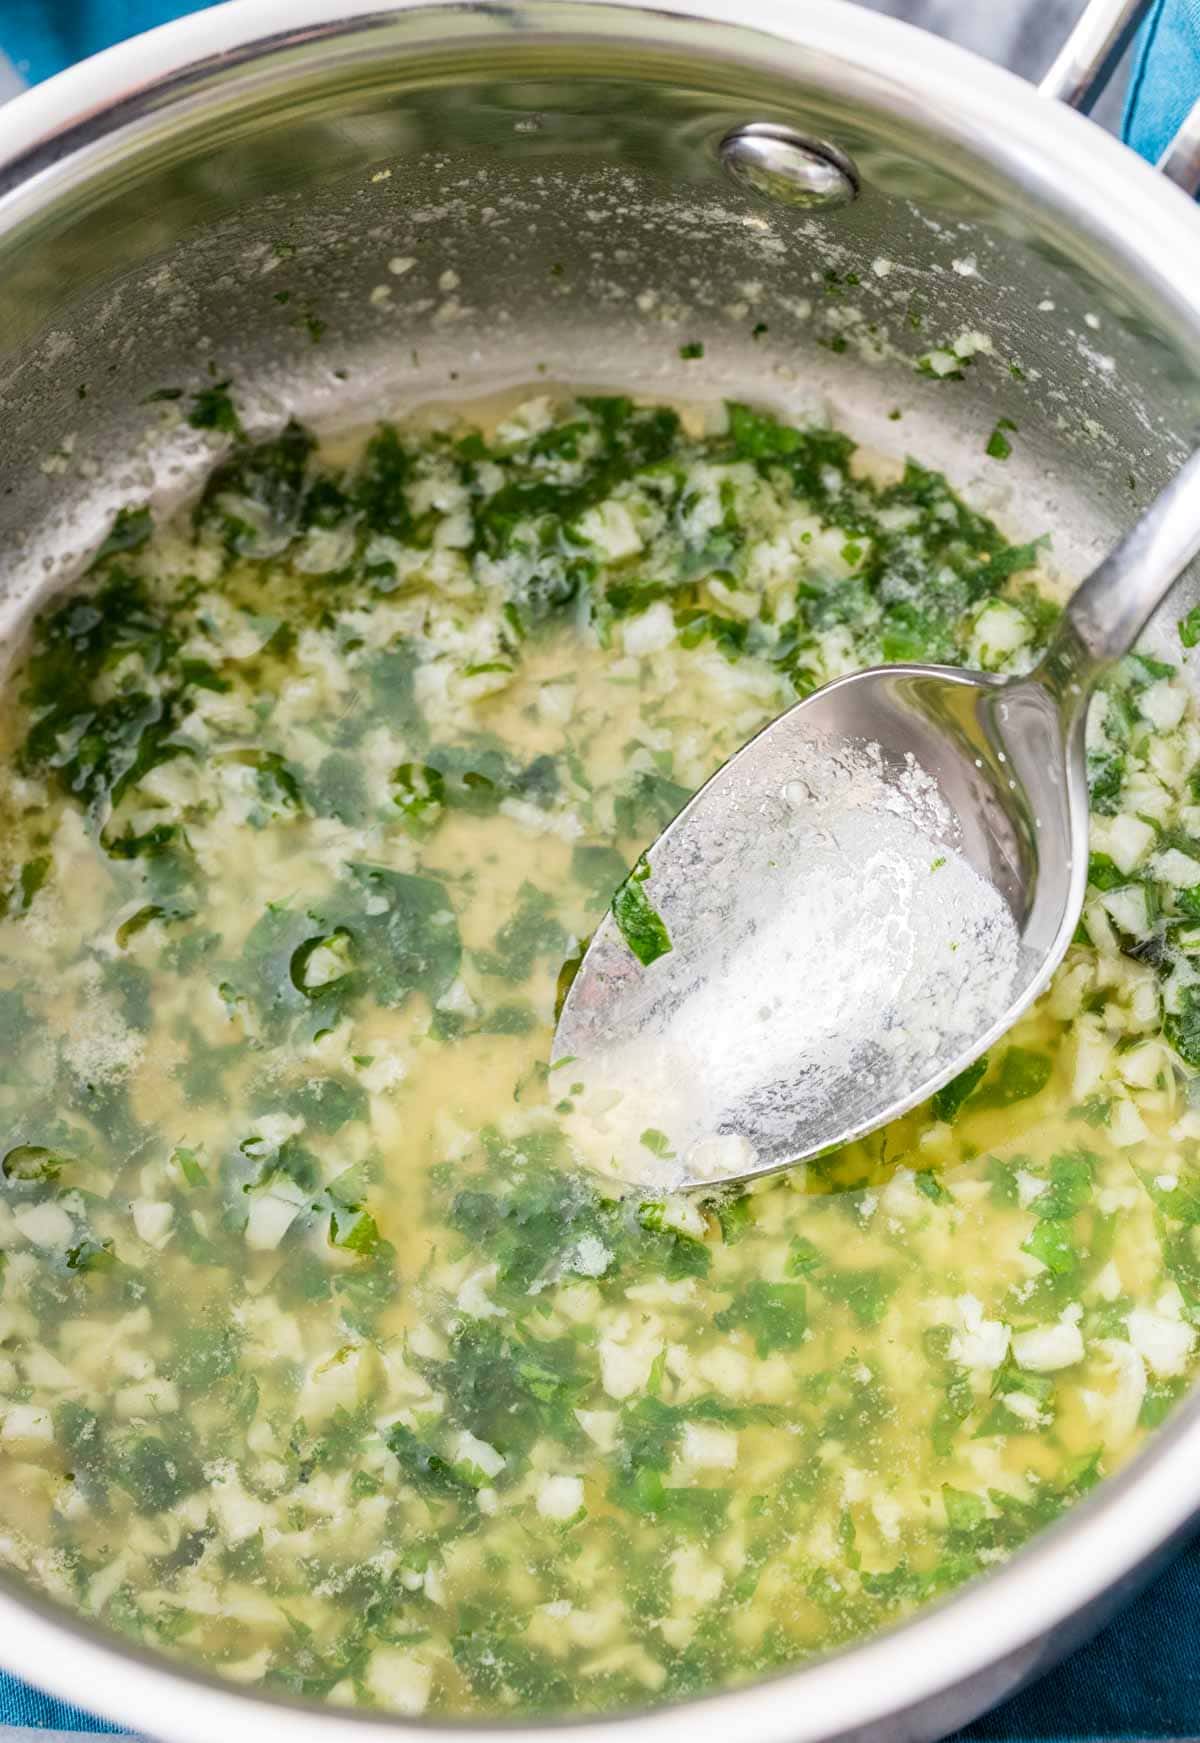
- Combine butter and garlic in a small saucepan over medium/low heat. Cook until butter is melted and garlic is fragrant.4 Tablespoons salted butter, 3 cloves minced garlic
- Remove from heat and stir in minced basil. Once knots have finished baking, use a pastry brush to generously brush garlic butter mixture over each knot. Sprinkle with grated parmesan, if desired.1 Tablespoon minced fresh basil, Grated parmesan cheese
- Enjoy served warm.
Notes
Nutrition
Nutrition information is automatically calculated, so should only be used as an approximation.
Like this? Leave a comment below!


Loved this recipe super easy and taste fantastic. I did sprinkle a little extra garlic salt after the butter just because we love garlic.
I’m curious about the difference between using bread flour and all purpose flour. In your printed recipe, it says that bread flour makes them chewier all purpose flour makes them softer and fluffier. In your video, you state that all purpose flour makes them softer and chewier.
I guess I’ll find out today. I know that I can’t go wrong either way. I have yet to try a recipe of yours that hasn’t been amazing. Thanks for your time and effort in preparing these recipes. You’re my “go-to” website for baking.
Sorry for the confusion! Bread flour makes them chewier while all purpose is softer. I hope you love the recipe, Cydnie, thank you so much for the kind words! 🙂
I just got finished eating these for dinner. I had made Italian “gravy”, and we ate it dipped in the gravy along with sausage and meatballs (we had a big salad for lunch in anticipation). They were SO satisfying! Your directions and video are so clear, and they really encouraged me to start working with yeast again. I’m off to search for another yummy yeast recipe on your site:). Thanks very much for the inspiration.
We’re so happy your family loved the recipe, Louise! Thanks so much for your sweet comment–happy baking! ❤️
We love us some yeasty bread! 10 stars for sure!
So glad you enjoyed them, Misty! Thanks for the review ❤️
My husband made these twice for our son (who always has to order these form our local pizzeria). These are so easy to make and so good! If you’re on the fence about making these, do it! We’ve even used dried minced garlic and dried basil in a pinch! We are going to try to make a pizza with this dough next. Thanks for the recipe!
I’ve made these twice, and they’ve turned out fantastic both times. Since I rarely have bread flour on hand I use organic AP flour.
FYI — I’ve used my bread machine’s dough cycle both times. Adds to the prep time, but it’s “hands off” time that allows me to toss the ingredients in and do other things while the dough is mixing and rising.
Since we reeeaaally like garlic butter, I made a lot more topping. 8 T. butter + a tablespoon or two of olive oil, a whole bunch of minced garlic, a couple tablespoons of parmesan, a sprinkle of freeze dried basil, oregano and parsley. I brushed some on before baking, and after. Still had a bit left over for dipping. 🙂
We are so happy you’ve enjoyed them, Alli! Thanks for coming back to leave a review–we really appreciate it! ❤️
These are super easy and delicious!!! I love how the dough is so soft and fluffy. Curious if this dough could be used for a pizza crust?! 🍕 I did make pepperoni rolls using the dough and my nieces and nephew LOVED them. I’m guessing pizza would be just as tasty. It doesn’t brown or crisp well so maybe not for a pizza. 🤔
Hi Cheryl! This recipe was actually developed from our homemade pizza dough, which we highly recommend. Hope you love it!
I love how easy this recipe is, and my family devours these whenever I make them! I like shaping them into small nuggets & breadsticks to increase the amount of surface area for the garlic sauce 🙂
I’m so glad you enjoyed them so much, Lynne! There’s never enough garlic sauce if you ask me! 😉
Loved these! Made these for my partner and he thought they were a big hit too. Gonna add this to my list of regular recipes. I substituted vegan butter for the butter and used garlic powder instead of fresh for the sauce, but it was still delicious! I could see these being great for a party snack.
Glad you liked them, Chloe! Thanks for letting us know how it went for you 🥰
Love this recipe. I’m definitely an amateur when it comes to bread-making, but I have found this recipe to be super fun and simple! I made it for the first time a couple months ago, and today was my third time making it. It has been a hit every time! I have found the video super helpful. Thanks for the great recipe! I no longer buy frozen garlic bread. 🙂
We’re so happy you’ve mastered this recipe, Sarah! Homemade is always better, even if it takes a bit more time ❤
I used a cup of warm water as the dough with too stiff with 2 cups of flour. I used dried basil as I didn’t have fresh and only a fraction of the amount as the dried is more concentrated in flavour I baked with the garlic butter on the knots to take any harshness out of the garlic rather than after baking. Also sprinkled with mozzarella cheese prior to baking rather than Parmesan. Will make again. My dinner guests loved them.
I just finished baking & eating this & it’s the best bread. I definitely added Parmesan. I also made the homemade marinara sauce to dip it in & both are delicious. I used all purpose flour because it was all I had & it turned out so good & I’m not a bread baker.
We’re so happy you enjoyed them, Lori! Thanks so much for your review ❤
I use this pizza dough recipe all the time and love it. These garlic knots are so simple and amazing!
We’re so happy you’re loving our recipes, Steph! Thanks for your review 😊
This recipe looks delicious. Thanks for the tip about the bread flour. I’m
Making these this for this weekend but wanted to know if the could be prepared ahead of time and how I would do that properly? If I freeze them do I do before or after putting garlic butter on them?
Thank you!
Hi Jen! We have not frozen them, but if you wanted to freeze them, you could do it before baking. We would suggest you make the dough, roll out the garlic knots, and then wrap them individually and stick in a freezer bag. They would probably need a little more time in the oven when baking from frozen. 🙂
Thanks for the make ahead freezing tip. Love this recipe.
This is by far my favorite garlic knot recipe. My family keeps asking for more!
Super easy!! My sister was coming over and wanted to order pizza and garlic knots… The pizzeria doesn’t make garlic knots so I set out to make them myself! They were super easy and quick!
I love garlic knots because they taste so amazing!!!!!