
Cornbread Biscuits
This post may contain affiliate links. As an Amazon Associate I earn from qualifying purchases. Please read my disclosure policy.
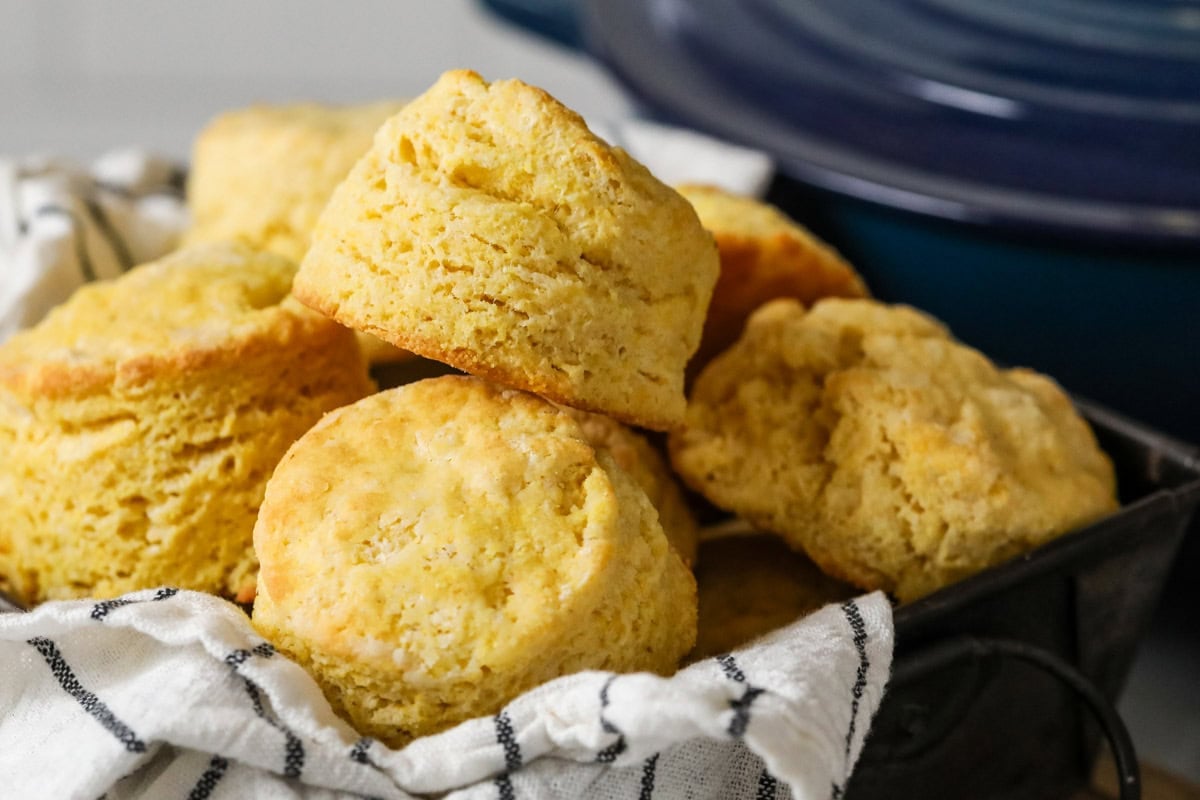
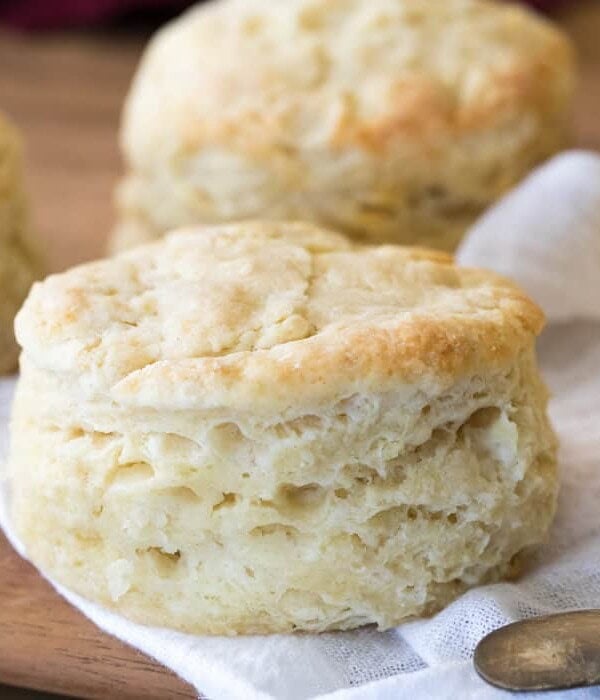
Buttery, flaky cornbread biscuits are the perfect hybrid between cornbread and biscuits! My version comes together quickly and can be made either by hand or with a food processor.
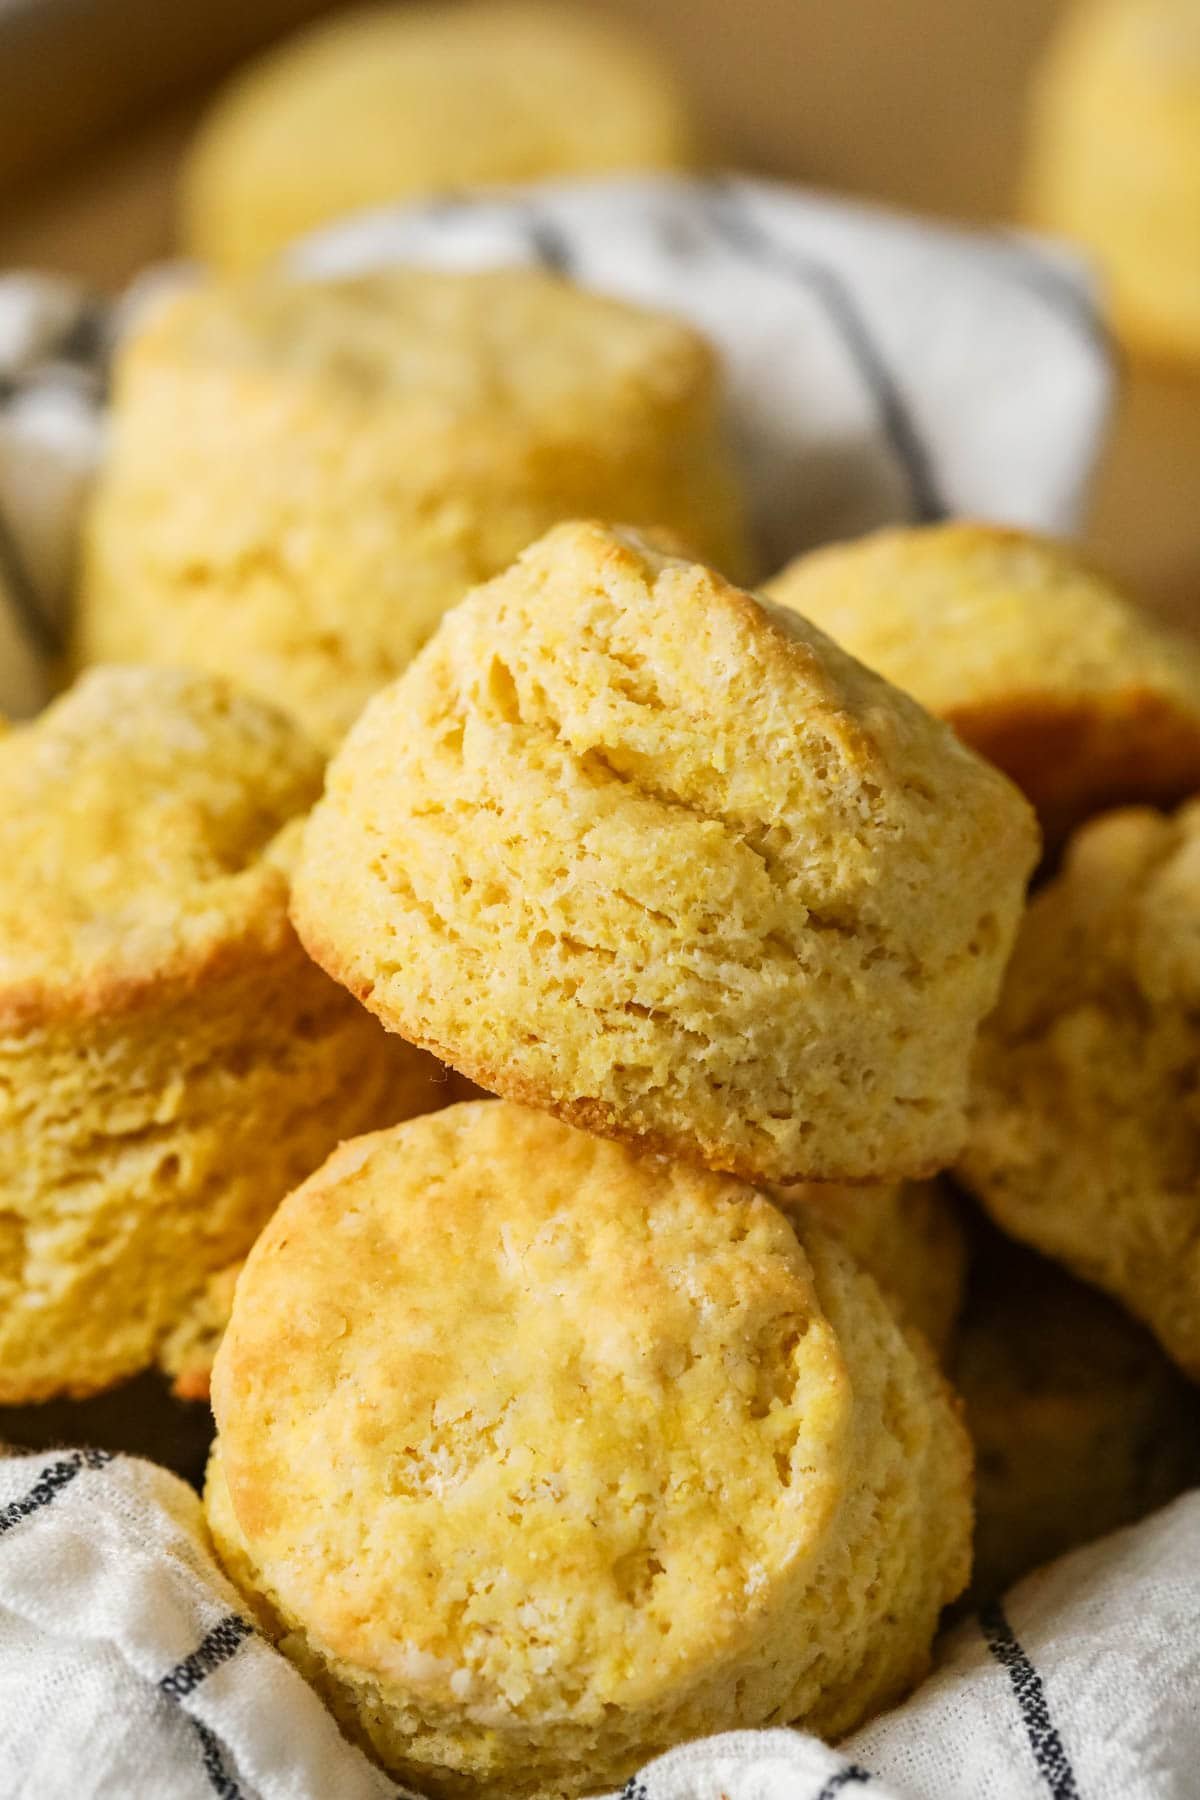
The BEST Cornbread Biscuits
The mashup that you didn’t know you needed, cornbread biscuits are a hybrid of my popular homemade biscuits and buttermilk cornbread. They are tender, super flavorful biscuits that are subtly sweetened (like I like my cornbread) and oh so pretty.
I make these almost every time I make a batch of my famous chili, and I think you’ll love how incredibly quick and easy they are (especially if you use a food processor!).
Why You’ll Love This Recipe
- Use what you have: you can make this recipe with a box grater, pastry cutter, or food processor (the quickest, easiest method and yields the prettiest results).
- Freezing the butter first is one of my favorite tricks when making biscuits; not only does it make the dough easier to work with, it gives you sky-high results, too.
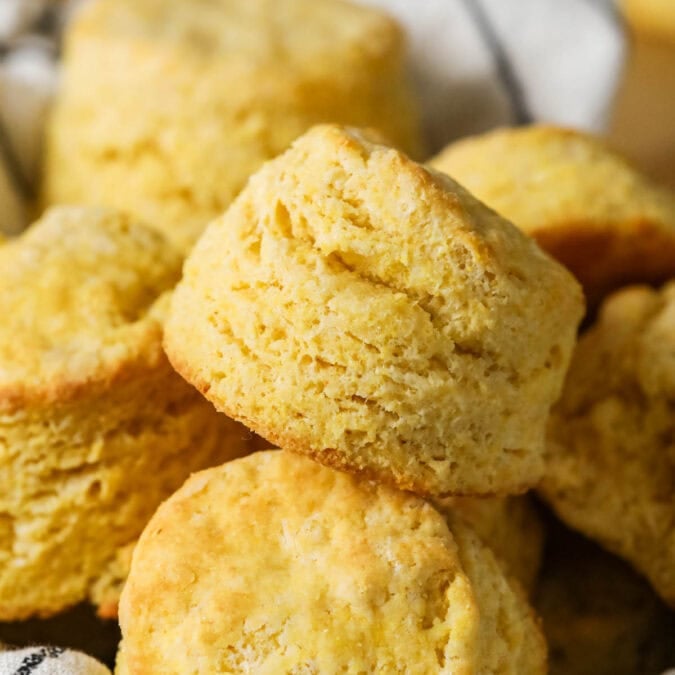
- Tall rise with gorgeous flaky layers. A few key techniques create this outcome, including high heat, frozen butter, a bit of lamination, and fresh baking powder.
- No more choosing between biscuits and cornbread! I don’t know if this was a dilemma for anyone else, but it certainly was for me 😉
Ingredients
Just eight ingredients today, and all of them should be in your pantry already! I’ll review a few before we start.
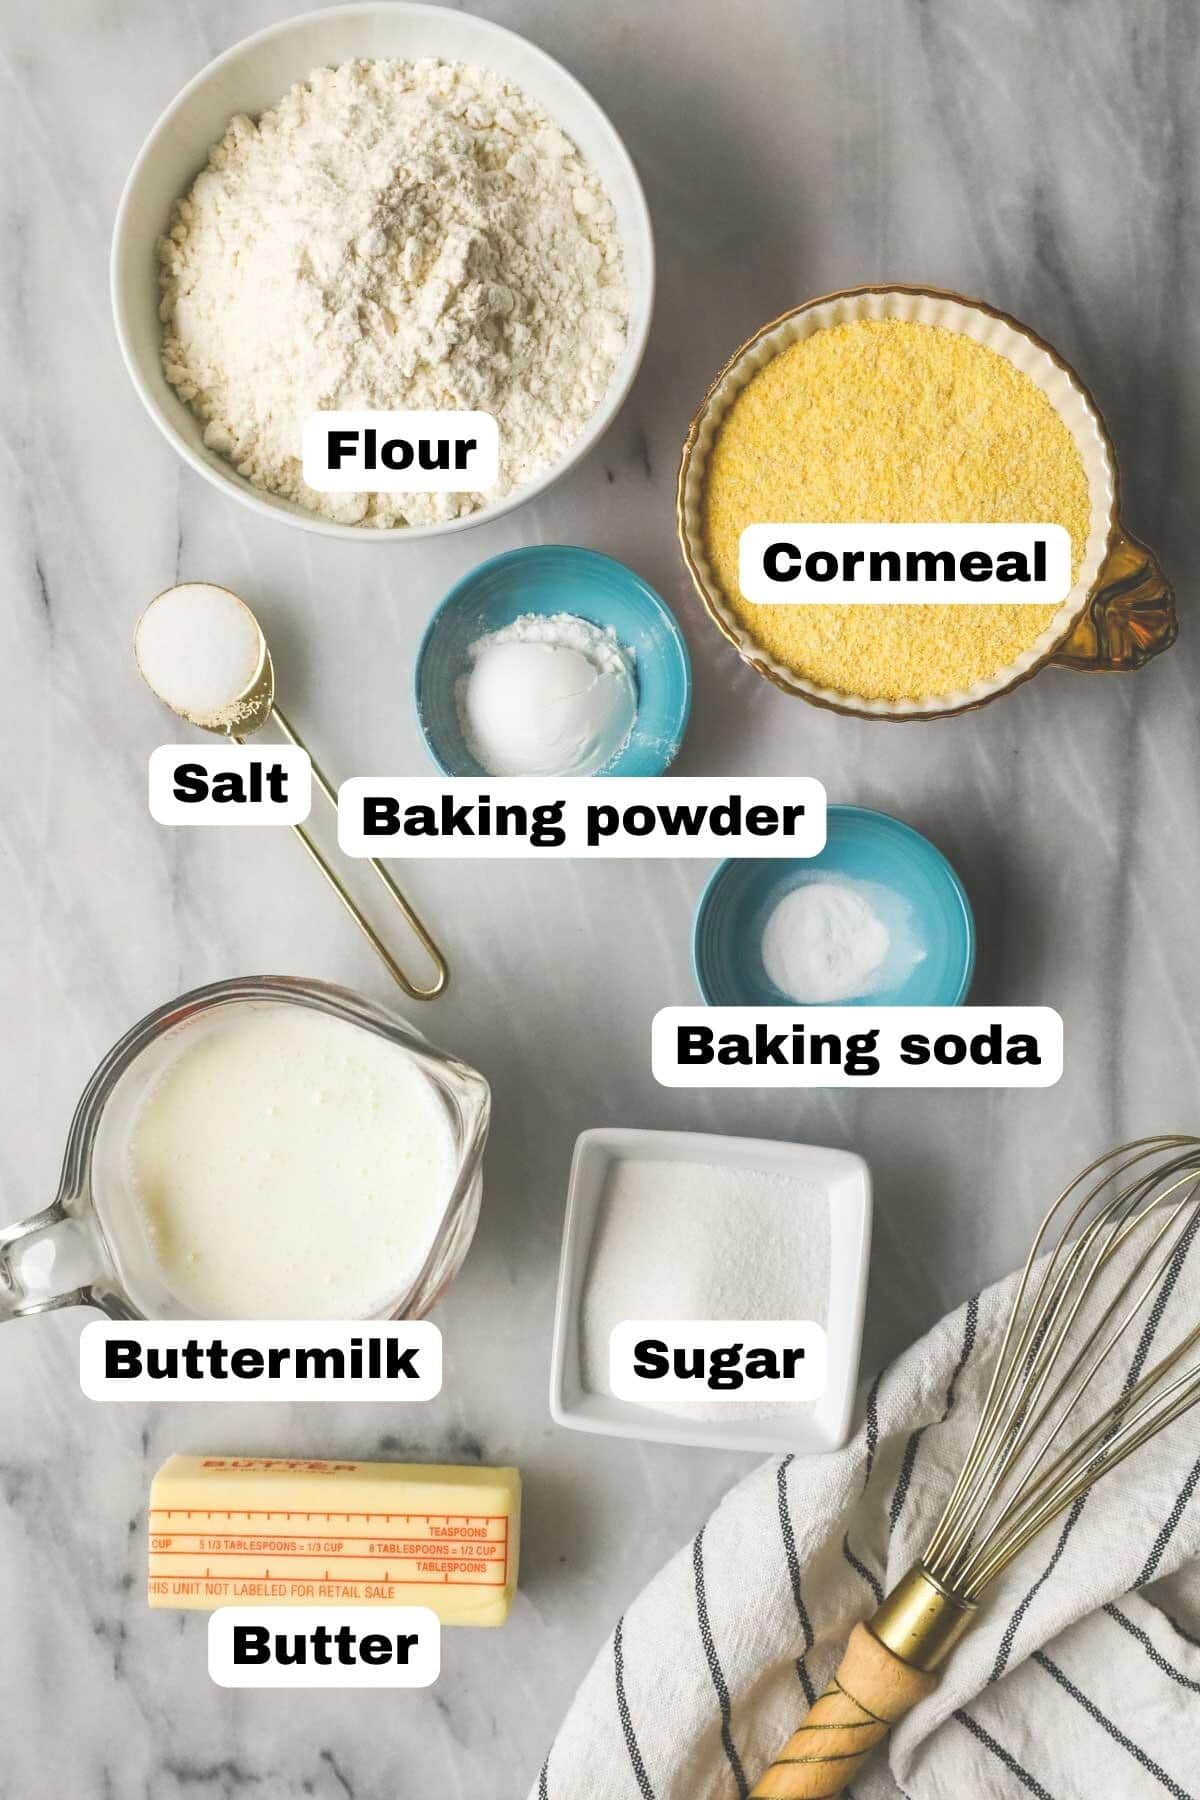
- Cornmeal. I prefer yellow cornmeal, but white will work too! Yellow just gives us such a pretty golden color.
- Flour. Even though we are using cornmeal, we still need some flour too. Stick with all-purpose flour for this recipe and make sure you measure it properly, or your cornbread biscuits will be dry.
- Cold butter. Use cold butter (but not so cold it’s frozen solid, it can be difficult to work with if it’s that cold!). Just toss it in the freezer for 10-30 minutes before you’re ready to start making the biscuits. I use unsalted butter, but if you only have salted butter on hand, you can reduce the salt in the recipe to ¾ teaspoon.
- Buttermilk. Buttermilk adds depth and flavor and contributes toward the perfect texture, too. If you don’t have buttermilk on hand, you can make my easy buttermilk substitute by combining regular milk with either lemon juice or vinegar. Since it’s a bit thinner than traditional buttermilk, you may need a splash less.
- Sugar. Personally, I like my cornbread biscuits to be slightly sweet. If you don’t, you can reduce the sugar to just one or two tablespoons. While you could skip it entirely, I don’t recommend it. The sugar adds flavor and contributes to the tender texture of the biscuits, so they’ll be more dry and crumbly and less flavorful without the sugar.
SAM’S TIP: Make sure your leavening agents (baking powder and baking soda) are fresh and if you can, opt for an aluminum free baking powder, otherwise you may end up with flat or metallic tasting biscuits.
This is just an overview of the ingredients I used and why. For the full recipe please scroll down to the bottom of the post!
How to Make Cornbread Biscuits
You can either do this by hand or in the food processor–I’ll show both ways. I prefer to use a food processor, but I know not everyone has one, so I’ll demonstrate the recipe without one first.
Option 1: by hand
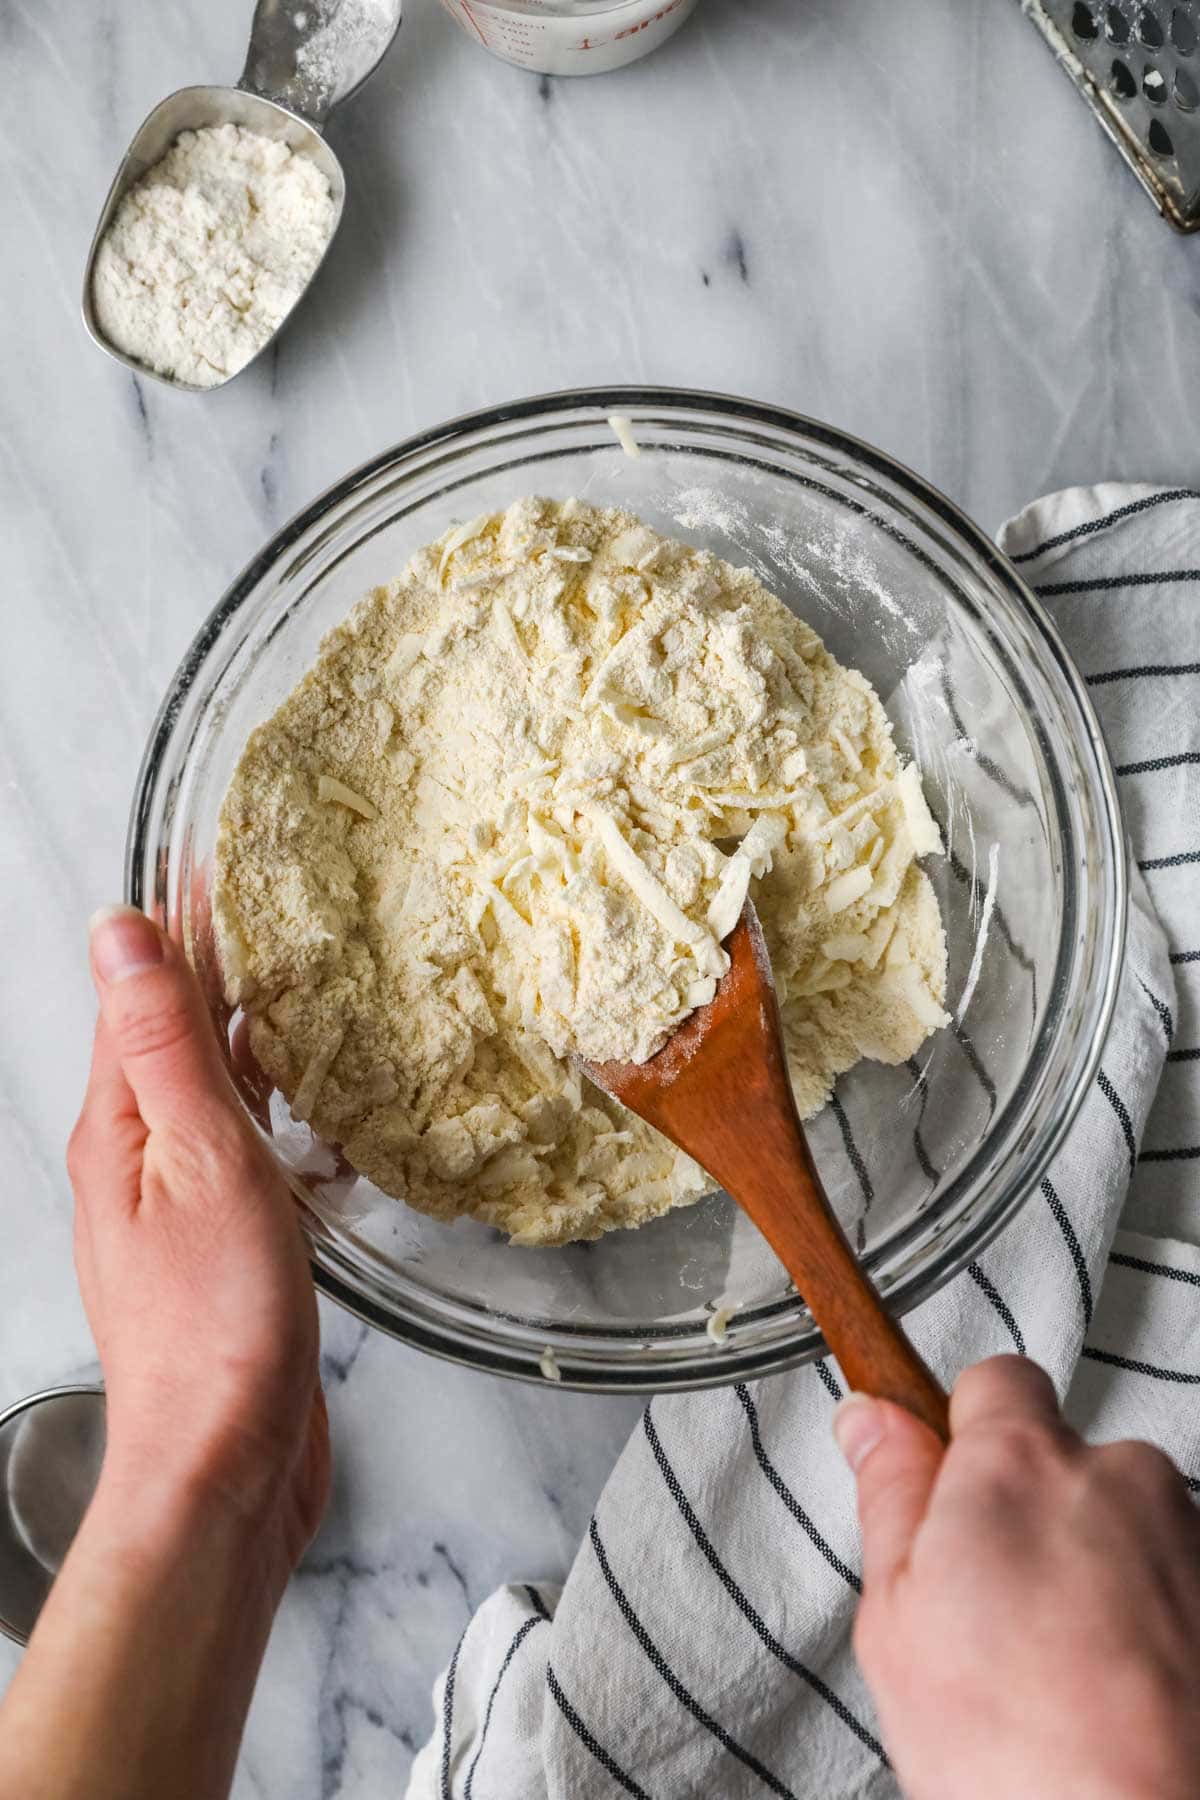
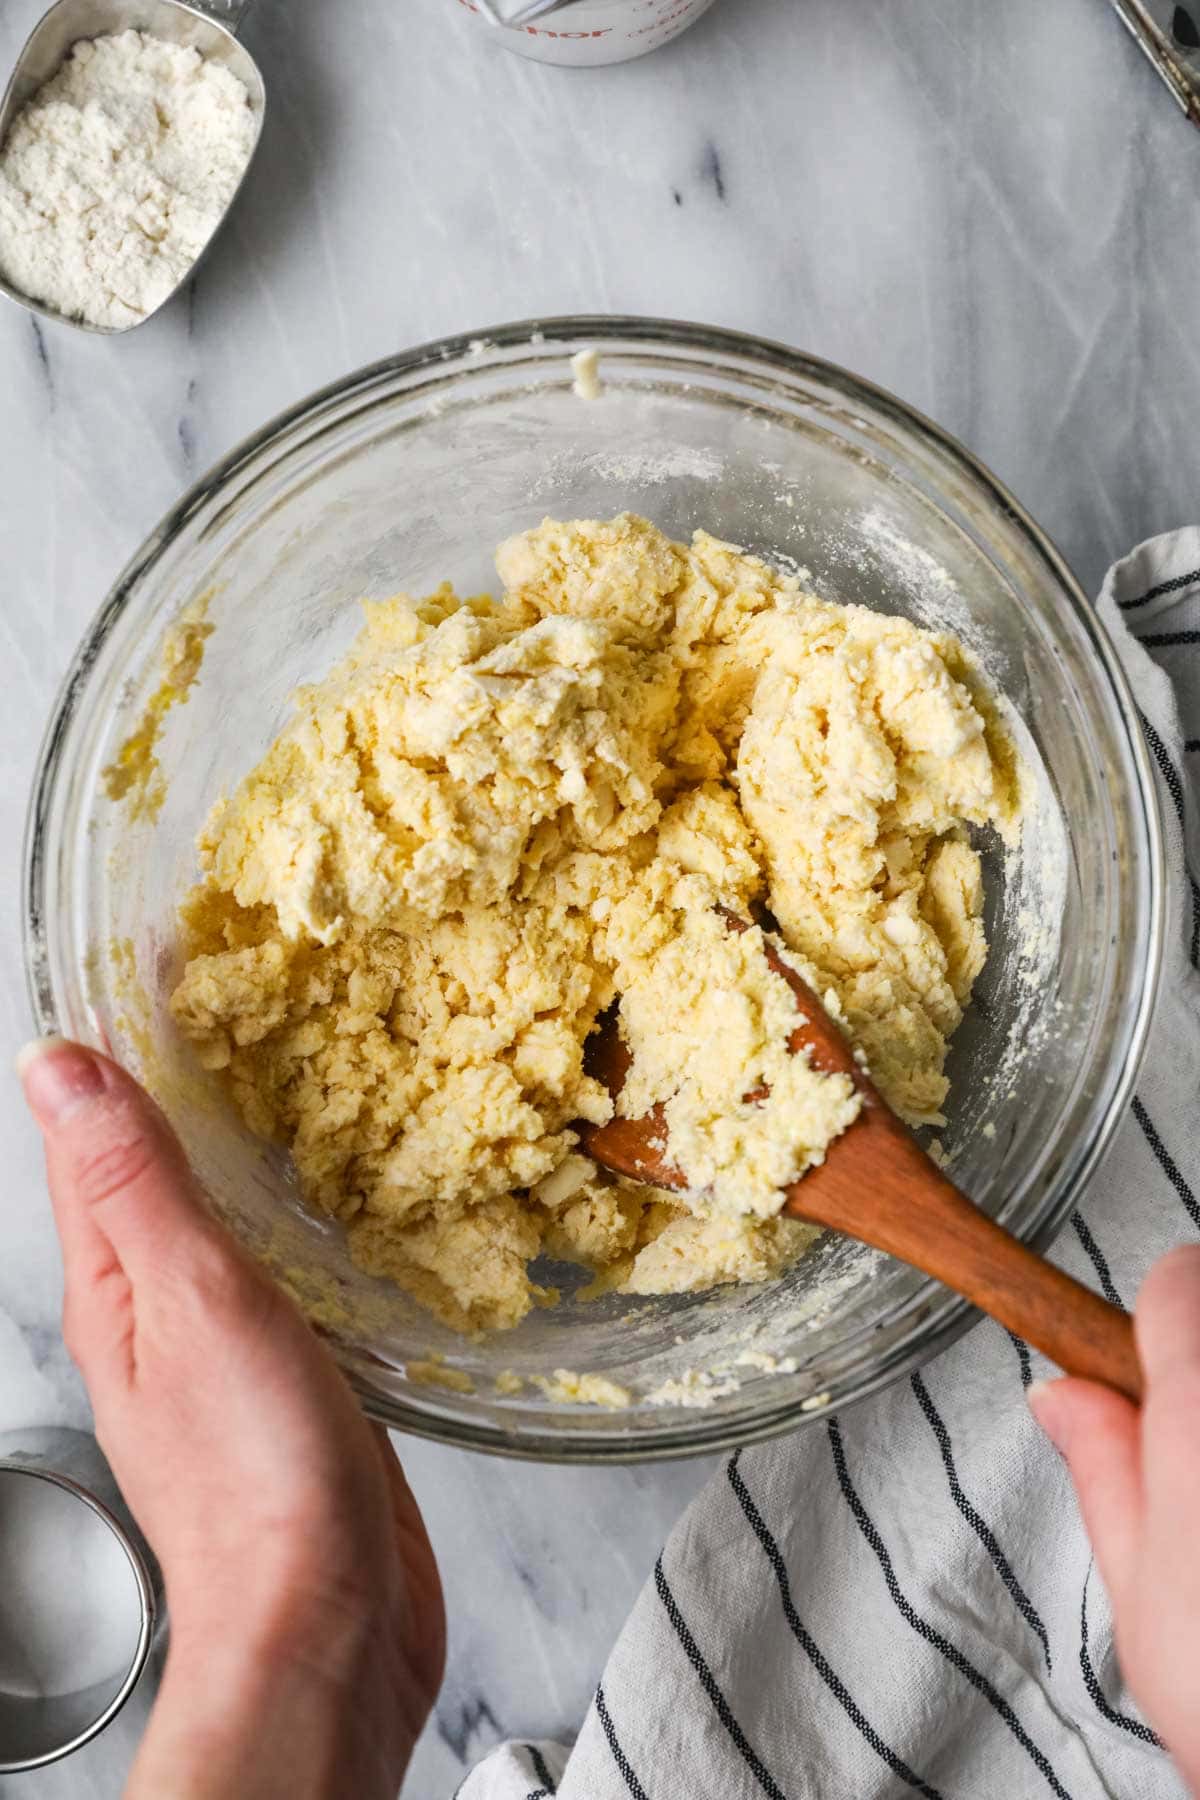
Freeze your butter for 10-30 minutes, then use a box grater to grate it into the combined dry ingredients. While you could use a pastry cutter for this step instead, I find grating the butter to be far easier and yields better results. Stir so the butter is well distributed (there will and should still be discernible pieces) and coated in flour; you will not have a uniform dough yet.
Add the buttermilk and stir until everything starts to come together. Be careful not to overwork the mixture at this point–it’s fine if it looks shaggy.
Option 2: use a food processor
Not only is using a food processor easier, but it also makes the cornbread biscuits more uniform/taller/flakier because you can distribute the butter really well without overworking the dough. I prefer to make my pie crust in the food processor for the same reason!
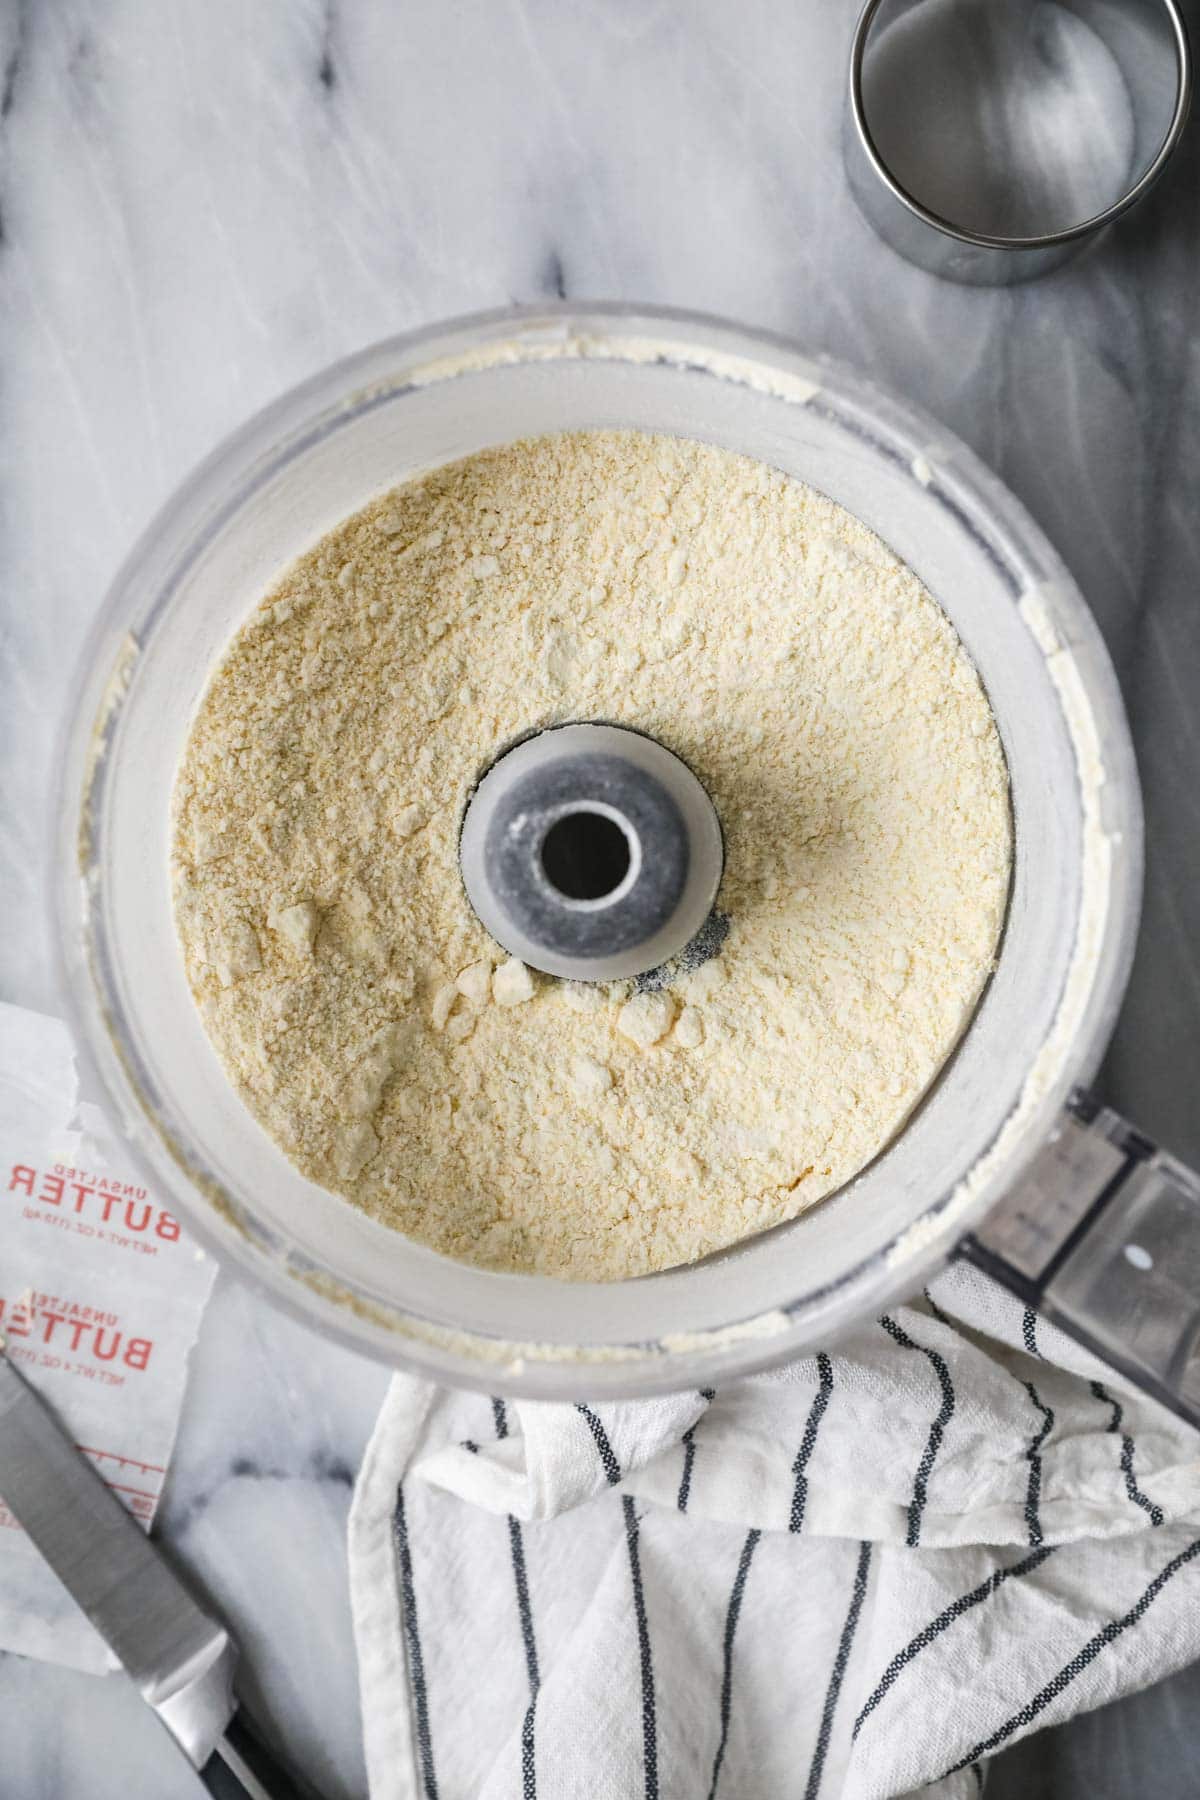
Pulse the dry ingredients together briefly, then add your frozen butter (slice it into tablespoons first). Pulse until the butter is cut into the dry ingredients–the butter pieces should be no larger than a chocolate chip (or I guess I should say no larger than “pea-sized”).
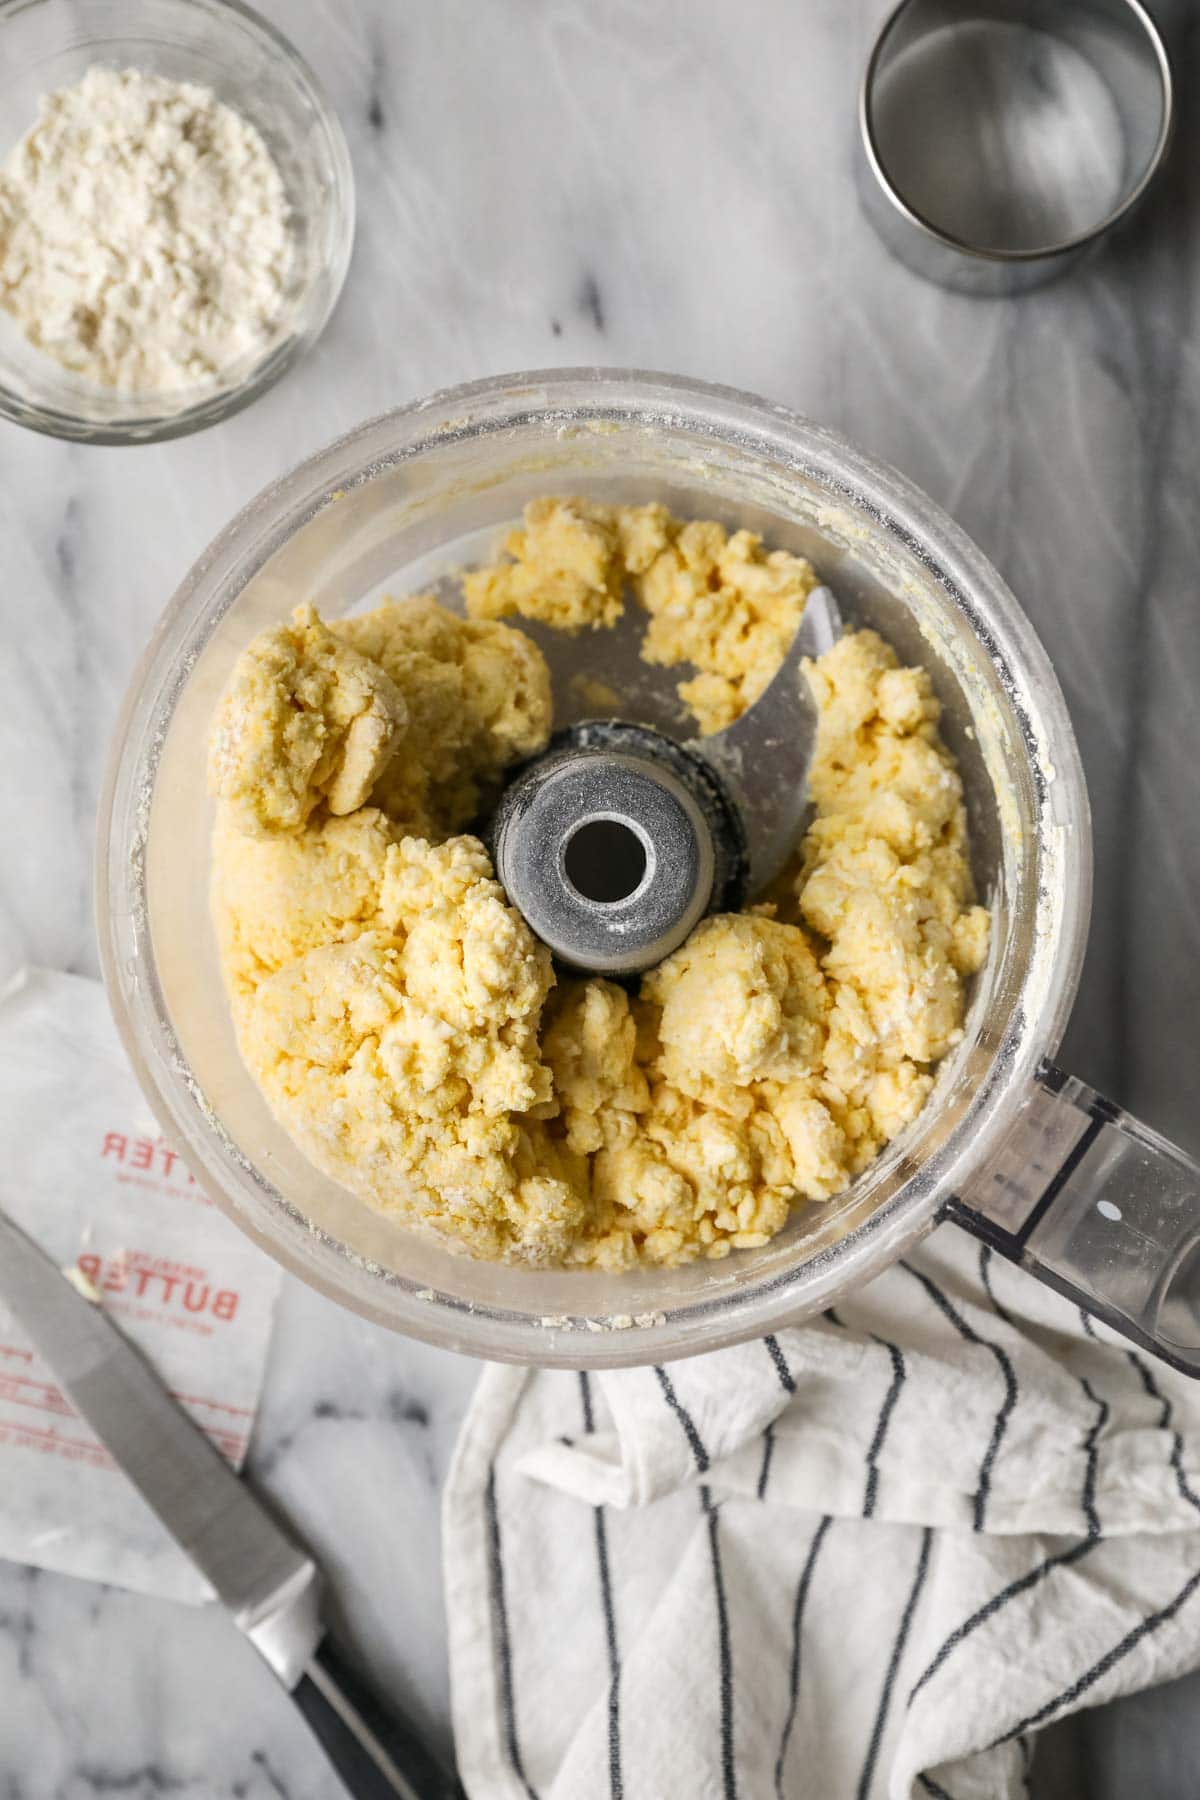
Drizzle in the buttermilk and pulse again until the dough starts to clump together (you can test this by pinching some between your fingers). Do NOT over-mix! It will not look completely smooth and uniform (it’ll be shaggy and dry but still clinging together), and that is fine.
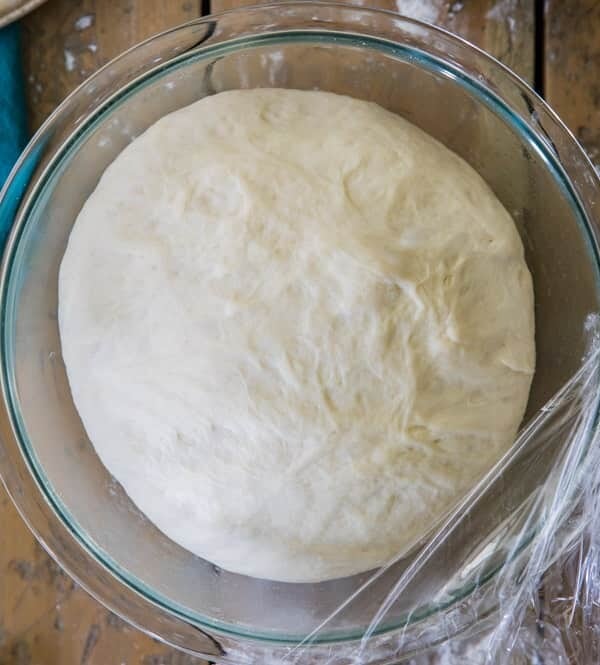
Lamination
“Laminating” the dough is simply the process of folding it over itself repeatedly to help encourage flaky layers in the biscuits. It also allows us to work the dough together a bit more so it’s less shaggy.
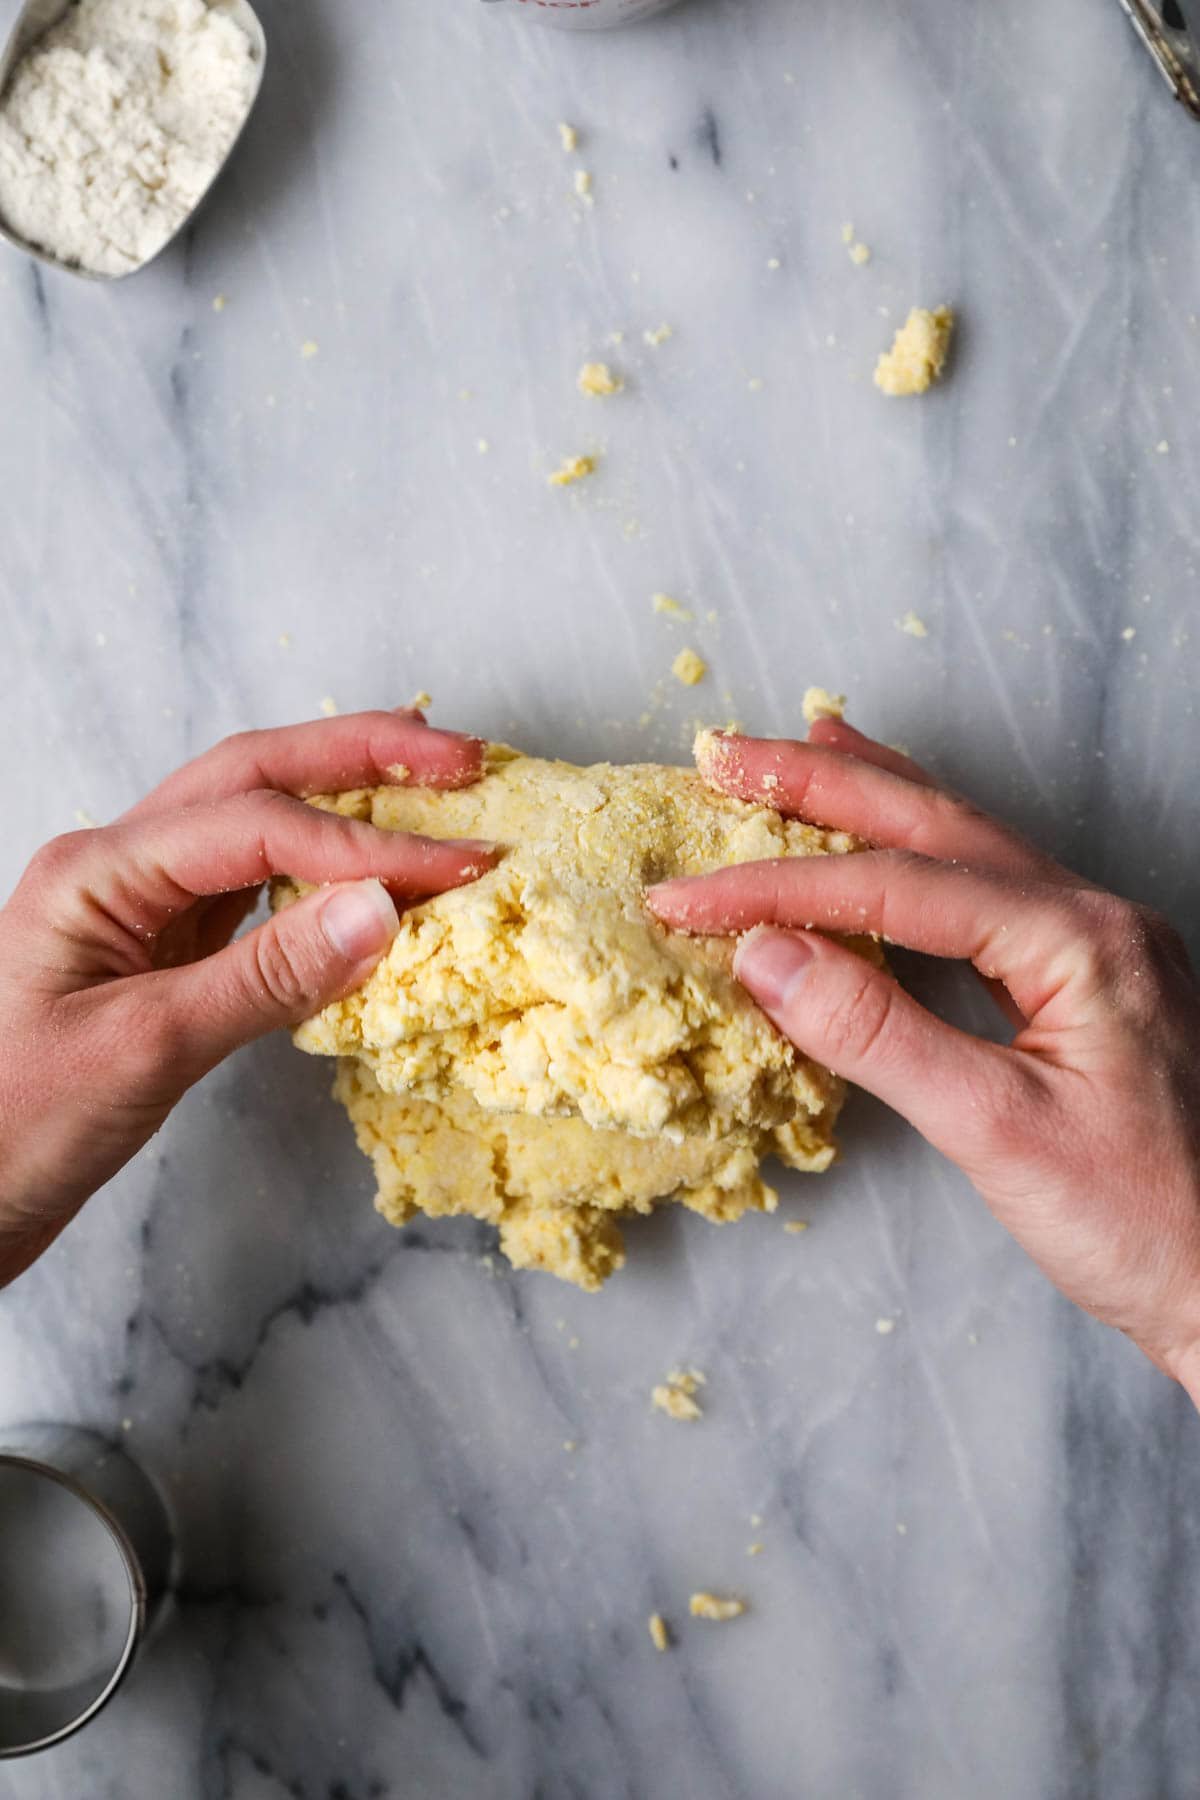
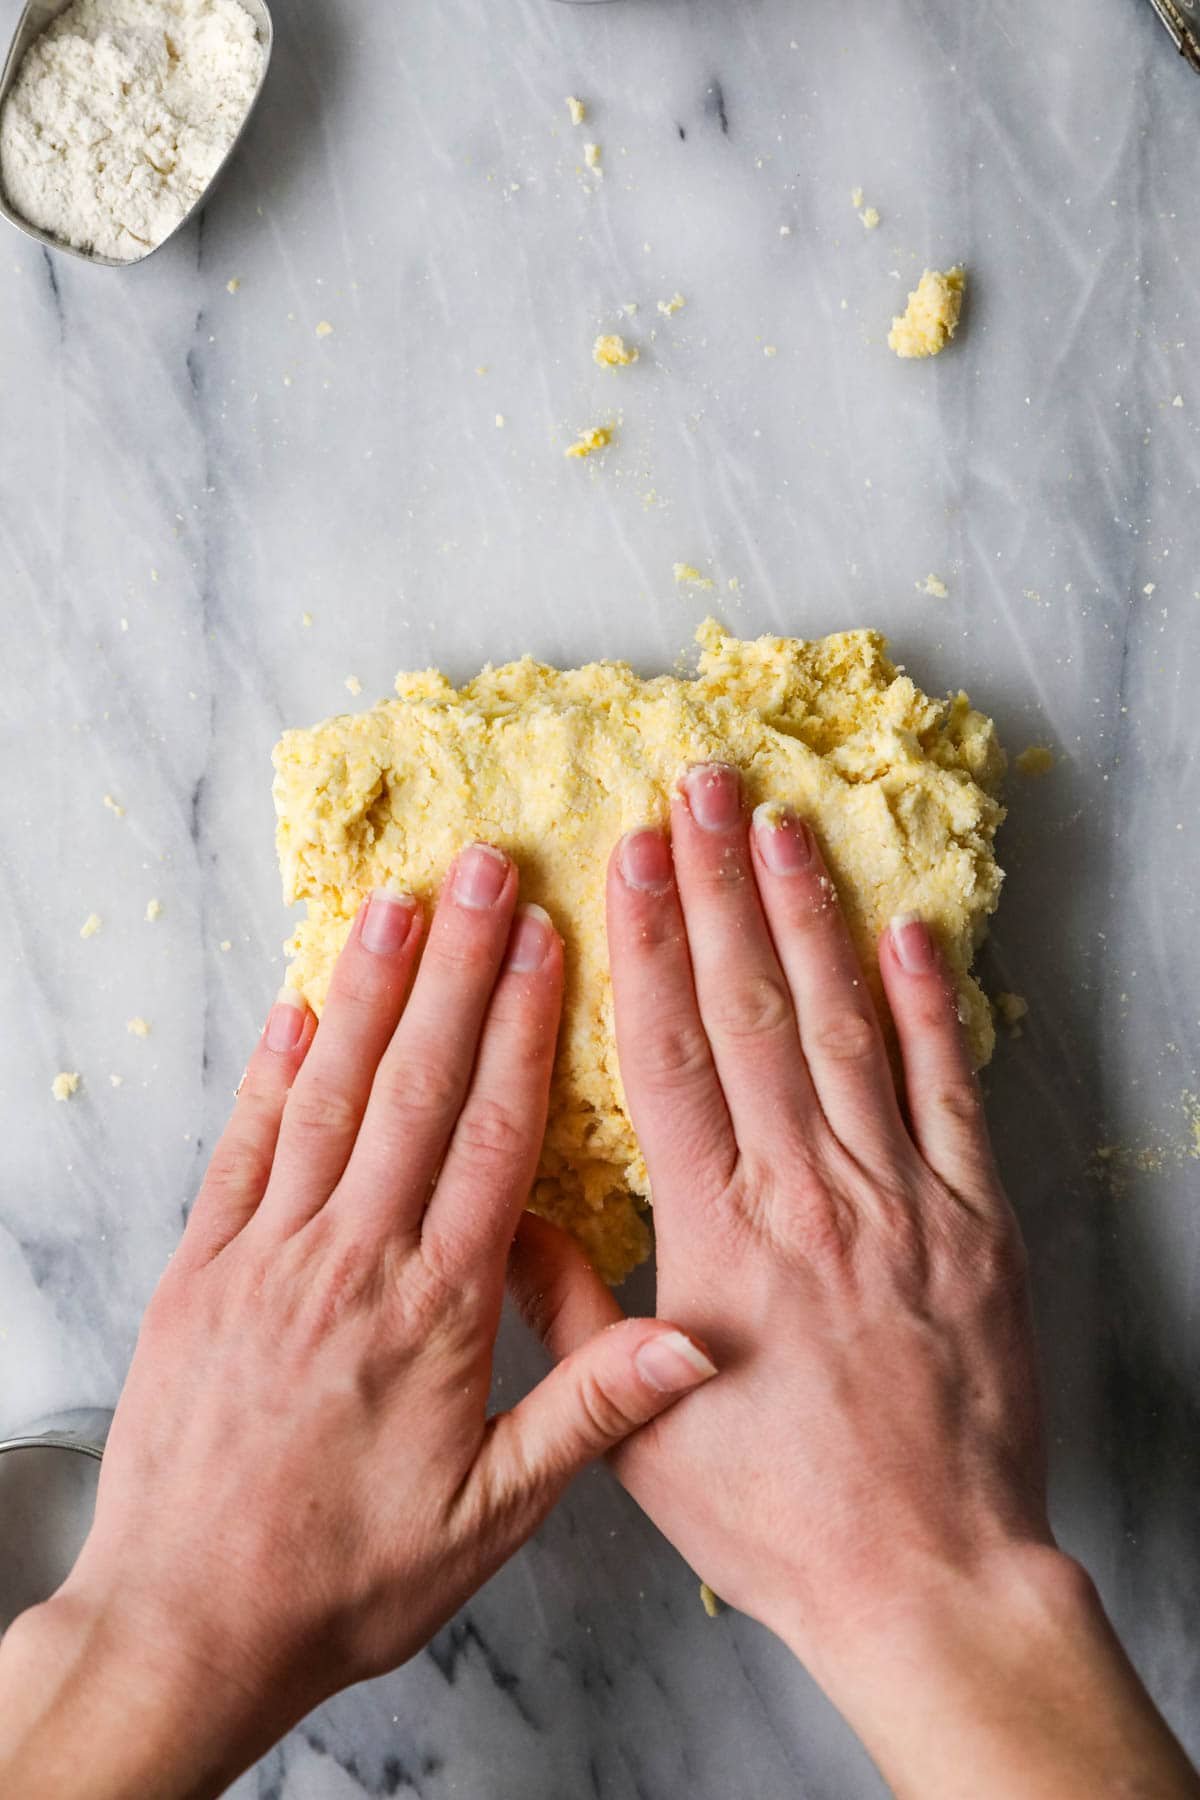
Turn the dough out onto a lightly floured surface and work it together gently with your hands. It doesn’t have to be totally smooth. Form into a rough rectangle with your hands, then fold it over onto itself.
Flatten back into a rectangle, then turn it 90 degrees. Repeat this process of folding, flattening, and turning 5-6 times.
Cut your biscuits
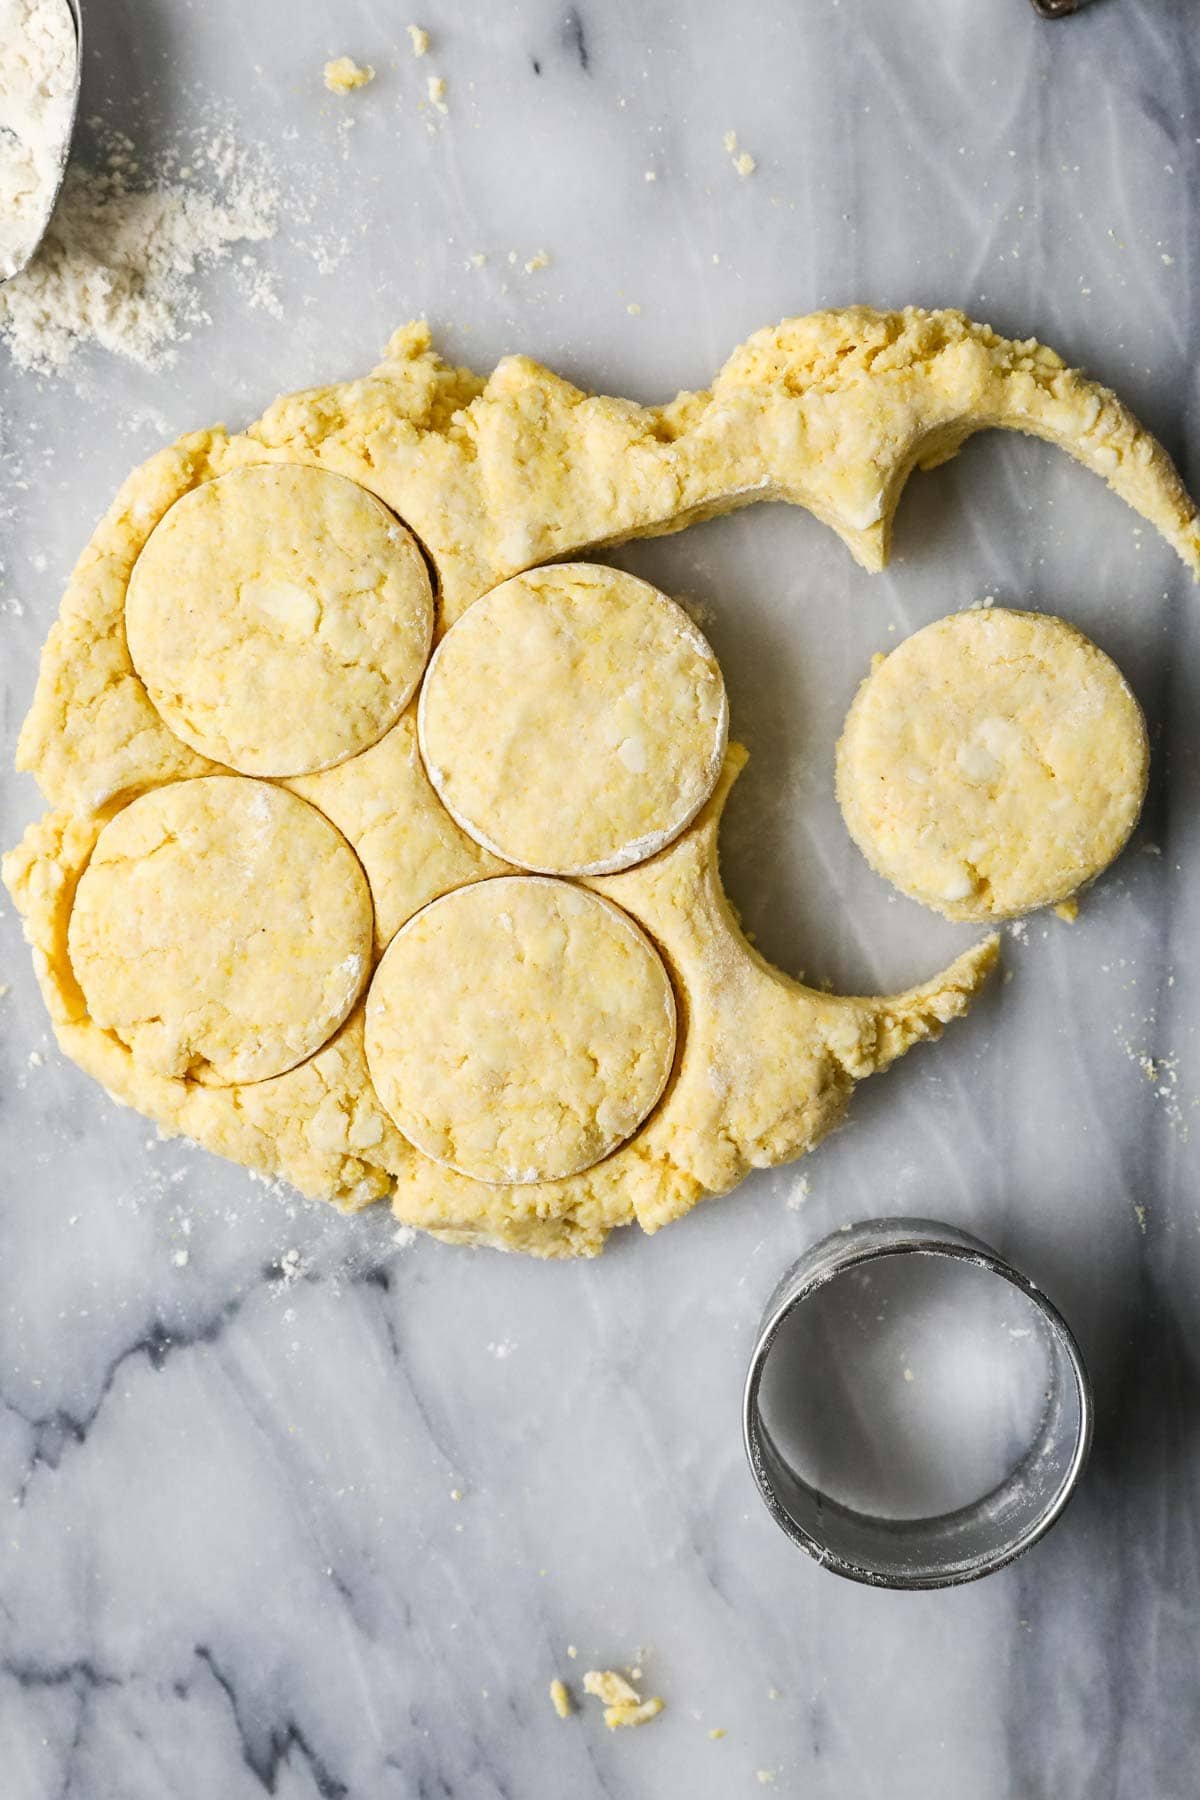
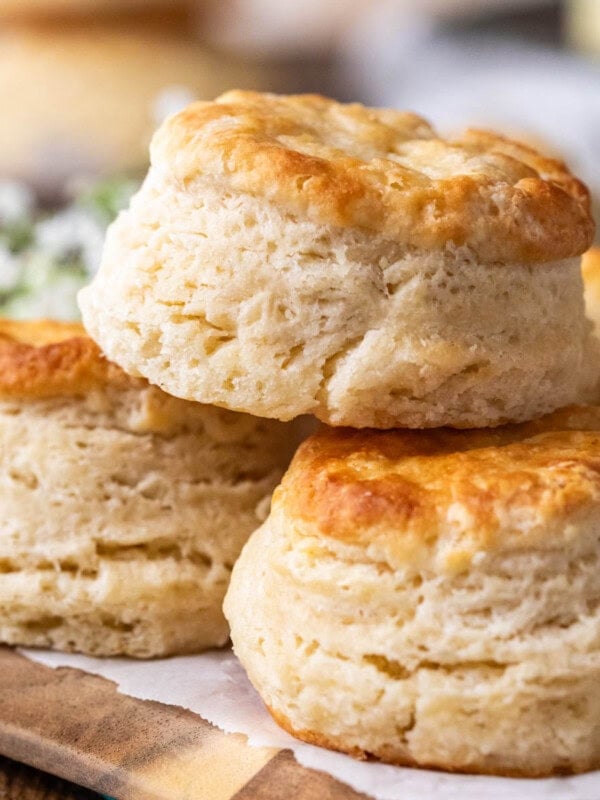
Use your hands (don’t use a rolling pin) to flatten until you have a 1″ thick dough, then use a biscuit cutter or knife to cut out your biscuits.
Important: do not twist the biscuit cutter or saw through if cutting with a knife. If you do, your biscuits will topple over in the oven. Press/cut straight down, just like when making scones.
Regroup any scraps to cut out as many biscuits as you can. Biscuits from your second or third cutting won’t look quite as nice as your first, but they will still taste great!
Bake and cool
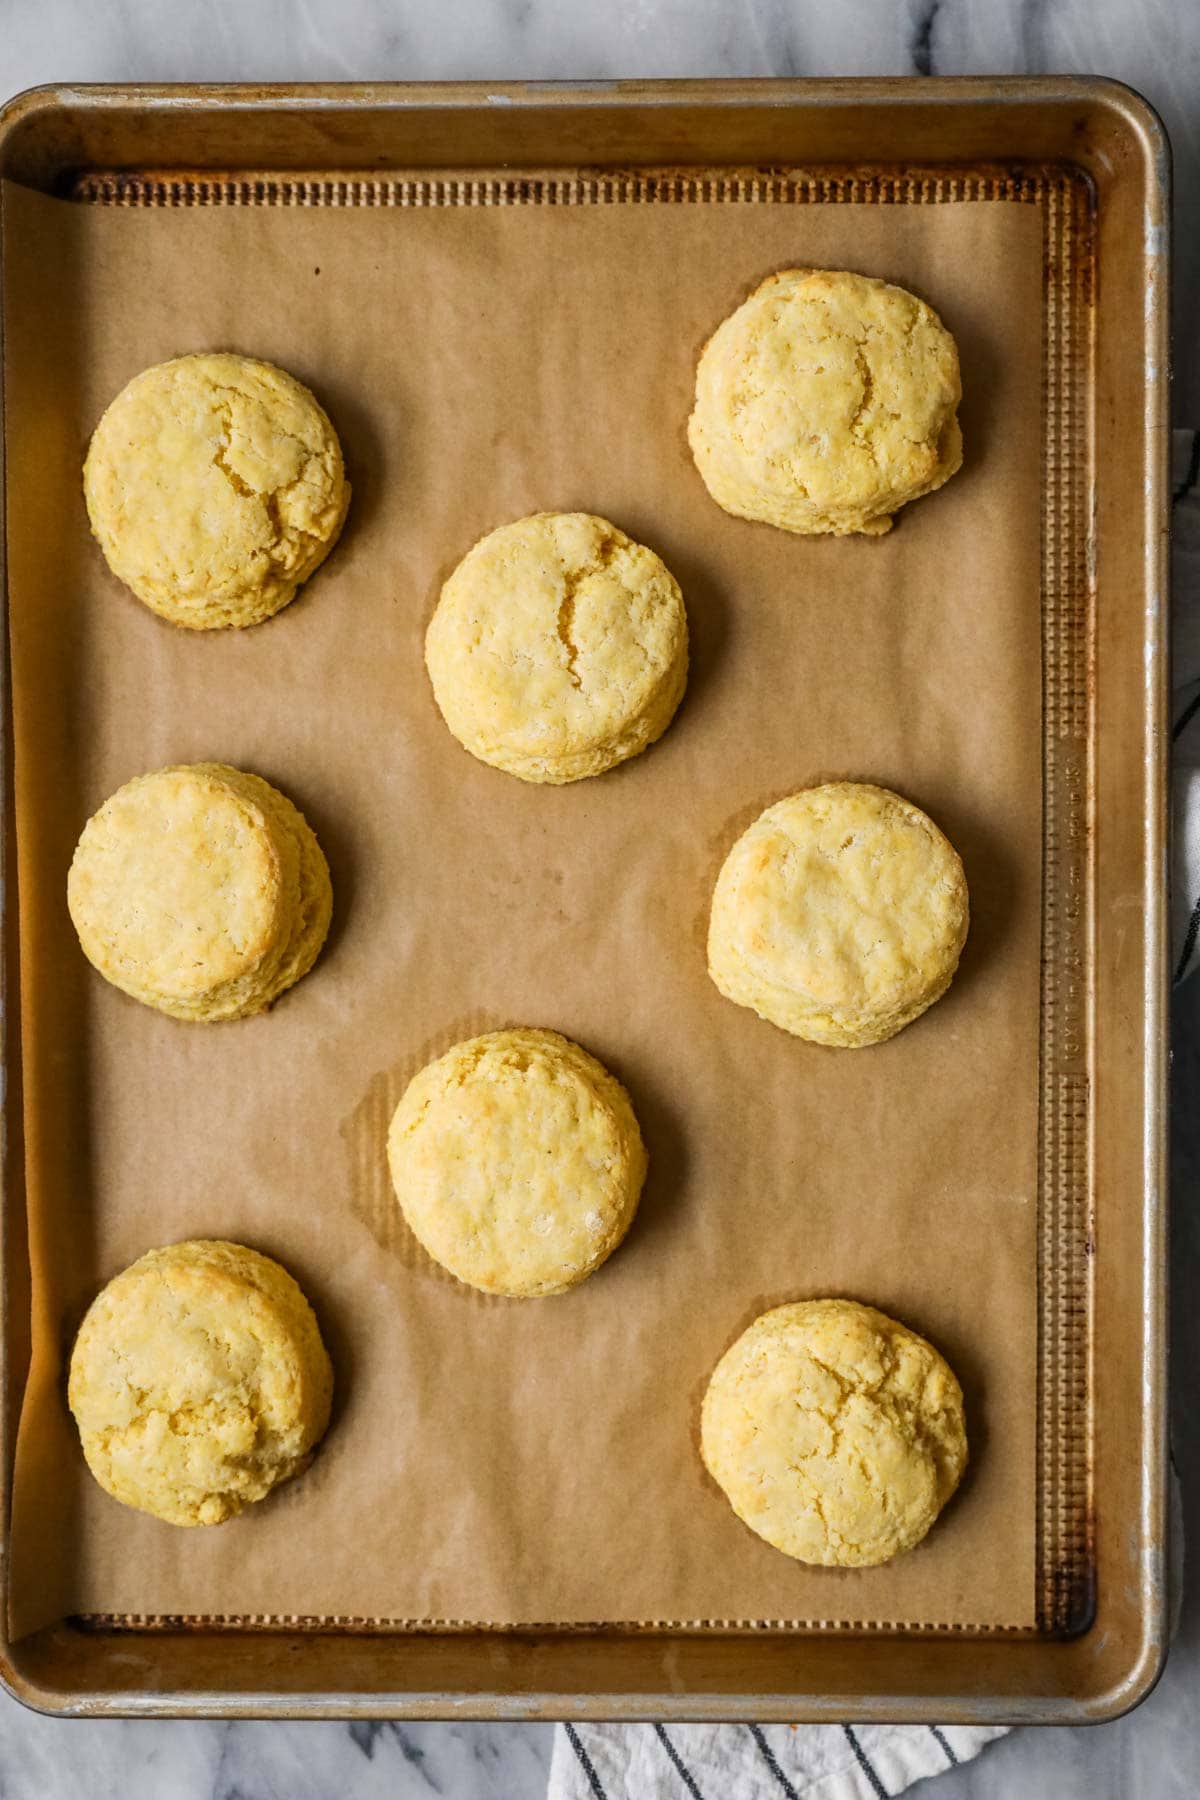
Bake on a parchment lined baking sheet until light golden brown and cooked through.
You may notice that we’re baking at quite a high temperature (425F), this is intentional. The high heat helps the biscuits rise nice and tall! Just make sure to keep an eye on them so they don’t burn.
SAM’S TIP: I recommend baking these cornbread biscuits on a baking sheet with a bit of space between them. You can bunch them together in a pie plate if you prefer, but they tend to bleed into each other a bit and can take quite a bit longer to bake this way.
Frequently Asked Questions
Yes! I recommend cutting out your biscuits and storing them in an airtight container in the fridge until ready to bake. You can also freeze them (wrap each biscuit tightly in plastic wrap first) and bake straight from the freezer.
When baked from the fridge, the bake time will be the same (or close to it), but the biscuits may need an additional few minutes when baked from frozen.
This issue typically stems from improperly cutting the biscuits. If you twist your biscuit cutter or use a knife to saw through, your biscuits will most likely topple over.
To avoid this, press straight down when cutting!
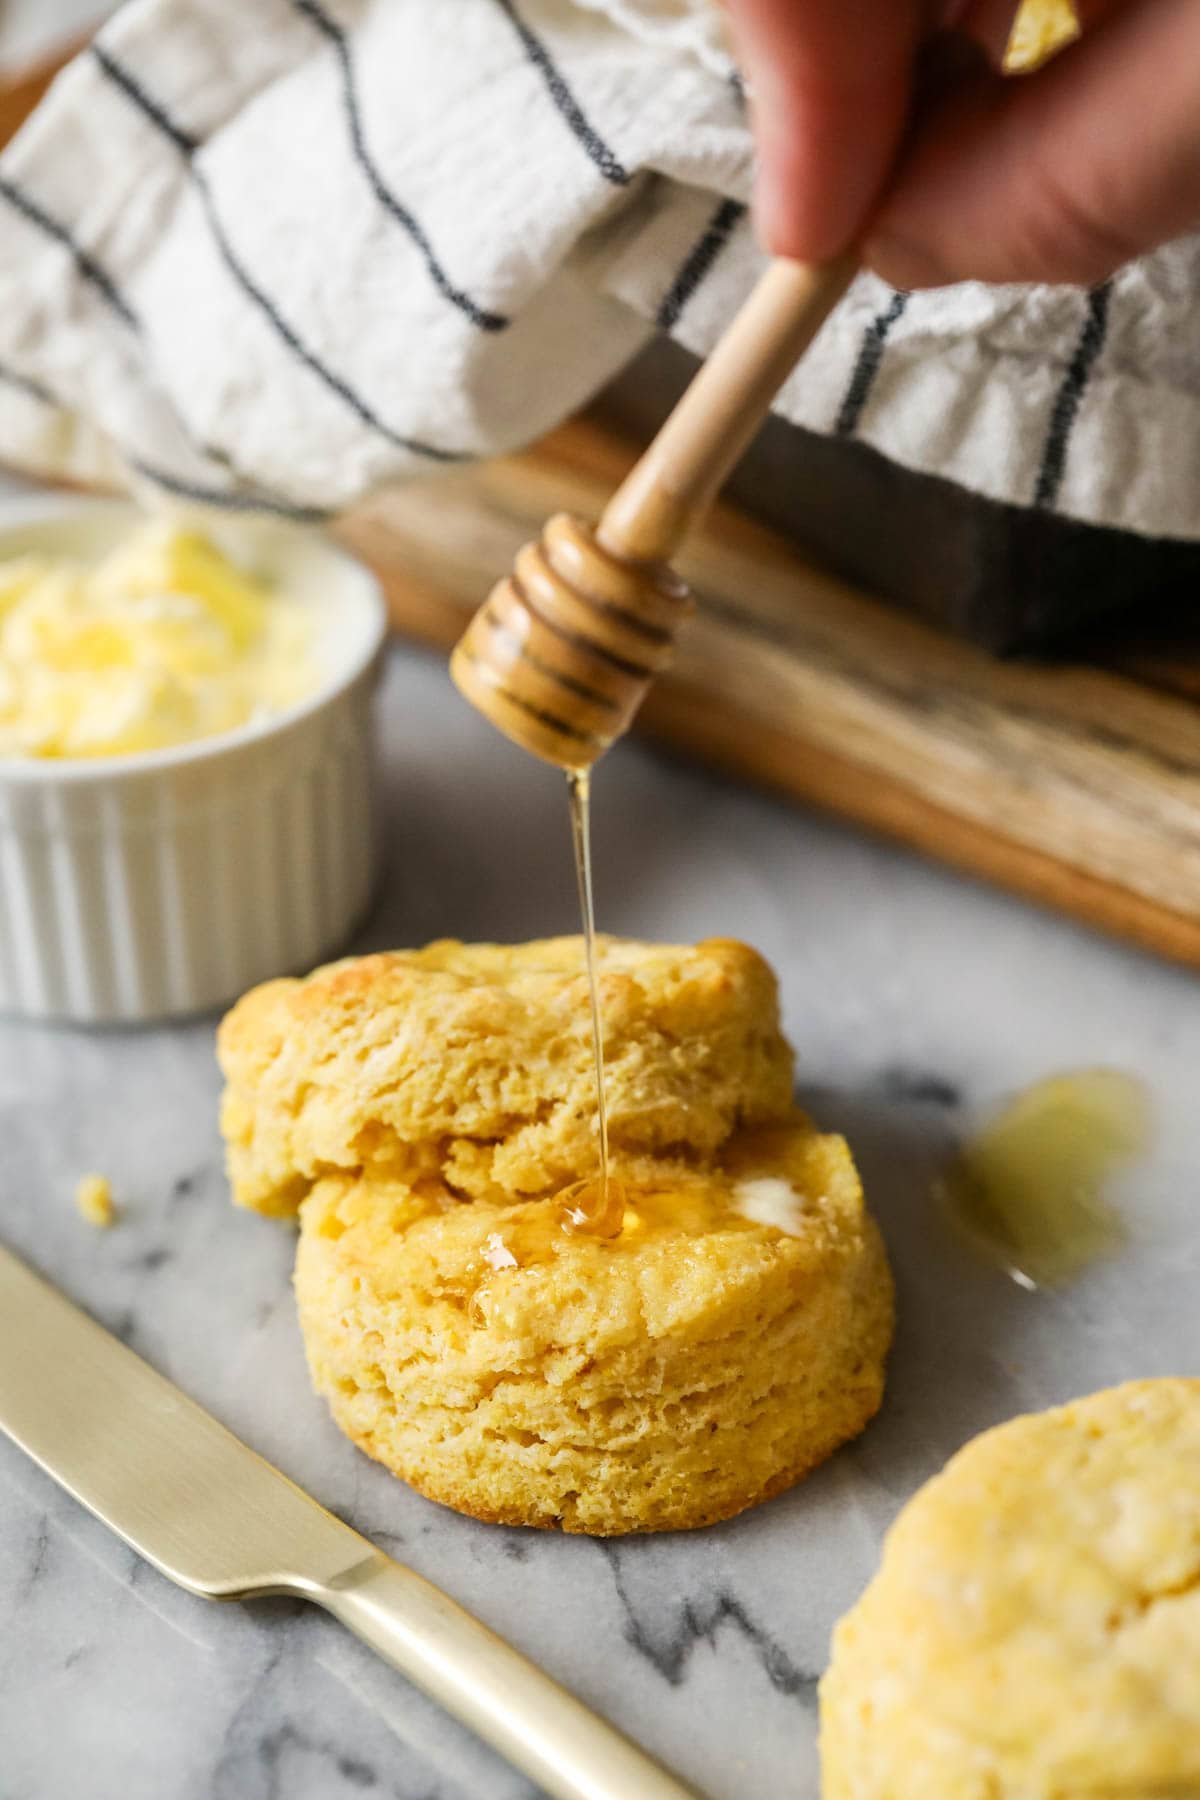
We especially love these biscuits with chili, whether that’s my classic award winning chili recipe, turkey chili, or new vegetarian chili. I also serve them with crispy chicken tacos, southwest chicken soup, chicken corn chowder, pulled chicken, or by themselves with a smear of honey butter (ah-mazing).
If you try these, I’d love to know what you think of them!
Enjoy!
Let’s bake together! Subscribe to my newsletter to be notified of all the newest recipes, and find my free recipe tutorials on YouTube 💜
Cornbread Biscuits
Equipment
- 2½” biscuit cutter
Ingredients
- 1 ½ cups (188 g) all-purpose flour
- ¾ cup (120 g) cornmeal
- 3 Tablespoons granulated sugar
- 1 Tablespoon baking powder
- ¼ teaspoon baking soda
- 1 teaspoon table salt
- 6 Tablespoons (85 g) unsalted butter, very cold (I place mine in the freezer for 15 minutes before beginning)
- ¾ cup (178 ml) buttermilk, cold
Instructions
- Preheat oven to 425F (220C). Line a baking sheet with parchment paper and set aside.
- In a large mixing bowl, whisk together flour, cornmeal, sugar, baking powder, baking soda, and salt (If you are using a food processor: add to the basin of a food processor and pulse to combine).1 ½ cups (188 g) all-purpose flour, ¾ cup (120 g) cornmeal, 3 Tablespoons granulated sugar, 1 Tablespoon baking powder, ¼ teaspoon baking soda, 1 teaspoon table salt
- Use a box grater to grate butter into shreds. Add the grated butter into the flour mixture and use a wooden spoon to stir until combined (the flour should coat all the butter and the butter should be well dispersed, don’t try to make it creamy or make the batter uniform at this point). (If using a food processor: cut butter into tablespoons and pulse until only pea-sized pieces remain).6 Tablespoons (85 g) unsalted butter
- Add buttermilk and stir until combined and dough clings together, be careful not to overwork the dough. (If using a food processor: pour buttermilk over dough and pulse together until dough is crumbly but clings together, if you pinch the dough it should hold together).¾ cup (178 ml) buttermilk
- Laminate the dough (makes for tall flaky biscuits!): Transfer dough onto a clean, lightly floured surface and use your hands to form the dough into a disk. Gently flatten, fold in half over itself, and use your hands to gently flatten again. Rotate the dough 90 degrees and fold in half again, repeating 5-6 times.
- Flatten & cut out biscuits: Use your hands to gently flatten dough to be an even 1” (2.5cm) thick and use a 2 ½” (6.4cm) biscuit cutter to press straight down in the dough. Cut out as many biscuits as you can before gathering the scraps and reworking the dough to cut out more biscuits.
- Bake: Place biscuits on prepared baking sheet, spacing at least 1” apart, and bake in 425F (220C) preheated oven for 12 minutes. When biscuits are finished baking the tops should just be beginning to turn a light golden brown.
- Allow to cool on the baking sheet a bit before serving. These are wonderful served with a bit of butter or honey butter!
Notes
Storing
Store in an airtight container at room temperature for up to 3 days or tightly wrap and freeze for up to a month.Nutrition
Nutrition information is automatically calculated, so should only be used as an approximation.
Like this? Leave a comment below!


These are really good
Thank you so much for trying my recipe, John! I’m so glad you enjoyed them so much! 🙂
These were tender and reminded me of a cornmeal scone. They would have been delicious except I found 1 tsp of table salt to be aggressively salty. Would definitely recommend cutting the salt in half.
I’m so glad you ultimately enjoyed them, Janet! Did you use salted butter? If so you would want to reduce the salt a bit. 🙂
It was unsalted butter 🤷♀️
Can I make them unbaked ahead and freeze until ready for baking?
Hi Elyse! That should work just fine. 🙂
We had cornmeal biscuits while staying at The Lodge at Torrey Pines in La Jolla, California. These are very similar and delicious!
I’m so glad you enjoyed these so much, Cheryl! 🙂
Delicious, I will make again……so easy. Had to hurry up and give away, so I would not eat the entire 12………..
Thank you so much for trying my recipe, Regina! I’m so glad you enjoyed them! 🙂
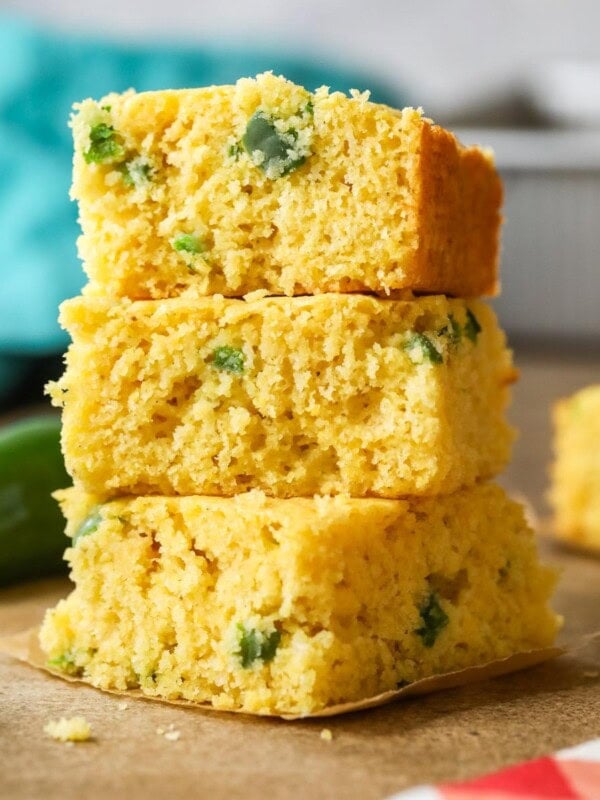
Great biscuits! The texture was so enjoyable. I added green onion, fresh garlic, and shredded cheese. Lovely accompaniment to the chili. Thank you!
Thank you so much for trying my recipe, Dalena! I’m so glad you enjoyed the biscuits so much! 🙂
Youre the dinner fairy! Thank you!
Also, I added jalapeno and cheddar to half of the batch, and my husband said they were quite literally the best biscuits he’s had in his life.
Thank you so much for trying my recipe, April! I’m so glad they were such a hit! 🙂
Simply delicious. I baked these biscuits tonight and my family loved them. I didn’t have yellow cornmeal so I used white cornmeal instead. The texture was tender and flaky. These biscuits were good even without butter, they had the perfect amount of sweetness.
Thank you so much for trying my recipe, Nicole! I am so glad you enjoyed them so much! 🙂
This recipe worked out great, I would just say don’t over-laminate—I folded the dough over so many times the second time I made these (thinking “more is more” for flakiness) that the biscuits rose and toppled over when baking! They still tasted great, but follow the instructions
Thank you so much for trying my recipe, Abi! I’m so glad it was such a hit! 🙂
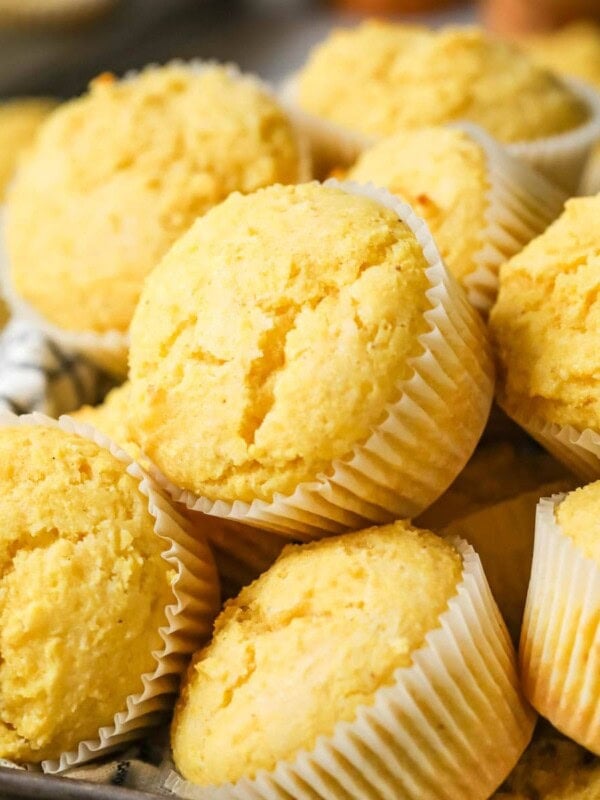
Easy recipe and cornbread muffins were DELISH!!! I have an 8 slot cast iron muffin/biscuit pan and it worked wonderfully for these!!!!!
I’m so glad you enjoyed them so much! 🙂
These were fairly easy to make and are more tender than regular biscuits with the cornmeal texture. Delicious! I use Saco buttermilk powder and it works great (as I don’t like buttermilk and never buy it).
I’m so glad you enjoyed them, Toby! 🙂
This is a great recipe. The lamination works wonders!
I’m so glad you enjoyed them so much, Chris! 🙂
Everyone who tried them agrees!