
Apple Crisp Recipe
This post may contain affiliate links. As an Amazon Associate I earn from qualifying purchases. Please read my disclosure policy.
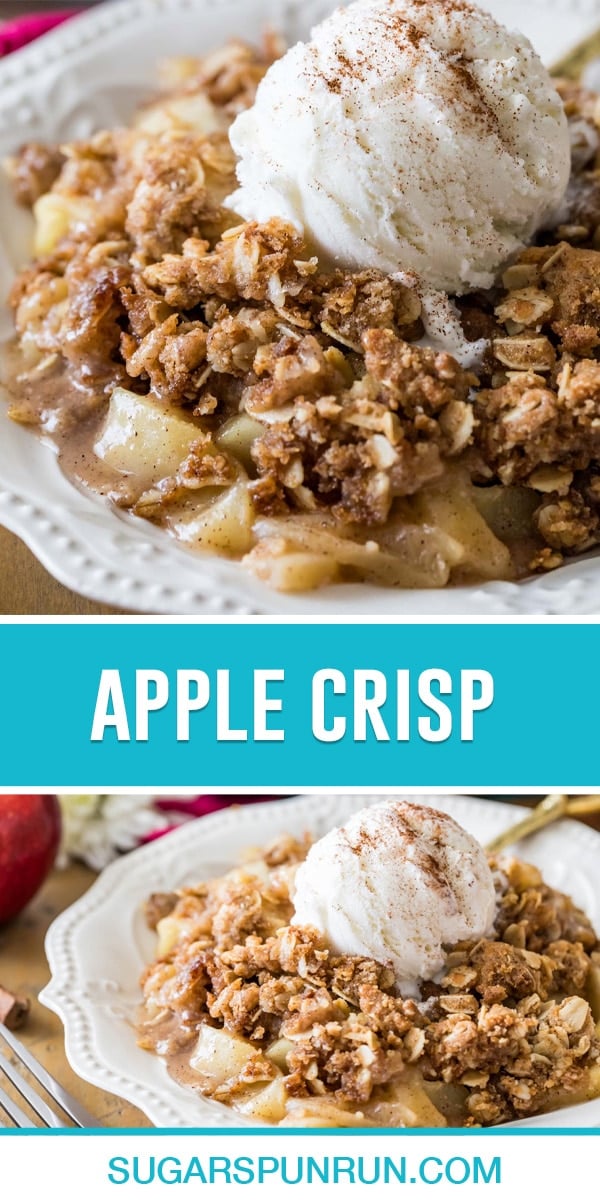
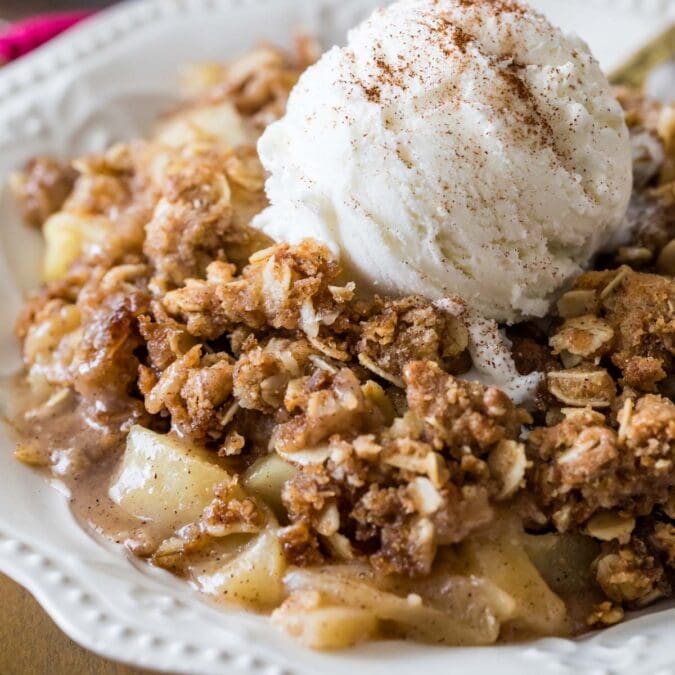
This easy apple crisp recipe is the perfect pairing of tender, cinnamon-spiced apples and a buttery crisp oat topping. It takes just 10 minutes to prep, and thanks to my simple melted-butter method there’s no pastry cutter needed. Recipe includes a how-to video!
An Easy Apple Crisp with the Best Buttery Topping
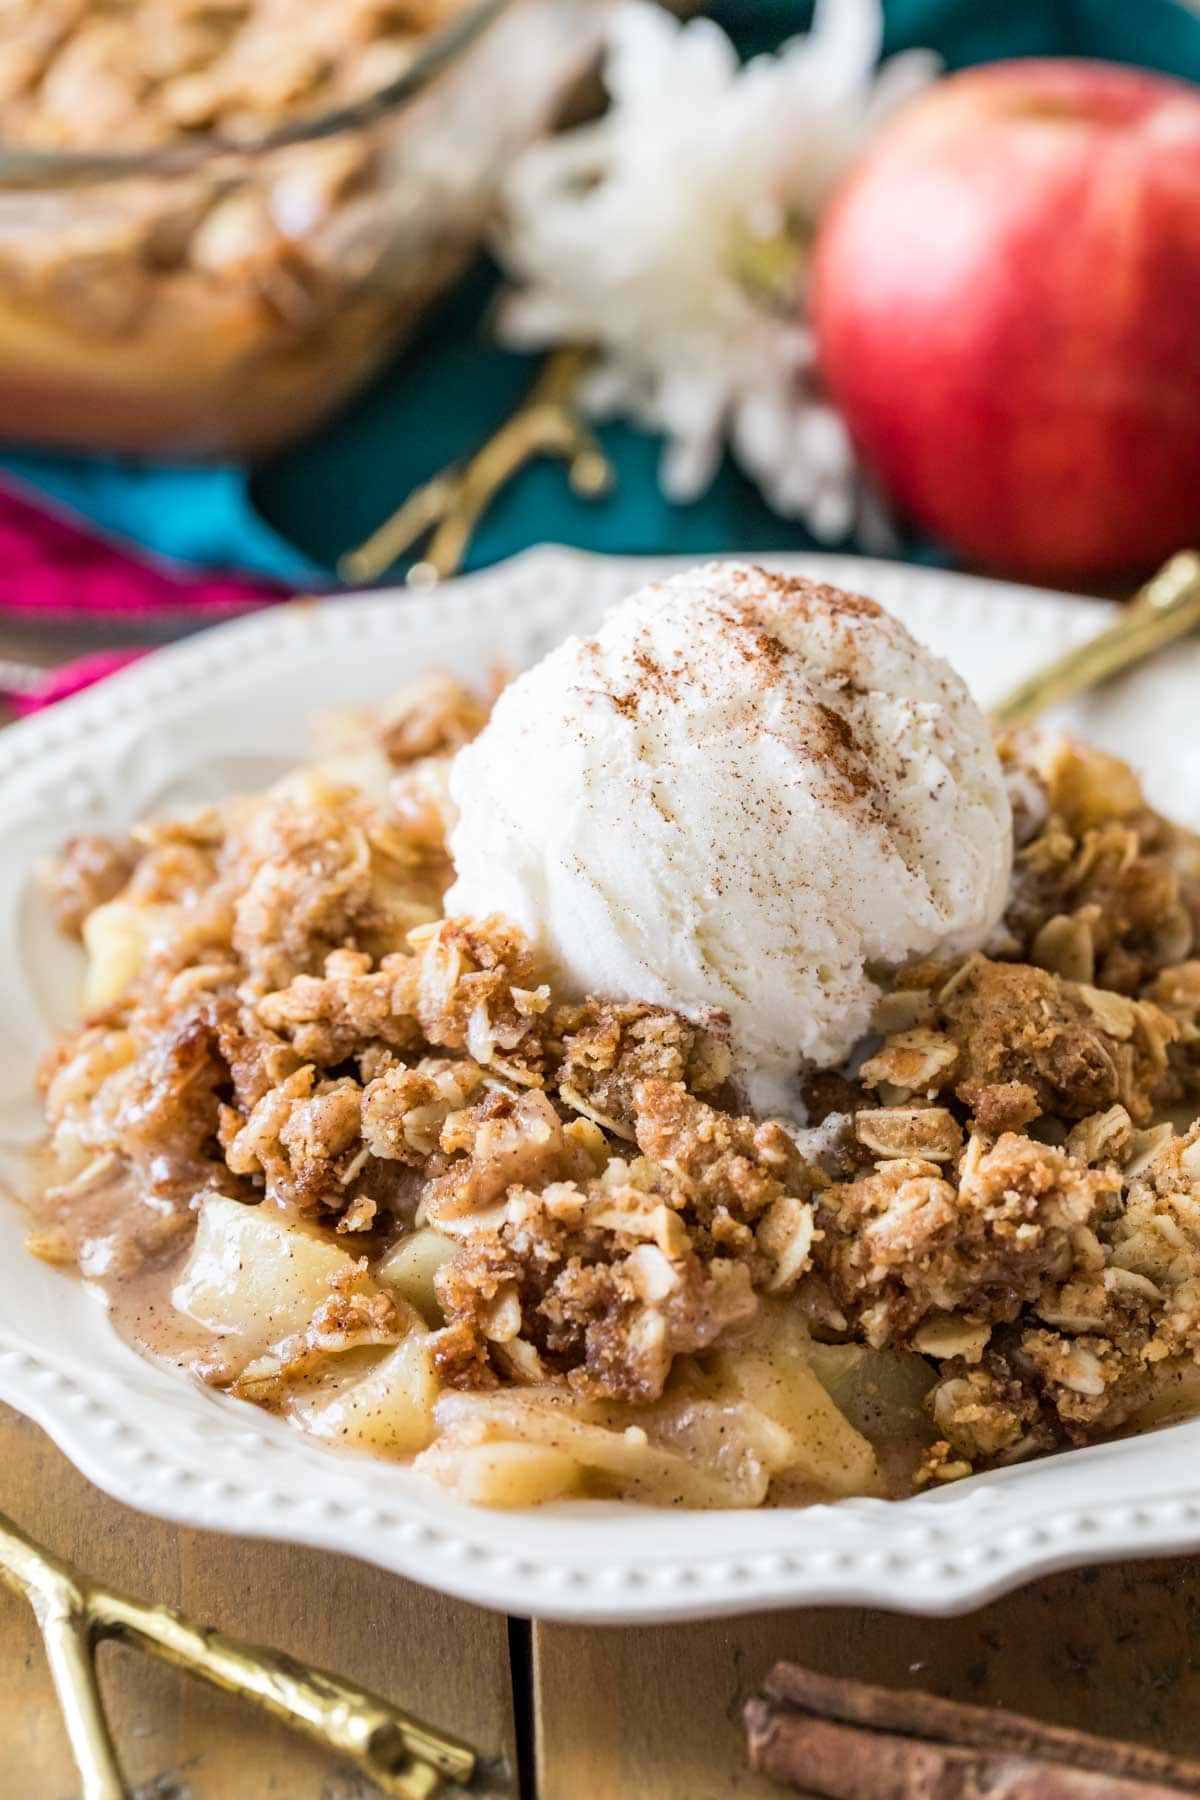
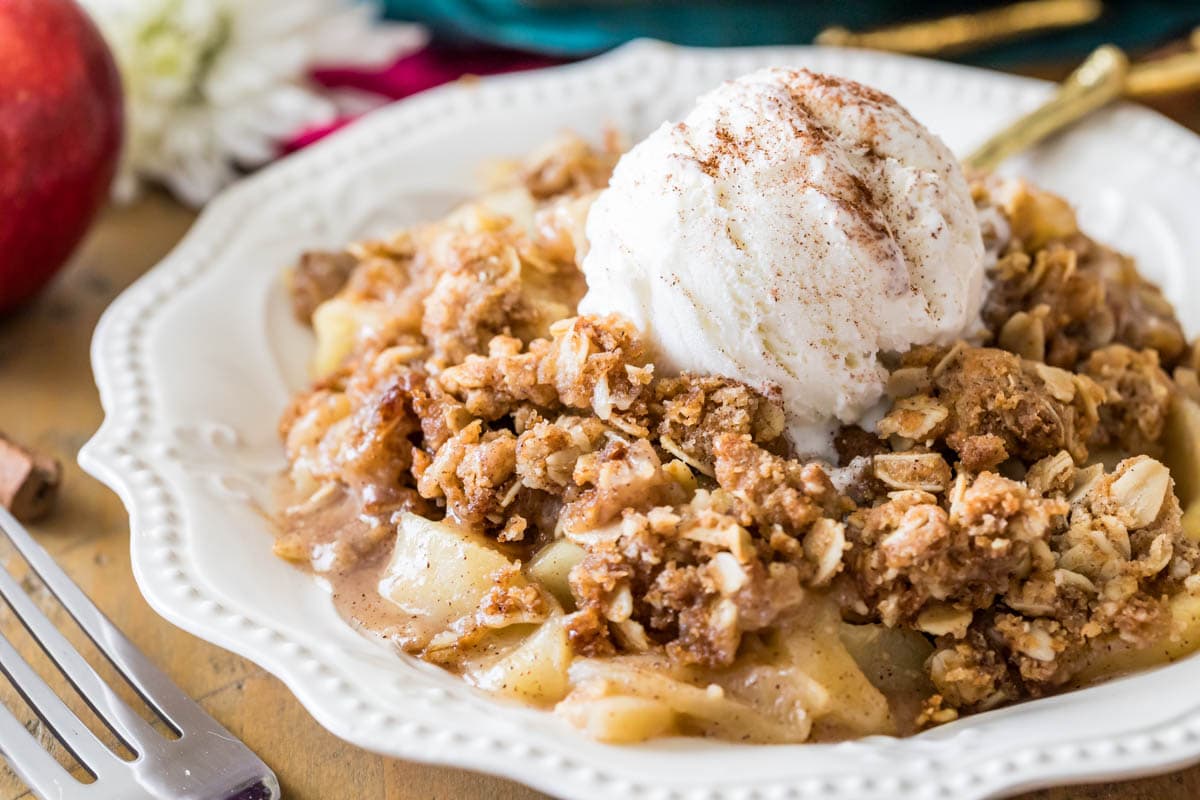
Apple pie is great, but apple crisp gives you all the warm, cozy apple flavor with a fraction of the effort. The filling is nice and juicy (but not runny or watery) and the (very easy) topping reminds me of a crumbled oatmeal cookie. A scoop of vanilla ice cream added to a warm bowlful is the perfect way to indulge.
Why Try This Apple Crisp Recipe:
- It has a truly crisp, buttery topping. I use melted butter, which coats every bit of flour and oats for rich flavor and a perfectly clumpy, crumbly-crisp topping.
- No pastry cutter needed. While many apple crisp recipes depend on pastry cutters or food processors to integrate the butter, this topping comes together easily with a fork (just be careful not to stir it into a paste!).
- Tender, flavorful apples, without a watery filling. A small amount of flour thickens the apple layer while the apples bake, so while you’ll still have a juicy, glossy apple layer, it won’t be thin or watery.
- Make-ahead friendly. Prep the components in advance, then add the topping and bake when you’re ready.
This apple crisp recipe is one of my favorite fall recipes to make when I have a surplus of apples from apple picking (along with my apple butter and apple turnover recipe). I make it every fall, multiple times without fail (often swapping coconut sugar for the sugar in the recipe, so Zach can enjoy it — this works well that way, too!). With fall officially arriving this month, I thought it was about time I re-share this recipe with you!
What You Need
You can make this recipe with a few pantry staples (butter, sugar, flour, etc.). Honestly, that’s one of the things that makes comfort food so good.
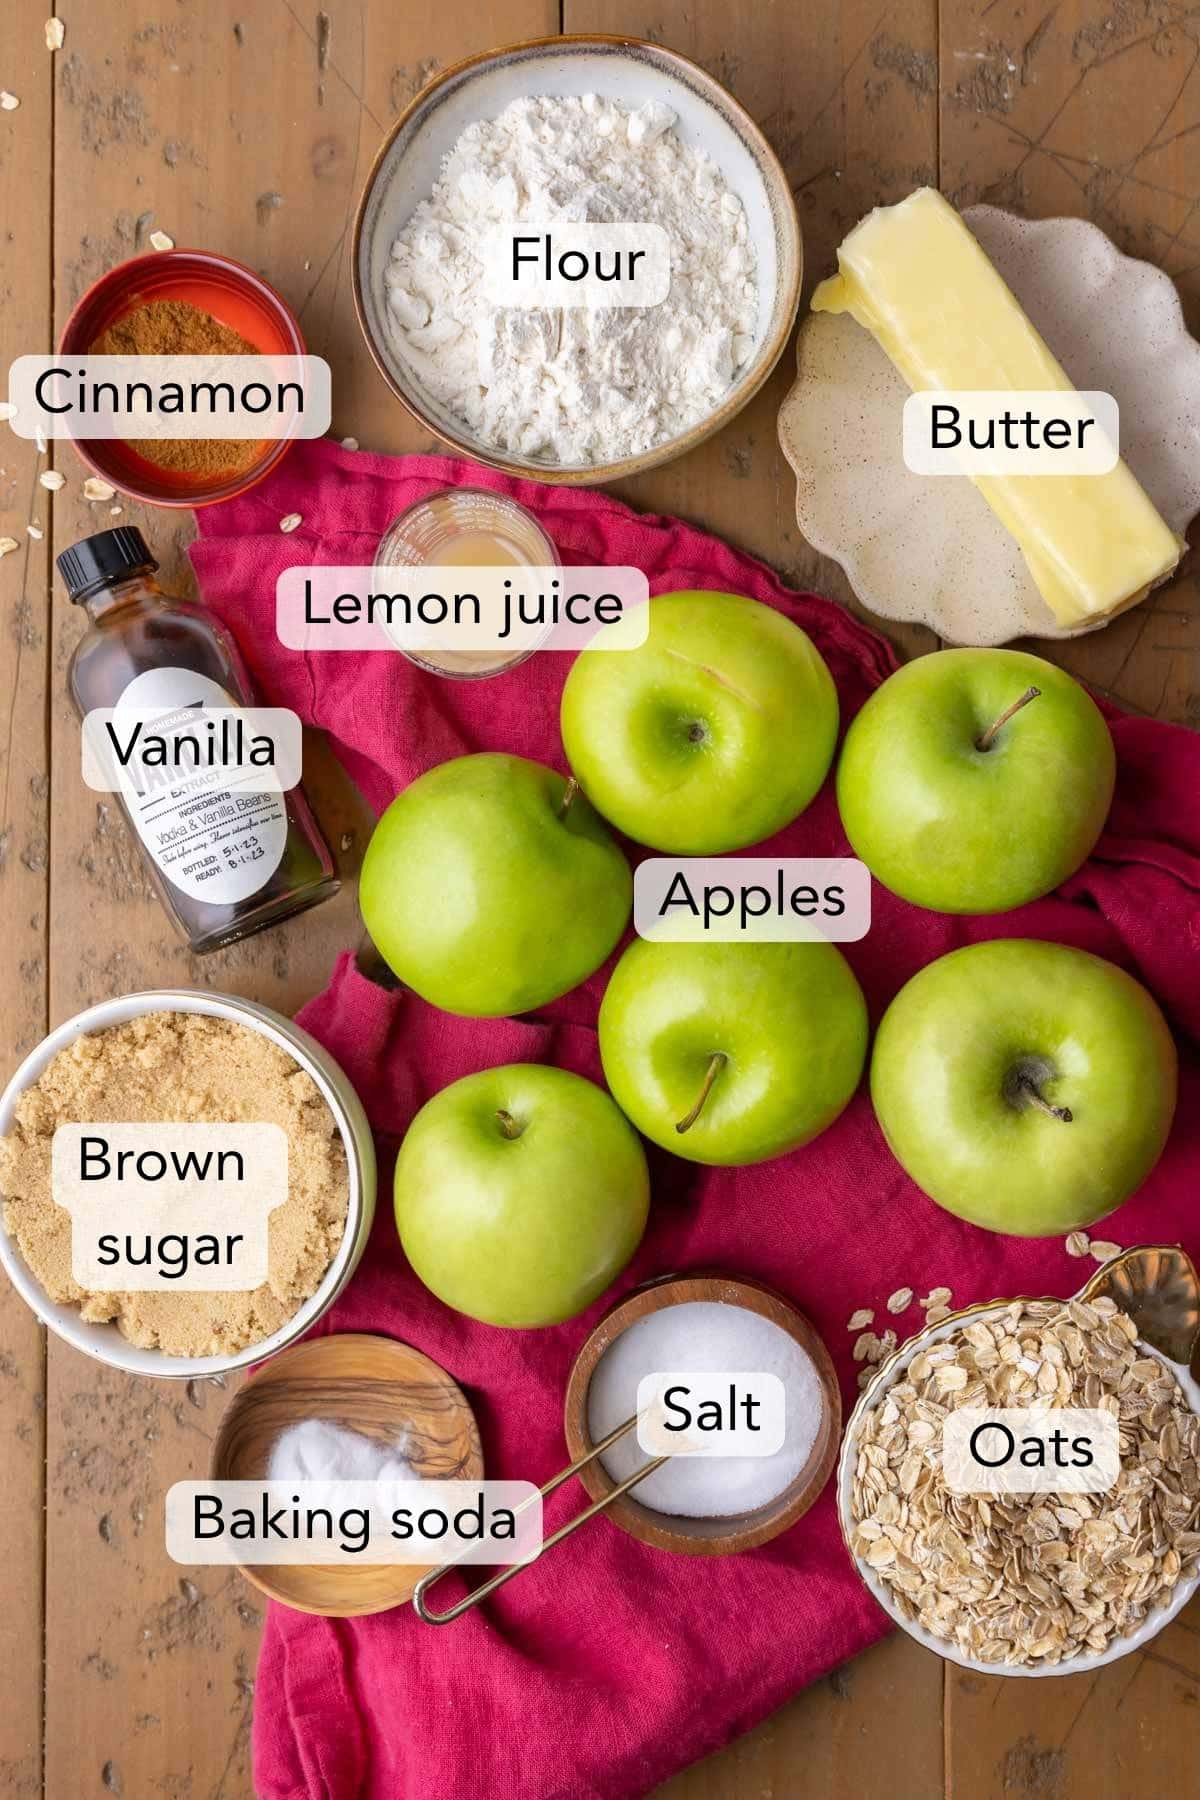
- Apples. I reach for Granny Smith apples first because they’re quite firm and the apples have plenty of time to become tender while the topping cooks, without turning to mush (they’re also perfect for apple dumplings for this reason). Their tartness also does a nice job of balancing the sweet topping. for this recipe. Exactly how many apples you need can vary significantly depending on the size of them. See below for more apple options and information on the best apples for apple crisp.
- Oats. Old-fashioned oats are the best choice and will give you a heartier and crispier topping. Instant oats will work in a pinch, but the topping will be softer and finer.
- Brown sugar. Light brown sugar adds depth to both the crumble and a caramel-like essence to the filling. Dark brown sugar could work, but will add a stronger molasses flavor.
- Melted butter. If you’ve made my streusel recipe, you know how much of a game changer melted butter can be when making a crumb topping! Melted butter evenly coats the flour and oats and helps create crisp, flavorful clusters, no pastry cutter required. Let it cool a bit (just so it’s not hot, so you don’t melt the sugar and make it greasy/difficult to work with) before stirring in a bit of vanilla extract.
- Vanilla extract. Instead of stirring this in with the apples (which I tried a time or two) we let the genuine apple flavor shine, while instead deepening the flavor of the crisp topping (which really lends itself to that oatmeal cookie flavor).
- Baking soda. A small amount helps the topping brown beautifully and contributes to a lighter, more crispy, crumbly crumb. While it won’t make the crisp rise like a cake it just helps the topping from becoming too dense or hard.
The Best Apples for Apple Crisp
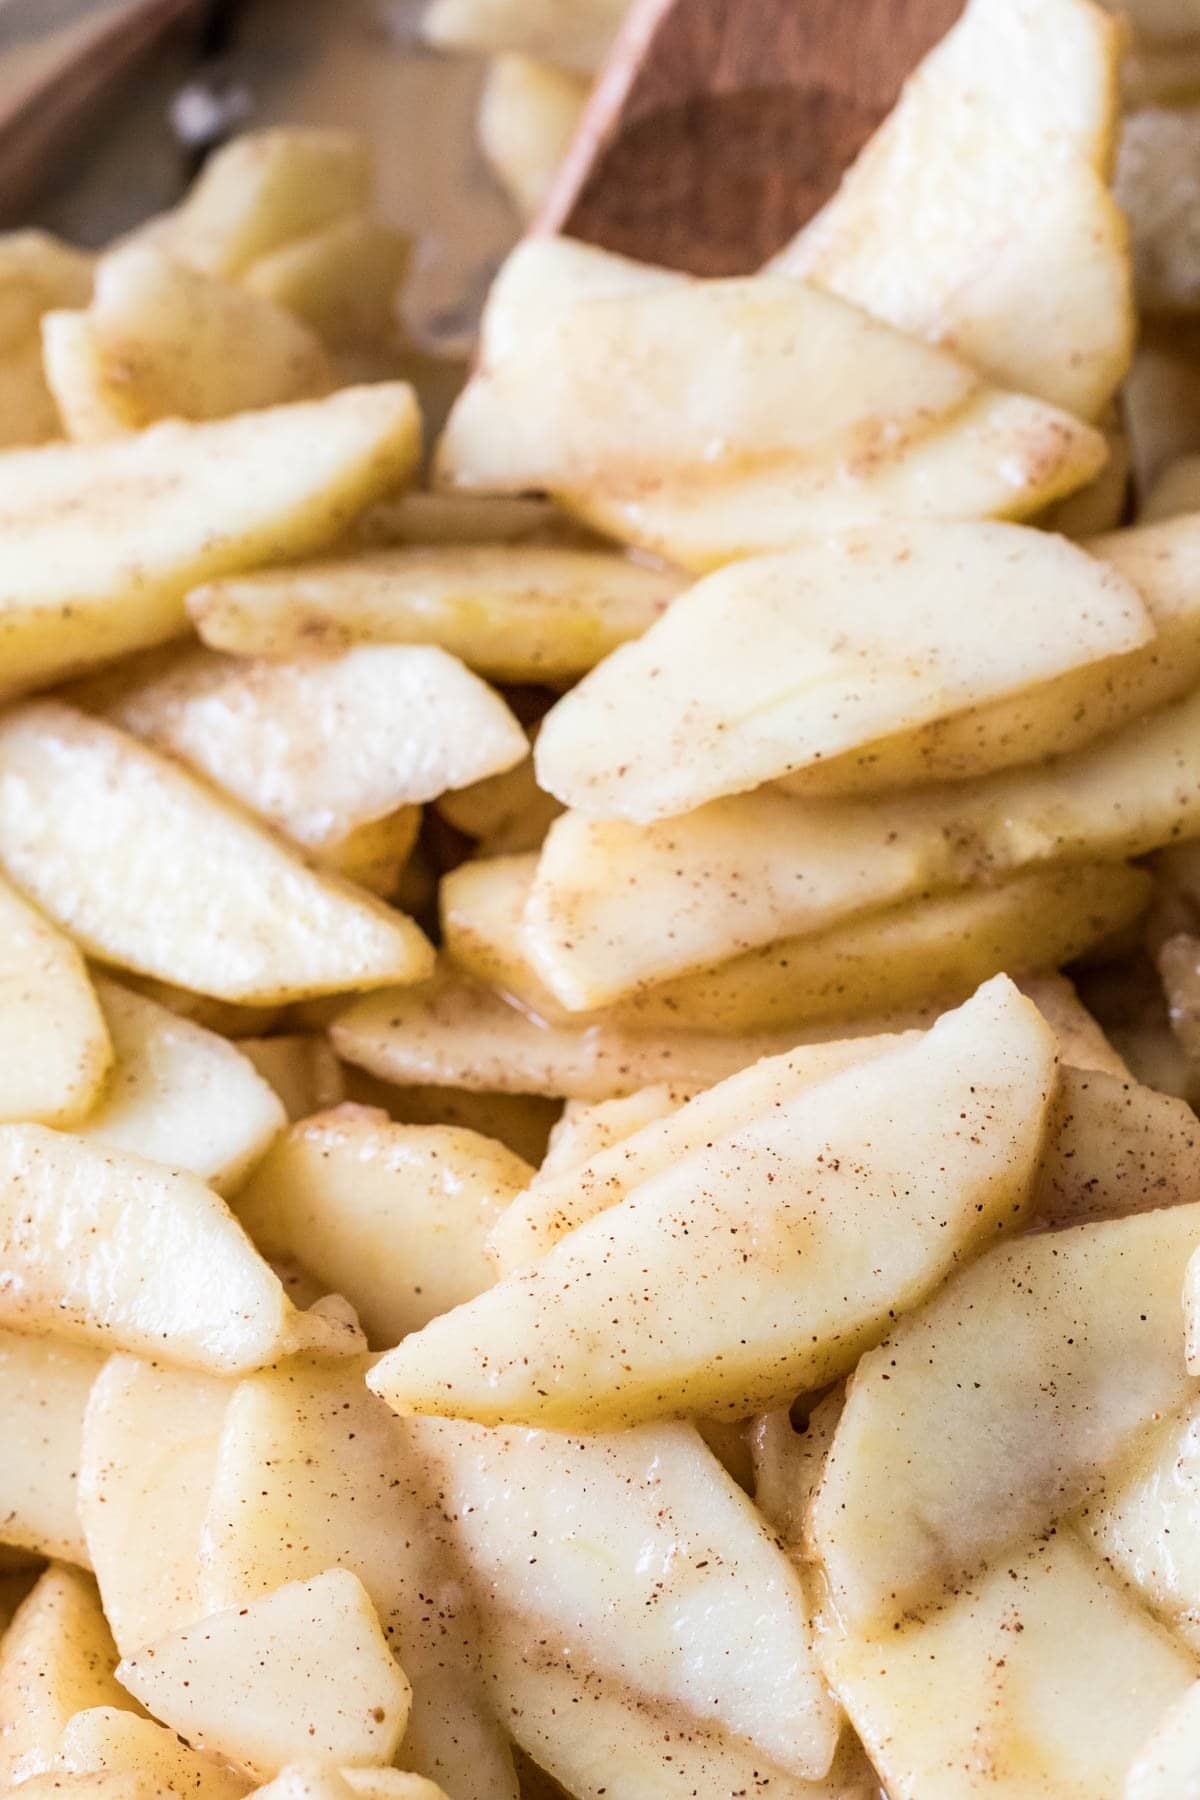
Firm, tart (or sweet-tart) apples are your best bet because they can handle the long cooking time without turning into applesauce. Granny Smith is a solid go-to. They hold their shape well during baking and they’re tart, which is a nice counterbalance to the crumbly-cookie-crisp topping.
Honeycrisp, Pink Lady, Braeburn, Fuji, and Gala also work (with Gala being my all-around general go-to, great for snacking and baking). Note that this recipe was specifically designed for a tart or sweet-tart apple, so if you use sweeter apples, you’ll have a quite sweet apple crisp.
Avoid soft apples like Red Delicious or McIntosh. They’ll turn into mush in the oven, before the crisp has time to become crispy.
Whichever variety you choose, I recommend peeling your apples before using them. The peels can become quite tough and unpleasant as the crisp bakes.
SAM’S TIP: Make sure to slice your apples evenly. If the slices are too thick or uneven, they can stay crunchy and too firm even after the topping is browned. I recommend keeping the slices 1/4″ or thinner.
How to Make Apple Crisp
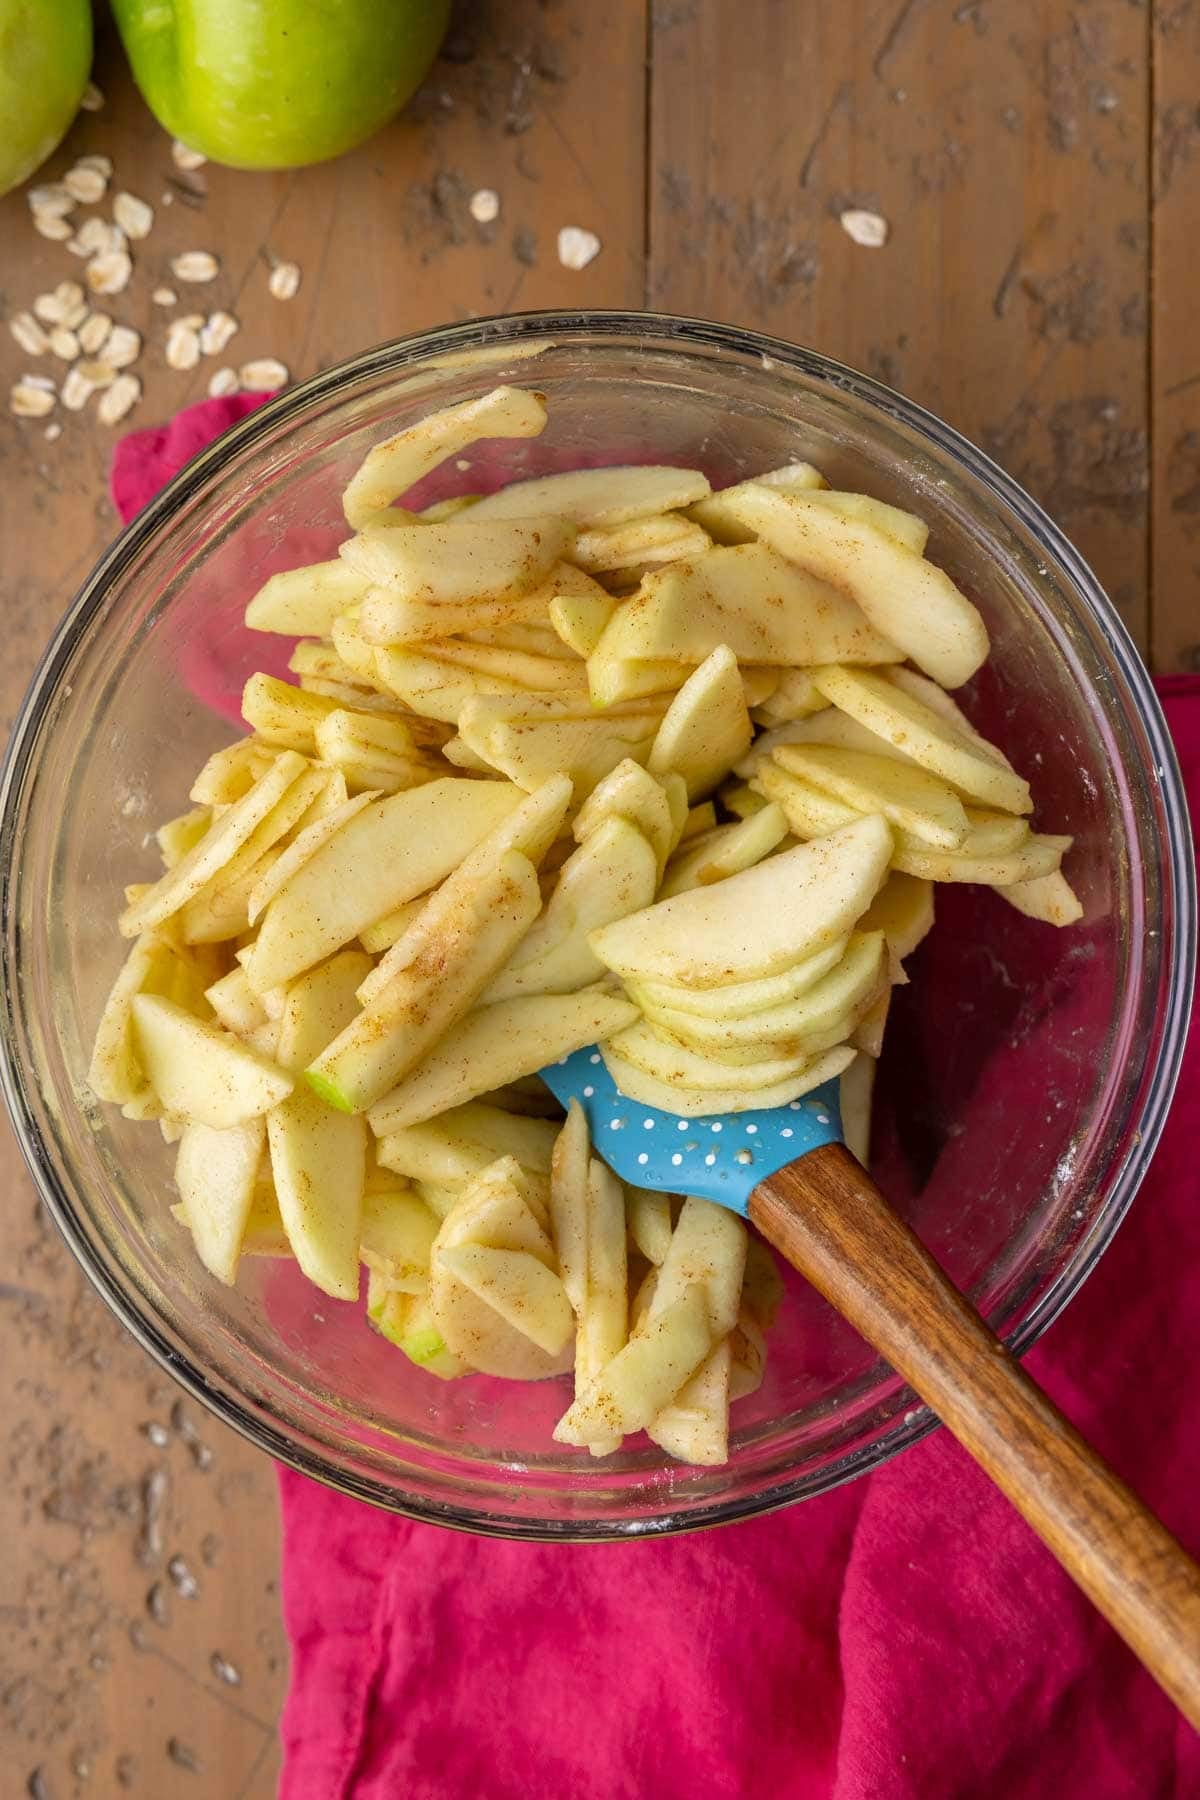
- Make the apple layer. Toss the sliced apples with brown sugar, lemon juice, flour, cinnamon, and salt. Set this aside while you prepare your crisp. This will start to break down the apples a bit and make them juicy, much like macerating strawberries.
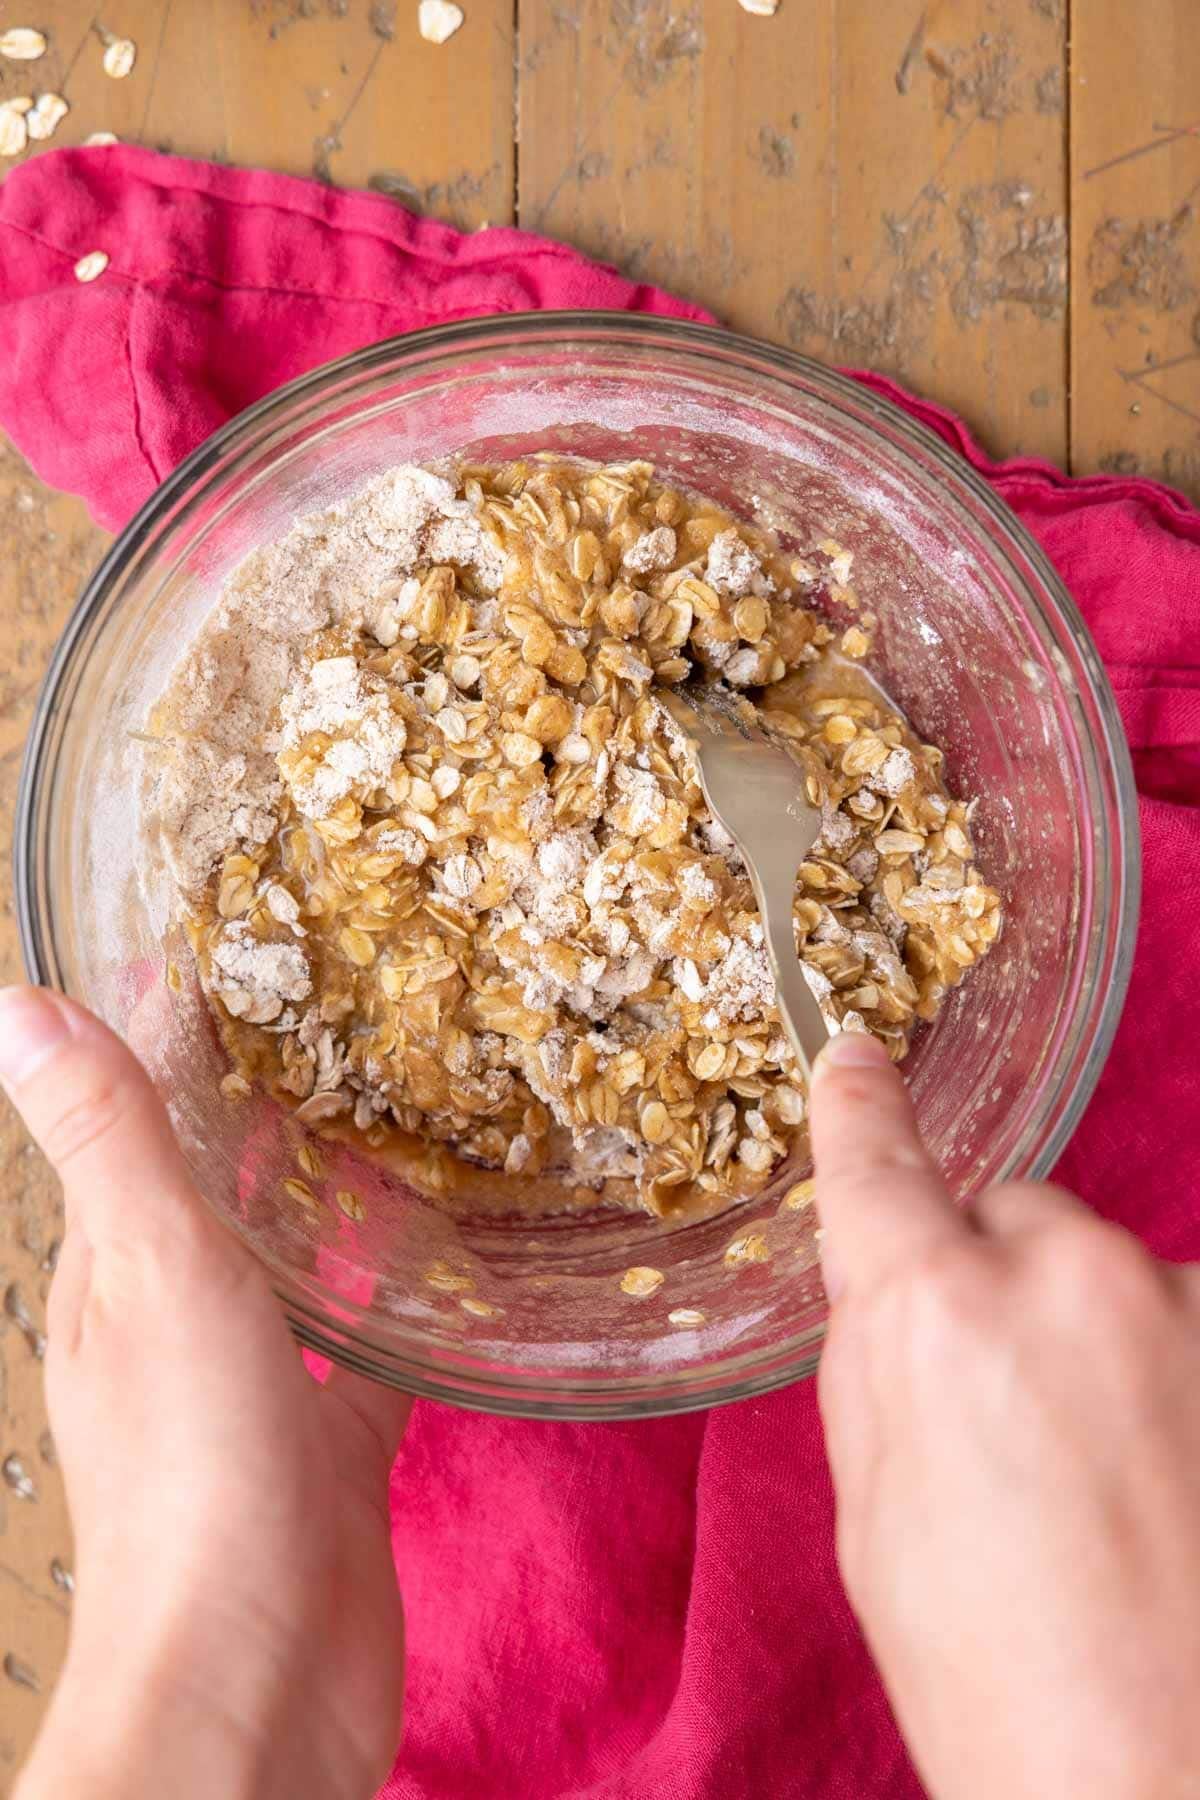
- Make the crisp. Stir the flour, oats, sugar, baking soda, salt, and cinnamon together in a large bowl, then drizzle melted butter and vanilla overtop. Use a fork to claw the butter into the dry ingredients until you have a clumpy, streusel-like mixture. Just don’t mix so much that you turn it into a paste (hint: if you do, just break it up with your fingers).
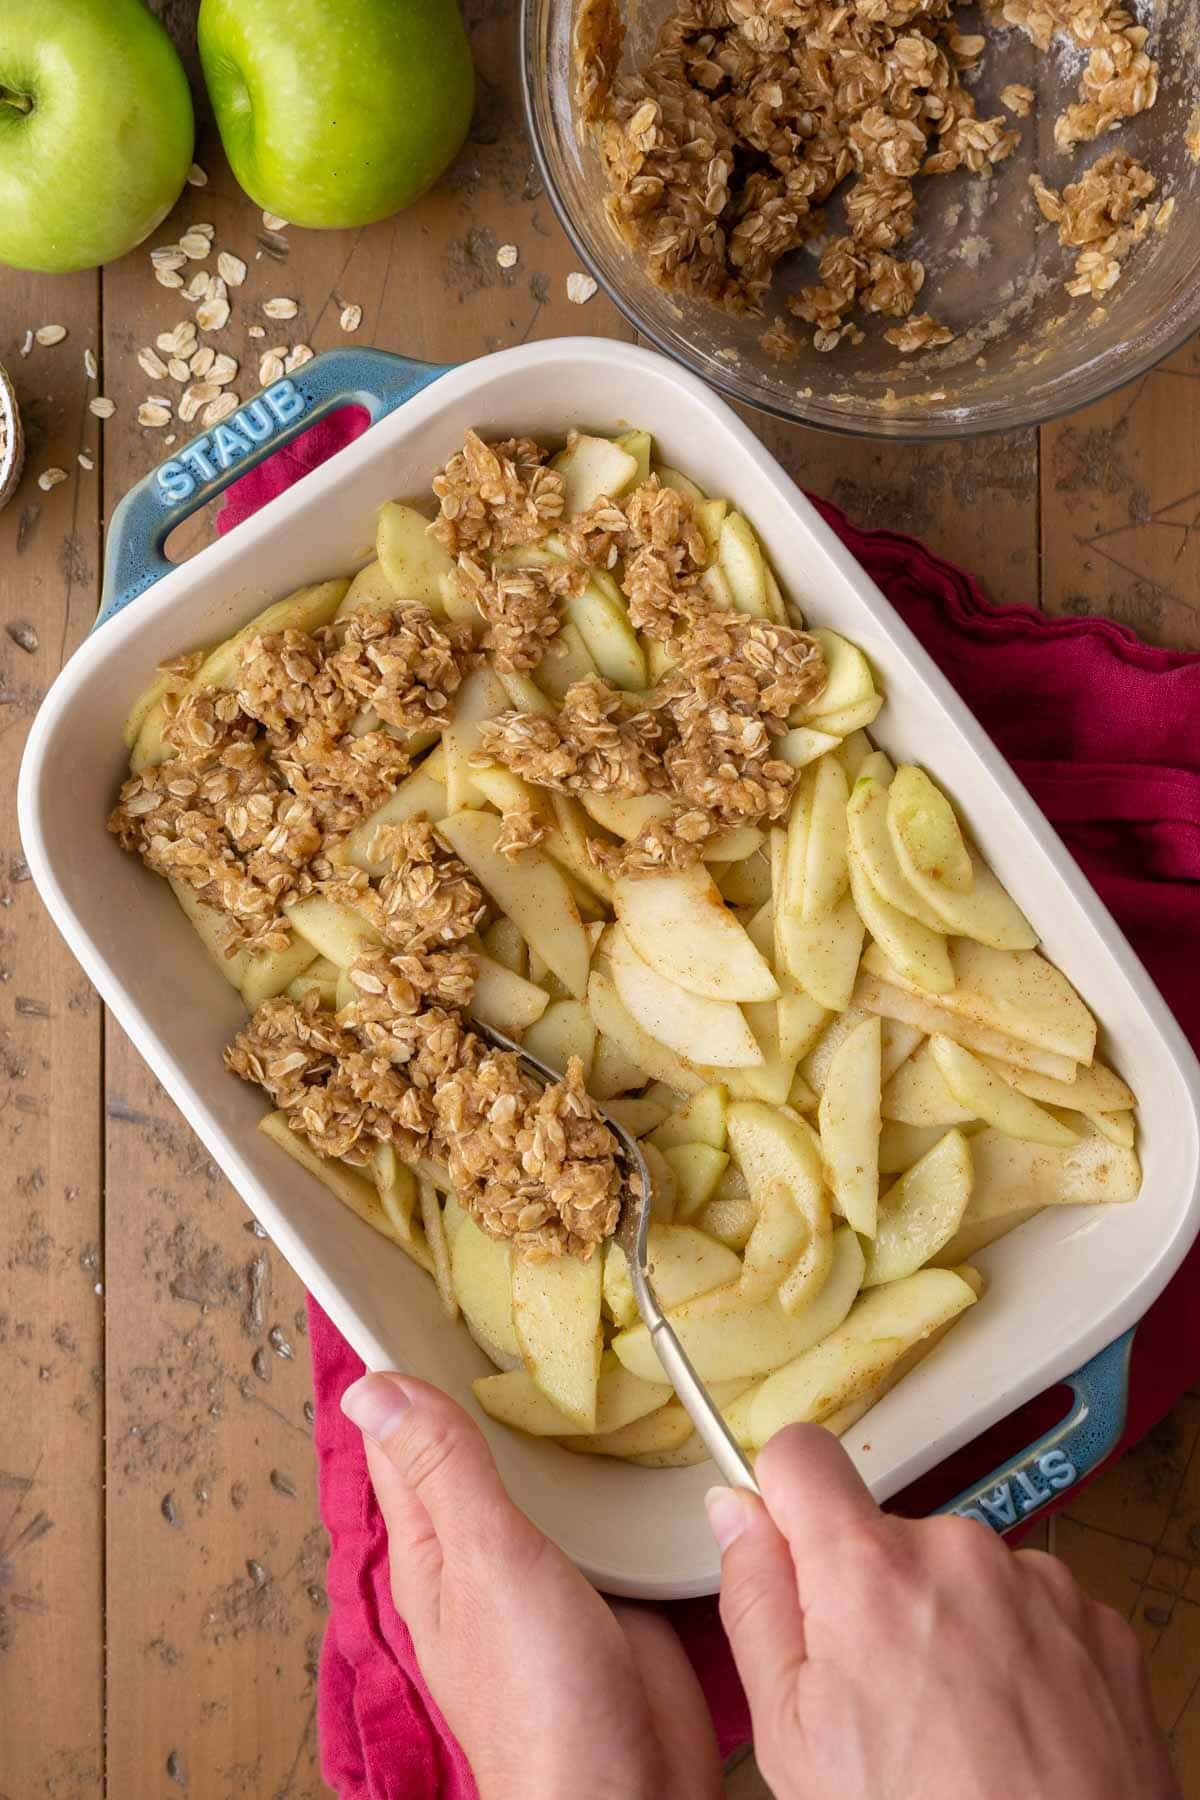
- Assemble. Give the apples a quick stir then layer them evenly into a buttered baking dish. Make sure you don’t mound them in the center (it’s easy to accidentally do that). Evenly distribute the streusel over the apple layer.
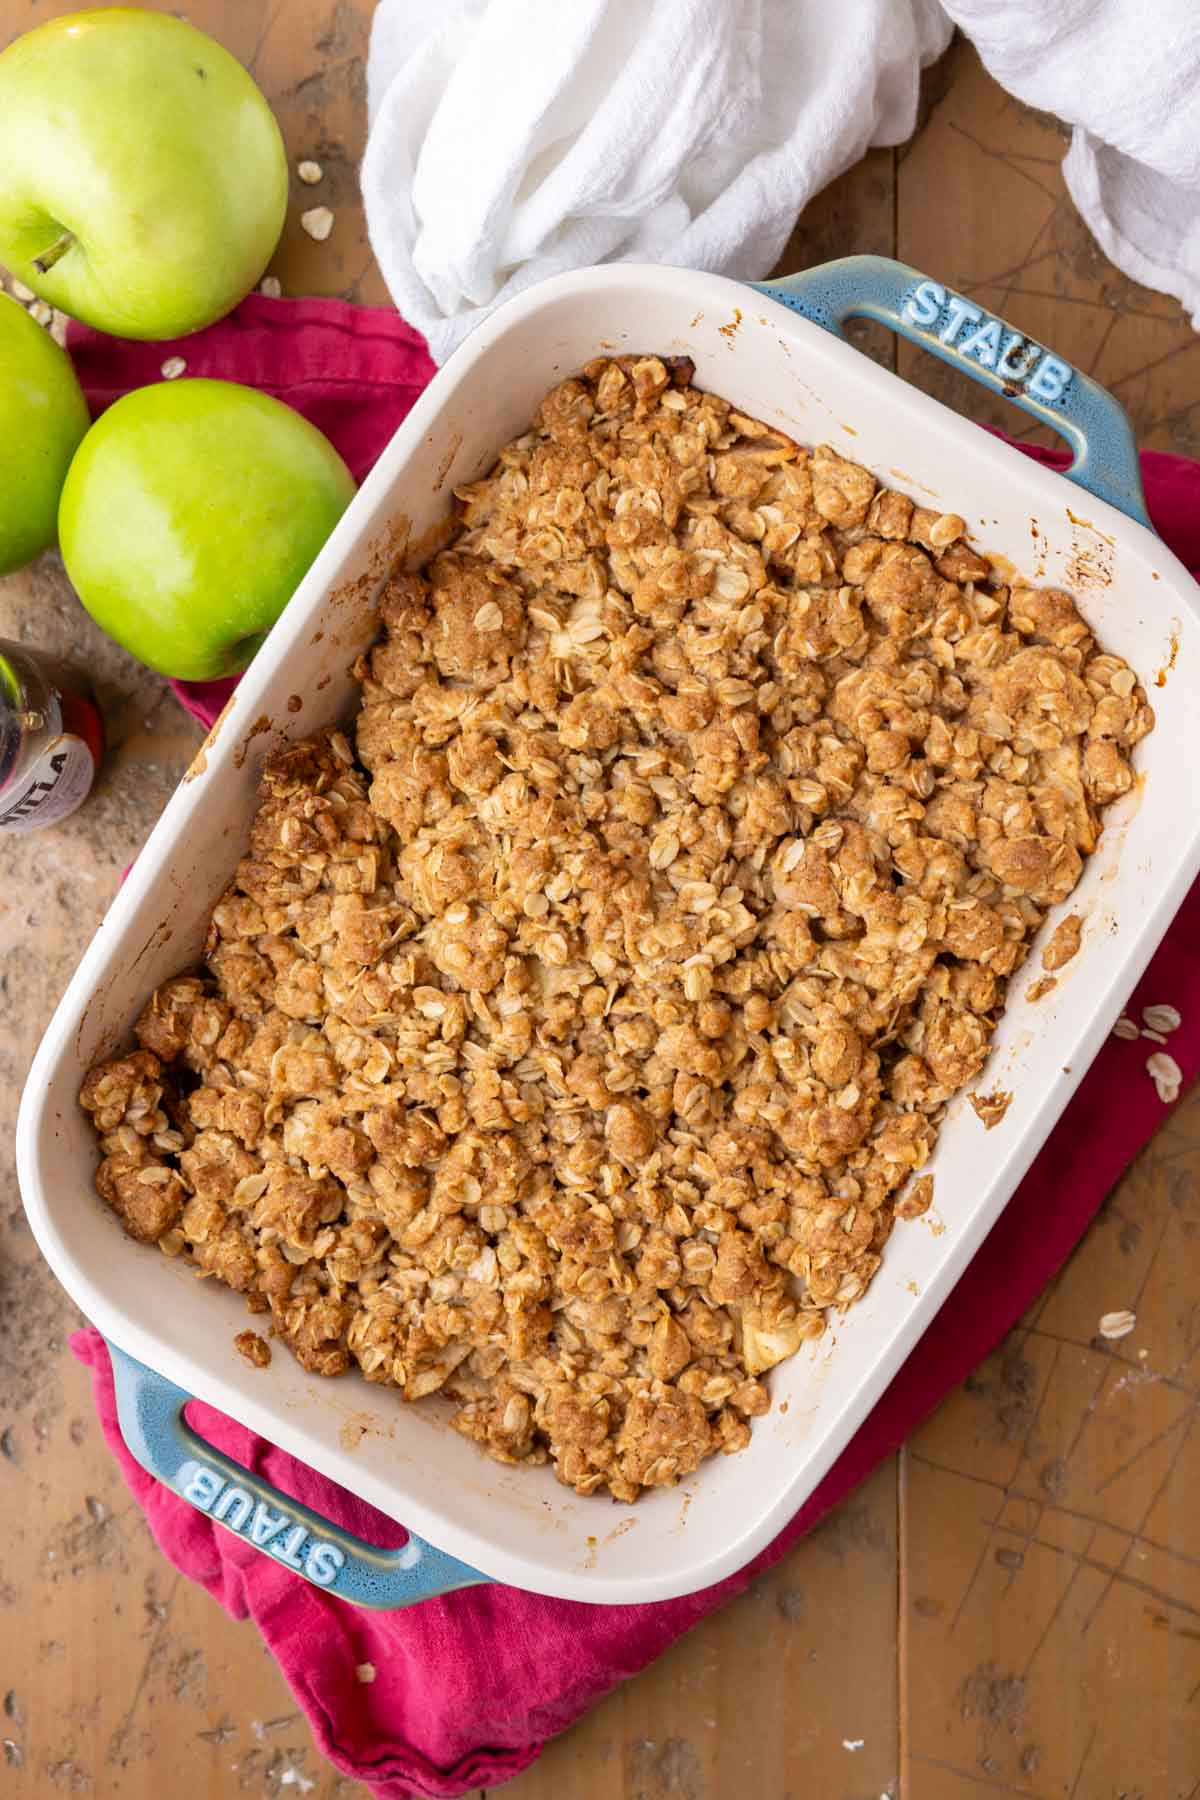
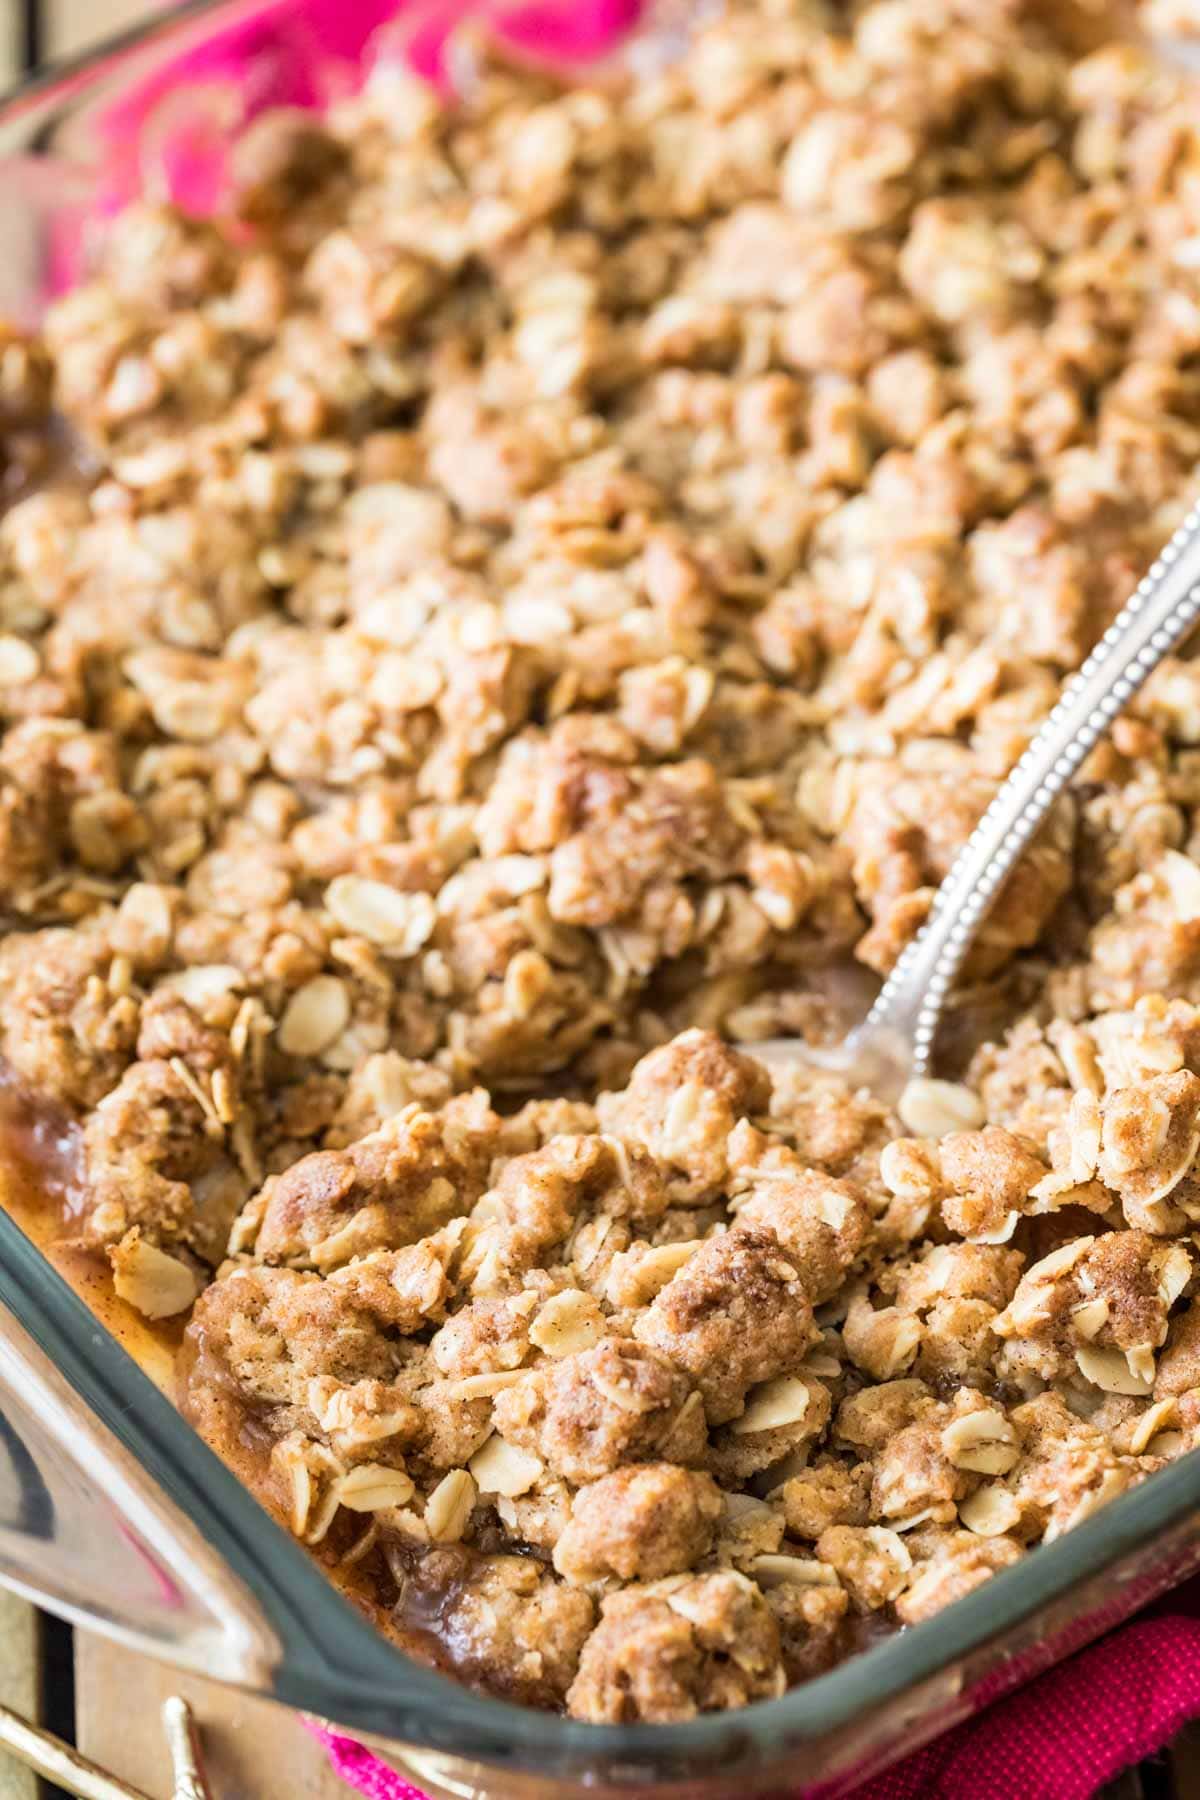
- Bake until golden. Bake until the crisp is golden and the apples are tender when pierced with a fork or toothpick. Let the crisp cool for at least 15-20 minutes before digging in. Not only does the crisp need to cool, but the sauce will thicken a bit as it cools, and if broken into too early it will seem watery.
SAM’S TIP: Use a glass or ceramic pan for best results. A metal pan transfers heat more quickly and could finish the crisp sooner.
Frequently Asked Questions
Prepare the apples and place in your pan as instructed, then cover and refrigerate. Make the crumble topping and store that in a separate airtight container in the fridge.
When you are ready to bake, uncover your apples, scatter the prepared topping on top (it might be a little firm, just break it up with a fork), and bake according to recipe instructions.
Crisps generally have a crumblier, crispier topping that’s made primarily of butter, sugar, and oats. Crumbles, on the other hand, do not contain oats (and I have an apple crumble recipe coming soon for you — it wasn’t as straightforward as just removing the oats!). Cobblers, in case you’re wondering, have a biscuit-like topping that looks like cobbled road. I have a few cobbler recipes on my site, including an apple cobbler.
Apple crisp can seem runny immediately after baking while the filling is still super hot. Let it cool for at least 15-20 minutes so the juices have time to thicken. Other things that will help avoid ths include measuring the apples by weight, adding as much flour as the recipe calls for, and avoiding particularly juicy or overripe apples.
I recommend peeling the apples, since the skins won’t break down during baking and can separate from the fruit and become quite tough. That being said, some people don’t mind this and I know some people who would rather deal with eating the peels than with peeling them before baking… it’s a personal choice!
More Classic Fall Recipes
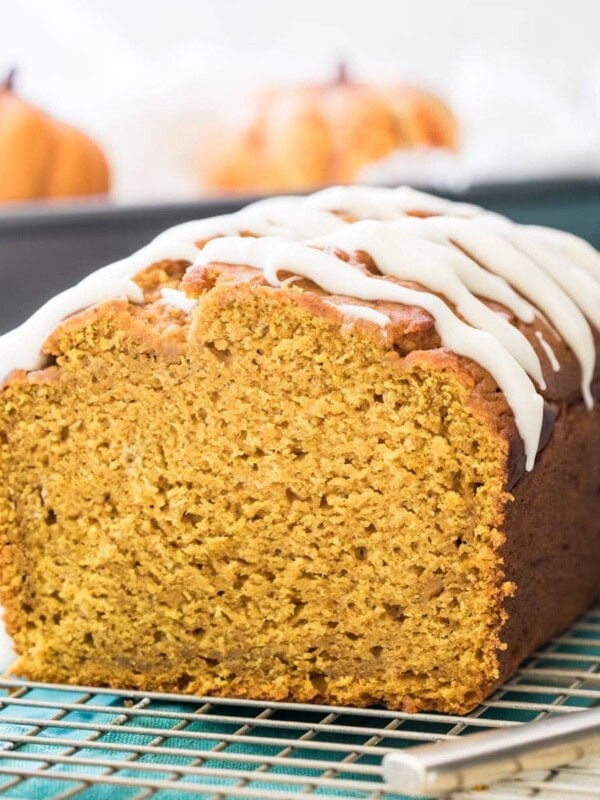
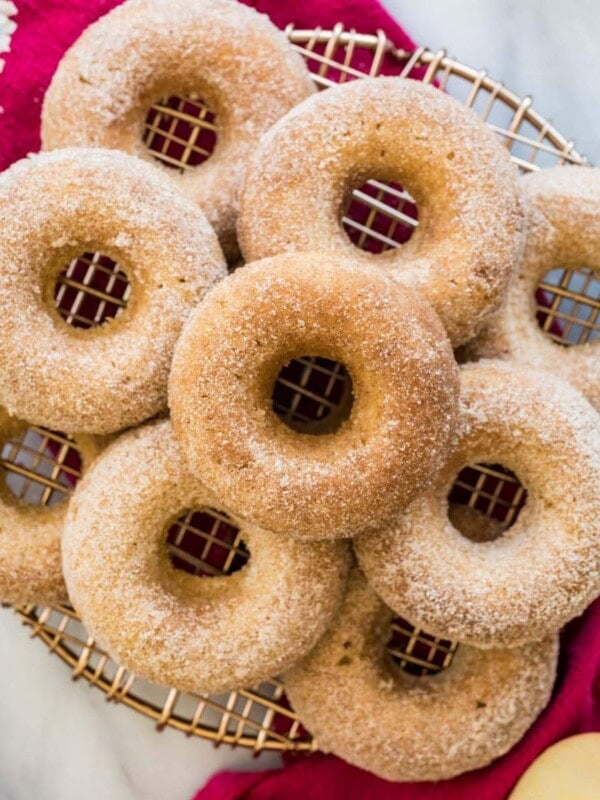
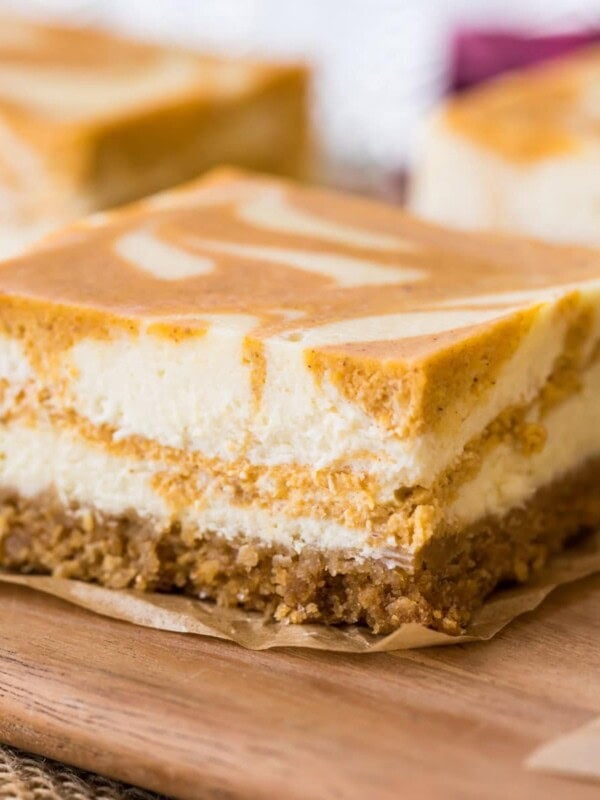
With the heat finally letting up a bit, I can’t help but feel a little bit excited about fall baking!
Enjoy!
Let’s bake together! I’ll be walking you through all the steps in my written recipe and video below! If you try this recipe, be sure to tag me on Instagram, and you can also find me on YouTube and Facebook
Apple Crisp Recipe
Equipment
Ingredients
- 2 lbs (905 g) apples, cored, peeled and sliced no thicker than ¼" (see note)
- ¼ cup (50 g) light brown sugar, firmly packed
- 1 Tablespoon lemon juice
- 1 Tablespoon all-purpose flour
- ½ teaspoon ground cinnamon
- ½ teaspoon table salt
Crisp
- 9 Tablespoons unsalted butter, melted and cooled
- ¾ teaspoon vanilla extract
- ¾ cup (95 g) all-purpose flour
- 1 cup (100 g) old-fashioned oats
- ½ cup (100 g) light brown sugar, firmly packed
- ½ teaspoon baking soda
- ½ teaspoon table salt
- ¾ teaspoon ground cinnamon
Instructions
- Preheat oven to 375F (190C) and lightly grease a 9×9 or 11×7 glass baking dish² with butter. Set aside.
- Combine sliced apples, brown sugar, lemon juice, flour, cinnamon, and salt in a large bowl. Give everything a good stir until all ingredients are combined and set aside while you prepare your crisp topping.2 lbs (905 g) apples, ¼ cup (50 g) light brown sugar, 1 Tablespoon lemon juice, 1 Tablespoon all-purpose flour, ½ teaspoon ground cinnamon, ½ teaspoon table salt
Crisp
- Prepare your topping by whisking together butter and vanilla extract. Set aside (you don't want the butter to be too hot when you add your sugar, so let it cool while you prepare your dry ingredients).9 Tablespoons unsalted butter, ¾ teaspoon vanilla extract
- In a separate bowl, stir together flour, oats, sugar, baking soda, salt, and cinnamon.¾ cup (95 g) all-purpose flour, 1 cup (100 g) old-fashioned oats, ½ cup (100 g) light brown sugar, ½ teaspoon baking soda, ½ teaspoon table salt, ¾ teaspoon ground cinnamon
- Pour butter into flour mixture and use a fork to stir until mixture is combined and clumpy (don’t over-stir, you want it to be crumbly, not paste-like). Set aside.
Assembly
- Give your apple mixture another good stir and pour evenly into your prepared pan (make sure to spread the apples evenly so they are not mounded in the middle).
- Use your hands to drop your crumble mixture evenly over the apple filling.
- Transfer to 375F (190C) oven and bake for 40-50 minutes or until topping is lightly golden brown and apples are tender when pierced with a fork or toothpick. If topping is starting to become too dark and apples are still crisp, cover apple crisp with foil while continuing to bake.
- Remove from oven and allow crisp to sit for 15-20 minutes before serving (ideally topped with vanilla ice cream!). The apple crisp not only needs time to cool down, but the filling will thicken a bit as it cools and will seem too watery if not allowed to rest.
Notes
¹Apples
This was about 7 smallish apples for me. I recommend using Granny Smith apples as they are firm and tart. Using a sweeter apple may result in a sweeter crisp that cooks faster, so keep that in mind!²Baking pan
This recipe will work in a metal pan, but it will likely need to cook for less time so keep an eye on it and start checking sooner.Video note
I accidentally say to use 1/4 cup of oats in the video. The amount listed in the recipe (1 cup) is the correct amount.Coconut sugar
I have successfully substituted an equal amount of coconut sugar by weight for the sugar called for in this recipe. The flavor is slightly different, but it still works well.Gluten-free note
I have not tried it myself, but others have successfully made this recipe with Cup4Cup gluten-free flour and gluten-free oats.
Making in advance
Prepare the apples and place in your pan as instructed, then cover and refrigerate. Make the crumble topping and store that in a separate airtight container in the fridge. When you are ready to bake, uncover your apples, scatter the prepared topping on top (it might be a little firm, just break it up with a fork), and bake according to recipe instructions.Storing
Cool the apple crisp completely and then cover with plastic wrap or foil. You can store it at room temperature for 24 hours or in the refrigerator for 4-5 days. Note that the topping does tend to soften as it sits, so I recommend reheating in the oven to restore the crispiness.Freezing
To freeze before baking, prepare the crisp as instructed, then cover and freeze for up to 3 months. When ready to bake, transfer to the fridge and thaw for several hours or overnight, then uncover and bake at 350F. To freeze an apple crisp that’s already been baked, first allow it to cool to room temperature, then cover tightly with plastic wrap and foil and freeze for up to 3 months. Thaw in the refrigerator, uncover, and bake at 350F until warmed through, about 20 minutes.Nutrition
Nutrition information is automatically calculated, so should only be used as an approximation.
Like this? Leave a comment below!
Recipe originally published 10/08/2018. Post updated with new pictures and helpful notes 2026.










Some other apple recipes intimidate me with all the steps, but this one is EASY and DELICIOUS! We topped ours with vanilla gelato and a few drizzles of coffee. So yum!
That sounds tasty, Allie! We’re so happy our recipe was a winner for you 🥰
Can I replace the Flour with gluten free flour to make the apple crisp gluten free?
Hi Jill! Unfortunately I have not tried it with gluten free flour, but if you do I would love to know how it goes. 🙂
You can make it gf! I used Bobs Red Mill 1:1 and Bobs Red Mill Gluten Free Oats. It is sooo delicious!
how do I unsubscibe, I get too many alerts! or just UNSUBSCIBE me
Hi Maragaret! I’m so sorry to hear this is happening? Are you referring to emails related to comment updates or the push notifications that pop up in your browser for new recipes? If it’s the pop up, that is something that you had to click on to allow the notifications. You have to disable that through your web browser and depending on what browser you are using the instructions there will vary. 🙁
Just a question on why use baking soda? I’ve used baking powder in crisp topping but never soda since there is no acid for it to react to? love your recipes and thanks for all of the great content!
Hi Sharon! The baking soda makes the topping nice and crisp so it crumbles beneath your fork 😊
love the ingedients listed within the recipe, so no looking back to the ingredient list.
We’re so happy you find it helpful, Elaine! We love it too 🥰
This was perfect! I used regent apples and baked it in a 9×13 metal pan. The 50-minute bake time was accurate for me. Definitely keeping this recipe handy.
I’m so glad you enjoyed it so much, Antonia! 🙂
OH MY GOODNESS!!! THIS IS JUST AMAZING!! I made this tonight! we have plans tomorrow so it will be gone the following day!! Thank you for your amazing recipes!!
I’m so glad you enjoyed it so much, Alicia! 🙂
Sam, I just decided to make your recipe for Apple crisp and I was a bit confused, but didn’t know if it was my hearing or ? I thought i heard you say 1/4 cup of oats on your video and replayed it a few times,yet the recipe says 1 cup. So doubling I did put 2 cups of oats. Just wanting to clarify. I doubled the recipe and baked it in a 9×13 for 50 minutes. It smells and looks amazing. Love all your recipes.
Hi Linda! You do need 1 cup of oats here. If you ever have a question about the video it’s best to double check against the written recipe. I hope you love it! 🙂
Can you use frozen apple slices?
Hi Kylea! We would reccomend you thaw the apples so you don’t introduce a lot more liquid, but they will work 😊
I made this recipe and used instant oats as that was available. Delicious recipe. No too sweet.
I make Birthday treats for the guys that I work with. I make whatever they request. The request today for apple crisp. My daughter said better see if Sam has a recipe. I made it this morning and took to work warm. They all said it was the best apple crisp they every ate. I knew it would be. I have never tried a recipe from Sam that I didn’t like. Thanks Sam
Thank you so much, April! I’m so glad you enjoyed it so much! 🙂
Hi Sam –
I want to use a 9x 13 pan to make this. Do I just double the recipe? Also, what should I do about cook time?
Hi Sheela! Doubling the recipe should give you enough to fill your 9 x 13, but I’m not sure on a bake time. I would just keep an eye on it. Follow the same instructions and just check your apples to make sure they aren’t still firm. 🙂
This recipe sounds fabulous. Can quick oats be used in lieu of old fashioned oats?
Hi Diane! The quick oats could work. The texture will probably just be a bit different.
Hi Sam!
I made this and followed the recipe but when I scooped some up, there was juice from the apples at the bottom. Is this normal or did I forget to do something? How do I get the apple juice into a thick glaze like your picture shown?
Thank you!
Hi Melissa! That is very normal. There will be more juice the warmer it is. The juice will thicken and absorb a bit as it cools. 🙂
Made this today with a plea I had sliced and froze in the fall. I did 8 ramekins and one small casserole size. The ramekins are greàt for treating neighbours and for freezing. I ate one of them it was so delicious!
I’m so glad you enjoyed it so much, Diane! 🙂
Can I double recipe and also use frozen apples that i picked in the Fall?
Hi Carla! I would probably thaw the apples so you don’t introduce a lot more liquid, but they will work and you can certainly double the recipe. You will just want to bake it in a larger dish. 🙂
I made a rhubarb crisp using this topping. I only had three stalks of rhubarb, so I used a smaller baking dish, but the full recipe of topping. It was wonderful, of course. In spite of being in a thicker layer, it baked fine and is delicious. Because of the baking soda, the larger pieces are like wonderful little oatmeal cookies.
Yum! Thanks for sharing, Bruce 😋
This recipe is amazing. I use an 11×7 glass pan and the only thing I do different is I do one and a half on the crisp (or I’ll just double it) …because Sam, I think I might have you beat on loving extra topping lol
I’ve not had a single recipe of yours that I didn’t like. You’re an awesome baker
I’m so glad you enjoyed it so much, Bethany! I’m not sure I can be beat in my love of topping though. 🤣
Second time I made this and just love, love, love it! So easy to make and so delicious.
My top always come out as a paste and I follow the recipe as is. What am I doing incorrectly?
Hi Ali! Usually this happens if the butter is too hot or if the ingredients are over-mixed. Make sure to toss everything together with a fork and don’t overdo it when combining. I hope that helps!
Think of the process as fluffing the ingredients with a fork. You push the fork under the mixture, and pull up, Be sure to get all the flour from the bottom mixed in. I’ve used this method on various of Sam’s streusels and it always works. If you get some really huge pieces, you can jab them with a fork to break them up. The important thing to avoid is pressing down with the fork.
All your recipes are so yummy my husband loves it but can the crisp be adapted for peach season? If so how would you do it? Thanks
Hi Kathryn! I actually shared a peach crisp on The Recipe Critic. It was based on this recipe. 🙂
Thanks so much
The video you say 3/4 cup of oats and the recipe says 1 cup. Which measurement is right
Hi Beth! The written recipe is correct. 🙂
I have made this 3x in a baking pan and OMG! Is an absolute HIT. Every time I make it does not last past a second day! Thank YOU for this recipe! I keep coming back to print it out every time!
I am so glad everyone has enjoyed it so much, Laura! 🙂
Hello Sam
I was wondering what is the purpose of adding the baking soda?
I have made several of your recipes and have really enjoyed them. I am sorry that I never left a message before now. Thank you for all the recipes you post, I always save yours. (Mostly all desserts)
Hi Ron! I add baking soda because it keeps the crisp layer from becoming too hard during the long bake time in the oven. Baking soda makes the crisp more porous so it will easily crumble beneath your fork. Ultimately it helps with the texture. I hope that helps explain it, and I’m so glad you have been enjoying the recipes!