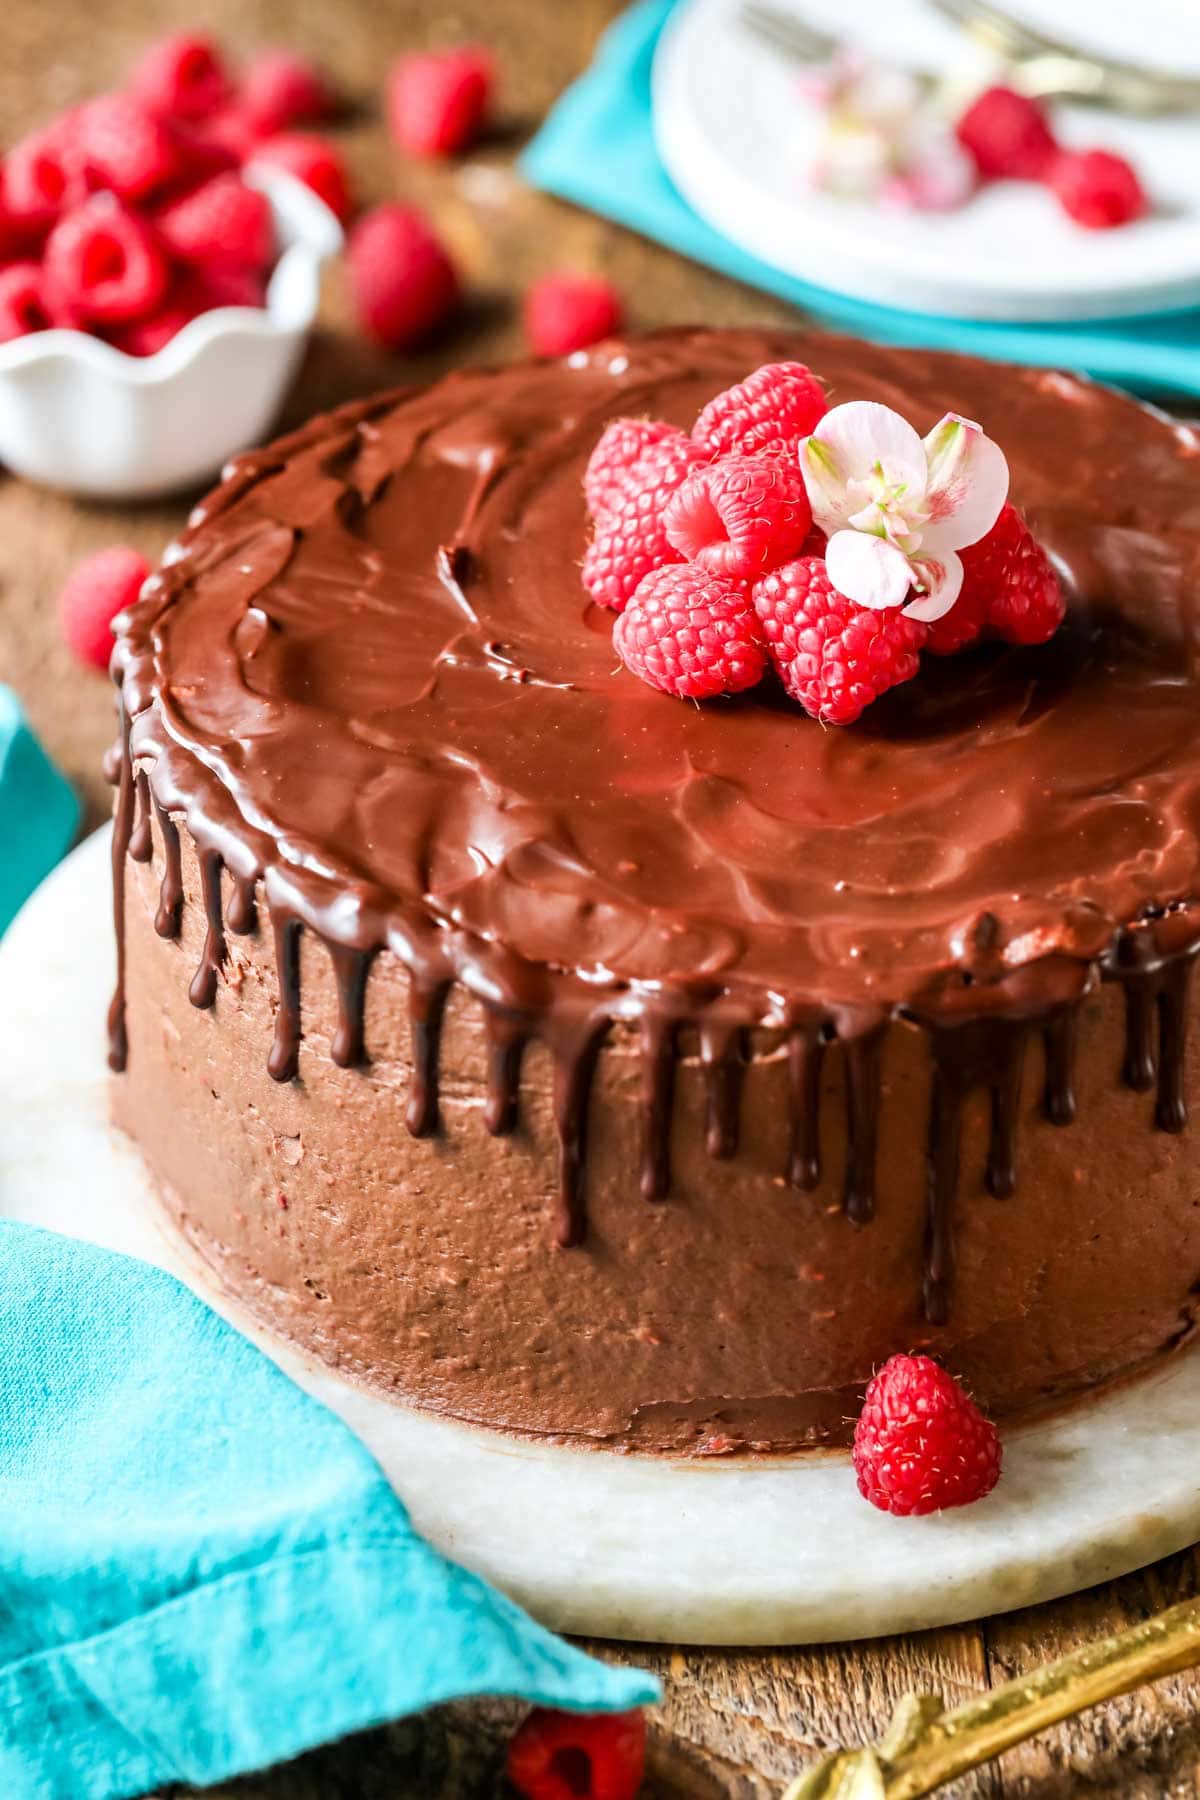
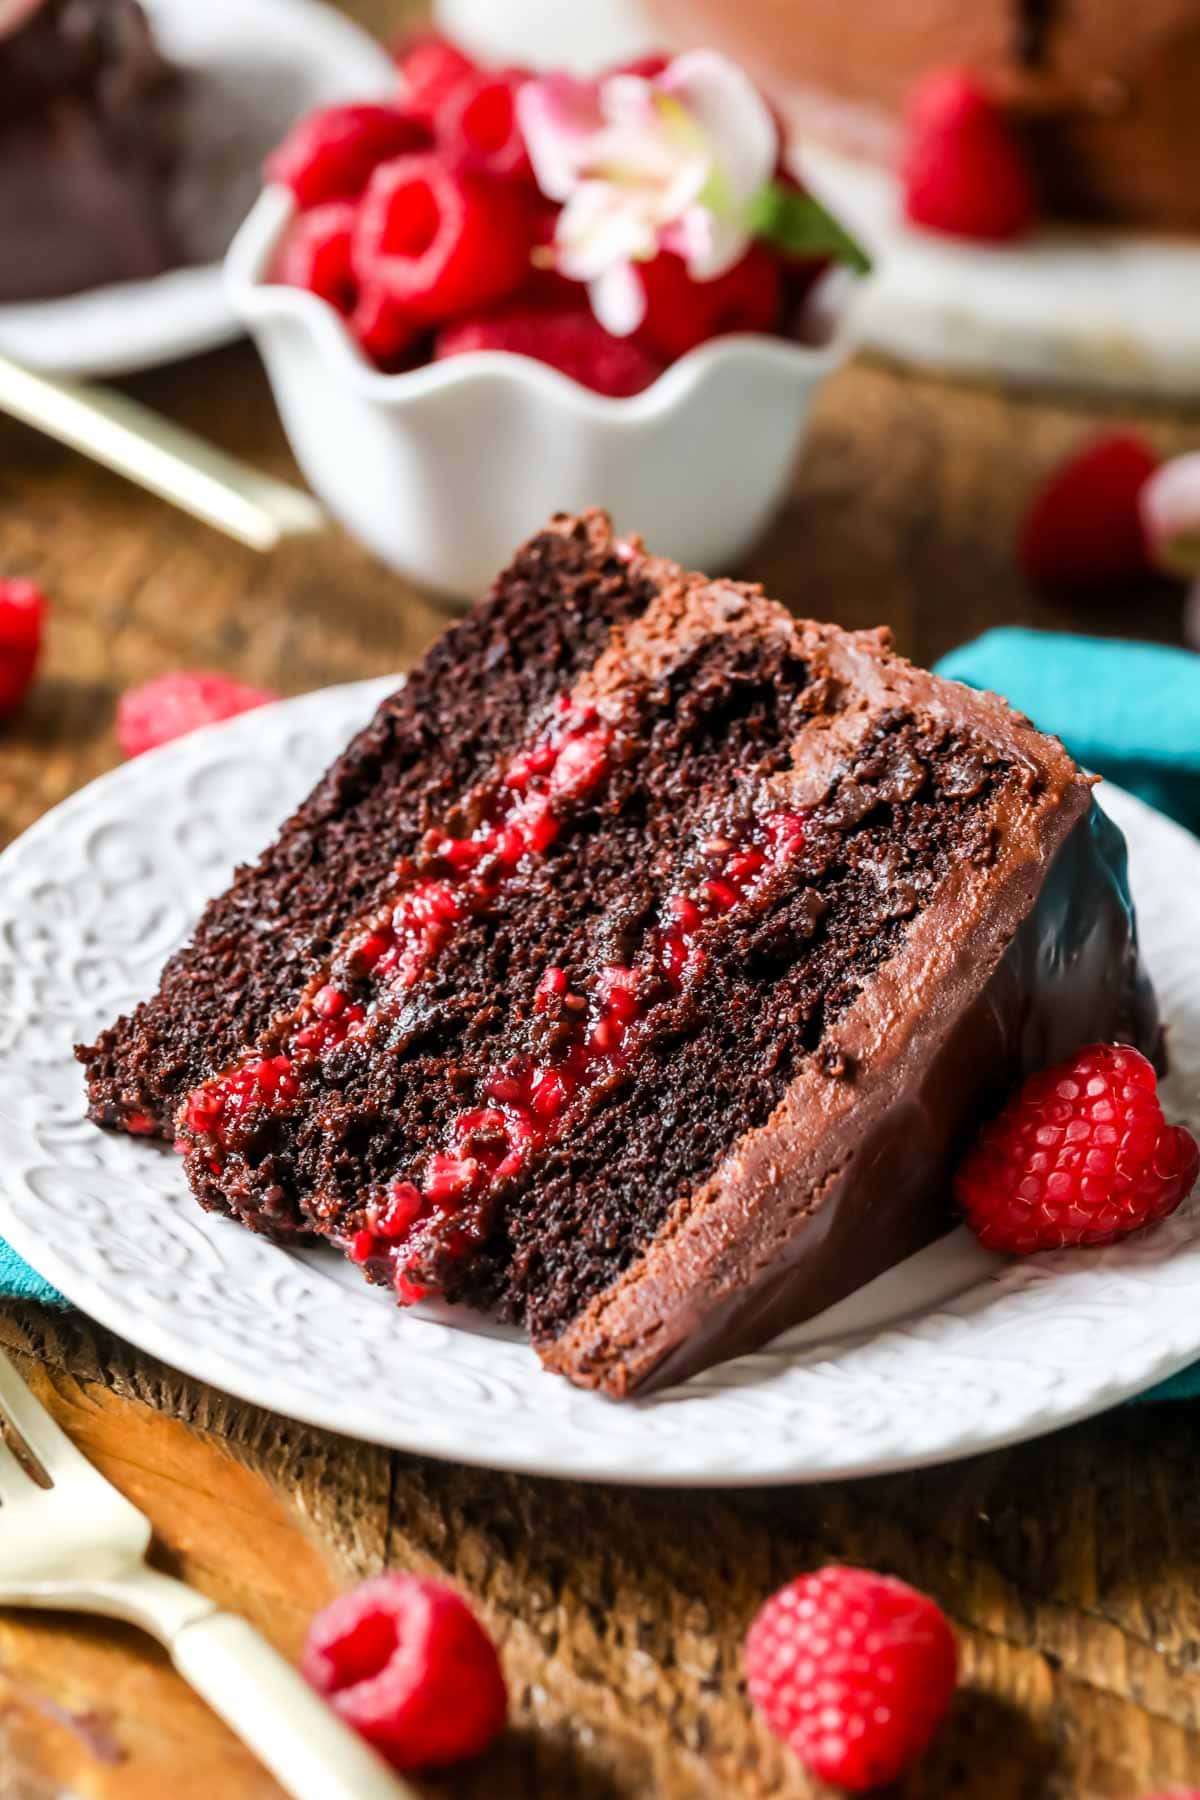
Decadent, yet refreshing, my chocolate raspberry cake ticks all the boxes for an indulgent dessert. Moist dark chocolate cake layers, fresh raspberry filling, and a raspberry-infused chocolate buttercream come together in this winning cake recipe. Recipe includes a how-to video tutorial.
Chocolate Raspberry Perfection
Today’s chocolate raspberry cake was an experiment in balance. I wanted near-even measures of indulgent chocolate and bright raspberry without skewing too far on either side of the spectrum.
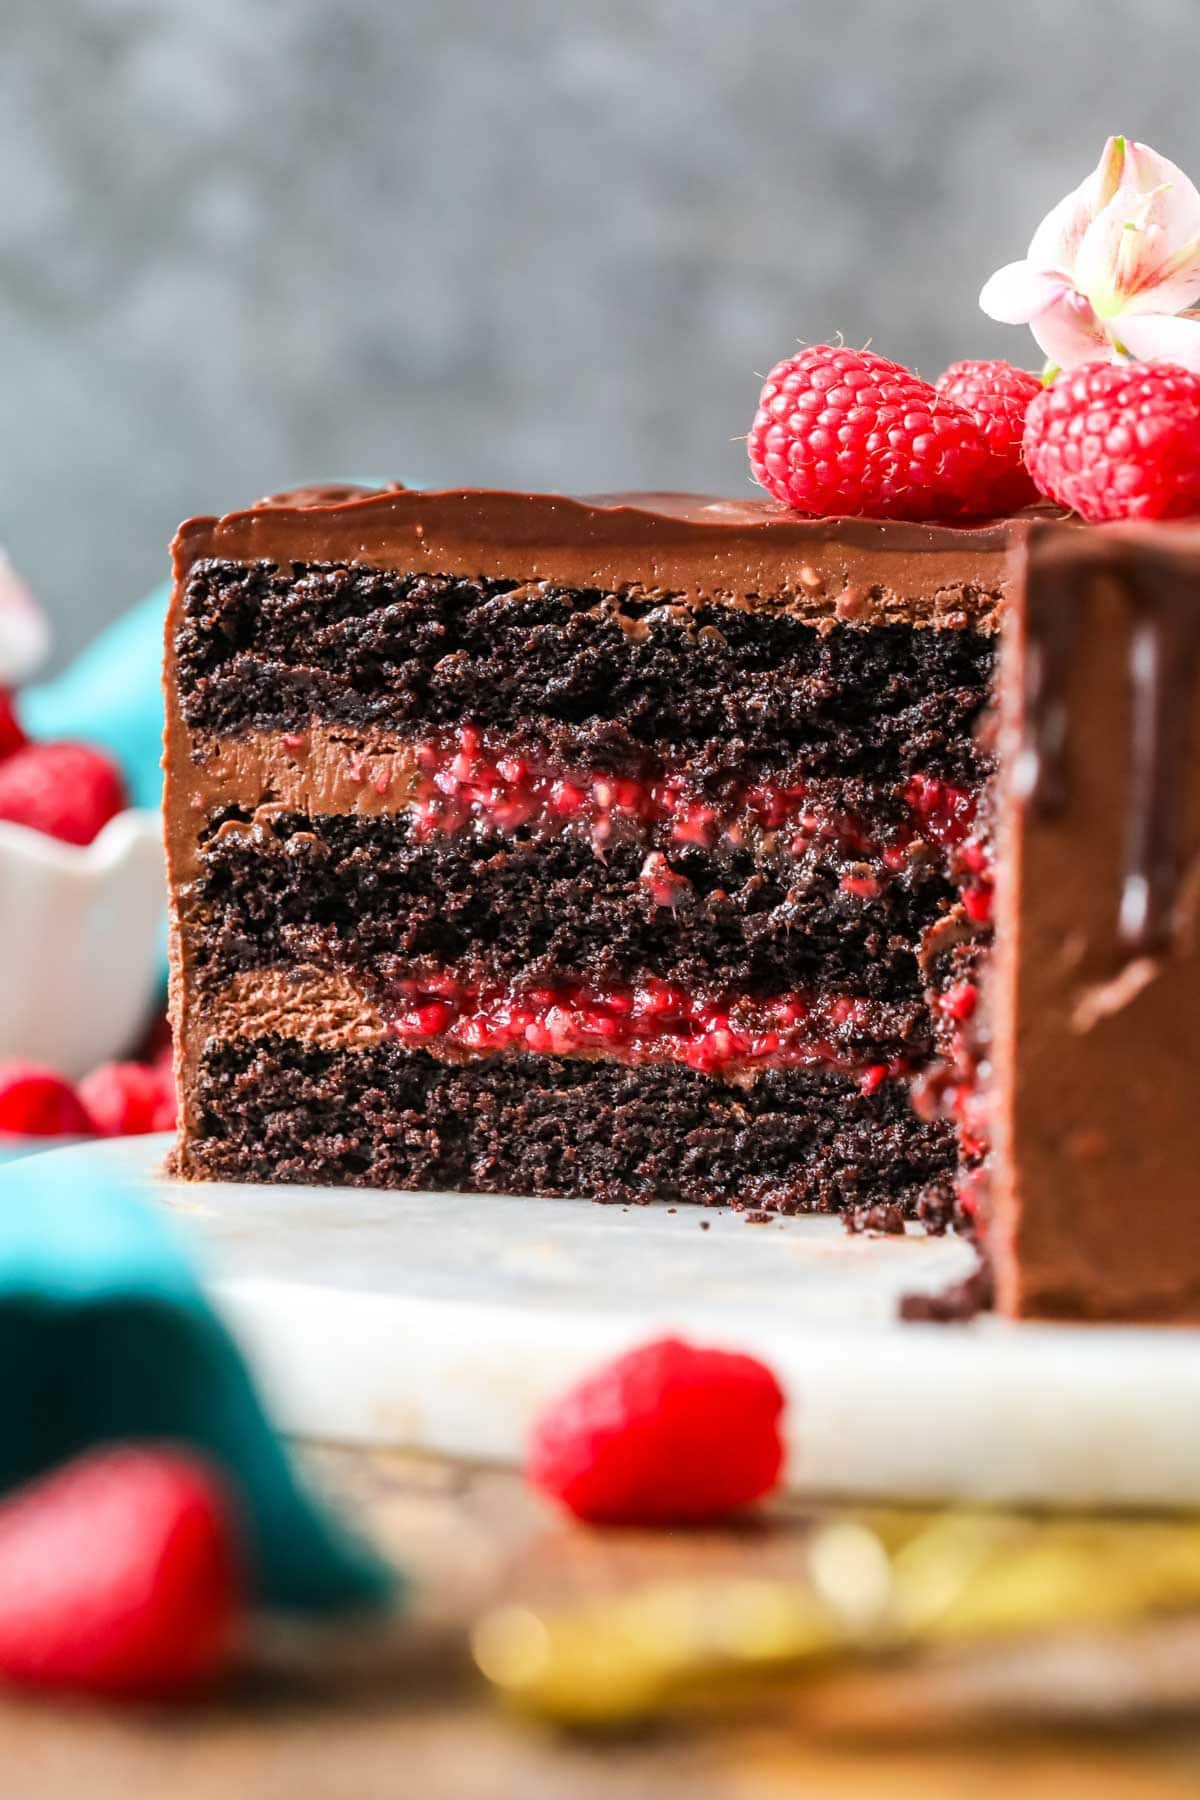
After lots of tweaking and testing, I think you’re going to love the end result just as much as I do. It’s both decadent and refreshing with clear notes of both flavors. Between the rich, moist, fudgy chocolate cake layers, the raspberry-infused chocolate frosting, and the sweet-tart raspberry filling, it’s the perfect blend of the best flavors and textures of both worlds.
Why This Recipe Works:
- Never dry or dense: my technique prevents over-mixing (just like when making my triple chocolate cake), and we’ll use carefully chosen ingredients so this chocolate raspberry cake stays moist for days (despite needing to be refrigerated!).
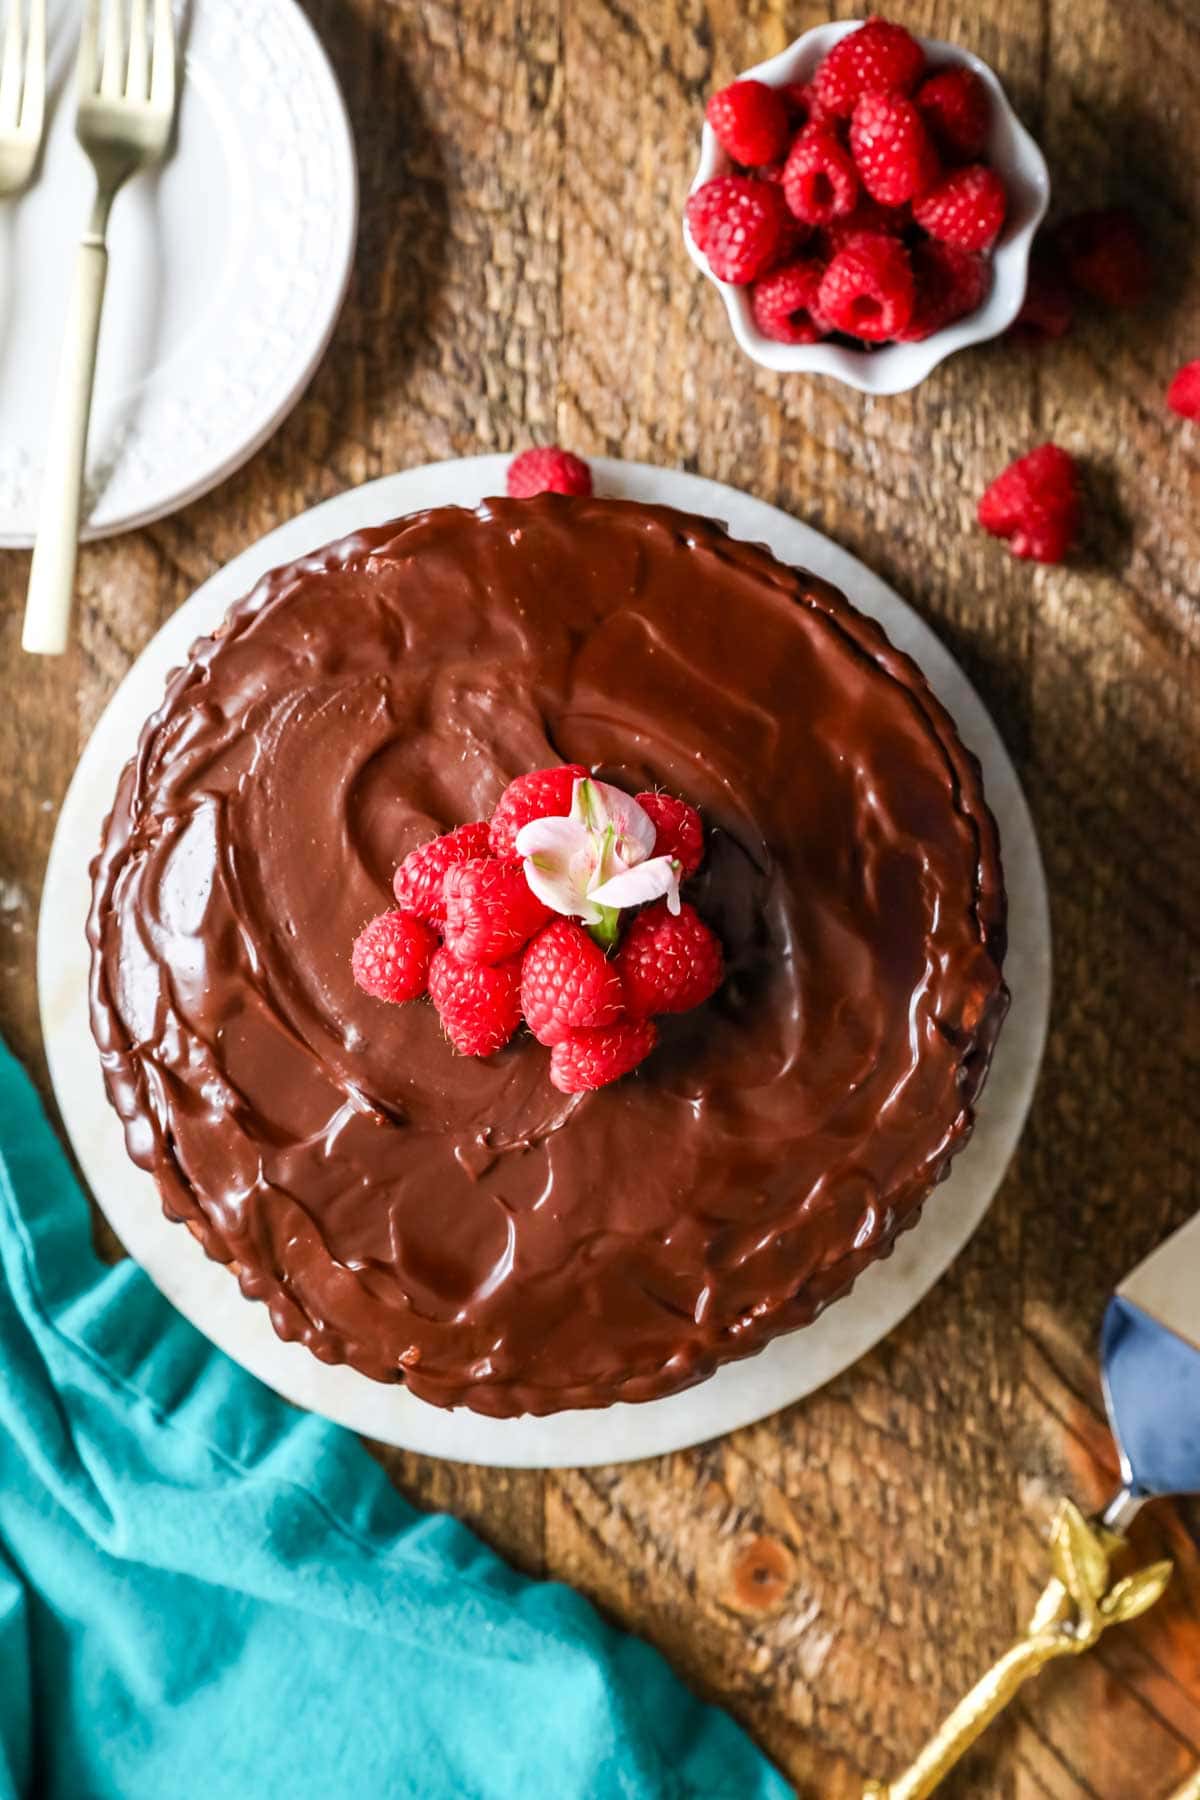
- Impressive appearance: three cake layers means this is a big cake, and adding the ganache drip and fresh berries on top just makes it look so fancy.
- Only one bowl and NO mixer needed for the cake itself. My goal was to make the cake as uncomplicated as possible since we are making three components here (cake, filling, frosting).
- Celebration-worthy. This cake isn’t just for birthdays! It would make a lovely anniversary or Valentine’s Day dessert too ❤️
What You Need (& Substitutions)
For the Cake Layers
You’ll find these ingredients are quite similar to a few other chocolate cakes I’ve shared around here (namely my peanut butter chocolate cake). When you have a good thing, you stick with it!
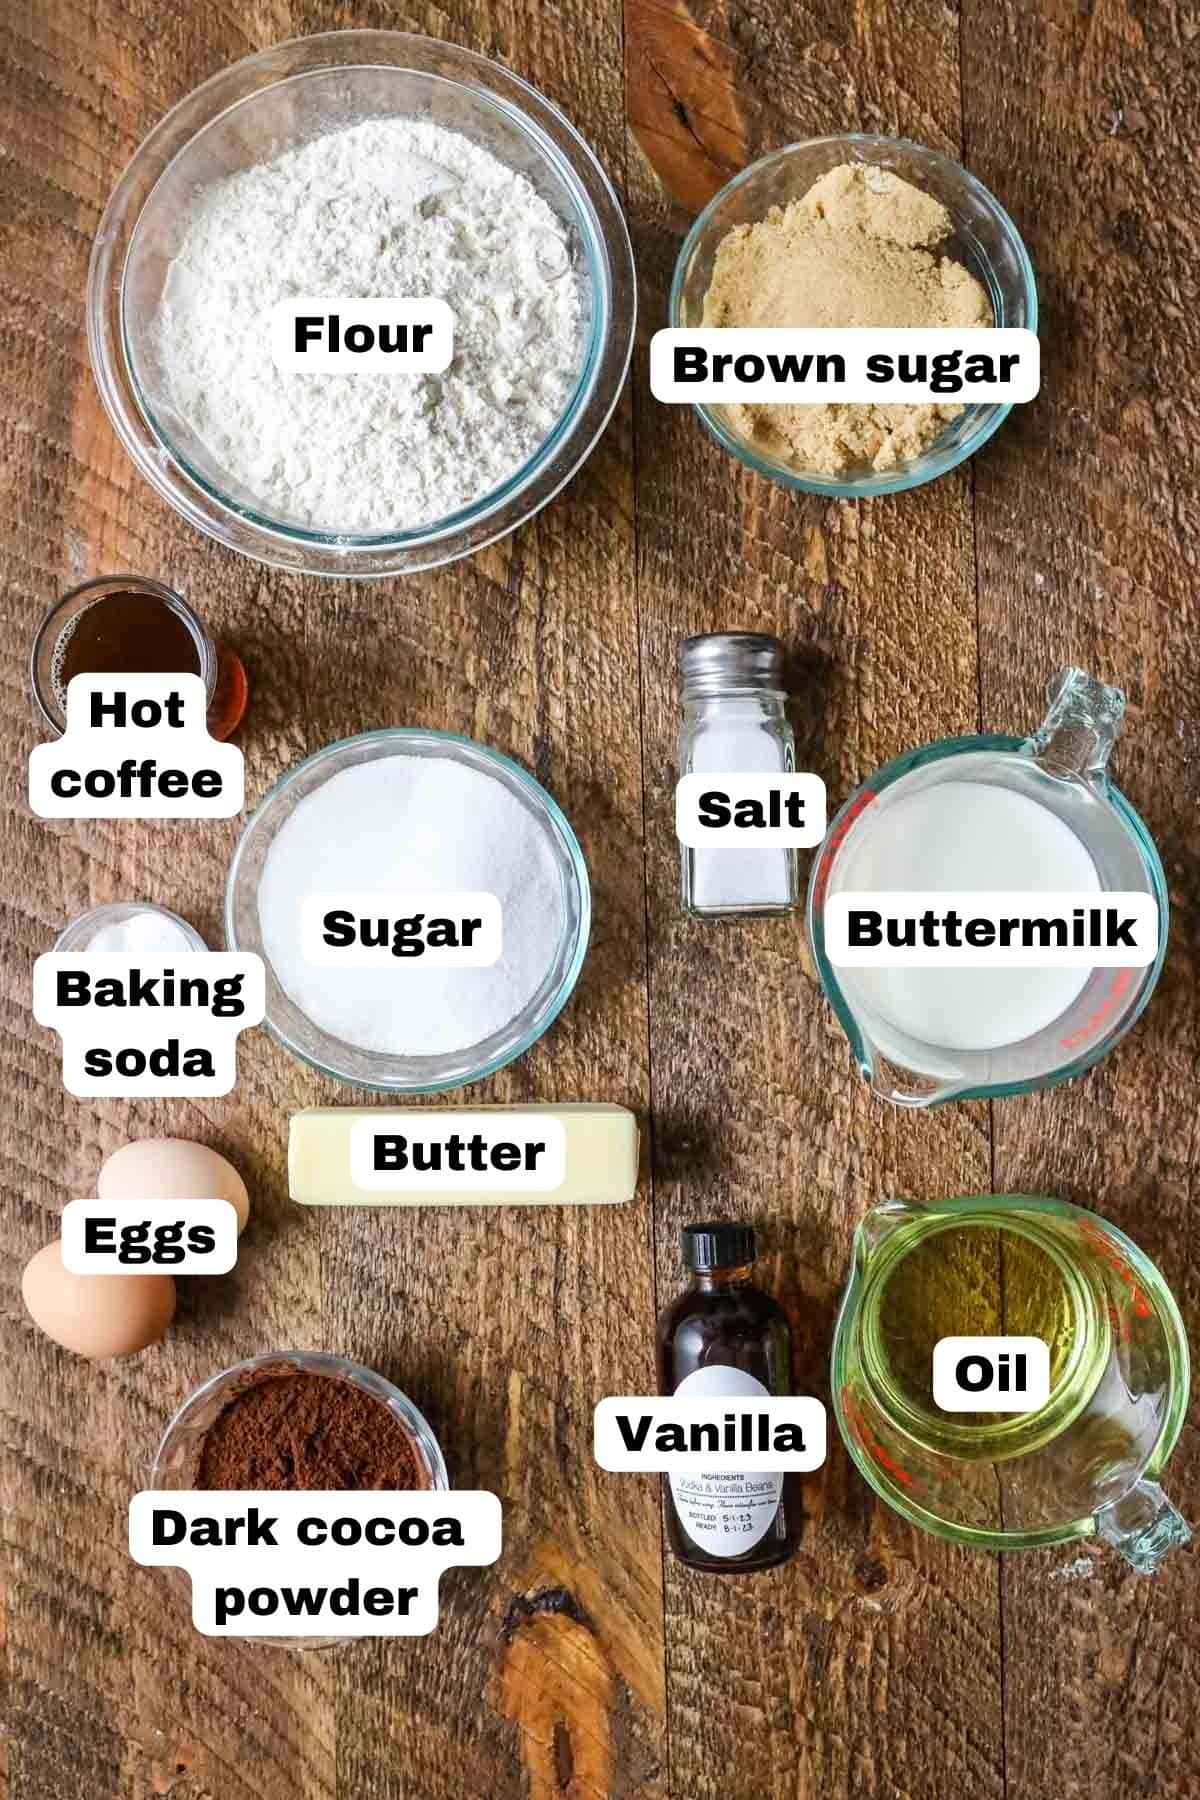
- Dark cocoa powder. Dark chocolate & raspberry was a no-brainer, the darker cocoa pairs beautifully with the brightness of the fresh raspberries. If you don’t have dark cocoa, any other Dutch process cocoa will work. Note that I do recommend natural cocoa for the frosting.
- Butter & oil. A combination of unsalted butter and a neutral oil (I like avocado!) makes this cake both flavorful and moist. It’s especially helpful to use oil when you are making a cake that needs refrigerating like this chocolate raspberry cake.
- Buttermilk. Not only does buttermilk add flavor and moisture, but it also helps to activate our baking soda, since we’re using an alkaline cocoa powder.
- Sugar. A blend of regular granulated and light brown work well here, with the brown sugar adding a bit of extra flavor and moisture. Dark brown sugar could be a bit too rich and strong, so stick with light brown.
- Hot water/coffee. I talk more about this in the FAQ section below. Either will work, but coffee will give your cake a stronger chocolate (not coffee) flavor, just like in my mint chocolate cake. Whichever you opt for, make sure it is hot!
SAM’S TIP: This recipe works best when all of your ingredients are at room temperature. Try to remember to set out your eggs, buttermilk, etc. so they have time to warm up before you get started!
For the Chocolate Raspberry Buttercream
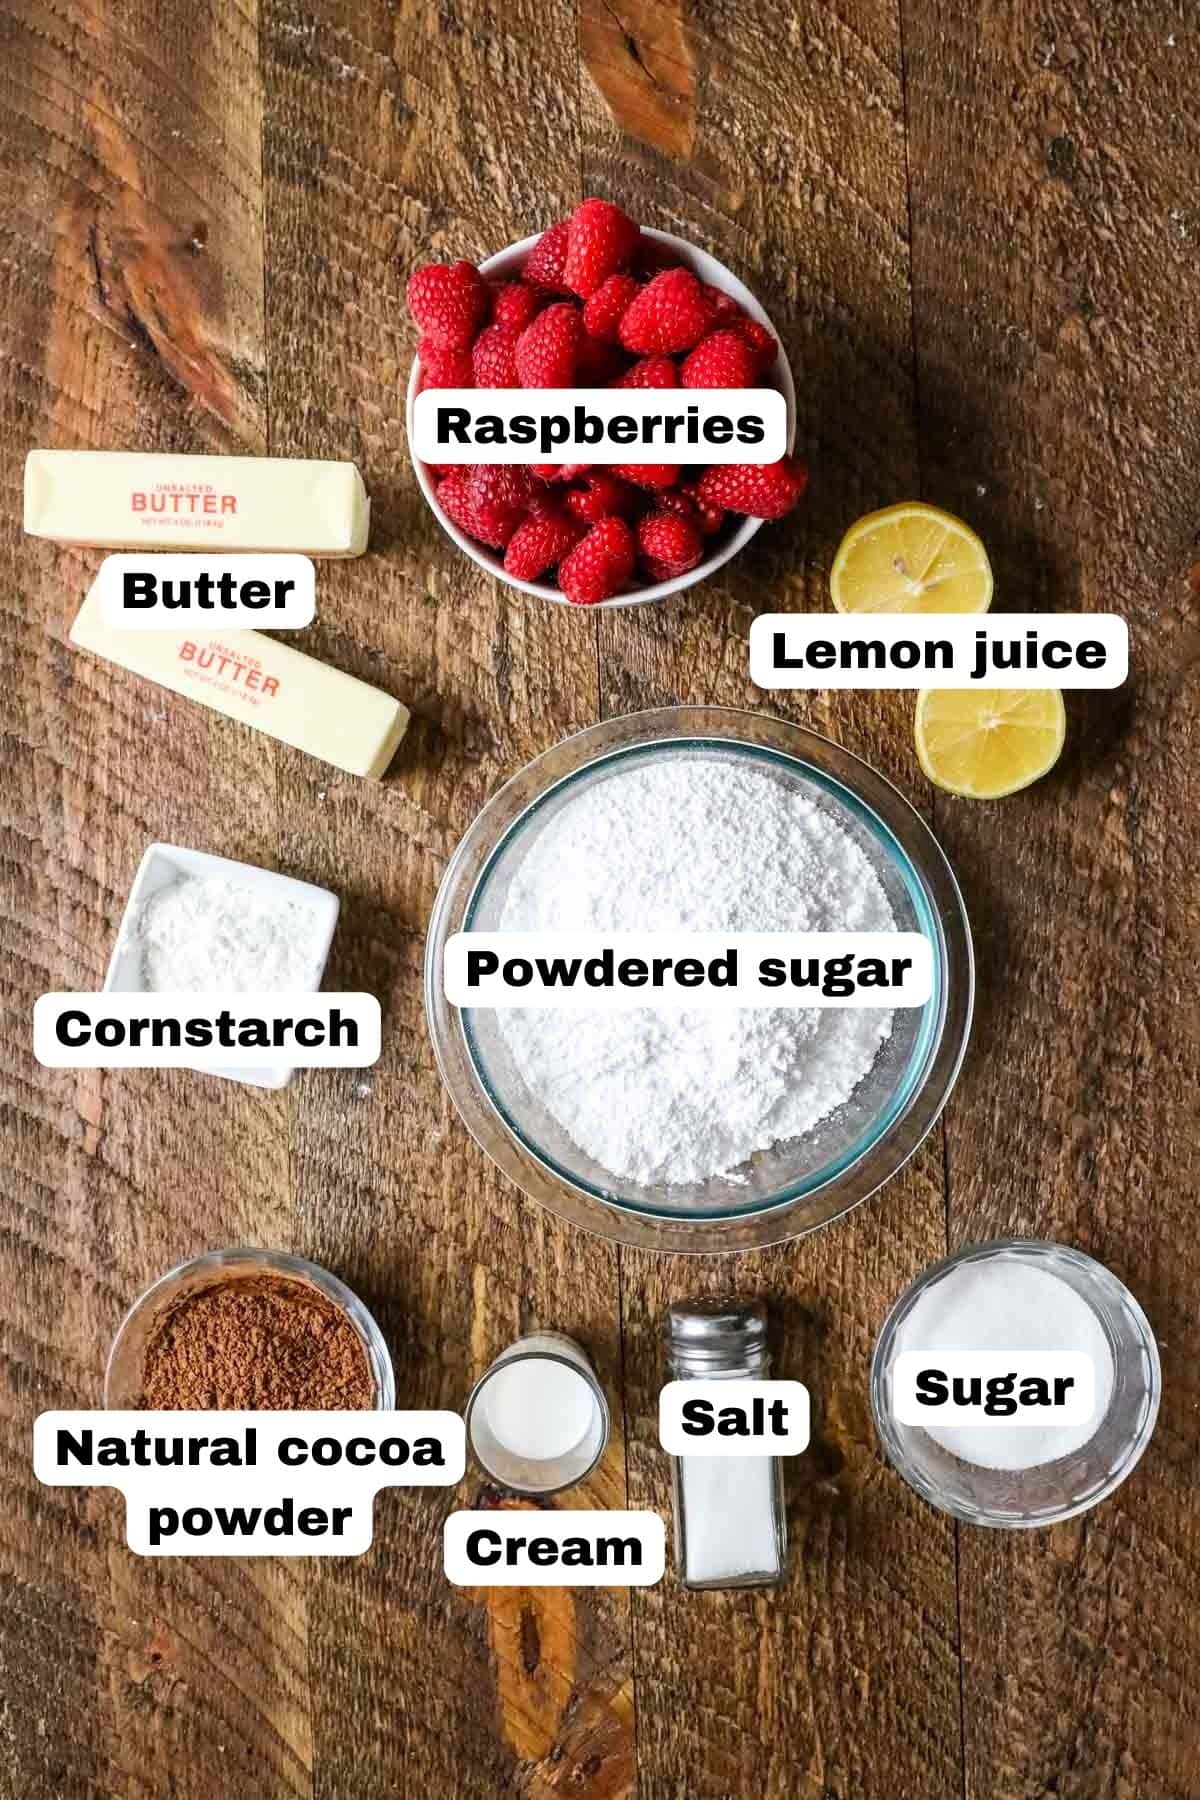
- Raspberries. Either fresh or frozen berries will work here. I recommend using fresh raspberries if they are in season though.
- Lemon juice. A squeeze of lemon juice brightens the flavor of our filling. Bottled is fine, but fresh is best, just like when making raspberry lemonade!
- Cornstarch. This helps thicken our raspberry cake filling and keeps it from spilling out of the cake!
- Cocoa powder. I went back and forth with this ingredient. For ease, I wanted to use the same type of cocoa in the frosting that I used in the cake layers (dark or Dutch). However, these simply did not work well in the frosting; they overpowered the balance of chocolate raspberry and natural cocoa powder was just honestly the best choice for a superior tasting cake.
- Heavy cream. You may not need this, but if your frosting isn’t quite as smooth and silky and spreadable as you need it to be, feel free to add a splash or two of cream.
Optional: Add a chocolate drip! This adds a nice touch in terms of appearance, taste, and texture. In the recipe card below I linked to my detailed instructions on how to do a ganache drip on a cake and I also briefly demonstrate it in today’s video, it’s easier than you might think!
How to Make Chocolate Raspberry Cake
Make the Cake Layers
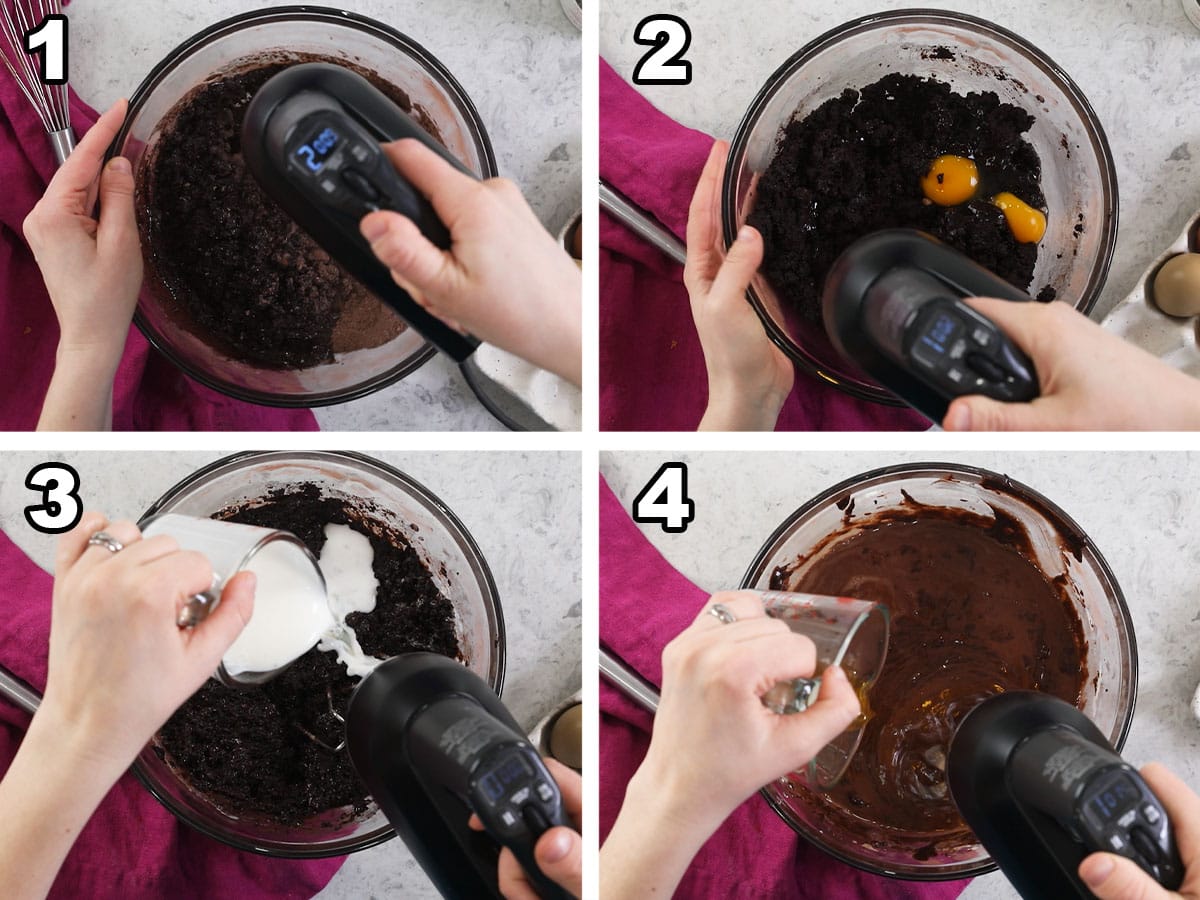
We skip the traditional creaming process here (beating together butter and sugar) and instead add melted butter and oil to our dry ingredients and sugar. This cake can be made with or without a mixer, but it’s very important to scrape the sides and bottom of the bowl periodically and aim for a batter that is smooth and uniform. Using ingredients that are all room temperature will help with this.
SAM’S TIP: Buttermilk expands as it warms to room temperature. Measure it cold and let it sit at room temperature before using (rather than trying to measure it warm).
Prepare the Raspberry Filling
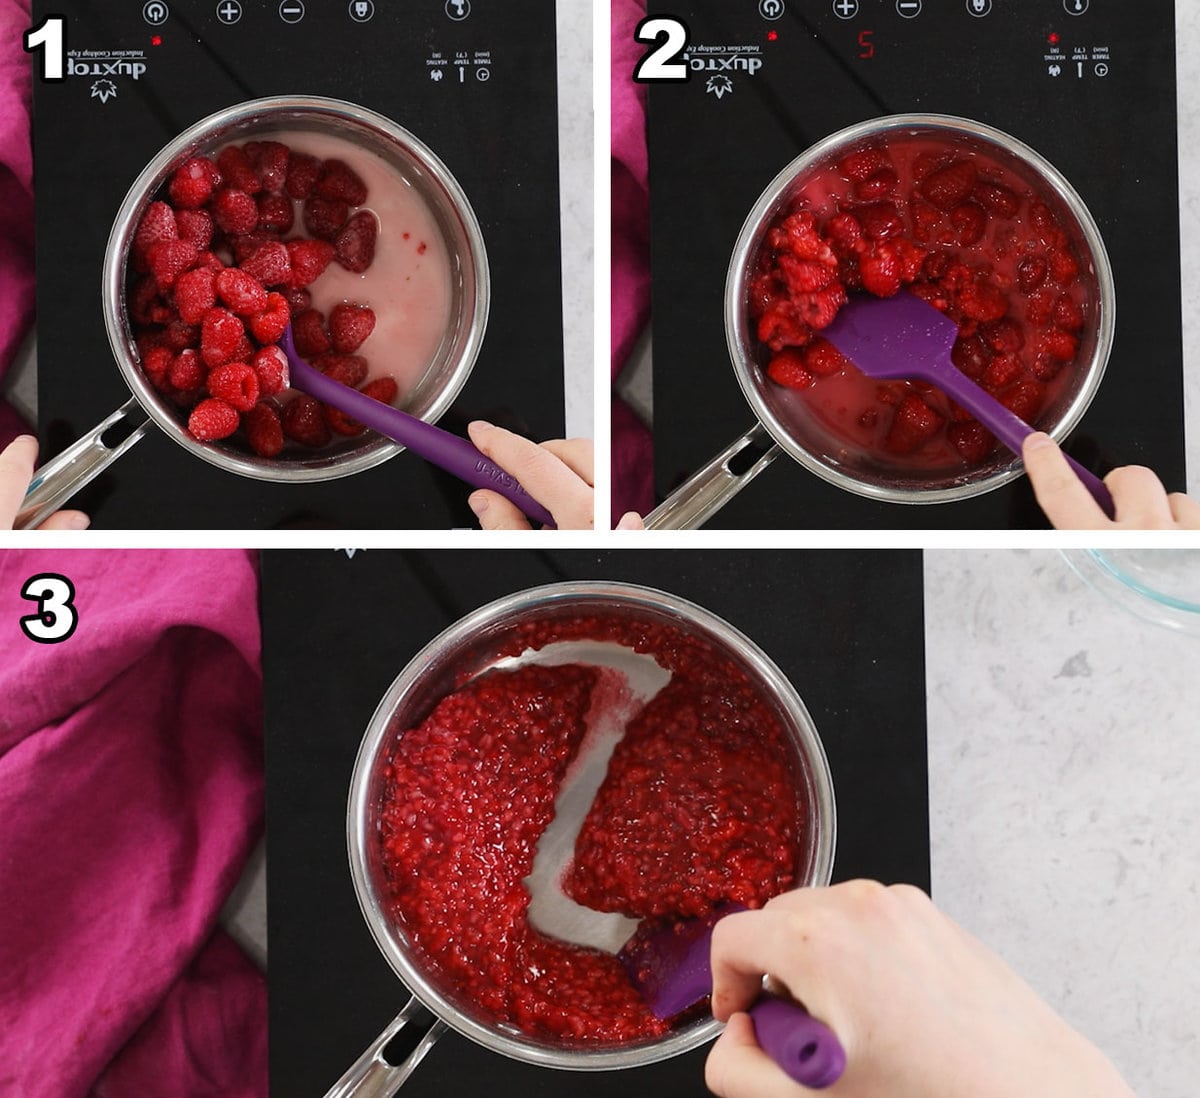
Some helpful hints: Make sure that you don’t crank up the heat too high or you’ll evaporate too much of the water and end up burning the mixture (or even if you don’t, you could lose too much flavor this way). Stir frequently, which will also keep things from burning. If you’ve made my raspberry cake filling, you’ve done this all before.
You’ll know the mixture is done when your spatula leaves distinct trails through the mixture. Remove it from the heat and pour into a heatproof bowl to stop the cooking process (and note the
SAM’S NOTE: Raspberries have seeds, and, well, so does this chocolate raspberry cake! While in some recipes I’ll strain out the seeds (like my raspberry cheesecake) I opted to keep them here for the best raspberry texture and flavor. You actually can’t leave the seeds out of this recipe or you won’t be left with much to work with!
Make the Frosting
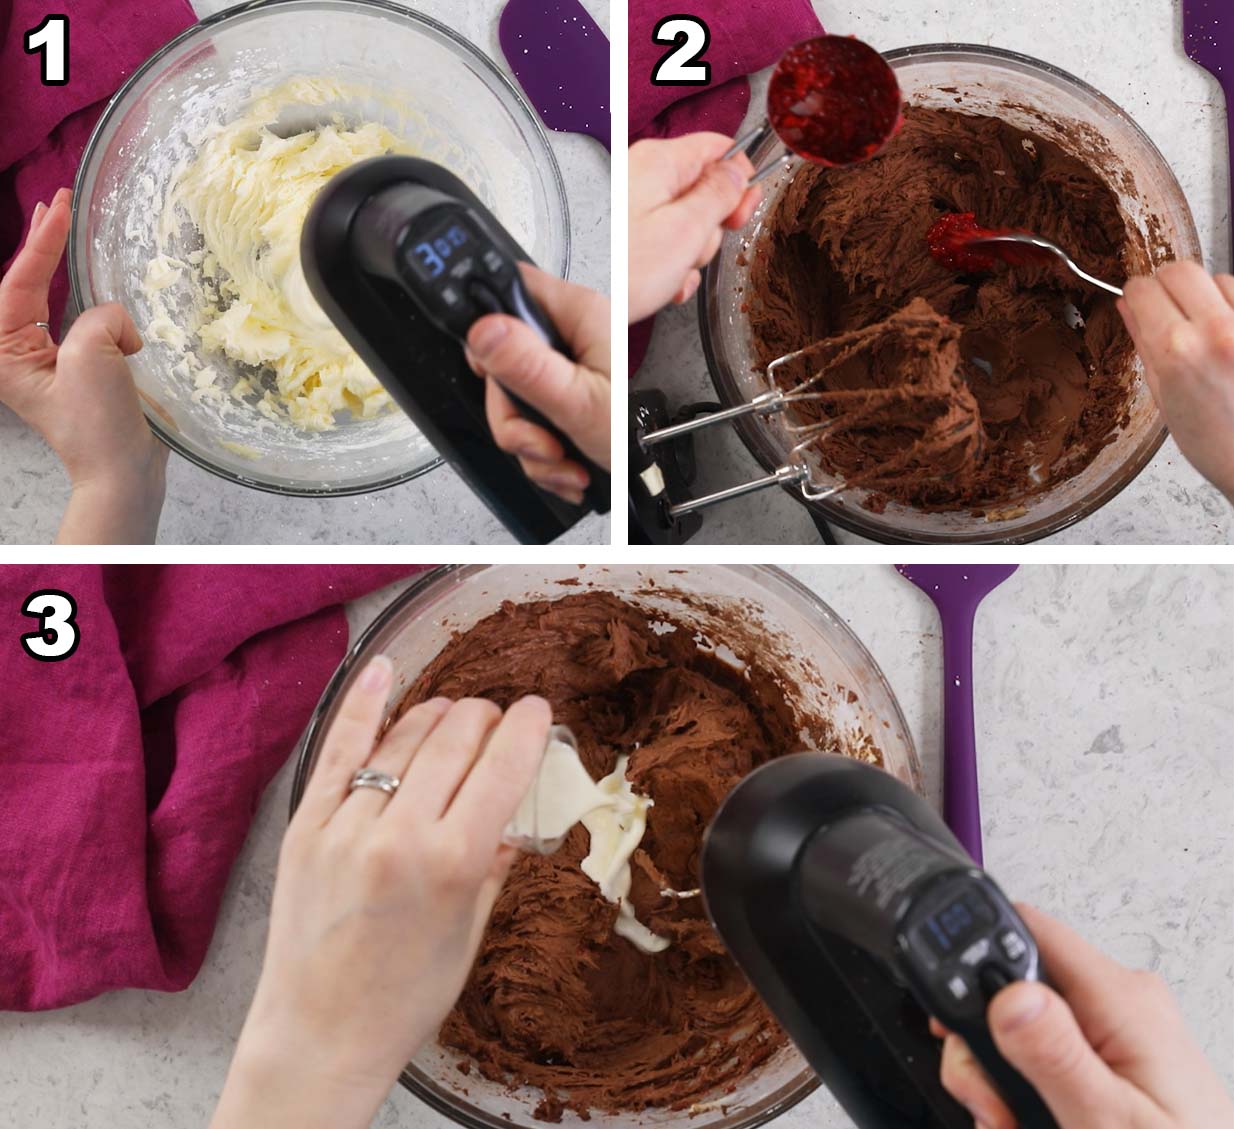
The frosting comes together simply and starts just like a classic chocolate buttercream, until we get to the raspberry infusion. You’ll need ⅓ cup of raspberry filling (from above) but don’t add it all at once!
Add the (cooled!) raspberry filling just a spoonful at a time. It’s very important to do this gradually, because adding it too quickly can break or curdle the frosting.
Assembly
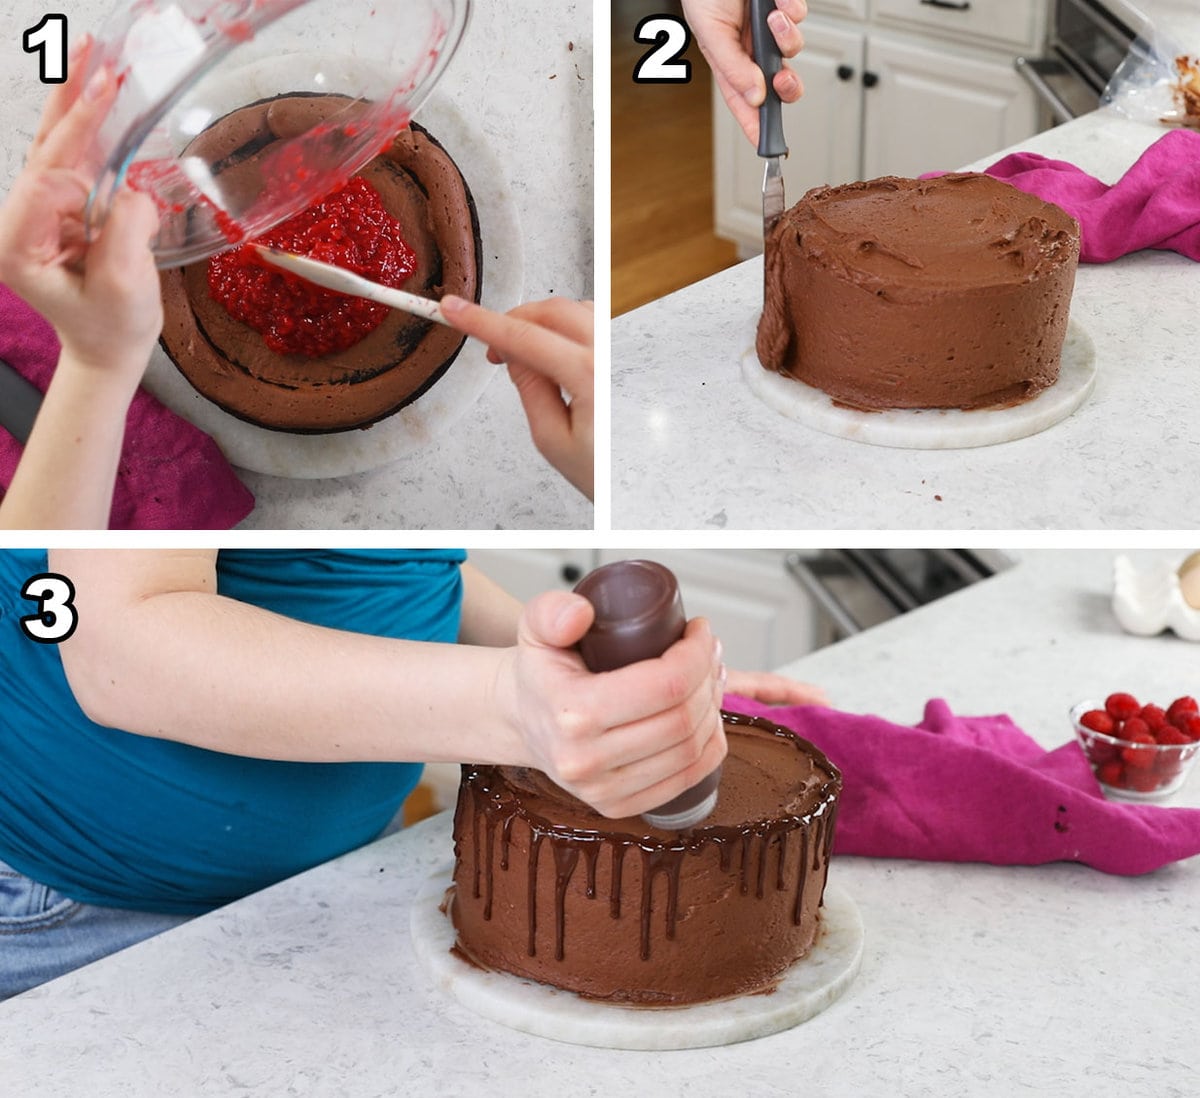
A piping bag will be your friend here for creating the dam that holds in the raspberry filling; this is essential so the filling doesn’t squeeze out of the cake! If your frosting seems too stiff and isn’t spreading smoothly on the cake or is tearing up the delicate fudgy crumbs as you try to spread it, don’t hesitate to stir in a splash of cream or milk to thin things a bit (but, also consider doing a crumb coating, mentioned below).
A ganache drip is optional, but so pretty and decadent, and don’t miss my tips on how to decorate a cake for beginners.
SAM’S TIP: While optional, a crumb coat will make decorating your chocolate raspberry cake much easier. To do this, spread a very thin, even layer of frosting around the cake, catching any crumbs (it doesn’t have to be pretty!). Place the cake in the freezer for 15 minutes, then remove and add your final layer of frosting. Should be smooth and crumb-free!
Frequently Asked Questions
Yes, you could use my raspberry buttercream instead of the chocolate frosting called for. For another fun twist, I think this chocolate raspberry cake would also be tasty with my white chocolate buttercream.
Using hot liquid of any kind will bloom the cocoa powder and enhance its flavor (like steeping tea!), so using a hot liquid is essential. Hot water works just fine here, but coffee in particular enhances the chocolate flavor even more. If you don’t want to use coffee, just use water, but if you’re worried about your chocolate raspberry cake tasting like coffee, don’t worry it won’t. It’ll just have a deeper chocolate flavor.
This usually happens when the raspberry filling mixture is added to the frosting too quickly, or if it was still too warm.
To fix this, you can try to place your frosting in the fridge or adding a bit more sugar. It can be hard to recover frosting that breaks though, so prevention is key here!
Enjoy!
Let’s bake together! Subscribe to my newsletter to be notified of all the newest recipes, and find my free recipe tutorials on YouTube 💜
Chocolate Raspberry Cake
Ingredients
Cake
- 1 ¾ cups (220 g) all-purpose flour
- 1 cup (200 g) granulated sugar
- 1 cup (200 g) light brown sugar firmly packed
- ¾ cup (75 g) dark cocoa powder
- 1 ½ teaspoons baking soda
- ¾ teaspoon table salt
- ⅔ cup (155 ml) neutral cooking oil
- ½ cup (113 g) unsalted butter melted
- 2 large eggs room temperature preferred
- 2 teaspoons vanilla extract
- 1 cup (236 ml) buttermilk room temperature preferred
- ½ cup (118 ml) very hot/boiling water or hot coffee
Raspberry Filling
- ½ cup (100 g) granulated sugar
- 3 Tablespoons cornstarch
- 3 cups (340 g) fresh or frozen raspberries
- 3 Tablespoons water
- 1 ½ Tablespoons lemon juice
Chocolate Raspberry Frosting
- 1 cup (226 g) unsalted butter softened
- 3 cups (375 g) powdered sugar
- ⅔ cup (65 g) natural cocoa powder
- ⅛ heaping teaspoon salt
- ⅓ cup (94 g) raspberry filling from above
- 1-2 Tablespoons heavy cream as needed
- Ganache drip for decorating optional
Recommended Equipment
Instructions
Cake
- Preheat oven to 350F (175C) and line the bottoms of three 8” round cake pans with parchment paper and grease and flour the sides. Set aside.
- In a large mixing bowl, whisk together flour, sugars, cocoa powder, baking soda, and salt.1 ¾ cups (220 g) all-purpose flour, 1 cup (200 g) granulated sugar, 1 cup (200 g) light brown sugar, ¾ cup (75 g) dark cocoa powder, 1 ½ teaspoons baking soda, ¾ teaspoon table salt
- Add oil and melted butter to flour mixture, stir until fully combined.⅔ cup (155 ml) neutral cooking oil, ½ cup (113 g) unsalted butter
- Add eggs and vanilla extract and stir until fully combined and batter is uniform.2 large eggs, 2 teaspoons vanilla extract
- Gradually add buttermilk, stirring until combined.1 cup (236 ml) buttermilk
- Slowly and carefully, add hot water or coffee, stirring until completely combined. Scrape sides and bottom of the bowl with a spatula to ensure all ingredients get incorporated.½ cup (118 ml) very hot/boiling water or hot coffee
- Divide batter evenly into prepared cake pans and bake in preheated 350F (175C) oven for 24-25 minutes. When cakes are finished baking, a toothpick inserted into the center should come out completely clean or with a few moist crumbs.
- Allow cakes to cool in their pans for 10-15 minutes, then run a knife along the edges to loosen from pans and carefully invert onto cooling racks. Allow to cool completely before decorating.
- While cakes are cooling, prepare the raspberry filling.
Raspberry Filling
- In a small saucepan, combine sugar and cornstarch, whisk until combined.½ cup (100 g) granulated sugar, 3 Tablespoons cornstarch
- Add raspberries, water, and lemon juice and stir together.3 cups (340 g) fresh or frozen raspberries, 3 Tablespoons water, 1 ½ Tablespoons lemon juice
- Heat saucepan on your stovetop over medium heat and cook, stirring constantly, until berries release their juices and mixture starts to bubble. This can take 5-10 minutes, do not increase your heat from medium, you want everything to heat slowly.
- Continue stirring constantly and cook until thickened (this usually takes me about 2 minutes after the mixture begins bubbling). This mixture will appear to only slightly thicken, you’ll notice that when you pull your spatula through the mixture you leave a trail.
- Transfer mixture to a heatproof container and allow to cool to room temperature before proceeding.
Raspberry Frosting
- In a large mixing bowl (or the bowl of your stand mixer with a paddle attachment) use an electric mixer to beat butter on low speed until smooth and creamy.1 cup (226 g) unsalted butter
- Add about half of the powdered sugar, cocoa powder, and salt and beat on low speed until well combined.3 cups (375 g) powdered sugar, ⅔ cup (65 g) natural cocoa powder, ⅛ heaping teaspoon salt
- Gradually add remaining powdered sugar, mixing on low speed, until all sugar is added.
- While mixing on low speed, add ⅓ cup of the raspberry filling, a heaping spoonful (about a tablespoon) at a time, until all filling is evenly incorporated.⅓ cup (94 g) raspberry filling
- Gradually add heavy cream as needed and stir until icing is a smooth, pipe-able consistency. Place frosting into a piping bag with a large open tip.1-2 Tablespoons heavy cream
Assembly
- Once cakes are completely cooled, level cakes if needed.
- Place one cake layer on serving platter. Spread a very thin layer of frosting over the top of the cake layer. Pipe a dam of frosting around the edge of the cake.
- Spread half of your remaining raspberry filling inside the piped dam. Top with the next layer of cake and repeat the process.
- Top with the last layer of cake. Use the rest of the frosting to spread an even layer around the sides and top of the cake. (I like to do a crumb coating on the cake and refrigerate for 15 minutes before doing the final layer of frosting). If desired, follow my instructions (linked in the ingredients above) for adding a ganache drip.Ganache drip for decorating
- For best results, chill cake in the refrigerator for at least 30 minutes before slicing and serving.
Notes
Filling
You should end up with approximately 1 ⅔ cup of filling (before any is removed for the frosting).Storing
Store cake in an airtight container in the refrigerator for up to 4 days.Nutrition
Nutritional information is based on third-party calculations and should be considered an estimate only. Actual nutritional content will vary based upon brands used, measuring methods, cooking method, portion sizes, and more.

Brigitte Garcia
Would I be able to use this raspberry filling to fill chocolate cupcakes?
Emily @ Sugar Spun Run
Sure! Enjoy 🙂
ashley
Would I be able to make the cakes and filling in advance and refrigerate then make frosting day of?
Sam Merritt
Hi Ashley! You could make the cake and fillings in advance. I would let the cakes cool completely and wrap in plastic wrap and store at room temperature. The filling would need to be refrigerated. It will be good for several days before frosting. 🙂