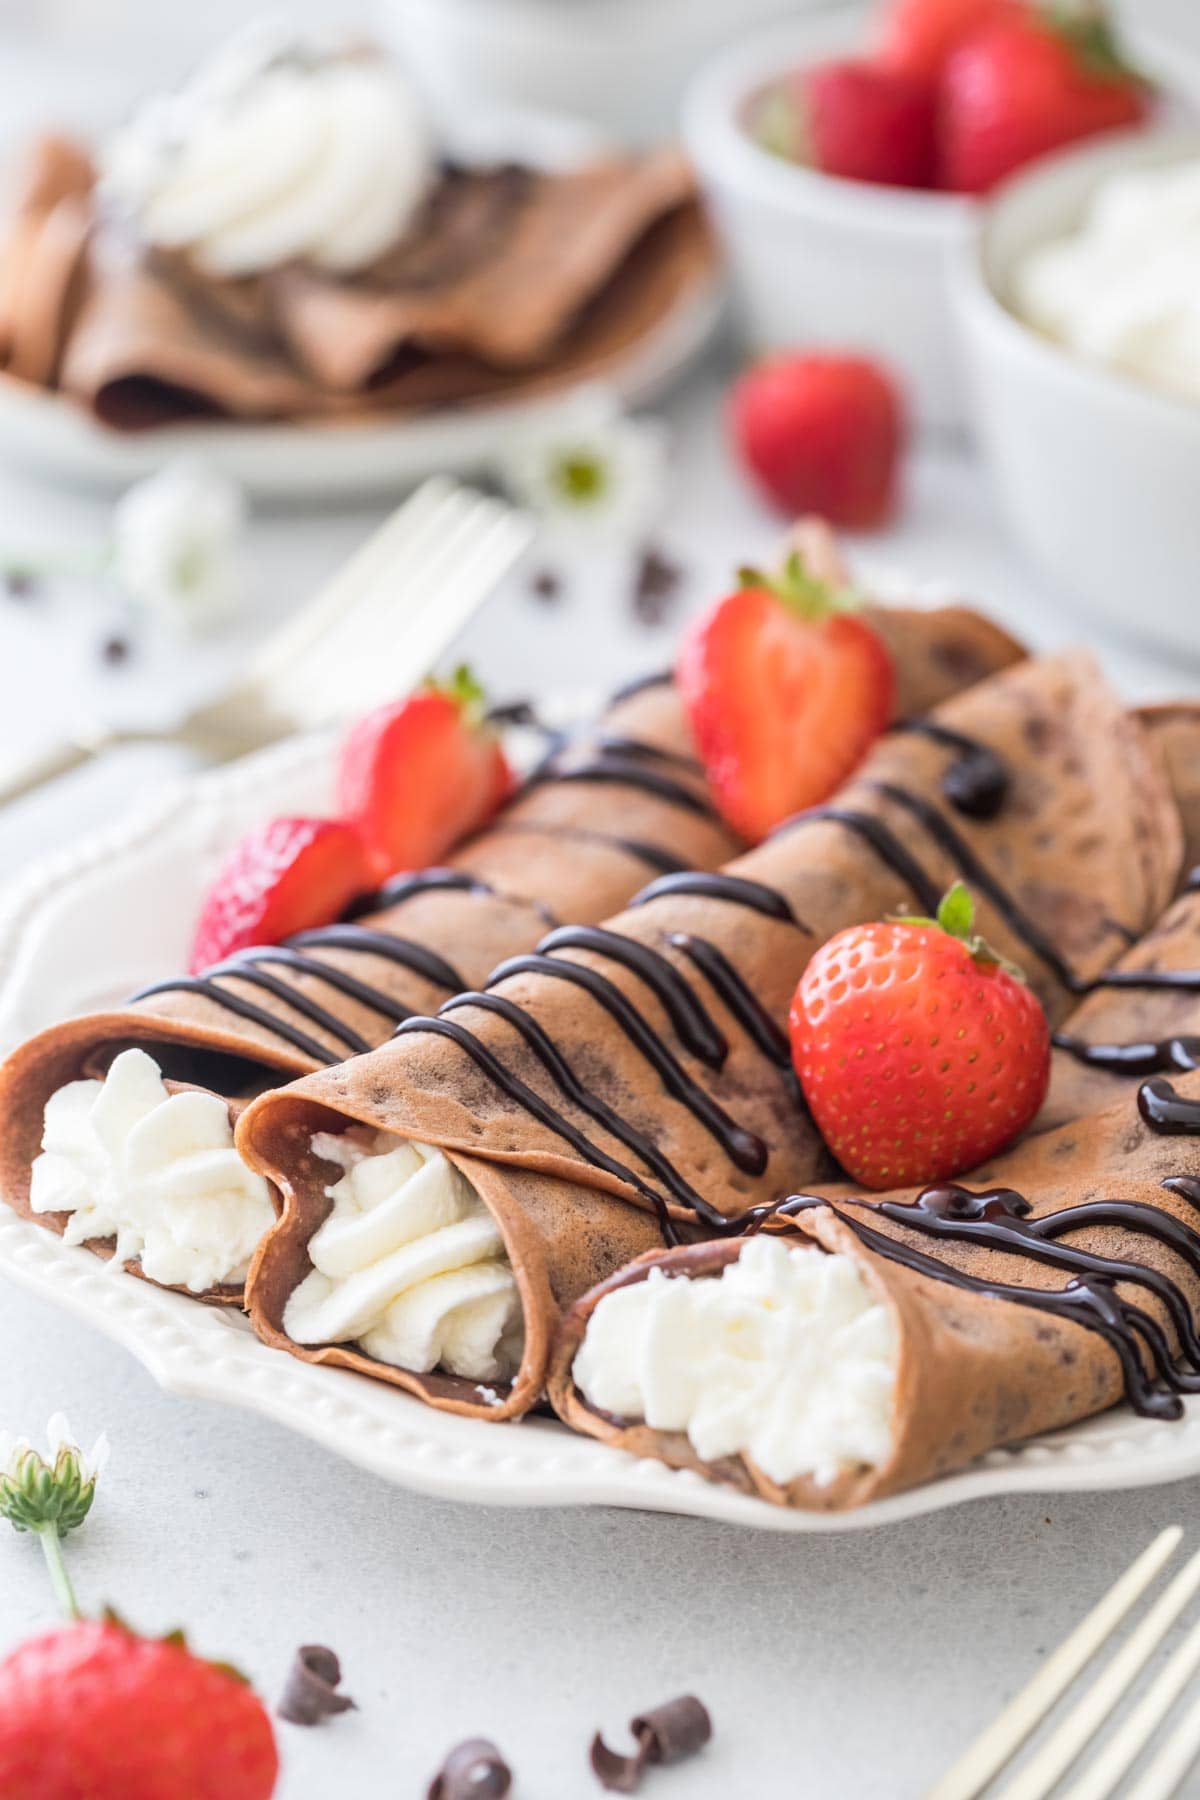
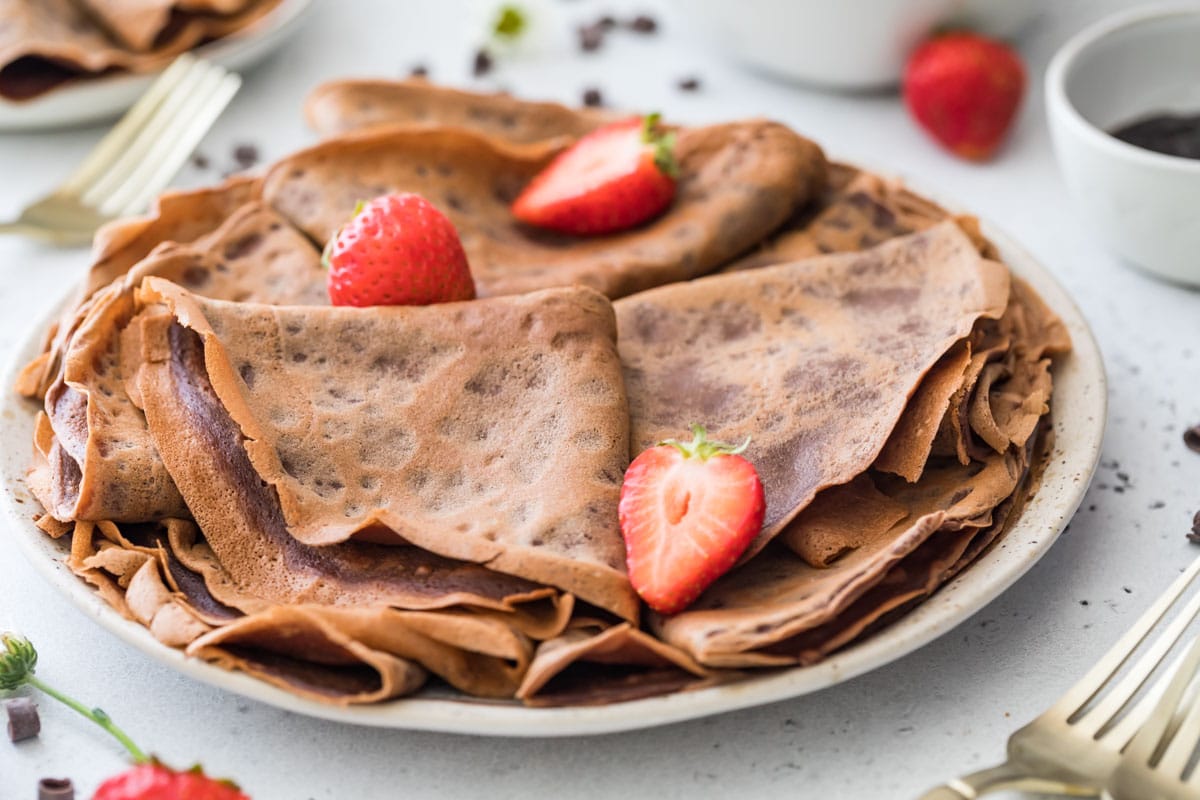
These chocolate crepes are perfectly thin, chocolatey, and not too sweet. They only require a few ingredients to make and just minutes on the stove, and the batter is great for making in advance. Recipe includes instructions for making in a blender or in a mixing bowl and I walk you through the steps in my how-to video!
Quick and Easy Chocolate Crepes
I’ve taken my popular crepes recipe and given it a chocolate twist to make these elegant, but super simple chocolate crepes.
They have the perfect thin crepe texture and a distinct chocolate flavor, and they taste great served warm or chilled. I think you’re going to love them just as much, if not more than the regular version!
My recipe comes together in a matter of minutes, chills for just half an hour (though you can go longer–it’s perfect for making ahead of time!), and cooks in a flash. I’ve included instructions for preparation in a blender or a bowl, and as always, I’ve included a video to walk you through how to make the perfect chocolate crepe.
Top yours with homemade whipped cream and strawberries (a drizzle of chocolate sauce is always a good idea too). Perfect for wow-ing your Valentine, or just enjoying solo. Let’s get started!
What You Need
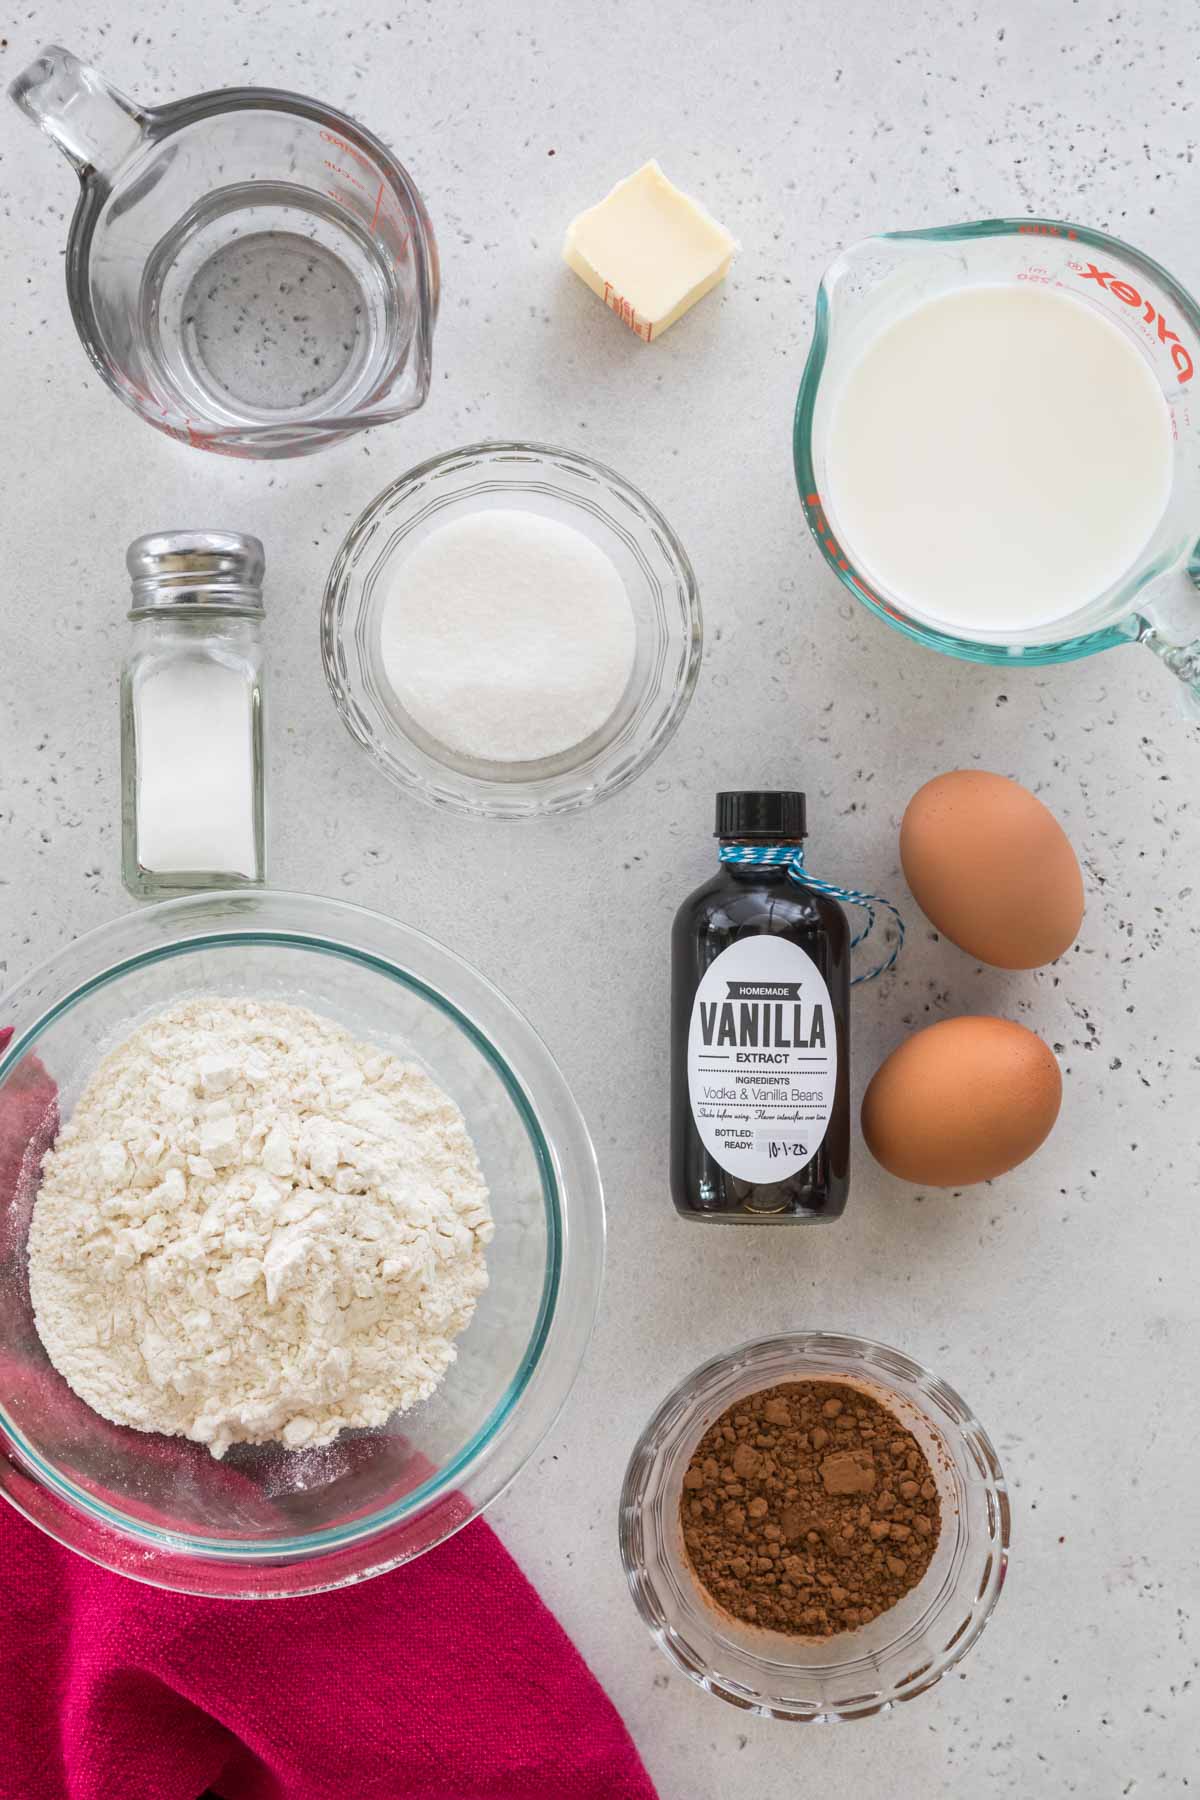
I’d always considered crepes to be a fancy French food, which in my mind equated to a fussy, persnickety recipe. Fortunately, that’s not the case and chocolate crepes aren’t just easy, they also require just a few very basic ingredients. Here are a few of the important ones:
- Very hot water. We’ll start this recipe by combining very hot water and cocoa powder. The hot water is key because blooms the cocoa powder, giving the crepes a richer chocolate flavor than they would have otherwise.
- Cocoa powder. Use natural, unsweetened cocoa powder. Dutch process cocoa will also work, but keep in mind you’ll end up with a different chocolate flavor profile (and all of my taste-testers preferred the chocolate crepes made with natural cocoa powder.
- Flour. I recommend all-purpose flour, I have not tried this recipe with any other type of flour.
- Sugar. Just a little granulated sugar adds flavor without making your chocolate crepes overwhelmingly sweet, so you can still add your favorite toppings.
- Milk. Pretty much any kind of milk will work. If making the crepes by hand (rather than blitzing them in the blender) make sure you add the milk slowly; adding too much liquid at once can create a clumpy batter that’s difficult to properly combine. A smooth batter is critical here!
- Eggs. I like to lightly beat the eggs before adding them to the batter, that way they incorporate easier.
- Butter. Use unsalted butter and make sure its cooled down slightly before adding it to your batter.
- Cooking spray, oil, or melted butter. For greasing your pan between crepes. Make sure you only add a thin, light layer; too much can make your crepes rubbery!
SAM’S TIP: While I don’t often bake with nonstick cookware, I always make an exception when I make crepes. Crepes are prone to tearing and require an experienced hand if you’re not using nonstick.
Remember, this is just an overview of the ingredients I used and why. For the full recipe please scroll down to the bottom of the post!
How to Make Chocolate Crepes
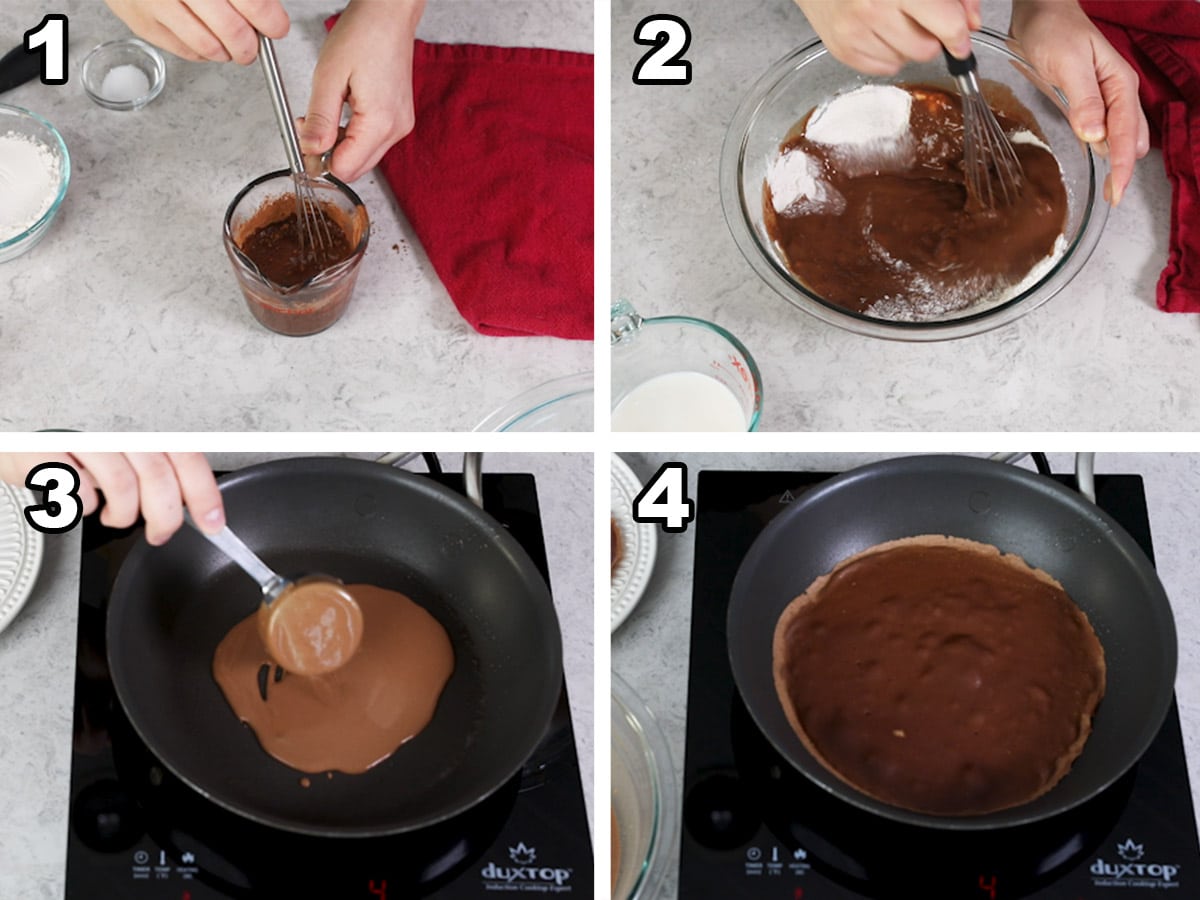
My chocolate crepe recipe can be made either in a blender or in a mixing bowl, whisked by hand. The blender process is pretty straightforward and foolproof (after blooming the cocoa powder, combine all ingredients and blitz!), so for today’s video and photos I wanted to show you how the batter should look when made in a mixing bowl.
- Thoroughly combine your hot water and cocoa powder with a whisk. Set aside.
- In a separate bowl, combine the dry ingredients and then gradually whisk in the wet ingredients. until the batter is nice and smooth. Gradually adding the milk helps ensure a perfectly smooth batter.
- Cover batter and let it chill in the fridge for 30-60 minutes (or longer, this batter can be made up to 2 days in advance!). Remove from fridge and stir gently, then heat a nonstick skillet and lightly grease before adding a small portion of batter.
- Immediately tilt your pan so the batter flows into an even, thin layer, and cook until the edges of the crepe are set and it looks dry, then flip and cook until finished. Repeat with your remaining batter, brushing the pan with oil or melted butter in between.
SAM’S TIP: Don’t be discouraged if your first chocolate crepe doesn’t turn out as pretty as you hoped it would! Crepes can be tricky to cook and flip, and reaching the proper pan temperature is very important. Think of the first one as a practice crepe–the ones you make after will look much better!
Frequently Asked Questions
I strongly recommend it. Resting the batter allows the gluten to relax and the flavors to develop. It also helps keep your chocolate crepes from becoming rubbery, so don’t skip it!
It’s left out intentionally. Unlike pancakes, crepes don’t require a leavening agent like baking soda or baking powder. This is how they stay perfectly thin and flat!
Absolutely! After preparing the batter, cover the bowl with plastic wrap and place it in the fridge for up to two days. Remember to give it a stir before using it, as sometimes some separation begins to happen.
Enjoy!
Let’s bake together! I’ll be walking you through all the steps in my written recipe and video below! If you try this recipe, be sure to tag me on Instagram, and you can also find me on YouTube and Facebook

Chocolate Crepes
Ingredients
- ⅓ cup (80 ml) very hot water
- 3 Tablespoons natural cocoa powder
- 1 cup (125 g) all-purpose flour
- 3 Tablespoons granulated sugar
- ½ teaspoon table salt
- 1 cup (236 ml) milk (I use whole milk)
- 2 large eggs
- 2 Tablespoons unsalted butter melted
- ¾ teaspoon vanilla extract
- Cooking oil or spray or melted butter for cooking
Recommended Equipment
- Nonstick skillet
Instructions
- Whisk together hot water and cocoa powder until completely combined.⅓ cup (80 ml) very hot water, 3 Tablespoons natural cocoa powder
- If using a blender: Pour water/cocoa powder and all remaining ingredients into blender. Blend until smooth (you may need to pulse or pause and scrape the sides of the blender if all ingredients aren’t becoming well-combined). Cover and rest in the refrigerator for 30-60 minutes or up to 2 days before using.1 cup (125 g) all-purpose flour, 3 Tablespoons granulated sugar, ½ teaspoon table salt, 1 cup (236 ml) milk, 2 large eggs, 2 Tablespoons unsalted butter, ¾ teaspoon vanilla extract
- If not using a blender: Whisk together flour, sugar, and salt in a large bowl and make a well in the center of the bowl. Add water/cocoa mixture, about half of the milk, eggs, butter, and vanilla extract and whisk together until smooth and combined. Gradually whisk in remaining milk until you have a completely smooth and well-combined batter. Cover and rest the batter in the refrigerator for 30-60 minutes or up to 2 days before using.1 cup (125 g) all-purpose flour, 3 Tablespoons granulated sugar, ½ teaspoon table salt, 1 cup (236 ml) milk, 2 large eggs, 2 Tablespoons unsalted butter, ¾ teaspoon vanilla extract
- Cooking (no matter which way batter was prepared): Place a nonstick skillet over medium-heat and very lightly brush the surface of the pan with cooking oil. Allow the pan to warm up for several minutes, until you can feel the heat radiating from the pan if you hover your hand several inches above it.Cooking oil or spray or melted butter
- Stir crepe batter once more to ensure all ingredients are well-combined then lift the pan from the heat and pour approximately ¼ cup of batter into the pan. Tilt and swirl the pan to form a thin circle (I aim for 8” circles) and return to the heat.
- Cook until crepe begins to appear dry and the edges have set, then flip with a spatula or crepe turner. Cook on the other side until cooked through, then remove from heat. Crepes can be served either warm or chilled.
- Repeat with remaining batter, lightly brushing pan with oil between crepes.
Notes
Cocoa powder
I prefer “natural unsweetened” cocoa powder in this recipe. Note that Dutch process will work instead, you will just have a slightly different flavor.Nutrition
Nutritional information is based on third-party calculations and should be considered an estimate only. Actual nutritional content will vary based upon brands used, measuring methods, cooking method, portion sizes, and more.





Ivy
Can I use this chocolate crepe recipe in your crepe cake for a CHOCOLATE crepe cake? Thank you!
Emily @ Sugar Spun Run
Absolutely! Enjoy 😊
Ivy
Thank you!
Geri Juen
What did you fill them with?
Sam
Hi Geri! Whipped cream and strawberries are always a good option. Nutella works well too. 🙂
Jennifer Burrow
Sounds delicious, this has inspired me to try them with my sourdough starter. I just need to adjust things here and there. I can’t wait to try.
Briana
Can you use melted chocolate instead of cocoa powder
Sam
Hi Briana! I have not experimented with it to say for sure. If you do try it, I would love to know how it goes. 🙂