
Cheesecake Stuffed Chocolate Cake
This post may contain affiliate links. As an Amazon Associate I earn from qualifying purchases. Please read my disclosure policy.
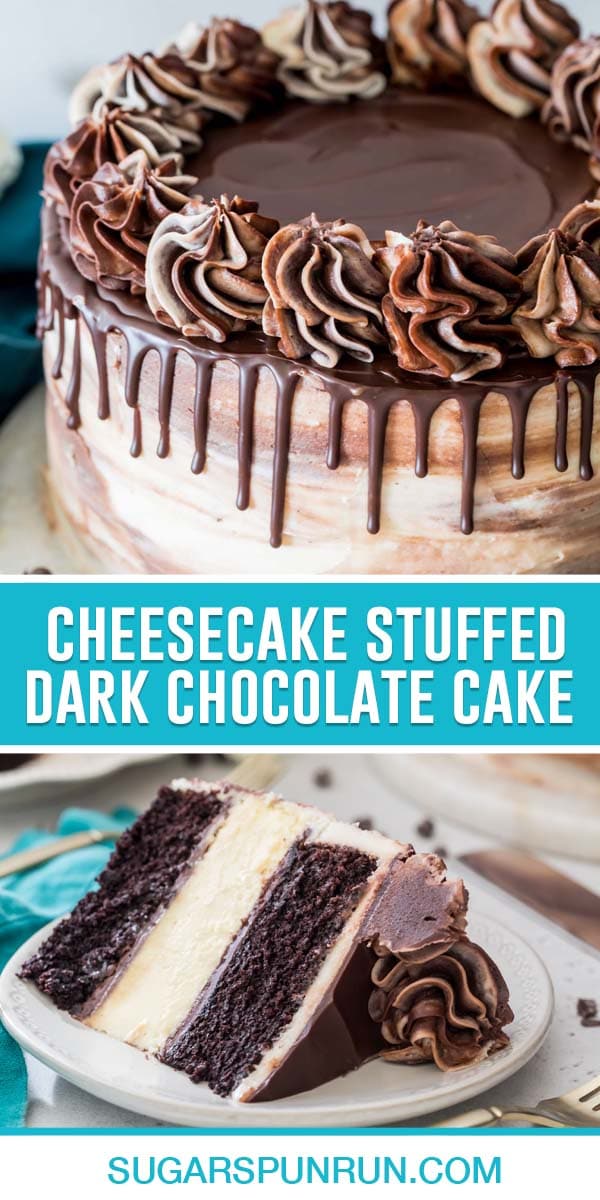
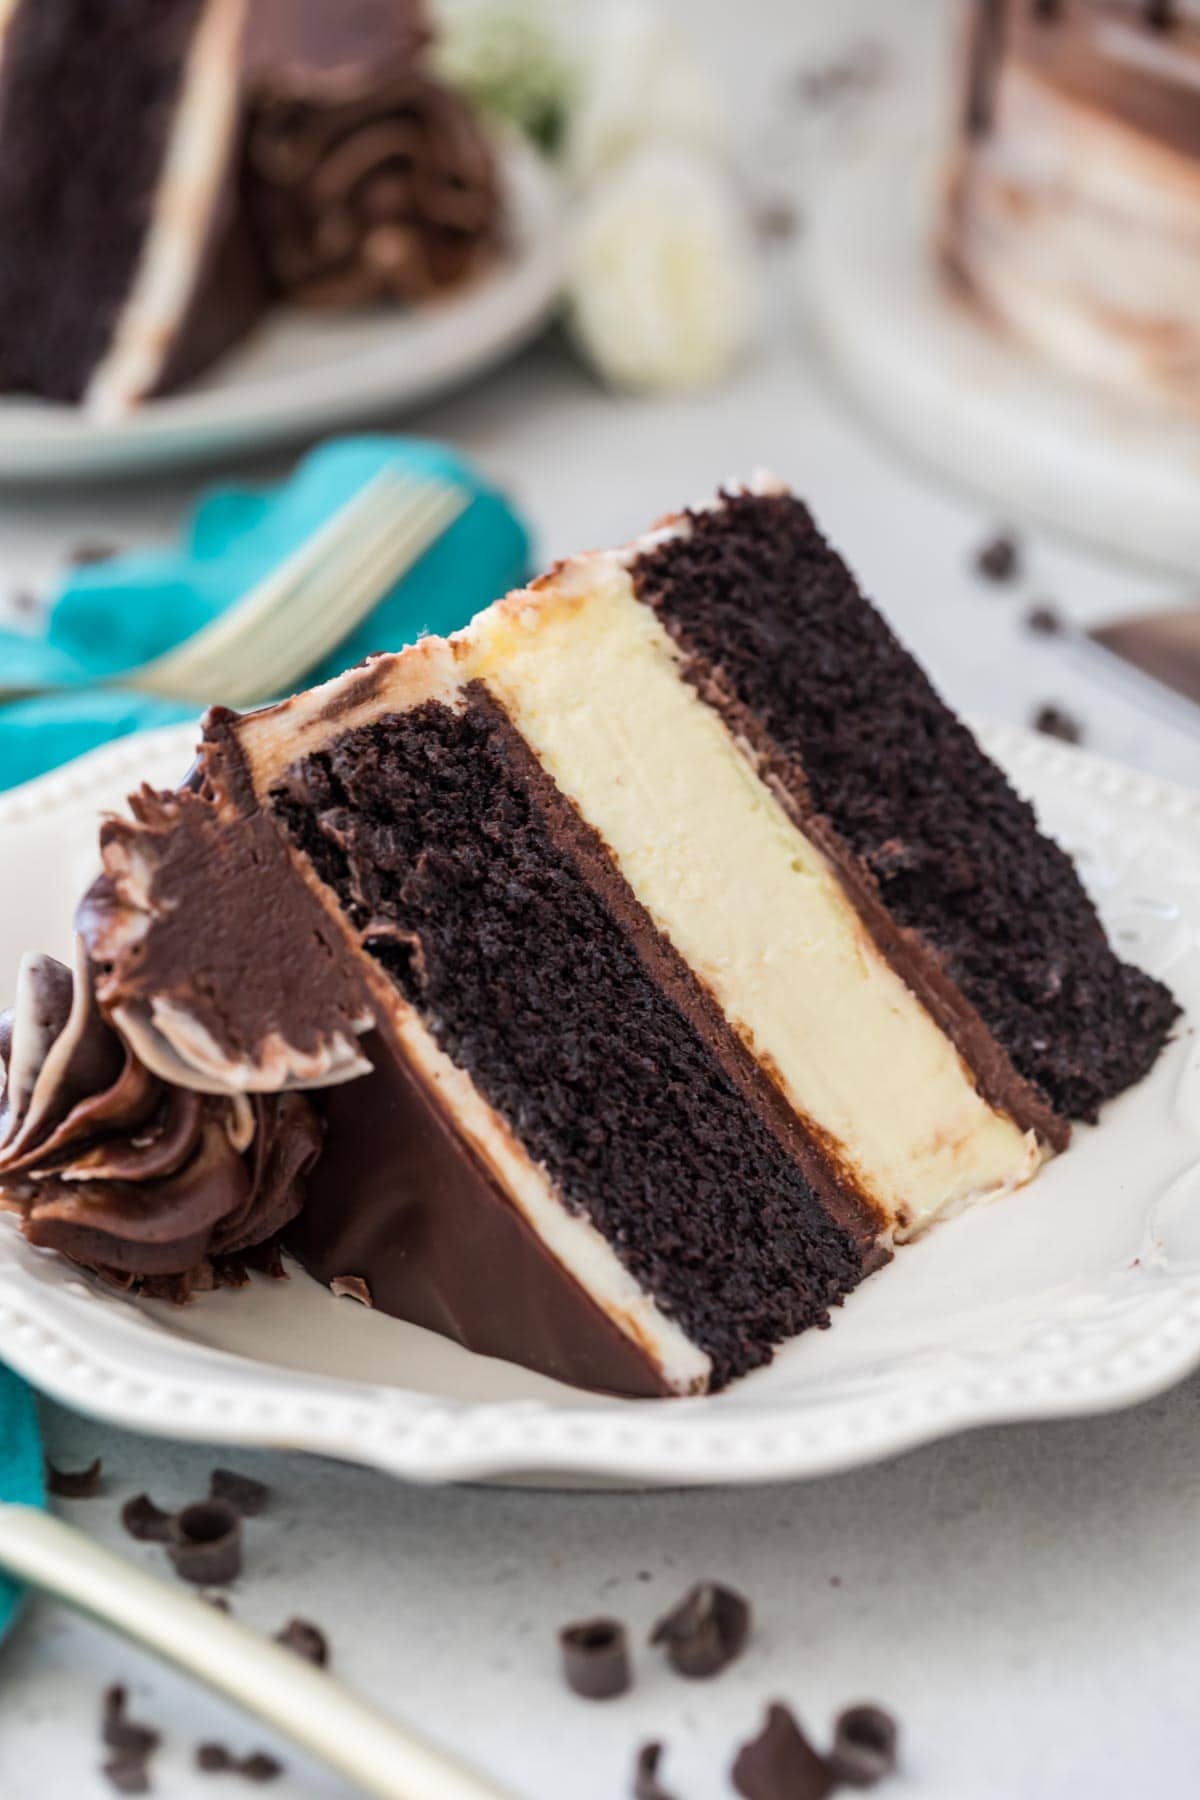
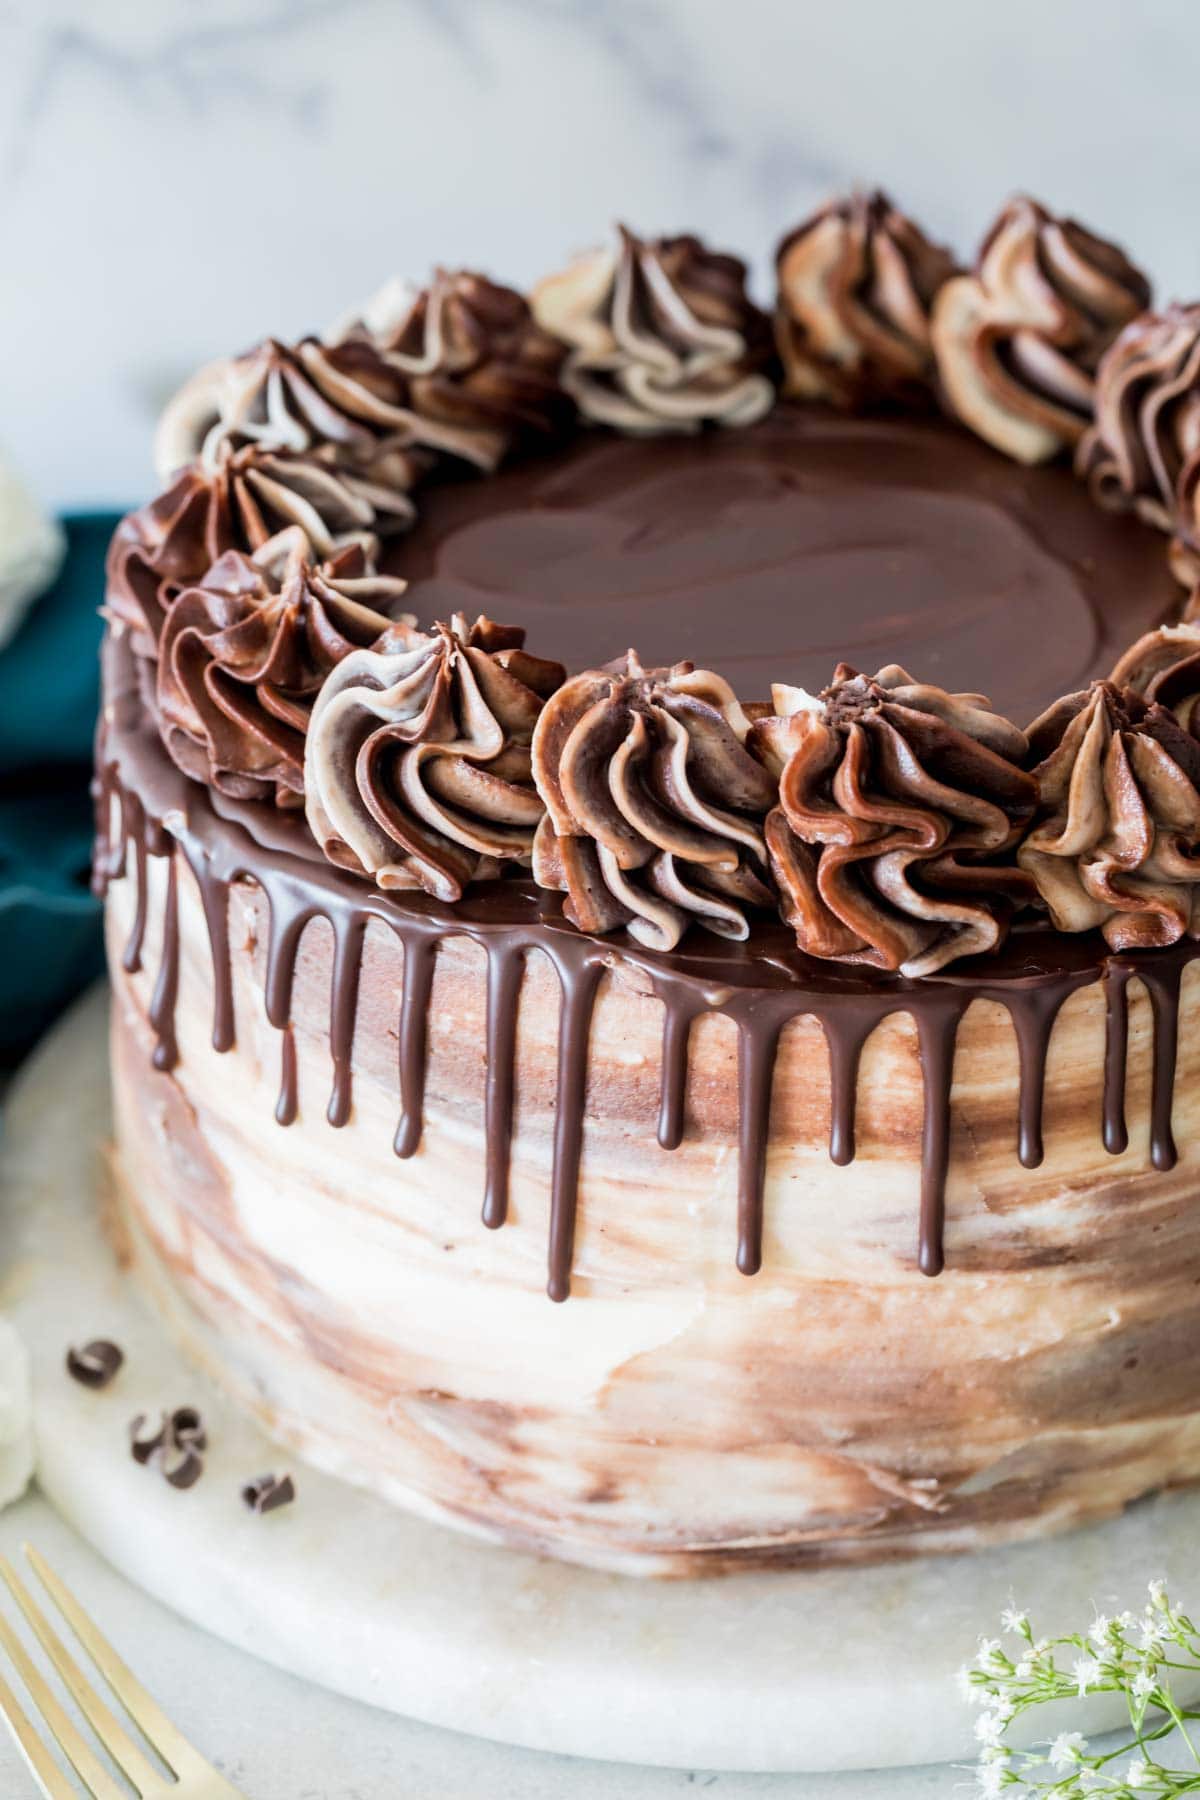
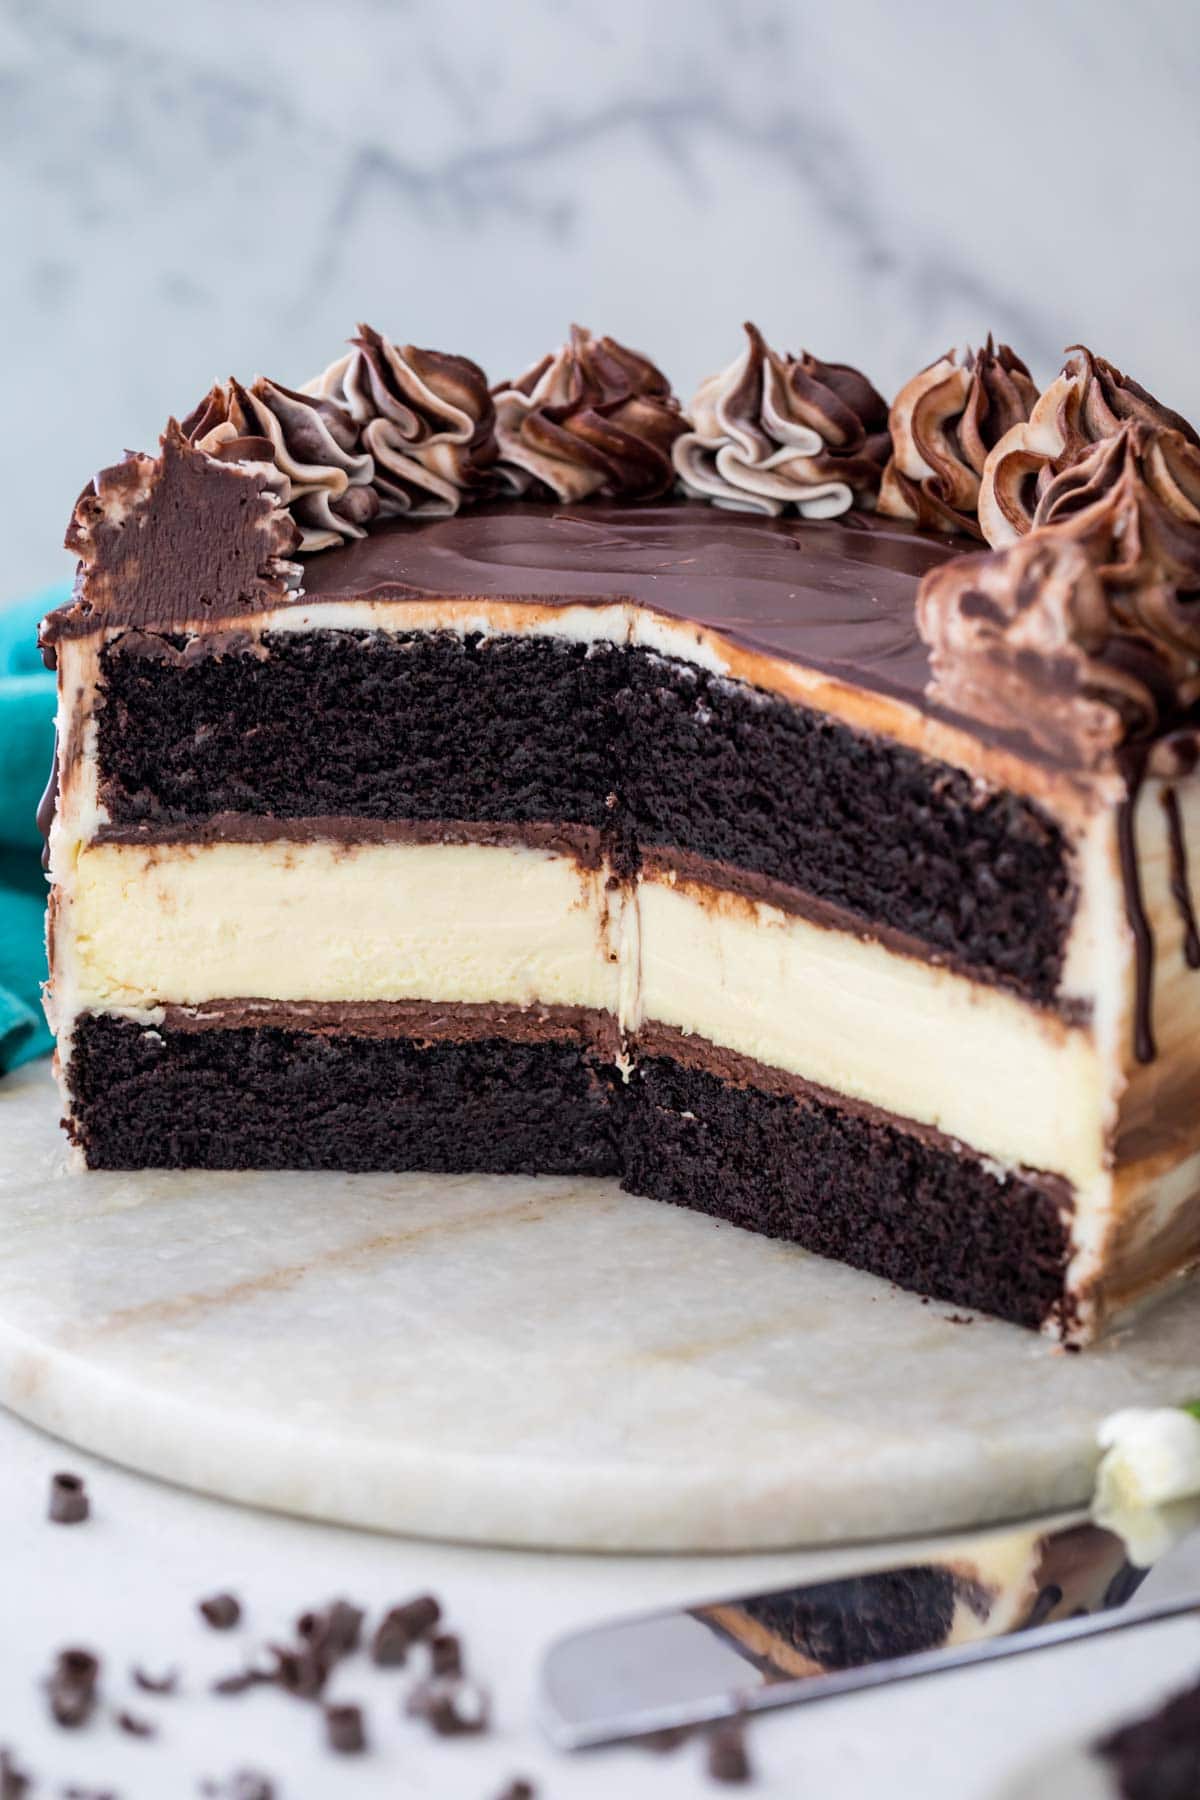
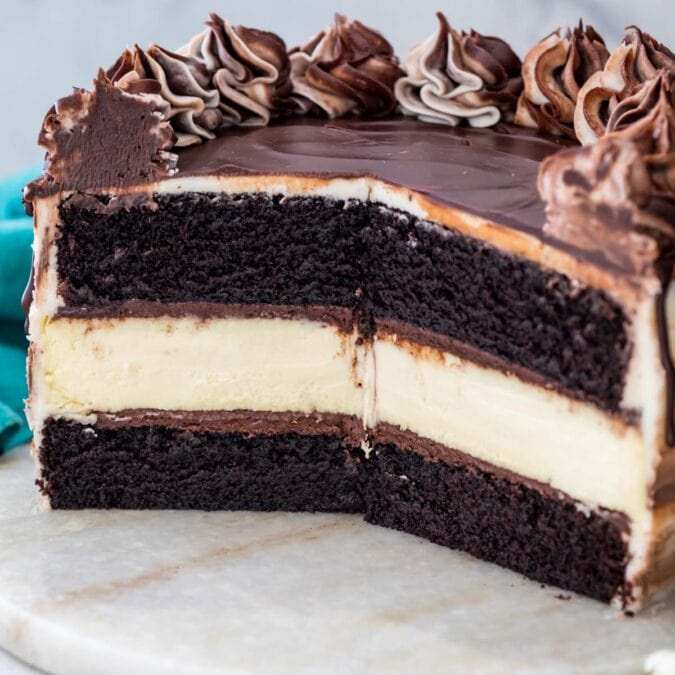
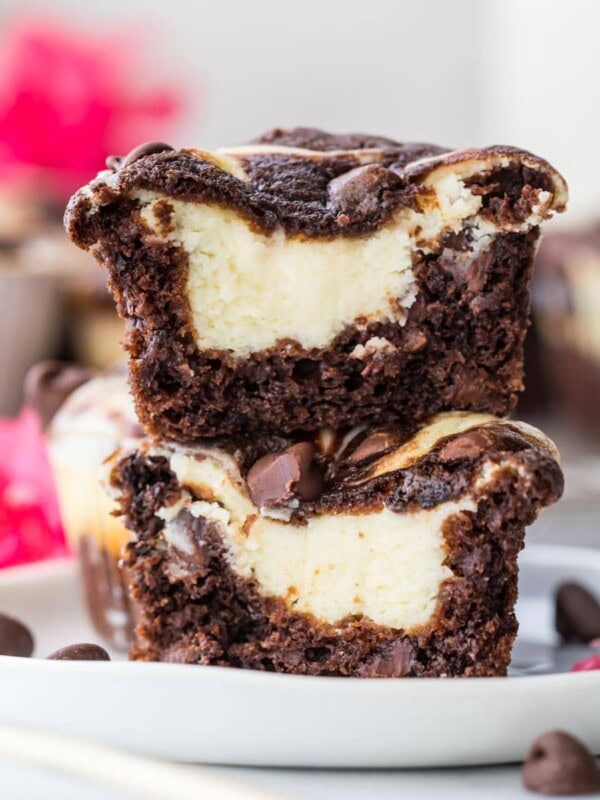
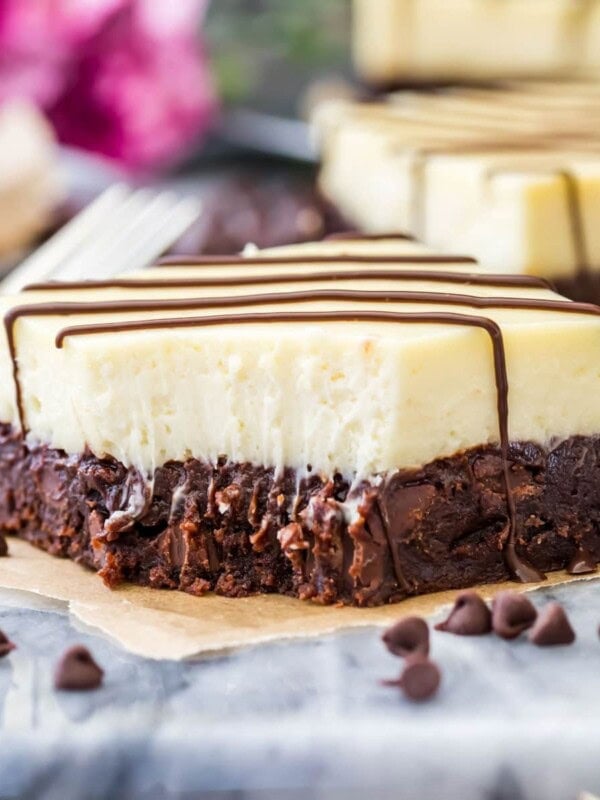
This Cheesecake Stuffed Cake consists of a classic cheesecake sandwiched between two decadent, fudgy dark chocolate cakes. It’s topped off with a marbled cream cheese frosting to make for one showstopping dessert! Recipe includes a how-to video.
A Striking & Decadent Dessert
This cheesecake stuffed cake is possibly one of the most indulgent recipes on my blog. What could be more decadent than an entire cheesecake sandwiched between two layers of fudgy, dark chocolate cake? It’s sinful, really…but it works!
The cake itself is moist and oh-so chocolatey, and the cheesecake is a rich and classic companion. They pair together flawlessly, especially when cloaked in a dark chocolate marbled cream cheese frosting.
This was one of the first recipes on the blog, which means it’s high time for an update. I’ve given the original recipe a slight makeover: a thicker cheesecake layer, a more flavorful, moist chocolate cake (thanks to buttermilk and butter), a more intense chocolate note from dark cocoa powder, and a beautifully marbled version of my cream cheese frosting. I also include the option to top everything of with my chocolate ganache. My cheesecake stuffed cake was a stunner before, but now it’s a true showstopper.
This recipe does take quite a bit of time, so let’s get to it!
What You Need
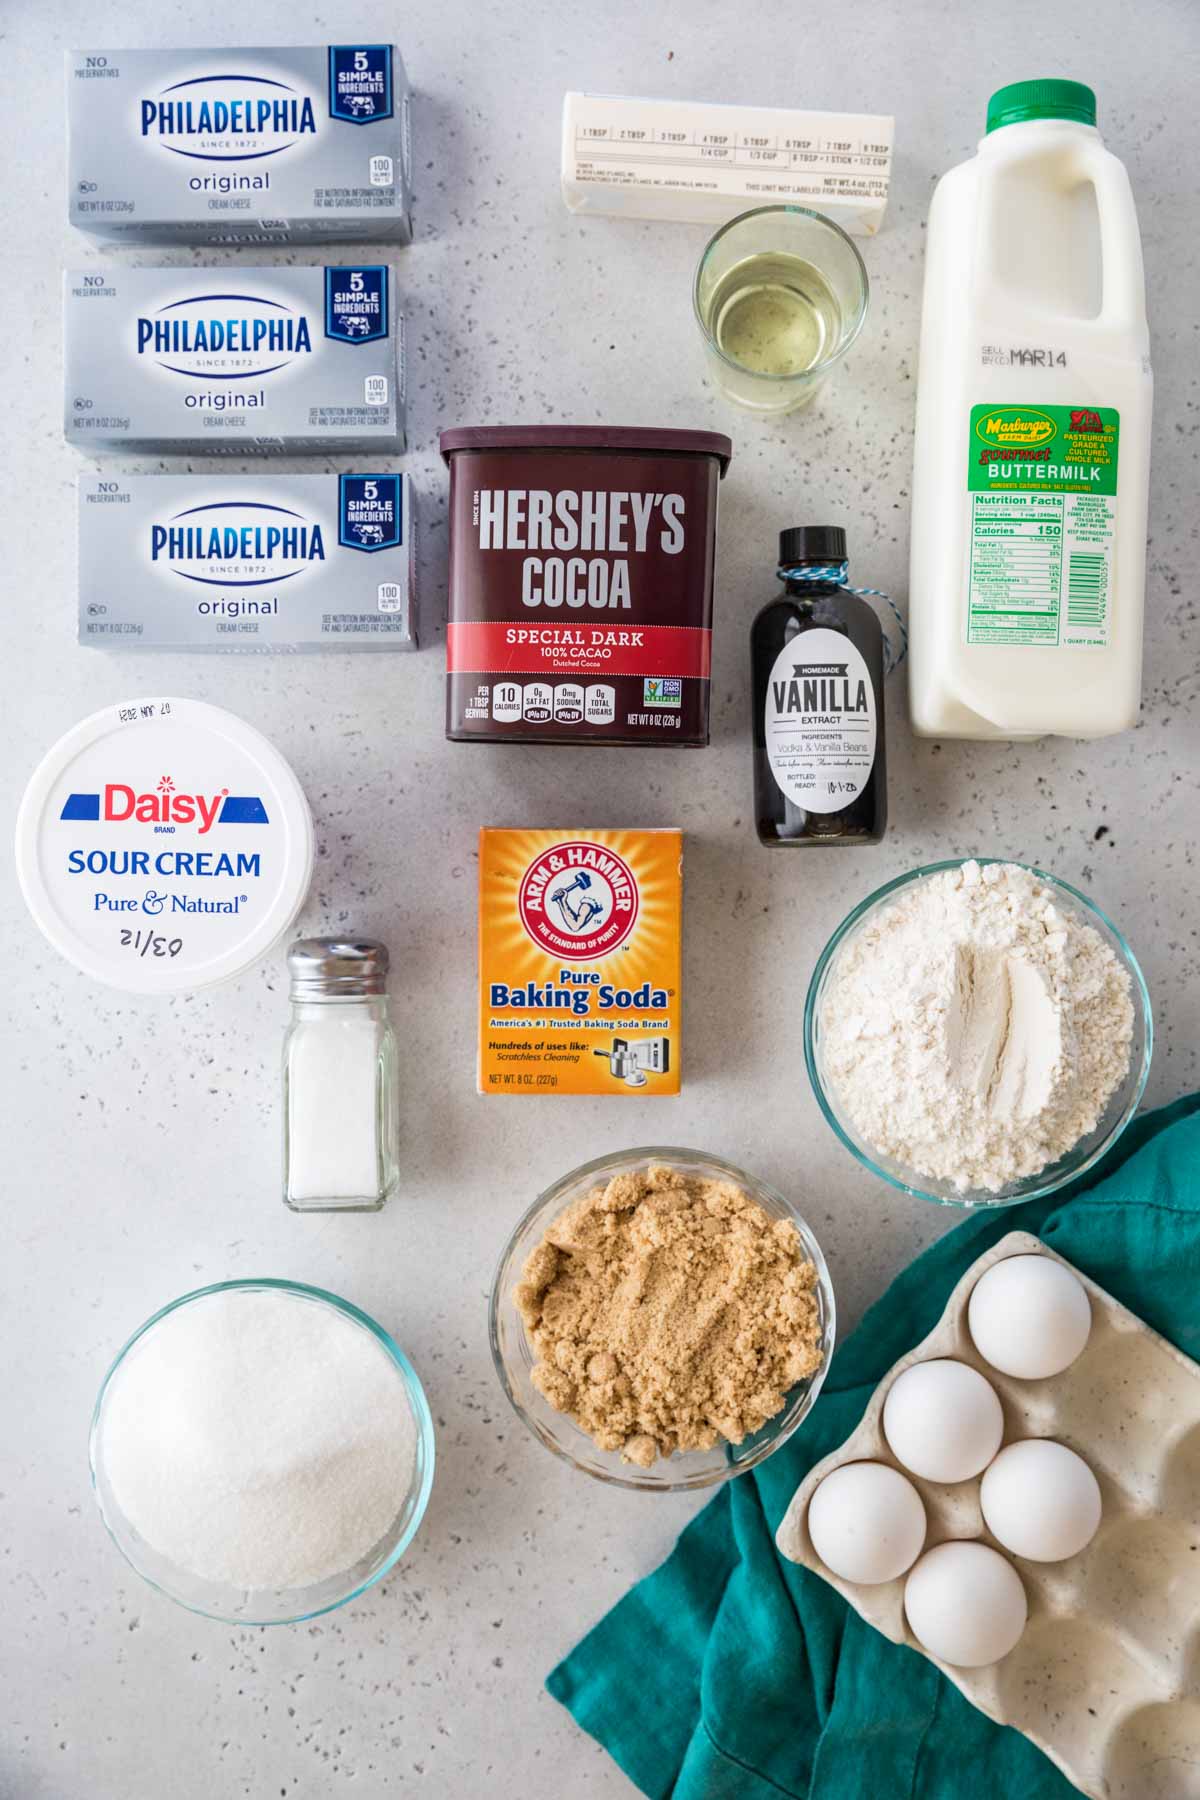
While this recipe is definitely more involved than my other cake recipes (I mean, we are literally stuffing an entire cheesecake in this one), the ingredients aren’t overly fancy or complicated. Here are a few of the most important ingredients in this cheesecake stuffed cake:
- Cream cheese. You will add this to both the cheesecake portion of the cake as well as the frosting. You must use the block type cream cheese–not the spreadable kind in the tub, otherwise the cheesecake may not turn out properly and the icing will be runny.
- Sour cream. This adds some slight tartness and moisture to the cheesecake.
- Eggs. You’ll need a total of five eggs for this cheesecake stuffed cake; three for the cheesecake and two for the cake. It’s best if they’re all room temperature before you add them.
- Dark cocoa powder. This cheesecake stuffed cake is ultra-decadent, thanks to dark cocoa powder, which you’ll use in both the cake and the frosting. If you don’t have dark cocoa, you can substitute Dutch process or natural cocoa.
- Oil. This cake uses slightly more oil than butter; this ensures that the cake will stay moist even while it is in the refrigerator. Since this cake must be refrigerated (and the refrigerator notoriously dries out cakes), keeping it moist was really important to me when developing this recipe.
- Butter. Use unsalted butter for the cake and the frosting. You’ll want to melt it completely for the cake itself, but keep it softened for the frosting.
- Brown sugar. I like to use a combination of light brown sugar and granulated sugar for a richly flavored, moist chocolate cake.
- Buttermilk. This adds flavor and moisture and helps to activate the baking soda in the cake.
- Very hot water or coffee. You can use either, but coffee will make your cake have a more intense chocolate (not coffee!) flavor. Whichever you chose, make sure it’s very hot to properly bloom your cocoa and bring out its best flavor.
SAM’S TIP: If you would like to add a ganache drip to your cheesecake stuffed cake, check out the tutorial in my peanut butter chocolate cake post. I will have a standalone tutorial coming soon!
Remember, this is just an overview of the ingredients I used and why. For the full recipe please scroll down to the bottom of the post!
How to Make a Cheesecake Stuffed Cake
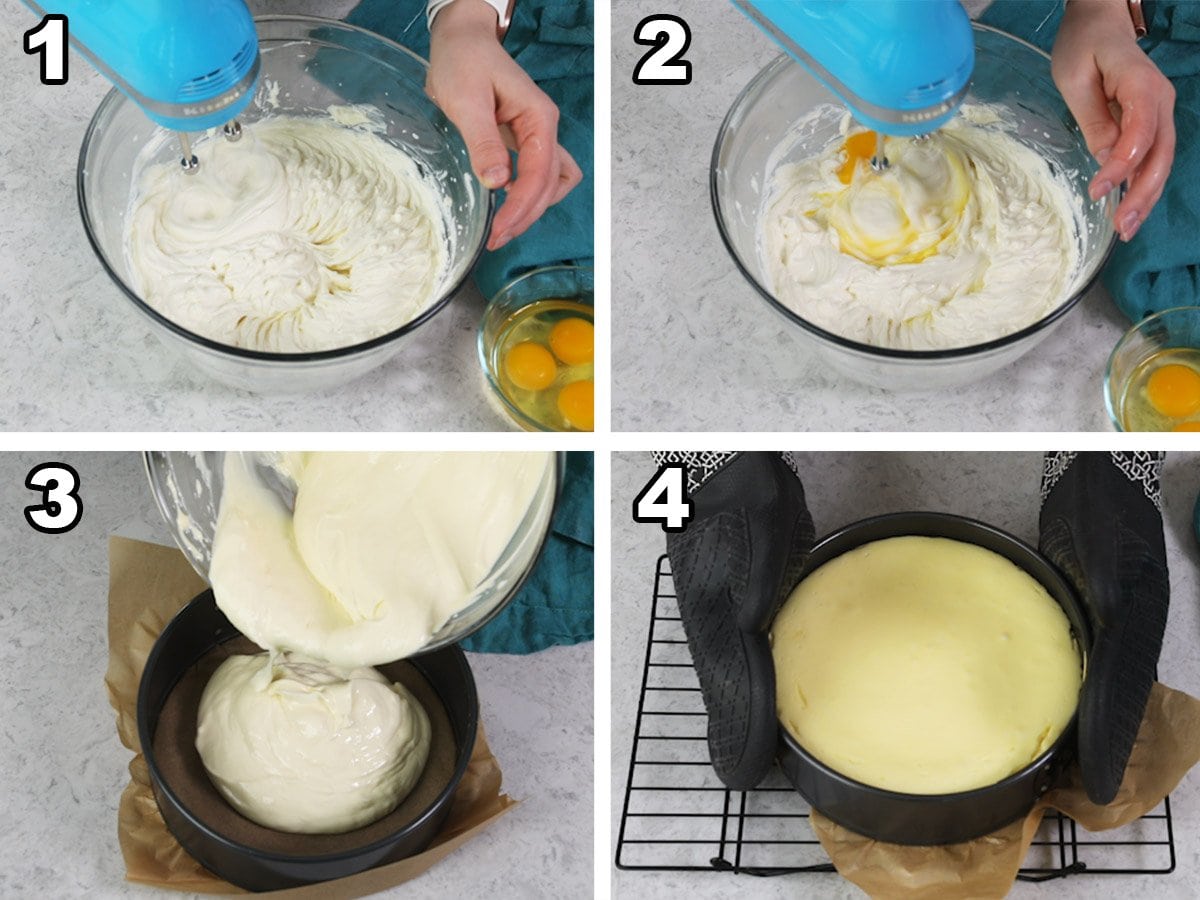
- Combine the cream cheese and sugar until creamy and lump-free, pausing to scrape the bowl as needed. Add the sour cream and vanilla and stir until well combined.
- Add the eggs one at a time, stirring on low speed until just combined after each addition. Use a spatula to scrape the sides and bottom of the bowl to make sure everything is combined.
- Pour your cheesecake mixture into a parchment-lined springform pan. Bake for 35 minutes at 325F, until the cheesecake is set.
- Let the cheesecake cool in its pan for 10 minutes, then run a knife around the inside edge of the pan to loosen it. Let the cheesecake sit in its pan at room temperature until cool to the touch, then cover it and chill for at least 4 hours.
Making the Cake Layers
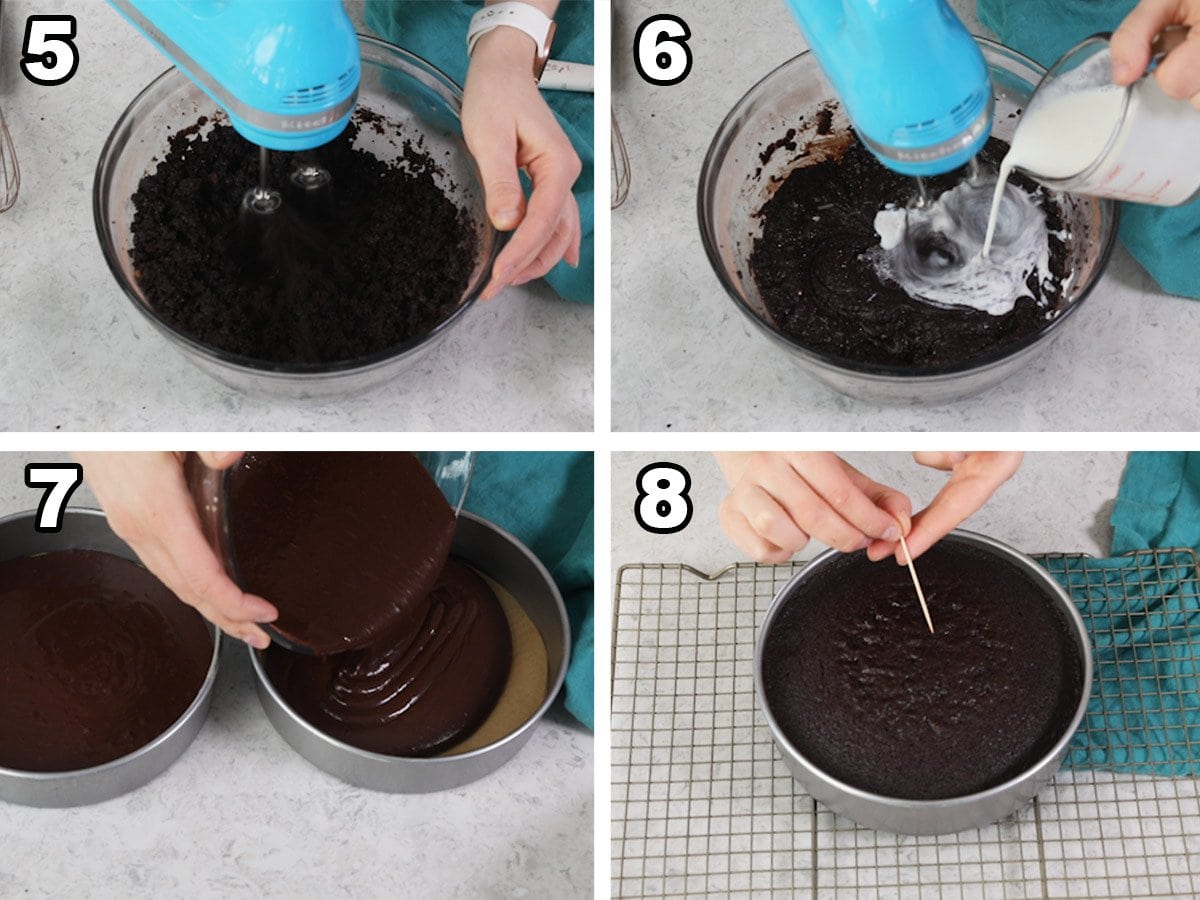
- Combine the flour, sugars, cocoa, baking soda, and salt in a large bowl. Add the butter and oil and stir until well combined. The mixture will be thick!
- Stir in the eggs and vanilla, then add the buttermilk and mix until smooth.
- Carefully add the hot water/coffee and stir until the batter is uniform. Divide the batter between your cake pans and bake at 350F for 35 minutes.
- Test the cakes for doneness with a toothpick. Let them cool in their pans for 15 minutes before inverting them onto a cooling rack to cool completely.
Assembly & Marble Frosting
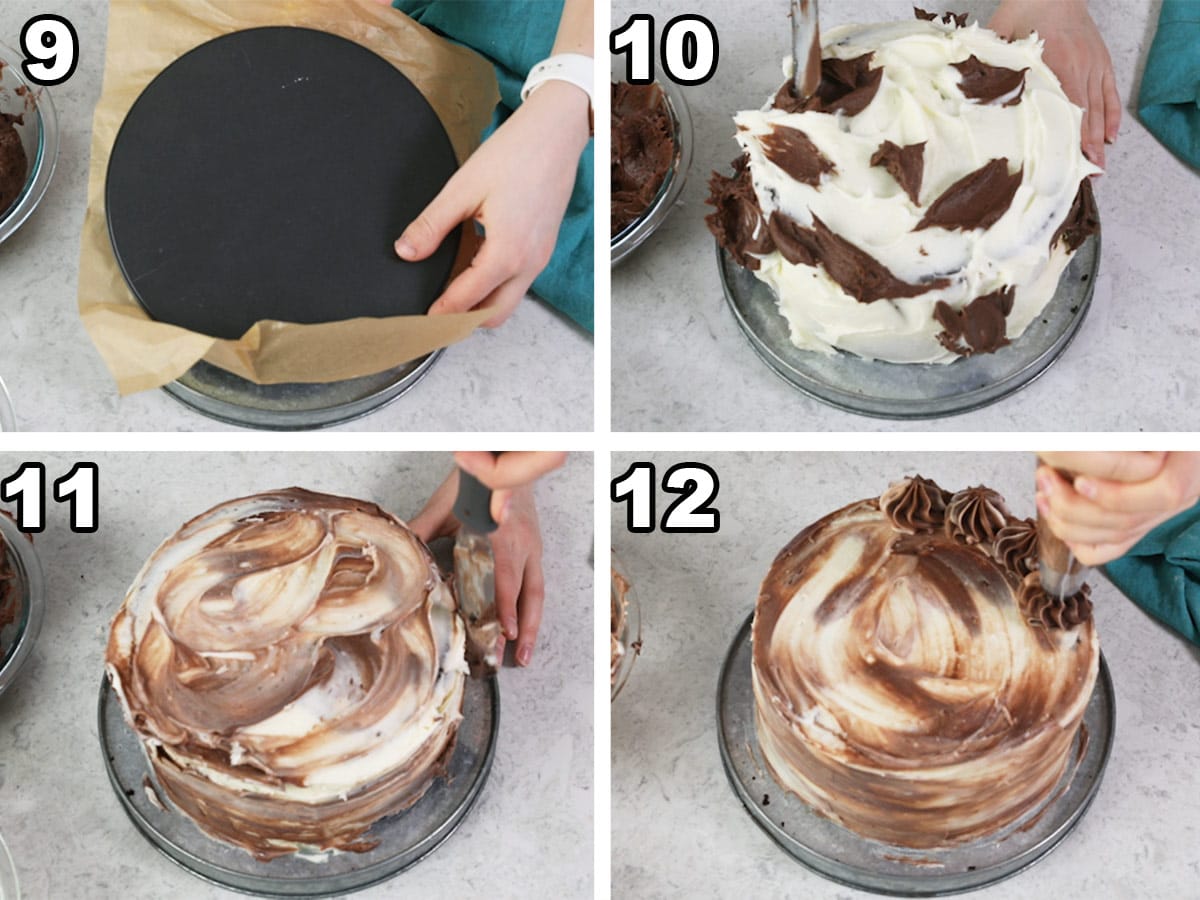
- Ice your first cake layer with some chocolate frosting. Level your cheesecake before carefully inverting it on top of the iced cake, centering it as best as you can. Ice the cheesecake with chocolate frosting before placing your final cake layer on top. Apply a crumb coat and chill your cake for 10-15 minutes.
- Smear thick patches of frosting all over the cake, alternating between dark and light.
- Use a spatula to smooth the frosting around the cake.
- Swirl the remaining frosting together, transfer it to a piping bag, and pipe dollops around the top of the cake. Enjoy!
SAM’S TIP: Since the surface of the cheesecake is hidden, I’m not as worried about cracks. If avoiding cracks is important to you, definitely make sure you don’t over-beat your ingredients, and once it’s baked, allow your cheesecake to cool slowly (in the oven with the door cracked or in a warm place).
Frequently Asked Questions
Yes! This cake needs to be refrigerated before and after serving. When you’re ready to serve, simply remove it from the fridge and slice–no need to thaw.
No! Adding coffee to the cake batter will not make it taste like coffee; instead, it will greatly intensify the chocolate flavor. If you’re really concerned about it or don’t have any coffee on hand, very hot water will work too.
Yes! Once frosted, place your cake in the freezer for a few hours to let the icing set. Then, generously wrap the cake with plastic wrap before adding a final layer of aluminum foil. Freeze, and when you’re ready to serve it, remove the aluminum foil and allow the cake to thaw in the fridge overnight.
Enjoy!
More Recipes You Might Like
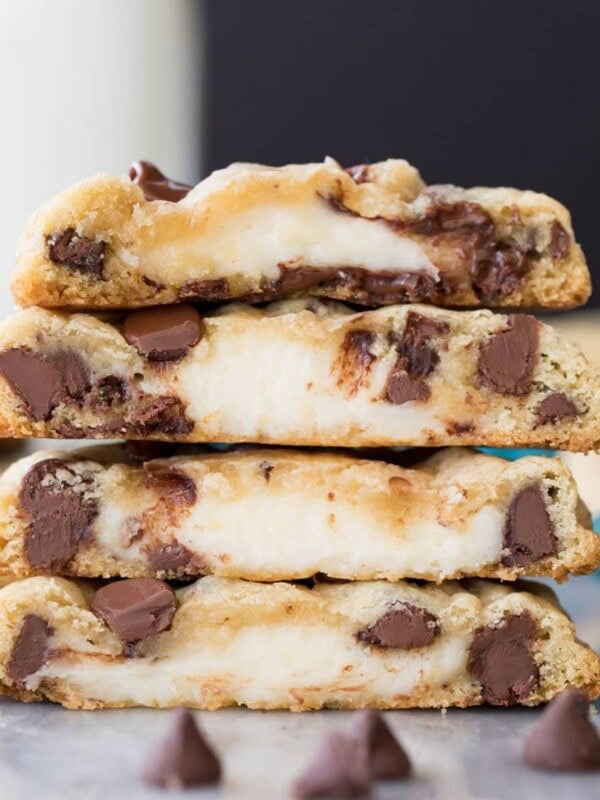
- Cheesecake Stuffed Cookies
- Chocolate Cheesecake Muffins
- Cookies and Cream Cheesecake Stuffed Cake
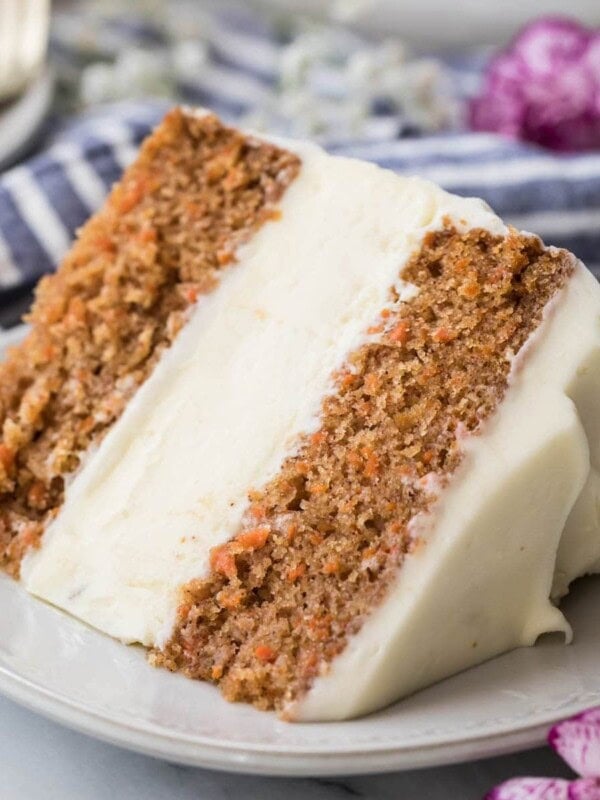
- Cheesecake Layered Carrot Cake
Let’s bake together! I’ll be walking you through all the steps in my written recipe and video below! If you try this recipe, be sure to tag me on Instagram, and you can also find me on YouTube and Facebook
Cheesecake Stuffed Chocolate Cake
Ingredients
For Cheesecake
- 24 oz (680 g) cream cheese, softened
- ¾ cup (150 g) granulated sugar
- 1 teaspoon vanilla extract
- ½ cup (120 g) sour cream
- 3 large eggs, room temperature preferred
For Cake Layers
- 1 ¾ cup (220 g) all-purpose flour
- 1 cup (200 g) light brown sugar firmly packed
- 1 cup (200 g) granulated sugar
- ¾ cup (75 g) dark cocoa powder, (see note)
- 1 ½ teaspoons baking soda
- ¾ teaspoon table salt
- ½ cup (113 g) unsalted butter melted
- ⅔ cup (155 ml) vegetable oil
- 2 large eggs, room temperature preferred
- 2 teaspoons vanilla extract
- 1 cup (236 ml) buttermilk
- ½ cup (118 ml) very hot or boiling water or coffee, (see note)
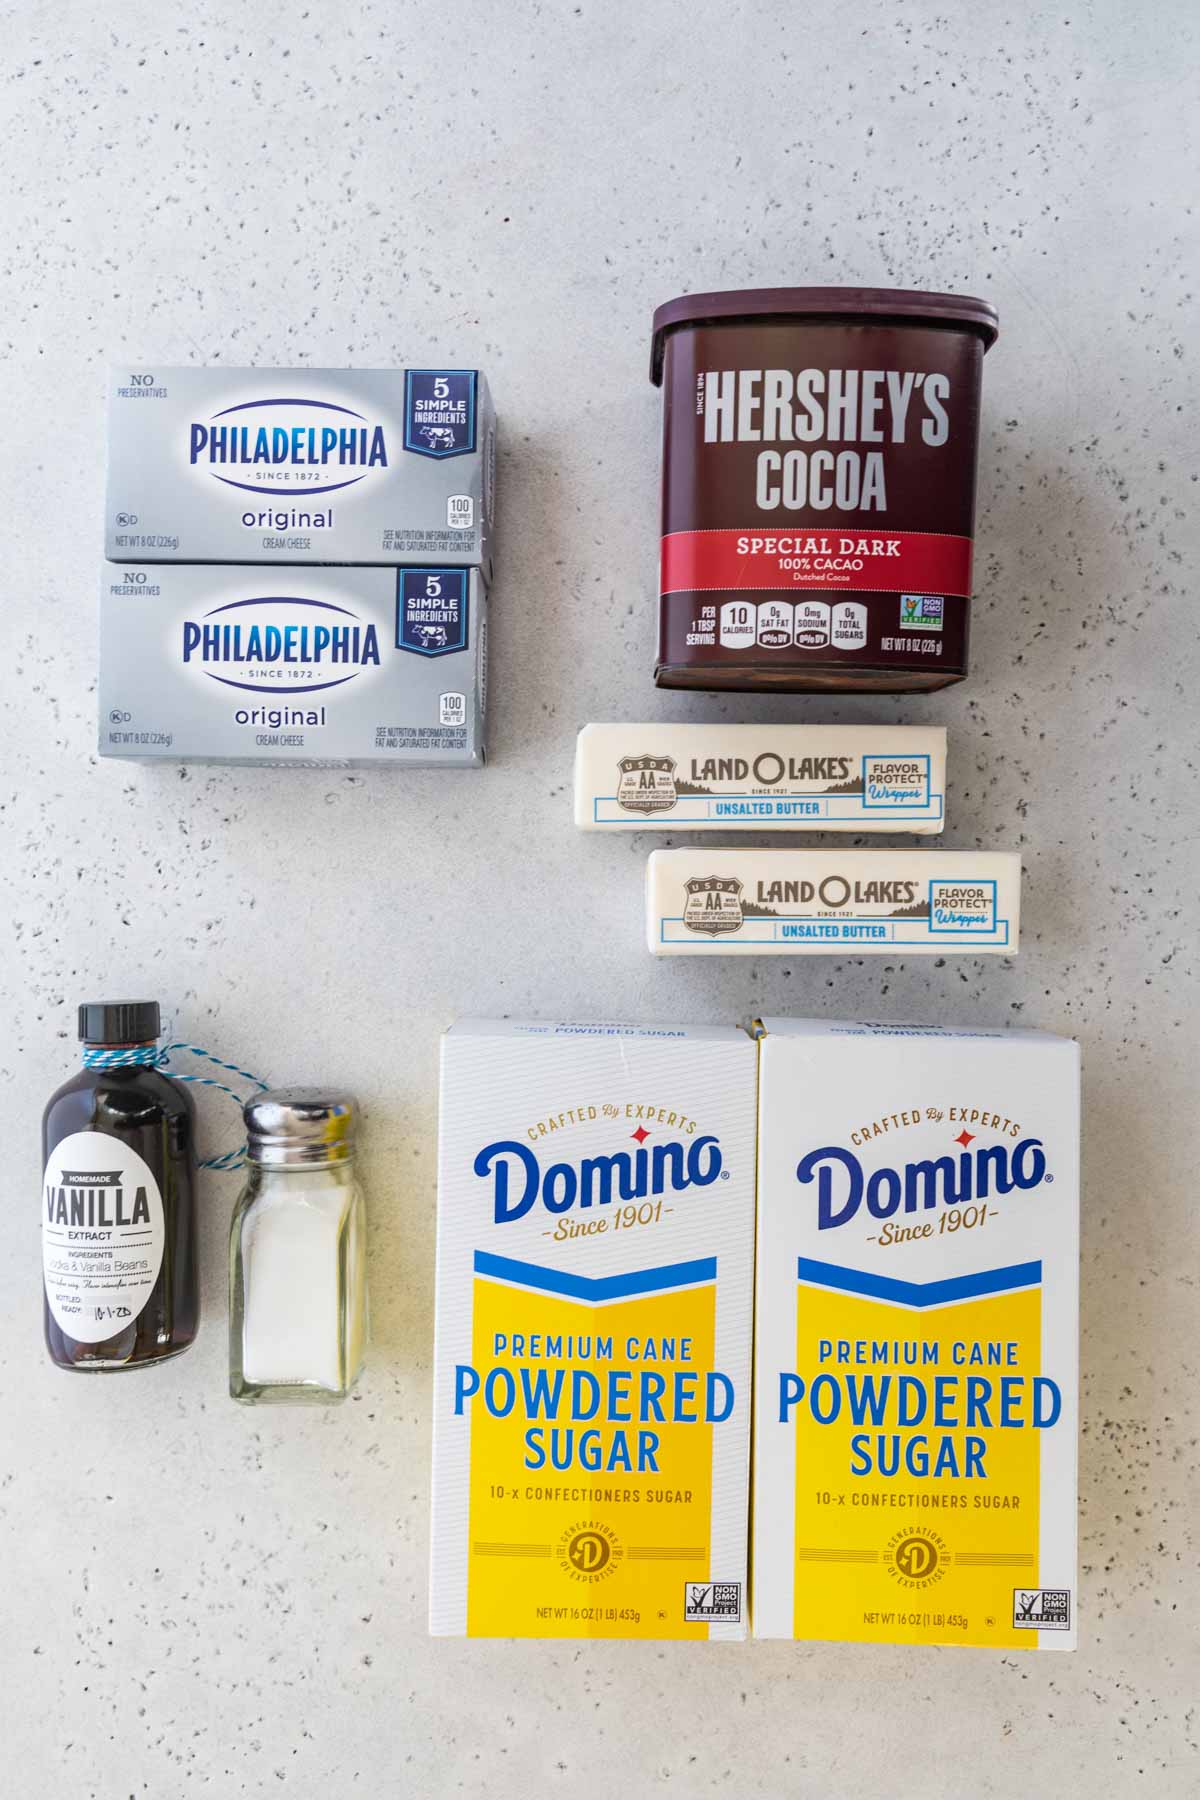
For Frosting
- ¾ cup (170 g) unsalted butter, softened
- 12 oz (340 g) cream cheese, softened
- 1 ½ teaspoons vanilla extract
- ¼ teaspoon table salt
- 6 cups (750 g) powdered sugar
- ¼ cup (25 g) dark cocoa powder
Instructions
For the cheesecake
- Preheat your oven to 325F (165C) and line the bottom of an 8” springform pan with parchment paper. Set aside.
- In a large bowl using an electric mixer, beat together cream cheese and sugar (pausing once to scrape sides and bottom of the bowl with a spatula) until mixture is creamy, lump-free, and well-combined.24 oz (680 g) cream cheese, ¾ cup (150 g) granulated sugar
- Stir in sour cream and vanilla extract until well-combined.1 teaspoon vanilla extract, ½ cup (120 g) sour cream
- With mixer on low-speed, add eggs one at a time, stirring until just-combined after each addition. Scrape the sides and bottom of the bowl with a spatula again and ensure batter is uniform and smooth (don’t over-beat after adding the eggs or cheesecake will be prone to cracking and the texture could end up less smooth than desired).3 large eggs
- Pour batter into prepared springform pan and transfer to the center rack of 325F (165C) oven. Bake for 35 minutes or until cheesecake is set. The center may jiggle slightly when finished baking, but the surface should be set if lightly touched with your finger. Edges may be beginning to very slightly crack or brown when finished.
- Remove cheesecake from oven, allow to cool for ten minutes then carefully run a knife between the cheesecake and the rim of the pan (this loosens the cheesecake from the pan and helps minimize cracking). Note: I don’t remove the cheesecake from the springform pan until I’m ready to assemble.
- Let cheesecake sit at room temperature until cool enough to touch, then cover with foil or plastic wrap and refrigerate for at least 4 hours and up to 2 days before assembly.
For Cake Layers
- Preheat oven to 350F (175C) and prepare two 8" round cake pans by lightly greasing and flouring (tap out excess flour) and lining the bottoms with rounds of parchment paper. Set aside.
- In a large bowl, whisk together flour, sugars, cocoa powder, baking soda, and salt.1 ¾ cup (220 g) all-purpose flour, 1 cup (200 g) light brown sugar firmly packed, 1 cup (200 g) granulated sugar, ¾ cup (75 g) dark cocoa powder, 1 ½ teaspoons baking soda, ¾ teaspoon table salt
- Add melted butter and vegetable oil and stir (by hand or using an electric mixer) until well-combined (batter will be thick).½ cup (113 g) unsalted butter melted, ⅔ cup (155 ml) vegetable oil
- Add eggs and vanilla extract and stir well.2 large eggs, 2 teaspoons vanilla extract
- Stir in buttermilk until well-combined and batter is smooth.1 cup (236 ml) buttermilk
- Carefully add very hot water or coffee and stir until thoroughly combined and batter is uniform. Pour batter evenly into prepared pans and bake on 350F (175C) for 35 minutes or until a toothpick inserted in the center comes out clean or with a few moist crumbs.½ cup (118 ml) very hot or boiling water or coffee
- Allow cakes to cool for 15 minutes then run a knife around the edge of the cake and carefully invert on a cooling rack to cool completely before assembling. Note: If cakes are domed or not even, I recommend leveling with a cake leveler or sharp knife before assembling.
For Frosting
- Using an electric mixer or stand mixer, beat together butter and cream cheese until smooth and well-combined.¾ cup (170 g) unsalted butter, 12 oz (340 g) cream cheese
- Stir in vanilla extract and salt.1 ½ teaspoons vanilla extract, ¼ teaspoon table salt
- With mixer on low-speed, gradually add powdered sugar until completely combined.6 cups (750 g) powdered sugar
- Divide frosting in half (you can just eyeball it) and add stir cocoa powder into one half of the frosting until combined.¼ cup (25 g) dark cocoa powder
Assembly
- Place your first cake layer on cake platter and cover with a layer of chocolate frosting.
- Remove the collar from the springform pan and, if needed, use a sharp knife to level the cheesecake (sometimes the edges rise slightly, use a knife to trim these off).
- Carefully invert or place the cooled cheesecake on top of the first layer of icing, lining up the center of the cheesecake with the center of the cake (sometimes I find my cheesecake is slightly wider than the cake, line it up as best you can and the icing on the outside will make up for any differences in width when you decorate).
- Cover the cheesecake with another layer of chocolate frosting, then top with remaining chocolate cake layer. Note: At this point I recommend doing a crumb coating, or a very thin layer of frosting smoothed all over the cake to catch all the crumbs, then refrigerate or freeze uncovered for 10-15 minutes before proceeding.
- Generously smear large, thick patches of frosting over the cake, alternating chocolate and white patches. Use a straightedge or spatula to smooth frosting around the cake. If desired, you may drizzle the top of the cake with half a batch of my chocolate ganache.
- Gently swirl remaining frosting together then transfer to a large piping bag fitted with a large closed star tip and pipe decorative dollops on top, if desired.
- Store cake in the refrigerator until ready to serve.
Notes
Cocoa Powder
Dark cocoa powder is recommended to give the cake it’s dark flavor and appearance, but Dutch process cocoa powder may be substituted. Natural cocoa powder will also work but the cake will be lighter in appearance and milder in taste.Oil
This recipe has been tested with vegetable oil and canola oil and works well with both. Any neutral cooking oil should work well here. I do not recommend substituting the oil for butter, while it will technically work, the cake will not be quite as moist and the oil is important for keeping the cake nice and moist (especially since it must be refrigerated after assembly, and refrigerators notoriously dry out cake).Water/coffee
Whichever you use, the liquid must be HOT, or (even better) boiling. This hot liquid helps bloom the cocoa and give you an intense chocolate flavor. Hot coffee will enhance the chocolate flavor even more than water, but either will result in a delicious, moist, and chocolate-y cake.Baking in 9″ pans:
The cheesecake and cake layers may be baked instead in 9″ pans, they will just need to bake for less time. Check the cheesecake at 30 minutes and for the cake layers check at 27-30 minutes.Making in Advance
The cheesecake must be prepared at least 4 hours in advance to give it adequate time to chill and to be manageable. You can prepare the cheesecake up to 2 days in advance, simply leave in the springform pan and cover with plastic wrap or foil until ready to assemble (if any moisture forms on the surface simply dab it of with a paper towel). Cake layers may be prepared up to a day in advance of assembly, allow to cool and then wrap thoroughly in plastic wrap and store at room temperature until ready to assemble. Frosting may be prepared a day in advance. Store in the refrigerator in an airtight container, then let sit at room temperature until it’s soft enough to spread (you may need to stir the frosting before using).Storing
Once assembled, cheesecake stuffed cake must be stored in the refrigerator (ideally covered or in an airtight container) and will keep for up to 6 days. Cheesecake stuffed cake may also be frozen.Gluten-free note
I have not tried it myself, but others have successfully made this recipe with Cup4Cup gluten-free flour.Nutrition
Nutrition information is automatically calculated, so should only be used as an approximation.
Like this? Leave a comment below!


Hi there! I’ve made several of your recipes and they’ve been crowd pleasers! I’m thinking of making this cheesecake stuffed chocolate cake for a friend’s 40th birthday coming up. Do you feel the recipe and chocolate flavor would come out as well and pair as well with the cheesecake layer if I use milk chocolate rather than dark? I’m not sure the birthday boy loves dark chocolate as much as I do. Thanks in advance! Love watching your videos. I’m learning so much!
Hi Rosa! For a lighter chocolate flavor, I would recommend using my chocolate cake for layers instead and just use hot water instead of the coffee. This will give you a lighter chocolate flavor. I’m afraid that if you substitute the chocolate in this recipe it might not turn out as good as it ought to. Enjoy! 🙂
Hi Sam! I will be making only the dark chocolate part of this receipe 🙂 Can you please share the metric measurements like you do usually? In grams and ml. ?
Thanks a ton!
Hi Shenaya! This is an older recipe that I haven’t tested with grams. Unfortunately I won’t be able to convert everything for you without ensuring myself that it will work. I will make sure to redo this cake and try it with grams sometime in the future. I’m sorry. 🙁
Hi Sam! I used other recipes of yours to convert to metric. I only made the chocolate cake part along with the icing. It was just SO SO GOOD. I mean light and moist (ugh that word!) And just PERFECT. I used about 350 gms of icing sugar instead of 500 and added 2 tablespoons of corn flour to help stiffen. Thanks for sharing yet another amazing recipe!!
I’m so glad you enjoyed it so much! 🙂
I notice the cake recipe says to add the flour mixture to the butter/sugar mixture. I don’t see where the cake recipe calls for butter. Is it missing or is it just the oil you add to the sugar mix? My cheesecake is done and I’m waiting for my cakes to come out of the oven as I write this! Cannot wait to put it all together tomorrow morning!
Hi Donna! Sorry for the confusion. You won’t need any butter in the actual cake. You will just stir that flour mixture into the oil/sugar mixture. 🙂
This looks amazing! I was going to make it for my boyfriends birthday but I am crunched on time that day. Would it be okay to make the cake and cheesecake a day or two in advance, leave it in the fridge and assemble and frost later?
Hi Jessica! You will be fine to make the cakes in advance. The cheesecake will need to be store in the refrigerator but the other cakes are going to be best at room temperature wrapped tightly or stored in some sort of air tight container so they don’t dry out. Refrigerators tend to dry out cakes. 🙂
Wow! Best cake I haver ever had! Love chocolate fudge and cheesecake and this combination is the best of both worlds!
The drip decor of the genache didn’t quite come out as nice as yours… hmmm, I’ll just have to make another, practice makes perfect
We’re so happy you enjoyed it, Grace! Give our how to do a ganache drip post a reading–it should help 😊
This looks so good! I really want to make it but don’t have canola oil on hand. Would it be okay to substitute in corn oil? Thanks!
Hi Frank! Corn oil will work here. Really any neutral oil will be fine. 🙂
This looks so good and I desperately want to try it. Do you know how we I can make it in the UK, we only have cream cheese in tubs which is already whipped so the recipe would differ from using block cheese?
Hi, Hannah! Unfortunately, if you use the tub cream cheese your cheesecake won’t ever set up. It will end up being a soupy mess. 🙁
Ah that’s such a shame! Looks delicious anyway!
I made the cake for my son’s 5th birthday! Thank you for the recipe. Unfortunately the cheese cake cracked =( but I think it’s because I might have over beaten the eggs. The chocolate cake though was a little dry and crumbly. I believe I followed the recipe accurately. What could I do differently next time?
My boys helped me made the cake and they loved it!
I love that you and your boys made this cake together, Oliva! I hope that you all had fun doing so. I am sorry that your cheesecake cracked, there are so many variables that could have caused that I list in greater detail in my post. As far as your cake, it should not be dry. It sounds like too much flour was added. Over measuring your flour is the biggest mistake in baking so I have created a guide on how to measure flour properly that can be used as a reference for next time. I hope that helps! Thanks for trying my recipe. 🙂
Wow…made this for my birthday. FANTASTIC. The cake is fudgy and the cheesecake creamy. My cakes took 40 min. And getting the cheesecake on the cake was a bit of a disaster but it tastes sooo good. Definitely a keeper!
Happy (belated) Birthday to you, Alice! I am so glad that you enjoyed your birthday cake. With some practice, applying the cheesecake onto the cake becomes easier! Thanks for trying my recipe and for commenting. 🙂
Looks so good in my mouth. But i need a standard measuring unit to understand the recipe. ie cup (us) or grams (metric)
What is the easiest way to transfer the cheesecake layer to the bottom chocolate layer? I can’t figure that out.
Hi Amy! So long as the cheesecake has cooled completely it should transfer pretty easily. Remove the sides of your springform pan and then, carefully flip it onto the first iced chocolate layer… (I know, easier said than done) To do this, I use my hand as a guide so that the cheesecake doesn’t just “plop” onto the cake and risk breaking. I use an outstretched hand to gently support the cheesecake as I slowly invert the bottom of the springform pan and then gently lower it onto the cake, carefully placing one edge of the cheesecake against one edge of the cake and gently sliding my hand out as I let it rest all the way on the cake.
Another option would be to remove the sides of the springform pan, gently loosen the bottom of the cheesecake from the parchment paper using a knife or spatula, and then, using a spatula gently slide the cheesecake on top of the first iced cake layer.
I hope these help, it’s a bit difficult to describe.
Oh my god.. I Stumbled Upon this post and went racing to your blog. This looks so guilty yet irresistible, I don’t know about you but I can surely finish that whole cake in half a week. Will definitely make this some day !!
Oh I definitely finished the cake off WAY too quickly. Thank you Chi I’m so glad you stopped by! 🙂
Sorry about your bad day. My wok (called kadai in India) is my confidant 🙂 And the cake? IfI had to indulge in something this weekend, it would be this cake! Gorgeous! 🙂
Thank you, Prash!! 🙂
Baking is my therapy as well. There’s something so calming about just watching the Kitchenaid do its thing. I’m sorry you had a bad day, but please just know that you’re awesome and a super-talented baker!!!
Thank you so much for the kind words, Meagan, I really appreciate it! 🙂
I am sorry that you had a bad day! Sometimes I feel the same. I hope you are feeling great now! And this cake — Oh my goodness! This one is fabulously delish. These stunning pictures are making it more desirable! 🙂
Thank you Anu, and yes, today is a much better day! 🙂
I couldn’t agree more! And what is more soothing and satisfying then creating such a decadent and sweet treat! Magical!
🙂 Thanks Jessica!