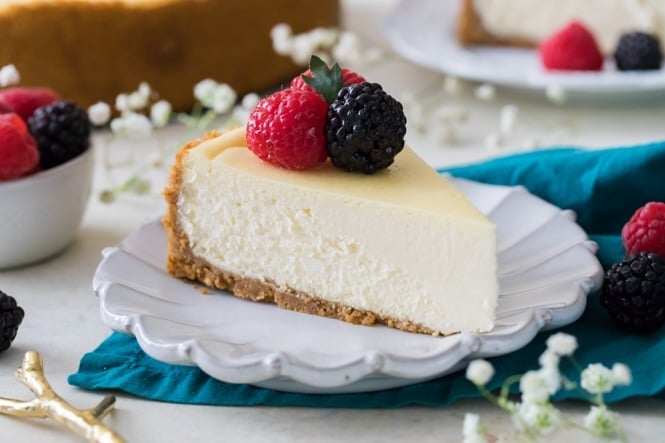
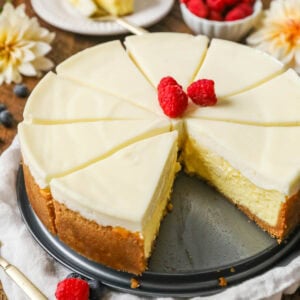
Today I’m so excited to show you how to make the best Cheesecake Recipe of your life. Simple, classic, and no water bath required!! The texture is smooth, rich, and creamy, served over a crisp homemade graham cracker crust.
I’ve included tons of detailed tips and important info in today’s post so you can make the perfect creamy cheesecake every time. For a visual how-to, be sure to check out my step-by-step video beneath the recipe!
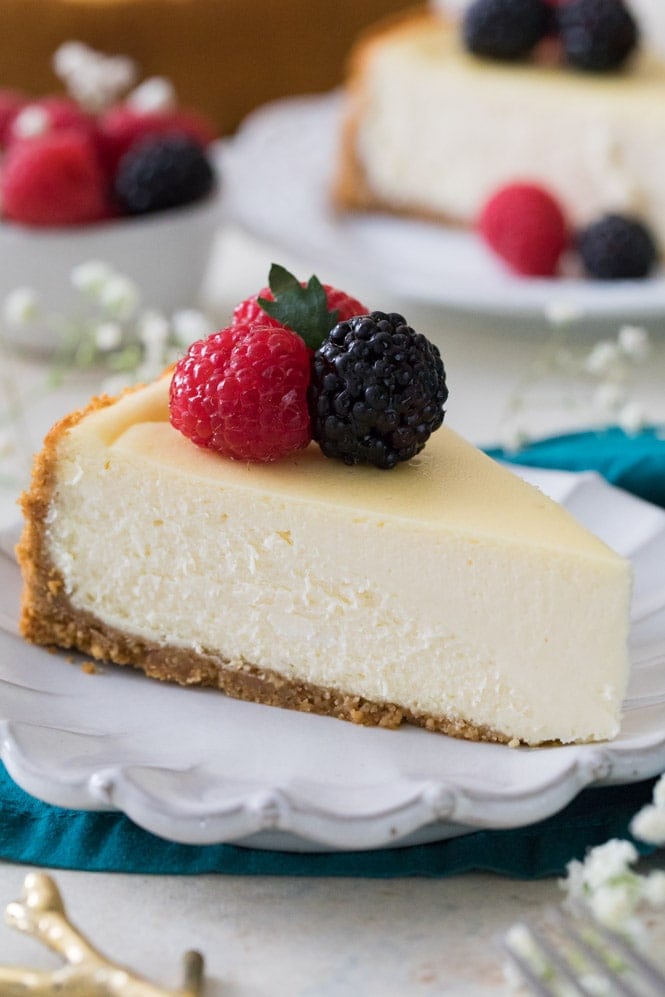
The Perfect Cheesecake Recipe
This cheesecake recipe has been a long time coming.
For a recipe with so few ingredients (cream cheese, eggs, sugar, sour cream, vanilla & salt), it took a lot longer than you might think to develop the perfect version. I’ve shared a few cheesecake variations in the past, including my No-Bake Cheesecake, but getting a perfected classic version took lots of testing. Finally, here we are.
Oh, and we are skipping the water bath! I’ve always found them to be largely unnecessary with cheesecakes. Cook yours on a low temperature and follow my tips below and you’ll have a perfectly creamy and crack-less cheesecake without all the hassle of a water bath.
Other tested/perfected classics to try: my Pound Cake, Chocolate Cake, and Carrot Cake, (to name just a handful).
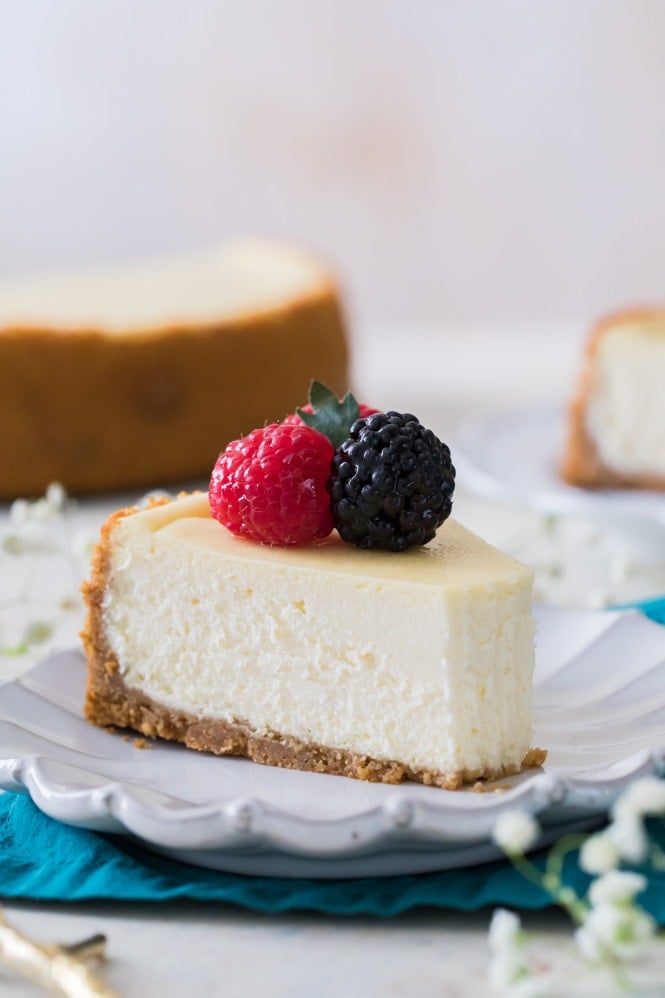
Must-Know Tips for Baking the Perfect Cheesecake (Without a Water Bath!)
Use room temperature ingredients
It’s important that your cream cheese comes to room temperature before you begin making your cheesecake. This will prevent any lumps and ensure a cheesecake with a smooth, creamy texture. However, to ensure that all of your ingredients blend together nicely and give you the desired result, they should all be at room temperature before you begin.
Take it easy on the eggs
Over-beating your eggs is one of the quickest ways to ruin a cheesecake. Over-beating can ruin the texture and can cause cracks. To prevent this, lightly scramble each egg before adding it into your batter. Keep your mixer on low speed and stir until just combined. Be sure to pause after each addition and scrape down the sides and bottom of your mixing bowl.
Don’t open the oven!
I know how tempting it can be to want to check on your perfect, beautiful cheesecake, but wait until it’s finished baking (or close to it) before opening the oven door! Yes, you will have to test for doneness at some point and there’s a real possibility it will need more time in the oven, but minimize opening the oven as much as possible.
Opening the oven door can drastically reduce the temperature of your oven, which will slow the baking process and might cause your cheesecake to sink or crack.
Free your crust!
Once your cheesecake is done baking, allow it to cool for 10 minutes on top of the stove. Then, run a knife around the inside of the springform pan to loosen the crust from the sides.
As your cheesecake cools, it may to shrink a bit. If the crust is stuck to the pan, your crust won’t give but your cheesecake will (leaving you with cracks). Free the crust from the sides so it can contract with your filling as needed.
Cool at room temperature before moving to the fridge
I always let my cheesecake come to room temperature before chilling. For bests results, let it cool as gradually as possible. I put mine on top of my oven (the warmest spot in my house) so it can gradually cool off as the oven does.
This pre-chilling cooling period can take an hour or two, but it’s worth it. An abrupt temperature change (moving the cheesecake directly from oven to fridge) is likely to make it crack.
How to Store Cheesecake
Cheesecake should always be stored chilled in the refrigerator. When I’m ready to store mine, I’ll usually replace the springform ring and then cover the top with foil.
Cheesecake shouldn’t be left out at room temperature for more than 4 hours (or less if it’s particularly hot/humid!).
Can I Freeze Cheesecake?
Yes, you can freeze your cheesecake! Fortunately, this cheesecake recipe actually freezes very well. To freeze, first allow your cheesecake to cool on the stovetop and in the fridge as instructed. Once it’s chilled, you can freeze by wrapping thoroughly in plastic wrap and then wrapping in foil. Cheesecake will keep in the freezer for several months.
To thaw, transfer to the fridge and let it thaw there overnight.
Here’s a great source for more information on freezing cheesecake, including suggestions if you’d like to freeze by the slice.
Other Cheesecake Variations You Might Like:
- Oreo Cheesecake
- Pumpkin Cheesecake
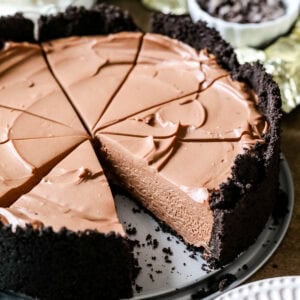
- Chocolate Cheesecake
- Or try something different and serve this cheesecake on an Oreo Crust!
Enjoy!
The BEST Cheesecake Recipe

Ingredients
Graham Cracker Crust¹
- 1 ½ cups graham cracker crumbs (170g)
- 2 Tablespoons sugar
- 1 Tablespoon brown sugar (can substitute white)
- 7 Tablespoons butter melted
Cheesecake
- 32 oz cream cheese² softened to room temperature (910g)
- 1 cup sugar (200g)
- ⅔ cups sour cream (160g)
- 1 ½ teaspoons vanilla extract
- ⅛ teaspoon salt
- 4 large eggs room temperature, lightly beaten
Recommended Equipment
Instructions
- Preheat oven to 325F (160C).
- Prepare Graham Cracker crust first by combining graham cracker crumbs, sugar, and brown sugar, and stirring well. Add melted butter and use a fork to combine ingredients well.1 ½ cups graham cracker crumbs, 2 Tablespoons sugar, 1 Tablespoon brown sugar, 7 Tablespoons butter
- Pour crumbs into a 9” Springform pan and press firmly into the bottom and up the sides of your pan. Set aside.
Cheesecake
- In the bowl of a stand mixer or in a large bowl (using a hand mixer) add cream cheese and stir until smooth and creamy (don’t over-beat or you’ll incorporate too much air).32 oz cream cheese²
- Add sugar and stir again until creamy.1 cup sugar
- Add sour cream, vanilla extract, and salt, and stir until well-combined. If using a stand mixer, make sure you pause periodically to scrape the sides and bottom of the bowl with a spatula so that all ingredients are evenly incorporated.⅔ cups sour cream, 1 ½ teaspoons vanilla extract, ⅛ teaspoon salt
- With mixer on low speed, gradually add lightly beaten eggs, one at a time, stirring just until each egg is just incorporated. Once all eggs have been added, use a spatula to scrape the sides and bottom of the bowl again and make sure all ingredients are well combined.4 large eggs
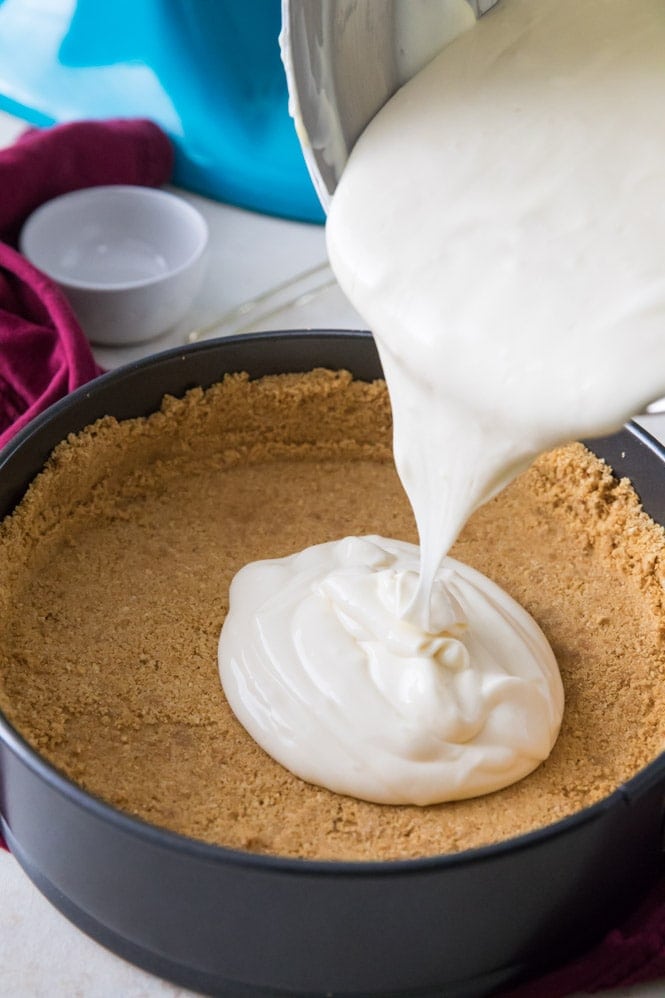
- Pour cheesecake batter into prepared springform pan. To insure against leaks, place pan on a cookie sheet that’s been lined with foil.
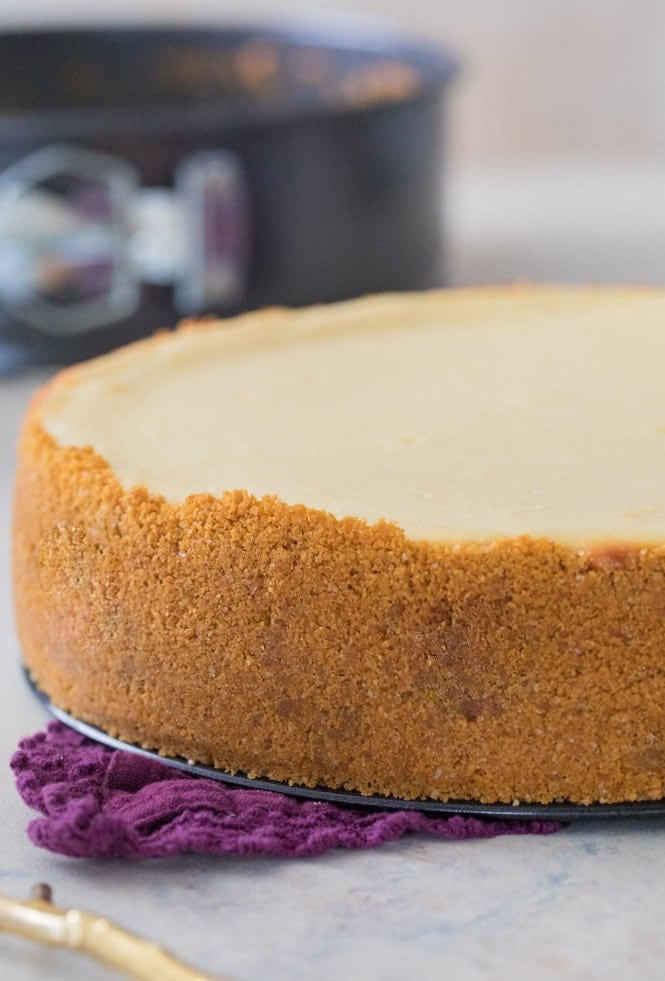
- Transfer to the center rack of your oven and bake on 325F (160C) for 50-60 minutes (or longer as needed, see note 3). Edges will likely have slightly puffed and may have just begun to turn a light golden brown and the center should spring back to the touch but will still be Jello-jiggly. Don't over-bake or the texture will suffer, which means we all suffer.
- Remove from oven and allow to cool on top of the oven⁴ for 10 minutes. Once 10 minutes has passed, use a knife to gently loosen the crust from the inside of the springform pan (this will help prevent cracks as your cheesecake cools and shrinks). Do not remove the ring of the springform pan.
- Allow cheesecake to cool another 1-2 hours or until near room temperature before transferring to refrigerator and allowing to cool overnight or at least 6 hours. I remove the ring of the springform pan just before serving then return it to the pan to store. Enjoy!
Notes
1) Graham cracker crust
For more details on making this crust or to use whole graham crackers, please see my Graham Cracker Crust Recipe.2) Cream cheese
Make sure that you use the brick-style cream cheese, not the spreadable version that is available in tubs.3)Bake time
Exact bake time can vary depending on your oven, whether you bake your cheesecake on a baking pan or not, the color of your springform pan (light or dark), and even the precise temperature of your ingredients. Because of this I recommend checking your cheesecake at 50 minutes and adding time as needed. However, it is not uncommon for the cheesecake to take as long as 75 minutes to bake, but it's better to check sooner.4) Cooling cheesecake
I recommend the top of the oven because it is usually the warmest place in my house (after it’s been on for over an hour). This will help to cool the cheesecake more gradually and will also help avoid cracks).Nutrition
Nutritional information is based on third-party calculations and should be considered an estimate only. Actual nutritional content will vary based upon brands used, measuring methods, cooking method, portion sizes, and more.

Herb
Going to use a 10″ spring form pan instead of 9, will this change anything.
Sam
Hi Herb! It may take a few minutes less in the oven. 🙂
Herb
Thanks for sharing! Result was amazing.
Joe
Very easy to make. I did mine in a convection oven. One with fan on and one off. Did great both times. The second one was with blueberries. I recommend fan on if you add fruit.
Sam
Thank you so much for the feedback, Joe! I am so glad you enjoyed it so much! 🙂
Mayra
Delicious!! My family demanded another one! Lol I don’t think I’ll ever buy made cheesecake now… you’ve ruined me lol thank you for the tips!
Sam
I am so glad everyone enjoyed it so much, Mayra! Homemade is ALWAYS better in my opinion. 🙂
Karen
I should have kept a close eye. 75 min was way too long in my oven. Entire top brown.
Ann
Just made this for the first time. It was divine!! Very easy and I followed the recipe exactly. No cracks and just the creamiest texture. This is the only cheesecake I’ll ever make.
Sam
I am so glad you enjoyed it so much, Ann! 🙂
Nola
Hi! I am planning to distribute the batter in 2 or 3 4″ spring pans. Do I have to adjust the baking time? If yes, for how long? Thanks
Sam
You will definitely have to adjust the baking time, but I haven’t baked it in smaller pans so I am not sure what the bake time would be. Let me know how it goes. 🙂
Carmen Velez
Can I still cook this in a water bath? I saw a trick too, where they put plastic wrap on the spring form bottom and then put the crust on top of that. He said it was to lessen the chance of leaking. I just bought a new spring form pan and can’t wait to use it for this recipe!!
Sam
Hi Carmen! I haven’t tried making this with a water bath because it’s really really not necessary and that’s a lot of extra effort for no return. Hopefully your new pan wouldn’t leak. 🙂
Melondy Munoz
I’ve made no bake cheesecakes many times before but this is the first time that I actually BAKED a cheesecake. I must say yes it was the easiest cheesecake ever! It did crack/split a little during the cooling process but it was still eaten! Everyone LOVED it! I think my spring-foam pan was a little bigger because the crust didn’t go up the sides of the cake, but again it was still eaten! I do not like cheesecake but I did have to taste it since I baked it…very good! This is my go to recipe now. Great recipe Sam! Thank you!
Sugar Spun Run
I am so glad that you enjoyed it, Melondy! Thank you for trying my recipe and for commenting. 🙂
Sritanvi Karthik
Is there any way to substitute the sour cream in this recipe?
Sam
You could use plain Greek yogurt 🙂
Caroline
I’m about to try this for fourth of July! I am in colorado. Anything I should know for altitude? Thanks
Sugar Spun Run
Hi, Caroline! Unfortunately, I do have experience baking at high altitude so I can not provide you with any personal recommendations. I am hoping that someone else who has baked this recipe under those conditions will chime in. 🙂
Heather
Thinking of making this for my husbands 40th birthday party, but want to make it in a 12 hole muffin pan vs one big pan (plus, 🙁 I don’t own a spring form pan ) Can you provide the alternate cooking time / measurements if this was to be made into 12 individual cheesecakes in a muffin pan? Thanks!
Sam
Hi Heather! I would actually recommend following the instructions on for my mini cheesecakes to bake them in a muffin pan. 🙂
Griselda Hernandez
i’ve been using this recipe for a while and MY WHOLE FAMILY loves it !! i haven’t had any problems and i’ve followed the recipe without any leaks or anything , this is the best cheesecake by far ! ❤️
Sam
I am so glad everyone enjoyed it so much, Griselda! 🙂
Hazel
Can I make this using a regular glass pie pan?
Sam
The pan may not hold all the batter, but it will still work. Make sure not to overfill the pan. Just know it may be a little tougher to get it out of the pan. 🙂
Kitty
I have never had a cheese cake cut so nicely was there a secret to that?
Sam
Hi Kitty! A few tips to get the perfectly clean cut, you can run the knife under hot water and wipe it dry in between each cut or even just wipe the knife completely clean in between cuts. 🙂
Chelsea
Hi there,
Thanks so much for sharing this recipe! I have it in the oven now! Quick question, when you separate the crust from the sides of the pan after letting it cool for 10 minutes, do you also remove the top of the springform pan? Or do you leave it in the pan to cool entirely?
Sam
Hi Chelsea! I let it cool completely in the pan and remove the outer ring right before serving. 🙂
Sharon Wall
Just finished baking, cant wait to try it. Next time, gonna set my timer for 60 min instead of 75, mine turned a lot browned than yours, but i think it will still be ok. Easy ingredients!
Sam
I hope you love it, Sharon! 🙂
Christine
Mine turned out much darker as well. I hope it still tastes good! Cooling right now. Might look for a sour cream topping because of how brown it turned out..
Mike
So we made this today. just coming out of the oven. The springform leaked a large amount of clear fluid and the center dropped. Not sure what we did wrong.
Sam
O no! I hate when my springform pan leaks! To counteract this you can place your springform pan on a baking sheet when cooking. Sometimes even brand new ones leak. In regards to the shrinking, the batter may have been over-beaten which will cause it to sink in the middle. I hope you still enjoy it! Sorry about the mess in your oven. 🙁
Jackie Parr
Do you think it would cause problems if I substituted the sugar for honey?
Sam
Hi Jackie! I haven’t tried it but I am not so sure I would recommend it. If you do try it I would love to know how it turns out. 🙂