My beginner-friendly pecan sticky buns recipe makes perfectly soft and gooey rolls (with a special ingredient in the glaze!). Includes detailed instructions for making in advance and a how-to video!
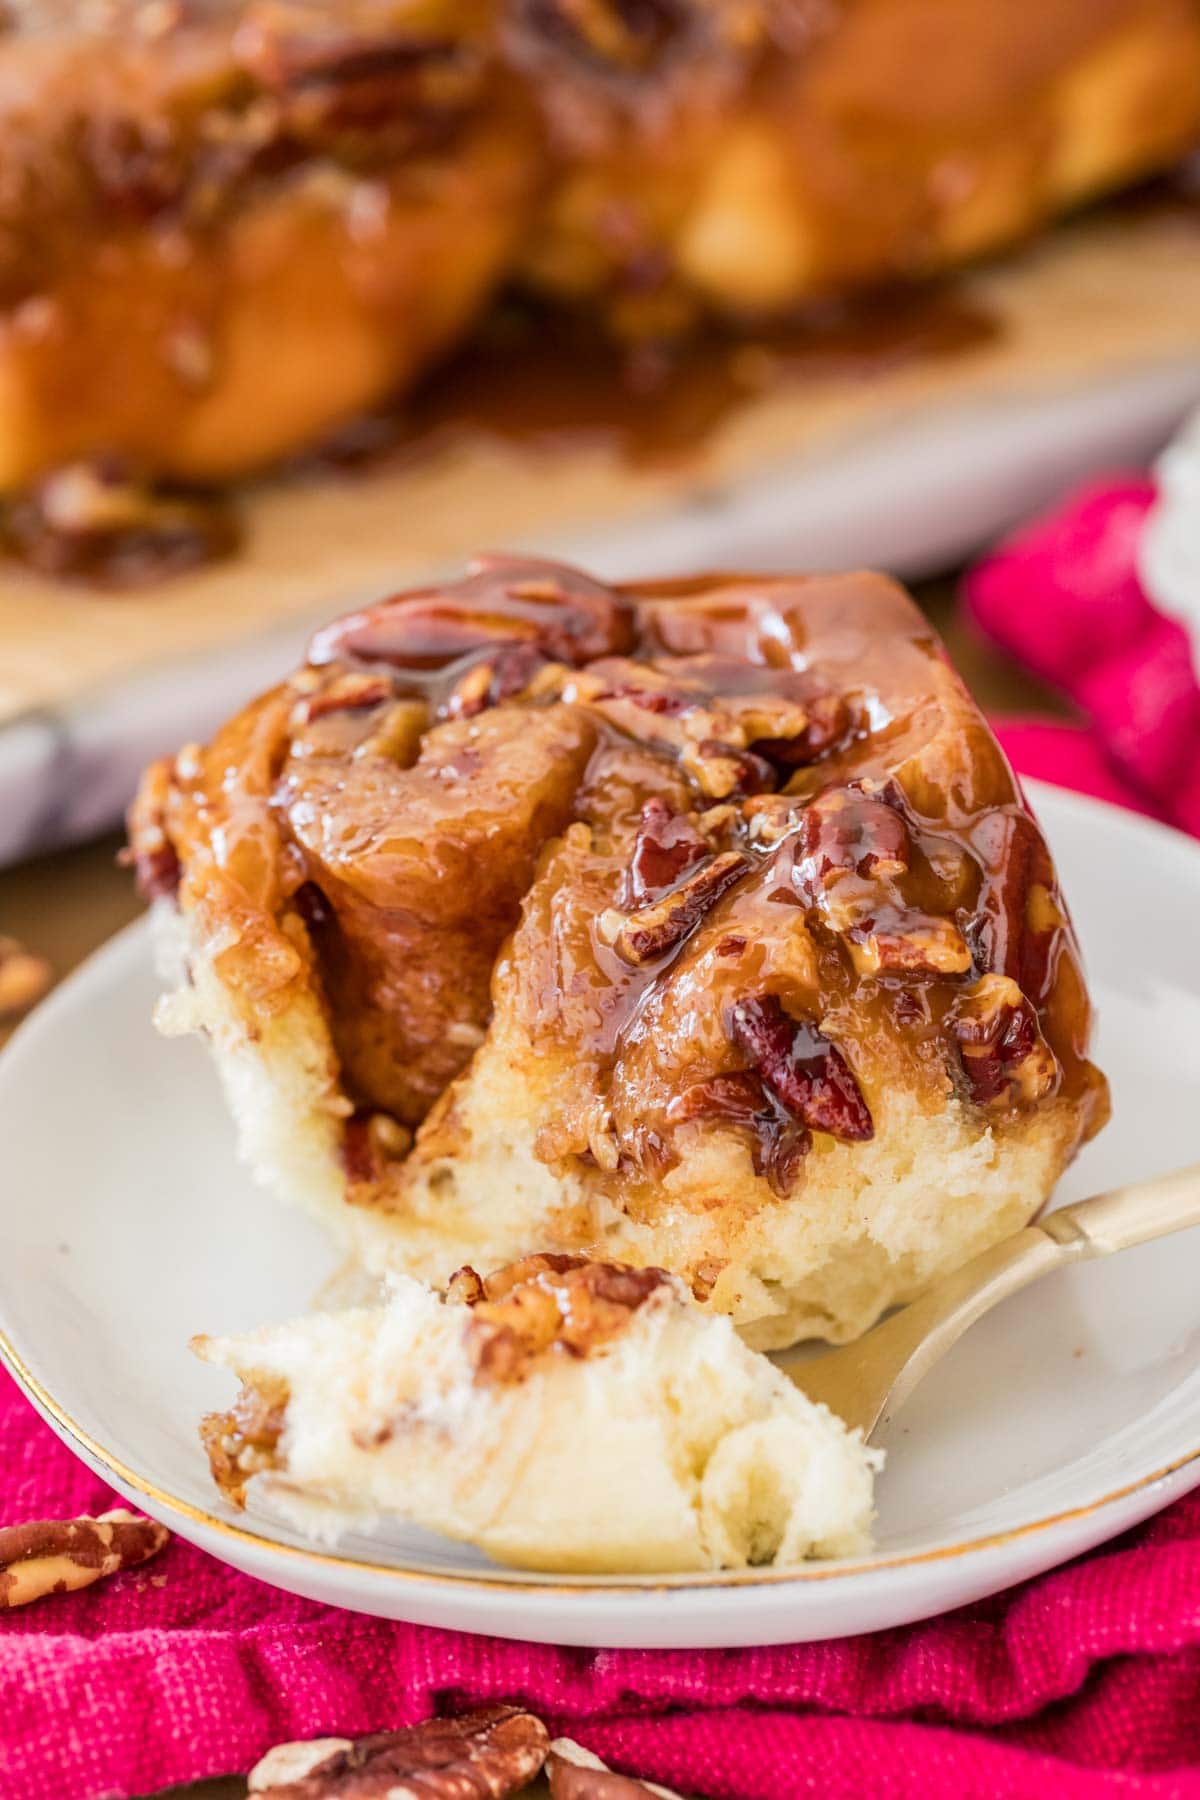
The BEST Homemade Sticky Buns
I’m not sure about you, but I’ll take a sticky bun any time of year. However, when Fall rolls around, the leaves start to fall, and you start waking up to those brisk, misty mornings, well I can’t think of a bette way to start the day than a warm, gooey sticky bun.
Why You’ll Love These Sticky Buns (& Why They Work so Well!)
- Gourmet, bakery-style results: From the tender, perfectly chewy dough to the sticky sweet glaze and crunchy toasted pecans–these are indulgent and oh so impressive.
- Make ahead friendly: The rolls will need to rise for a few hours, so this recipe is great for making ahead of time. I also include instructions for refrigerating or freezing before baking, if you want to make them even further in advance.
- Flips cleanly without falling apart. The sticky caramel sauce is carefully formulated to be 1) easy to make and 2) pourable when warm, but thick enough to cling, so when you flip it you get a dramatic, sticky topping without a soggy mess.
- Beginner friendly: Even if you’ve never baked with yeast before, you can do this! It’s true that yeast breads are a bit more work and require a bit more technique than your average baked good (like banana bread). But if you read through the post and watch the video before beginning, you’ll be just fine!
Ingredients
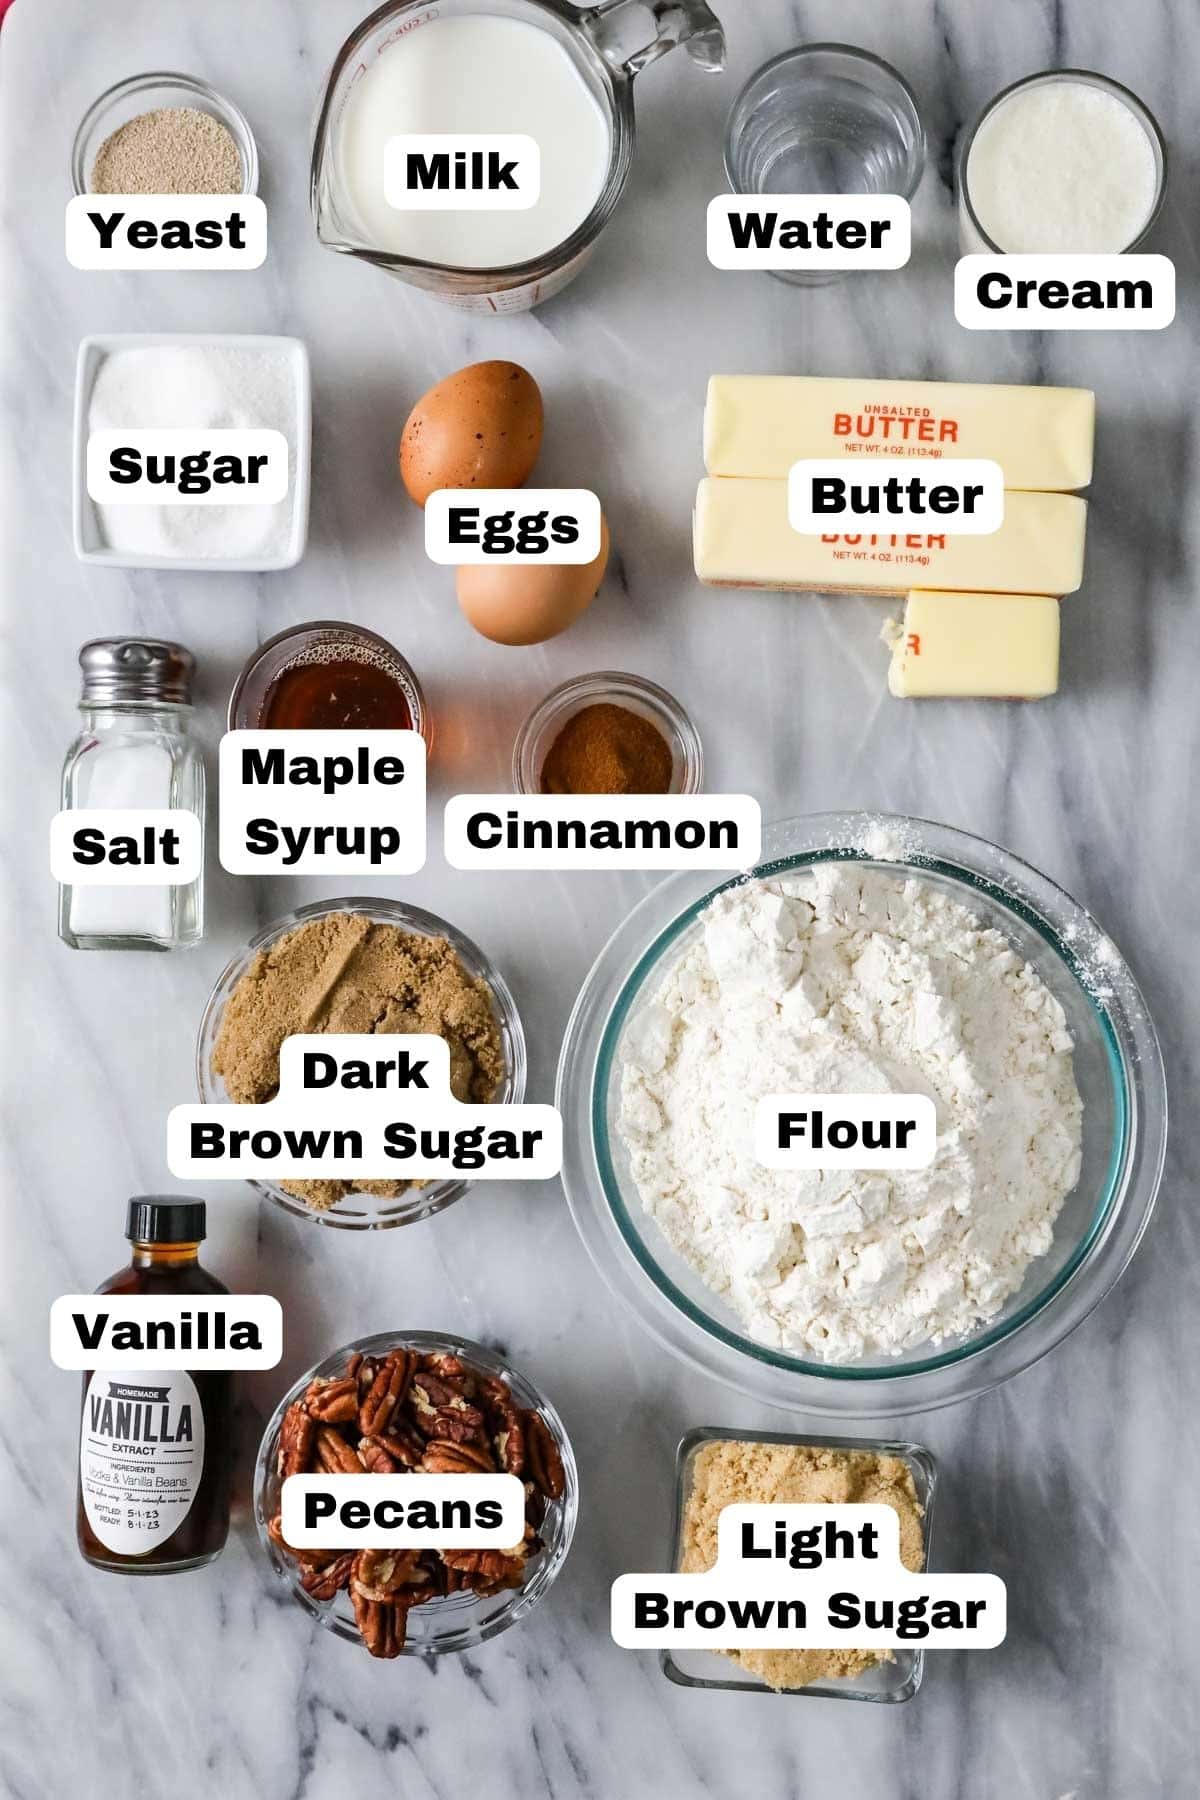
- Flour. You’ll notice that many yeast-based recipes, like pizza dough and homemade bread, list a range for the amount of flour that you’ll need rather than a specific amount. This is because dough reacts differently in different kitchens under different conditions. Some bakers will need more flour and some will need less. It’s all about getting the dough to the right consistency (and of course I explain and demonstrate this in the recipe), this will make or break your sticky buns.
- Active dry yeast. I provide instructions for substituting instant yeast in the recipe notes below.
- Pecans. If you want to be even more extra, lightly toast your pecans (as I do in my pecan pie) before scattering them over your syrup/sticky glaze mixture. Yum!
- Dark brown sugar. While you could use light brown sugar, dark brown is traditional and what I recommend (though light brown is fine in the filling!).
- Maple syrup. Oh, I have strong opinions about this. While most recipes use honey and you certainly can, I personally feel the flavor is infinitely improved by using pure maple syrup instead (no shocker to fans of my worst chocolate chip cookies). Yes, you can use honey, but try it my way at least once, it’s so good! Just, beware of pancake syrup, stick to the pure stuff for this recipe.
SAM’S TIP: If you plan to toast your pecans (and I recommend you do!), chop them after toasting.
Remember, this is just an overview of the ingredients I used and why. For the full recipe please scroll down to the bottom of the post!
How to Make Sticky Buns
This recipe can be made either in a stand mixer or by hand. The only difference is there’s a bit more manual labor when making by hand (and you’ll be kneading for longer!).
Make the dough
This recipe starts with a rich, buttery, egg-enriched dough. It’s incredible, honestly, borrowed a bit from my overnight cinnamon rolls, and used as the base for many of my sweet dough recipes, from my sweet bread to my orange rolls. Soft, just the right amount of chew, easy to manage–it’s sheer sweet roll perfection! Here’s how:
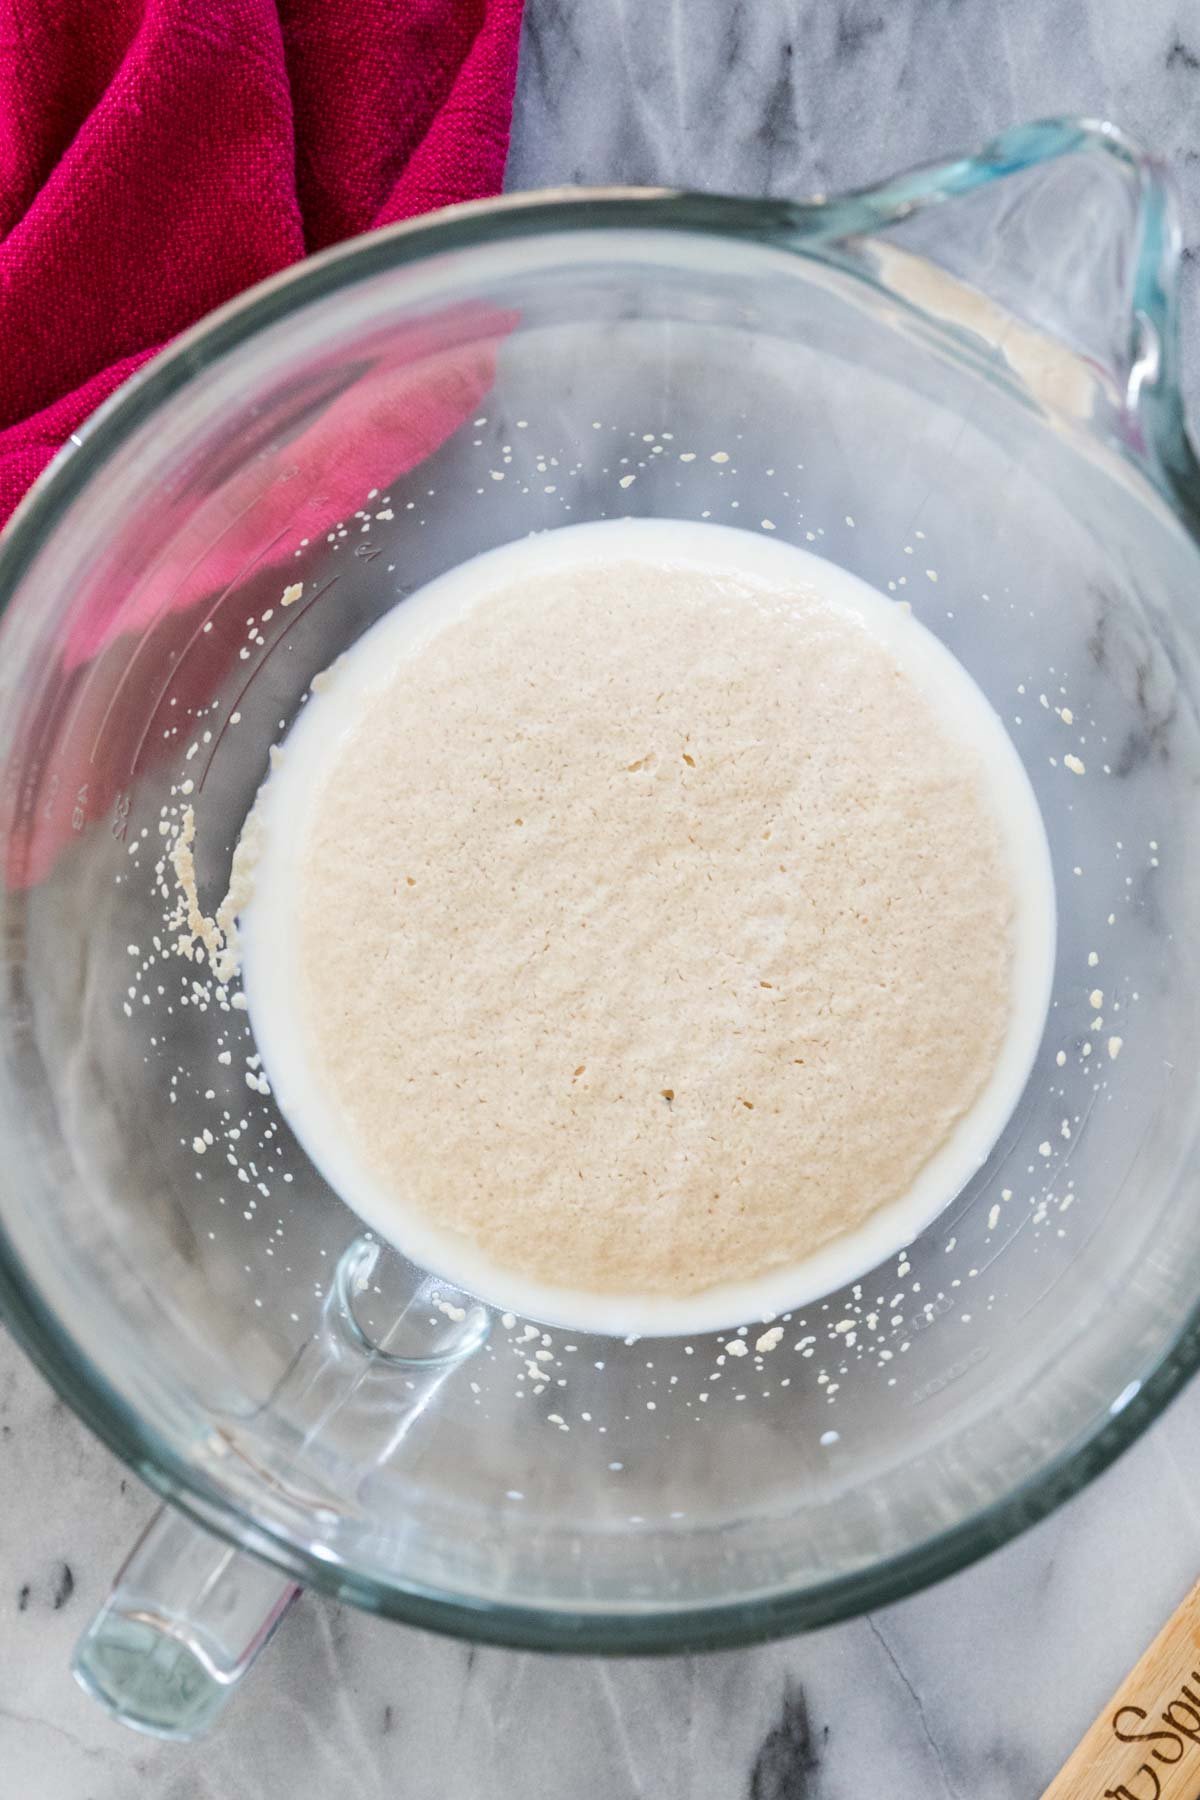
Activate the yeast. Heat the milk and water, then add the yeast. After 5-10 minutes, it should be foamy, which indicates the yeast is activated and you’re good to go with the recipe. If your yeast doesn’t activate, it’s probably no good and you’ll need to start over.
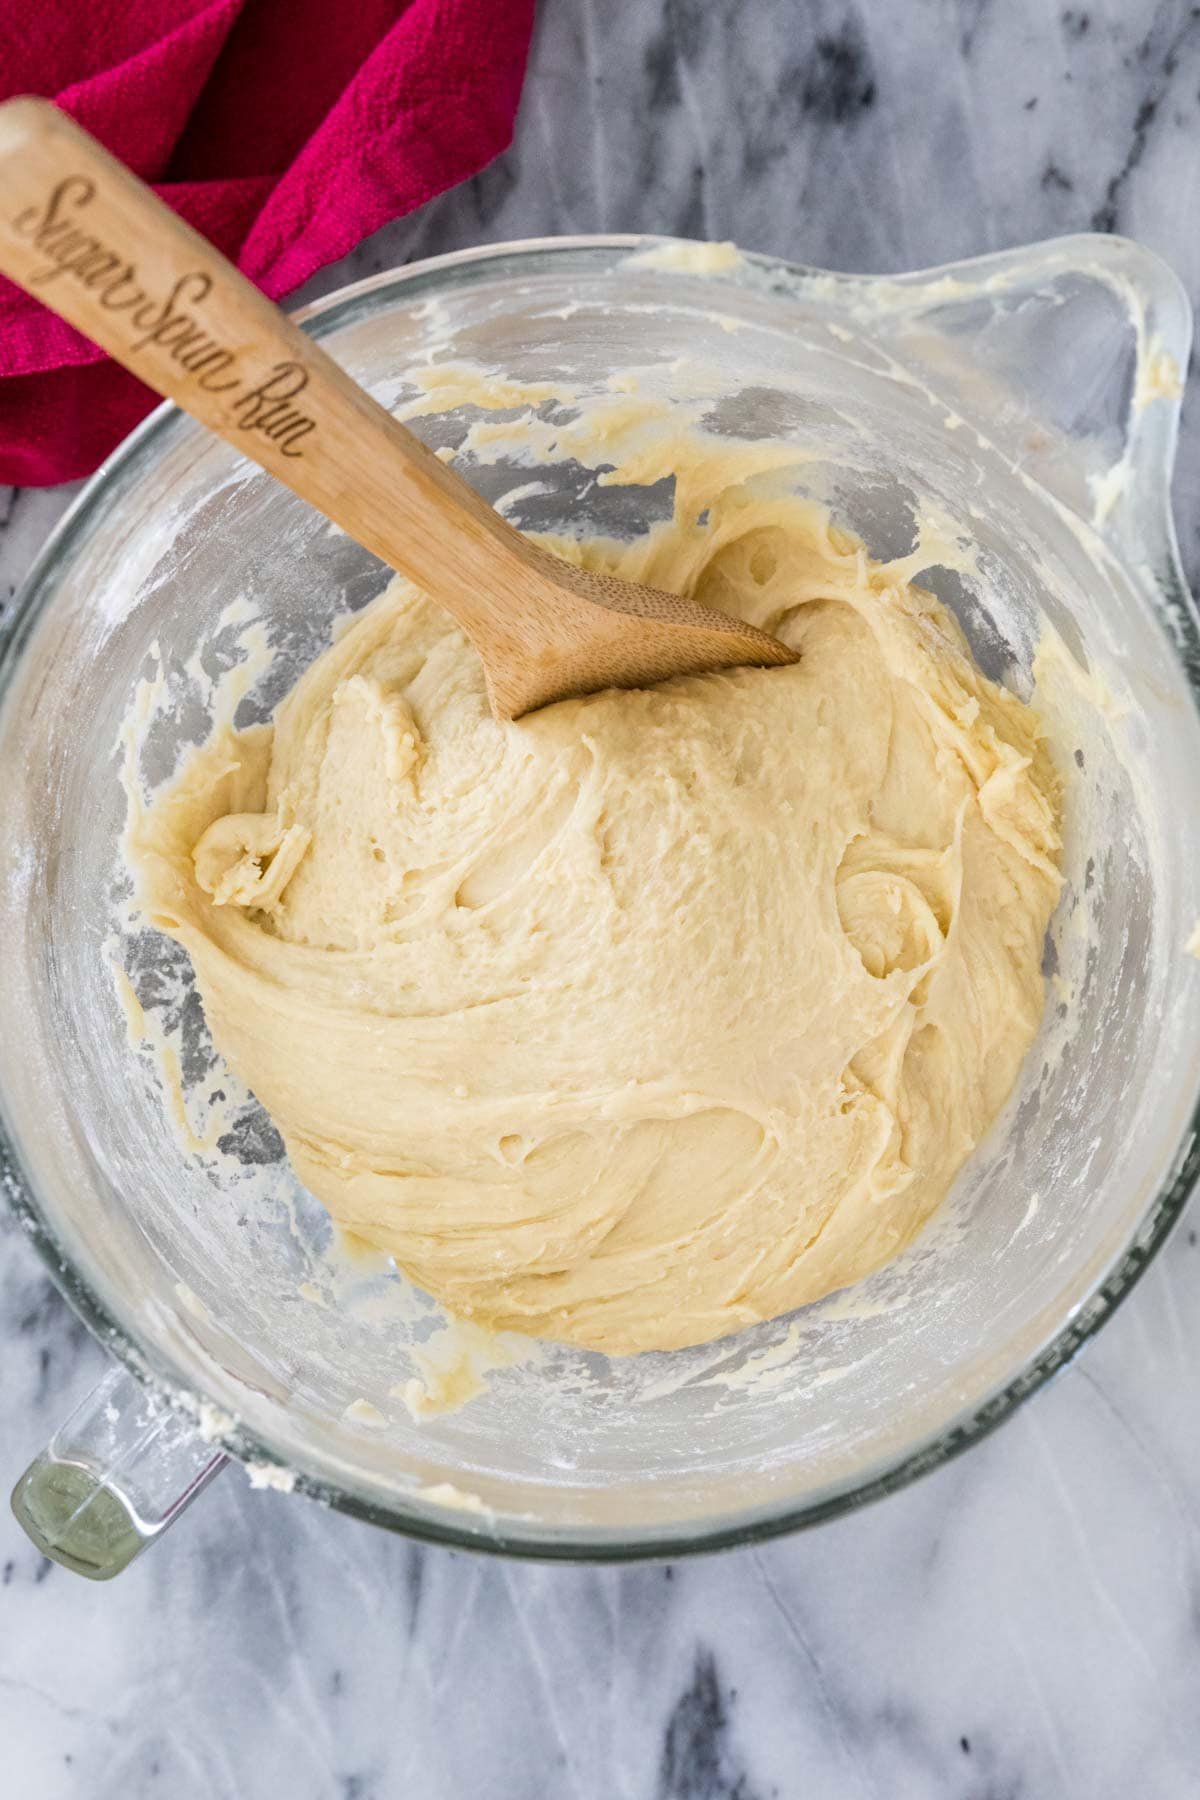
Make the dough. To make the dough, you’ll add the rest of the ingredients but add the flour gradually, adding more only as needed. You’ll know there’s enough flour when the dough is slightly tacky to the touch, but clings to itself and forms a ball. Continue to knead the dough (with the dough hook or by hand!) until it’s smooth and elastic. You can check if it passes the windowpane test before going any further!
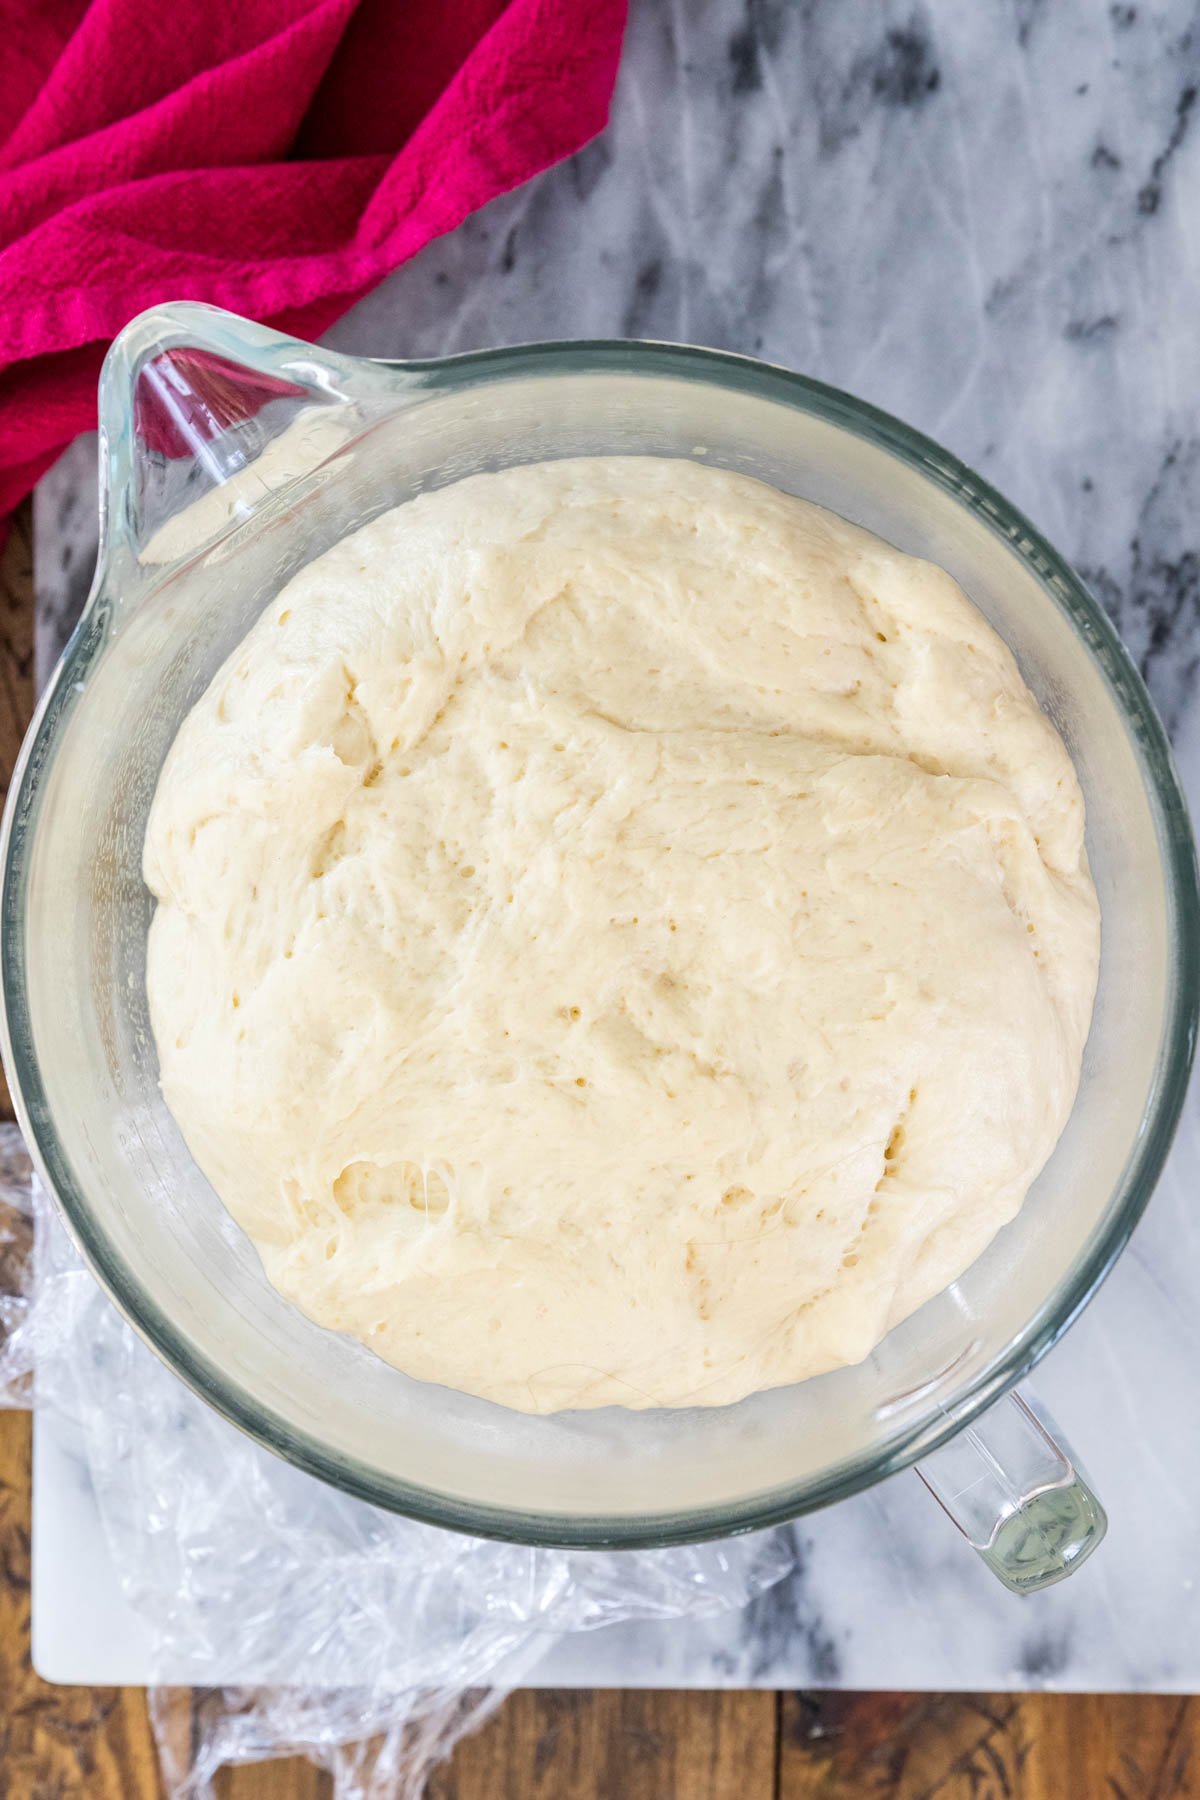
Let it rise. I like to move the sticky buns dough over to a lightly oiled bowl, then let it sit in a warm, draft-free place until it’s doubled in size. In my kitchen this typically takes 1-2 hours.
Make the sticky glaze
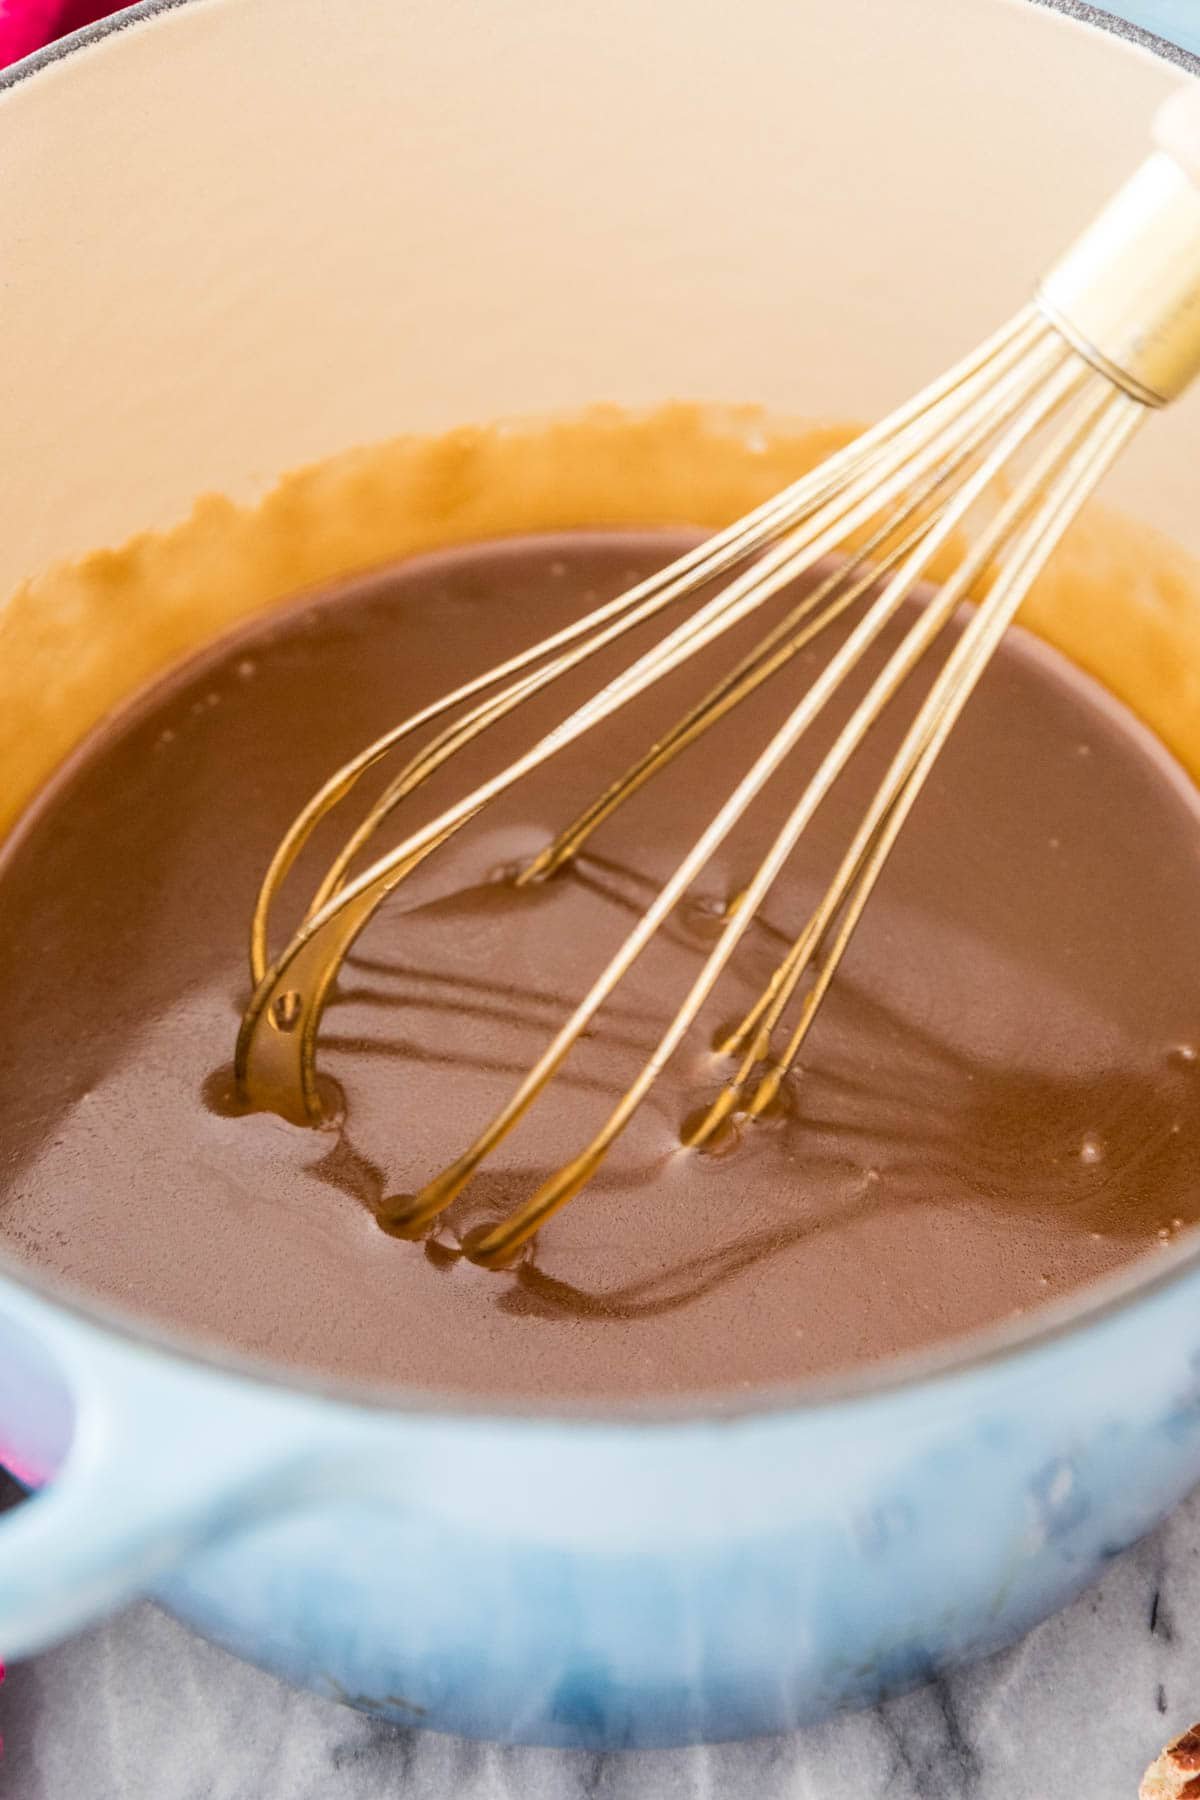
Much like with my pineapple upside down cake, the sticky buns are assembled upside-down. We’ll make the sticky-sweet glaze, pour it into the bottom of our pan before arranging the rolls, then after baking flip everything upside-down so the sticky side is on the top.
I make the glaze while the dough is rising, along with the cinnamon/sugar filling.
Assemble the rolls
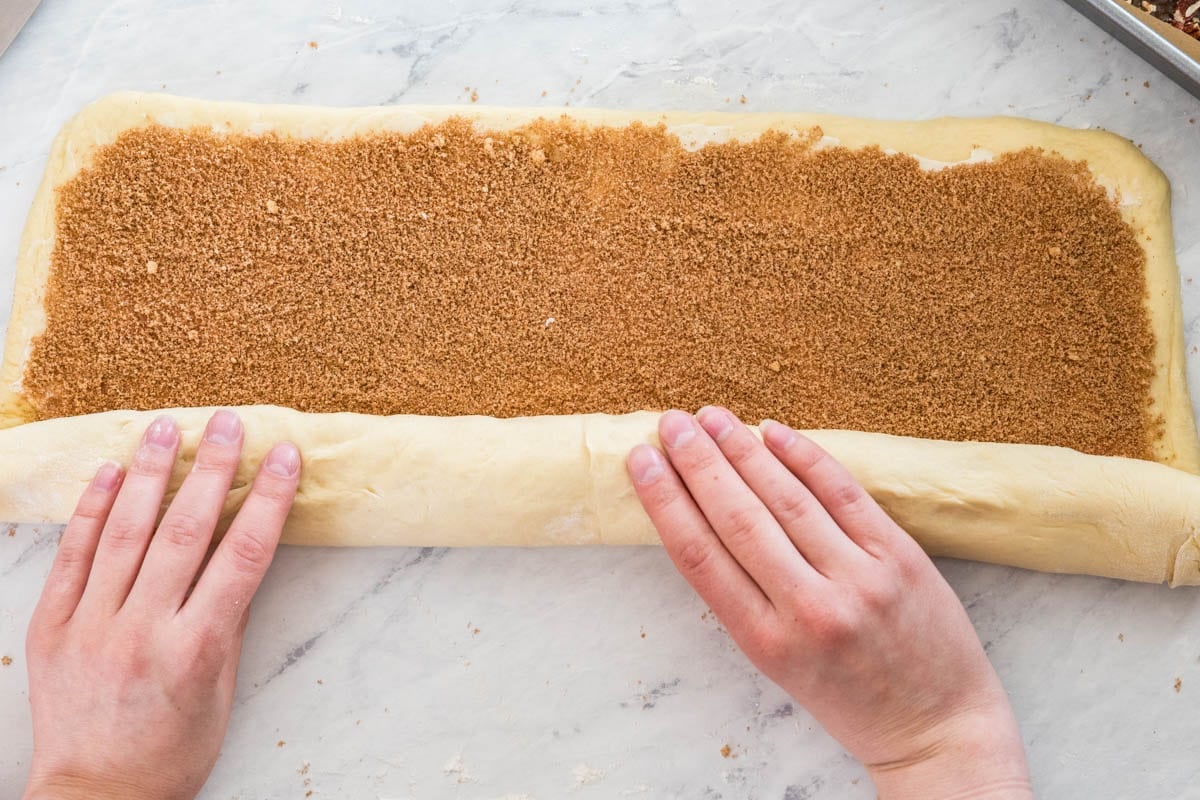
Roll, butter, and sugar. Gently deflate the dough, roll it out into a rectangle, smear melty butter over the surface, then sprinkle generously with cinnamon and sugar (leave a bit of a perimeter around the edges, that way you can pinch the ends together.
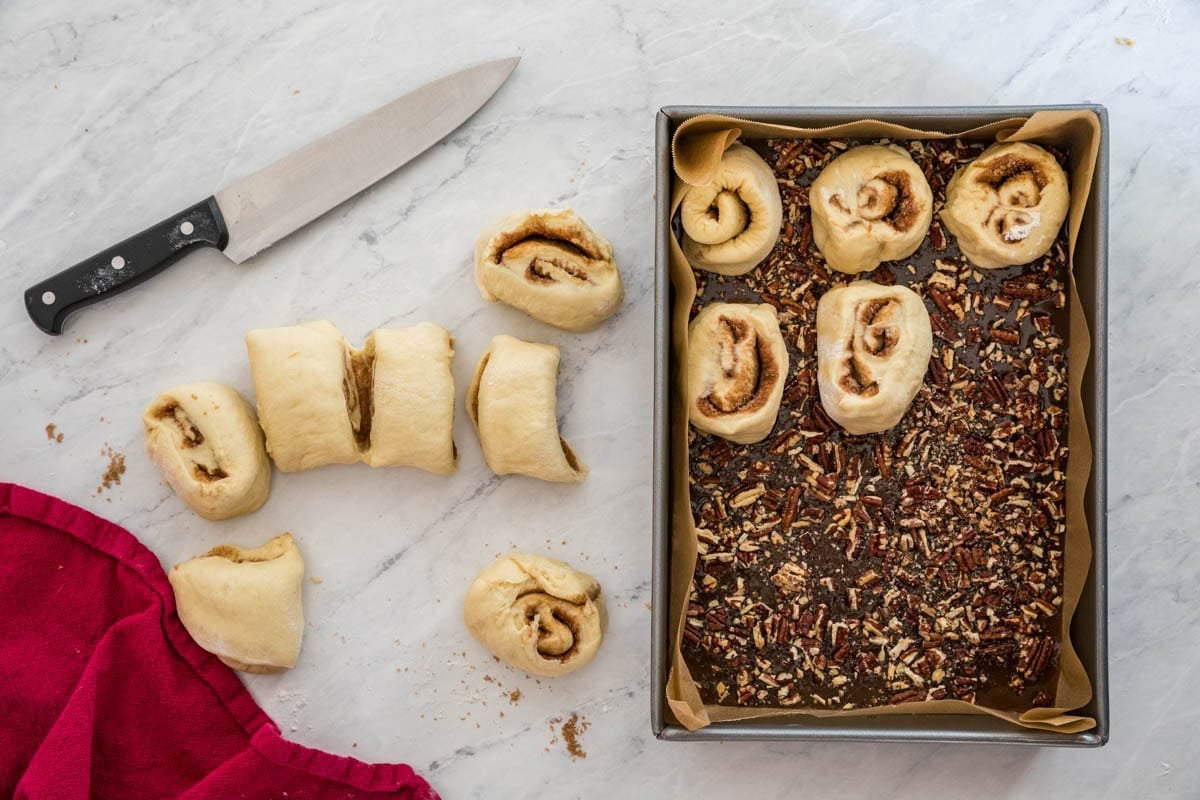
Cut & arrange. Cut the dough into 12 even pieces and arrange over the sticky glaze. Evenly space them into the pan, the gaps will fill in some as the dough goes through its second rise (in the next step).
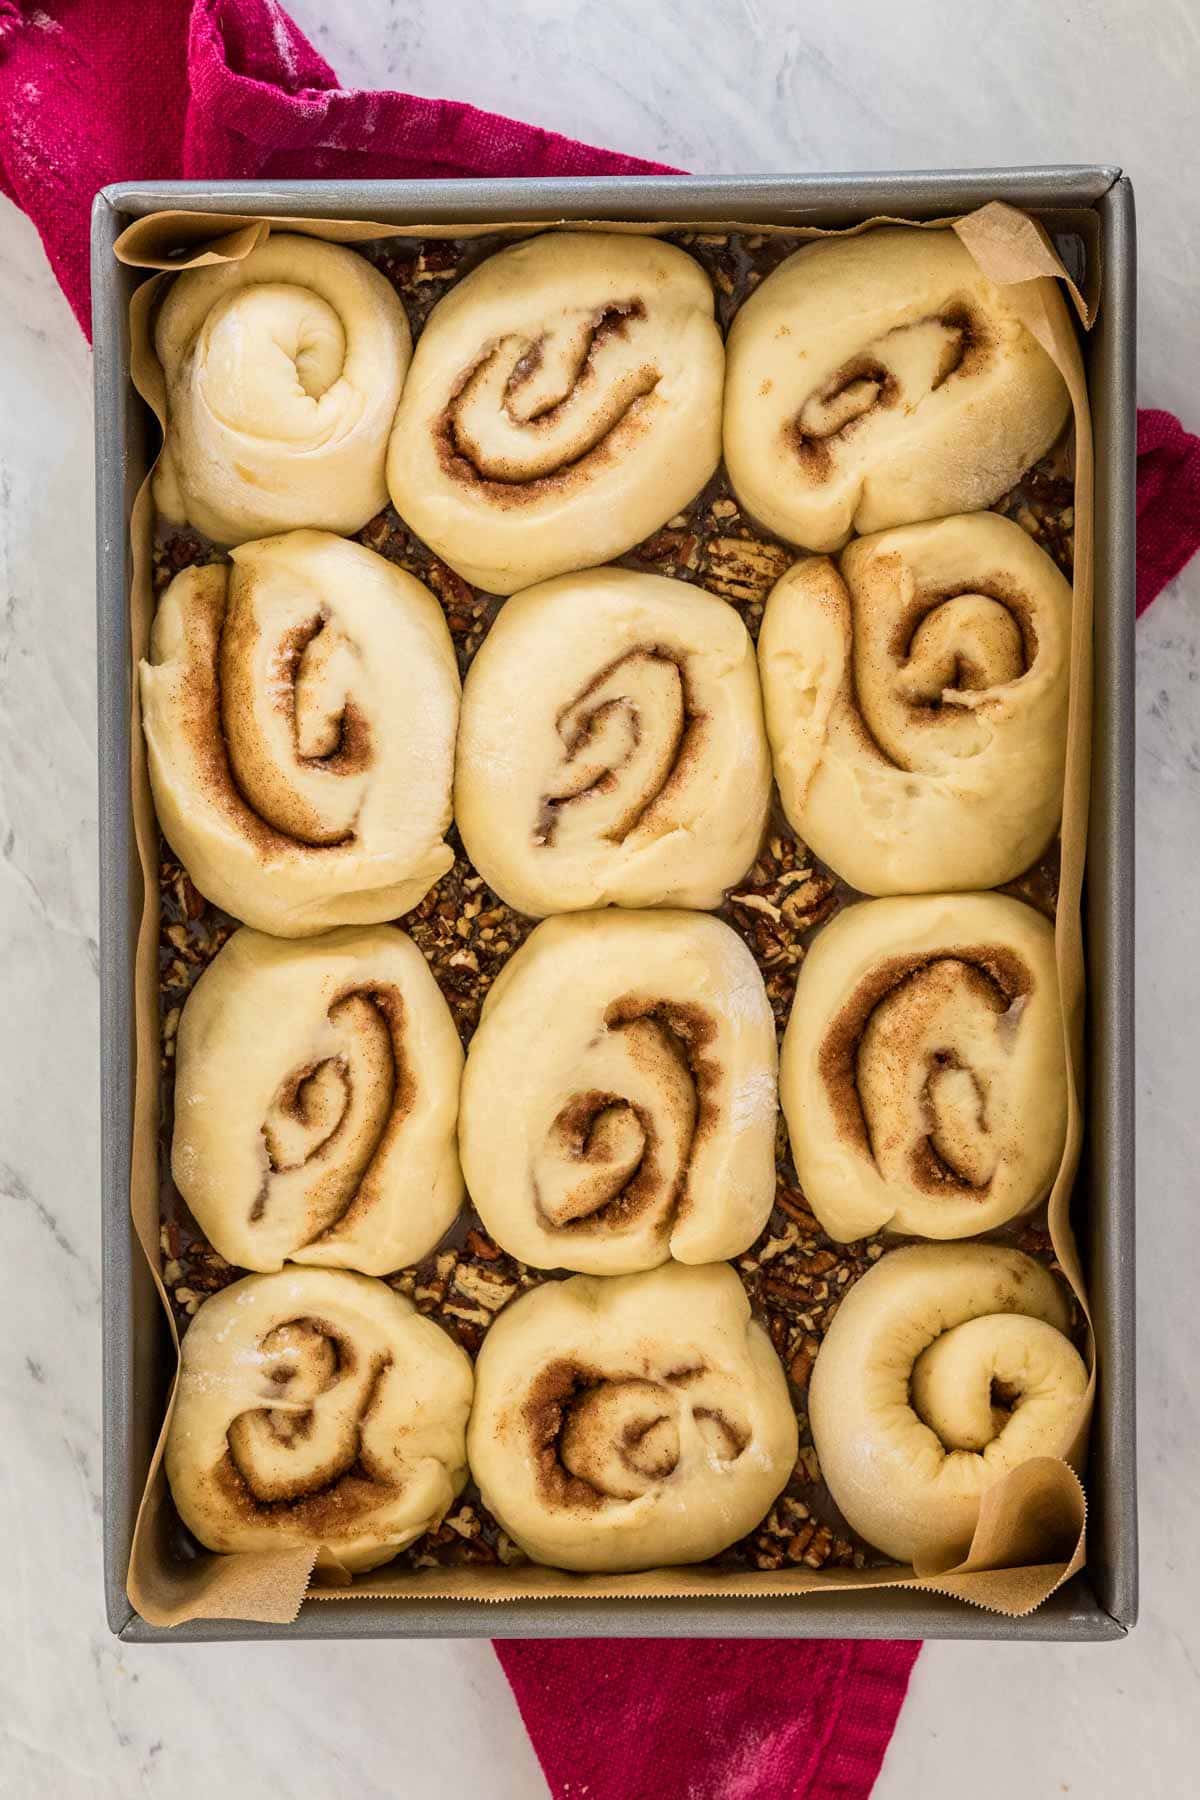
Proof. When you first arrange the sticky buns into the pan, there will be space between them. Cover the pan and let it sit for 30-60 minutes (or longer, if needed) until the rolls have puffed and are touching each other.
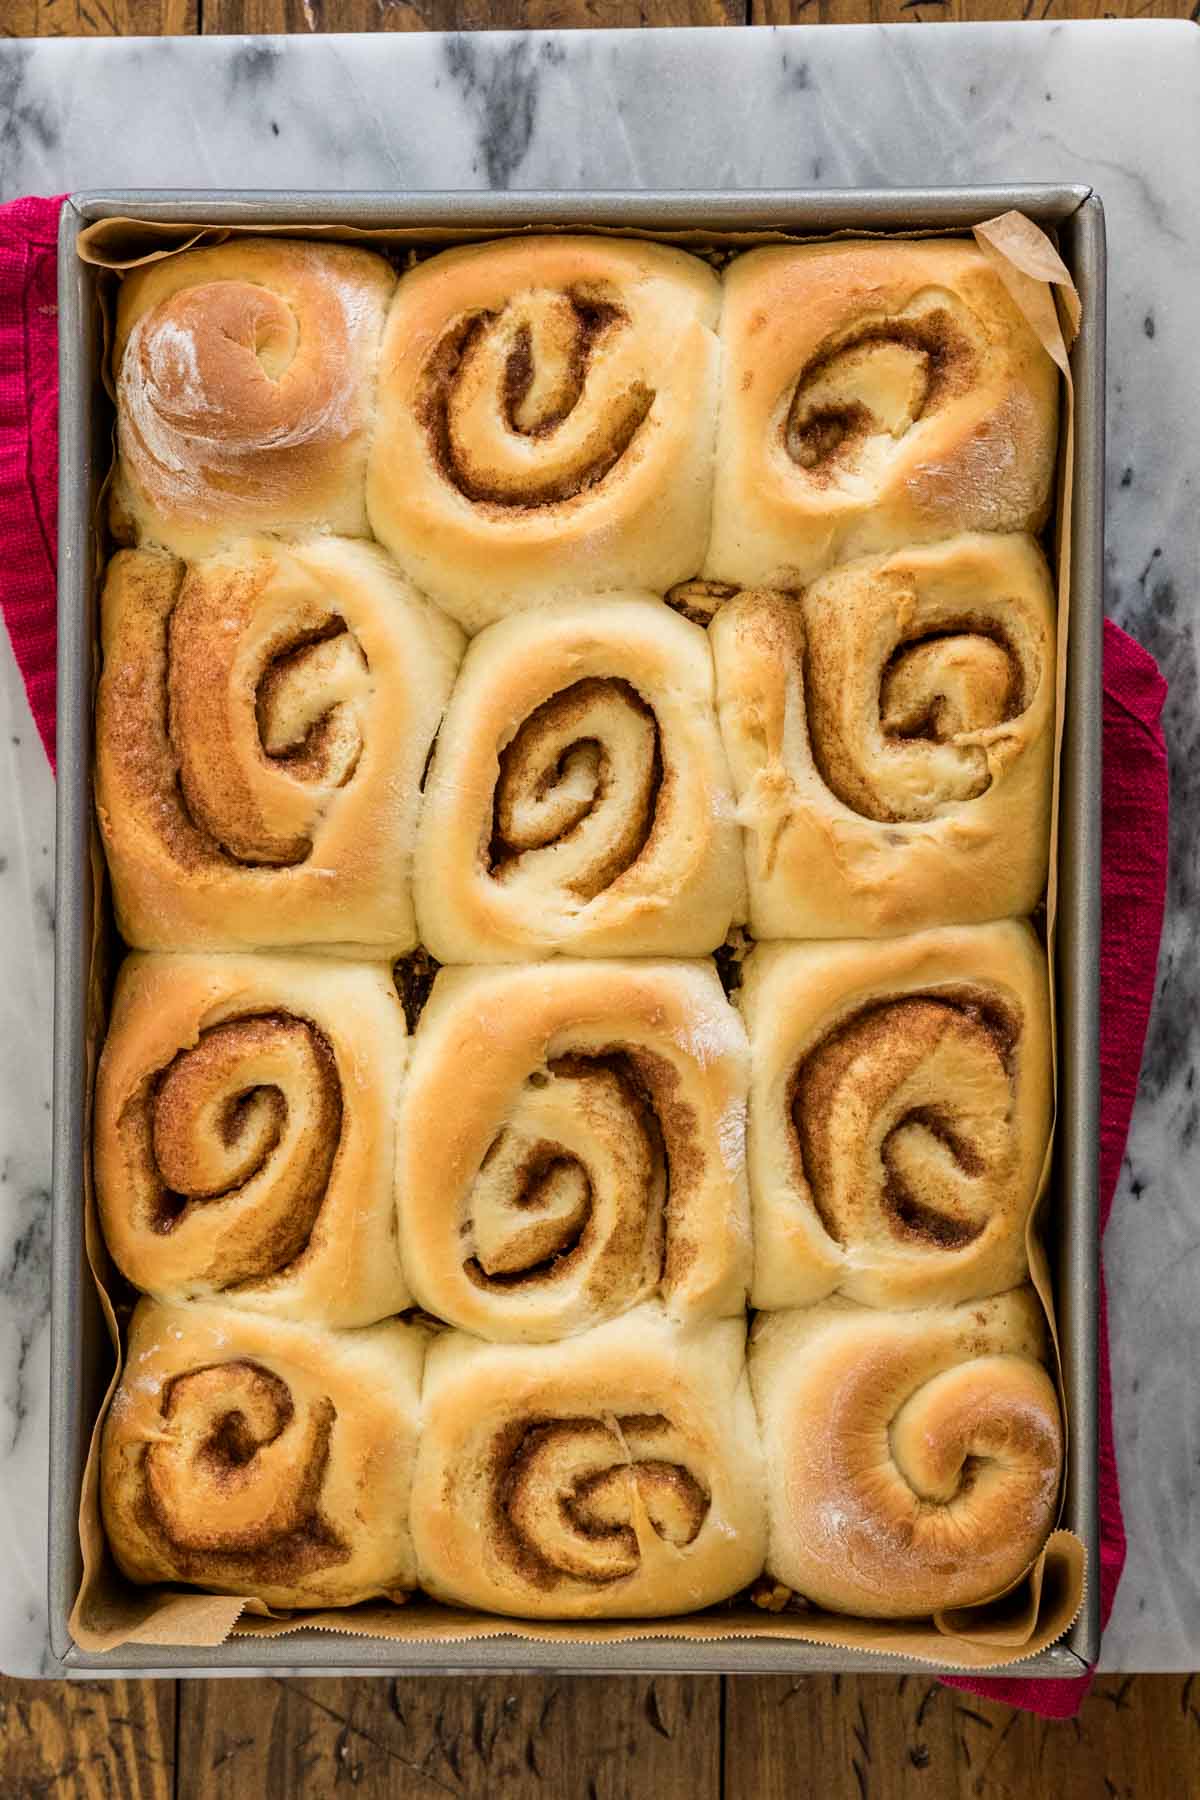
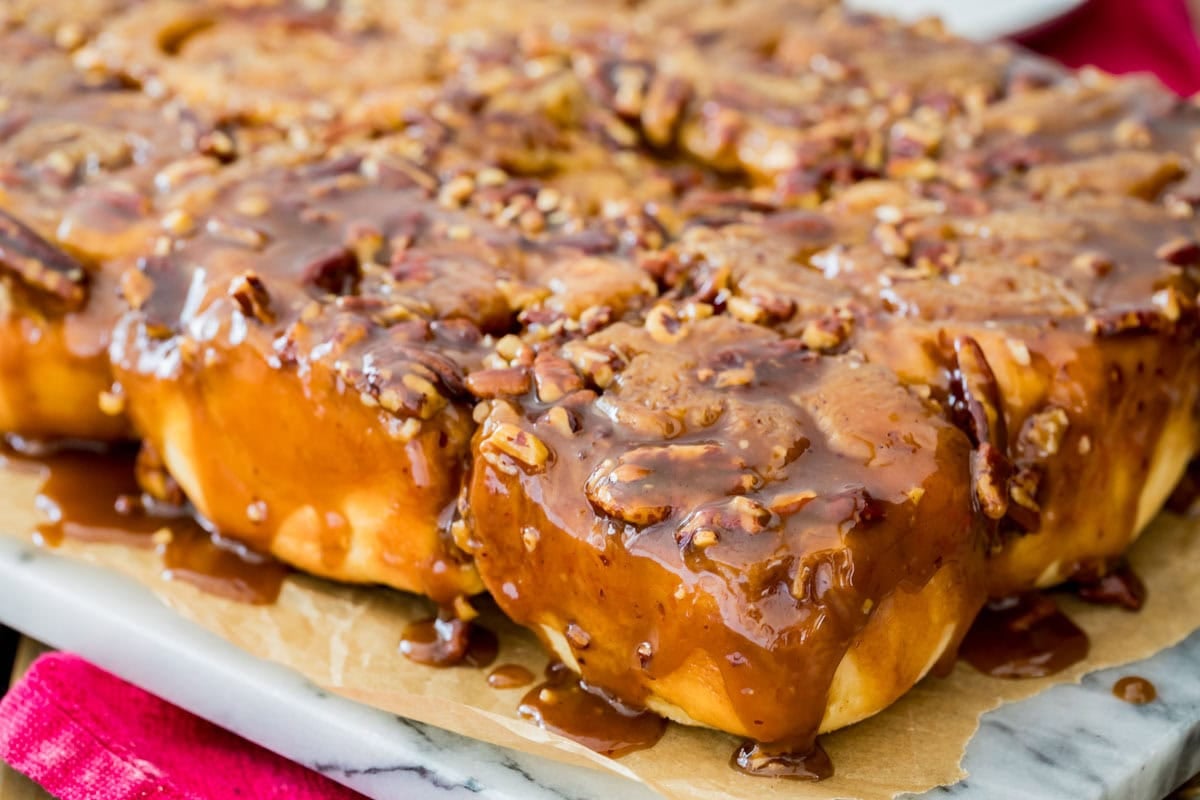
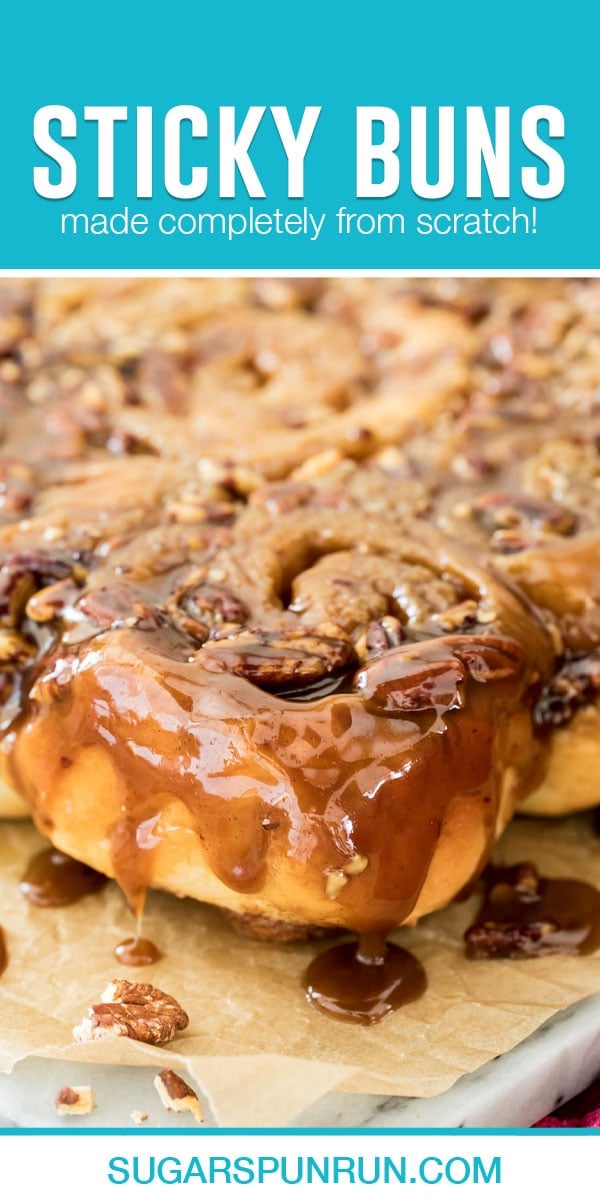
Bake and flip. The sticky buns are finished baking once the top is golden brown. You can also use an instant-read thermometer to check the temperature, aim for around 180F/88C (insert the thermometer in the thickest part of a center bun). Right after baking, carefully place a serving platter over the buns and flip everything over, so the bottom becomes the top! These are best served warm, in my opinion, so if you have any leftovers heat them up again before serving!
SAM’S TIP: Some people like to use un-flavored dental floss to cleanly cut their log into neat rolls, but I just use a sharp serrated knife. Even if my rolls get a little misshapen doing it this way, I gently reshape before placing them and they round back out nicely as they rise. The same goes for my pizza rolls!
Frequently Asked Questions
Cinnamon rolls and sticky buns are often made with similar enriched doughs and often have the same cinnamon/sugar filling, but their topping is vastly different. While cinnamon rolls are often frosted with a simple vanilla glaze (or other enriched cinnamon roll icing, or cream cheese frosting), sticky buns instead are baked in a sticky, gooey, caramel sauce that’s punctuated with pecans and becomes the topping after the buns are baked and inverted. I consider the two to be close cousins.
You can do all the prep-work for these sticky buns a day or even a month in advance, that way the next morning all you have to do is pop them in the oven (how great would that be for Christmas morning?). To do this, prepare the sticky buns according to the recipe (but don’t bake), then cover very tightly with plastic wrap. You can then either freeze the rolls or refrigerate them.
If freezing, freeze the rolls in the pan for up to a month. Let them to come to room temperature overnight, then bake according to recipe instructions.
If refrigerating, just before baking, pull the pan out of your fridge and preheat your oven. Remove the plastic wrap, cover with a clean towel, and let the dish come to room temperature before baking according to the recipe instructions.
I think this recipe is best with active dry yeast, but yes you can use instant. To do so, whisk together the yeast, sugar, 2 cups/250g flour, and salt. Heat the milk and water to 115F (46C) and stir into the flour mixture. Add eggs and butter and stir well, then proceed with the recipe as written (note the yeast will not become foamy in step 3).
The best way to test if they’re done is to use an instant read thermometer; insert it into the center of the bun portion (not the filling) of a center bun. It should read 180F (88C).
If you don’t have a thermometer, use a toothpick or sharp knife to gently prod one of the center buns. Insert the knife between two sticky buns and gently pry them apart, just a little bit! If things still seem doughy, give them a few more minutes in the oven. When they’re finished baking, they should be a beautiful golden brown color.
More Cozy Recipes:
If you’re hosting a brunch and looking for something savory to pair with your pecan sticky buns, I suggest my scrambled eggs or breakfast casserole.
Enjoy!
Let’s bake together! Subscribe to my newsletter to be notified of all the newest recipes, and find my free recipe tutorials on YouTube 💜
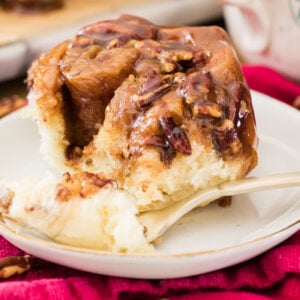
Sticky Buns
Ingredients
Buns
- 2 ¼ teaspoons active dry yeast¹
- 1 cup (236 ml) whole milk
- ⅓ cup (78 ml) water
- 5 Tablespoons unsalted butter melted (but not too hot)
- 1 large egg + 1 large egg yolk room temperature preferred
- ⅓ cup (70 g) granulated sugar
- 2 teaspoons table salt
- 4 – 5 cups (500-625 g) all-purpose flour plus additional if needed
Sticky Bun Topping:
- 10 Tablespoons unsalted butter
- ½ cup (118 ml) heavy cream
- ⅓ cup (80 ml) pure maple syrup or honey² see note
- ¾ cup (150 g) dark brown sugar
- ¼ teaspoon salt
- 1 teaspoon vanilla extract
- 1 cup (120 g) coarsely chopped pecans if desired, toast first for extra flavor
Filling:
- ½ cup (100 g) light brown sugar firmly packed
- 2 teaspoons ground cinnamon
- ⅛ teaspoon salt
- 4 Tablespoons unsalted butter softened
Recommended Equipment
Instructions
Buns
- Combine milk and water and heat in the microwave until it reaches a temperature between 105-115F (40-46C). Be sure to stir before checking the temperature as sometimes the microwave heats unevenly.1 cup (236 ml) whole milk, ⅓ cup (78 ml) water
- Pour warmed milk/water into a large bowl or the bowl of a stand mixer and sprinkle yeast and a pinch (about 1 teaspoon) of granulated sugar over the yeast. Stir and allow to sit for about 5-10 minutes or until yeast is foamy (if your yeast does not foam it is likely dead and you will need to start over).2 ¼ teaspoons active dry yeast¹
- Once yeast is foamy, add ⅓ cup sugar, melted butter, eggs, salt, and 2 cups (250g) of flour. Stir well until ingredients are well-combined.5 Tablespoons unsalted butter, 1 large egg + 1 large egg yolk, ⅓ cup (70 g) granulated sugar, 2 teaspoons table salt, 4 – 5 cups (500-625 g) all-purpose flour
- Gradually add additional flour (this can be done by hand or with stand mixer and dough hook attachment on low-speed) until dough clings to itself and pulls away from the sides of the bowl. Dough should be slightly tacky to the touch, but not so sticky that it can’t be handled. If making by hand, transfer to a clean, lightly floured surface and knead for 5-10 minutes until dough is smooth and elastic (or about 5 minutes with dough hook on low speed in stand mixer).
- Transfer to a lightly oiled bowl, turn the dough to coat with oil, cover bowl, and allow it to rise in a warm, draft-free place until doubled in size (about 1-2 hours).
- Once dough has nearly finished rising, prepare your glaze and filling.
Sticky Bun Topping:
- Combine butter, cream, syrup, brown sugar, and salt in a medium-sized saucepan over medium heat. Stir often until butter is melted and mixture is bubbling. Allow mixture to bubble for 5 minutes until slightly thickened. Remove from heat and stir in vanilla extract. Pour into lightly buttered 9×13 baking dish . Sprinkle pecans evenly over syrup mixture. Set aside and prepare filling.10 Tablespoons unsalted butter, ½ cup (118 ml) heavy cream, ⅓ cup (80 ml) pure maple syrup or honey², ¾ cup (150 g) dark brown sugar, ¼ teaspoon salt, 1 teaspoon vanilla extract, 1 cup (120 g) coarsely chopped pecans
Filling
- Prepare topping by whisking together brown sugar, cinnamon, and salt in a small dish. Your butter will need to be soft enough to easily spread, so pop it in the microwave for a few seconds if it’s still firm at room temperature. Set these aside as well.½ cup (100 g) light brown sugar, 2 teaspoons ground cinnamon, ⅛ teaspoon salt, 4 Tablespoons unsalted butter
Assembly
- Once dough has risen, gently punch down and transfer to a lightly floured surface. Roll with a rolling pin into a 10×20” rectangle.
- Spread softened butter evenly over the surface, leaving about ½” of the perimeter untouched, and sprinkle the butter evenly with brown sugar mixture. Starting with one 20” long side, roll dough into a tight roll.
- Cut into 12 even slices and place cut-side down into prepared baking dish over the syrup/pecans, spacing evenly. Cover with a clean towel and allow to rise again for 30 minutes (they’ll increase in size about 50%). Meanwhile, preheat your oven to 350F (175C).
- Once sticky buns have risen again and oven is preheated, remove towel and bake on 350F (175C) for 30 minutes or until buns are baked through. After baking, immediately and carefully invert onto a heatproof serving tray (turn the pan away from you when inverting rather than toward yourself, in case you drop it or spill any topping you won't get it on yourself). Allow to cool for 20 minutes then serve and enjoy.
Notes
Nutrition
Nutritional information is based on third-party calculations and should be considered an estimate only. Actual nutritional content will vary based upon brands used, measuring methods, cooking method, portion sizes, and more.
This recipe was originally published October of 2020. Post has been updated to be more helpful and informative, recipe remains the same with additional notes.

Cynthia
Best sticky buns I have ever eaten and I’ve been making them for 50 years.
Sam Merritt
I’m so glad you enjoyed them so much, Cynthia! 🙂
Laura
I have been making this recipe every other week for months now for my husband to serve at the fish and gun club. Everyone loves them and there is never leftovers!
Sam Merritt
That’s so awesome, Laura! I’m so glad they are such a hit! 🙂
Astrid
this recipe is awesome. brought em to church and got many compliments.
Emily @ Sugar Spun Run
So glad they were a hit, Astrid! Thanks for using our recipe 😊
Pam Schweitzer
These are awesome! My boyfriend took them to his work and his boss wanted to marry me! lol! Thank you very much for your wonderful recipes and the time you take to teach us how to make them! God bless!
Sam
I’m so glad they were such a hit, Pam! 🙂