
Peanut Butter Pie Recipe

This post may contain affiliate links. As an Amazon Associate I earn from qualifying purchases. Please read my disclosure policy.
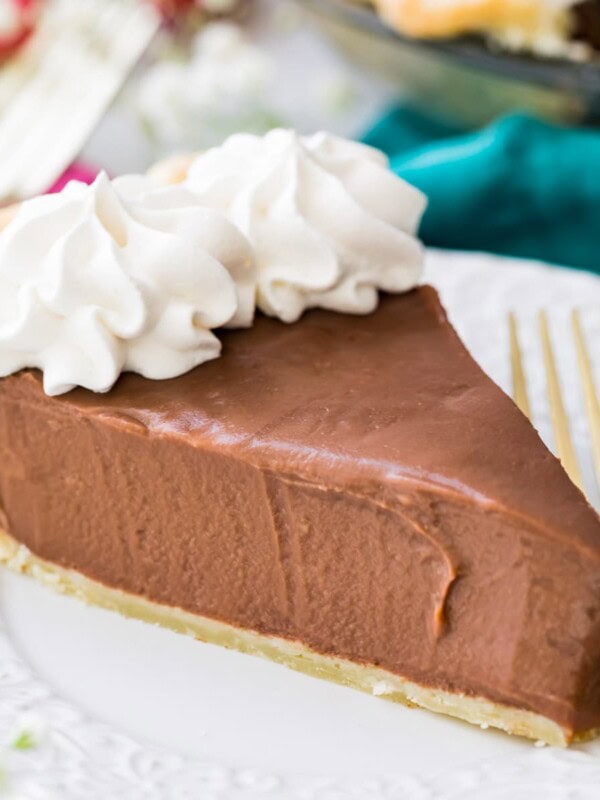
An easy, entirely no-bake peanut butter pie recipe made without any gelatin or Cool Whip! The smooth, perfectly sliceable peanut butter filling contrasts beautifully against the crisp Oreo crust. Recipe includes a how-to video!
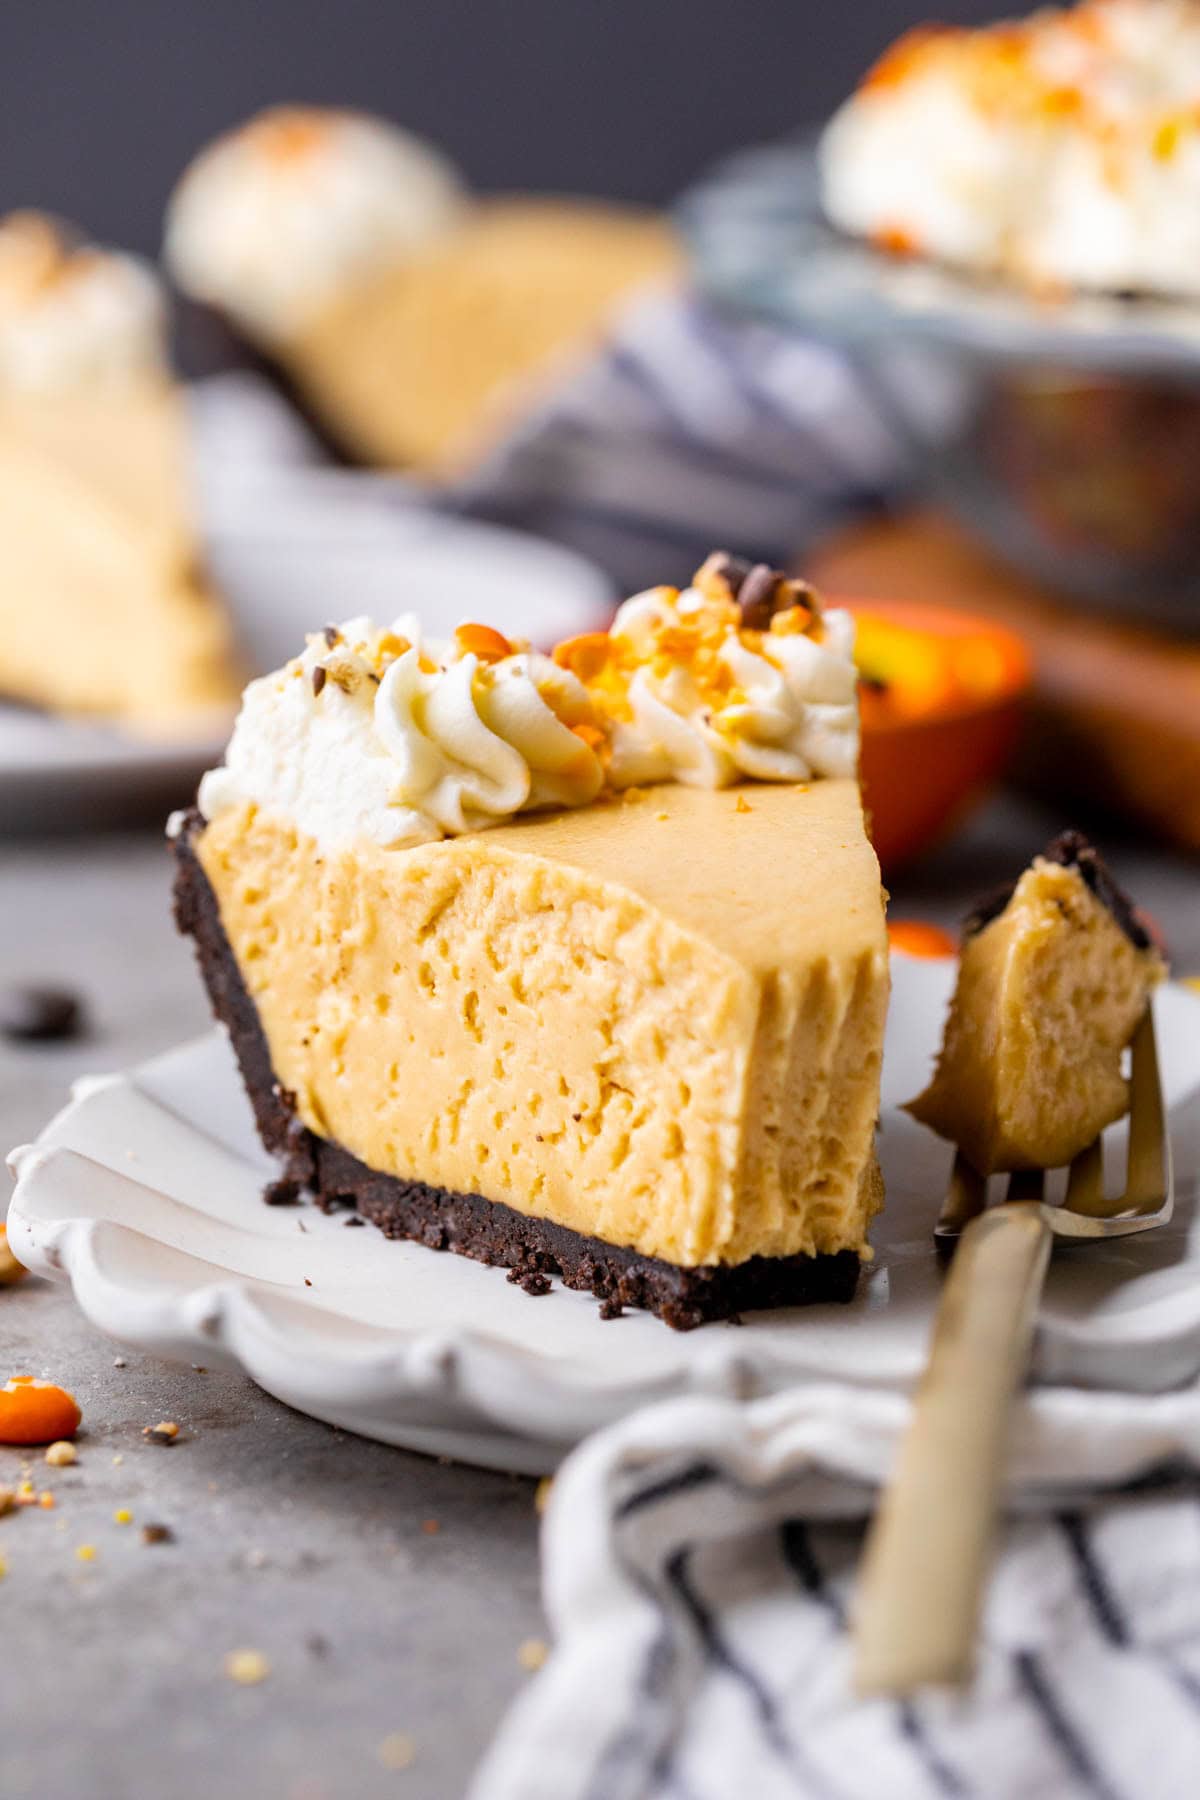
No Bake Peanut Butter Pie
One of my favorite oven-free desserts, this no bake peanut butter pie recipe is chocolate peanut butter perfection! It has a creamy (yet appropriately fluffy), and silky smooth peanut butter filling over a crunchy Oreo cookie crust. I’ve recently improved this recipe based on your feedback, and I am so eager for you to try the version I’m sharing today!
Why This Recipe WORKS
- Perfected textures. The pie is thick and sliceable, yet creamy against the crisp Oreo crust. A swirl of homemade whipped cream on top adds a nice light, fluffy texture against the richer pie.
- No gelatin or Cool Whip. Just like when making my no-bake cheesecake, I was very intentional about skipping these ingredients in this recipe! Instead, we’ll use brick-style cream cheese and homemade whipped cream. This makes for a slice-able consistency with a richer (and less artificial!) flavor and smooth interior.
- Homemade crust! Not only is a pre-made crust too small to hold all of the filling we’re making today, but you just don’t get that same buttery cookie crumb you get from homemade. It’s also just so, so easy to make to make your own Oreo crust–we’re talking literally two ingredients! There’s no need to scrape out the cream centers or pre-bake the crust before using, either. Simply pop it in the freezer while you prepare your filling.
A Recipe Revisited
I originally published this pie a few years ago and I’ve loved it since it was first shared. However, over the years I’ve gotten some feedback that some people found it too sweet or even too peanut buttery. I take your feedback seriously, so last month I made it again and very critically analyzed it with my taste testers (mostly my sisters). I honestly still loved it, but I could see where people where coming from, so I went back to the drawing board!
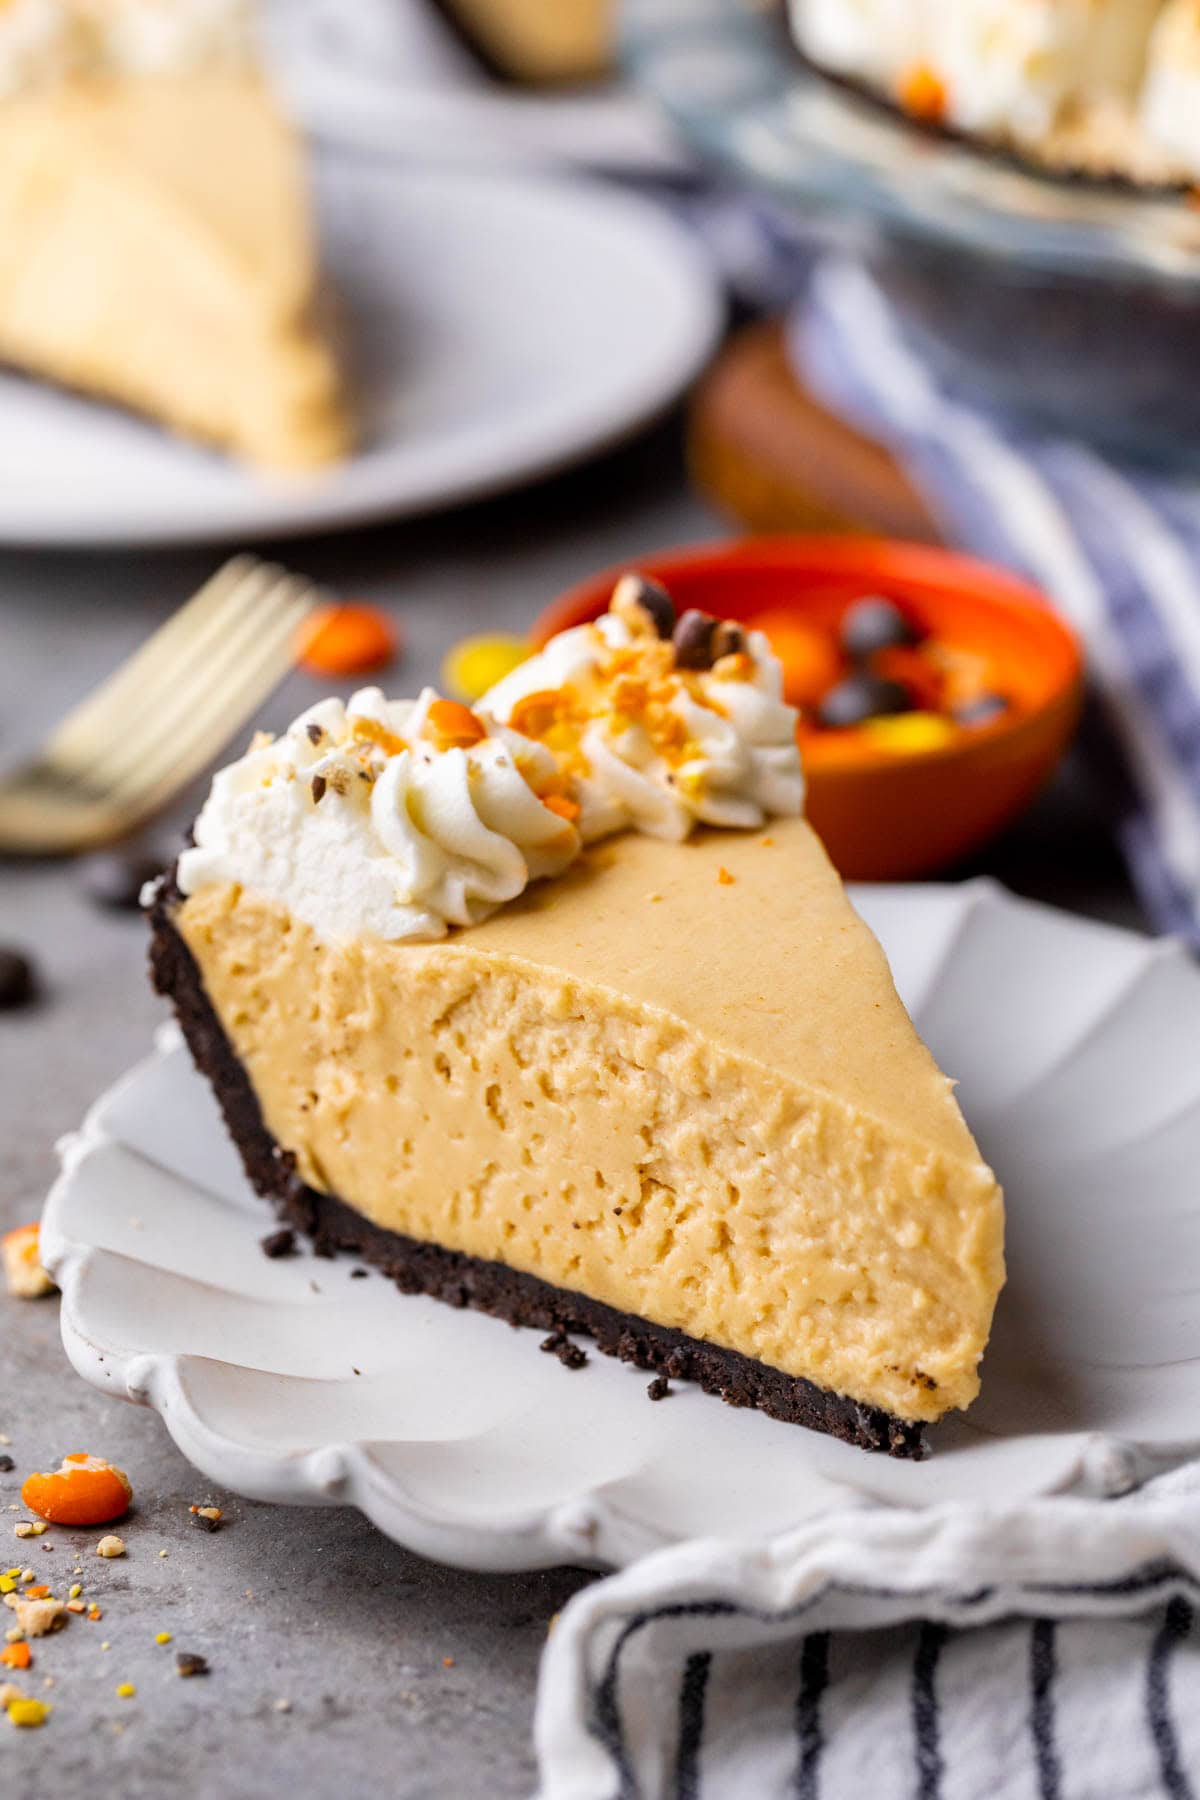
We adjusted the amounts of sugar, cream, and peanut butter until we finally landed on a pie that was well-balanced. I did NOT think I would be reducing the amount of peanut butter (it is a peanut butter pie after all; how could there be too much peanut butter?), but after strategically reducing it, we actually preferred the flavor with a bit less. It made the pie less heavy and more balanced while still maintaining a distinct peanut butter flavor.
This new version is sweet (certainly a dessert), but not so sweet that you can’t finish a whole slice. It’s creamy, but not so soft that it needs scooped with a spoon (not that this was a problem with the original, but as we tweaked things keeping the pie stable without adding gelatin, this was important). And yes, it’s perfectly peanut buttery! 🥜
I can’t wait to hear what you think!
Ingredients
Less than 10 ingredients in this recipe! Let’s go over a few before we get started.
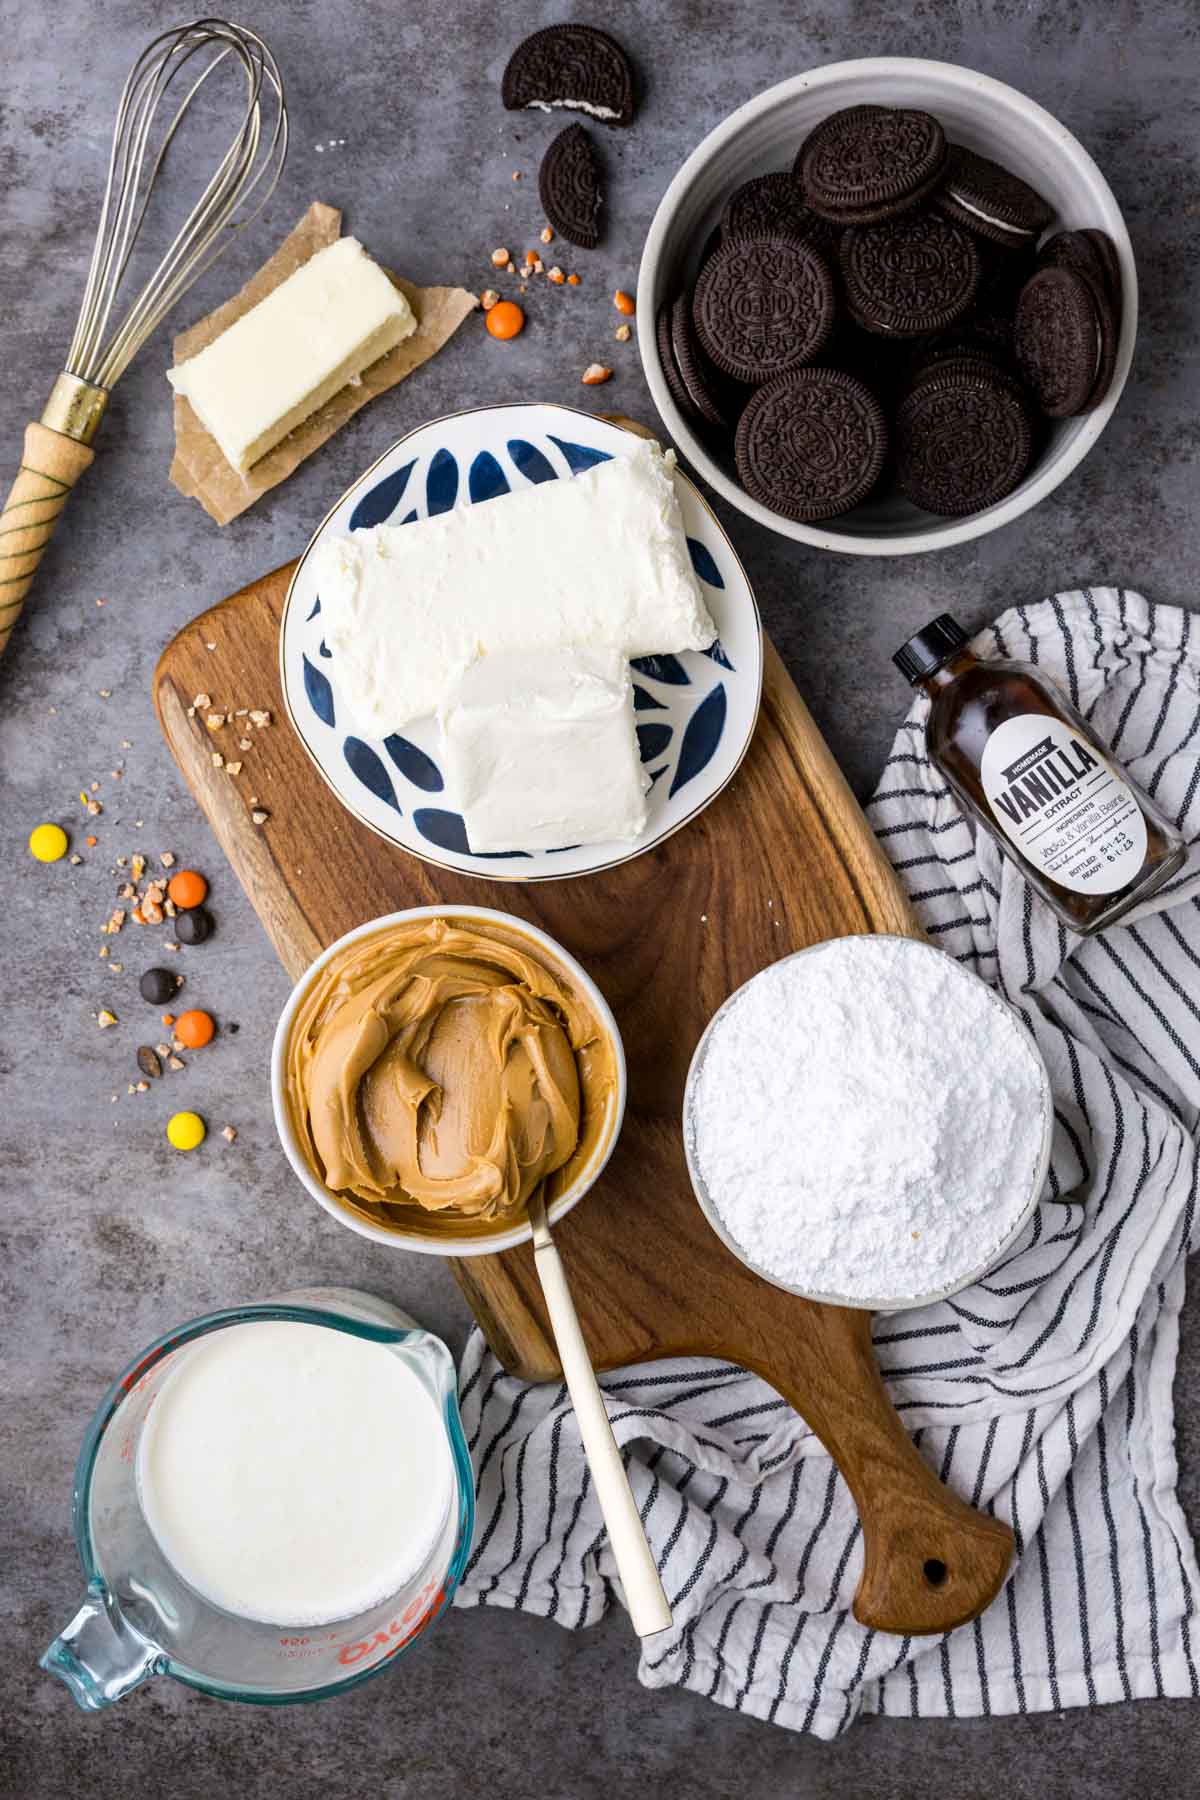
- Peanut butter. I use creamy peanut butter (usually Jif or Skippy), but crunchy would work if you don’t mind the texture. I have not experimented with natural peanut butter (the kind where the oil separates into the top), but I suspect it will work fine here.
- Cream cheese. This not only adds depth of flavor, but it also helps to give it a stable, easy-to-slice consistency. And no, it won’t make your pie taste like cheesecake (though I do have a peanut butter cheesecake, if you are looking for that!).
- Oreos. You’ll need 24 sandwich cookies (whole, without the cream removed). I usually have you remove the cream if you are making an Oreo crust for a springform pan (like my Oreo cheesecake), but it’s not necessary here.
- Heavy cream. We’ll whip this into thick, fluffy whipped cream. Double cream or heavy whipping cream would also work.
- Butter. This is for the crust. Personally, I like to use salted butter to help counteract the sweetness of the filling, but you can use unsalted butter if that’s all you have on hand.
Remember, this is just an overview of the ingredients I used and why. For the full recipe please scroll down to the bottom of the post!
Sam’s Tip
If you don’t like or can’t eat chocolate, you can make my equally simple graham cracker crust instead, or substitute the Oreo cookies for golden Oreos or Biscoff cookies (also used in my new cookie butter cookies!).
How to Make It (Step-by-Step)
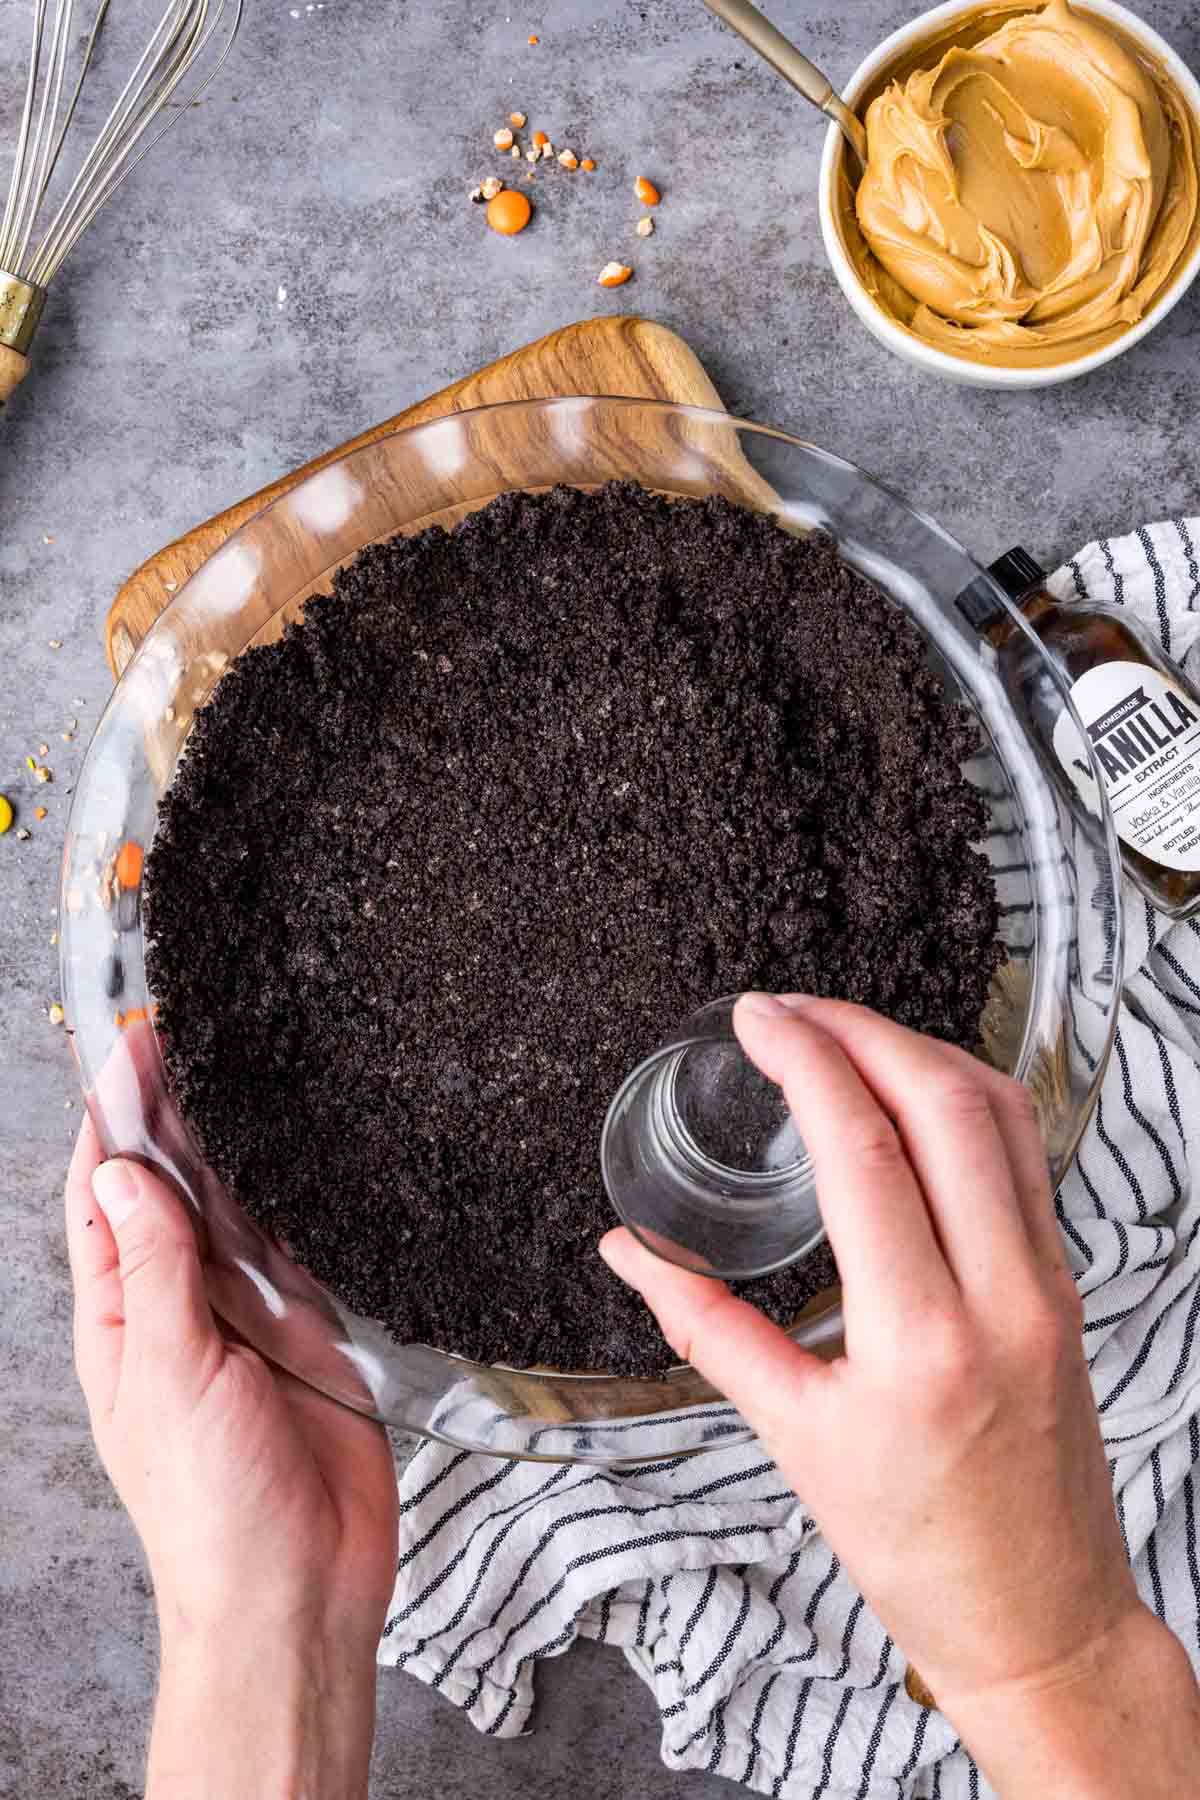
- Make the crust. Pulse the Oreos (whole, don’t remove the cream) in your food processor until they are fine crumbs. Add the melted butter and pulse again to combine. Press the mixture into your pie pan, then place in your freezer while you make your filling. Note: I use a 9.5″ pie plate, but you could use a deep 9″ pie plate (the pie will just be thicker).
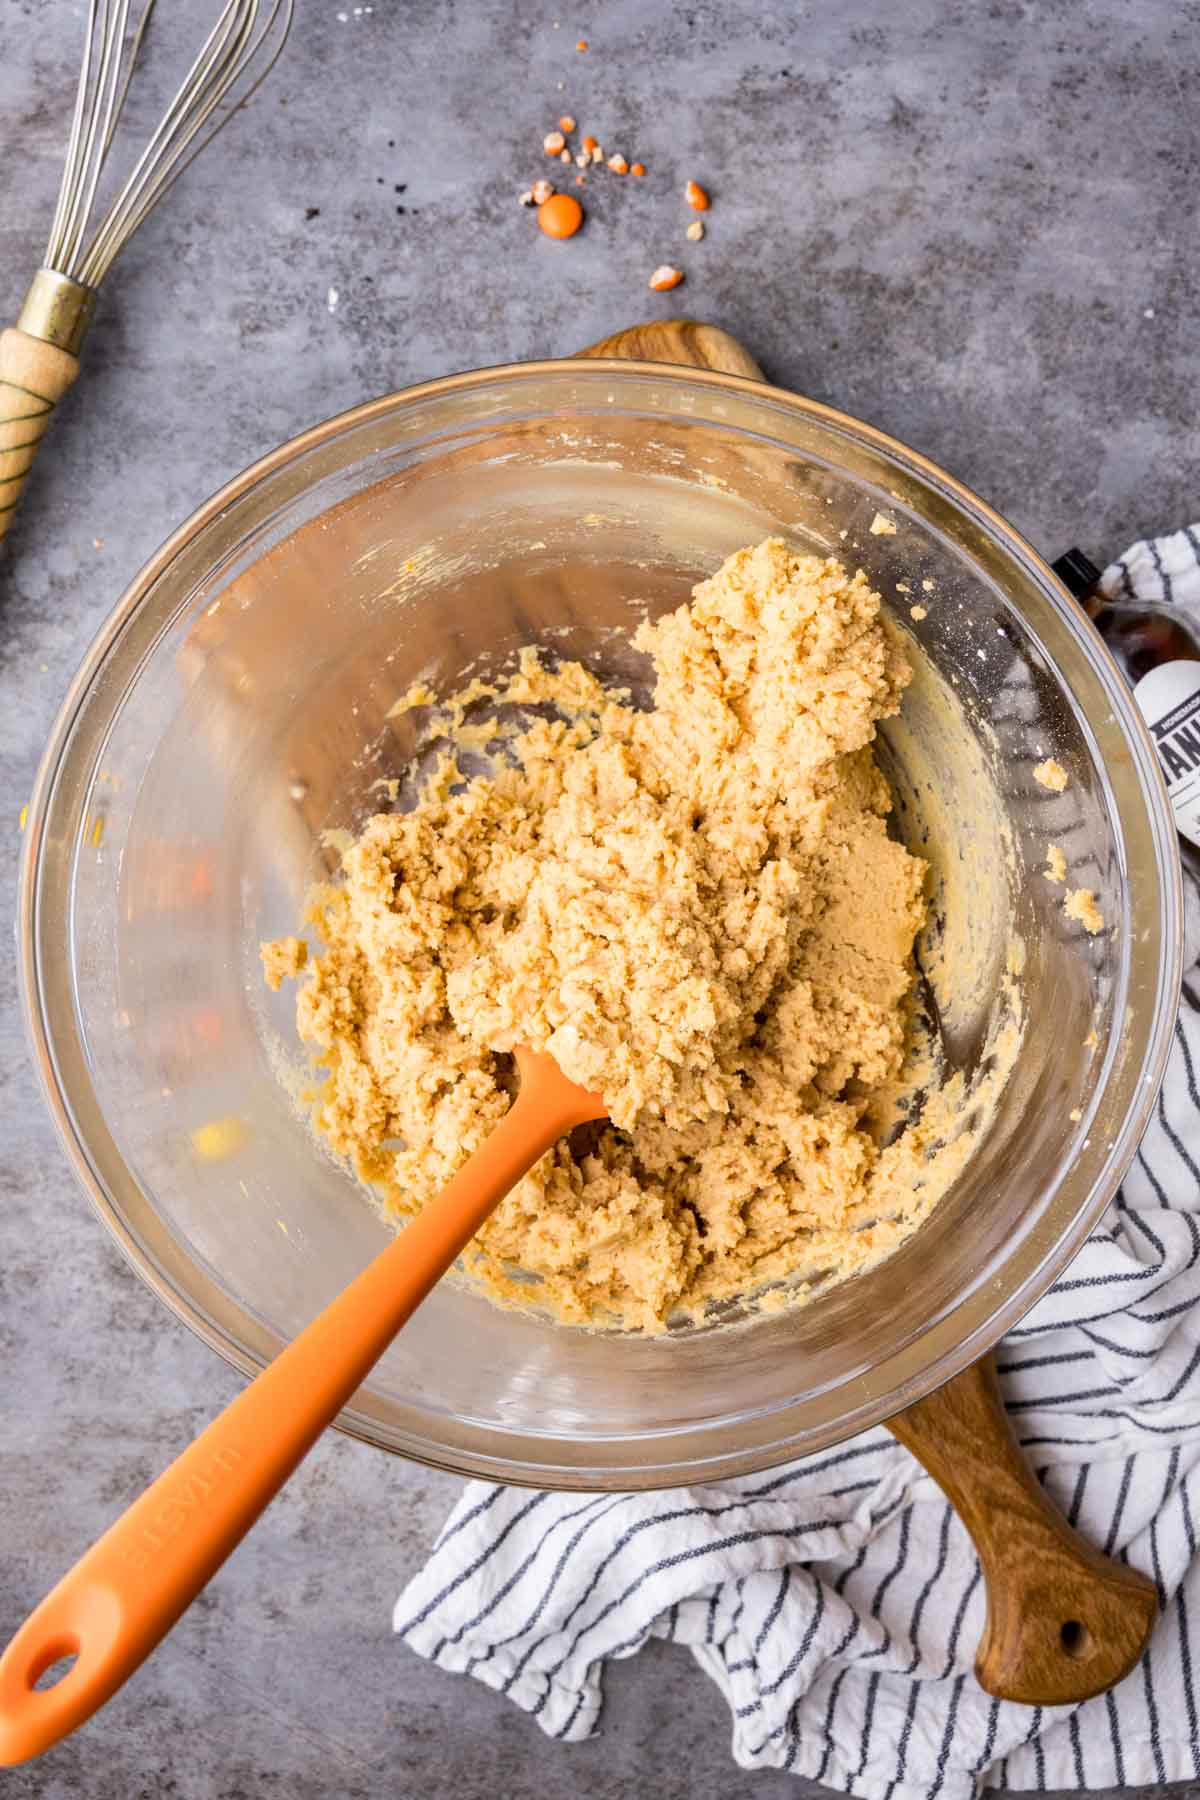
- Start the filling. Beat the cream cheese and peanut butter until combined, then stir in the vanilla and half of the powdered sugar. Set this aside.
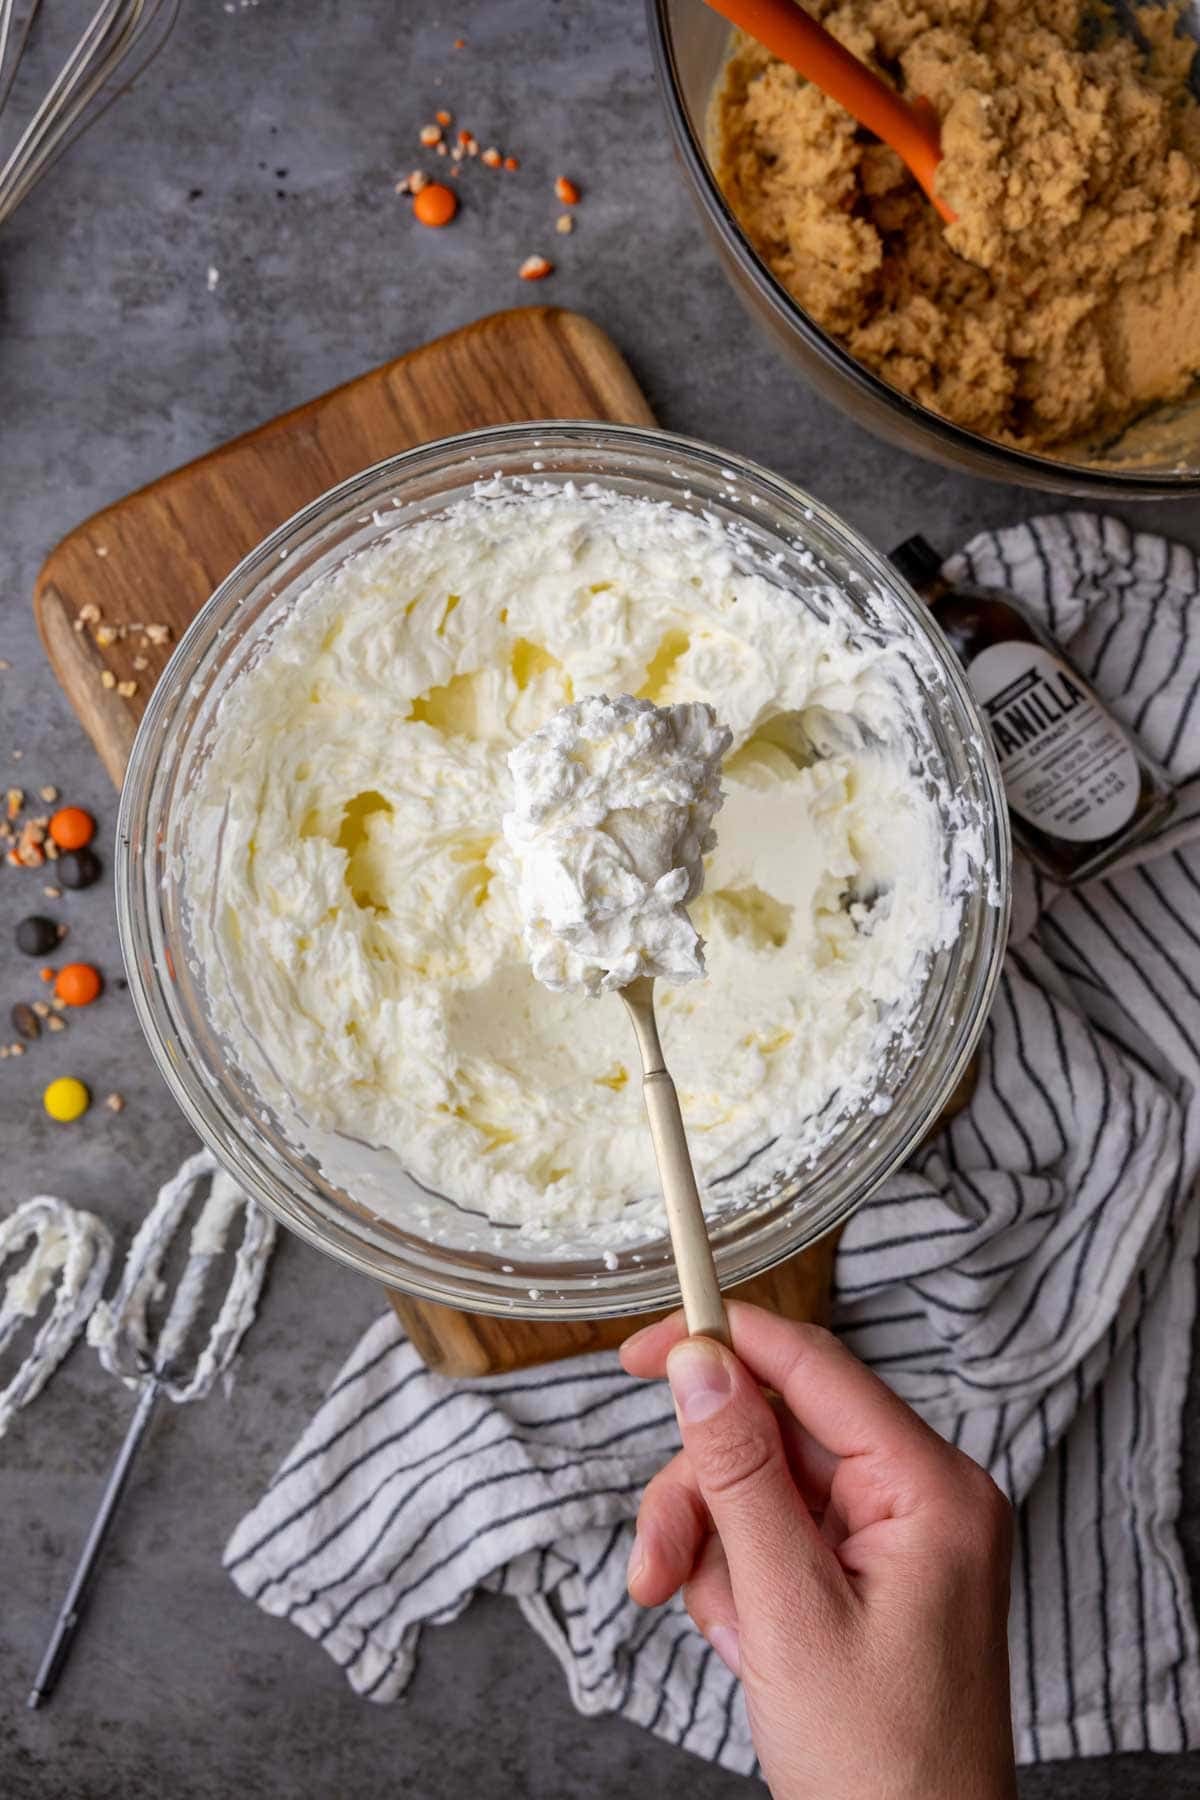
- Whip the cream and remaining powdered sugar to stiff peaks in a separate bowl. The cream should be fluffy and thick when you are done, similar to Cool Whip. If you haven’t whipped cream before or have questions about any aspect of the process, check out my guide on how to make whipped cream.
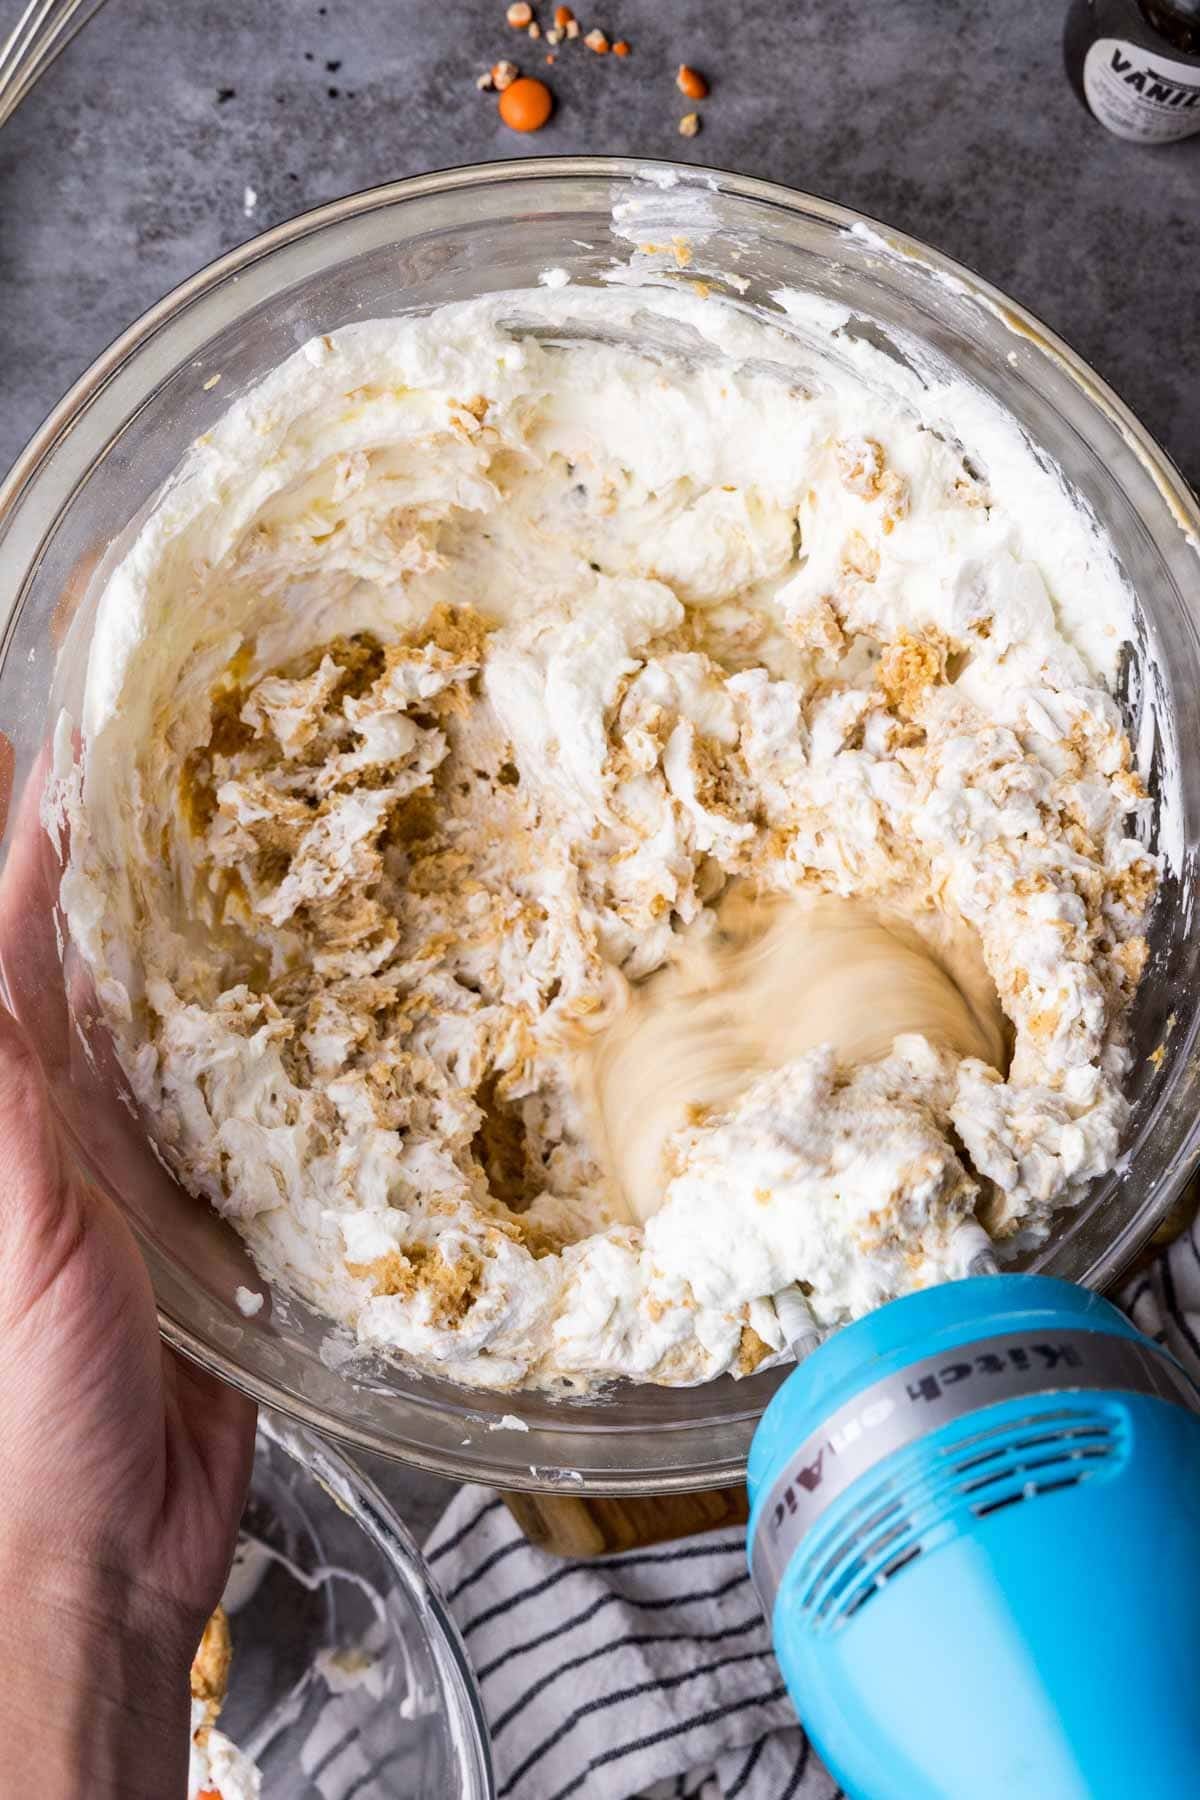
- Combine. Add the whipped cream to the cream cheese and peanut butter mixture and mix until the filling is completely cohesive. I usually start with a mixer and then switch to a spatula after a few seconds so not to deflate the whipped cream.
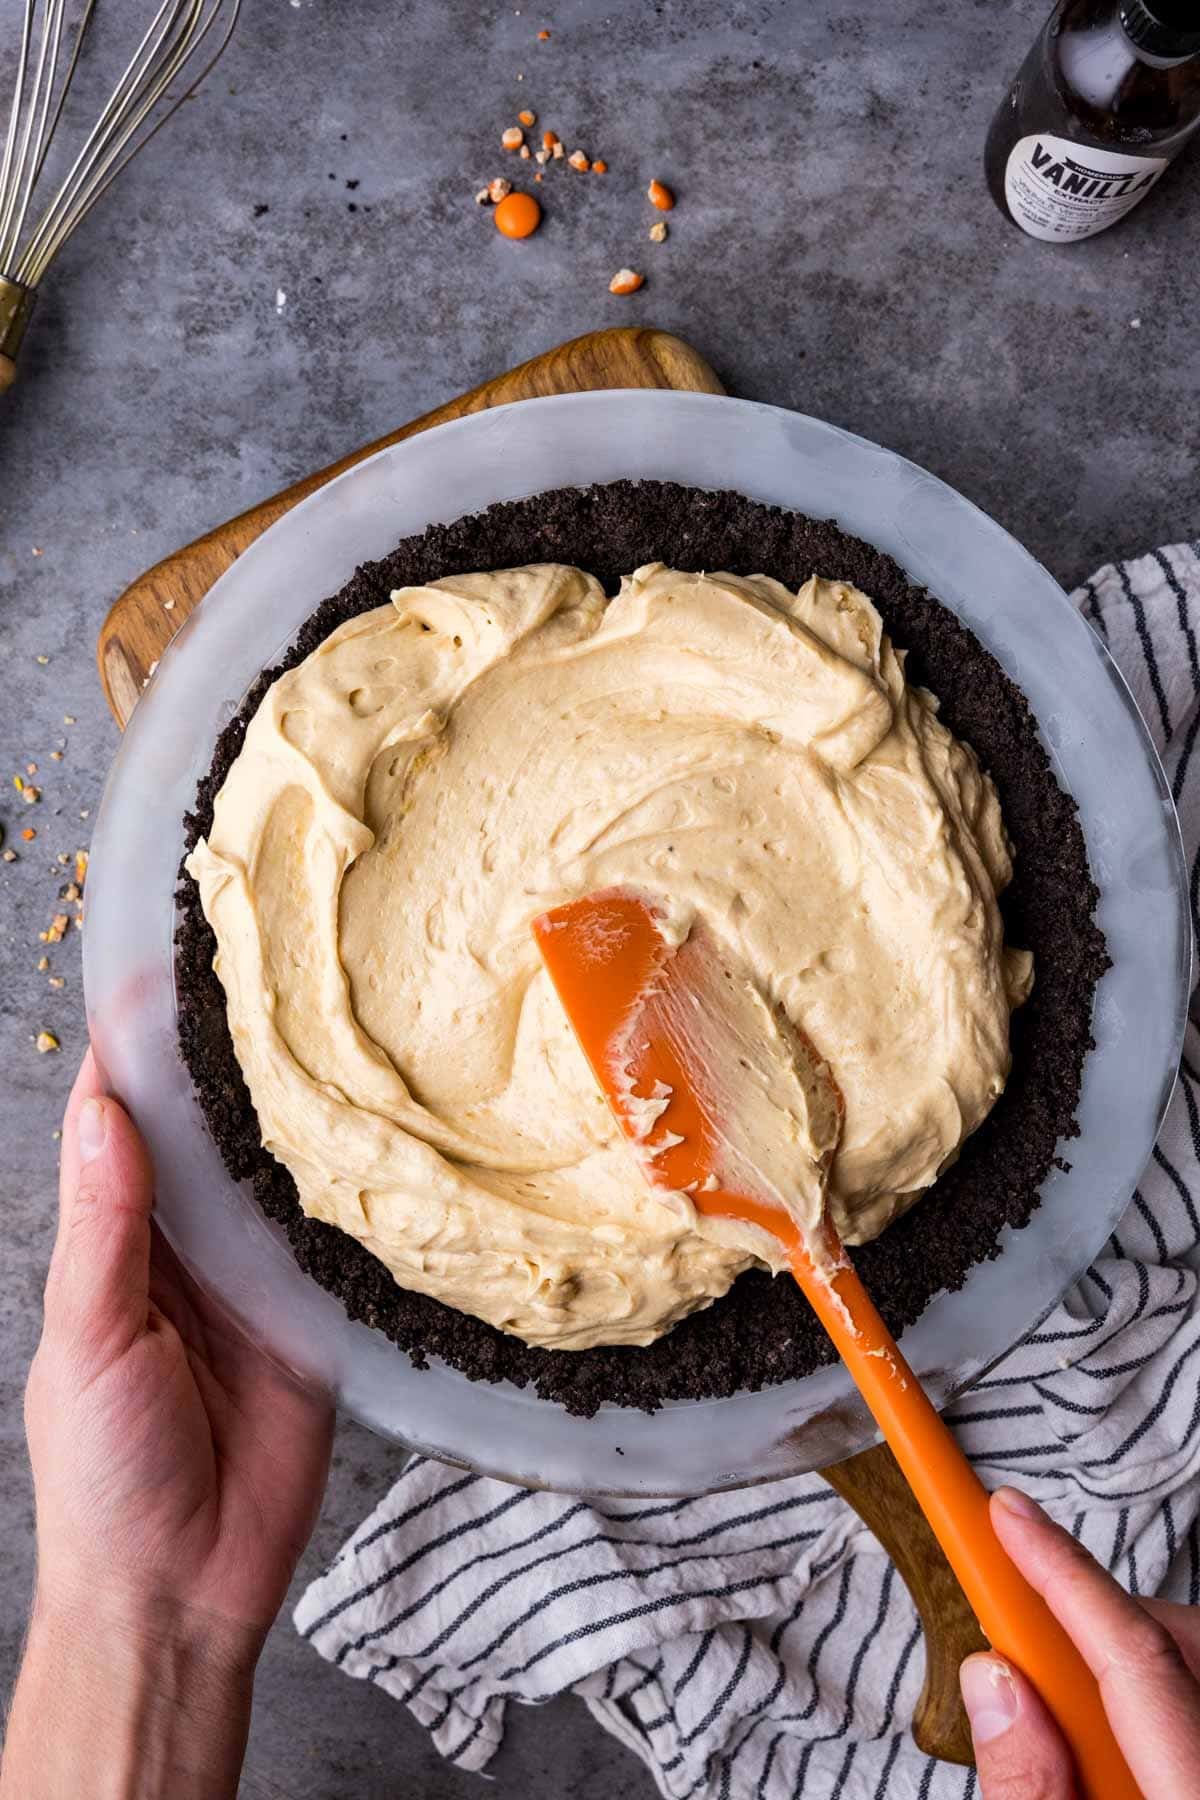
- Chill. Spread the filling into your prepared crust, making sure it makes contact with the bottom edges and all the way around the sides of the crust (keeps the crust from crumbling). Smooth the top with a spatula (how it looks now is how it will look when serving, since this is a no bake peanut butter pie recipe!). Cover and place in the fridge to set for 6+ hours.
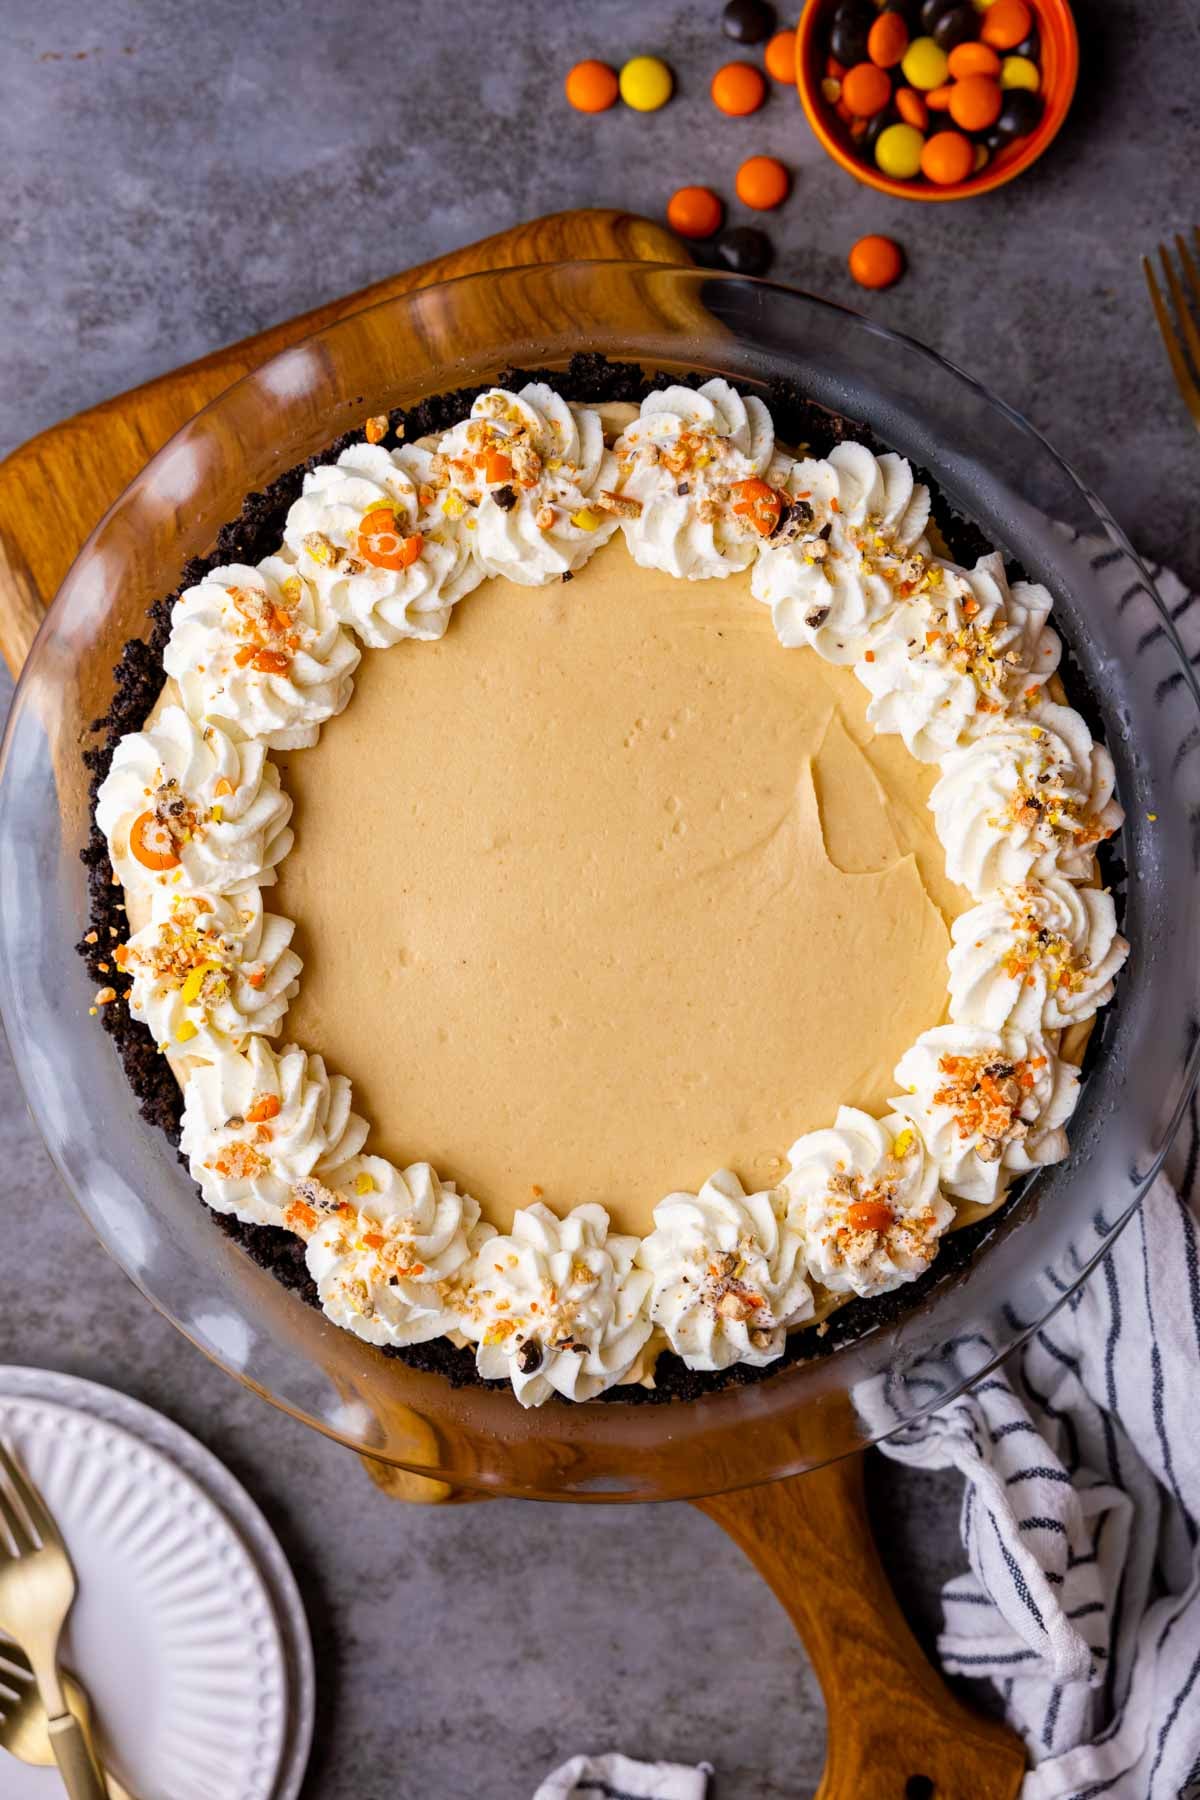
- Decorate. Pipe a border of homemade whipped cream over the pie, then top with crushed Reese’s Pieces candies if desired. Chocolate shavings or even crushed peanuts would also be great options for the decoration!
Sam’s Tip
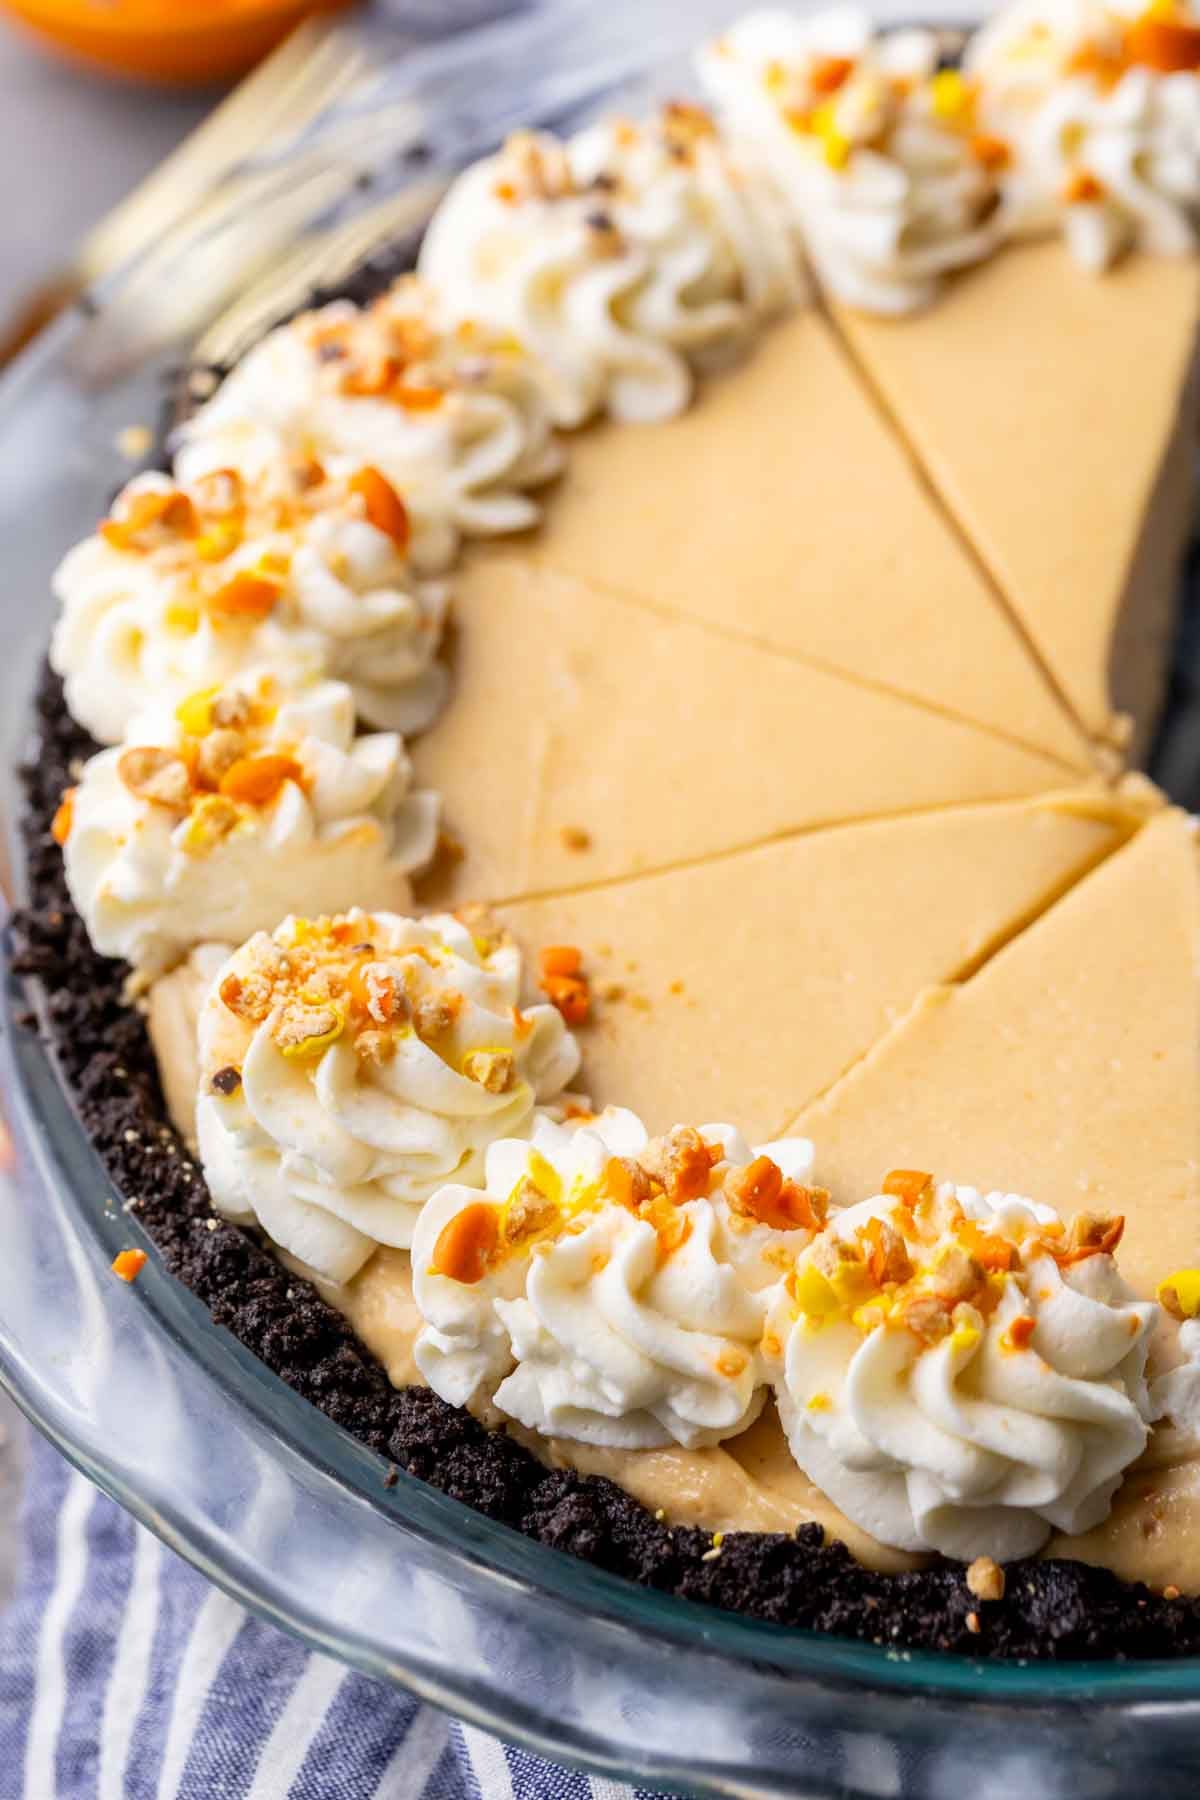
This pie softens fairly quickly at room temperature, so I recommend keeping it chilled whenever you aren’t slicing it. Sometimes I’ll even freeze it for an hour before slicing for neater slices.
Frequently Asked Questions
You can do either! Refrigerating requires at least 4-6 hours of chilling, and the pie sets up with a consistency that’s softer, similar to my chocolate pie. Most recipes call for refrigeration rather than freezing.
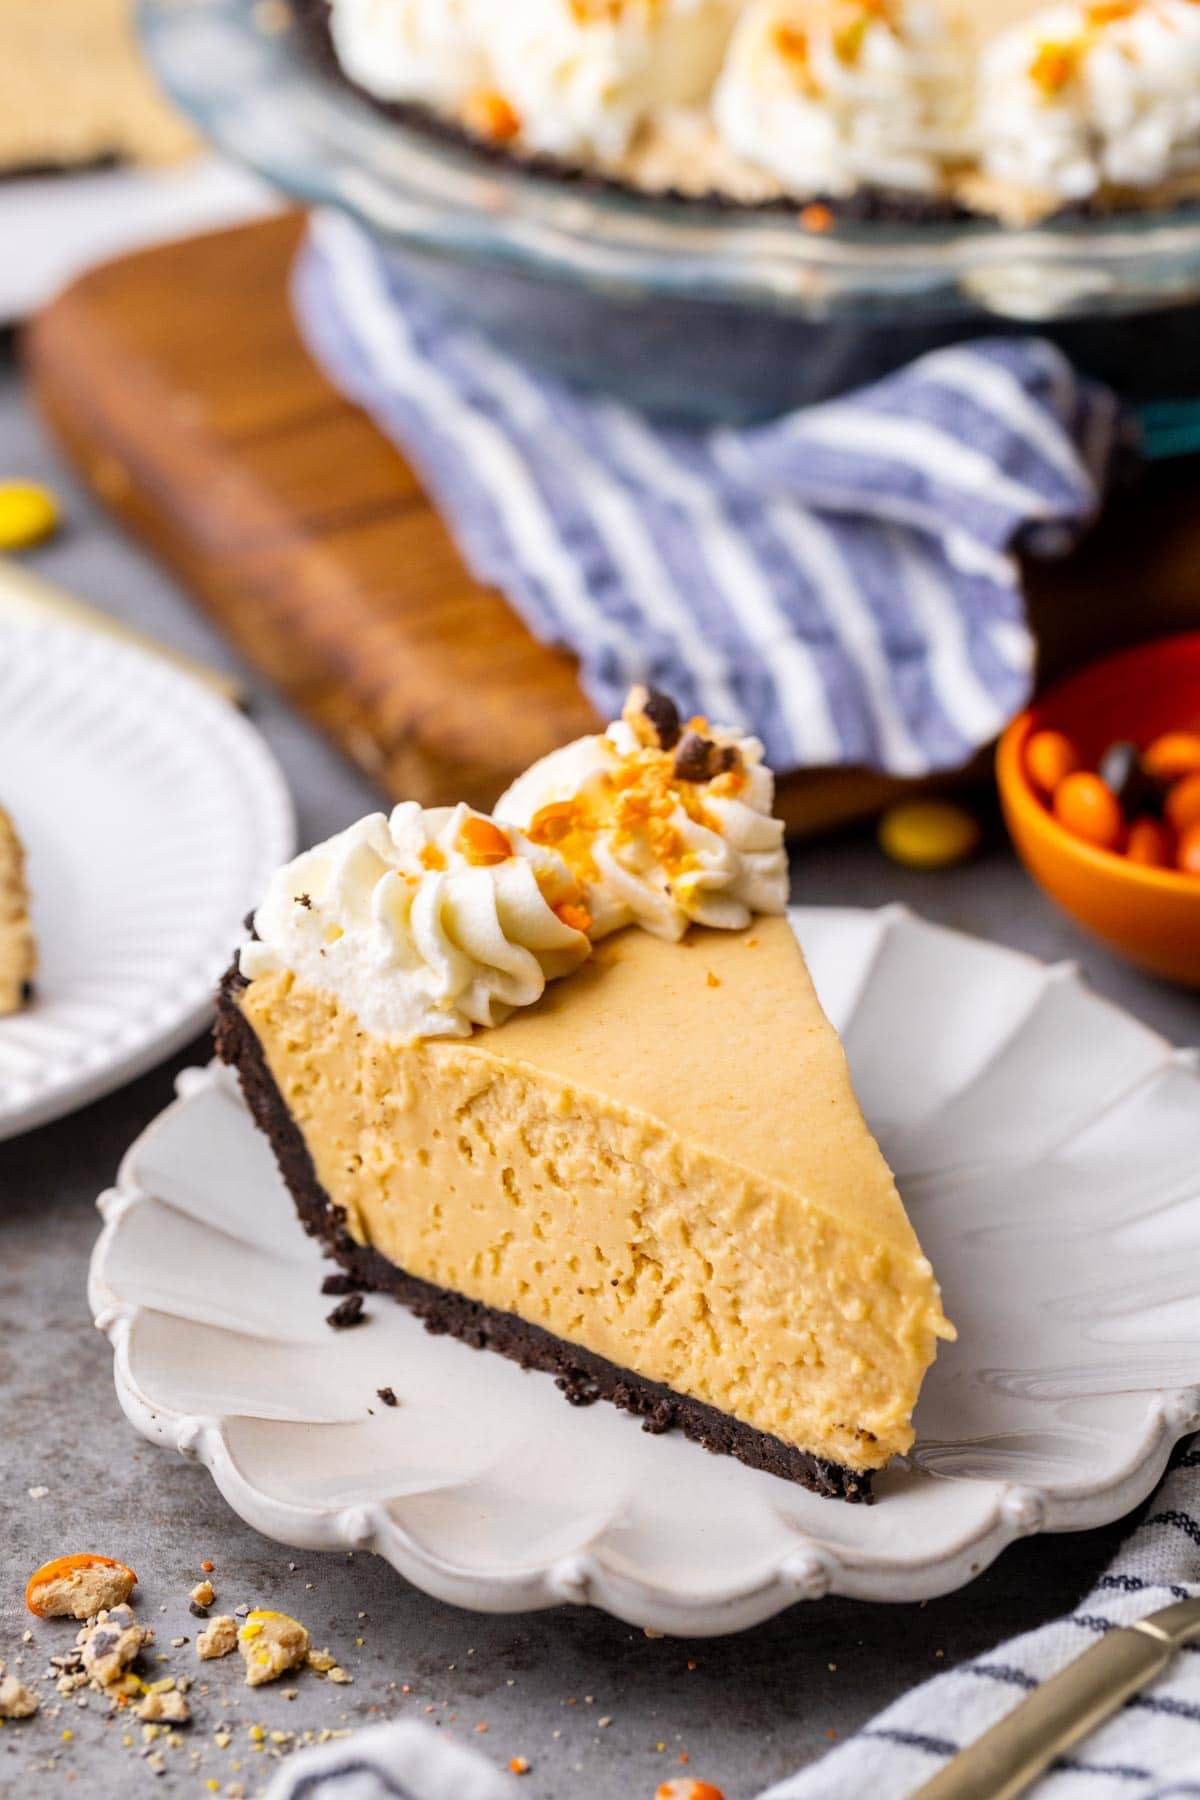
Freezing requires at least 2 hours of chilling. Frozen pie ends up even more firm and has a consistency that’s closer to New York cheesecake or chocolate icebox pie. The photos in this post were of a frozen pie.
This recipe will make too much filling for a pre-made crust. You can always portion the extra filling into another container or individual cups and top with crushed Oreos (similar to my peanut butter pie dessert shooters).
The easiest (and tastiest!) thing to do though would be to just make the super easy homemade crust I am sharing today 😉
This pie is perfect without any toppings. However, after making and chilling the pie, I like to pipe a decorative border (I use a 2A tip) of homemade whipped cream around the edge and then sprinkle that with crushed Reese’s Pieces. It adds a nice extra pop of color, but again, totally optional.
Alternatively you could drizzle your slice with homemade caramel sauce, chocolate ganache, or chocolate sauce (one of my favorite additions)…yum!
More Pie Recipes


If you tried the previous version of this pie, I’d really love to hear what you think of this new and improved recipe 😊
Enjoy!
Let’s bake together! Subscribe to my newsletter to be notified of all the newest recipes, and find my free recipe tutorials on YouTube 💜
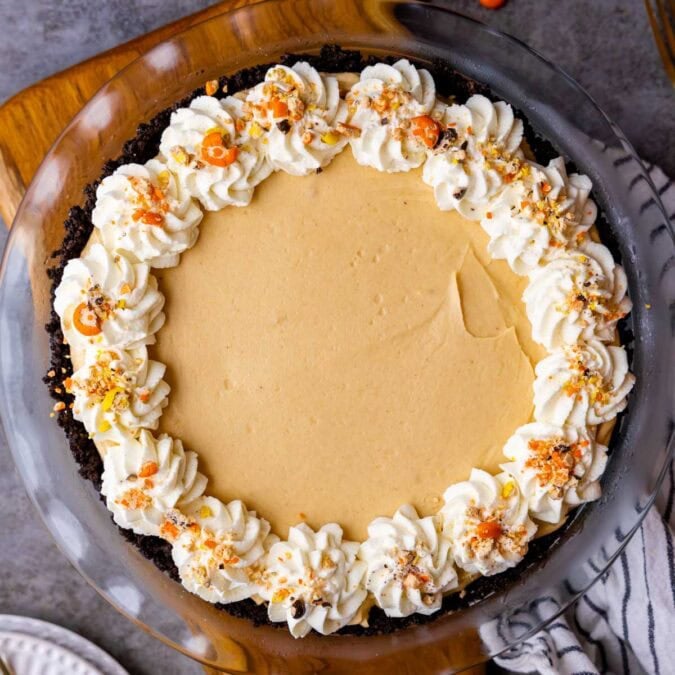
Peanut Butter Pie
Equipment
Ingredients
For the crust
- 24 Oreos, (don’t remove the cream filling)
- 5 Tablespoons (70 g) salted butter, melted
For the pie
- 12 oz (340 g) cream cheese, softened (use brick-style full-fat cream cheese)
- 1 ¼ cups (312 g) creamy peanut butter
- 1 ½ cups (190 g) powdered sugar, divided
- 1 teaspoon vanilla extract
- 1 ½ cups (360 ml) heavy cream
For topping
- Half-batch of whipped cream topping, (optional)
- 2 Tablespoons crushed Reese’s Pieces, (optional)
Instructions
Make the crust
- Place Oreo cookies in the basin of a food processor and pulse until finely crushed and no large pieces remain.24 Oreos
- Drizzle melted butter over the cookie crumbs and pulse again until all crumbs are moistened.5 Tablespoons (70 g) salted butter
- Pour the crumbs into a 9 ½-inch pie plate and use the back of a spoon or the clean, flat bottom of a glass or measuring cup to firmly and evenly press the crumbs into the bottom and up the sides of the pie plate.
- Transfer to the refrigerator or freezer to chill while you prepare the filling.
Make the pie filling
- In a large mixing bowl, combine softened cream cheese, peanut butter, about half of the powdered sugar (¾ cup/95 g), and vanilla extract. Use an electric mixer to beat on low-speed until smooth and creamy. Set aside.12 oz (340 g) cream cheese, 1 ¼ cups (312 g) creamy peanut butter, 1 teaspoon vanilla extract
- In a separate, medium-sized mixing bowl, combine heavy cream and remaining powdered sugar (¾ cup/95 g). Beat with electric mixer on low-speed, then slowly increase speed to high and continue to beat until stiff peaks form (the mixture will be thick and fluffy and hold its shape when you lift the beaters).1 ½ cups (360 ml) heavy cream
- Add the whipped cream mixture to the peanut butter mixture and mix on low-speed for about 5 seconds to begin incorporating the two mixtures, then switch to a spatula and continue to gently fold the ingredients together until completely combined (be gentle so you don’t deflate the whipped cream).
- Remove your pie crust from the refrigerator or freezer and spread the filling evenly into the prepared crust, making sure to fill the edges all the way to the crust (especially the bottom edge, this will help keep the crust from crumbling when sliced). Smooth the surface with a spatula, if desired.
- Cover and refrigerate for at least 6 hours, preferably overnight, until the filling is set.
- Topping: If desired, before serving top with homemade whipped cream and crushed Reese’s Pieces. Slice and enjoy!Half-batch of whipped cream topping, 2 Tablespoons crushed Reese’s Pieces
Notes
Storing
Store, tightly covered, in the refrigerator for up to 5 days. If you prefer a sturdier, easier to slice pie, you can place the pie in the freezer for up to an hour before slicing. This is especially helpful if you’re serving the pie in a warm environment (like in the summer or a warm kitchen during Thanksgiving) and makes for especially easy to slice and clean slices.Freezing
This pie also freezes well! To freeze, wrap tightly and store in the freezer for up to 2 months. Individual slices may also be wrapped and frozen. Thaw overnight in the refrigerator before serving or enjoy it straight from the freezer for a firmer, frostier texture (just keep in mind it can be difficult to slice when completely frozen, it helps to run a sharp knife under hot water and then dry it before slicing!).Original recipe
In November 2026 I updated this recipe to make it a bit less dense and sweet. If you are looking for it, you can find the original recipe here.Nutrition
Nutrition information is automatically calculated, so should only be used as an approximation.
Like this? Leave a comment below!
This recipe was originally published 08/10/2017. I updated it in November 2026 to have a less sweet, more subdued peanut butter flavor based on reader feedback.









great video
We’re glad you enjoyed it, Kathy! 😊
Just finished making this for my husband’s birthday today,his favorite is peanut butter chocolate pie and I’ve never made it myself before so I’m hoping he loves it! I feel like mine made a lot more filling but that’s ok because I think my pie dish was extra deep. I’ll top it off with the whipped cream as soon as we’re ready to eat it later. Thankyou for all of your fabulous recipes! I’ve made lots of them and they always turn out perfect!
We hope your husband absolutely loves it! Thanks for using our recipe ❤️
My husband loved the pie! So did I! I know it probably sounds weird but I sprinkled a little kosher salt on my piece and I just loved how much the peanut butter flavor was enhanced. Thanks again!
Yay! We’re so happy he enjoyed it. And yes, we totally understand what you mean about the salt–yum 😋 Thanks for coming back to let us know how it went for you!
Is this peanut butter pie firm enough to have ganache on top?
Hi Wanda! A ganache topping will work great here. 🙂
I look forward to making this but…there are no blocks of cream cheese in Ecuador. I will have to make it with the type in the tub. I am thrilled that there is no COOL WHIP in this…also not available!
I hope you love it, Trisha! 🙂
I made this pie with crunchy peanut butter, and it was delicious. I’m not a big peanut butter fan, but I love peanuts. The only peanut butter I ever buy is crunchy. I thought it turned out great and loved the texture. I also froze some Reese’s peanut butter cups , chopped them up and topped the pie with them.
I’m so glad you enjoyed it so much, Christa! 🙂
Can you use pb2 in this recipie?
Hi Ida! Unfortunately I don’t think it will work well here. 🙁
I have to make pies for work. I’ve made homemade cheese cakes before and although delicious, it was a complete disaster. By the time I got there, they went from firm to soft and runny. Will this be the case with this pie since it’s a no bake? They’ll be sitting out on the table for at least 4 hours or so before everyone starts eating. We have no fridge there. Thanks!
Hi Missy! Unfortunately on this one it should really be served as cold as possible to keep it as firm as possible. 🙁
I made a lot of changes to fit my plan, but it’s still your pie at heart. I only had 8 oz of cream cheese, so I had to make 2/3 of the filling. I had a little filling left over from my annual four Concord grape pies, so a friend suggested a peanut butter and grape pie. Naturally, I came here for a recipe. My first taste of the filling made me think the cream cheese made it too tangy, but that thought disappeared with the second taste. The texture is amazing.
With the graph filling being added, I made the crust from peanut butter sandwich cookies (the Family Dollar cheap kind, not Nutter Butter. I spread half the peanut butter filling in the crust, then most of the grape (1 1/2 cups or less), then the rest of the peanut butter, and about 2 Tbl of the grape on top as a decoration. It is in the freezer now, but it will sit out about an hour before we cut it.
Sounds like a delicious mash-up, Bruce! We hope it tastes as good as it sounds. Enjoy!! 🙂
I made this for a golf outing, messed it up slightly but it still received great reviews!!!! Definitely will make this again.
So glad it still worked out for you, Terry! Thanks for commenting ❤️
Love this recipe. Turned out great and everyone loved it. Thank you for sharing.
I’m so glad you enjoyed it so much, Linda! 🙂
So far this is the most fun I’ve had making a recipe! There’s a lot of steps but they’re all easy and really fun to do. Not to mention it tastes really great. It’s super rich of course, so I’m also glad I can keep it in the freezer and not stress about it going bad.
I’m so glad you enjoyed it so much, Ren! 🙂
The best peanut butter pie ive ever tasted and really easy to make.
I’m so glad you enjoeyd it so much, Dorothy! 🙂
I made this but doubled it and everyone loved it thanks for sharing this think I will make this a Thanksgiving tradition.
I am so glad everyone enjoyed it so much, Tracy! 🙂
Absolutely best recipe I’ve come across! I initially tried one on allrecipes and it was good but this is GREAT! I’m not a fan of peanut butter (crazy, I know) but this recipe was delicious. I had several helpings and so sis my family. It’s so creamy and it turns up nicely in the fridge. Thanks Sam!
I am so thrilled to hear it has been such a hit for you, Emma! Thank you so much for commenting, I really appreciate it 🙂
Hi Sam! Huge fan! Is it possible to make this as mini pies? Similar to your mini cheesecakes (which I lovvvved!!!)
I think that should work perfectly fine. I would recommend freezing them so they don’t fall apart. 🙂
Sam,
Any idea what the equivalent would be in chocolate graham cracker crumbs instead of 24 Oreos?
Thanks, this looks amazing!
Hi Dee! I would check out my graham cracker crust recipe and just use the chocolate ones instead. 🙂
Thanks so much! ❤️
So good!! I made this for my husband’s birthday and it was fabulous!
I hope that your husband had a nice birthday, Peg! Thank you for trying my recipe. I am happy to hear that everyone enjoyed it. 🙂