
Ice Cream Cone Cupcakes
This post may contain affiliate links. As an Amazon Associate I earn from qualifying purchases. Please read my disclosure policy.

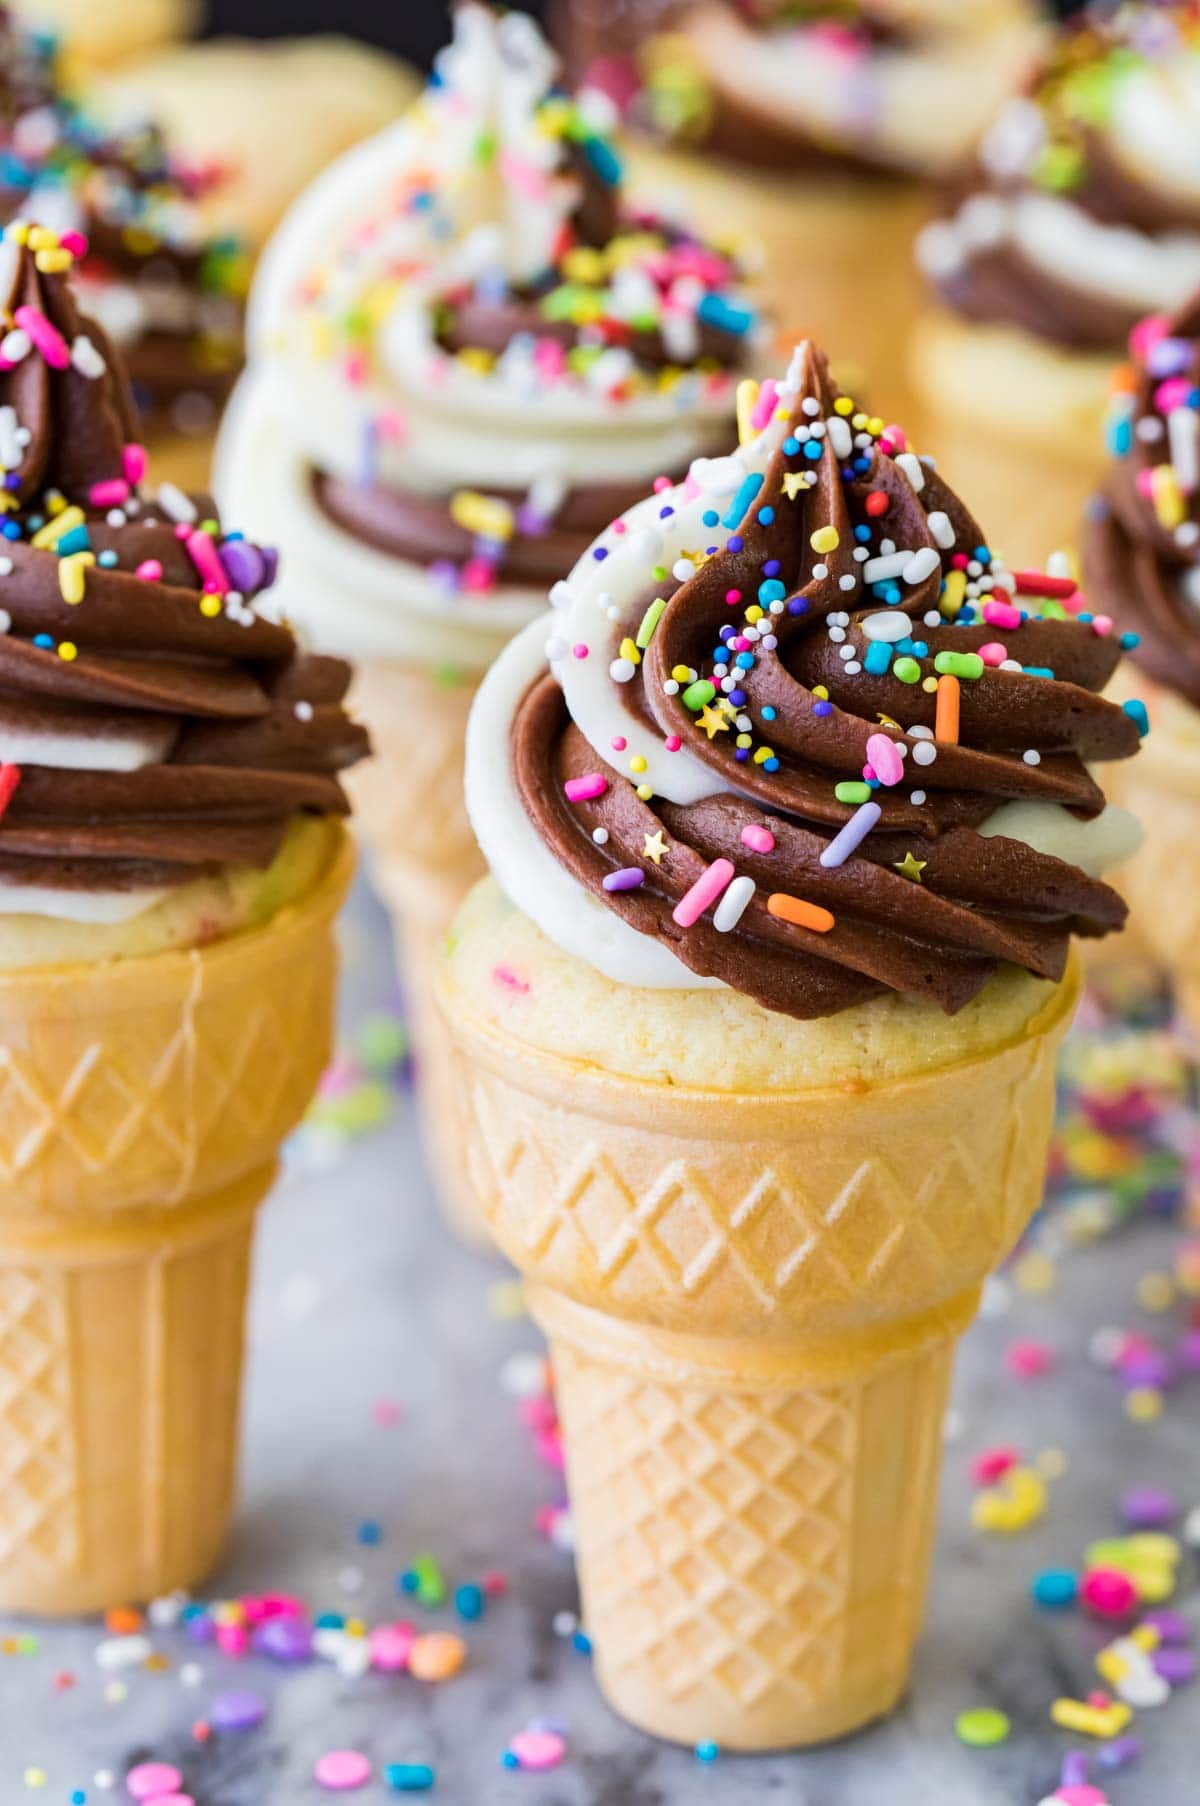
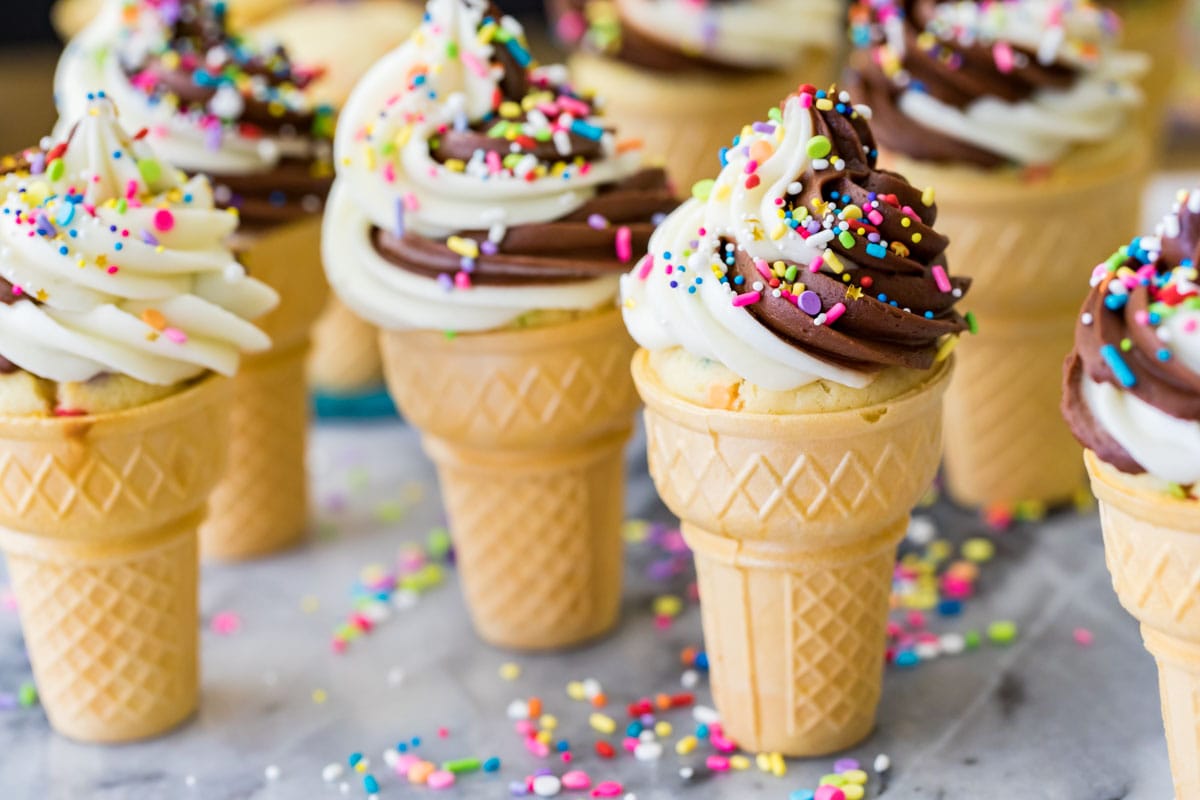
These Ice Cream Cone Cupcakes are so cute and incredibly easy to make! My recipe includes tips for substituting your favorite cake flavor and frosting.
Adorable Ice Cream Cupcakes
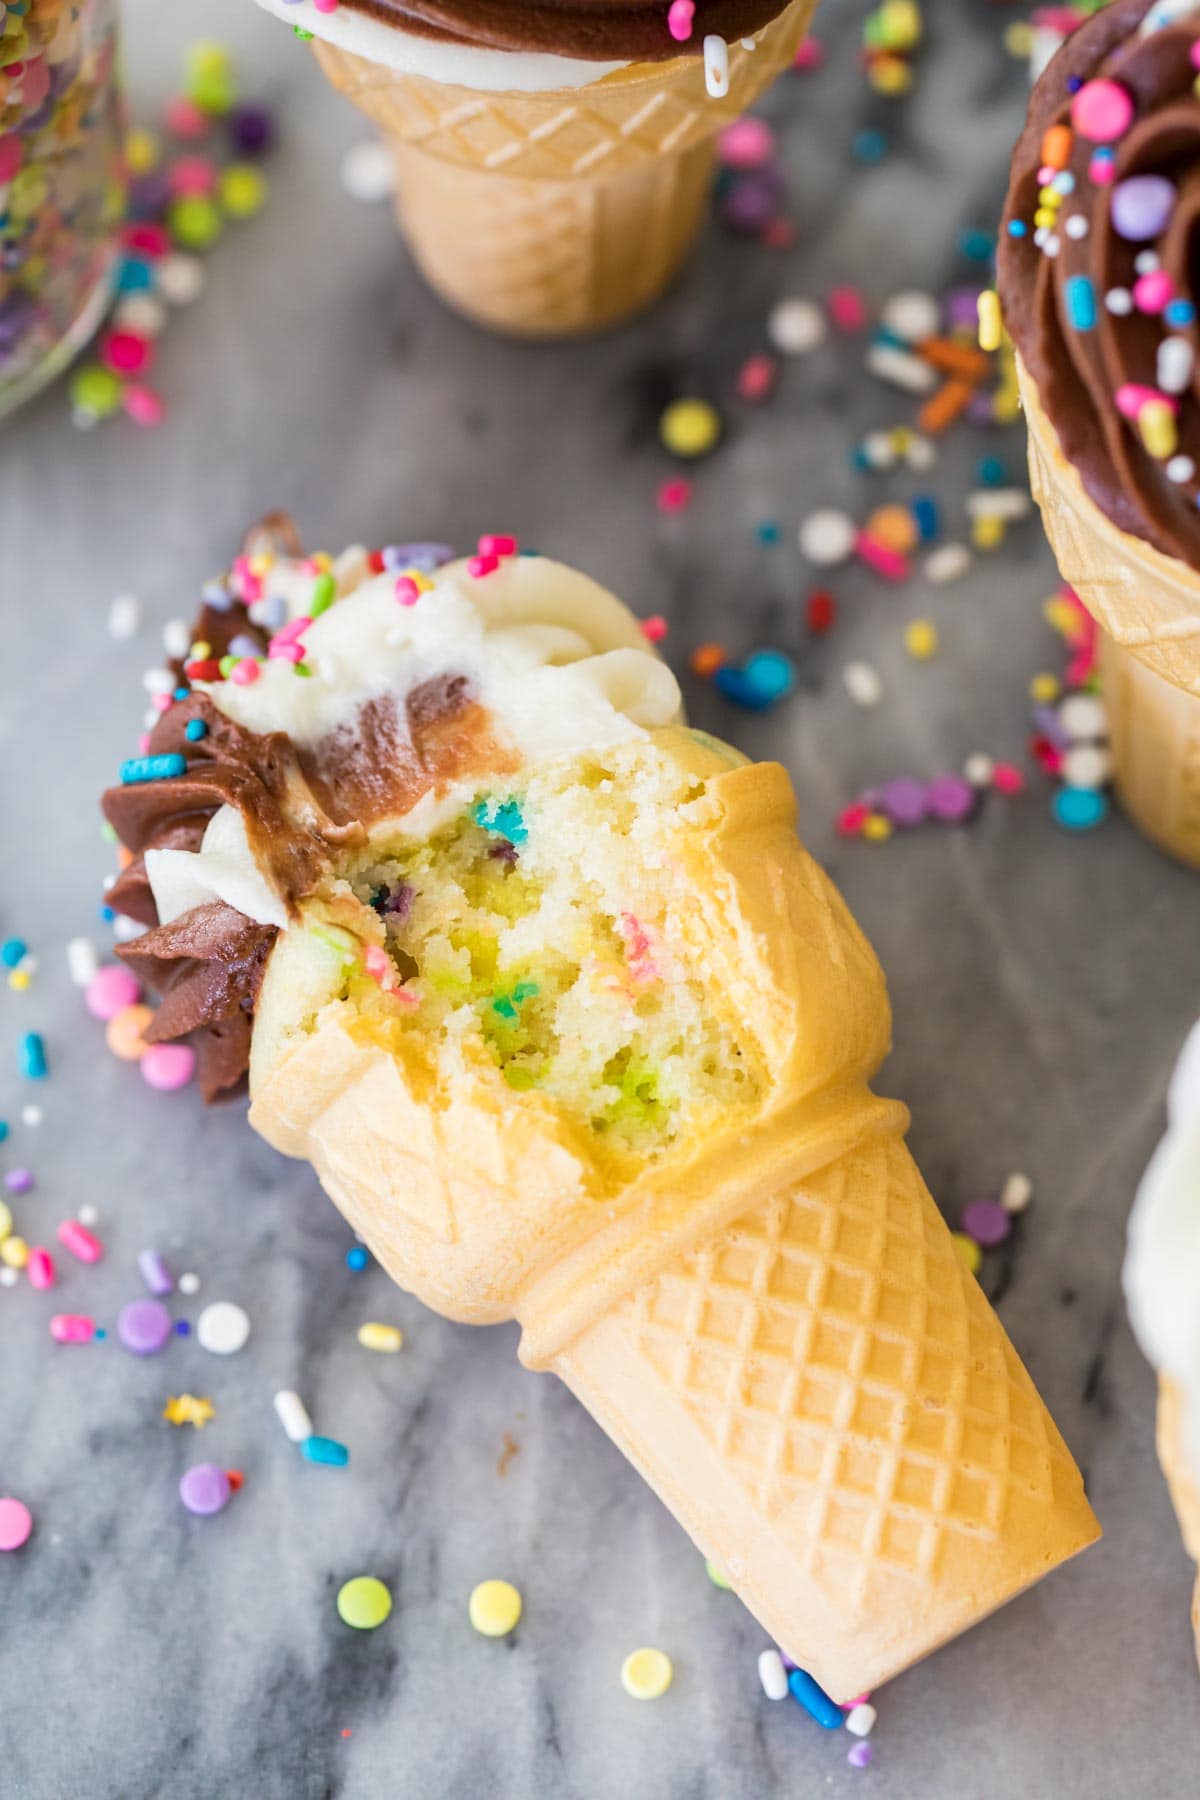
I wish I could take credit for such a cute, original idea as these ice cream cone cupcakes, but I can’t. The idea for these fun cupcakes was first introduced to me as a kid via the side of a Pillsbury box and my mom made them often. Today I’m bringing them back to life, homemade-style! We’re using my vanilla cake batter and cream cheese frosting for a soft serve ice cream look that will a make everyone do a double take!
I know what you’re thinking, but please don’t be intimidated by that tall, two-tone icing swirl. My recipe keeps things super simple by making one batch of frosting and then flavoring half of it with cocoa powder, rather than making two separate flavors. Not only is it easy to make the two icings this way, it’s also shockingly easy to achieve the pretty swirl–more on this below.
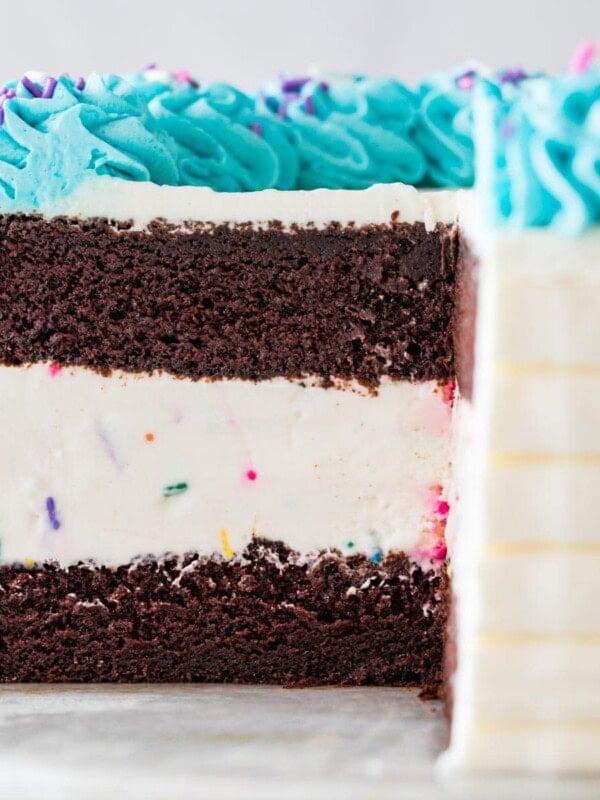
Save these for summer parties (my watermelon sugar cookies are always a hit too!) or an ice cream themed birthday party, alongside my ice cream cake, of course!
What You Need
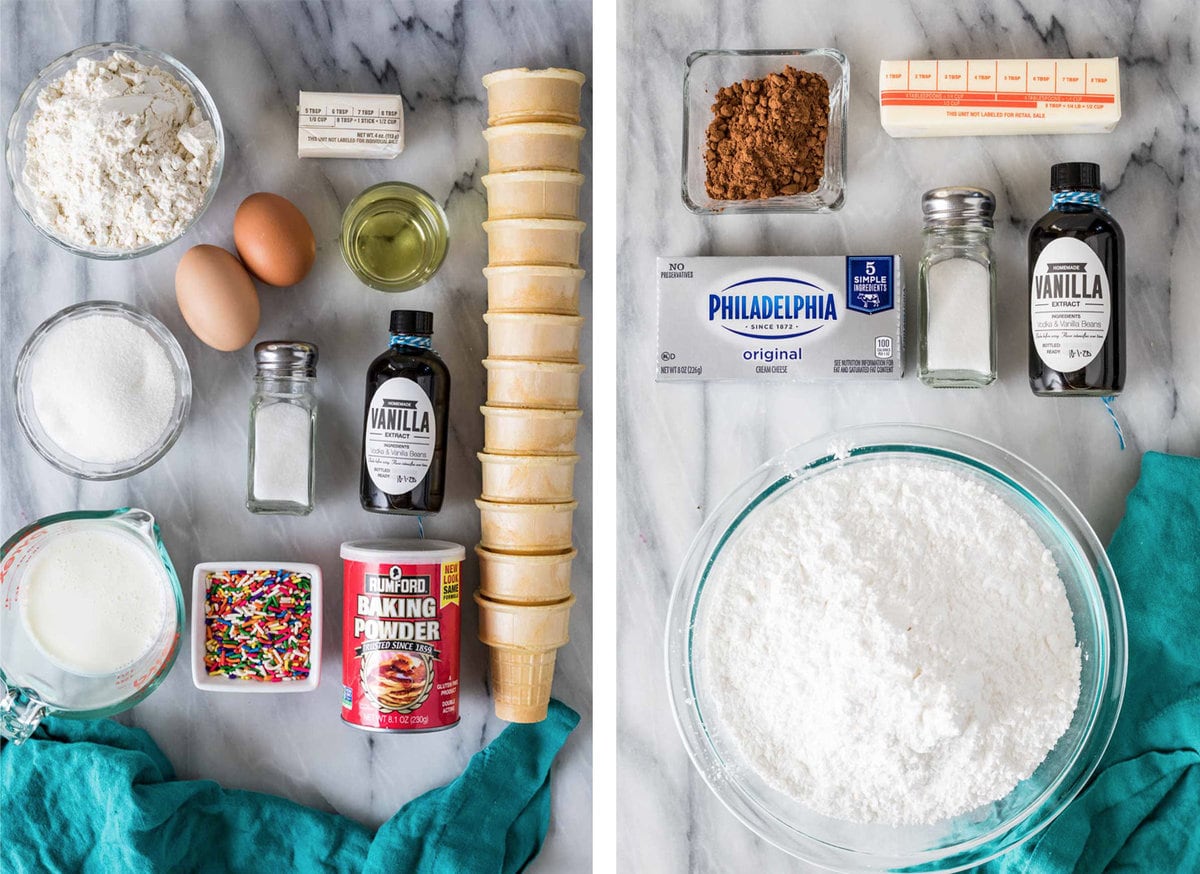
These carefully selected ingredients make my recipe the BEST one out there! Here are a few worth noting before we get started:
- Buttermilk. I love using buttermilk in cakes for tenderness, moisture, and flavor. If you don’t have any on hand, use my easy buttermilk substitute.
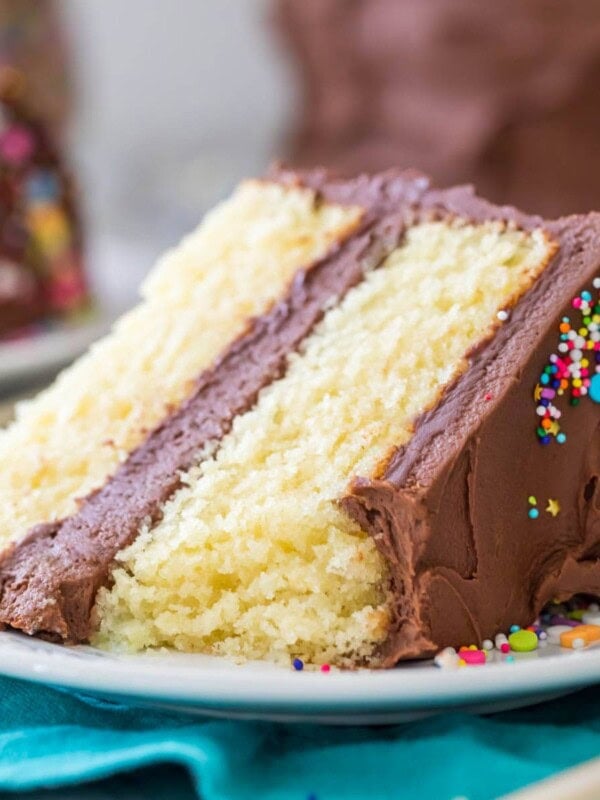
- Butter & oil. If you’ve made any of my cakes before (like my yellow cake) then you know this combination provides the best flavor and moisture. Oil is great for adding moisture but lacks flavor. Butter is wonderful for flavor, but since it contains somewhere around 20% water, it can (ironically) make the cupcakes a bit dry. Using a blend of butter and oil balances the cake perfectly, giving us excellent flavor and moisture. You can use any neutral cooking oil, I have recently taken to using avocado oil.
- Cream cheese. Make sure to use brick-style, full-fat cream cheese for the frosting. Low-fat or tub-style will give you runny, messy results.
- Cocoa powder. Either natural or dutch-process cocoa will work for the chocolate portion of the frosting.
- Sprinkles. These are optional but highly recommended, of course! Use jimmies or quins; nonpareils will bleed into your batter.
SAM’S TIP: The final cupcakes are pretty tall, so make sure you have an equally tall storage container in mind before you make them. I use a tall, flat-topped cake carrier turned upside-down (so the lid acts as the bottom).
Remember, this is just an overview of the ingredients I used and why. For the full recipe please scroll down to the bottom of the post!
How to Make Ice Cream Cone Cupcakes
Making the Cupcakes
- Cream the butter, oil, and sugar until well combined.
- Add the eggs one at a time, then stir in the vanilla.
- Combine the dry ingredients in a separate bowl.
- Alternate adding the dry ingredients and buttermilk, stopping halfway through to add sprinkles.
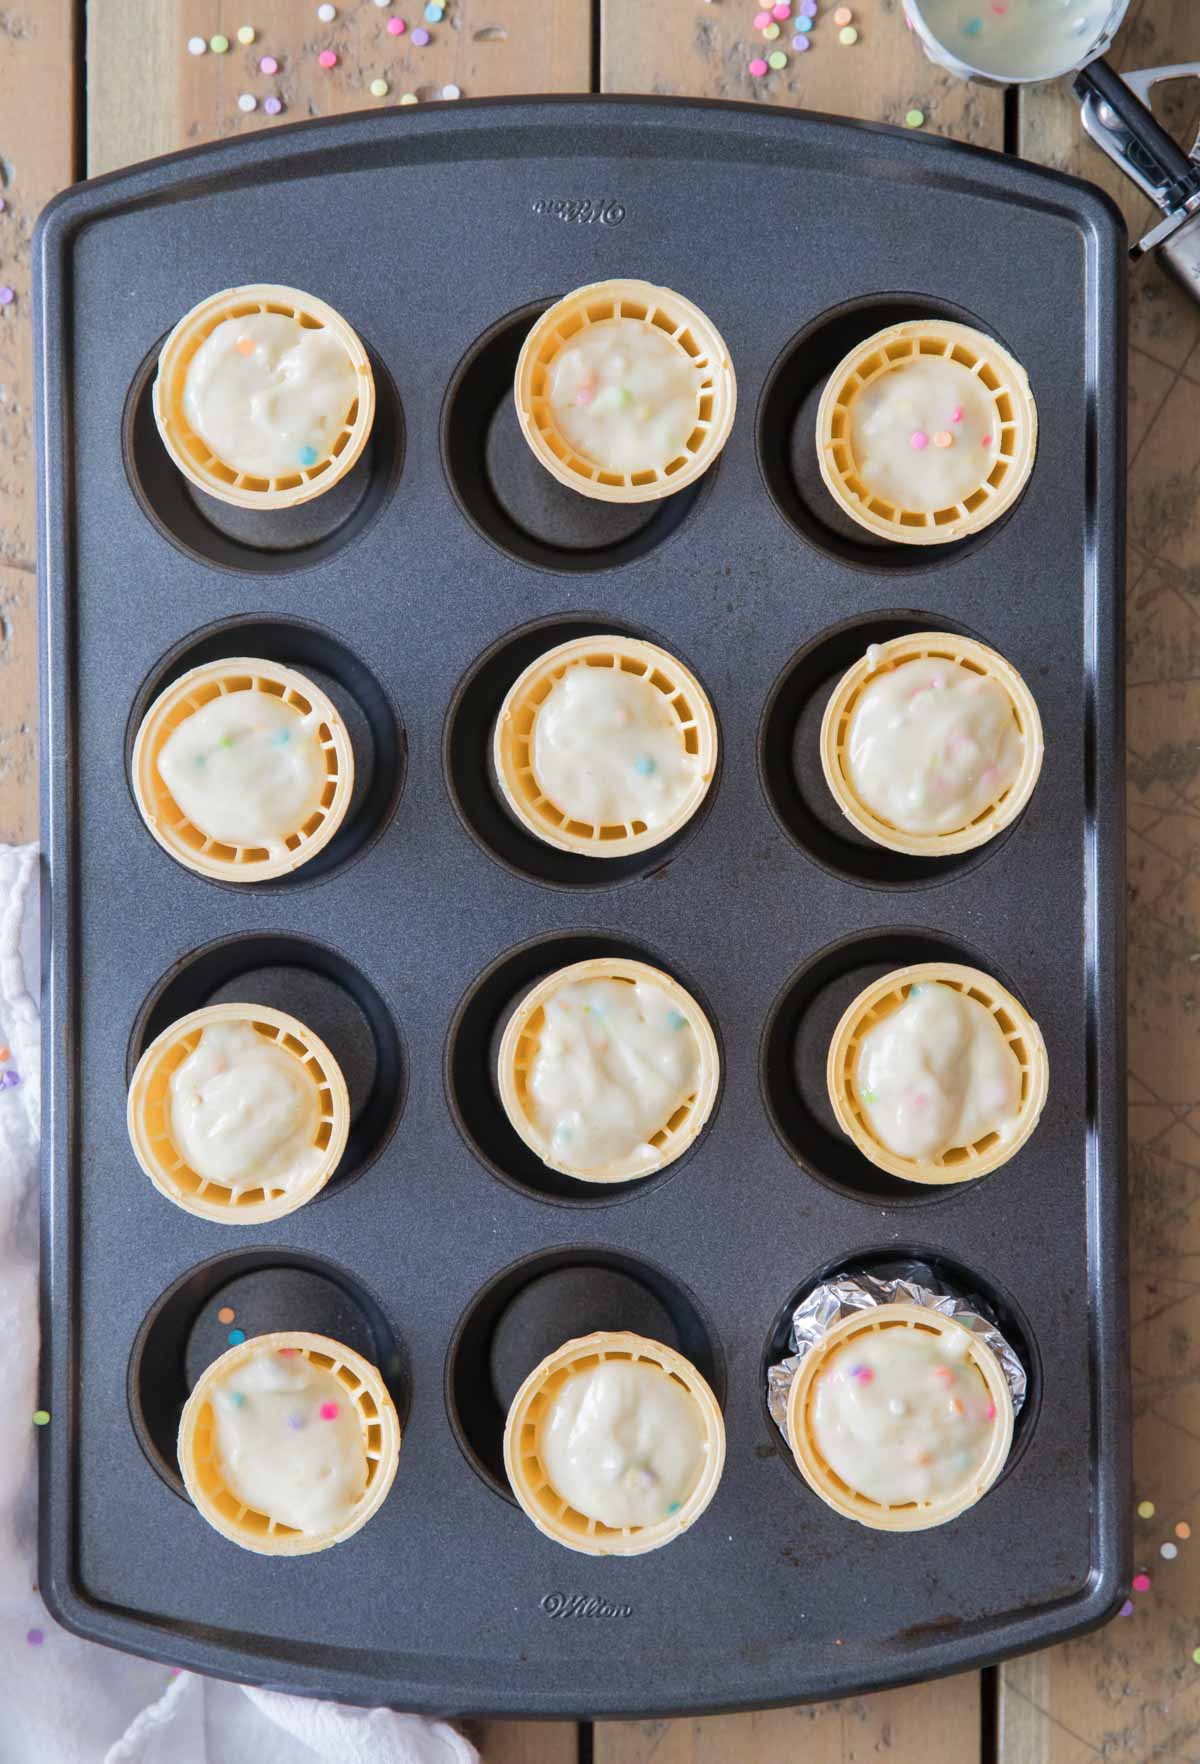
- Divide the batter into a cupcake pan lined with ice cream cones, filling each cone 3/4 of the way full.
- Bake for 20-23 minutes at 350F and let cool completely before frosting.
Making the Frosting
- Cream the butter and cream cheese until smooth, then stir in the salt and vanilla.
- Gradually add the powdered sugar until combined.
- Divide the icing in half using two separate bowls, then stir the cocoa powder into one half.
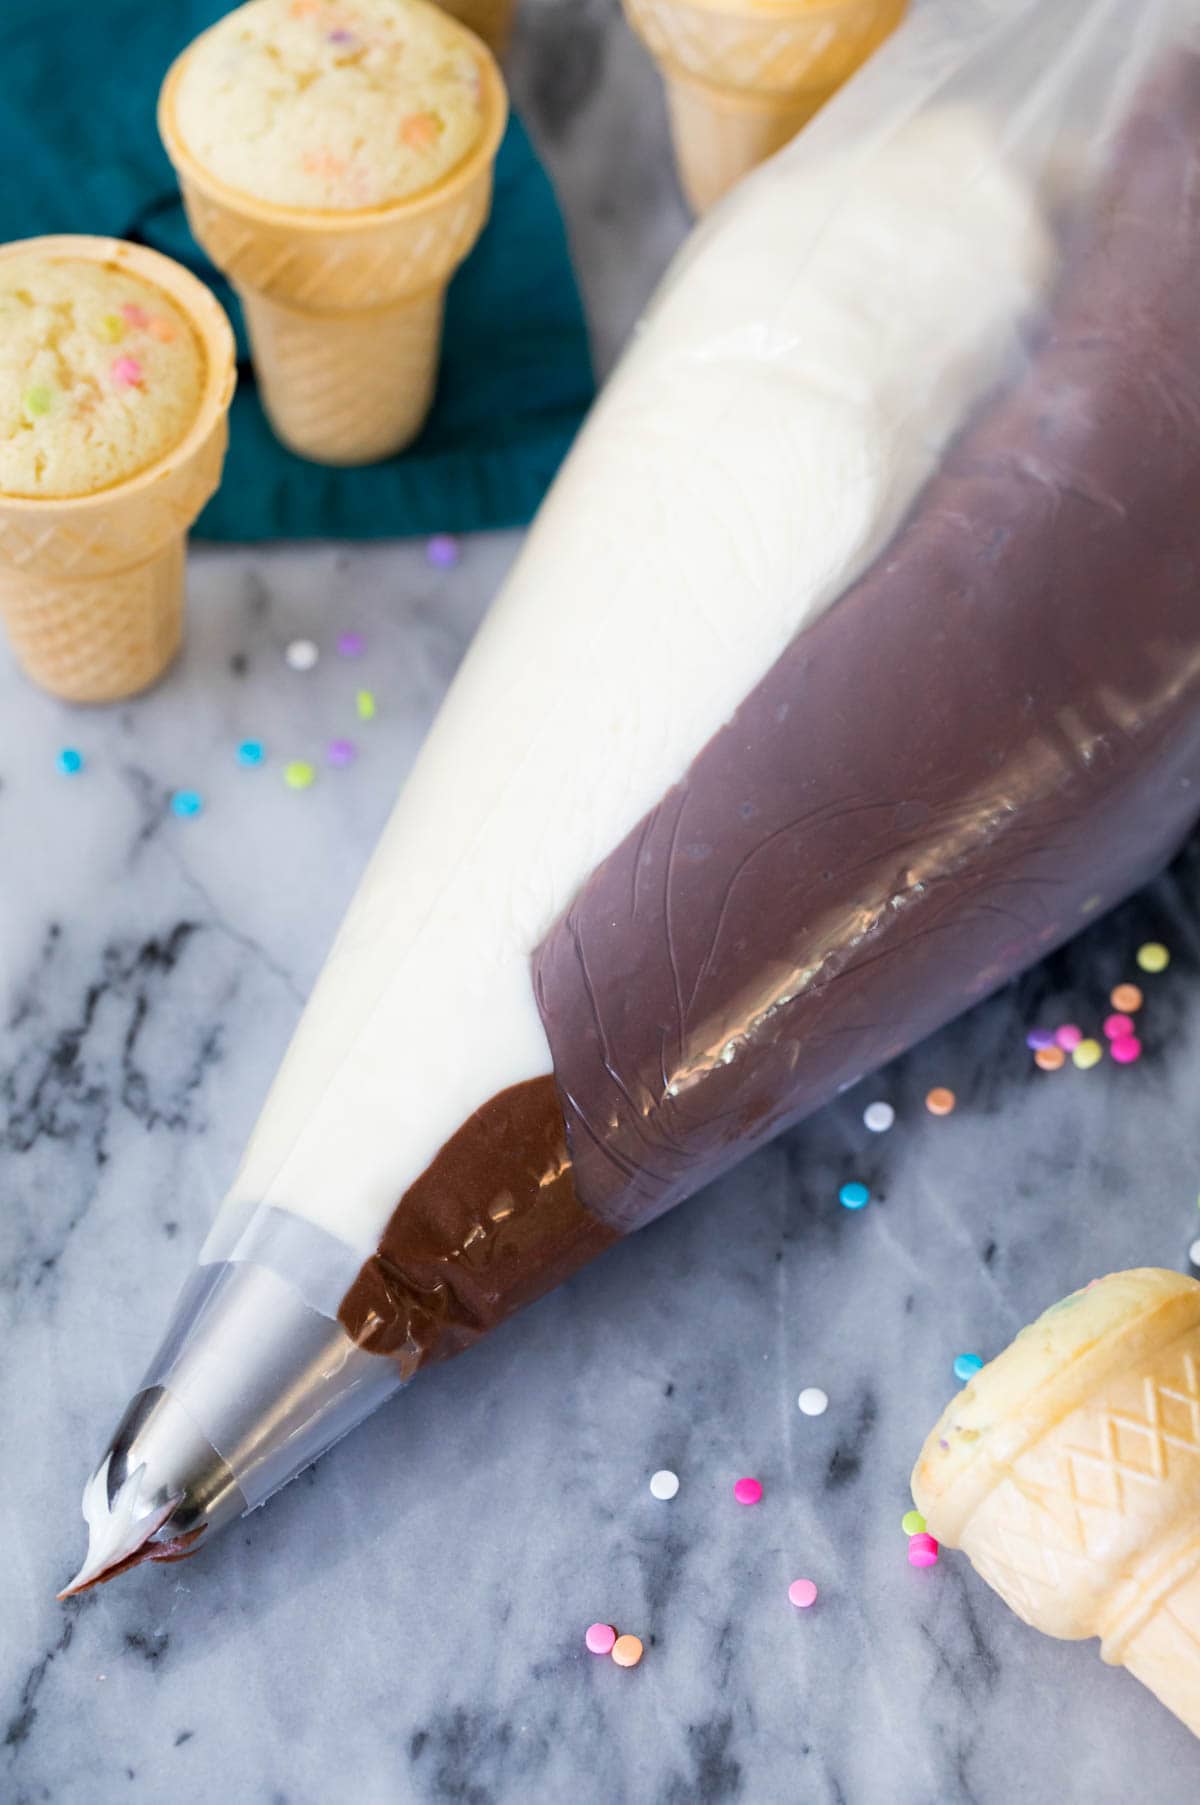
- Put both icings in piping bags and snip the ends, then place both bags into a larger bag fitted with a Wilton 2D tip.
- Pipe frosting on each cupcake and top with sprinkles.
SAM’S TIP: I recommend piping your icing on a paper plate before piping on your cupcakes. This will ensure that both frostings have worked their way down into the tip for that perfect swirl! If you’d like a visual of how I swirl the two frostings together, see the video in my peanut butter cupcakes post (where I swirl peanut butter and chocolate frosting).
Frequently Asked Questions
Personally, I have never had a problem with mine toppling over. I simply place one cone in each cupcake cavity and use a steady hand (preferably two steady hands) when filling the cones and when transferring them to and from the oven.
If you’re worried about your cones toppling, you can snuggly secure each one by wrapping a piece of crumpled foil around the base of each (pictured in bottom right corner of the overhead photo above).
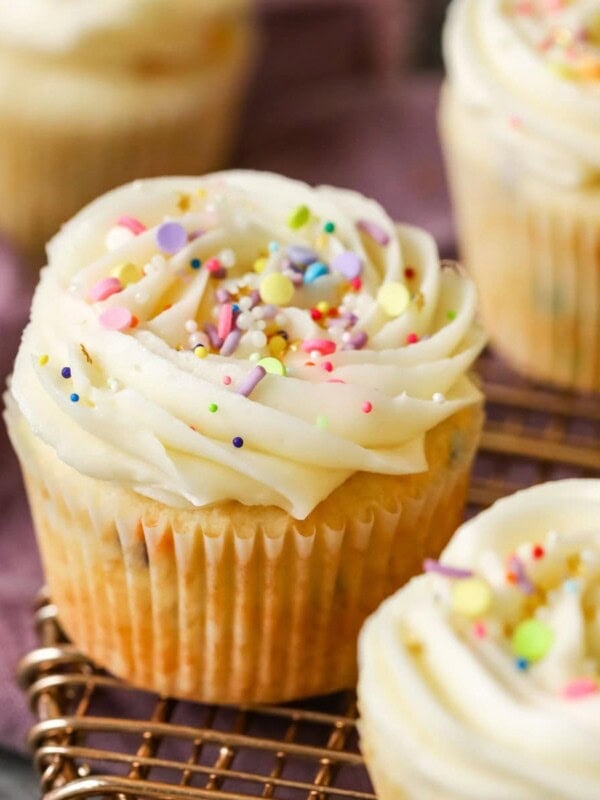
I used my vanilla cake batter for today’s recipe, but you can use my funfetti cupcake recipe or a half batch of my favorite chocolate cupcake recipe instead. Substitute the batter but otherwise follow the instructions listed in the recipe below for bake time and temperature.
For frosting, I used cream cheese frosting and chocolate cream cheese frosting, but you can use my Swiss meringue buttercream and chocolate Swiss meringue buttercream instead. You could also keep things simple with my vanilla frosting, just make the frosting as suggested, divide it approximately in half, and then beat 3-4 Tablespoons of cocoa powder into one half so that you have chocolate and vanilla.
To keep these cupcakes fresh, you’ll want to store them in an airtight container. I usually keep mine at room temperature unless it’s particularly warm, in which case they go in the fridge.
I don’t know about you, but I’d like all my cupcakes served in ice cream cones from now on, please 😉
Enjoy!
Let’s bake together! I’ll be walking you through all the steps in my written recipe below! If you try this recipe, be sure to tag me on Instagram, and you can also find me on YouTube and Facebook

Ice Cream Cone Cupcakes
Equipment
- Ateco 846 tip optional
Ingredients
- 12 flat bottomed ice cream cones
- ¼ cup (56 g) unsalted butter, softened to room temperature
- ¼ cup (60 ml) neutral cooking oil, (vegetable, canola, or avocado oil)
- ¾ cup (150 g) granulated sugar
- 2 large eggs, room temperature preferred
- 1 ½ teaspoon vanilla extract
- 1 ½ cups (185 g) all-purpose flour
- 1 ½ teaspoon baking powder
- ¼ teaspoon salt
- ⅔ cup (160 ml) buttermilk*
- 3 Tablespoons colored sprinkles or quinns (not nonpareils), optional
Ice Cream Cone Cream Cheese Frosting
- ½ cup (1 stick) (113 g) unsalted butter, softened
- 8 oz (226 g) cream cheese (brick-style, not spreadable), softened
- ¼ teaspoon salt
- 1 teaspoon vanilla extract
- 4 cups (500 g) powdered sugar
- ¼ cup (33 g) cocoa powder (see note)
- 1-3 Tablespoons heavy cream or milk, if needed
- Additional sprinkles for serving, optional
Instructions
- Preheat oven to 350F (175C) and place ice cream cones upright in a cupcake pan. I just place my cones directly in each cupcake cavity and don’t have problems with it falling over but if you’re worried about that, just use foil to support the base of each ice cream cone (you can see I did this in the bottom right cone in the photo in the post as an example).12 flat bottomed ice cream cones
- Combine butter, canola oil, and sugar in a large bowl and use an electric mixer to beat until creamy and well-combined.¼ cup (56 g) unsalted butter, ¼ cup (60 ml) neutral cooking oil, ¾ cup (150 g) granulated sugar
- Add eggs, one at a time, beating well after each addition.2 large eggs
- Stir in vanilla extract.1 ½ teaspoon vanilla extract
- In a separate, medium-sized bowl, whisk together flour, baking powder, and salt.1 ½ cups (185 g) all-purpose flour, 1 ½ teaspoon baking powder, ¼ teaspoon salt
- Using a spatula and gently hand-mixing, alternate adding flour mixture and buttermilk to the butter mixture, starting and ending with flour mixture and mixing until just combined after each addition. Halfway through stirring in the flour, add sprinkles, if using. The batter should be smooth and completely combined, but avoid over-mixing.⅔ cup (160 ml) buttermilk*, 3 Tablespoons colored sprinkles or quinns (not nonpareils)
- Evenly divide batter into your prepared ice cream cones (I use an ice cream scoop to neatly portion the batter), filling each ice cream cone ¾ of the way full (I fill mine to the first ridge in the cone, see second photo in post. Do NOT overfill) and bake on 350F (175C) for 20-23 minutes or until a toothpick inserted in the center comes out clean or with a few moist crumbs. Do not overbake or they will be dry!Always be careful transferring your cupcake pan to and from the oven so that the ice cream cones don't topple over.
- Allow cupcakes to cool completely before frosting.
Ice Cream Cone Frosting
- Combine butter and cream cheese in a large bowl (or in the bowl of a stand mixer) and use an electric mixer to beat until creamy.½ cup (1 stick) (113 g) unsalted butter, 8 oz (226 g) cream cheese (brick-style, not spreadable)
- Sprinkle salt evenly over the butter/cream cheese mixture and add vanilla extract. Stir well to combine.1 teaspoon vanilla extract, ¼ teaspoon salt
- Gradually, with mixer on low speed, add powdered sugar until all sugar has been combined. If using a stand mixer, be sure to scrape down the sides and the bottom of the bowl to ensure all ingredients are incorporated.4 cups (500 g) powdered sugar
- Remove approximately ½ of the batter to a separate container and add cocoa powder to the remaining batter. Stir until cocoa powder is well-incorporated and icing is even in color. If frosting is too thick, add a splash of heavy cream or milk to thin it.¼ cup (33 g) cocoa powder (see note), 1-3 Tablespoons heavy cream or milk
- To decorate your cupcakes, place your white frosting in one piping bag and your chocolate in another. Snip the end off of each disposable piping bag and place both piping bags in a separate (preferably larger) piping bag that's been fitted with a Wilton 2D (or similar, I also like the Ateco 846) tip.
- Always squeezing from the top, squeeze your frosting onto a plate or into one of your used frosting bowls until both colors are evident when you are piping.
- Pipe vanilla/chocolate swirls on top of each cupcake — remember that the frosting is pretty sweet so don’t go overboard with the amount of frosting per cupcake, 2 swirls is usually plenty!
- Top with sprinkles if desired and serve.Additional sprinkles for serving
Notes
Buttermilk
If you don’t have buttermilk on hand you can follow this recipe for an easy buttermilk substituteCocoa powder
You can use either natural cocoa powder or Dutch process. Dutch has a more intense flavor.Nutrition
Nutrition information is automatically calculated, so should only be used as an approximation.
Like this? Leave a comment below!
This recipe was originally published 08/24/2015. It has been updated to make the recipe slightly more clear, to add helpful notes throughout the post, and to include a video tutorial.


Sam, your ice cream cone cupcakes are an absolute home run. The cake turned out wonderfully moist, and your step‑by‑step instructions made the whole process feel effortless. I especially loved the helpful photos — they took all the guesswork out.
I also really appreciate how clearly you listed the ingredients and exact amounts right in the written text. It made prepping so smooth and stress‑free.
A+ recipe. I’ll be making these again!
Thank you so much for trying my recipe, Todd! I’m so glad it was such a hit! 🙂
Any suggestions on best way to transport these 1 1/2 hours away?
Hi Marilyn! I have seen people transport them a few ways. I’ve seen the cupcakes placed in those cardboard 6 pack holders. I have also seen them placed in a cake carrier with aluminum foil balled up in between the cones so they don’t fall over. 🙂
I baked these tonight for my grandson’s birthday. I followed the recipe exactly as written but the sprinkles. The cupcakes were amazing! I’ve tried several of your recipes and I have yet to be disappointed. Thank you once again for sharing your delicious recipes.
I’m so glad you’ve enjoyed everything so much, Charese! 🙂
I filled my cones 3/4 full I do you get the batter not to cook over the sides of the cones?
Hi Crystal! Next time just fill them a little bit less. I hope you still enjoyed them! 🙂
Can you use a regular cake mix?
Hi Teri! What do you mean by regular cake mix? Like a box mix? I suppose you could, but it wouldn’t be as tasty. 🙂
I used aquafaba from a can of chickpeas for the egg, made buttermilk from soy milk and lemon juice. It turned out great. It was hard to find a recipe that didn’t include a cake mix
I’m so glad they turned out for you, Alyssa! Thank you for the feedback using your substitutions. 🙂
These cupcakes are so cute and turned out really well! We are having a party today so I made them yesterday (without the frosting so far) and wrapped them in cling wrap after they were completely cooled off, but this morning after being out all night the cones were all soft and inedible today. Do you think there’s anything I can do to save them or should I just make another batch today?
We’re so sorry this happened, Hillary! Unfortunately this recipe doesn’t do particularly well being made in advance; between the baking and the moisture of the cupcakes, the cones get softer and chewier the longer they sit. It’s hard to avoid unless you eat them shortly after baking and cooling. We’d hate for you to have to remake the entire batch…you could try to pop the cones in the oven to re-crisp them, but we aren’t sure if that will actually work 🙁