
Chocolate Pudding Recipe
This post may contain affiliate links. As an Amazon Associate I earn from qualifying purchases. Please read my disclosure policy.
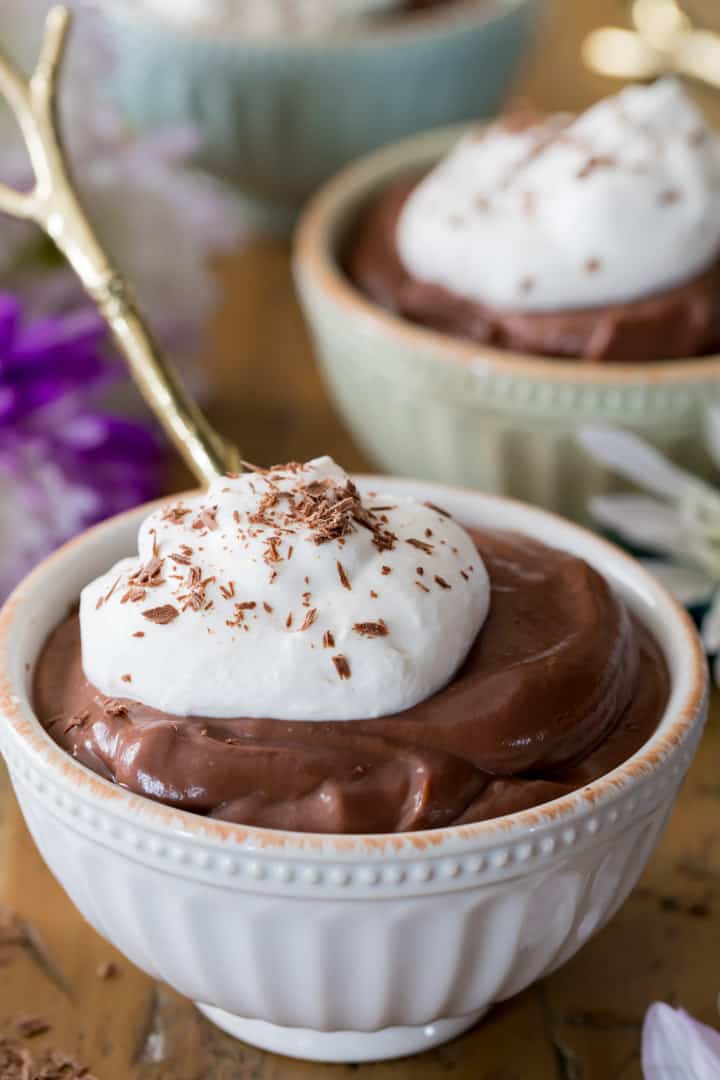
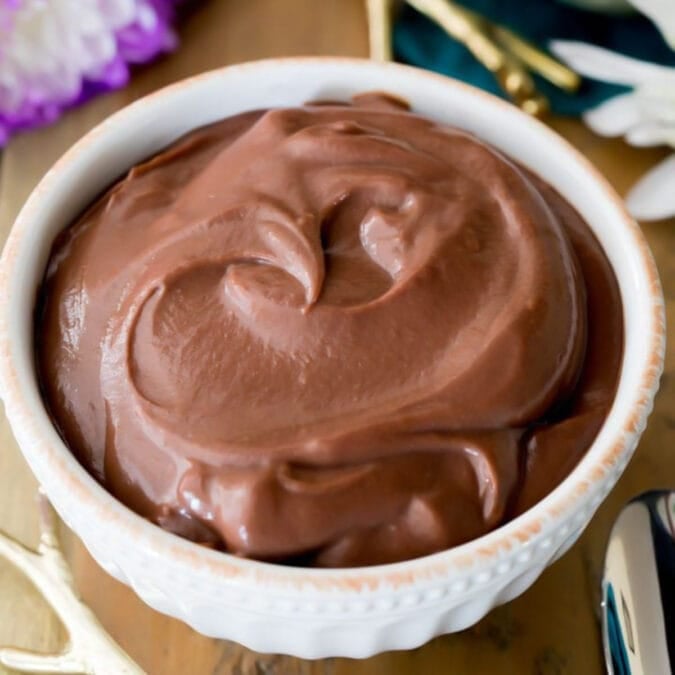
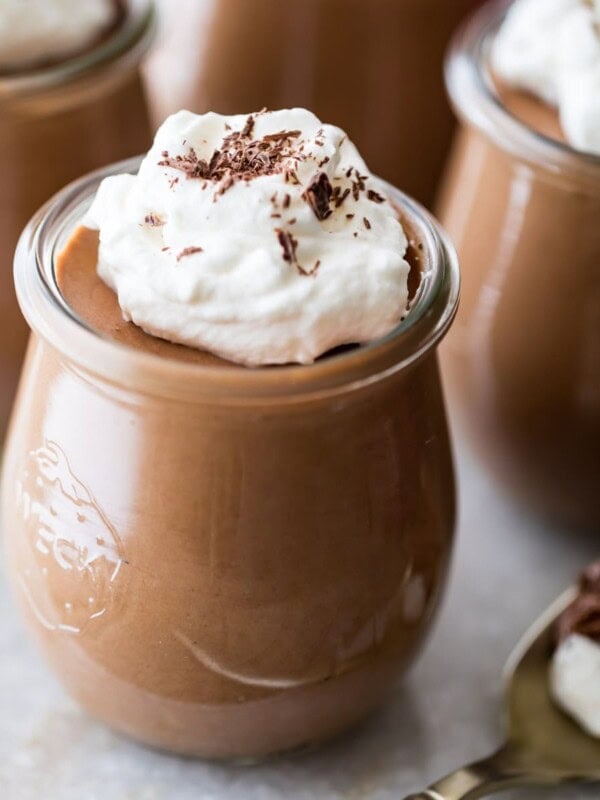
Toss out the snack packs and make this homemade chocolate pudding recipe! This egg-free, richly chocolatey treat is so easy and tastes remarkably better than the store-bought version.

The Best Chocolate Pudding Recipe
This rich, chocolatey, homemade chocolate pudding recipe is much more sophisticated than anything from a box mix or plastic pudding cup. It’s inspired by the filling in my chocolate pie recipe, and the flavor is so rich and satisfying (and you can make it even richer and darker by using a higher percentage cocoa chocolate bar!).
Sure, there is a bit more work involved than shaking chocolate gelatin powder into a bowl of milk, but it’s really not that much more work. And the taste improvement is worth every extra second of stirring–I promise!
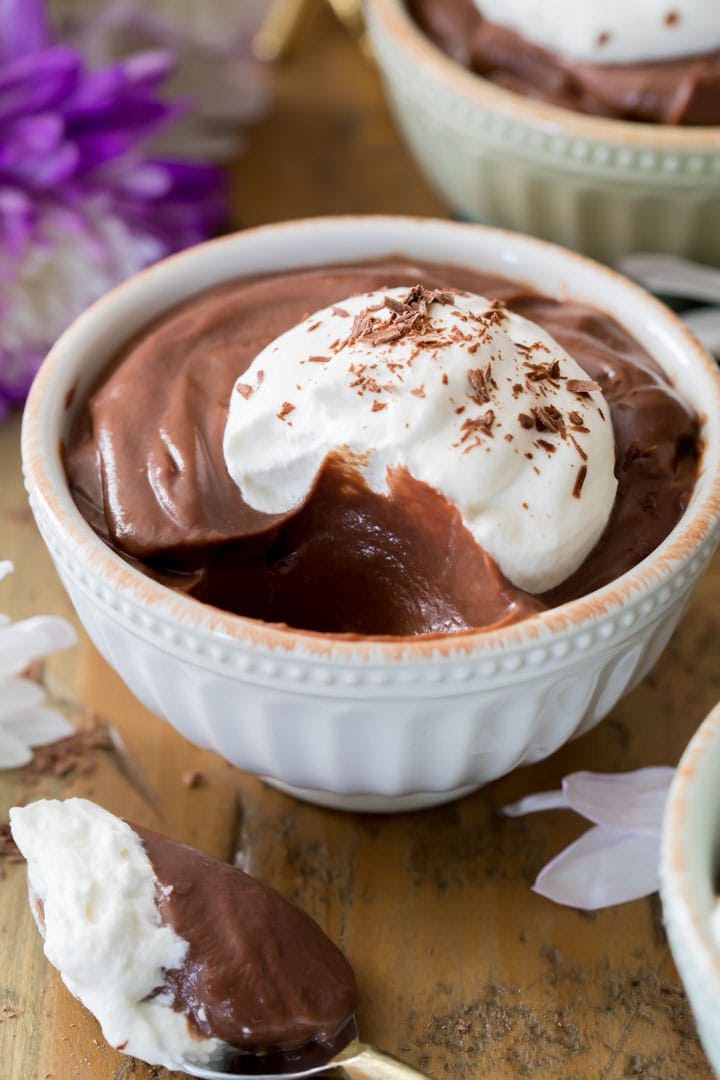
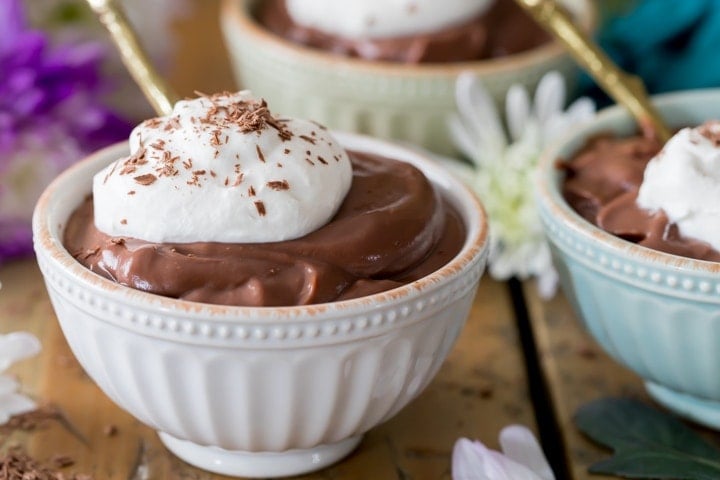
Feeling fancy? Add a dollop of homemade whipped cream on top, and you’ll never look back 🤎
Why You’ll Love This Recipe
- No eggs! This pudding is naturally egg-free, which means it’s a great eggless dessert option.
- Perfect consistency every time with my spoon trick. I talk more about this below, but as long as your pudding thickens to a consistency that coats the back of a spoon, your finished product will have the right texture. I provide visuals, too!
- Ideal make-ahead dessert since it has to chill in the fridge for a few hours to set.
- Made with real melted chocolate and cocoa powder, so it has a rich chocolate flavor that is SO much better than those foil-topped snack packs you’d find in your lunchbox.
Ingredients
Gather all of your ingredients and have them prepped and ready to go before you begin. Once the pudding has thickened, you’ll want to work quickly to add your chocolate, butter, and vanilla immediately so that they melt.
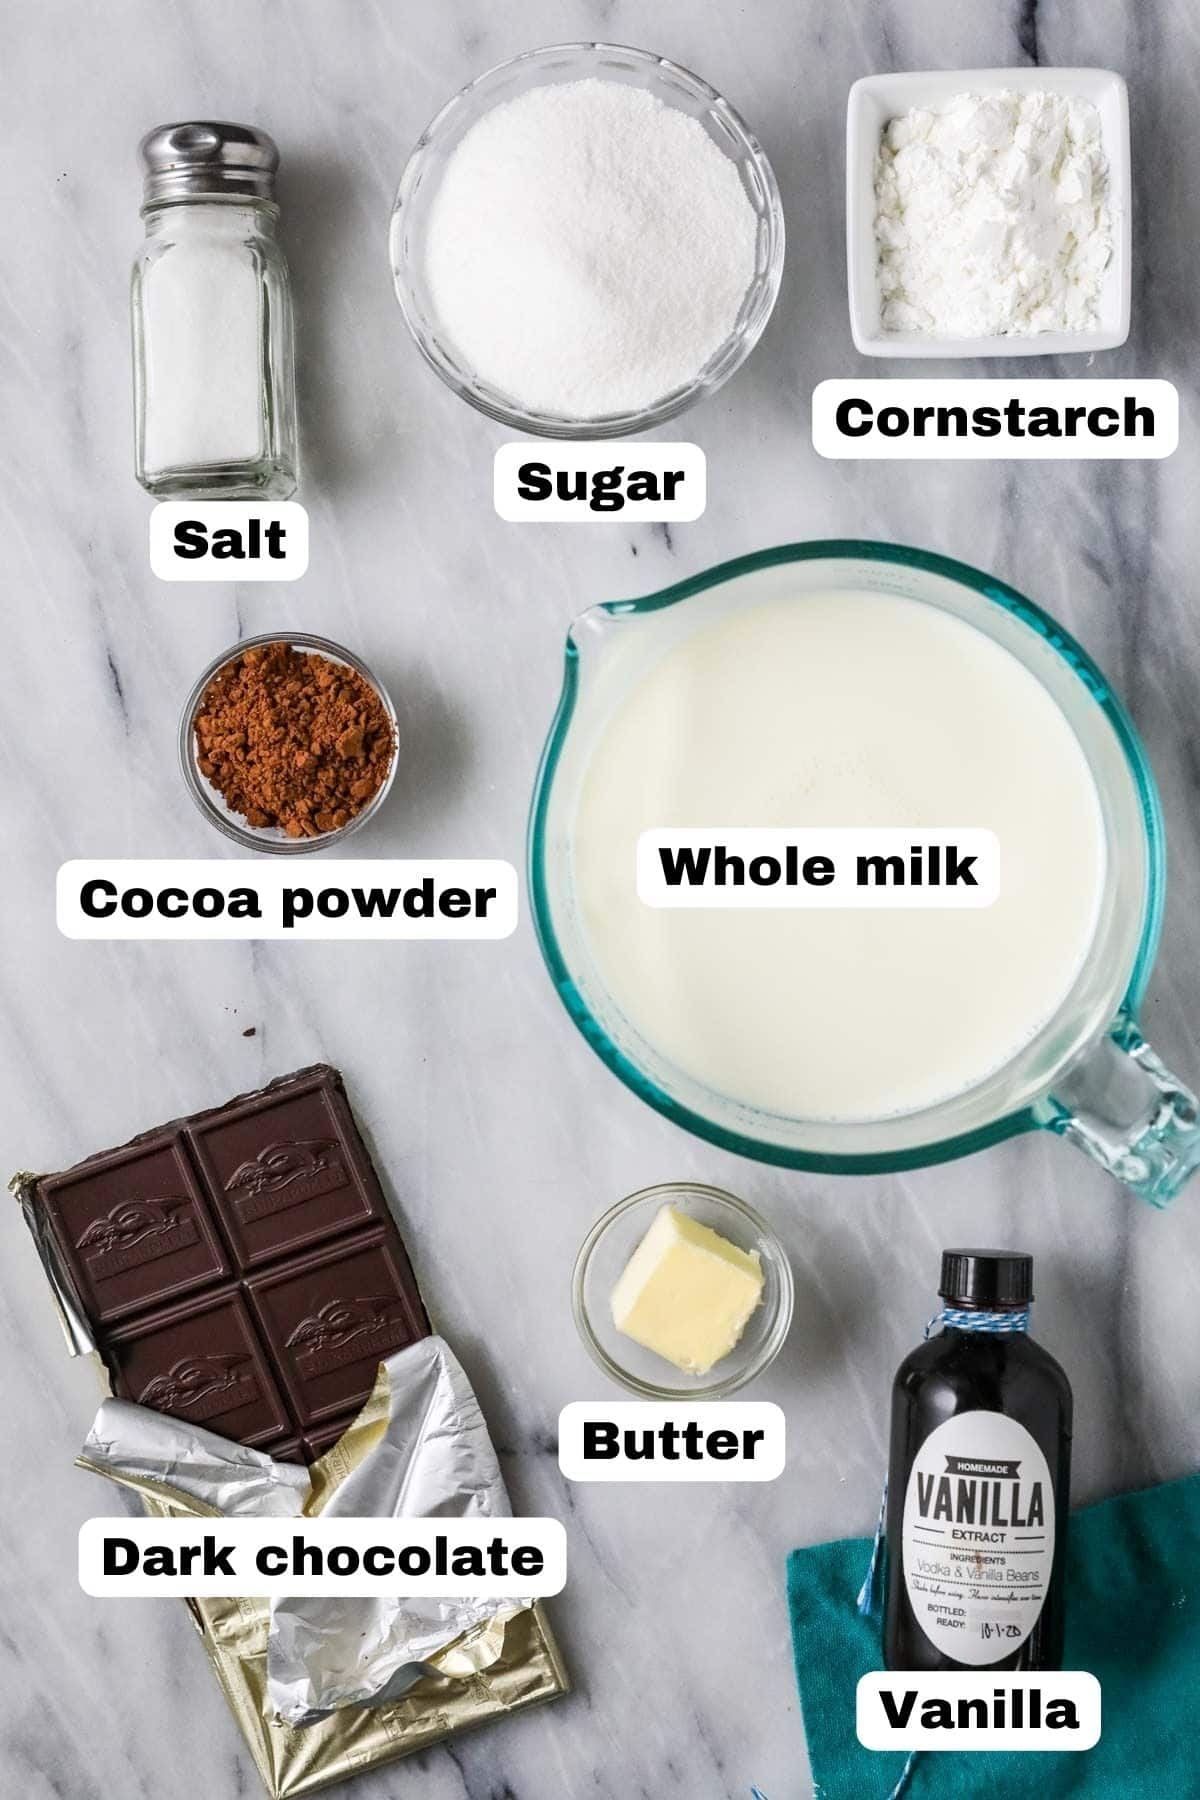
- Cocoa powder. Either natural or dutch process cocoa will work for this recipe. Dutch process will produce a richer flavor and darker color though, so keep that in mind. Personally, I prefer natural cocoa in my chocolate pudding.
- Milk. I like whole milk, but you could try experimenting with other types. I talk more about this in the FAQ section below.
- Chocolate. Use a high quality dark chocolate bar; I prefer 60% cacao. I’ve used Baker’s, Lindt, or Ghirardelli chocolate bars with success here. Whatever you use, make sure to chop it into small pieces so it melts evenly into your pudding.
- Butter. Either salted or unsalted butter will work in this recipe, since it’s such a small amount. Use whatever you have on hand!
- Vanilla. Yes, even though we are making chocolate pudding, we are still adding vanilla extract! It complements the chocolate flavor so well, so don’t skip it!
SAM’S TIP: The cornstarch in this recipe is essential, but if not smoothly whisked it could cause some small lumps in the final product. To ensure a totally smooth texture, pour the pudding through a fine mesh strainer once it’s finished cooking to eliminate any lumps. This is the one I use (affiliate).
Remember, this is just an overview of the ingredients I used and why. For the full recipe please scroll down to the bottom of the post!
How to Make Chocolate Pudding

- Whisk the sugar and dry ingredients together in a medium saucepan, then pour in the milk.
- Whisk over medium-low heat until the mixture begins to thicken. How long it will take for the pudding to reach this consistency will vary depending on your stovetop, but for me it usually takes 10 minutes, sometimes longer. Do NOT increase the heat of your burner to speed up the cooking process!
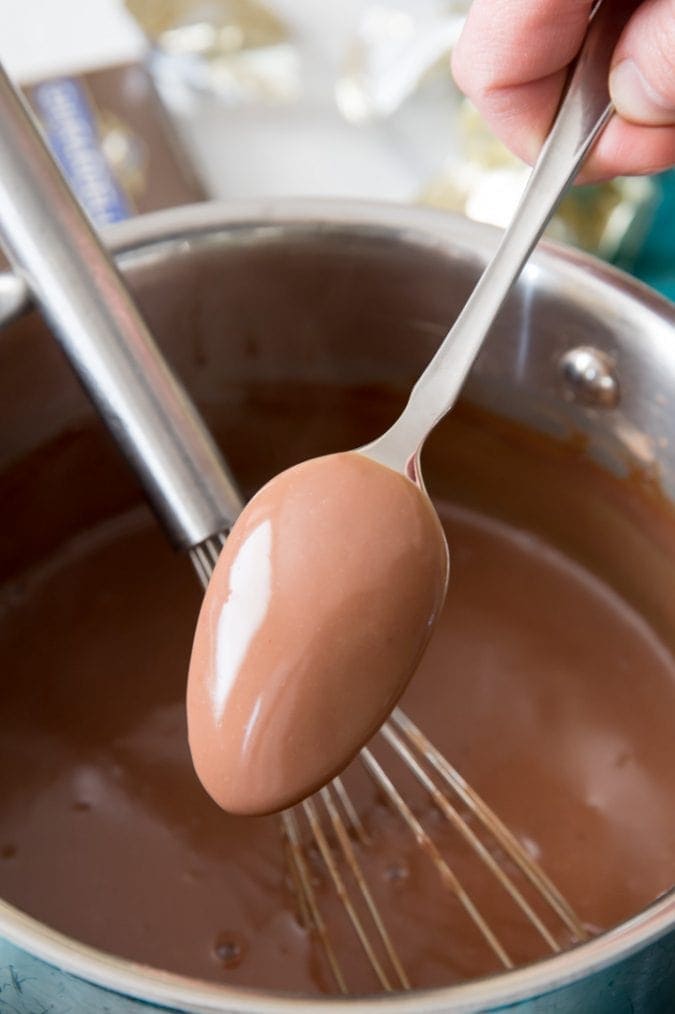
- Test for the proper consistency: Dip a spoon in the pudding mixture and check to make sure it coats the back with no metal showing through (pictured above, and shown in the video in the recipe card). Do not remove your pudding from the stovetop unless it passes this test! Otherwise, it will never firm up in the fridge, and you’ll be left with a runny mess.
- Whisk constantly and let the mixture come to a boil (without increasing the heat!), then whisk for an additional minute before removing the pot from the heat.
- Stir in the chopped chocolate, butter, and vanilla until the pudding is smooth and combined.

- Pour the pudding through a fine mesh strainer and into a heatproof bowl. Let cool for 15 minutes, stirring occasionally.
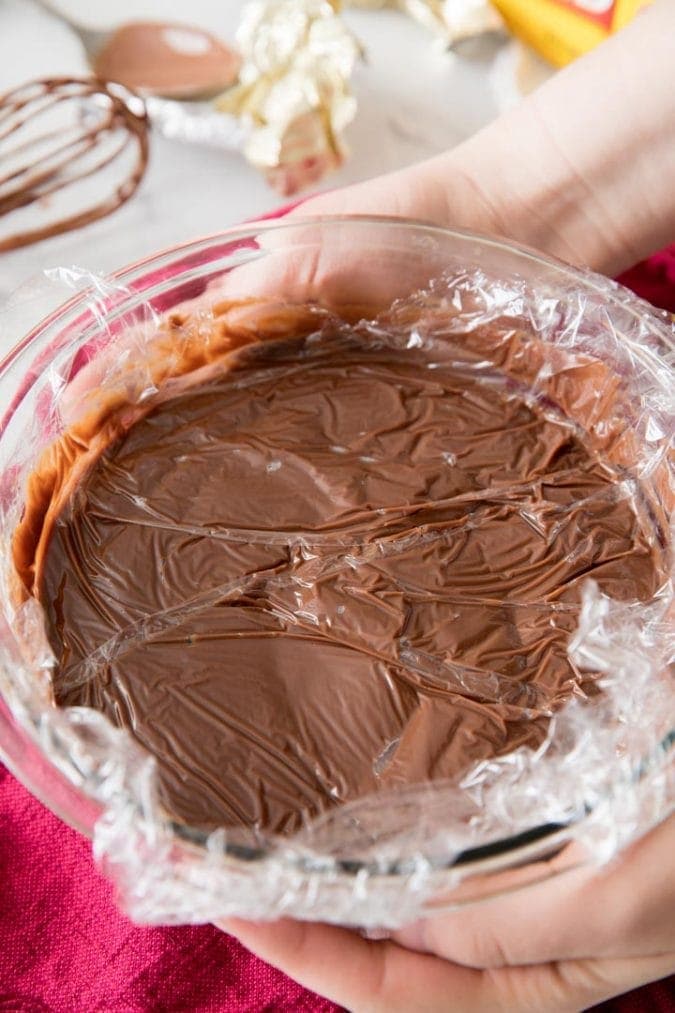
- Press a piece of plastic wrap directly against the surface of the pudding. This will prevent a skin from forming over the surface as it cools.
- Place in the fridge to chill for at least 4 hours before serving.
SAM’S TIP: I pour my chocolate pudding into a large bowl to chill, then portion it out into separate serving dishes when I’m ready to serve. If you prefer to chill it directly in your serving cups, that’s fine too; just make sure to still cover each one with cling wrap!
Frequently Asked Questions
Not quite! Aside from ingredients (mousse is made with eggs!) the biggest difference between the two is the texture. Mousse is light and airy, while chocolate pudding is thick and creamy. I have a classic chocolate mousse recipe is you’d like to make some and compare the two!
Several of my readers have successfully prepared this recipe with non-dairy milks like coconut, almond, and soy. I have not personally tried making chocolate pudding with those milks, so I can’t say for sure what tweaks you might need to make if you use them.
This pudding needs to cook slowly to reach the proper consistency; however, if you are going on 20-25 minutes and not seeing any signs thickening, you may need to bump up your heat a bit. Just like ovens, every stove is different.
I have a recipe for chocolate pot de creme coming soon, which is like a thicker, fudgier chocolate pudding recipe. I can’t wait for you to try it!
Enjoy!
Let’s bake together! Subscribe to my newsletter to be notified of all the newest recipes, and find my free recipe tutorials on YouTube 💜
Homemade Chocolate Pudding Recipe
Ingredients
- ¾ cup (150 g) granulated sugar
- 3 Tablespoons cornstarch
- 2 Tablespoons natural cocoa powder
- ¼ teaspoon salt
- 3 cups (710 ml) milk
- 4 oz (113 g) dark chocolate bar, chopped into small pieces, I use 60% dark chocolate
- 2 Tablespoons butter , cut into pieces
- 1 teaspoon vanilla extract
- Homemade Whipped Cream, for topping, optional
Instructions
- Read through the recipe and prepare and gather all of your ingredients before beginning.
- In a medium saucepan, whisk together sugar, cornstarch, cocoa powder, and salt.¾ cup (150 g) granulated sugar, 3 Tablespoons cornstarch, 2 Tablespoons natural cocoa powder, ¼ teaspoon salt
- Add milk and transfer to stovetop over medium-low heat and whisk ingredients together.3 cups (710 ml) milk
- Whisk ingredients frequently on medium heat until ingredients begin to thicken (this will take several minutes). Do not increase the heat to expedite the process, as it is important that the sugars melt for the pudding to ultimately reach the desired consistency.
- Once mixture has thickened (it should be approaching a pudding consistency and be able to coat the back of a spoon so that no metal shows through) whisk constantly, the mixture will come to a boil (again, don’t increase heat, this will take several minutes but the mixture will eventually come to a boil) and continue to whisk for 60 seconds (use a timer) before removing from heat (still whisking constantly).

- Immediately add chopped chocolate, butter, and vanilla extract.4 oz (113 g) dark chocolate bar, chopped into small pieces, 2 Tablespoons butter , 1 teaspoon vanilla extract
- Whisk until ingredients are smooth and chocolate and butter are completely melted.
- Pour your pudding through a fine mesh sieve (optional, but this will eliminate any lumps) into a medium-sized heatproof bowl. Allow to cool for 15 minutes, stirring occasionally to prevent skin from forming.
- Cover the surface of your pudding with clear plastic wrap, making sure that the clear wrap is pressed against the surface of the chocolate to prevent a skin from forming.

- Refrigerate at least 4 hours to allow pudding to cool completely before serving, topped with homemade whipped cream (if desired).Homemade Whipped Cream
Nutrition
Nutrition information is automatically calculated, so should only be used as an approximation.
Like this? Leave a comment below!


Hi Sam – your recipes are well explained and those I have tried are excellent. Many are similar to ones have I successfully made for many decades. My chocolate pudding recipe is similar and is less sweet. This recipe can fill two 9-inch blind baked crusts, and I was taught a chocolate pudding always uses eggs yolks. This can be cut in half for a smaller portion, but I always make large quantities of anything to share.
It uses 6 cups cold whole milk or at room temp. A better taste comes from two 12 oz cans (24 ounces of evaporated milk) mixed with 24 ounces of whole milk; 3/4 cup sugar (use 1 cup for sweeter pudding); ½ cup cocoa powder; ½ cup cornstarch; ½ teaspoon salt; 2 -3 egg yolks (pasteurized eggs)or place fresh eggs in 145-150 degree hot water for 15–20 minutes, at 130–135 degrees, this will kill any salmonella); 2 tablespoons of butter; and 1 tablespoon vanilla extract ( yeah I like extra extract in pudding).
To save time, fully whisk first 5 ingredients in glass bowl, then microwave on high (using 1000 watt microwave, or medium-high for 1200 watt plus) in 2–3 minute bursts on high, then stir, then another 2–3 minutes, and continue till reaching a full boil for 60 seconds. Temper the egg yolks with 1/4 cup of hot pudding, then another 1/4 cup, and blend everything together with butter and extract. This method when done correctly has never failed me.
I agree with earlier comment, if a pudding becomes watery, 1) it did not reach a gentle to full boil for 45-60 seconds, 2) did not have an adequate amount of corn starch or thickener per liquid ratio (ex. arrow root requires higher quantity than corn starch) 3) it was cooked on too high of heat and starch broke down.
Since the ingredients are so similar, it’s no wonder that this ambrosia tastes very much like your hot chocolate. After tasting this pudding, that stuff that comes from a box or the refrigerated case should not be allowed to call itself chocolate pudding. I agree with the reviewer who said that 1/2 cup of sugar would be enough, and I like things sweet. I’ll bet 1/2 tsp of espresso powder dissolved in the milk would be great here – but not an improvement, just different. Since your vanilla pudding has egg in it, I’m eager to try that, too, because it will have a custard aspect.
Thanks for another great one, Sam
I made this for a party at work. It was a big hit. I made sure to give you credit Sam. Note to others: if you are scaling this recipe up, cornstarch may need to be increased. I made 250 four ounce servings and I converted most of the ingredients to weight for ease of measuring. For that volume, I calculated 7.88 cups cornstarch(turns out to be 2.78lbs), but to get it to thicken before adding the chocolate, vanilla, and butter, I had to increase to about 3.5 lbs. I made it into Earth Day dirt cups with pulverized oreos and a mint sprig garnish.
Delicious recipe! I used 1/4 cup sugar for preference and it tasted perfectly sweet. It definitely satisfies a chocolate craving without needing to bake anything. Thanks Sam!
I have one question about the chocolate used. Do you use regular chocolate like Hershey’s or do you use Baker’s chocolate. I just found this online the other day and would like to try to use if for my Graham Cracker pie instead of the instant pudding.
Hi Stacy! I use either Baker’s, Lindt, or Ghirardelli chocolate bar. I hope you love it!
Just be sure it isn’t unsweetened chocolate
This tastes wonderful, but I always end up stirring for 45 minutes or so before it thickens and boils. The only part of the recipe I play around with is what kind of chocolate I stir in after this (I like to melt truffles in my puddings or hot chocolates), so I’m not sure what the issue is unless my stovetop has a different definition of medium heat.
I’m glad you enjoyed it, Matthew! I think I would probably turn the heat up just a little bit. 45 minutes is a long time to be stirring.
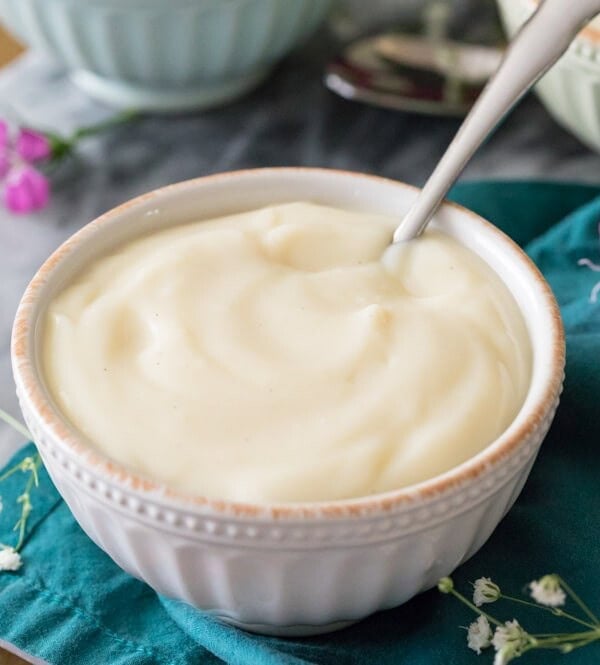
Hi! I wanted to ask a question or two before I try making this, if you won’t mind. I just made your vanilla pudding and was comparing this recipe to that one. I am wondering why this one doesn’t call for any heavy cream or egg yolks.
Hope this doesn’t come across in a negative way as I don’t mean for it to sound that way, it’s just curiosity mostly.
Hi Peggy! Honestly, I just found that this combination with the chocolate brought me to the best consistency and texture. 🙂
I’m planning to use this recipe in multiple batches.. I was wondering if there is a more precise way to check the consistency for it to be same every single time?
Right now i struggle with coming up with the same thickness when cooked at different size batches.. like double, triple etc….
Hi Farah! My best suggestion is the back of the spoon test. I’m not sure of a better test than that. 🙁
Such a great and easy recipe! I’m using this pudding in a chocolate lasagna instead of instant pudding, and can’t wait to see how it turns out!
That sounds amazing, Miriam! We hope the pudding works perfectly for you 😊
I use this recipe all of the time, I love it and it always turns out perfectly. Yesterday I decided to try making it dairy free, I used unsweetened almond milk and dairy free chocolate and it turned out really well, using it to make dairy free, gluten free dirt and worm pie.
what kind of butter did you use? salted or unsalted
Hi Amy! Either will work here. 🙂
I used to make chocolate pudding all the time years ago. I’ve never added the butter. In recent years the pudding thickens nicely as cooking but once it has cooled it turns to chocolate water. I use organic milk, either 2% or whole. The milk is ultra pasteurized. I wonder if this is the problem. What milk do you use? Is it organic? Ultra pasteurized? Thanks!
Hi Carol! I use whole milk and it is not ultra pasteurized.
Thanks Sam! I suspect the milk is the problem.
Would this recipe work with cashew milk ?
Hi Debra! I haven’t tried it but I think it could work. Let me know how it goes. 🙂
I made the chocolate pudding and it turned out perfect consistency everything I put in the fridge and four hours later it was liquid chocolate. I used whole milk I don’t know what happened but it sure taste good for liquid chocolate pudding. Anybody that has an tips or
Ideas please help!!!
The problem might be with the temperature and the cornstarch. I suggest trying a lower temperature while cooking it. You might have overcooked it for the cornstarch to set the pudding properly. A fresh box of cornstarch might take care if it, too.
Hi Kindly help me with some of my doubts . The puddings set by th next day . In a day or too starts to leave behind water N becomes watery but taste s good. Please can I know the reason for it?
What’s the right temperature to chill the puddings ?
and how long can it be left out of refrigeration.
Hi Shrea! A little separation with this pudding is completely natural. Just mix it back together. I would keep the pudding in the refrigerator and don’t leave it out for much more than an hour. 🙂
I just made this recipe and it taste amazing!! I will say that it took way longer the recipe states. I whisked by arm off. In total it took one hour from start of preparing the ingredients to cooling time before it hit the fridge. I will say if it sets up like I think it will I will make sure to cut out enough time in my day to make it again! I used 3 oz if Guittard 70% baking chocolate and 1oz. Of Voló extra dark chocolate 73% along with home made vanilla. Seriously I don’t know if I can do box pudding again, this is decadent!
another delicious recipe made on a sunday evening watching baseball. snuck a taste before setting for chill and so delicious.
A perfect way to spend the afternoon. I am so glad that you enjoyed it, Rosey! 🙂