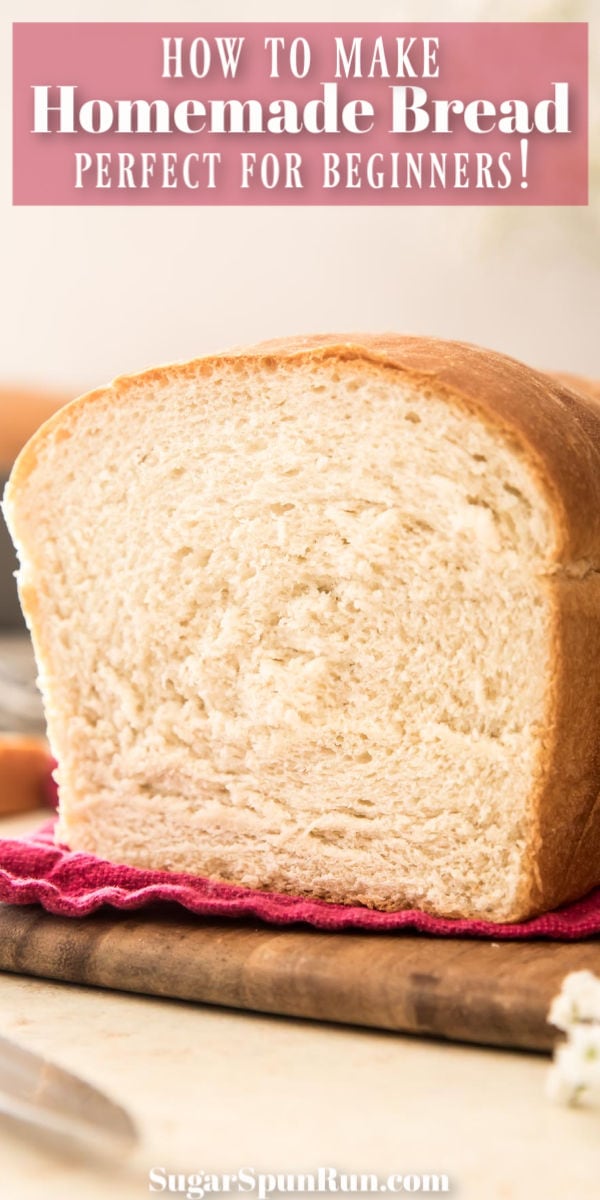
Today I’m sharing an easy Homemade Bread Recipe! Today’s post includes lots of tips, pictures, and a how-to video. I’ve also included plenty of substitutions so you don’t have to make any additional trips to the grocery store. This is the perfect soft and fluffy recipe for new and experienced bakers alike. Makes one loaf, no bread machine and no mixer required!
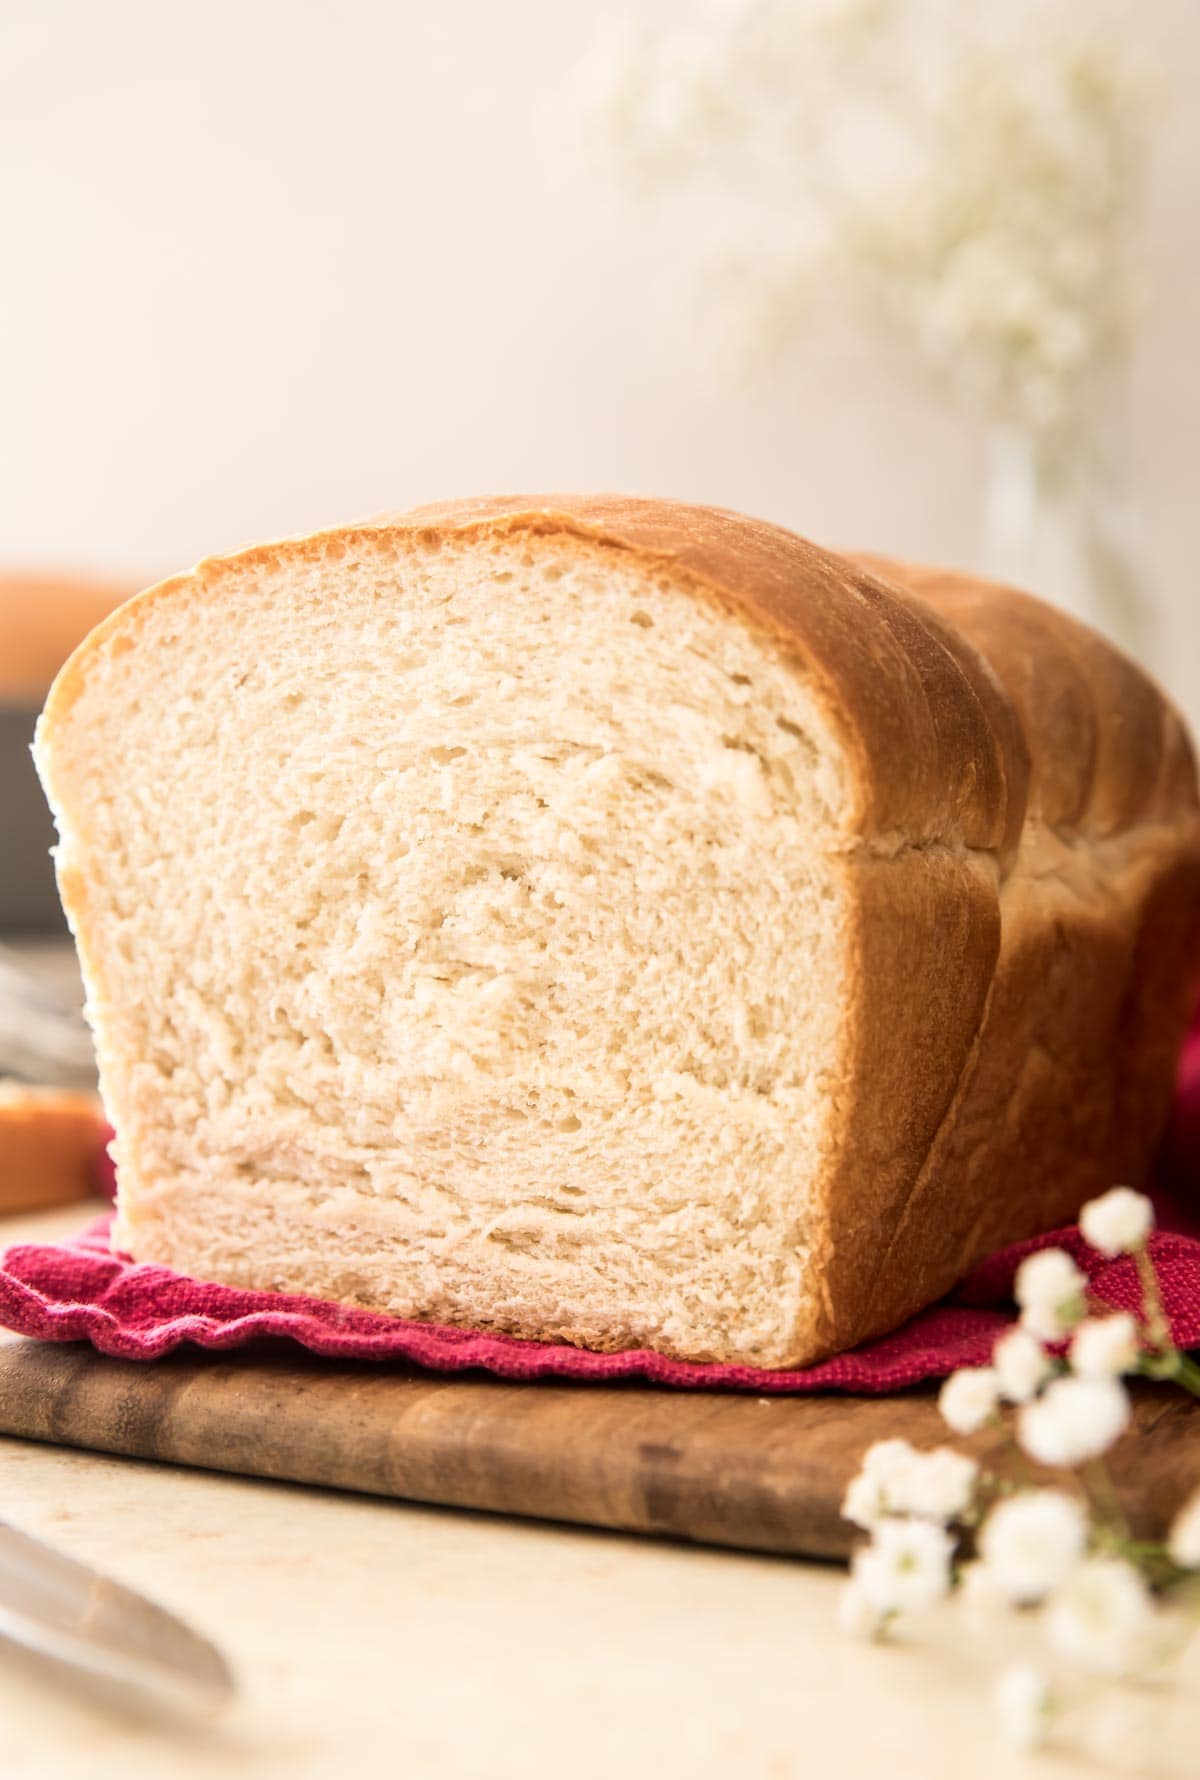
Every home baker should know how to make a soft, fluffy loaf of homemade bread. Especially during times like this when you can’t always guarantee that you’ll be able to find one in the grocery store.
Today I’m sharing a very simple bread recipe. It uses only a handful of ingredients (and I’ve included lots of possible substitutions below), can be made with no mixer or bread machine, and yields the softest, best-tasting bread of your life. This recipe is one that will be appreciated by novice bakers and professional bread makers alike. It can be eaten by itself, covered with butter, or used as sandwich bread (my mom’s recently been using it to make paninis!). You won’t want to go back to store-bought.
If yeast recipes intimidate you, this is actually the perfect recipe to start with. It’s simple and uses basic bread making techniques. If you’re not a novice baker and have been following the blog for a while, well so far we’ve tackled bagels, soft pretzels, and homemade donuts, I think we can handle a simple loaf of bread.
Ingredients and Substitutions
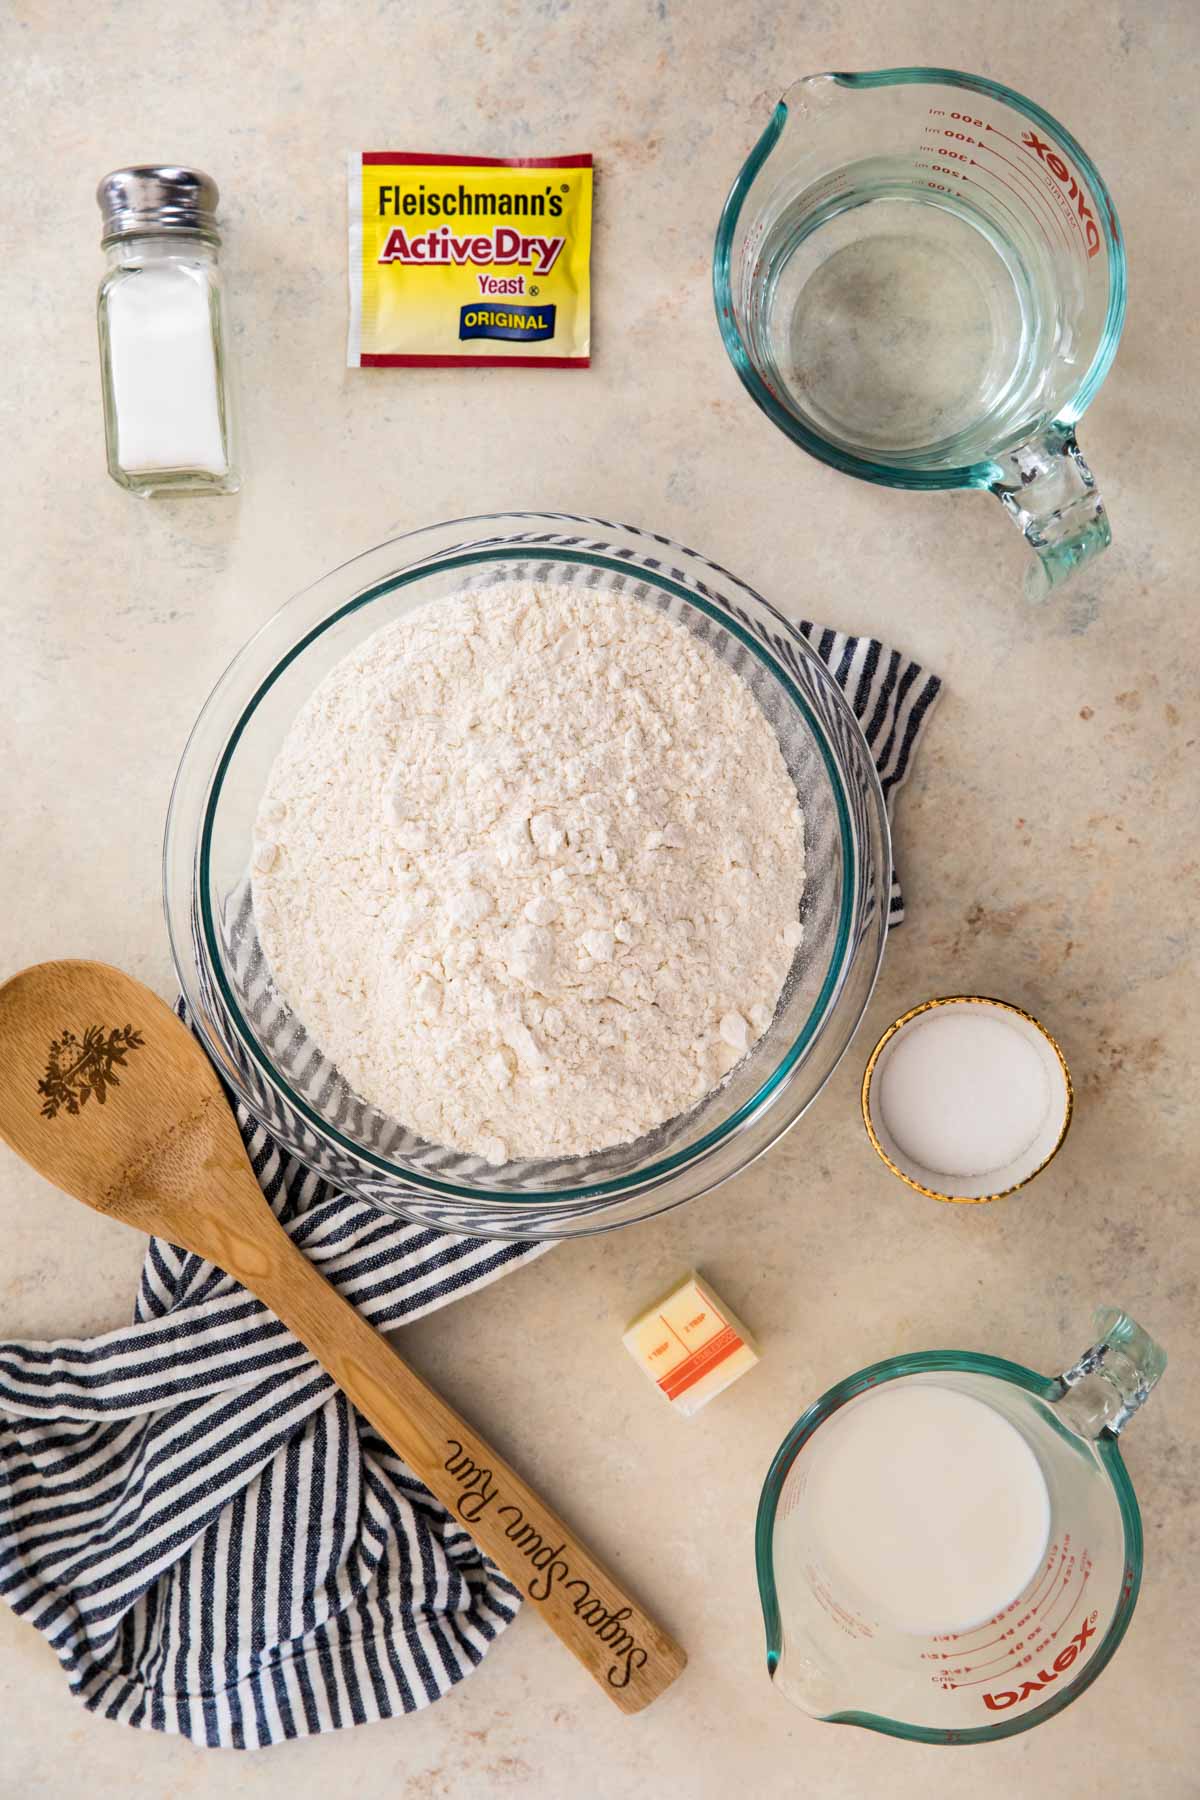
The ingredients needed for today’s bread recipe are very basic: yeast, flour, salt, sugar, butter, water, and milk. I’ve specified my preferences for ingredients that I prefer for best results in the recipe, but I completely understand that right now you may not have exactly the ingredients I’ve called for in your pantry. To help with that, I tested this homemade bread recipe with several substitutions:
- Flour. I recommend bread flour. All-purpose (plain) flour will work, but the bread is a bit less sturdy and is fluffier with all-purpose. Bread flour is more ideal for a sturdier, chewier bread, so if you plan to use this for sandwiches bread flour is your best bet. You can also substitute a bit of the flour (about 1- 1 ½ cups/125-190g) for wheat flour to make wheat bread, but I don’t recommend a 100% substitution. I do not recommend using self-rising flour, as the bread will likely rise too much and will not turn out properly.
- Yeast. This bread recipe will work with active dry yeast or with instant yeast. No changes are required if you use one or the other. Craving bread but don’t have yeast at home? Try my biscuit recipe instead.
- Milk. Whole milk is my preferences for the softest, most tender bread. However, 2% milk or skim milk will work in a pinch. If you don’t have any milk on hand, you may substitute the milk for additional water.
- Butter. Butter is my preference for the best flavor, but if you don’t happen to have any you can substitute oil. Olive oil, vegetable oil, canola oil… just about any cooking oil will work.
- Sugar. If you don’t happen to have sugar on hand you can substitute an equal amount of honey. You may need to use a bit more flour if you make this substitution.
Hopefully these substitutions are helpful!
How to Make Homemade Bread
- Proof your yeast. Mix it with a mixture of warm water and milk (heat between 105-115F; too hot will kill the yeast and too cool the yeast won’t activate) and a pinch of sugar. Wait 5 minutes for it to get foamy.
- Add remaining ingredients and stir well until the dough reaches the proper consistency (a word on that below).
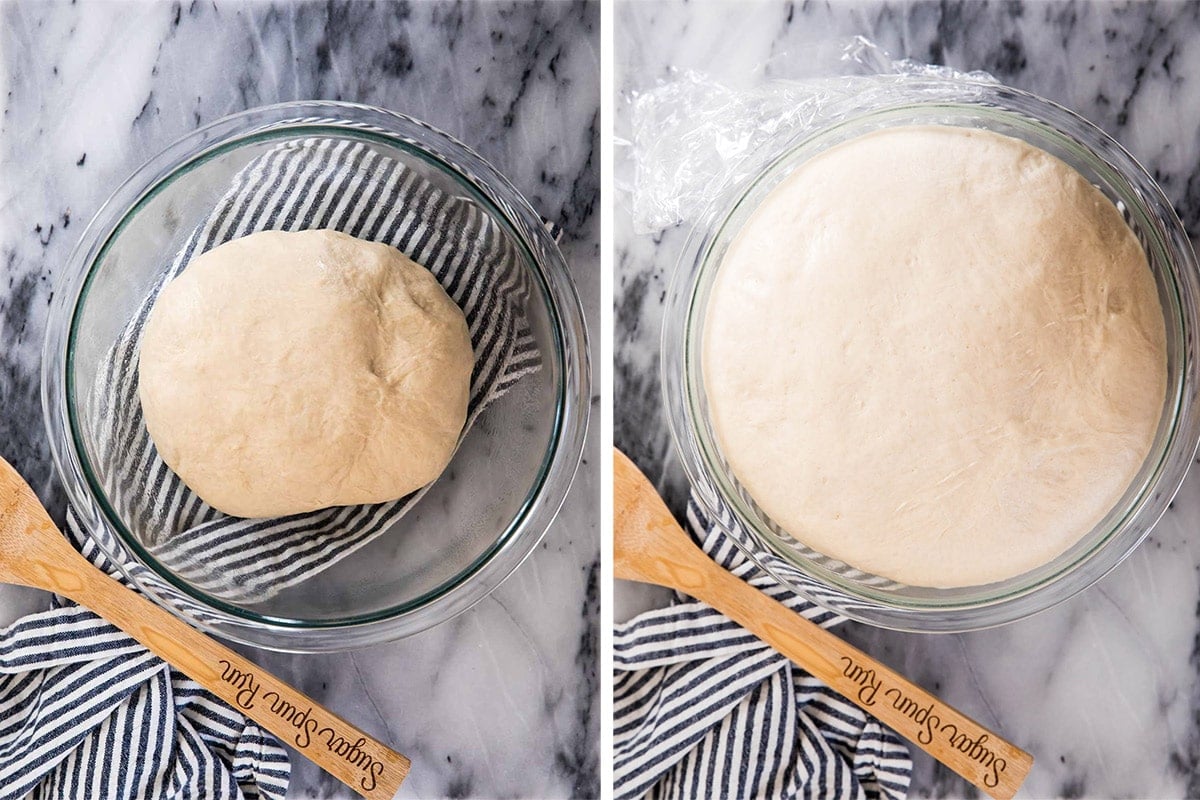
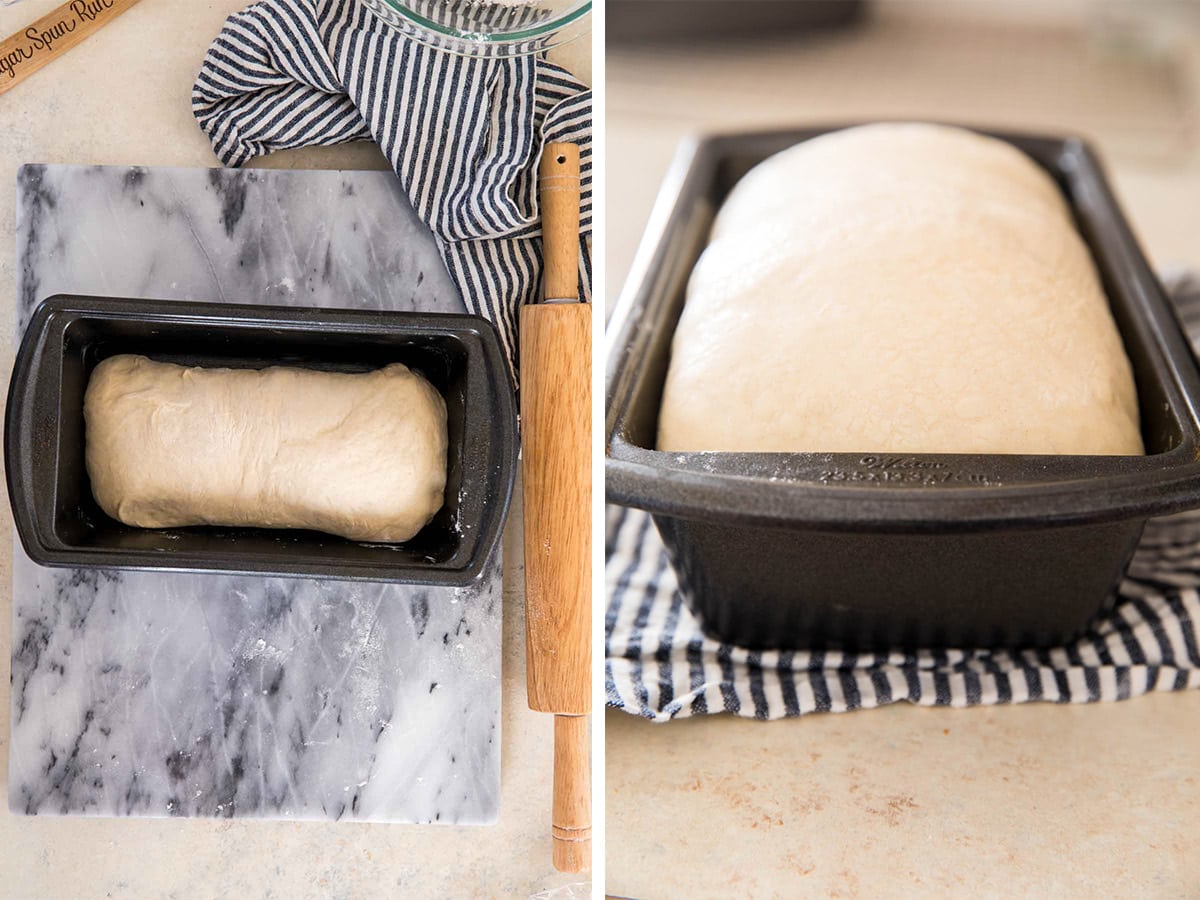
- Place in an oiled bowl, cover, let rise until doubled in size (see images above).
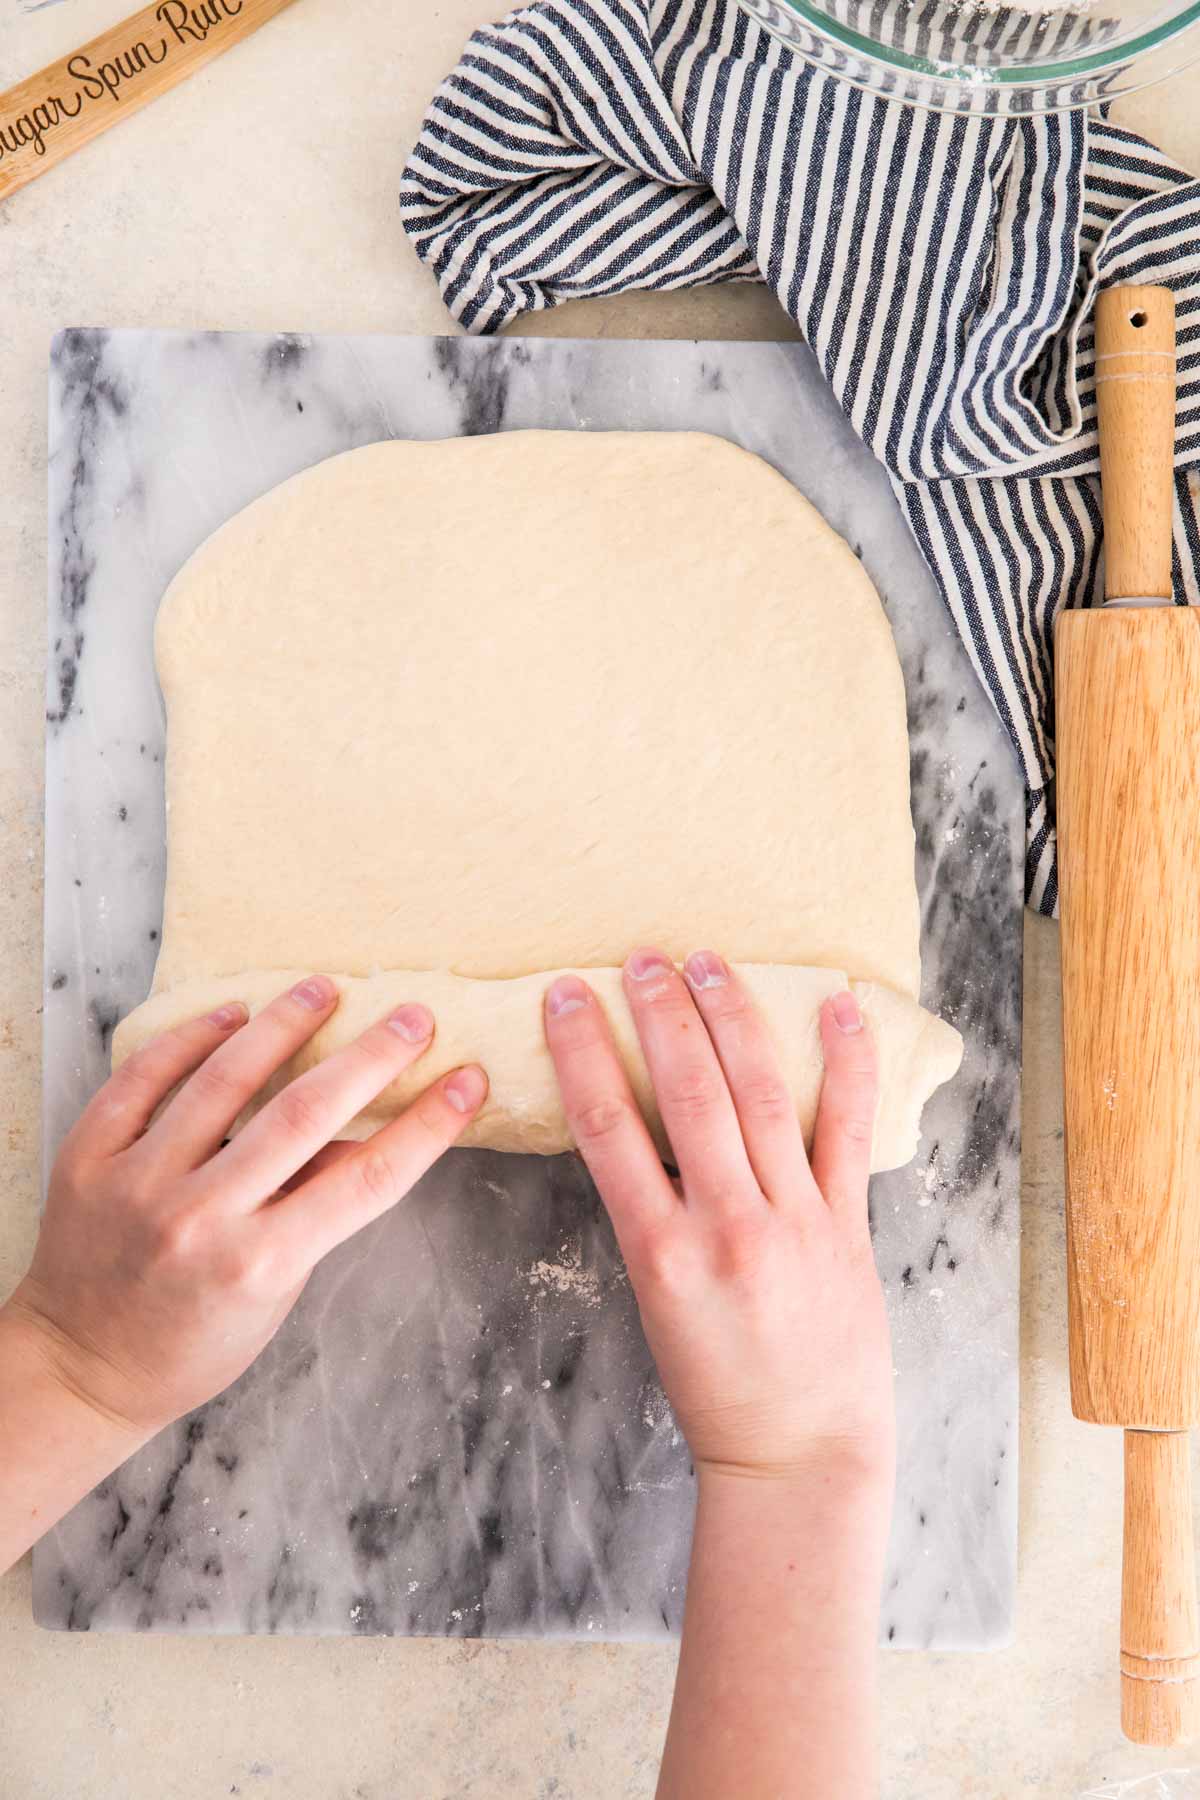
- Deflate and form into an 8×12 rectangle. Roll into a log from the shorter end and pinch the seam. Tuck the ends under and place, seam-side down into a greased 9×5″ bread pan. Let rise until doubled in size (see images below).
- Bake until golden brown and the bread sounds hollow when tapped! Allow to cool before slicing!
While the easiest way to make this bread recipe is with a stand mixer (and I’ve included notes in the recipe on how to do so), it can also be made just with a large bowl and a spoon (just like my pizza dough). In the video I made it without my mixer, a bit of elbow grease and some manual kneading is required to make it this way.
Getting the Right Consistency
You’ll notice that in this bread recipe I don’t list a precise amount of flour. I indicate 4-5 cups. That’s quite a range and you would never find such vague guidelines on any of my recipes that don’t use yeast!
When you’re baking homemade bread (or other yeast recipes), though, the amount of flour will almost always vary. Rather than using a specified amount of flour and calling it a day, you need to judge based on the consistency of your dough. You’re looking for the dough to cling together and form a ball. It should not stick to your hands but should be slightly tacky to the touch. You may need less flour than I do, or you may need more.
For a visual guide on how your bread dough should look, be sure to check out the video below the bread recipe.
How to Store
Store homemade bread tightly wrapped or in an airtight container at room temperature for 2-3 days. This bread may also be frozen. Let it cool after baking and then wrap tightly in plastic wrap and then in foil and freeze.
If you are interested in making the dough in advance, here is a guide I found on how to freeze homemade bread dough.
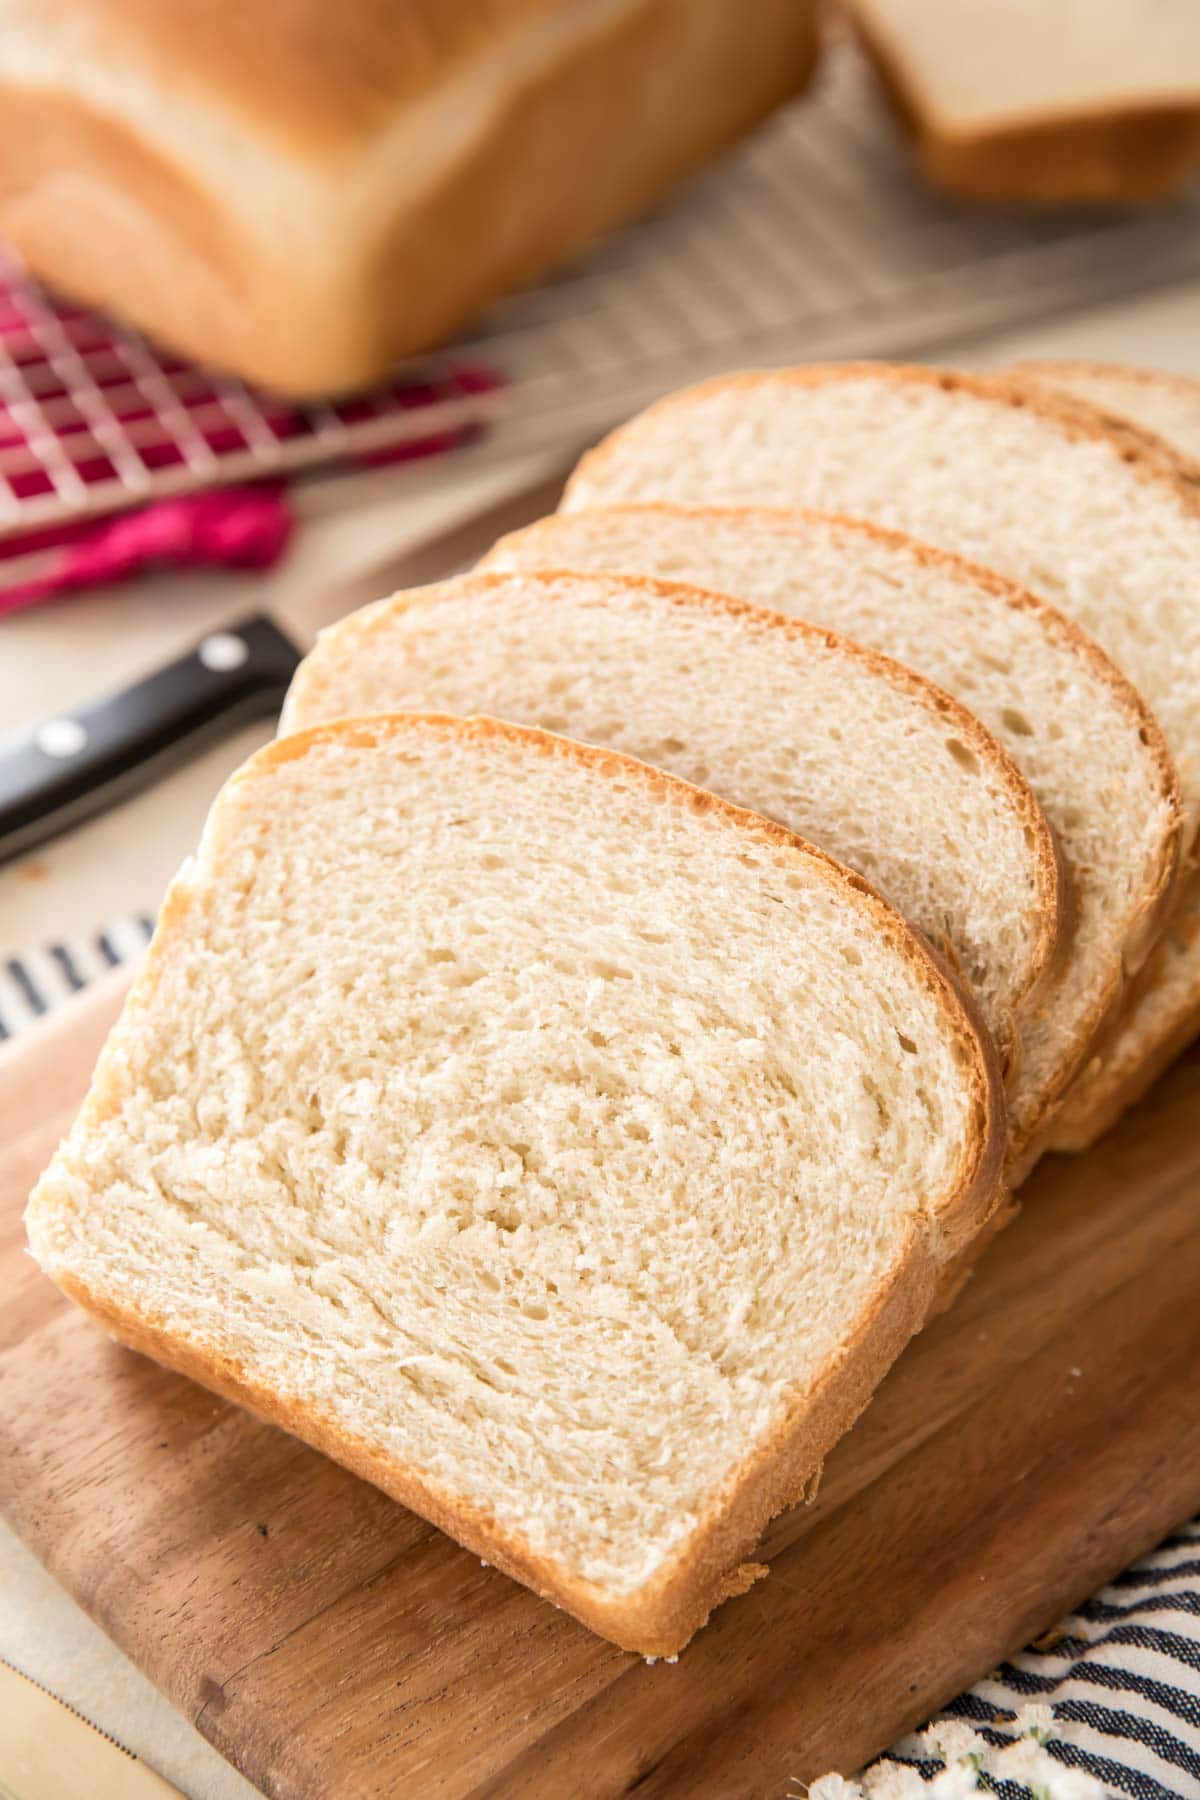
This bread recipe is great served alongside baked ziti, stuffed shells, or lasagna soup! Enjoy!
More Bread Recipes to Try:
Are you more of a visual learner? Check out my YouTube channel where I show you exactly how I make this recipe step-by-step in my own kitchen.
Homemade Bread
Ingredients
- 2 ¼ teaspoons active dry yeast¹ 1 packet
- 1 ¼ cups (300 ml) water
- ¼ cup (60 ml) whole milk²
- 2 Tablespoons + 1 teaspoon granulated sugar
- 2 teaspoons salt
- 2 Tablespoons butter softened and cut into 4 pieces
- 4 - 5 cups (500-625 g) bread flour or all-purpose (plain) flour³
Recommended Equipment
Instructions
- Combine milk and water and heat in the microwave (or on the stovetop) until it reaches a temperature between 105-115F (40-46C). Make sure to stir the liquid before measuring the temperature to make sure it is heated evenly.1 ¼ cups (300 ml) water, ¼ cup (60 ml) whole milk²
- Pour warm milk/water mixture into a large bowl or the bowl of a stand mixer. Add yeast and 1 teaspoon of granulated sugar and stir to combine. Allow to sit for about 5 minutes, until yeast is foamy (if yeast does not foam there is something wrong with it, it is likely dead. You will have to throw this out and start over).2 ¼ teaspoons active dry yeast¹, 2 Tablespoons + 1 teaspoon granulated sugar
- Once yeast is foamy, add remaining 2 Tablespoons granulated sugar, salt, butter, and 2 cups (250g) of your flour mixture. Stir well until completely combined (the butter may not be completely combined at this point but as you add more flour it should mix into the dough completely).2 teaspoons salt, 2 Tablespoons butter, 4 - 5 cups (500-625 g) bread flour or all-purpose (plain) flour³
- Gradually add additional flour, stirring well after each addition (if you are using a stand mixer, stir on low-speed with a dough hook attachment), until dough clings together and forms a ball that pulls away from the side of the bowl. Dough should be slightly tacky to the touch but should not be sticky.
- Transfer to a clean surface and knead for about 5-10 minutes until dough is smooth and elastic (or continue to stir with mixer on low-speed with dough hook until smooth and elastic, about 3-5 minutes).
- Transfer dough to a lightly oiled bowl, turn dough to coat the surface lightly with oil, cover and allow to rise in a warm place until doubled in size (about 1-2 hours).
- Once dough has doubled, transfer to a clean, lightly floured surface and use your hands to deflate the dough. Use lightly floured hands or a lightly floured rolling pin to form into an 8x12” rectangle. Starting with one 8” end, roll dough tightly into a log. Pinch the seam to seal the log and tuck the ends of the dough under to form a loaf (see my video below the recipe for a visual).
- Transfer to a lightly greased (I use shortening) 9x5” bread pan. If desired, use a serrated knife to score the bread lengthwise across the top. Cover with a clean towel and allow to rise in a warm, draft-free place until doubled in size and loaf has risen about .5-1” above the edge of the loaf pan. While dough is rising, preheat your oven to 400F (200C).
- Once dough has risen and oven is preheated, oncover loaf and transfer to 400F (200C) oven and bake for 25 minutes or until loaf is golden brown and sounds hollow when tapped,
- Immediately invert onto a cooling rack. Allow to cool a bit before slicing and serving.
Notes
Storing:
Wrap tightly or store in an airtight container in a cool, dry place for 2-3 days. I do not recommend keeping in the refrigerator as it will dry out the bread and make it stale. Bread may be frozen, allow to cool and then wrap tightly in plastic wrap and foil and freeze for up to a month.Nutrition
Nutritional information is based on third-party calculations and should be considered an estimate only. Actual nutritional content will vary based upon brands used, measuring methods, cooking method, portion sizes, and more.




Monika
Can this bread recipe be used to make buns? If so, how many and for how long do we bake them? Thanks!
Sam
Hi Monika! I haven’t tried making this as buns so I can’t say for sure how many it would make or how long they would take to bake.
Trinity
I was nervous about time and temp for using it in my lidded loaf pan but it was perfect! Beautiful loaf of bread.
Alice Rathbun
This bread is so delicious. My husband is a big on homemade bread and this got 5 stars from both of us. I have been making this once a week.
Aleiaha Bugella Hastings
My son is very picky when it comes to bread. I made this for the first time and when he tried it he said it tasted better than the stuff we get from the store! I’m now making two more to bring to work! I’m so happy I found a recipe that my son loves and it will save me money in the long run!!! Thank you for sharing this!!
Linda
This is the first time I have tried baking bread. It rose beautifully and looked great. The only thing I thought my dough texture when baked was a little dense. Any thoughts to what I may have done wrong. Definitely going to try it again. I used bread flour as suggested, used 2% milk because I couldn’t find whole milk.
Sam
Hi Linda! I’m so sorry to hear this happened! The most likely causes of a dense bread are under-proofing or under-kneading. Was it a bit cooler in your kitchen the second time? I hope this helps. 🙂
Jena
Which shortening do you use for greasing the pan? Is there a substitution for that?
Emily @ Sugar Spun Run
Hi Jena! Any kind will work really. You could also use butter 😊
Jena
Coming back to say the butter to grease the pan worked perfectly. Also I made me first loaf this Sunday and now on Thursday I’m on my third. This recipe is so easy and delicious! Currently waiting for my sourdough starter to be ready to bake with so I can try that loaf recipe.!
Sam
I’m so glad you are enjoying it so much! 🙂
Mercia Dielwart
I make this bread at least every other day, sometimes a double batch for an XXL loaf or for buns and I can honestly say that it comes out perfectly every time. We have not bought bread in well over 3 months because we love this bread so much. The smell of bread baking is just wonderful!
Sam
I’m so glad you enjoy it so much, Mercia! There really is something so amazing about the smell of a freshly baked loaf of bread. 🙂
Sam
any changes for a glass bread pan?
Sam
It will likely take longer for it to bake.
Gale
This bread is amazing. Easy recipe and came together quickly. It rise amazingly fast and was ready to bake within 30 minutes of mixing. My husband said it was the best bread he’s ever tasted and I have used several different recipes over the years. I WILL make again.
Sam
I’m so glad you enjoyed it so much, Gale! 🙂
Pam
Hi, is the butter salted or unsalted?
Thanks!
Pam
Sam
Hi Pam! Since it’s only 2 Tablespoons it won’t make a difference which one you use, I just use whichever happens to be most convenient for me to reach in my fridge (usually unsalted, but it doesn’t matter). I hope that helps, and I really hope you love the bread! 🙂
Pam
I make this bread every weekend since I’ve found this recipe, and we haven’t had store bought bread since. It’s so easy to make and we love it.
In fact, my husband told me that I’m not allowed to stop making bread 😅
Sam
That’s so awesome! Homemade bread is soooo good! 🙂
Sarah
Lovely recipe!
Bon
Works every time
Stephanie
I made this bread 2 weekends ago and my family loved it. Two days ago my husband took a picture of the store bought bread we had and sent it to me. He was sad that he had to make his sandwich with the store bought bread so today, I made two loafs (I wasn’t intending to, so I did not double the recipe, just went through the steps twice). I was initially a little apprehensive using yeast for some reason, but now I am ready to tackle other yeast recipes. Thank you for sharing this recipe and thank you for making the steps clear/simple!!!!
Sam
I’m so glad to have helped you overcome your fear of using yeast, Stephanie! I’m glad you enjoyed the bread so much. 🙂
Carolyn
Water volume given in ml should be 300ml, not 236ml. Have I got that right?
i
i
Sam
Yes you do!
Meribeth
Another winner!! I love your web site. My go to place. Thank you!!
Theresa
Can you make this in a bread Machine?
How many Lb is it?
Emily @ Sugar Spun Run
Hi Theresa! While we have never tried this recipe with a bread machine, someone has commented that they have made it successfully with their bread machine. Hope that helps!
Jodie
This is the same recipe an old French friend of mine taught me in my teens many years ago. We’d spent a whole day and made dozen loaves to eat and that made enough to gift and freeze. Huge rave reviews! Ppl were asking me to please make more bread. This is a classic delicious recipe for white bread 😊
Sam
I’m so happy it was such a success, Jodie! Thank you so much for trying my recipe, and for letting me know how it turned out for you! 🙂