
Homemade Soft Pretzels
This post may contain affiliate links. As an Amazon Associate I earn from qualifying purchases. Please read my disclosure policy.
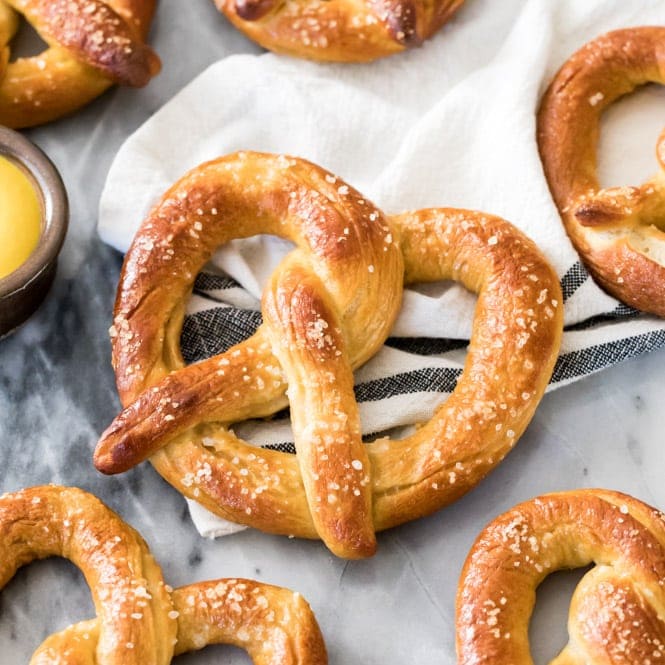
Have you ever wanted to make soft, chewy, hot & fresh Soft Pretzels at home!? Today I’m walking you through all the steps so you can make your own golden homemade pretzels at home. If I can do it, you can do it!

Today we are tackling Soft Pretzels! You and I, together, we’ve got this.
For when you really want one of those salty, chewy, mall-style pretzels but you don’t want to change out of your comfy pants and actually go to the mall. Side note, does anyone actually go to the mall anymore? Or are we all just shopping online now? Or am I the only who doesn’t leave my house for fear of being asked by an associate if they can help me with anything?
Anyway, Soft Pretzels! Yes, they are made with a yeast-based dough. Yes, they require bread flour rather than our standard all-purpose flour (more on that below). Yes, they require a bath before we can bake them (more on that below, too). But while these things may sound a little foreign and scary, especially if you usually stick to cookies 🙋🏼, there’s actually nothing very complex about making pretzels, once you get down to it. The hardest part for me was just figuring out how to twist my dough into an actual pretzel shape.
Let’s get to it, and remember, for extra help you can always check out my step-by-step video at the bottom of the recipe (and leave me a comment with any questions!)!

The Best Flour for Making Soft Pretzels
I really recommend that you use bread flour rather than all purpose when making soft pretzels. Bread flour has a higher gluten content, which in this case yields softer and chewier soft pretzels than you could expect with all purpose flour.
With some recipes, you can get away with using all purpose flour in place of bread flour (I often do in my popular pizza dough recipe), but I really recommend using bread flour for this soft pretzel recipe.
How to Twist a Pretzel
It’s easier to show you than it is to explain in writing, but I’ll give it my best shot. Start by taking your rope of pretzel dough and form it into a “U” shape. Cross the ends over one another, then cross again (see first and second picture, below). Next take your crossed/twisted ends and fold them down over the bottom of the pretzel (third picture, below).

The Importance of a Baking Soda Bath
Before we can bake our soft pretzels, we have to give them a bath. A baking soda bath, to be specific. You’ll bring 8 cups of water and 1/4 cup (yes, cup) of baking soda to a boil in a large pot and boil each pretzel in this solution for 60 seconds. Yes, it’s extra work, but it’s going to help give our soft pretzels their shiny brown appearance and their chewy texture. It’s what’s going to make our soft pretzels actual soft pretzels!
It’s this brief alkaline bath that encourages your soft pretzels to brown more quickly and develop that crisp exterior and chewy interior. It’s what gives them their signature brown exterior. Traditional/professional soft pretzel makers often actually boil their pretzels in lye (which is much more alkaline) and some people like to bake their baking soda before boiling it to make it more alkaline. That’s a bit more time consuming and I’m perfectly happy with the brief baking soda bath I use here, but more power to you if you want to give that a shot!
Anyway, the moral of my rambling is: skip the baking soda bath and you’ll end up with pretzels that look and taste much more like pale, dull, twisted breadsticks (like a garlic-less Garlic Knot), and much less like glorious mall-style soft pretzels. If you’re a baking nerd like I am, you might find this article interesting, I thought it was an enjoyable read that also covered some of the science behind this process!

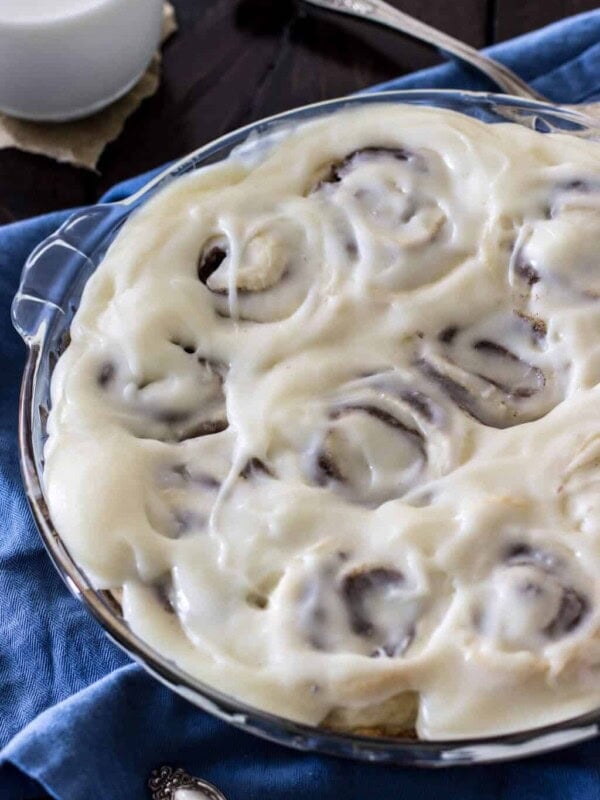
While I enjoy a good savory soft pretzel dipped in mustard, you probably won’ be surprised that at the mall I always go for cinnamon sugar pretzels instead. I included instructions in the notes below so you can make your own cinnamon sugar pretzels at home if you prefer sweet to savory, too (my people… 💜)!
Enjoy!
I hope you will check out my Soft Pretzel video at the bottom of the recipe! If you enjoy watching, make sure to subscribe to my YouTube channel where I’ve already uploaded over 100 recipe videos that you can watch for free!
Homemade Soft Pretzels
Ingredients
- 3 cups (375 g) bread flour, plus additional as needed
- 3 Tablespoons brown sugar, tightly packed
- 2 ½ teaspoons instant/rapid rise yeast
- 1 teaspoon salt
- 2 Tablespoons unsalted butter, melted
- 1 cup hot water, between 110-115F (43-46C)
For rising/boiling/baking
- Olive or canola oil, for bowl
- 8 cups water
- ¼ cup baking soda, (yes that is correct, ¼ cup)
- 1 large egg, lightly beaten
- 1 Tablespoon water
- Pretzel salt or coarse sea salt, for sprinkling
Instructions
- Combine bread flour (3 cups/375g), brown sugar, yeast, and salt in the bowl of a stand mixer that’s been fitted with a dough hook. Stir until combined.3 cups (375 g) bread flour, 3 Tablespoons brown sugar, 2 ½ teaspoons instant/rapid rise yeast, 1 teaspoon salt
- Add melted butter and water and stir on low speed until completely combined. Continue to stir until a smooth elastic dough forms that clings to itself and pulls away from the sides of the bowl. Dough should be slightly tacky but not unmanageably sticky. If needed, stir in additional bread flour, 1 Tablespoon at a time (I often need to add 1-2 additional Tablespoons).2 Tablespoons unsalted butter, 1 cup hot water
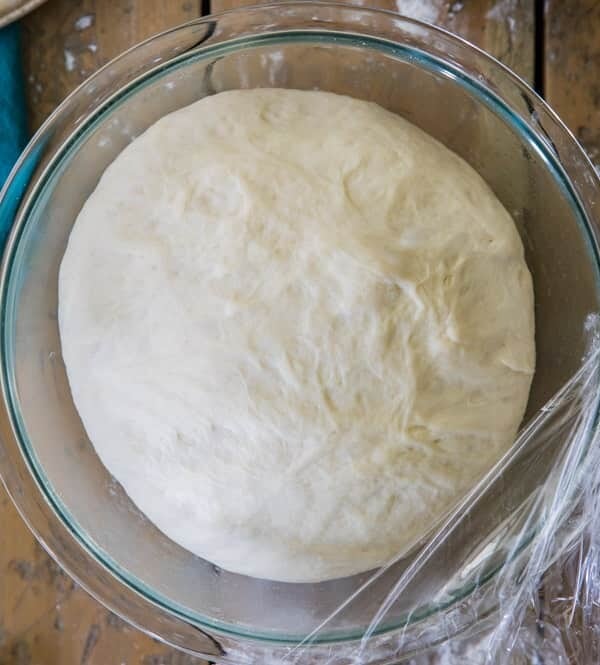
- Lightly brush a large bowl with olive oil and place your dough ball into oiled bowl. Cover tightly with plastic wrap and then place in a warm place to rise for 30 minutes/until doubled in size (the top of my oven is usually quite warm while preheating, so I’ll usually turn on my oven to 450F/230C at this point and place my dough on top).Olive or canola oil
- Preheat oven to 450F/230C and line 2 baking sheets with parchment paper. Set aside.
- Once pretzel dough has finished rising, transfer dough to a clean, lightly floured surface and divide dough into 10 even pieces.
- Roll each piece of dough into a long thin rope (mine were about 20-24” long!) and twist into a pretzel shape (see photos in post [above] or demonstration in video [below] for example). It's easy to roll the dough between your palms while stretching. You may also roll it with your palms against a clean surface, don't flour the surface very much or it will be difficult to work the dough.
- Combine water and baking soda in a large deep dish (I like to use a Dutch oven) and bring to a boil. Once boiling, gently lower each pretzel into the boiling water/baking soda mixture. Boil for 30 seconds on each side then drain and place on prepared baking sheet. Repeat with remaining pretzels, spacing at least 1 ½” apart.8 cups water, ¼ cup baking soda
- Whisk together lightly beaten egg and 1 Tablespoon water and brush over each pretzel. Sprinkle with coarse sea salt or pretzel salt, as desired (see notes for instructions on making cinnamon sugar soft pretzels).1 large egg, 1 Tablespoon water, Pretzel salt or coarse sea salt
- Transfer to 450F (230C) oven and bake for 9-12 minutes or until golden brown.
- Remove from oven, allow to cool several minutes, then enjoy. Pretzels are best enjoyed warm the day they are made.
Notes
To make Cinnamon Sugar Pretzels:
Do not top your pretzels with salt and bake as indicated. Meanwhile melt ¼ cup salted butter and stir together ½ cup sugar and 2 teaspoons cinnamon. Once pretzels have finished baking, allow to cool for several minutes then brush generously with butter and sprinkle generously with cinnamon/sugar.Nutrition
Nutrition information is automatically calculated, so should only be used as an approximation.
Like this? Leave a comment below!


Can you freeze these pretzels? And what temperature should I bake them out of the freezer?
Hi Sherry! You shouldn’t have any issues freezing them. I would probably reheat on 350 for a few minutes. 🙂