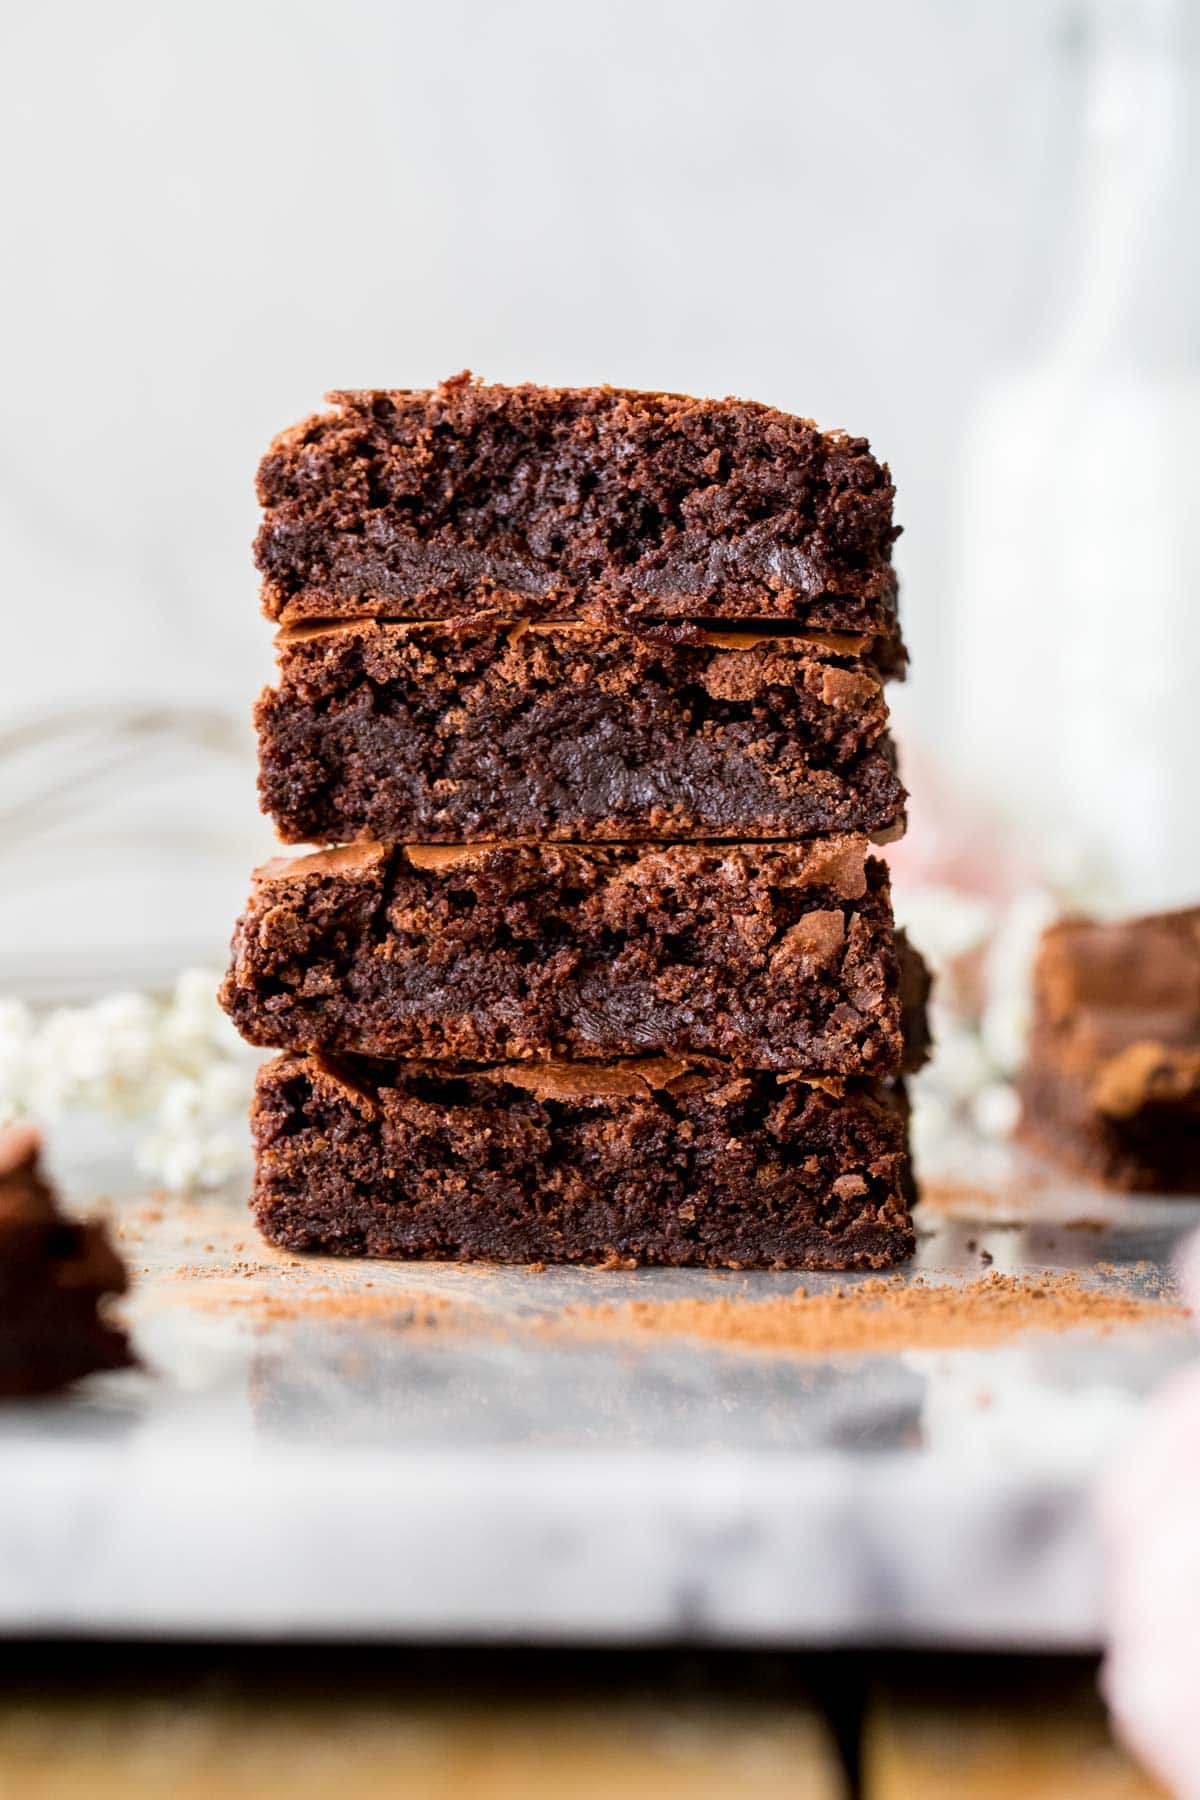
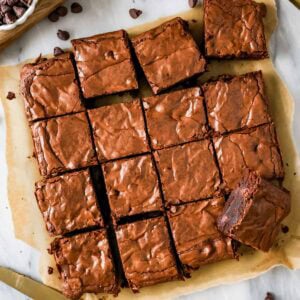
A simple recipe for homemade Flourless Brownies. This recipe yields chocolatey, fudgy, rich brownies with crackly tops. Recipe includes a how-to video.
No flour? No problem.
Some of you have written and told me that you’re still having trouble finding flour in the grocery stores, so I thought I’d give you an alternative to making my flourless peanut butter cookies on repeat.
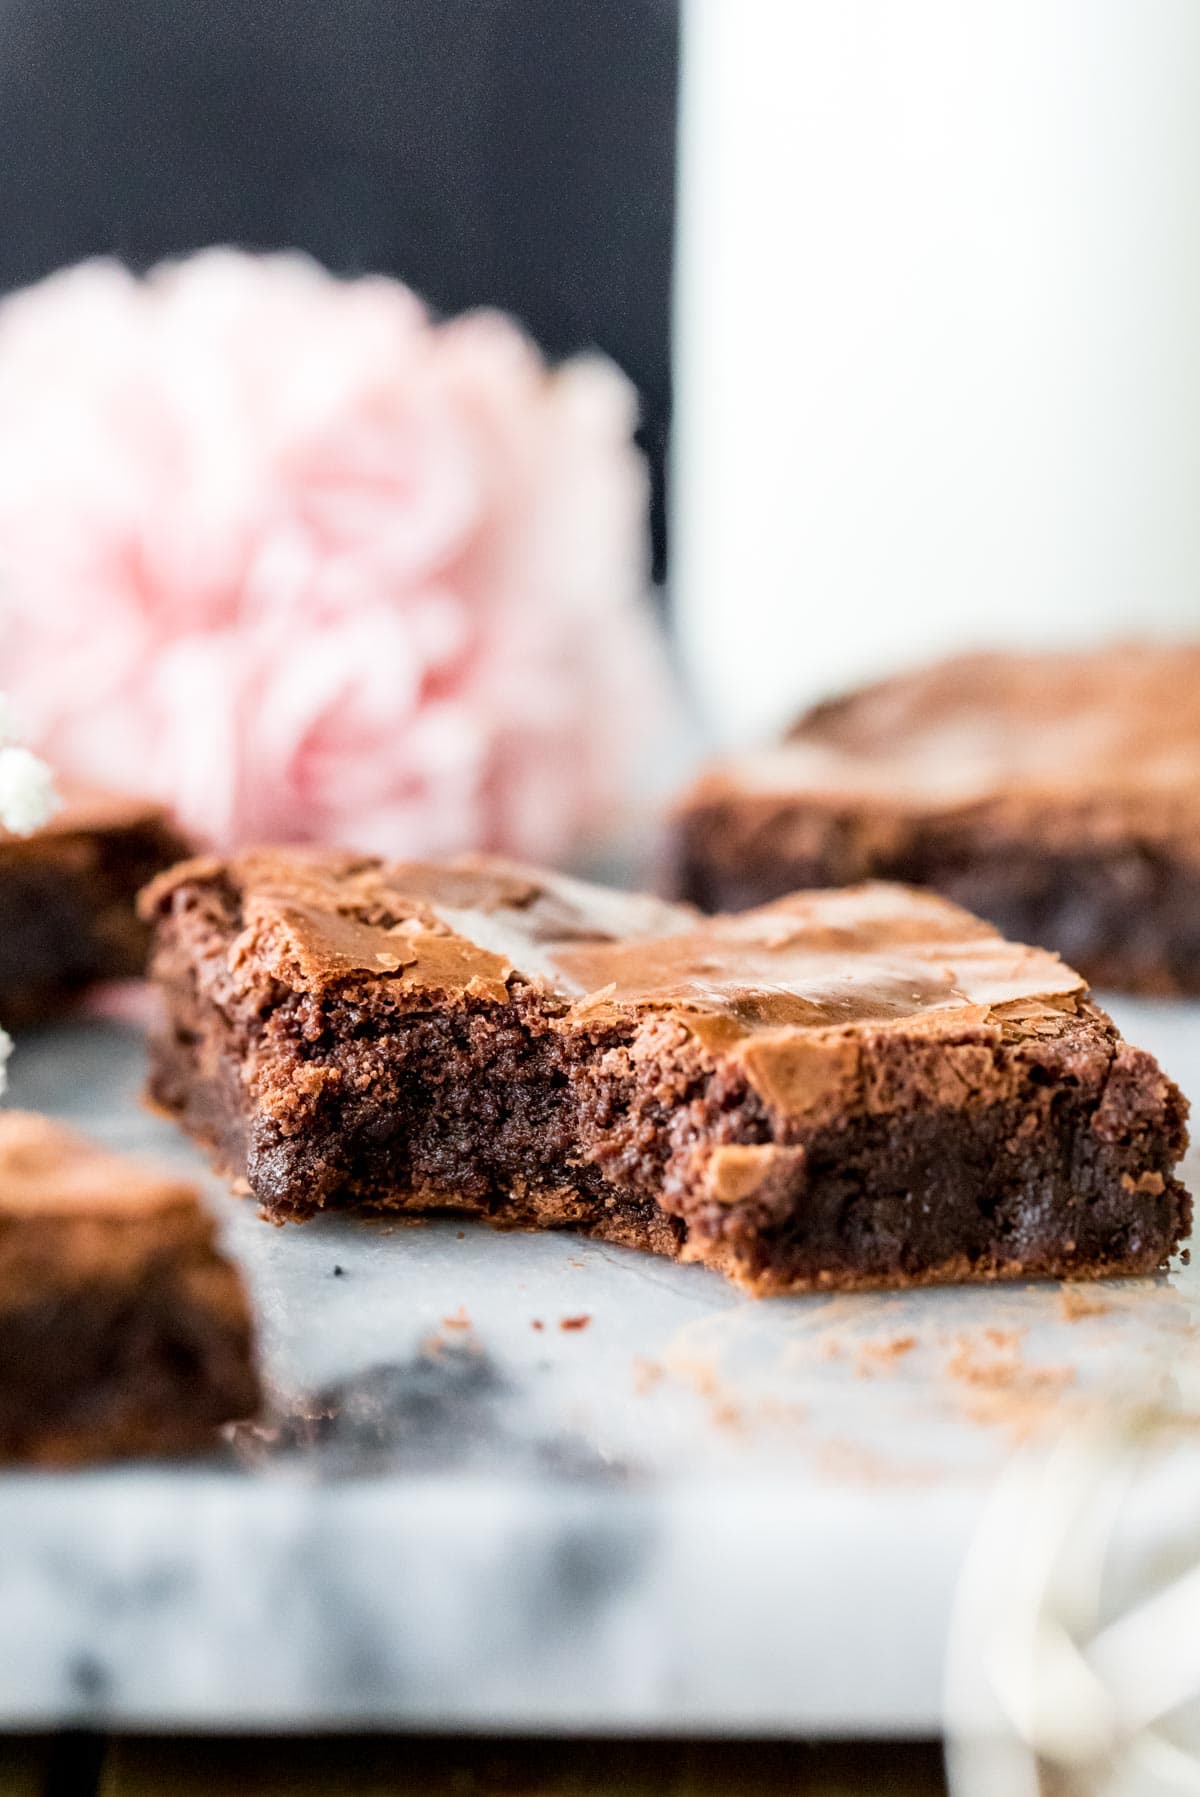
Today’s recipe is thinner but fudgier than my favorite brownie recipe. It’s richly chocolaty with crackly tops and a melt-in-your-mouth crumb. They’re perfect for making in a pinch (or for a gluten free friend). Or for yourself anytime… even after spending days perfecting this recipe Zach is still asking me to make it just because.
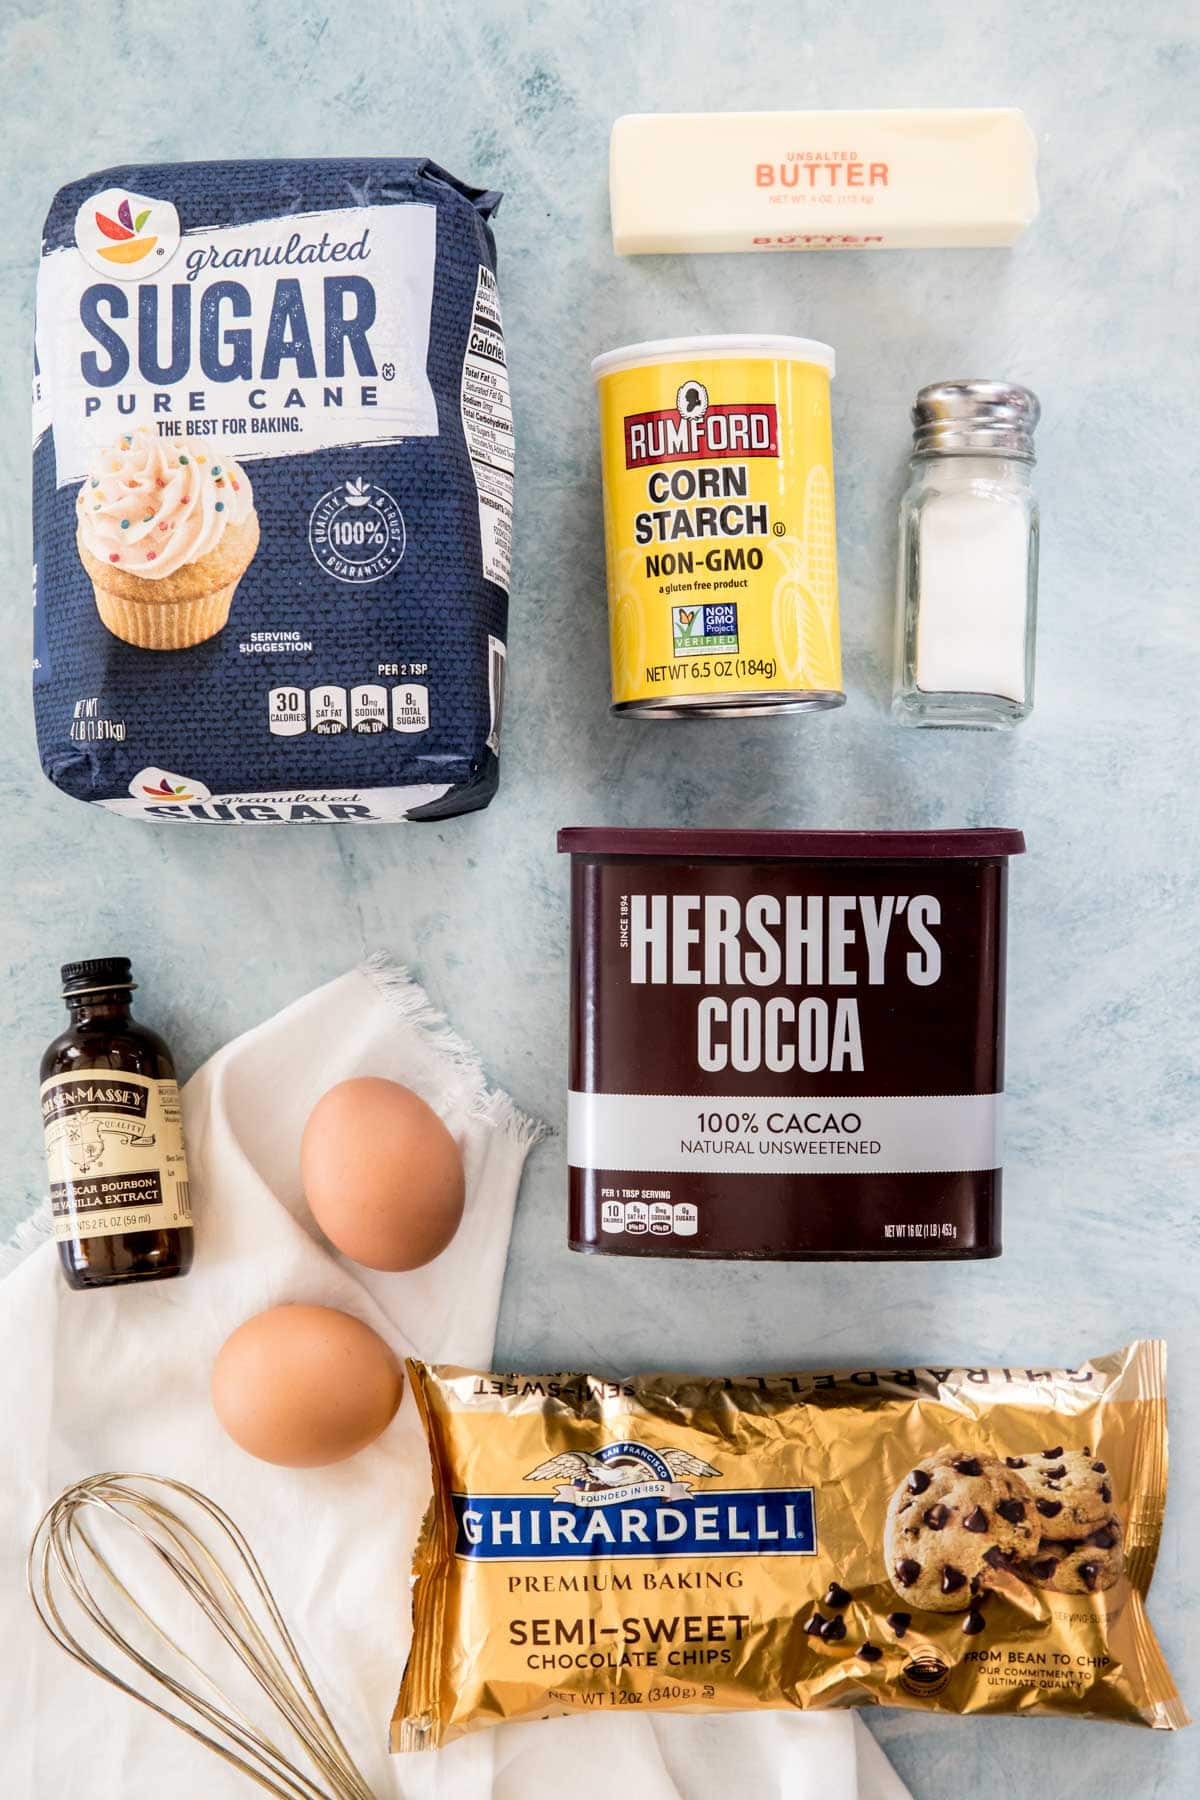
What You Need:
- Chocolate chips. Since so much of your flavor comes from the chocolate, I recommend using a premium brand of chocolate chips. I personally prefer Ghirardelli (and they’ve never paid me so much as a penny to say so).
- Butter. There’s less butter than you’d probably guess for a pan of brownies, less than one stick!
- Sugar. Only granulated sugar in today’s recipe.
- Cocoa powder. I prefer natural cocoa powder but Dutch processed will work as well.
- Eggs. We’ll whip these very well with our sugar, it’s an important step in the process and I’ll talk more about it below. Unfortunately I cannot advise a substitute for the eggs (I’m not saying one doesn’t exist, but they are key in this recipe and I don’t know of a substitution that would work properly).
- Corn starch. In order to give the brownies some structure, we need to incorporate corn starch into the batter (though if you don’t have it I believe arrowroot would work instead). If you’re a regular baker from my blog I would bet you have plenty of this in your pantry; it’s one of my favorite secret ingredients 😉
- Vanilla extract & salt. For flavor.
Note: This is just an overview of the ingredients that are needed and why I chose them. For the full flourless brownie recipe and amounts please scroll down to the recipe card.
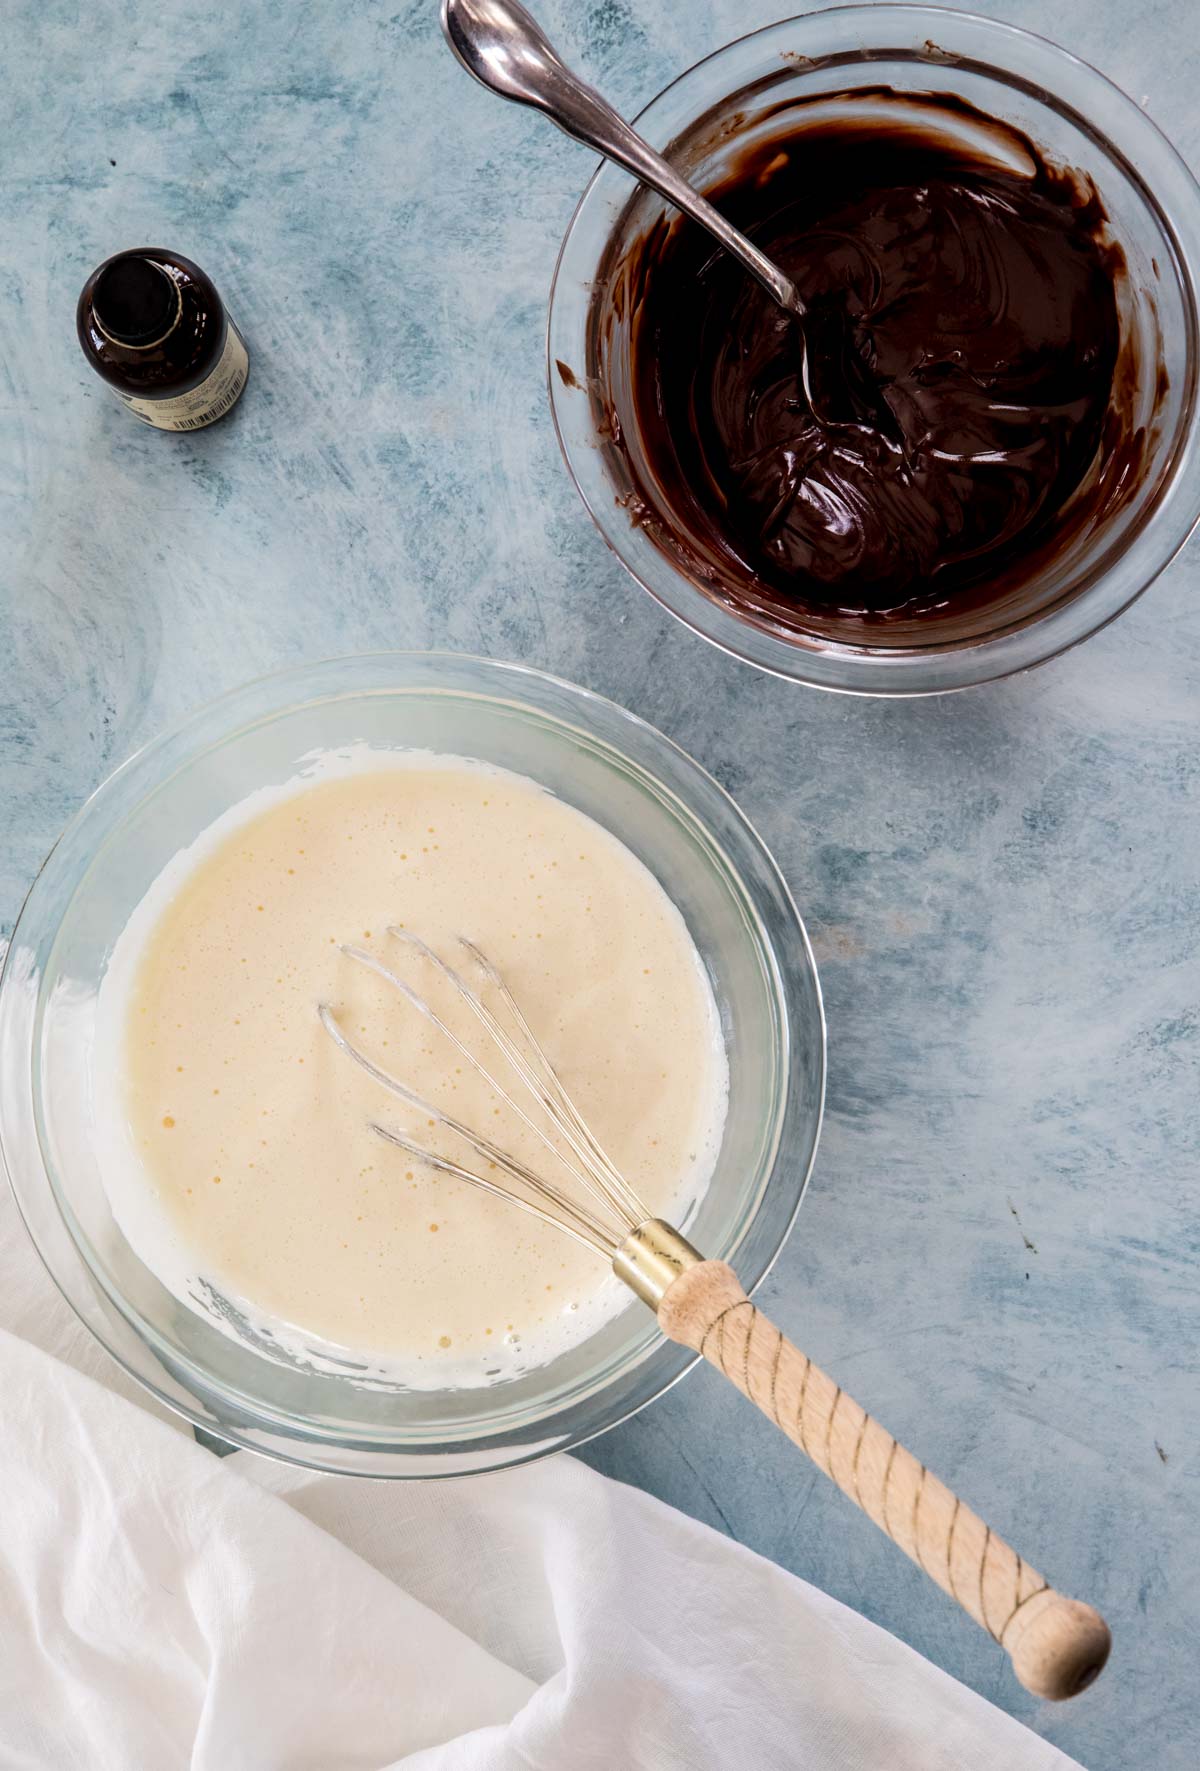
Whipping the Eggs Properly is Key When Making Flourless Brownies
Because there’s no flour in this recipe, there are a few key ingredients and steps that work to bind these brownies together so that they don’t fall apart in your hands once they’ve cooked and cooled. Possibly the most important step is whipping the eggs. While with some recipes like my angel food cake or Swiss meringue buttercream we beat the whites themselves, for our flourless brownies we want the whole egg (white and yolk… not the shell!). Here we beat whole eggs along with granulated sugar until the mixture is thickened and pale yellow (see photo above) and falls in ribbons when the beaters are lifted out of the mixture. For a visual, see my video in the recipe card.
Whipping the eggs on high speed helps to not only bind the brownies together and provide structure, it also gives them a tiny bit of lift (though not much, the brownies are quite thin, but decadent and fudgy,) and encourages that deliciously crackly meringue-like top.
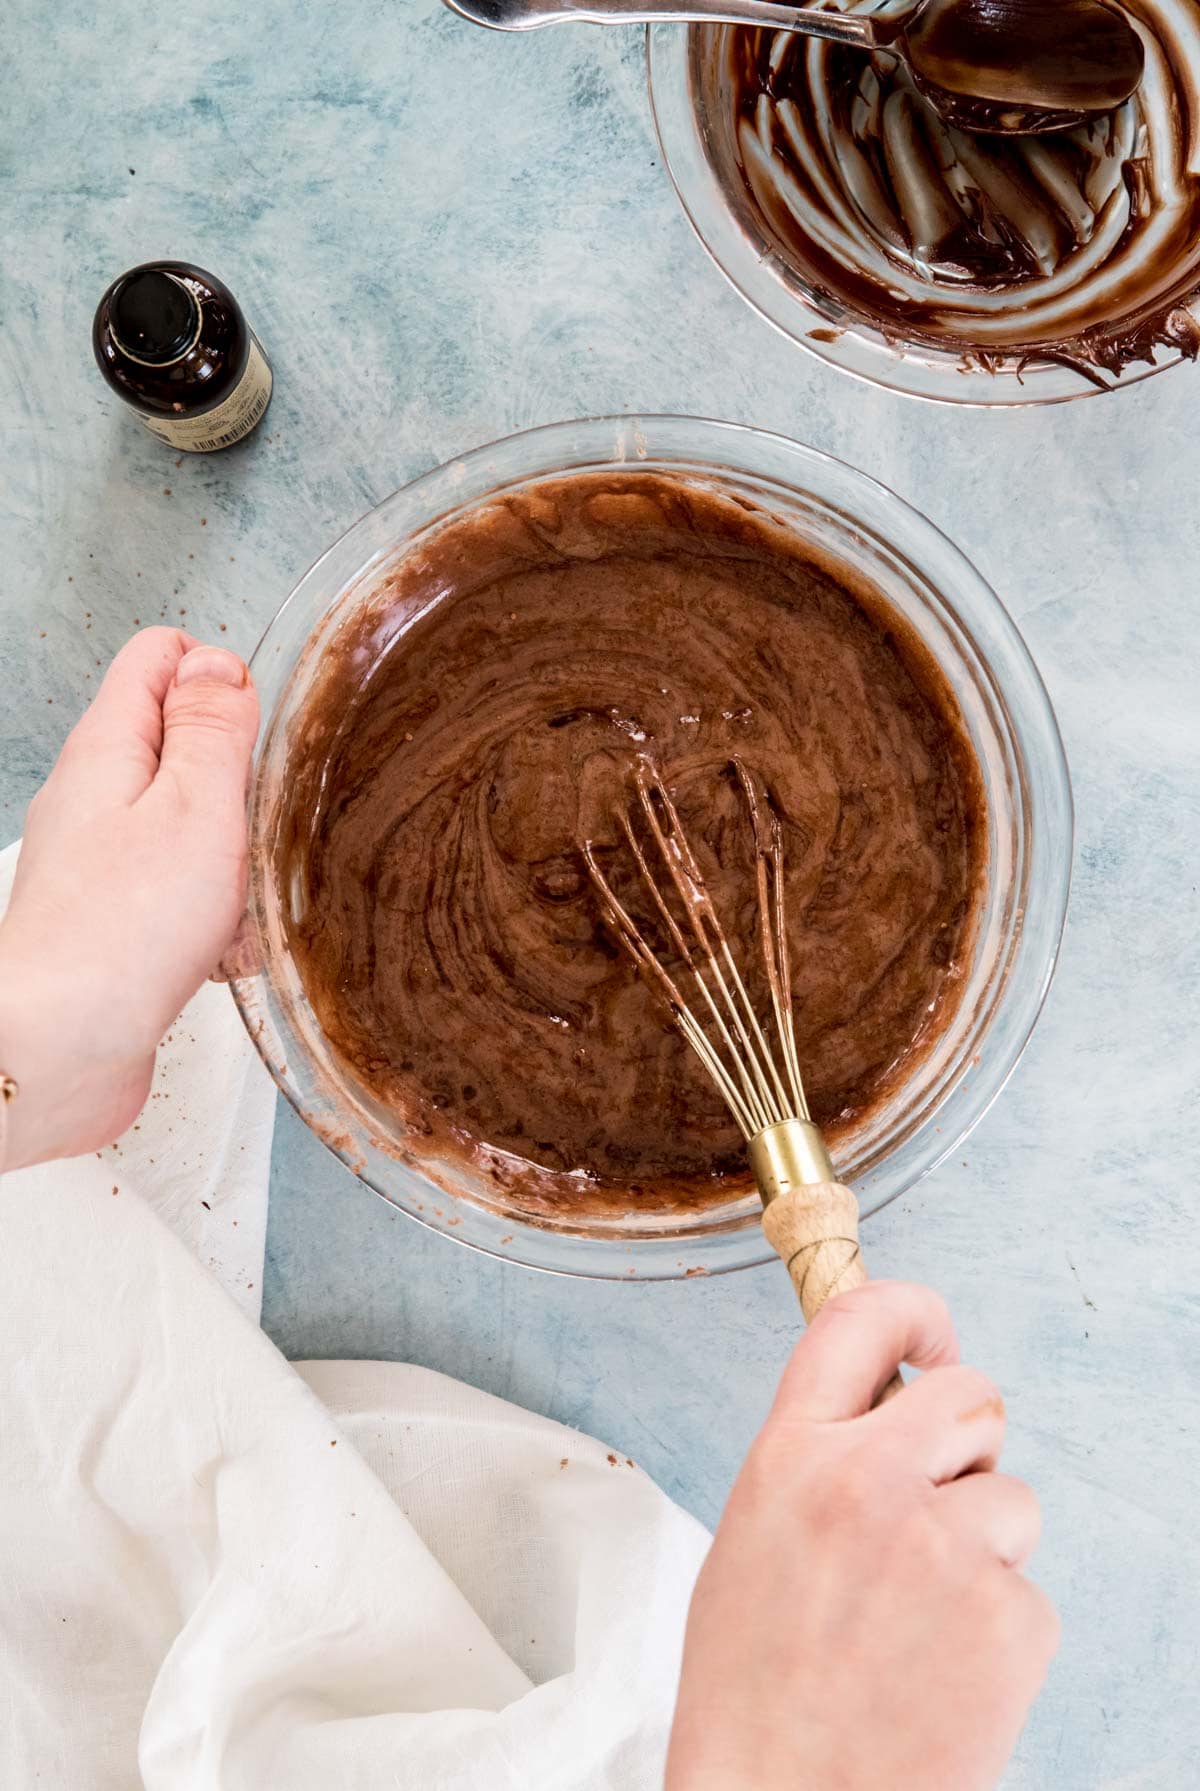
Because we’ve put all of this work into whipping our egg whites, you want to handle them a bit delicately to not deflate them with your other (heavier) ingredients. After using your electric mixer to whip the eggs, calm things down a bit and stir the rest of your ingredients together manually and gently with a spoon or spatula.
I used a whisk in the photo below because I thought it showed off the texture of the brownie batter best, but I promise I was gentle with it 😉
Tips:
- Melt your chocolate and butter together slowly in 20 second increments, stirring well every 20 seconds. Heating this for too long/too quickly will seize your chocolate and leave you with a grainy chocolate that won’t incorporate nicely into your flourless brownie batter. That’s if the butter doesn’t pop and explode all over your microwave first.
- I recommend a metal baking dish and not a glass one because the metal dish will heat more evenly and bake the brownies faster and more evenly.
- You can use an 8″x8″ or 9″x9″ pan, I prefer the 8″ (makes the thin brownies a bit thicker) but have cooking instructions for both in the recipe below.
- You can add nuts (stir them in at the end, just before spreading into your pan), but they’ll sink to the bottom of the brownies. Since these are fairly thin brownies anyway it’s not a huge deal, just be aware.
- Let your flourless brownies cool completely. They will be impossible to cut and pick up while still warm, you’d need to use a spoon (which I have done and it’s delicious, like a molten lava cake but not like a brownie)! You can speed up the cooling process by placing them in the refrigerator, though personally I prefer the taste/texture when they are at room temperature.
Storing
Store leftover brownies in an airtight container at room temperature for up to 5 days or in an airtight container in the refrigerator for up to 10 days.
More Recipes You Might Like:
- Easy Fudge Recipe
- Lemon Brownies
- Mini Cheesecakes (another flour-free recipe)
- Oreo Brownies
Enjoy!
Be sure to check out the how-to video in the recipe card!
Flourless Brownies
Ingredients
- ⅓ cup (75 g) unsalted butter cut into about 6 pieces
- 1 cup (170 g) semisweet chocolate chips
- 2 large eggs room temperature preferred
- 1 cup (200 g) granulated sugar
- 1 teaspoon vanilla extract
- ¼ cup (25 g) natural cocoa powder
- ¼ cup (25 g) cornstarch
- ¼ teaspoon salt
Recommended Equipment
Instructions
- Preheat oven to 350F (175C). Line an 8x8 metal baking pan¹ with parchment paper (use enough that some is hanging over the sides so you can lift the brownies out of the pan easily after baking and cooling). Set aside.
- In a microwave-safe bowl, combine butter pieces and chocolate chips. Microwave for 20-second increments, stirring well in-between, until chocolate and butter are completely smooth and melted. Set aside.⅓ cup (75 g) unsalted butter, 1 cup (170 g) semisweet chocolate chips
- In a separate bowl, use an electric mixer (or stand mixer) to beat together the eggs, sugar, and vanilla extract until mixture is pale and fluffy and increased in volume (this will probably take at least a minute, maybe longer, on high speed).2 large eggs, 1 cup (200 g) granulated sugar, 1 teaspoon vanilla extract
- Sift cocoa powder, cornstarch, and salt into egg mixture and then fold ingredients together until combined with a spatula (if you don’t have a sifter, just whisk them together in a separate bowl to remove any lumps before stirring into egg mixture).¼ cup (25 g) natural cocoa powder, ¼ cup (25 g) cornstarch, ¼ teaspoon salt
- Drizzle the melted butter/chocolate mixture into the batter and use a spatula to gently stir until just combined.
- Transfer to prepared baking pan and bake on 350F (175C) for 35 minutes or until a knife inserted in the center comes out clean.
- Allow brownies to cool completely before lifting out of the pan using the parchment paper and slicing and serving (if they're still warm they will definitely fall apart).
Notes
Nutrition
Nutritional information is based on third-party calculations and should be considered an estimate only. Actual nutritional content will vary based upon brands used, measuring methods, cooking method, portion sizes, and more.


Kathy M
Can these be made with Ghardelli chocolate bars? If so, which chocolate and how many ounces? Thank you! They look delicious! Kathy
Emily @ Sugar Spun Run
Hi Kathy! Yes, you can use a chopped Ghirardelli semi-sweet chocolate bar instead of the chips. You would need about 6 oz.
Kathy M
Great , Thanks! i have bittersweet Ghardahli[60 % cocao]I want to use. Will that work?
Kathy
Emily @ Sugar Spun Run
They won’t be quite as sweet as they should be, but it’s worth a try 😊
Kathy M
I made these with the Bittersweet Ghardelli bars & just realized I used 7 oz instead of 6 oz!!! Decadent!! I chopped it and instead of microwaving, I made a small double boiler and melted it with the butter that way! I was afraid of searing the chocolate as I have done so in the past! They were delicious and a hit!!! They were plenty sweet for me. Thank you for this decadent recipe!!
Sam
I’m so glad you enjoyed them! 🙂
Marie
Just wondering if the sugar could be replaced with coconut sugar.
Thank you!
Sam
Hi Marie! That would probably work well. 🙂
cassie
hello, I’m wondering if I can reduce the sugar by a bit in this recipe or would that affect anything besides taste? I made these brownies and they are delicious, just wondering if I can cut down on the sugar 🙂
Sam
Hi Cassie! Reducing the sugar could reduce the moisture in these brownies a bit. I haven’t tried it to say exactly how it would turn out.
Lorraine
Hi Cassie. I love this brownie recipe. It is now my go-to brownies. I’ve made it several times since December for family, friends, and my household. Also tried it decreasing sugar to 3/4 cup and adding a tablespoon or so of oil. it turned out just as delicious as the original recipe. I say try it. I love experimenting. And I thank the Lord every day for Sam and Sugar Spun Run. This channel and maybe 2-3 other channels help my life. 😊
Sam
Thank you so much, Lorraine! I’m so glad you enjoyed them so much! 🙂
Christina Webb
Could I use the 60% cocao dark chocolate in this recipe? I love the richness of the darker chocolate.
Sam
Hi Christina! That should work just fine. 🙂
Kristen G.
These are spectacular. So rich, delicious, and EASY. I love having these in my back pocket for a simple gluten-free recipe for my chocolate-loving family and friends. One piece of advice to fellow bakers: Even though they may look underbaked, don’t overbake them, or they’ll get tough and chewy. They’ll still have a delicious flavor, but not an ideal texture. Trust Sam’s timing!
Rosa
Hey Sam! My father-in-law is gluten free and has been loving these brownies! Thanks for the great recipe. Since these brownies go pretty quickly, I’m wondering if I could double the recipe and then bake in a 9×13 pan? Thoughts?
Sam
I am so glad everyone has been enjoying them so much, Rosa! You could certainly double this recipe and put it in a 9 x 13. I’m not sure what the bake time will be though. Enjoy! 🙂
Sara
I used cranberries and they came out so delicious (and they had a crackly top!). Thanks for the recipe!
Sam
I am so glad you enjoyed them so much, Sara! 🙂