
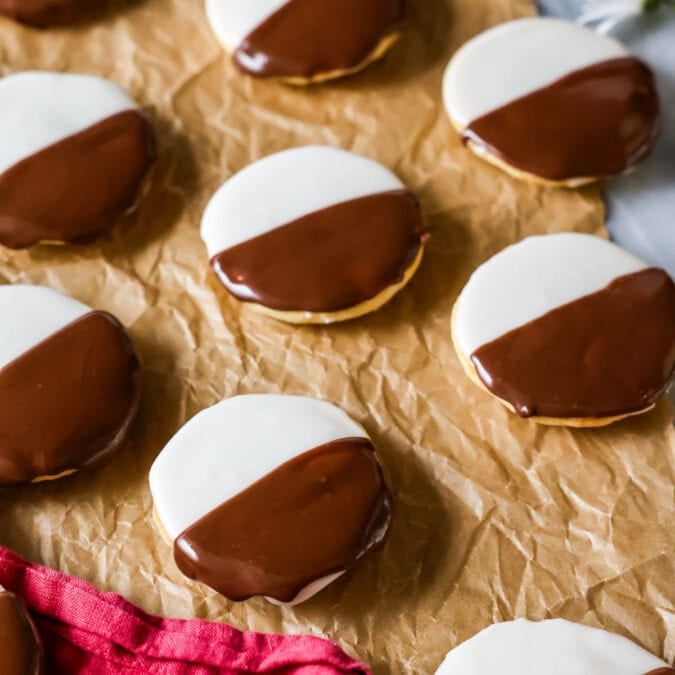
Black and White Cookies
This post may contain affiliate links. As an Amazon Associate I earn from qualifying purchases. Please read my disclosure policy.
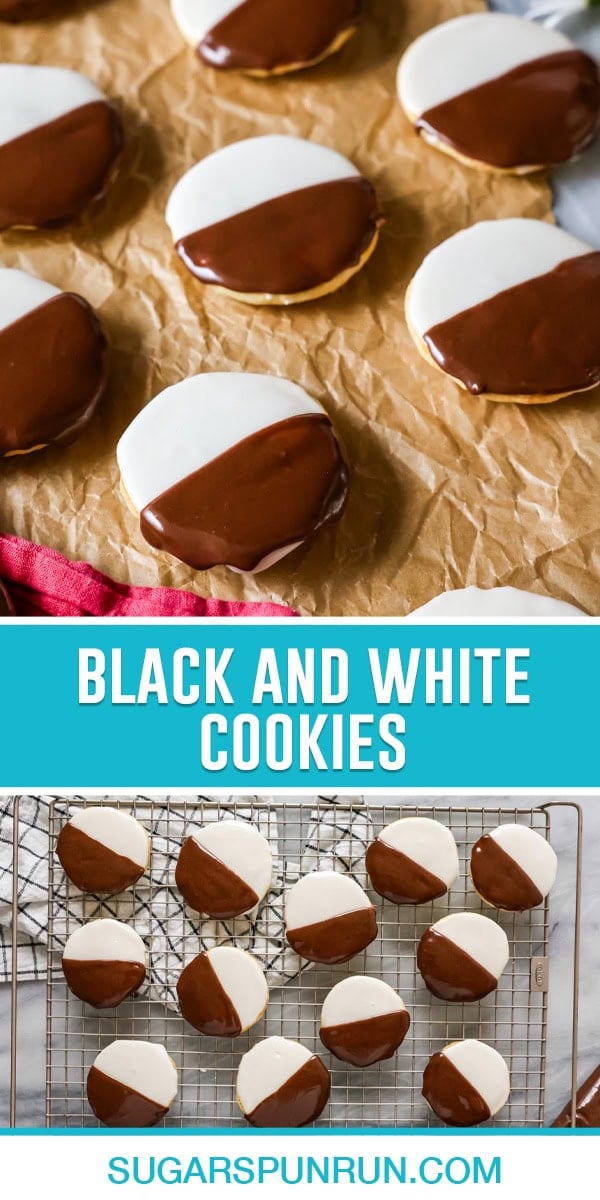
Black and white cookies are an iconic New York City treat! My black and white cookie recipe will teach you exactly how to make them in your very own kitchen. The cookies are perfectly cakey, and that shiny two-tone frosting is as tasty as it is eye-catching! Recipe includes a how-to video!
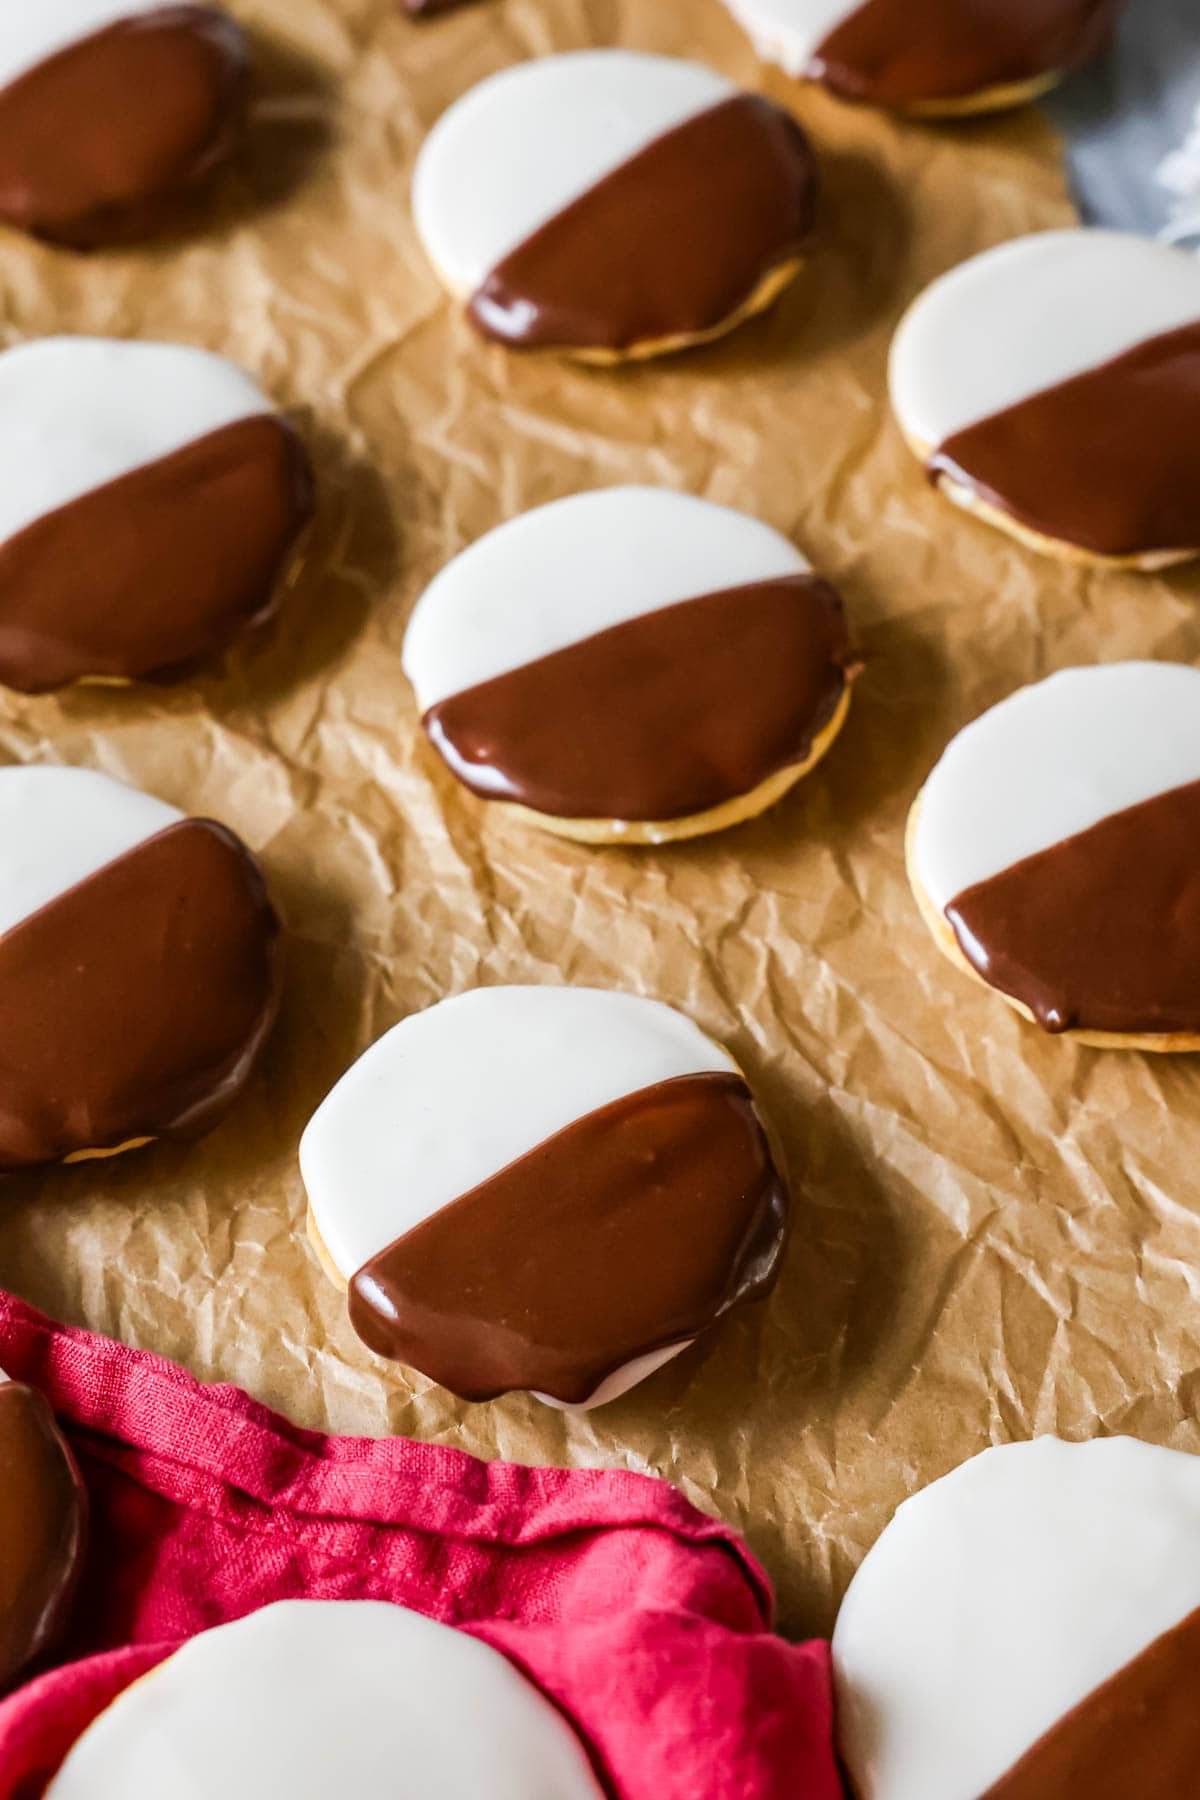
Black and white cookies may be a New York City classic, but you don’t need a trip to the Big Apple to enjoy them at home. I spent a lot of time fine-tuning this recipe until I perfected the soft, cake-like texture with the signature glossy vanilla and chocolate topping. The end result is a homemade black and white cookie recipe that tastes every bit as iconic as the ones you’ll find in the big city.
Like my other copycat cookie recipes (thin mints, Lofthouse cookies, fudge rounds, etc.), I wanted to truly emulate the real thing, but make it possible to make at home with ingredients you’re familiar with. A few dozen rounds of testing and lots of trial and error later, I finally have a recipe I’m proud to share.
Why Pick My Recipe
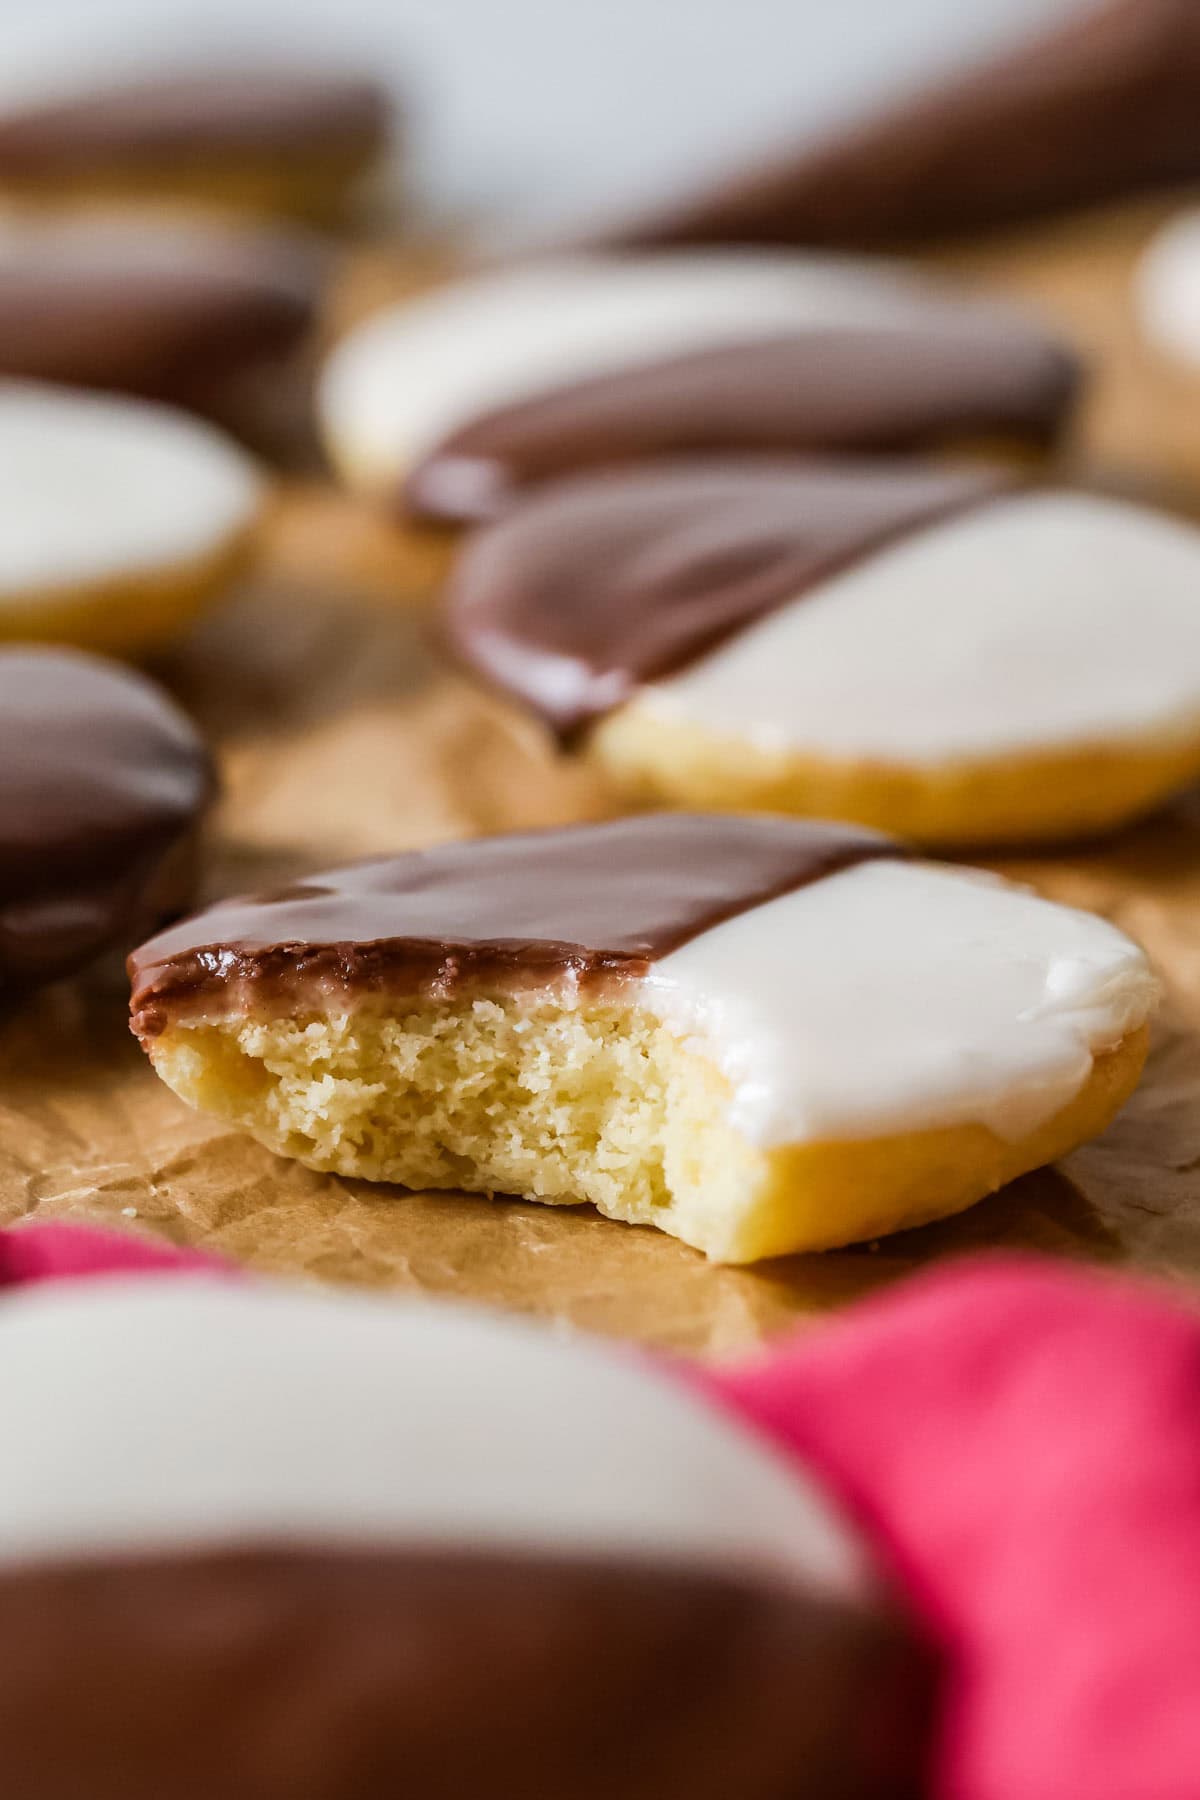
- Classic texture: the cookie is firm but cakey with a soft crumb. The texture is similar to Berger cookies (an iconic Baltimore cookie!), but lighter and softer.
- Foolproof icing that you can easily adjust if you accidentally add too much milk or powdered sugar. It’s very similar to my easy sugar cookie icing, if you’ve made that before.
- Perfectly portioned: the original cookies are often huge–too huge for me even! I make my version smaller (closer to a standard chocolate chip cookie size). But, if you want to make them the size of your face, I have baking instructions for both sizes.
- Surprisingly simple with just 20 minutes of prep work. The dough comes together easily with a mixer, and you can stir the icing together with a spoon (though I honestly prefer a mixer — makes it faster!).
Table of Contents
Ingredients
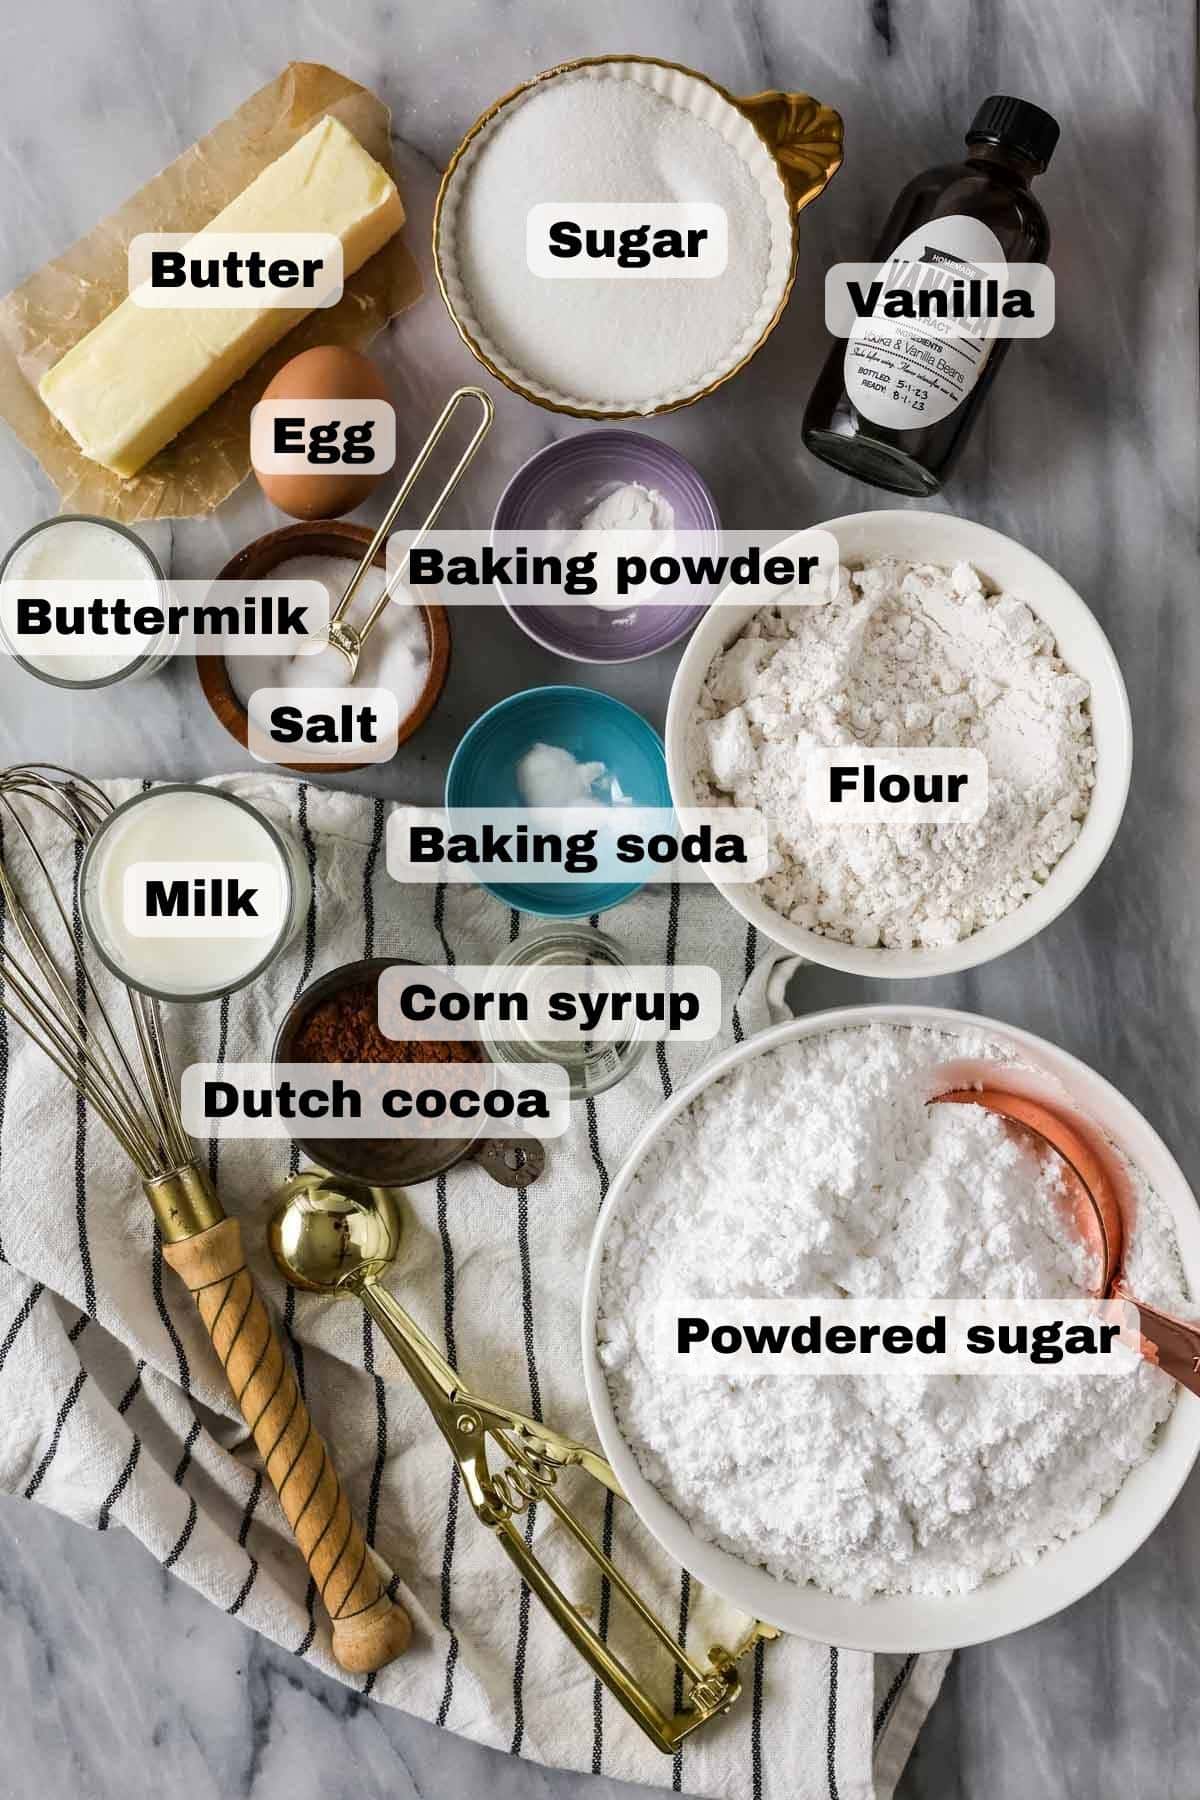
- Cake flour. This will provide the best, most authentic texture. It is my top recommendation, though I do provide instructions for substituting all-purpose flour if you absolutely must. Making this black and white cookie recipe with all-purpose flour will result in cookies that aren’t as soft and cakey.
- Dutch process cocoa. Do not use natural cocoa powder! Dutch process cocoa will give you the most authentic flavor (and it will have a darker color!). If you’re interested, you can read more about the differences between both types in my post on natural vs. Dutch process cocoa.
- Buttermilk. I tested this recipe with sour cream, milk, and buttermilk. Buttermilk gave the best results for flavor and texture hands down.
- Vanilla extract. Many recipes will add a bit of lemon or almond extract (or both!). I didn’t care for this, but you could include either or both of them if you prefer.
- Corn syrup. We’ll add this to the icing for a smooth, glossy finish and perfectly set texture. You can skip this if you really want (remember, this ingredient is NOT the same thing as high fructose corn syrup!), but your icing will be sweeter, won’t set as nicely, and you will need more milk than I call for in the recipe.
Remember, this is just an overview of the ingredients I used and why. For the full recipe please scroll down to the bottom of the post!
SAM’S TIP: Technically, my black and white cookie recipe makes cookies that are a tad more brown and white. Dutch cocoa is going to give you the best taste, but no matter how much you add it still won’t be a true black. You can make the frosting black by either adding black food coloring (many bakeries seem to do this!) or using black cocoa. Keep in mind black cocoa will give you a completely different flavor (think Oreo cookie).
How to Make Them
Make the Dough
Cream the butter and sugar with a mixer until fluffy, then beat in the egg and vanilla. Set this aside while you combine your dry ingredients in a separate bowl.
Gradually alternate between adding the flour mixture and buttermilk to the butter mixture; I do three parts flour and two parts buttermilk.
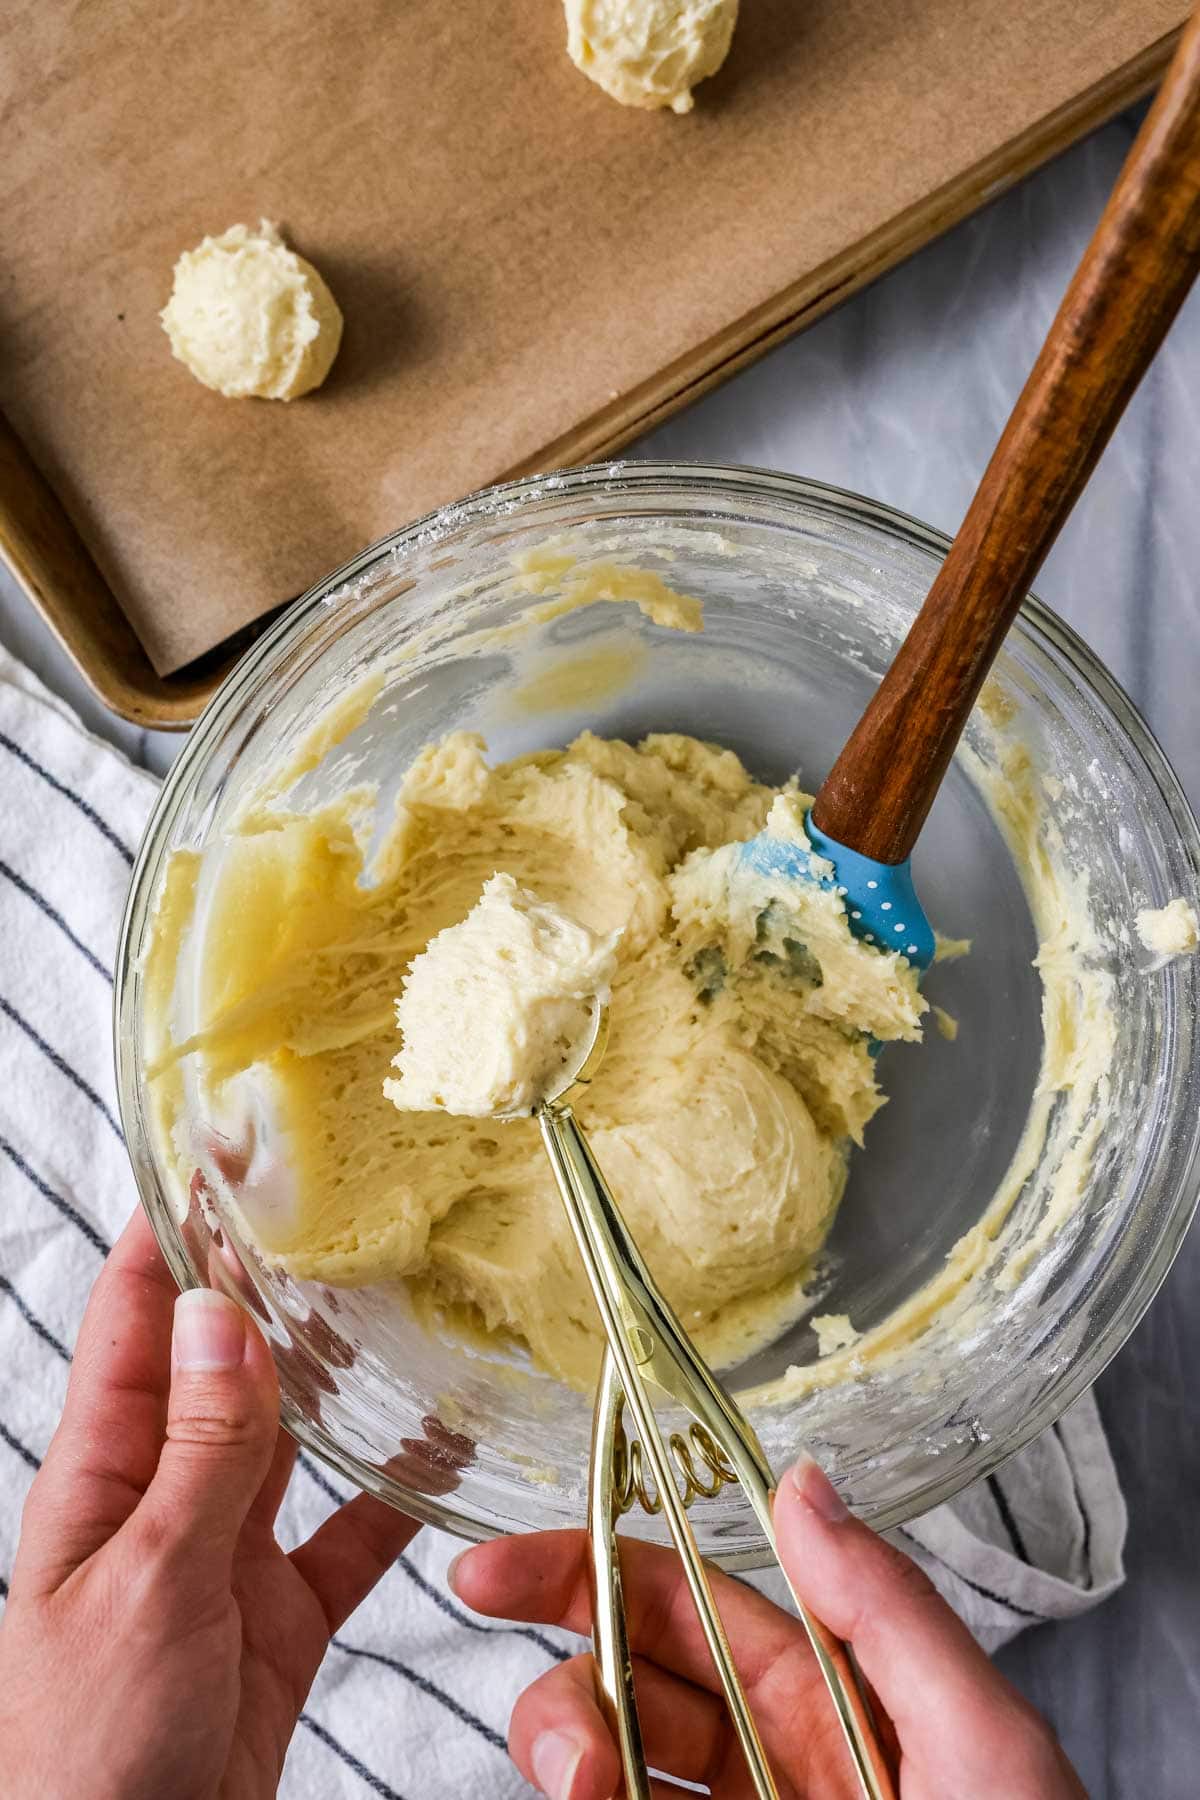
Drop 1 ½ tablespoon scoops of dough onto parchment lined baking sheets. Bake for about 10 minutes or until you see some browning around the edges of the cookies. Let cool completely before decorating.
SAM’S TIP: With many of my cookie recipes I recommend underbaking; however, I do not recommend that here. While I don’t want you to over-bake these, it’s important to properly bake. Look for golden browning happening around the edges, and when you flip the cookie over, it should be golden brown. This bottom will become the top that you frost, and it needs to be fully baked (and cooled), otherwise it won’t be sturdy enough to frost and will fall apart. This is especially important if you’re making the larger-size.
Decorate the Cookies
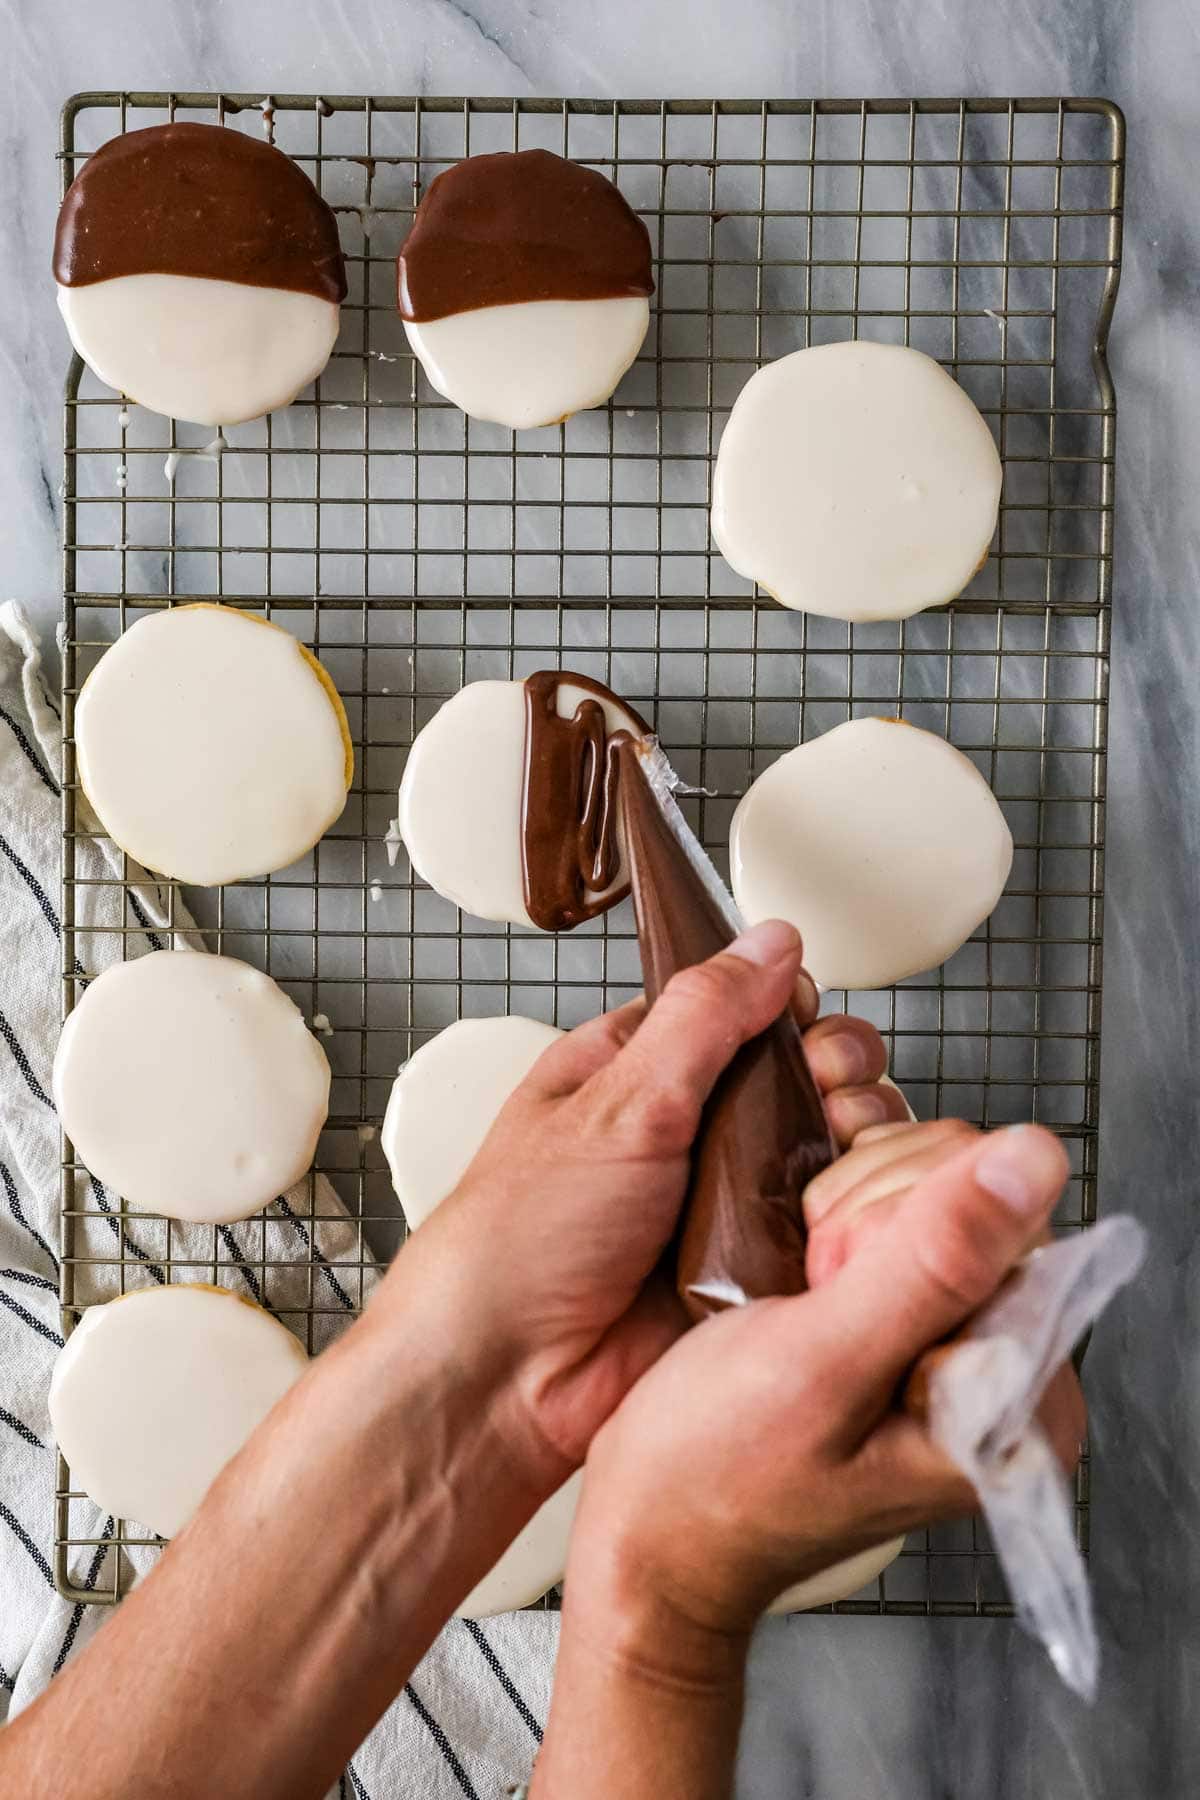
Whisk the sugar, vanilla, corn syrup, and just 4 tablespoons of the milk together until combined. The consistency should be thick enough that it holds its shape for a few seconds before dissolving back into the bowl (add more sugar if too thin or tiny splash of milk if too thick).
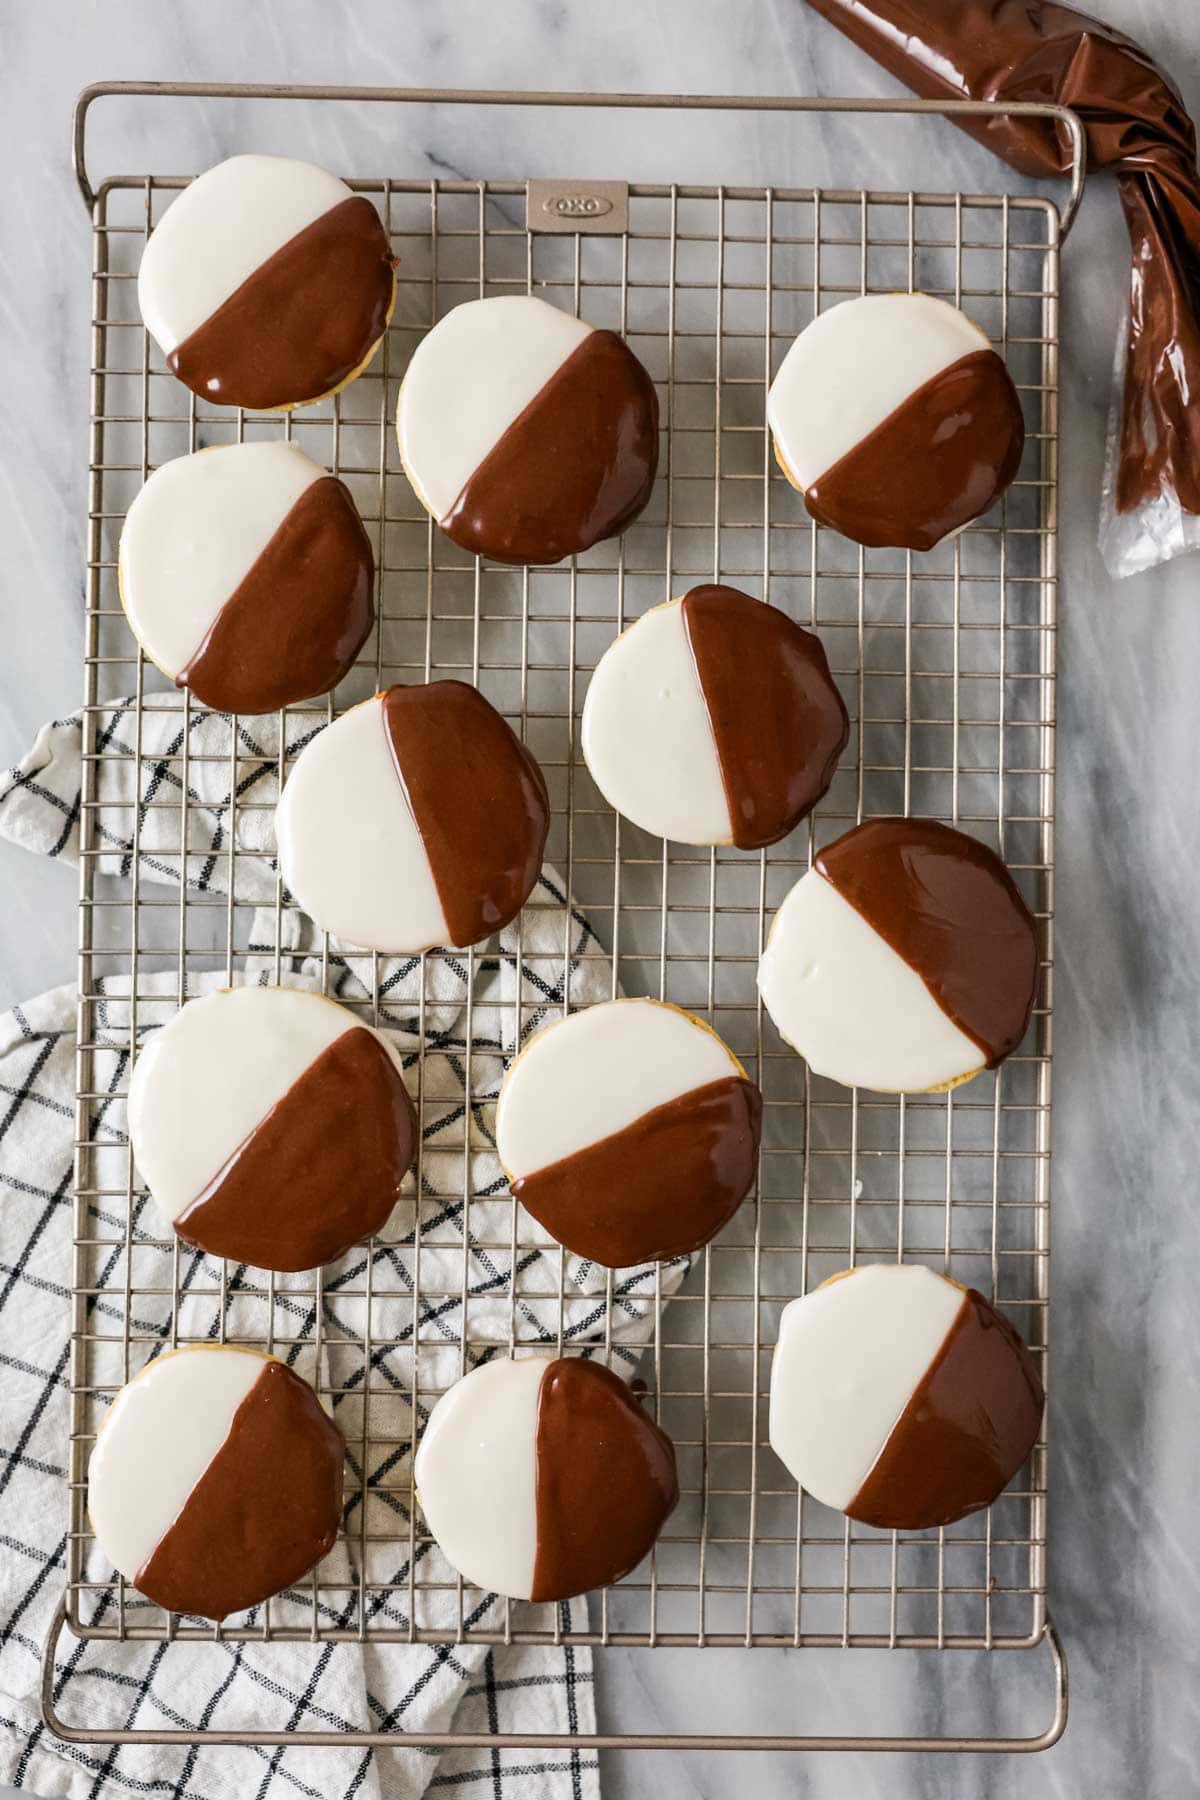
Spread a heaping tablespoon over each cookie (make sure to flip them so you are icing the bottoms, now the tops!). Make the chocolate icing, then pipe or spread that over half of each cookie. If you prefer, you can just do white on one half and chocolate on the other, but most black and white cookies I’ve encountered have been covered entirely with white and then half gets chocolate. A piping bag will help you get the icing super neat and tidy, but a spoon also works (I demonstrate this in my video below!).
SAM’S TIP: The icing seems TOO SWEET if you try it before it’s solidified completely. I usually make the cookies a full day in advance of when I want to serve them, and I let the sit out completely uncovered overnight to make sure the icing completely sets.
Frequently Asked Questions
No, I recommend storing your cookies in an airtight container at room temperature. They’ll keep this way for about five days. Storing in the fridge might dry them out.
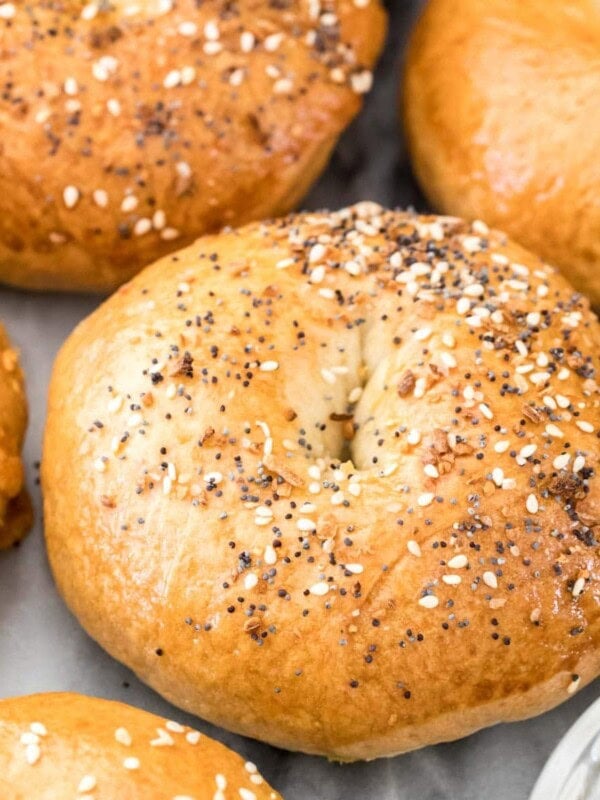
Yes! Black and whites are a staple in New York City, and you can find them in bakeries throughout the NYC metro area. They are an iconic New York food, much like hot dogs, pizza, bagels, New York cheesecake and pastrami. I included a few more classic New York foods down below if you’re craving even more!
They aren’t exactly the same. Half moons originated in Utica, New York, and while they have a similar look and texture, they are often even cakier and softer than black and whites. What really differentiates them though is their topping, which is a thicker frosting made with vanilla frosting (more like buttercream) and chocolate buttercream. This is quite different from the enriched glaze (sometimes called pourable fondant) that we are using today.
More Classic New York Recipes:

So, try it and let me know what you think! Did I do the original justice? I’d love to hear what you think if you try my recipe!
Enjoy!
Let’s bake together! Subscribe to my newsletter to be notified of all the newest recipes, and find my free recipe tutorials on YouTube 💜
Black and White Cookies
Ingredients
Cookie
- ½ cup (113 g) unsalted butter, softened
- ¾ cup (150 g) granulated sugar
- 1 large egg, room temperature preferred
- ½ teaspoon vanilla extract
- 1 ⅔ cup (190 g) cake flour, (see note if you would like to substitute all-purpose flour)
- ¾ teaspoon baking powder
- ⅛ teaspoon baking soda
- ½ teaspoon table salt
- 3 Tablespoons buttermilk
Icing
- 4 ½ cups (562 g) powdered sugar
- 4 Tablespoons light corn syrup
- ¾ teaspoon vanilla extract
- 4-6 Tablespoons milk, as needed
- 4 teaspoons Dutch cocoa powder
Instructions
For the cookies
- Preheat oven to 350F (175C) and line baking sheets with parchment paper, set aside.
- In a large mixing bowl, use an electric mixer to beat butter and sugar together until light and fluffy.¾ cup (150 g) granulated sugar, ½ cup (113 g) unsalted butter
- Add egg and vanilla extract and stir well to combine.1 large egg, ½ teaspoon vanilla extract
- In a separate, medium sized mixing bowl, whisk together cake flour, baking powder, baking soda, and salt.1 ⅔ cup (190 g) cake flour, ¾ teaspoon baking powder, ⅛ teaspoon baking soda, ½ teaspoon table salt
- With your mixer on slow speed, alternate adding the flour mixture and the buttermilk to the wet mixture, adding about half at a time.3 Tablespoons buttermilk
- Scoop cookie dough by 1 ½ Tablespoon-sized scoop onto prepared baking sheet, spacing cookies at least 2” apart. Bake in pre-heated oven for 10 minutes. Cookies should be just barely browning on the bottom of the edge, and when you flip them over they should be slightly browned on the bottom (don't under-bake, or the cookies will fall apart when you try to frost them).
- Allow cookies to cool completely before decorating with frosting.
Frosting/Assembly
- In a large mixing bowl whisk together sugar, corn syrup, vanilla, and 4 Tablespoons of milk. The icing should reach a consistency that ribbons easily off the whisk, holding its shape for several seconds before dissolving back into the bowl. If it is too thick, add more milk, a teaspoon at a time.4 ½ cups (562 g) powdered sugar, 4 Tablespoons light corn syrup, ¾ teaspoon vanilla extract, 4-6 Tablespoons milk
- Flip each cookie over and spread a heaping Tablespoon of icing evenly over the surface of the cookie, spreading all the way to the edges.
- When all cookies are iced, take your remaining frosting and whisk in dutch cocoa, as well as additional milk 1 teaspoon at a time until icing is a smooth spreadable consistency.4 teaspoons Dutch cocoa powder
- Frost one half of the cookie with the cocoa icing. (If I want them to be super pretty, I'll use a piping bag to make a nice straight line across the center and fill in one half, it’s neater than simply spreading over the cookie but your choice!)
- Allow cookies to sit until icing is hardened before enjoying (could take several hours depending on humidity and thickness of icing, sometimes I let mine sit out all night to set and then just pack them away the next day)!
Notes
Nutrition
Nutrition information is automatically calculated, so should only be used as an approximation.
Like this? Leave a comment below!


The recipe did not turn out. The cookies completely spread and covered the whole pan! I used the gram measurements. I am pretty disappointed in my result.
I’m so sorry to hear this happened, Lacey! Did you make any substitutions? Is it possible any of the wet ingredients were accidentally mis-measured? I’m bummed to hear they didn’t turn out. 🙁 It’s odd that they would spread that much, especially if you weighed your flour. 🙁
As a northerner transplanted down south my family has missed these cookies! These are delicious! Thank you!!!
I’m so glad you enjoyed them so much, Becky! 🙂
I have another recipe I have used for years, but when this came to my inbox, I decided to try to see if I preferred it. I agree with the first comment. Mine came out very flat. Perhaps a few minutes in the freezer might have helped.
Hi Sharon! These aren’t a super thick cookie. If yours are coming out really really thin you can try adding a touch more flour so the cookies don’t spread as much. 🙂
Very tasty cookie and easy to make, l just wish they were a little thicker. Will definitely make again though
I’m glad you enjoyed them, Laurie! 🙂
Me encanta ese glaseado. Es divino. Muchas gracias
I’m so glad you enjoyed it! 🙂