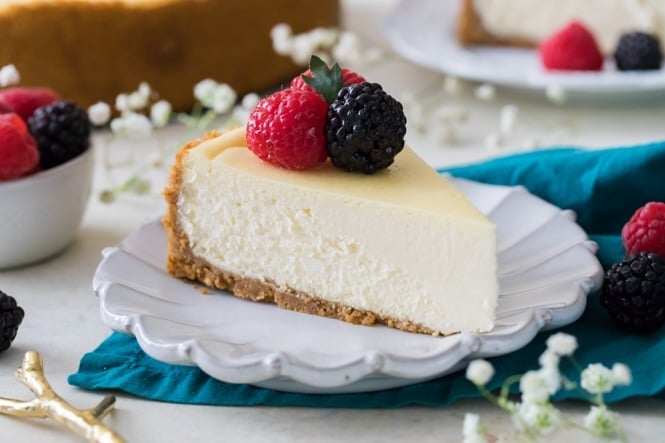
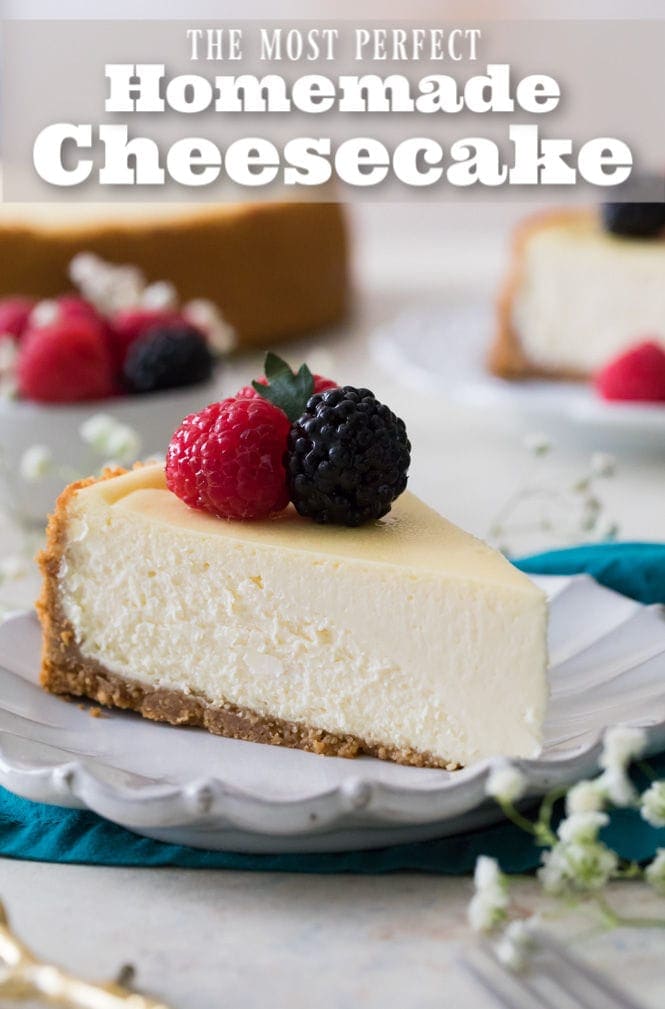
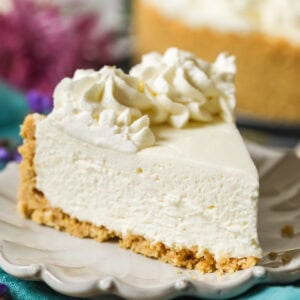
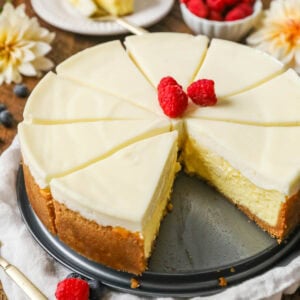
Today I’m so excited to show you how to make the best Cheesecake Recipe of your life. Simple, classic, and no water bath required!! The texture is smooth, rich, and creamy, served over a crisp homemade graham cracker crust.
I’ve included tons of detailed tips and important info in today’s post so you can make the perfect creamy cheesecake every time. For a visual how-to, be sure to check out my step-by-step video beneath the recipe!
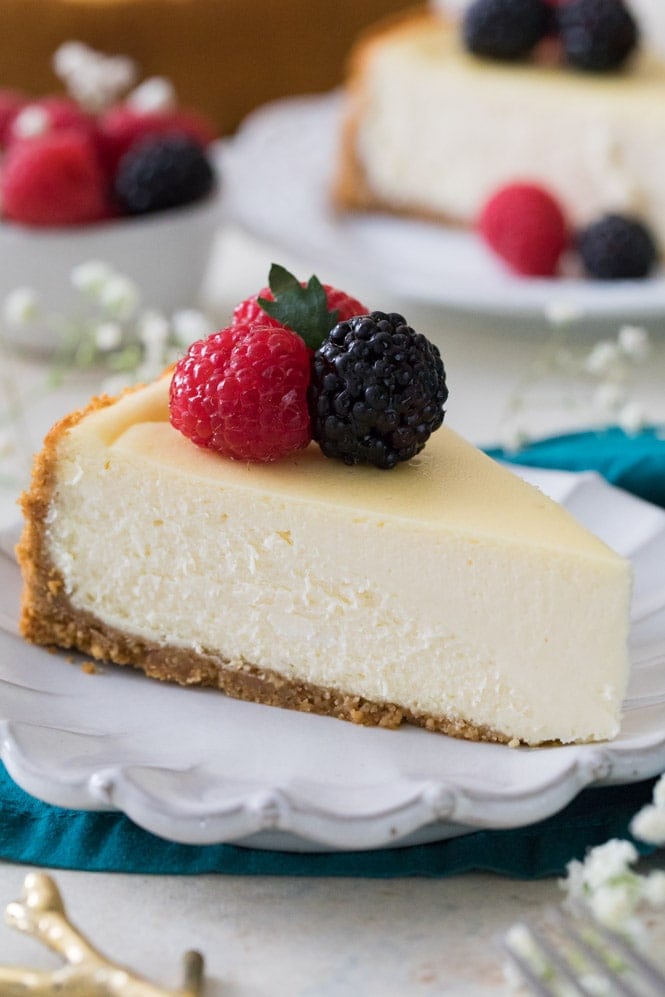
The Perfect Cheesecake Recipe
This cheesecake recipe has been a long time coming.
For a recipe with so few ingredients (cream cheese, eggs, sugar, sour cream, vanilla & salt), it took a lot longer than you might think to develop the perfect version. I’ve shared a few cheesecake variations in the past, including my No-Bake Cheesecake, but getting a perfected classic version took lots of testing. Finally, here we are.
Oh, and we are skipping the water bath! I’ve always found them to be largely unnecessary with cheesecakes. Cook yours on a low temperature and follow my tips below and you’ll have a perfectly creamy and crack-less cheesecake without all the hassle of a water bath.
Other tested/perfected classics to try: my Pound Cake, Chocolate Cake, and Carrot Cake, (to name just a handful).
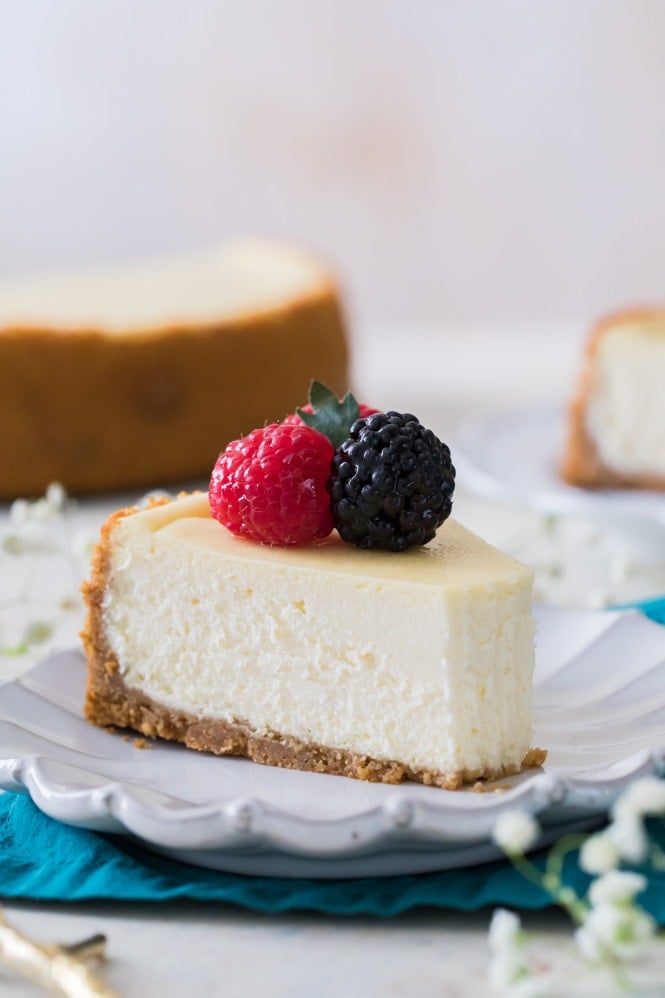
Must-Know Tips for Baking the Perfect Cheesecake (Without a Water Bath!)
Use room temperature ingredients
It’s important that your cream cheese comes to room temperature before you begin making your cheesecake. This will prevent any lumps and ensure a cheesecake with a smooth, creamy texture. However, to ensure that all of your ingredients blend together nicely and give you the desired result, they should all be at room temperature before you begin.
Take it easy on the eggs
Over-beating your eggs is one of the quickest ways to ruin a cheesecake. Over-beating can ruin the texture and can cause cracks. To prevent this, lightly scramble each egg before adding it into your batter. Keep your mixer on low speed and stir until just combined. Be sure to pause after each addition and scrape down the sides and bottom of your mixing bowl.
Don’t open the oven!
I know how tempting it can be to want to check on your perfect, beautiful cheesecake, but wait until it’s finished baking (or close to it) before opening the oven door! Yes, you will have to test for doneness at some point and there’s a real possibility it will need more time in the oven, but minimize opening the oven as much as possible.
Opening the oven door can drastically reduce the temperature of your oven, which will slow the baking process and might cause your cheesecake to sink or crack.
Free your crust!
Once your cheesecake is done baking, allow it to cool for 10 minutes on top of the stove. Then, run a knife around the inside of the springform pan to loosen the crust from the sides.
As your cheesecake cools, it may to shrink a bit. If the crust is stuck to the pan, your crust won’t give but your cheesecake will (leaving you with cracks). Free the crust from the sides so it can contract with your filling as needed.
Cool at room temperature before moving to the fridge
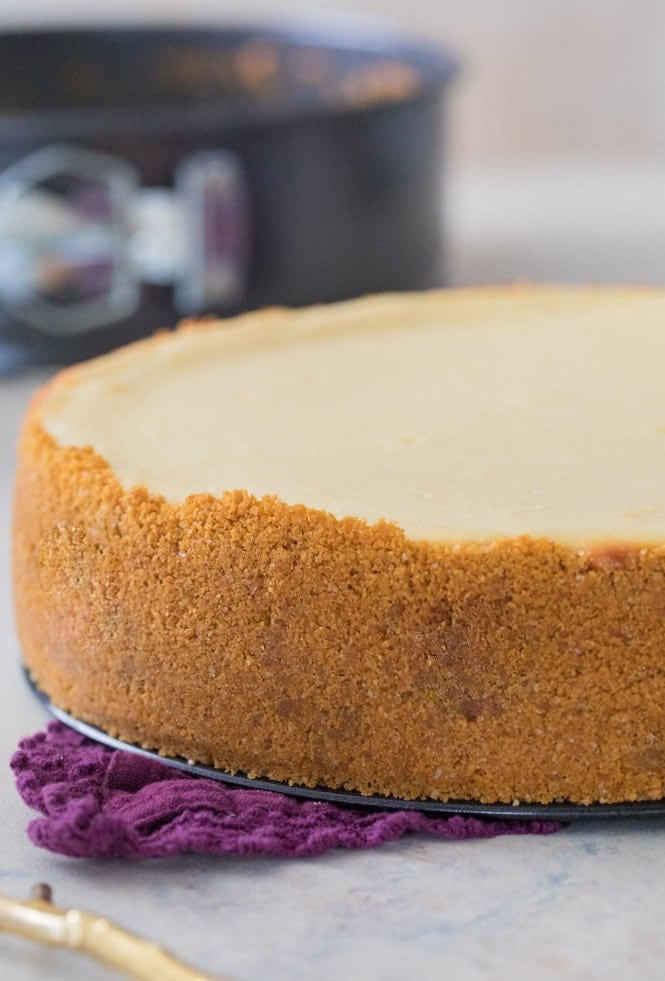
I always let my cheesecake come to room temperature before chilling. For bests results, let it cool as gradually as possible. I put mine on top of my oven (the warmest spot in my house) so it can gradually cool off as the oven does.
This pre-chilling cooling period can take an hour or two, but it’s worth it. An abrupt temperature change (moving the cheesecake directly from oven to fridge) is likely to make it crack.
How to Store Cheesecake
Cheesecake should always be stored chilled in the refrigerator. When I’m ready to store mine, I’ll usually replace the springform ring and then cover the top with foil.
Cheesecake shouldn’t be left out at room temperature for more than 4 hours (or less if it’s particularly hot/humid!).
Can I Freeze Cheesecake?
Yes, you can freeze your cheesecake! Fortunately, this cheesecake recipe actually freezes very well. To freeze, first allow your cheesecake to cool on the stovetop and in the fridge as instructed. Once it’s chilled, you can freeze by wrapping thoroughly in plastic wrap and then wrapping in foil. Cheesecake will keep in the freezer for several months.
To thaw, transfer to the fridge and let it thaw there overnight.
Here’s a great source for more information on freezing cheesecake, including suggestions if you’d like to freeze by the slice.
Other Cheesecake Variations You Might Like:
- Oreo Cheesecake
- Pumpkin Cheesecake
- Chocolate Cheesecake
- Or try something different and serve this cheesecake on an Oreo Crust!
Enjoy!
The BEST Cheesecake Recipe

Ingredients
Graham Cracker Crust¹
- 1 ½ cups graham cracker crumbs (170g)
- 2 Tablespoons sugar
- 1 Tablespoon brown sugar (can substitute white)
- 7 Tablespoons butter melted
Cheesecake
- 32 oz cream cheese² softened to room temperature (910g)
- 1 cup sugar (200g)
- ⅔ cups sour cream (160g)
- 1 ½ teaspoons vanilla extract
- ⅛ teaspoon salt
- 4 large eggs room temperature, lightly beaten
Recommended Equipment
Instructions
- Preheat oven to 325F (160C).
- Prepare Graham Cracker crust first by combining graham cracker crumbs, sugar, and brown sugar, and stirring well. Add melted butter and use a fork to combine ingredients well.1 ½ cups graham cracker crumbs, 2 Tablespoons sugar, 1 Tablespoon brown sugar, 7 Tablespoons butter
- Pour crumbs into a 9” Springform pan and press firmly into the bottom and up the sides of your pan. Set aside.
Cheesecake
- In the bowl of a stand mixer or in a large bowl (using a hand mixer) add cream cheese and stir until smooth and creamy (don’t over-beat or you’ll incorporate too much air).32 oz cream cheese²
- Add sugar and stir again until creamy.1 cup sugar
- Add sour cream, vanilla extract, and salt, and stir until well-combined. If using a stand mixer, make sure you pause periodically to scrape the sides and bottom of the bowl with a spatula so that all ingredients are evenly incorporated.⅔ cups sour cream, 1 ½ teaspoons vanilla extract, ⅛ teaspoon salt
- With mixer on low speed, gradually add lightly beaten eggs, one at a time, stirring just until each egg is just incorporated. Once all eggs have been added, use a spatula to scrape the sides and bottom of the bowl again and make sure all ingredients are well combined.4 large eggs
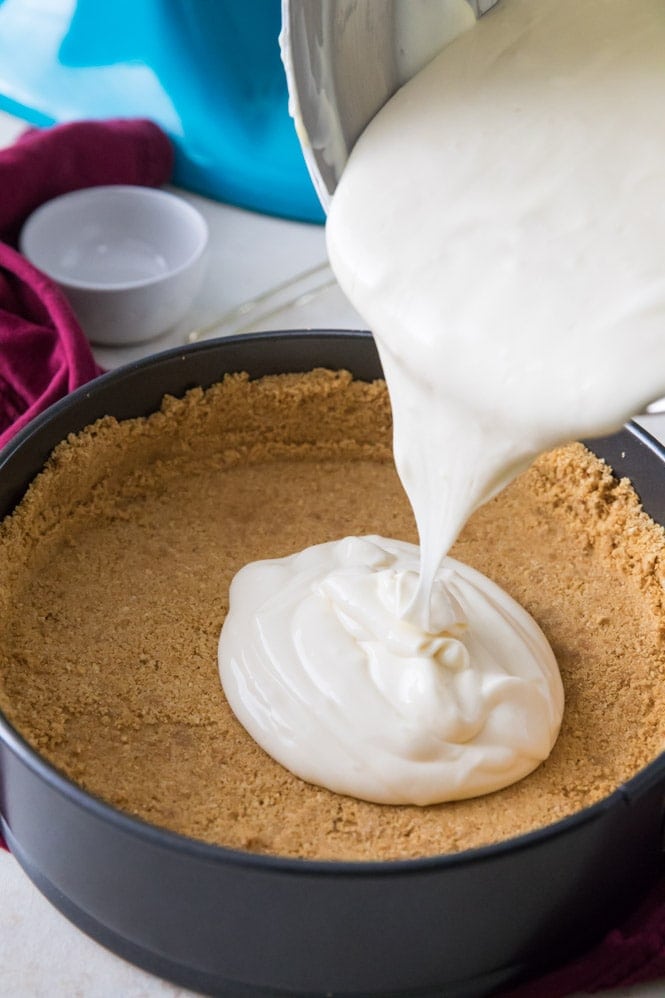
- Pour cheesecake batter into prepared springform pan. To insure against leaks, place pan on a cookie sheet that’s been lined with foil.
- Transfer to the center rack of your oven and bake on 325F (160C) for 50-60 minutes (or longer as needed, see note 3). Edges will likely have slightly puffed and may have just begun to turn a light golden brown and the center should spring back to the touch but will still be Jello-jiggly. Don't over-bake or the texture will suffer, which means we all suffer.
- Remove from oven and allow to cool on top of the oven⁴ for 10 minutes. Once 10 minutes has passed, use a knife to gently loosen the crust from the inside of the springform pan (this will help prevent cracks as your cheesecake cools and shrinks). Do not remove the ring of the springform pan.
- Allow cheesecake to cool another 1-2 hours or until near room temperature before transferring to refrigerator and allowing to cool overnight or at least 6 hours. I remove the ring of the springform pan just before serving then return it to the pan to store. Enjoy!
Notes
1) Graham cracker crust
For more details on making this crust or to use whole graham crackers, please see my Graham Cracker Crust Recipe.2) Cream cheese
Make sure that you use the brick-style cream cheese, not the spreadable version that is available in tubs.3)Bake time
Exact bake time can vary depending on your oven, whether you bake your cheesecake on a baking pan or not, the color of your springform pan (light or dark), and even the precise temperature of your ingredients. Because of this I recommend checking your cheesecake at 50 minutes and adding time as needed. However, it is not uncommon for the cheesecake to take as long as 75 minutes to bake, but it's better to check sooner.4) Cooling cheesecake
I recommend the top of the oven because it is usually the warmest place in my house (after it’s been on for over an hour). This will help to cool the cheesecake more gradually and will also help avoid cracks).Nutrition
Nutritional information is based on third-party calculations and should be considered an estimate only. Actual nutritional content will vary based upon brands used, measuring methods, cooking method, portion sizes, and more.


Lisa
Very easy instructions. It’s in the oven now! Can’t wait to see how it turns out.
Kara
Hi there!
I accidentally bought cream cheese in the tub. However, it is original cream cheese and not the whipped kind. Is that still okay? I dont want to buy new cream cheese and have this go to waste
Thank you for this recipe!
Kara
Emily @ Sugar Spun Run
Hi Kara! Your cheesecake will not turn out properly if you use tub-style cream cheese–it has to be brick-style 🙁
Amy
This really is the BEST cheesecake recipe ever! Thank you so much!
I’m making one today, but I want to make it pumpkin cheesecake. Do you have a suggestion on how to make it pumpkin flavored? I don’t want to mess it up lol. I was going to add half a can of pumpkin and some pumpkin spice, but I don’t know what to do. Thank you!!
Winnie
Making this recipe now, however I have a wall mounted oven so keeping it warm during the oven cool down could be problematic???
Sam
If it’s possible to leave the door open, that’s a good solution. 🙂
Lisa
I am making this today and super excited! I am cooking two cheesecakes, the regular one and adding slice de leche to a second cheesecake. Will putting them in the oven at the same time mess up the cooking process? Do you recommend cooking them separately?
I will come back and write a review when I am done 🙂
Sam
Hi Lisa! They may take an extra couple of minutes to bake, but I would just keep an eye on them as they bake. 🙂
Lisa
Thank you! One last question. I am adding dulche de leche to one of them, do you think I should lessen any other ingredients?
Sam
I am not sure how the dulce de leche will change anything in the cheesecake. I don’t think you’d have any issues if you just rippled it through the top.
Christopher
Oh man,I followed this recipe a couple days ago and it turned out amazing. I increased your crust ingredient quantities a little bit to make an extra thick crust.
The hardest part was waiting for it to chill overnight.
Also, just fyi. I cooked it in our countertop convection oven. I just rotated it halfway through so it browned evenly and then it ended up needing to cook it for an extra 15 minutes. Otherwise it went exactly as your instructions said it would.
It was absolutely delicious. We had to give some of it away or my wife and I would have eaten the whole thing!
Thanks for the recipe, its great.
Alison
Going to try recipe for the holidays.
Any specifications on the butter? Salted, unsalted ??
Emily @ Sugar Spun Run
Absolutely! Either works fine here. Salted will add more flavor though! 😊
Kansas
Hi! My cheesecake cracked 😫 I did everything exactly as you said, except I didn’t take the sour cream out to room temp, could that have been the issue? I might have over beaten them as well with my hand mixer because even the lowest setting is pretty fast. Think it’s time for a Kitchen Aid…
Sam
O no! I’m so sorry this happened! It probably cracked due to being over-mixed in the stand mixer. 🙁
Kansas
Despite the San Andreas fault in my cheesecake, it came out DELICIOUS!! Will definitely make again! So creamy and decadent, you only need a few bites to get a fix. Thanks so much for the recipe!
Emily @ Sugar Spun Run
We’re so glad it tasted good regardless! Thanks for trying our recipe, Kansas 😊
Erykah
Hi! I want to make your recipe but I want to make it in cupcake tins, do you know what I would have to change the temperature to, so I won’t over bake the mini cheesecakes? Also thank you for sharing!
Emily @ Sugar Spun Run
Hi Erykah! You can just follow our mini cheesecakes recipe 😊
Erykah
Oh wow thank you!
Rose
What did i do wrong when my cake isnt as creamy as yours….
Emily @ Sugar Spun Run
Hi Rose! We’re so sorry to hear this. This often happens when the batter is over-mixed, particularly the eggs 🙁
Tracy
Sam,
Thanks so much for an excellent cheesecake recipe. I do think I overbaked mine, but it still tasted great. Toward the end of the baking time, the sides of my cheesecake puffed WAY up. Should I have taken it out when it started to puff up high? I left it in because there were still several minutes left on the minimum baking time. Also, I do use two oven thermometers to make sure the temp’s at 325. The end result was that the middle of the cheesecake was sunken in and the taste was not as creamy as I’m sure it should have been. Again, it still tasted good, but I want it to be perfect! Any suggestions?
Sam
Hi Tracy! I’m so glad you enjoyed it! If it was puffing too much there may have been a little too much air whipped in when stirring the ingredients together. It doesn’t necessarily mean that it’s done at that point. You will still want to look for the cues to tell that it is done. 🙂
Jay
I always get rave reviews when I bake this for family and friends.
Question, how would recommend scaling this down to a six inch pan? I have a colleague who wants cheesecake for Thanksgiving but a regular size is too much for her and her husband.
I really want to be able to make one for her I just don’t know how to scale this down? Other recipes I have found use a water bath and I cannot for the life of me get water bath recipes to work. I always get water into the springform pans no matter what I do.
Emily @ Sugar Spun Run
Hi Jay! You can just it in half. It will make slightly more than will fit into a 6 inch springform pan, so just be sure not to overfill the pan. 🙂
Jay
Would you recommend cutting the cooking time as well or keeping it the same?
Emily @ Sugar Spun Run
Other readers have said it took about 30 minutes in a 6 inch pan. Just be sure to keep an eye on it as it bakes. 🙂
Matt Barry
So you don’t require a water bath?
Emily @ Sugar Spun Run
Hi Matt! Nope, we don’t find it necessary. Be sure to read through the post and watch the video if you’re nervous about cracks 😊
Eve
Where I live we can only get the spreadable cream cheese, not the bricks, can I make it with spreadable or not worth to even try it?
Emily @ Sugar Spun Run
Hi Eve! Unfortunately we don’t think it will work quite as well. There are typically additives in the tub-style cream cheese that help it spread a little bit better. The ingredient list on the cream cheese we use includes: pasteurized milk and cream, salt, carob bean gum, cheese culture. If your tub cream cheese has similar ingredients, it will probably work; if it has extra ingredients, your cheesecake probably won’t turn out quite as nicely. Hope this helps! 🙂
Megan
Is the crust supposed to be prebaked? I’m thankful for the tip to line a cookie sheet with foil in case of leaks…a lot of butter leaked out!
Emily @ Sugar Spun Run
Hi Megan! There is no need to prebake here 😊
Hollee Clawater
Can’t wait to try your fabulous cheesecake! How long will it last in the fridge? Thanks!
Emily @ Sugar Spun Run
We’d say 5-7 days. Hope you love it, Hollee! ❤️
Lauren E
I have made this 2 times and baking a 3rd right now. Consistently an amazing result. Super creamy and delicious. I usually add 2 tsp of lemon zest for variation and serve it with berries. Thanks so much!
Terri
Going to make for friend. How do you transfer cheesecake from springform pan to a cakeboard without cracking?
Sam
Hi Terri! It can be a bit difficult, but the best way I have found to do it is to take off the ring, find two big spatulas, slide them underneath the entire bottom of the cheesecake to free the crust and then use those two spatulas to pick up the cheesecake. Good luck! 🙂
Amanda m
Can you use a pre-made Graham cracker crust?
Sam
Hi Amanda! You can, but they are smaller and won’t hold all of the batter. The bake time will also be reduced.
Julian
Hi, so I am indeed using a premade crust already, so how long should I bake it for?
Emily @ Sugar Spun Run
Hi Julian! We can’t say for sure, so just keep an eye on it and look for signs that it is done 😊
Annamarie
Hello,
Concerns on the crust. As I was making it , it was very sticky. Almost like a lot of butter was used but I went by the recipe. And I also ran out of the crust and pushed down as much as I can but it kept sticking to me and the bottle I used. I couldn’t get the crust to the sides of the pan either. Not sure where I went wrong here. 🙁
Sam
Hi Annamarie! That is honestly very strange, I’m not sure what happened. Did the crust mixture look the same for you as it looks in the video?
Annamarie
Absolutely not ! Yours is perfect and like I said mine was very very wet. And I went by everything you said. The only thing that was different was that I used graham crackers and put them in the blender since my store did not have the actual gram cracker crumbs per done. Maybe my blender really finely blended the gram crackers ?
Sam
That’s so frustrating, I’m sorry to hear it! If the graham crackers were extremely finely ground then perhaps that could be the issue, but I’ve used graham crackers myself plenty of times without issue. I’m sorry you ran into this problem 🙁
Alexandra
Hi I want to make this tomorrow but I don’t have spring-form pans. Will a regular cake pan do? Do I just flip it in my hand upside down then gently place on the plate? Think it might work? Thank you!
Sam
Hi Alexandra! It will bake in a regular cake pan. It could work. It may be a bit risky. Make sure it has cooled completely so it’s nice and sturdy. You may even want to freeze it for a few minutes so it doesn’t get messed up when flipping it over. Good luck!
Julie Ray
My cream cheese and eggs have been sitting out for 10 hours but still feel cool
Sam
I think they will be good to use at that point.
Heather
Maybe it’s my oven, but the top of my cheesecake was DARK brown :(. My oven was preheated to 325 prior to putting the cheesecake in, should I try a lower setting?
Sam
Hi Heather! It sounds like your oven may be running a bit hot. I’d recommend getting an oven thermometer to see what the temperature actually is and when baking and adjust accordingly. They are pretty inexpensive and can be very helpful. 🙂
Caitlin
I have used a regular cake pan and it came out just fine. The trick is laying down parchment paper inside the pan before adding crust and filling, and make sure you leave a little hanging over on each side. When it has cooled you can easily lift it out of the cake pan by holding the sides of the parchment paper.