
The Best Cheesecake Recipe
This post may contain affiliate links. As an Amazon Associate I earn from qualifying purchases. Please read my disclosure policy.
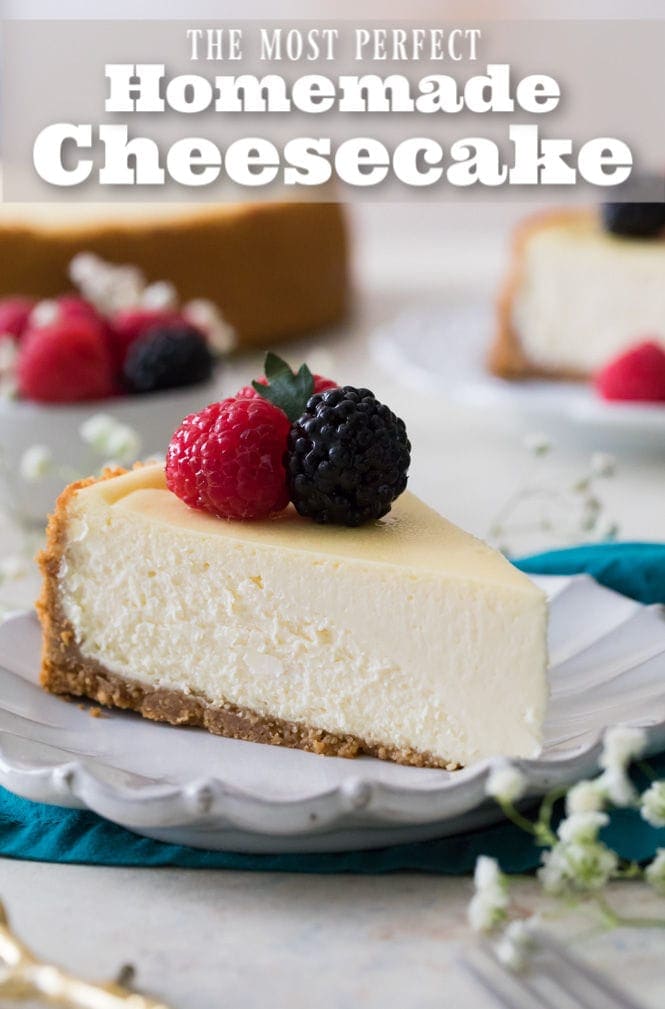
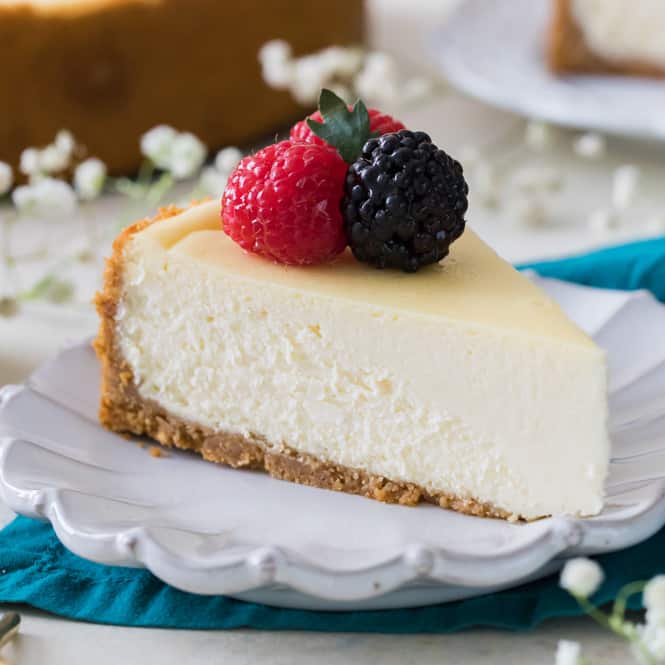
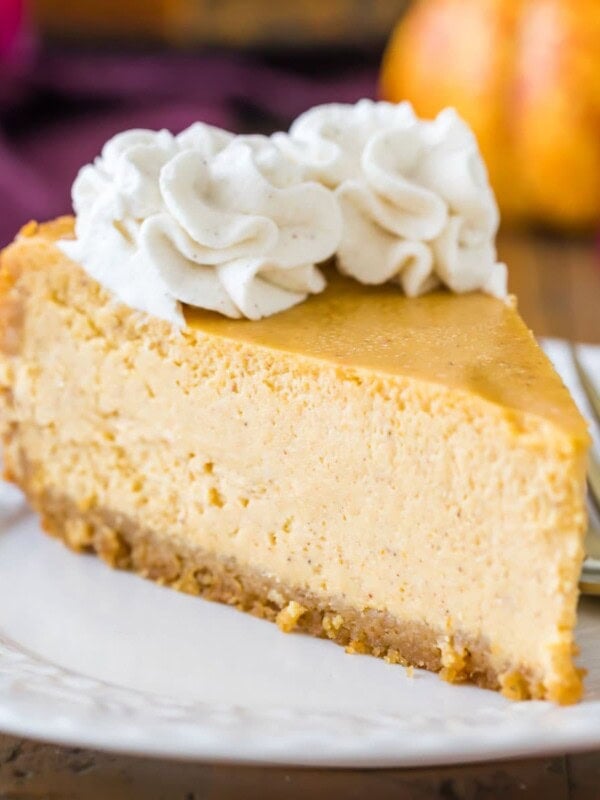
Today I’m so excited to show you how to make the best Cheesecake Recipe of your life. Simple, classic, and no water bath required!! The texture is smooth, rich, and creamy, served over a crisp homemade graham cracker crust.
I’ve included tons of detailed tips and important info in today’s post so you can make the perfect creamy cheesecake every time. For a visual how-to, be sure to check out my step-by-step video beneath the recipe!

The Perfect Cheesecake Recipe
This cheesecake recipe has been a long time coming.
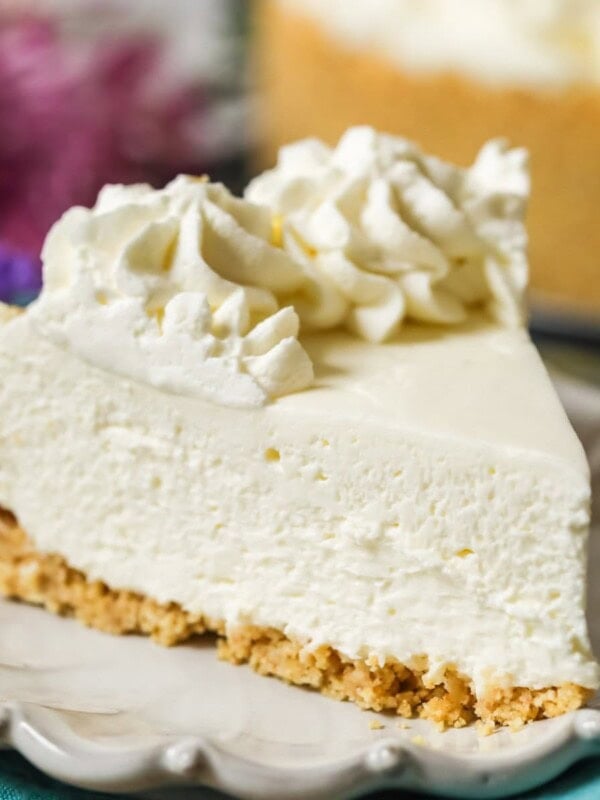
For a recipe with so few ingredients (cream cheese, eggs, sugar, sour cream, vanilla & salt), it took a lot longer than you might think to develop the perfect version. I’ve shared a few cheesecake variations in the past, including my No-Bake Cheesecake, but getting a perfected classic version took lots of testing. Finally, here we are.
Oh, and we are skipping the water bath! I’ve always found them to be largely unnecessary with cheesecakes. Cook yours on a low temperature and follow my tips below and you’ll have a perfectly creamy and crack-less cheesecake without all the hassle of a water bath.
Other tested/perfected classics to try: my Pound Cake, Chocolate Cake, and Carrot Cake, (to name just a handful).

Must-Know Tips for Baking the Perfect Cheesecake (Without a Water Bath!)
Use room temperature ingredients
It’s important that your cream cheese comes to room temperature before you begin making your cheesecake. This will prevent any lumps and ensure a cheesecake with a smooth, creamy texture. However, to ensure that all of your ingredients blend together nicely and give you the desired result, they should all be at room temperature before you begin.
Take it easy on the eggs
Over-beating your eggs is one of the quickest ways to ruin a cheesecake. Over-beating can ruin the texture and can cause cracks. To prevent this, lightly scramble each egg before adding it into your batter. Keep your mixer on low speed and stir until just combined. Be sure to pause after each addition and scrape down the sides and bottom of your mixing bowl.

Don’t open the oven!
I know how tempting it can be to want to check on your perfect, beautiful cheesecake, but wait until it’s finished baking (or close to it) before opening the oven door! Yes, you will have to test for doneness at some point and there’s a real possibility it will need more time in the oven, but minimize opening the oven as much as possible.
Opening the oven door can drastically reduce the temperature of your oven, which will slow the baking process and might cause your cheesecake to sink or crack.
Free your crust!
Once your cheesecake is done baking, allow it to cool for 10 minutes on top of the stove. Then, run a knife around the inside of the springform pan to loosen the crust from the sides.
As your cheesecake cools, it may to shrink a bit. If the crust is stuck to the pan, your crust won’t give but your cheesecake will (leaving you with cracks). Free the crust from the sides so it can contract with your filling as needed.
Cool at room temperature before moving to the fridge
I always let my cheesecake come to room temperature before chilling. For bests results, let it cool as gradually as possible. I put mine on top of my oven (the warmest spot in my house) so it can gradually cool off as the oven does.
This pre-chilling cooling period can take an hour or two, but it’s worth it. An abrupt temperature change (moving the cheesecake directly from oven to fridge) is likely to make it crack.

How to Store Cheesecake
Cheesecake should always be stored chilled in the refrigerator. When I’m ready to store mine, I’ll usually replace the springform ring and then cover the top with foil.
Cheesecake shouldn’t be left out at room temperature for more than 4 hours (or less if it’s particularly hot/humid!).
Can I Freeze Cheesecake?
Yes, you can freeze your cheesecake! Fortunately, this cheesecake recipe actually freezes very well. To freeze, first allow your cheesecake to cool on the stovetop and in the fridge as instructed. Once it’s chilled, you can freeze by wrapping thoroughly in plastic wrap and then wrapping in foil. Cheesecake will keep in the freezer for several months.
To thaw, transfer to the fridge and let it thaw there overnight.
Here’s a great source for more information on freezing cheesecake, including suggestions if you’d like to freeze by the slice.

Other Cheesecake Variations You Might Like:
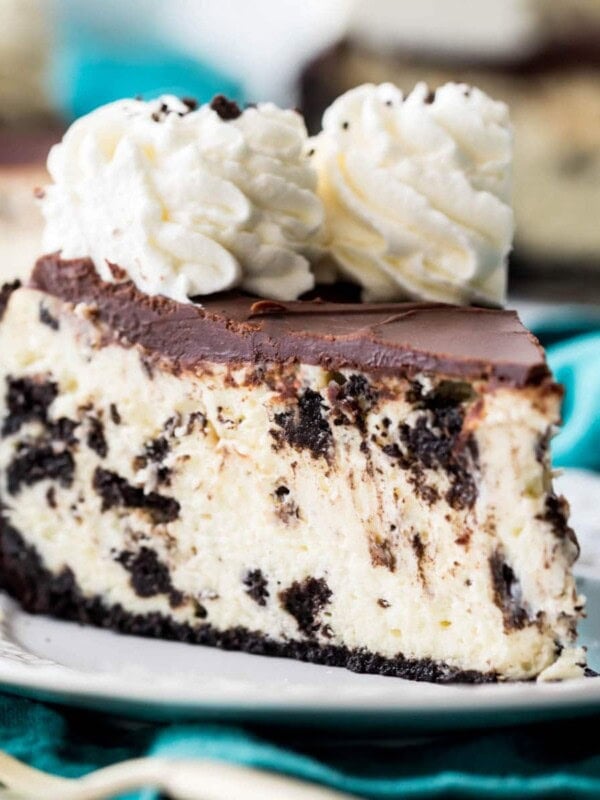
- Oreo Cheesecake
- Pumpkin Cheesecake
- Chocolate Cheesecake
- Or try something different and serve this cheesecake on an Oreo Crust!
Enjoy!
The BEST Cheesecake Recipe

Equipment
Ingredients
Graham Cracker Crust¹
- 1 ½ cups graham cracker crumbs, (170g)
- 2 Tablespoons sugar
- 1 Tablespoon brown sugar, (can substitute white)
- 7 Tablespoons butter, melted
Cheesecake
- 32 oz cream cheese², softened to room temperature (910g)
- 1 cup sugar, (200g)
- ⅔ cups sour cream, (160g)
- 1 ½ teaspoons vanilla extract
- ⅛ teaspoon salt
- 4 large eggs, room temperature, lightly beaten
Instructions
- Preheat oven to 325F (160C).
- Prepare Graham Cracker crust first by combining graham cracker crumbs, sugar, and brown sugar, and stirring well. Add melted butter and use a fork to combine ingredients well.1 ½ cups graham cracker crumbs, 2 Tablespoons sugar, 1 Tablespoon brown sugar, 7 Tablespoons butter
- Pour crumbs into a 9” Springform pan and press firmly into the bottom and up the sides of your pan. Set aside.
Cheesecake
- In the bowl of a stand mixer or in a large bowl (using a hand mixer) add cream cheese and stir until smooth and creamy (don’t over-beat or you’ll incorporate too much air).32 oz cream cheese²
- Add sugar and stir again until creamy.1 cup sugar
- Add sour cream, vanilla extract, and salt, and stir until well-combined. If using a stand mixer, make sure you pause periodically to scrape the sides and bottom of the bowl with a spatula so that all ingredients are evenly incorporated.⅔ cups sour cream, 1 ½ teaspoons vanilla extract, ⅛ teaspoon salt
- With mixer on low speed, gradually add lightly beaten eggs, one at a time, stirring just until each egg is just incorporated. Once all eggs have been added, use a spatula to scrape the sides and bottom of the bowl again and make sure all ingredients are well combined.4 large eggs
- Pour cheesecake batter into prepared springform pan. To insure against leaks, place pan on a cookie sheet that’s been lined with foil.
- Transfer to the center rack of your oven and bake on 325F (160C) for 50-60 minutes (or longer as needed, see note 3). Edges will likely have slightly puffed and may have just begun to turn a light golden brown and the center should spring back to the touch but will still be Jello-jiggly. Don't over-bake or the texture will suffer, which means we all suffer.
- Remove from oven and allow to cool on top of the oven⁴ for 10 minutes. Once 10 minutes has passed, use a knife to gently loosen the crust from the inside of the springform pan (this will help prevent cracks as your cheesecake cools and shrinks). Do not remove the ring of the springform pan.
- Allow cheesecake to cool another 1-2 hours or until near room temperature before transferring to refrigerator and allowing to cool overnight or at least 6 hours. I remove the ring of the springform pan just before serving then return it to the pan to store. Enjoy!
Notes
1) Graham cracker crust
For more details on making this crust or to use whole graham crackers, please see my Graham Cracker Crust Recipe.2) Cream cheese
Make sure that you use the brick-style cream cheese, not the spreadable version that is available in tubs.3)Bake time
Exact bake time can vary depending on your oven, whether you bake your cheesecake on a baking pan or not, the color of your springform pan (light or dark), and even the precise temperature of your ingredients. Because of this I recommend checking your cheesecake at 50 minutes and adding time as needed. However, it is not uncommon for the cheesecake to take as long as 75 minutes to bake, but it's better to check sooner.4) Cooling cheesecake
I recommend the top of the oven because it is usually the warmest place in my house (after it’s been on for over an hour). This will help to cool the cheesecake more gradually and will also help avoid cracks).Nutrition
Nutrition information is automatically calculated, so should only be used as an approximation.
Like this? Leave a comment below!


I followed this to the T, but after 70 minutes still very jiggly. Baked another 10 minutes- still very jiggly- another 10 minutes- very jiggly. Finally took it out of the oven anyway because getting very brown on top and many cracks. I never opened the oven door before the 70 minutes. What did I do wrong?
Hi Carol! I’m so sorry this happened! It is supposed to have a little jiggle to it, but if it was still almost runny I wonder if your oven is running a little hotter than it says it is. 🙁
You can also put your cheesecakes in a water bath. Add an inch or so of water to a larger pan, and place the cheesecake pan inside. It will cook the cheesecake all the way through without excessively browning the top
Can you use a 10-inch pan for this recipe? Would I need to add more ingredients? Thank you!
This recipe will work just fine in a 10 inch pan. It will be ready sooner than what is listed though, so keep an eye on it! Enjoy 😊
I ADORE this recipe but I do use half brown sugar and add chai spices into my crust. I halve the amounts and use a 9.5 glass pie pan and it comes out perfect. Takes around an hour. 👀 I peek. Lol
I have made a lot of cheesecakes, but this recipe IS the best. Simple. Perfect. Thank you!
I’m so glad you enjoyed it so much, Diane! 🙂
Hi! I’m looking forward to making this but would I be able to half the size of the pan and half the recipe for a smaller cheesecake? Thank you!
Hi Bryanna! You could certainly cut the recipe in half and bake it in a smaller pan. Your bake time will change a bit though. 🙂
Made this yesterday for a cook out with friends. I am a cook, not a baker. This was Piece Of Cake! (Pun VERY intended!) Easy to make, no messing with water bath. Great texture. Great flavor. I layered in some home grown pureed raspberries as I poured the batter, then stirred with a chopstick. I will certainly check out your recipes next time I dabble into baking.
I just made this for my stepsons birthday and he ate 1/4 of the cake and said it was the best cheesecake he has ever had. Thank you so much for sharing this recipe.
The cheesecake was a little too “tangy” for me. It was very good but maybe use a little less sour cream next time.
Oh. My. Gosh. This is the best cheesecake recipe I’ve ever made AND tasted! Well done. Wow. So creamy and easy to make! And gorgeous, too. I mean, there were NO cracks. Thank you!
Thank you for a great easy recipe. I will be sure to come back to your site for more recipes
I haven’t made this yet, but I want to today. My boyfriend loves cheesecake, and I don’t. Since he’s the only one who will be eating it, I want to half the recipe. Do you know what pan to use if I half the recipe? Will a 9” spring form pan be too big? Thank you so much. 🙂
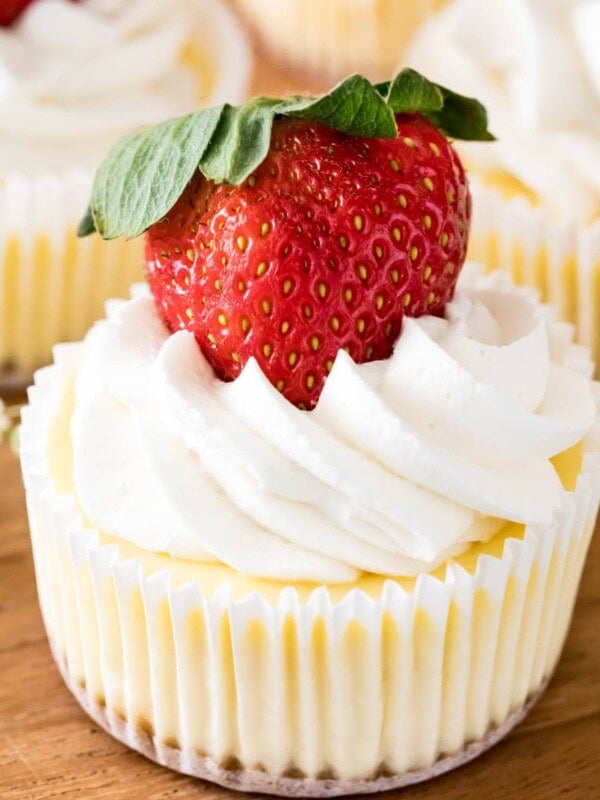
Hi Tara! Honestly we haven’t tried halving this recipe, so we can’t say for sure. A 6-inch springform pan may hold it, but we don’t know how long it would need to bake. You could try our mini cheesecakes instead–they are quicker and can easily be halved to make just 6 handheld cheesecakes 😊
We host an annual outdoor dinner of smoked meats and salads with huckleberry cheesecake as the finale. I made your recipe (doubled) in four nine inch pie plates. I pre-baked two home-made graham cracker crusts for 10 minutes and then added the filling. Those two baked perfectly with no cracks. With your caution of not opening the oven door too often, I put the next two pie plates into the warming oven for 10 minutes and then baked them. They both cracked. I have made notes to pre-bake them all, keep them warm, add the filling, and they should not crack. Thanks for a great recipe.
Hi Sam,
Love this recipe! Do you have a tip or suggestion on how to get the cheesecake off the bottom of the spring form pan?
Thanks
Erika
I’m so glad you enjoyed it! The best way I find to do it is to just slide a spatula underneath of the crust to try to loosen it a little bit. 🙂
You could always try placing a layer of bakers paper at the bottom before the crust and pre bake the crust for ten minutes before adding the filling.
Sam- This recipe and all of your others are amazing! Thank you so much for sharing and demonstrating!! I have watched the Best Cheesecake video so many times that my phone automatically opens to it! I have a question as I am still seeking perfection (but it is delicious even with the cracks)…I am following all the instructions almost exactly and am only 40-50% successful in avoiding cracks. I am now expecting that either my oven is running a bit hot AND/ OR maybe I am cooking the cheesecake too long or not long enough. Can you tell me if you are baking your own cheesecake closer to the 75 minutes or the 65 minutes?? I have been afraid to actually open the oven or touch the center as indicated due to my ongoing difficulties. Please advise…
Thank you in advance,
Stacy
Hi Stacy! I’m so glad you are enjoying the cheesecake! I bake my own cheesecake closer to the 75 minute mark, but every oven is different. I did very recently discover a new trick that has almost completely helped me (and others) avoid cracks in my cheesecake 99% of the time. Press the graham cracker crust all the way up (or almost all the way up) the springform pan, so that it will be higher than the cheesecake batter when you add the batter. I am able to do this with the graham cracker crust as written, but if you want more crust to work with you can always bump up the recipe 25% or even 50%.
This trick works because as the cheesecake cools, it constricts. If it is baked against the side of the springform pan, the sides stick and the tension causes cracks as the cheesecake cools. However, if the graham cracker crust is there, this will shrink with the cheesecake, removing any of that tension and eliminating cracks as the cheesecake cools. If any of your cheesecake is still touching the pan after the cheesecake finishes baking, use a sharp knife to gently separate the cheesecake from the edge (so that it can constrict) immediately after removing the cheesecake from the oven. Please give this a try and let me know how it works for you.
What I have done was use parchment paper to line my pan, I believe this allows the the cake to rise a little instead of expanding outwards. This seems to work with no cracking…… Just a idea
Thank you so much, Sam! I am very impressed with both the recipe and your responsiveness! ❤️ I am going to try the increased crust ASAP! I will keep you posted!! Increasing the crust recipe 25% is more complicated (1 3/4 cups plus 2 TBSP Graham crumbs…) than the 50% increase according to my math. I found a recipe calculator that told me the following measures for the crust (in case someone else needs to try them too):
2 1/4 cups Graham crumbs
10 1/2 TBSP butter
3 TBSP while sugar
1 1/2 TBSP brown sugar
Again…thank you!
I will let you know how successful I am soon!
Sam-
The increased Graham crust up the side of my springform pan did work…no cracks! Tysm!💗
I do need to reduce how high/thick I made it at the top of the pan to make sure it does not fall into the cake when the knife goes around for release however—oops!
I also found a difference in using Philadelphia cream cheese blocks from the grocery and the large blocks I cut and measure out at my small cafe—“commercial “ brand seems less dense and has a bit more liquid separating even if right out of the fridge. Changes the batter consistency/ looser which may not bode well for the cheesecake structure!
Ty again and please keep giving us access to your skill!!
I’m so glad the crust tip was helpful! 🙂
I never have enough crumbs for the side. Looks like you have more then 1 1/2 cups. Can I double it crumb recipe?
You can double it but the amount I use is the amount listed in the recipe.
About to make this, could I use an 8 inch springform pan instead of 9 inch?
Hi Toby! You will have too much batter for an 8 inch springform pan, so make sure not to over-fill the pan or you will have a big mess on your hands. Your baking time will probably be different as well, just keep an eye on it and check for the signs that it is done. Enjoy! 🙂
Do I leave the 9″ springform pan on through the cooling, including the 6 hours in the refrigerator?
We typically remove it just before serving 🙂