
Sweet Bread (Braided Bread)
This post may contain affiliate links. As an Amazon Associate I earn from qualifying purchases. Please read my disclosure policy.

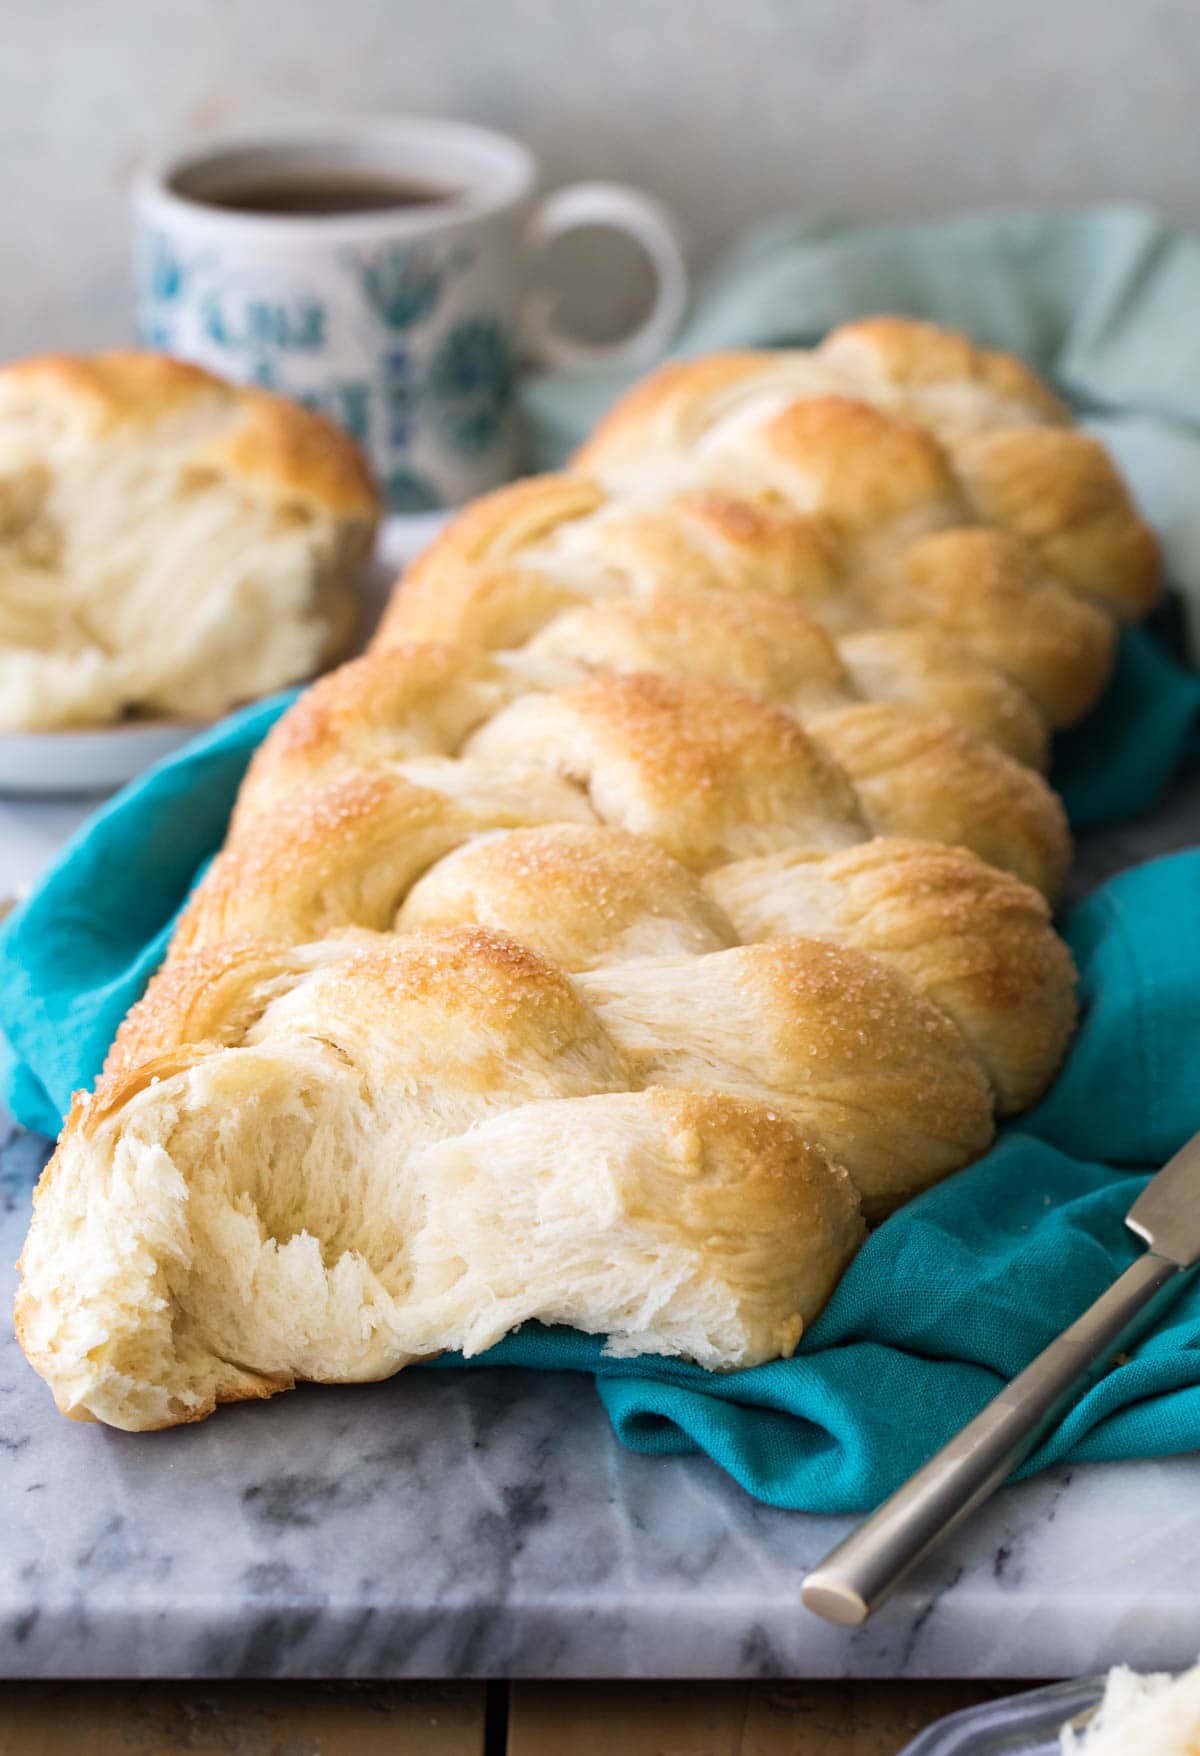
How to make a beautiful loaf of Braided Sweet Bread! This bread is soft & fluffy with just the right touch of sweetness. If you’re nervous about baking with yeast I walk you through all of the steps in detail and include a step-by-step video!
Braided Bread Perfection
There is nothing better than freshly baked homemade bread.
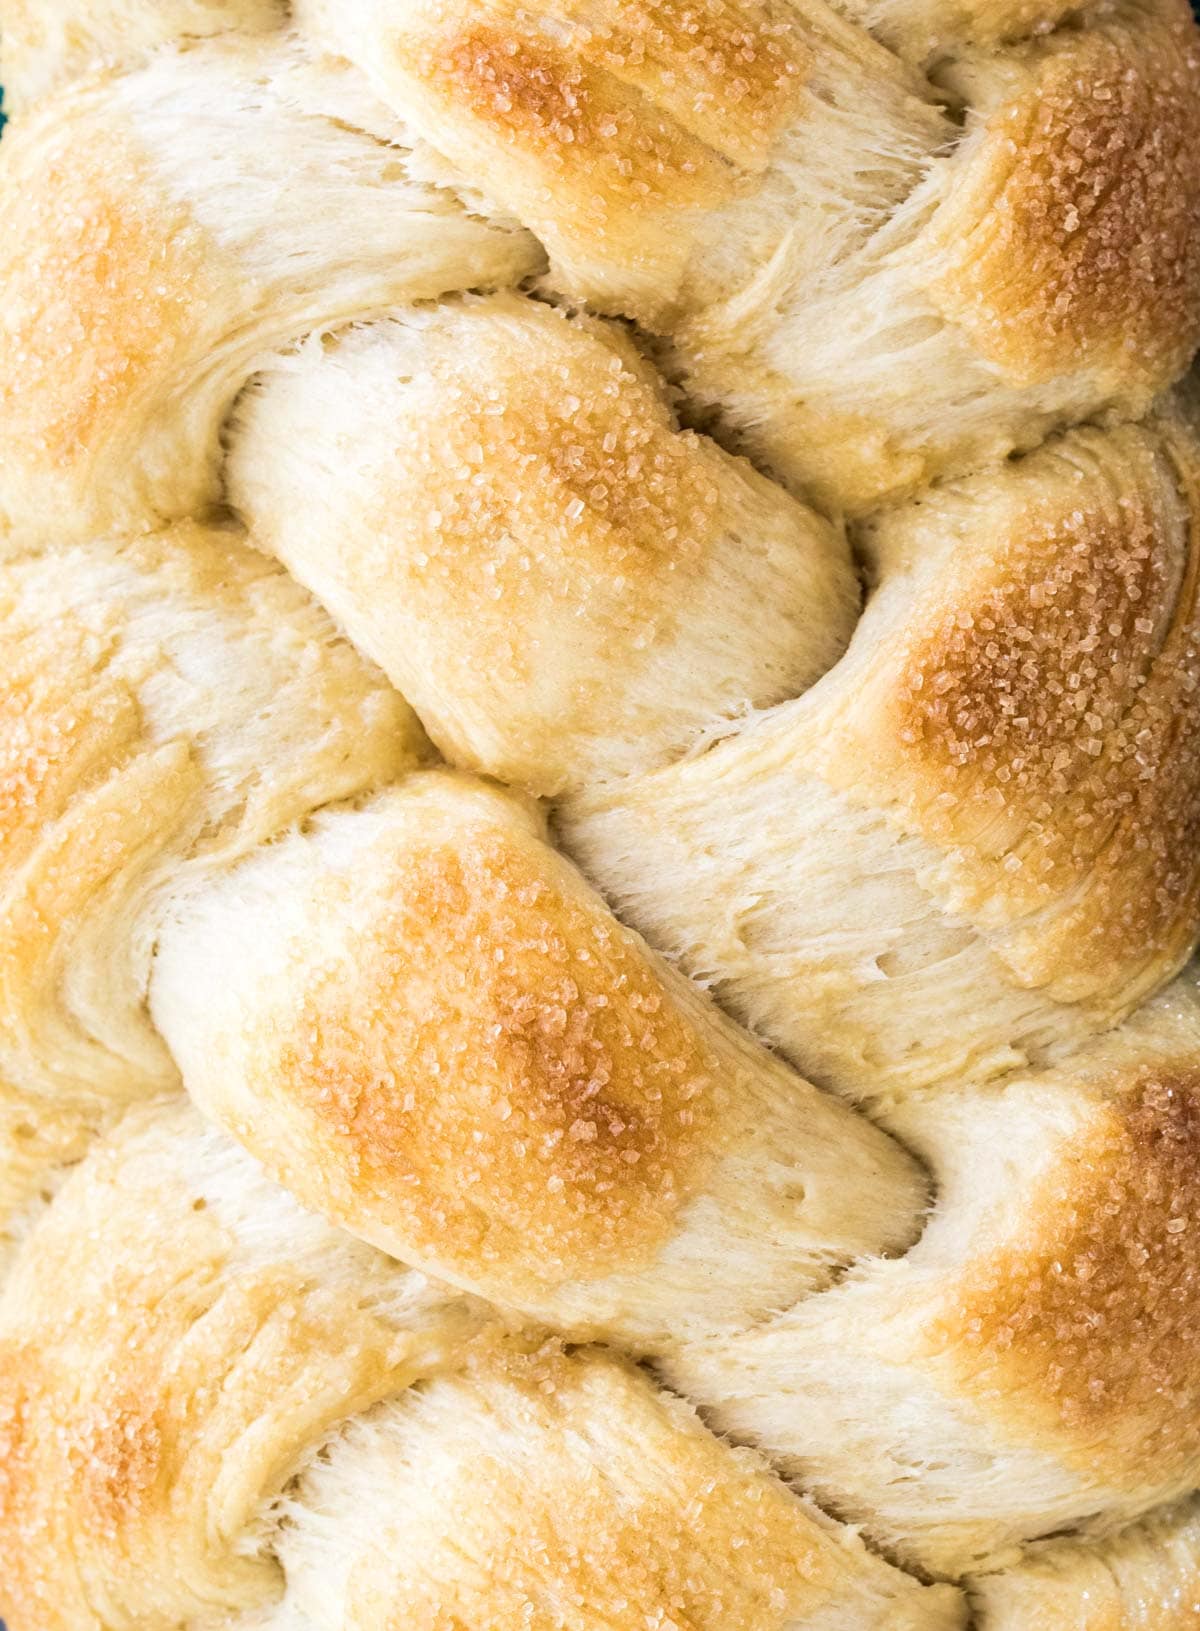
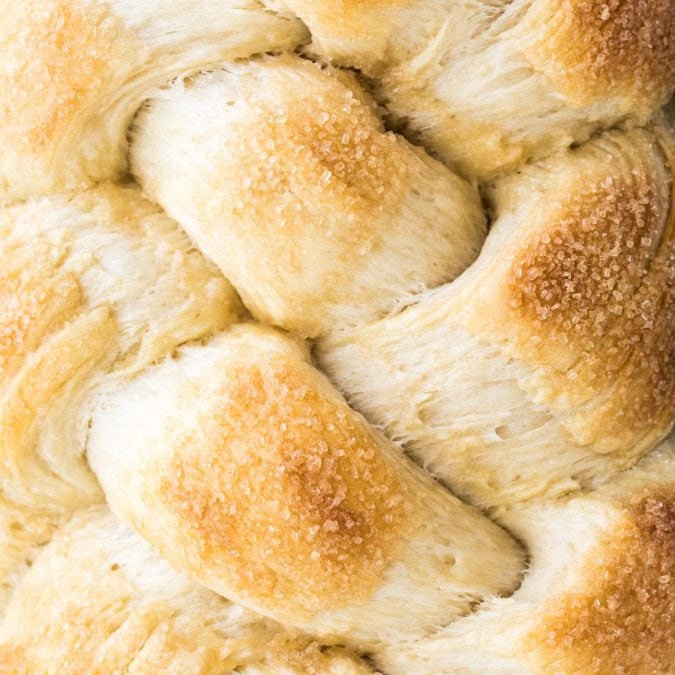
Unless, of course, if you ever-so-slightly sweeten that bread, enrich it with eggs (and extra yolks) and butter, beautifully braid it, and top it off with a crystallized sugar coating.
My braided sweet bread is both extremely simple but also so far from basic. It’s tender with just the right amount of gluten-y chew, fluffy with an appropriately subtle sweetness, complex in appearance but surprisingly simple to actually make. Oh, and it will make your house smell amazing.
As someone who used to fear even the sight of a sachet of yeast, let me tell you that if I can handle this recipe, you can too. I’ve come a long way in my bread baking journey, and what I’ve learned is that there’s not really much to be scared of. Today I’m walking you through all the steps so that your sweet bread comes out just like the pictures. Make sure to watch the how-to video in the recipe card and read through the whole post before beginning, and you’ll be well on your way to braided bread perfection. Let’s get to it!
What You Need
The dough that I use for today’s recipe is essentially the same as the one I use for my sticky buns. There’s a reason for that, and the reason is that this is one of the best, most tender, softest bread doughs I’ve ever made. It’s delicious, perfectly chewy and enriched with a few key ingredients.
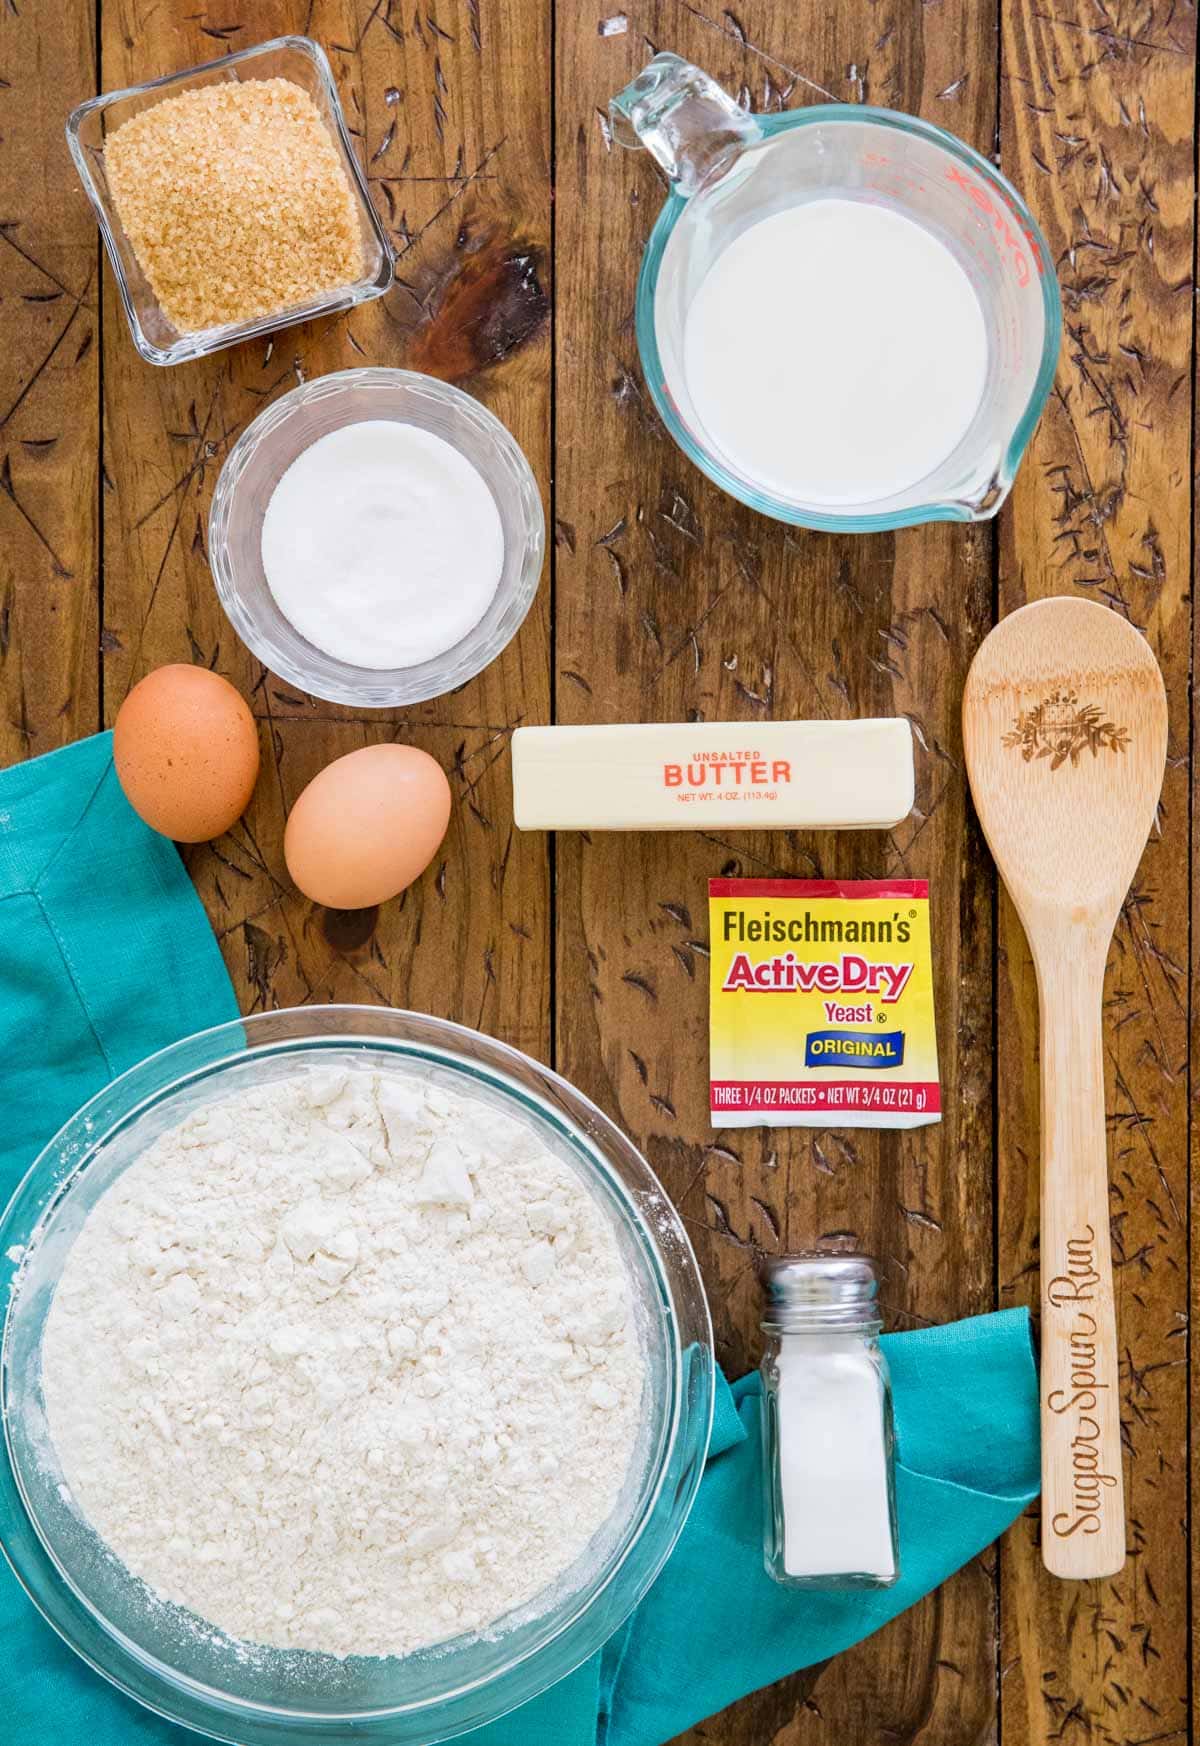
Here’s what you need to make it:
- Milk & Water. Using milk enriches the bread, makes it more tender and makes it slightly sweeter, while the water helps encourage a fluffier crumb.
- Yeast. This can make or break your sweet bread. Make sure it isn’t expired and be sure your milk and water are heated to the proper temperature to activate it correctly. If your yeast doesn’t foam after 10 minutes, something went wrong and you must start over.
- Flour. You can use bread flour or all-purpose, see my FAQ section for more details on this.
- Salt. Most importantly this adds flavor to the bread.
- Melted butter. This is a key ingredient to enriching the bread dough.
- Eggs. We use a whole egg and an extra egg yolk. This extra yolk also helps create a perfectly enriched dough. Save the egg white! We’ll use it to brush the top of our bread.
- Sugar. I use granulated sugar to sweeten the bread and then coarse turbinado to sprinkle over the top of the bread for a crisp, sweet exterior. If you don’t have turbinado sugar, just use additional regular granulated sugar for topping.
Remember, this is just an overview of the ingredients I used and why. For the full recipe please scroll down to the bottom of the post.
How to Braid Bread
My sister taught me to braid this bread (she spent a few years at a Subway during college) and insisted I do a 4-piece braid (rather than a classic 3-piece) because it’s “prettier”. I agree with her. While it might seem complex, it’s really quite simple. Here’s how it’s done:
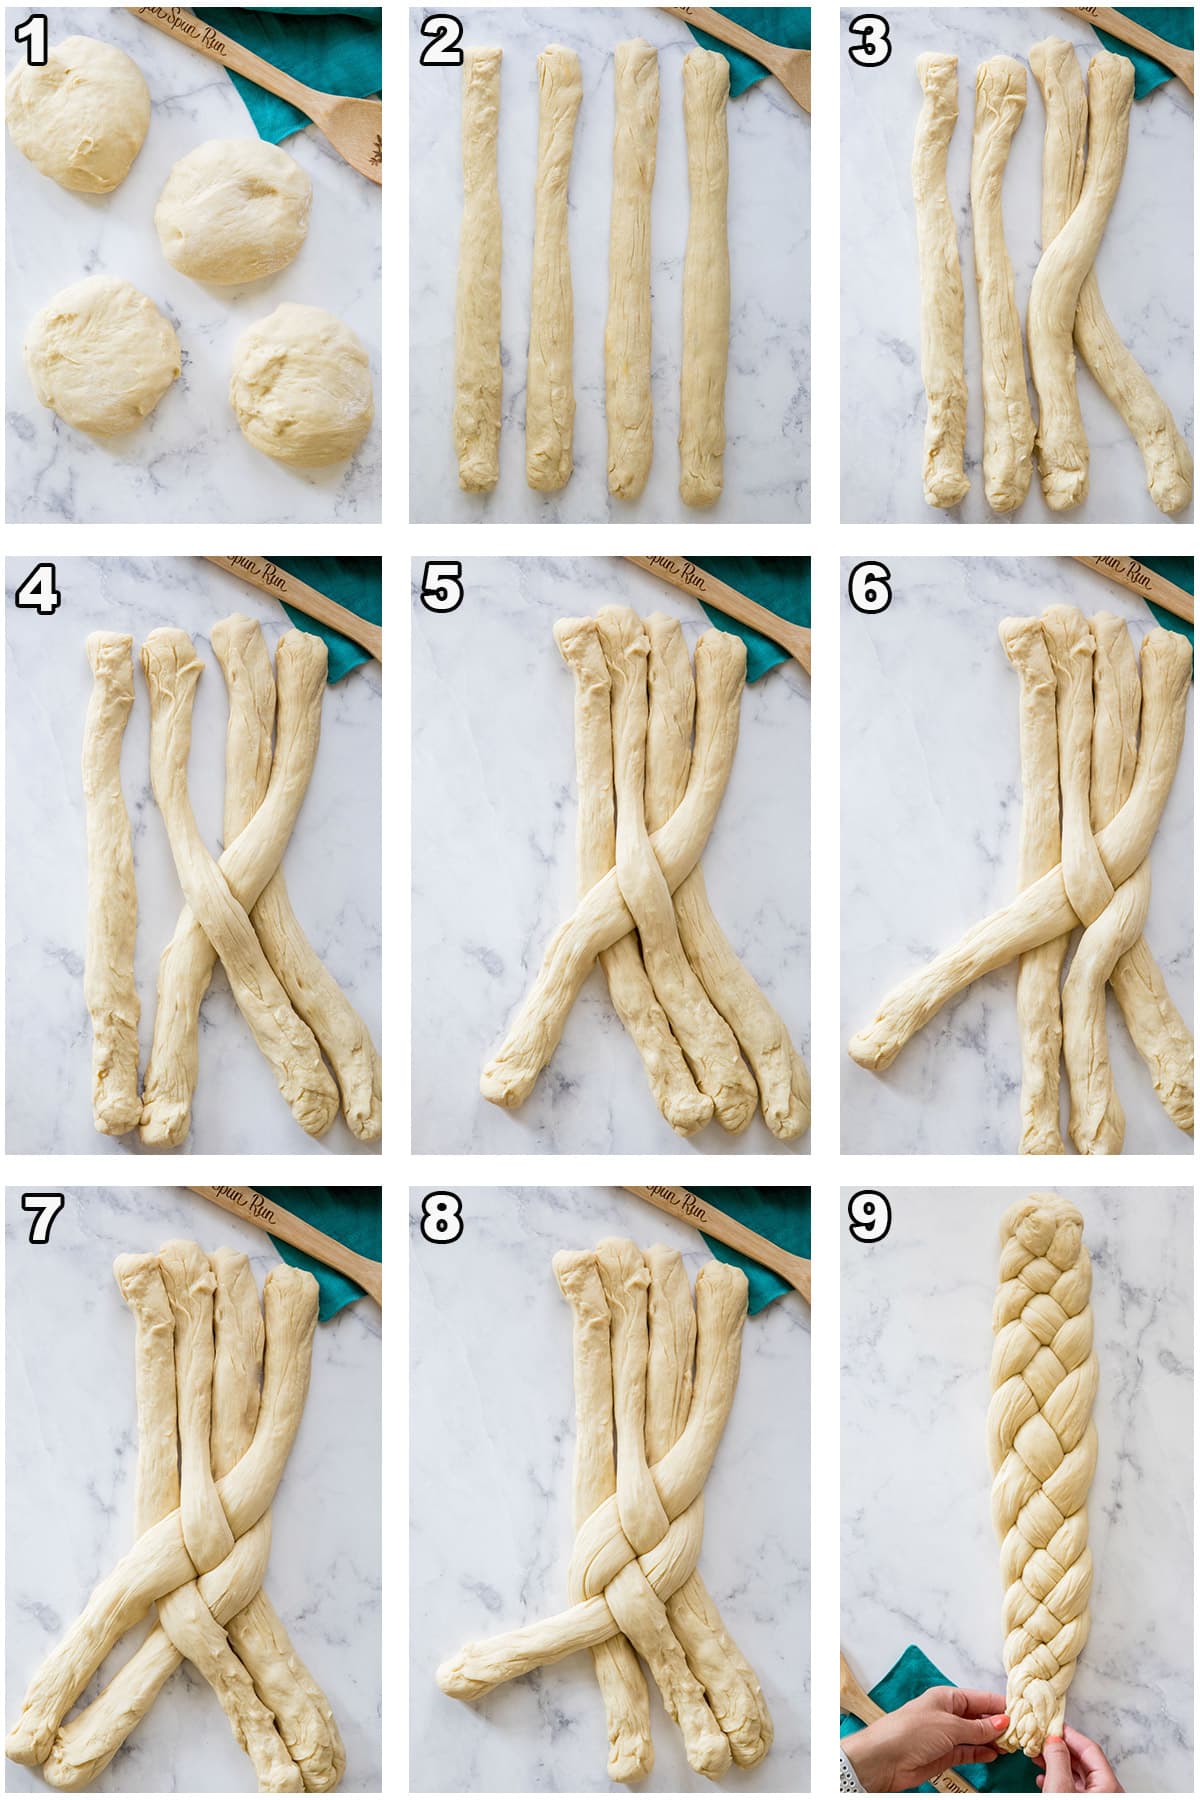
- After your dough has risen, gently deflate it and divide into four pieces.
- Roll each piece into a 15″ rope. If the dough is stick you can very lightly flour your hands, but don’t over-do it. Too much flour makes it difficult to work with the ropes. Arrange the ropes in a row.
- Take your rope that’s furthest to the right and cross that over the rope immediately to its left.
- Now weave that same rope beneath the next rope (second from the left).
- Now with that same strand, cross over the rope all the way to the left.
- Repeat! Start again with the rope all the way to the right and cross that over the rope directly to its left…
- and then under the next rope…
- and then over the left-most rope.
- Repeat until you reach the end then smoosh those ends together really well and tuck them neatly underneath the bread. You have half of your bread braided at this point, now work from the center and repeat the steps above until you have braided the other half of the bread and tucked the ends.
You’ll notice that we start with the center of the bread. This is how I was taught and not only does this make it easier, it also helps make for a more symmetrical bread than if we just started from one end.
Tip: Braid your bread directly on the baking sheet! This is easier than braiding it on your counter and then trying to move it.
Frequently Asked Questions
Yes! If using instant yeast, whisk together the yeast, sugar, salt, and half the flour. Then add your warmed milk and water and stir well, then stir in butter and eggs and then add additional flour as needed.
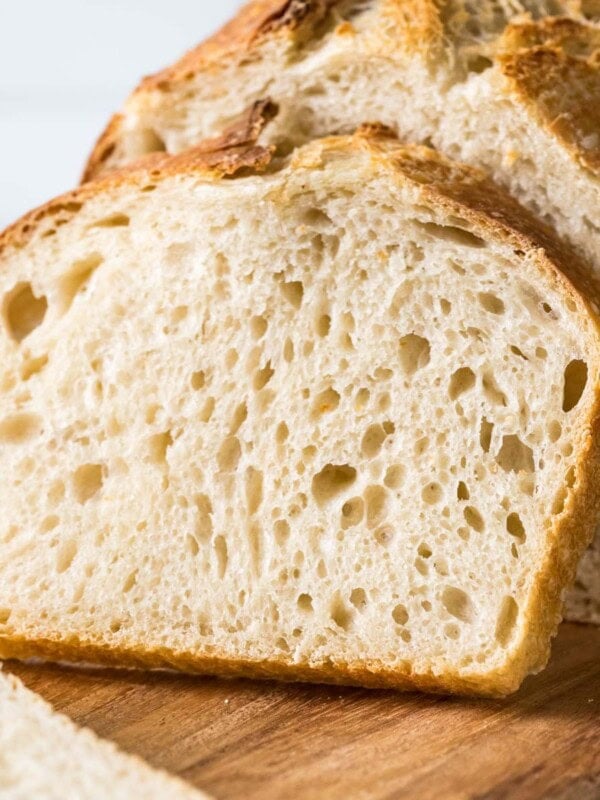
I recommend using either all-purpose or bread flour. Bread flour yields a slightly chewier bread (and good bread should be a little chewy!).
Do not substitute self-rising flour. A portion of the flour could be swapped out for whole wheat flour but you’ll need a bit less flour overall as the dough will be more dry.
Here’s a little run-down on the differences in the flours, if you’re into that sort of thing!
The best way is to use an instant-read thermometer. Insert the thermometer into the center of the bread, it should read 190F (87C) once it’s finished baking.

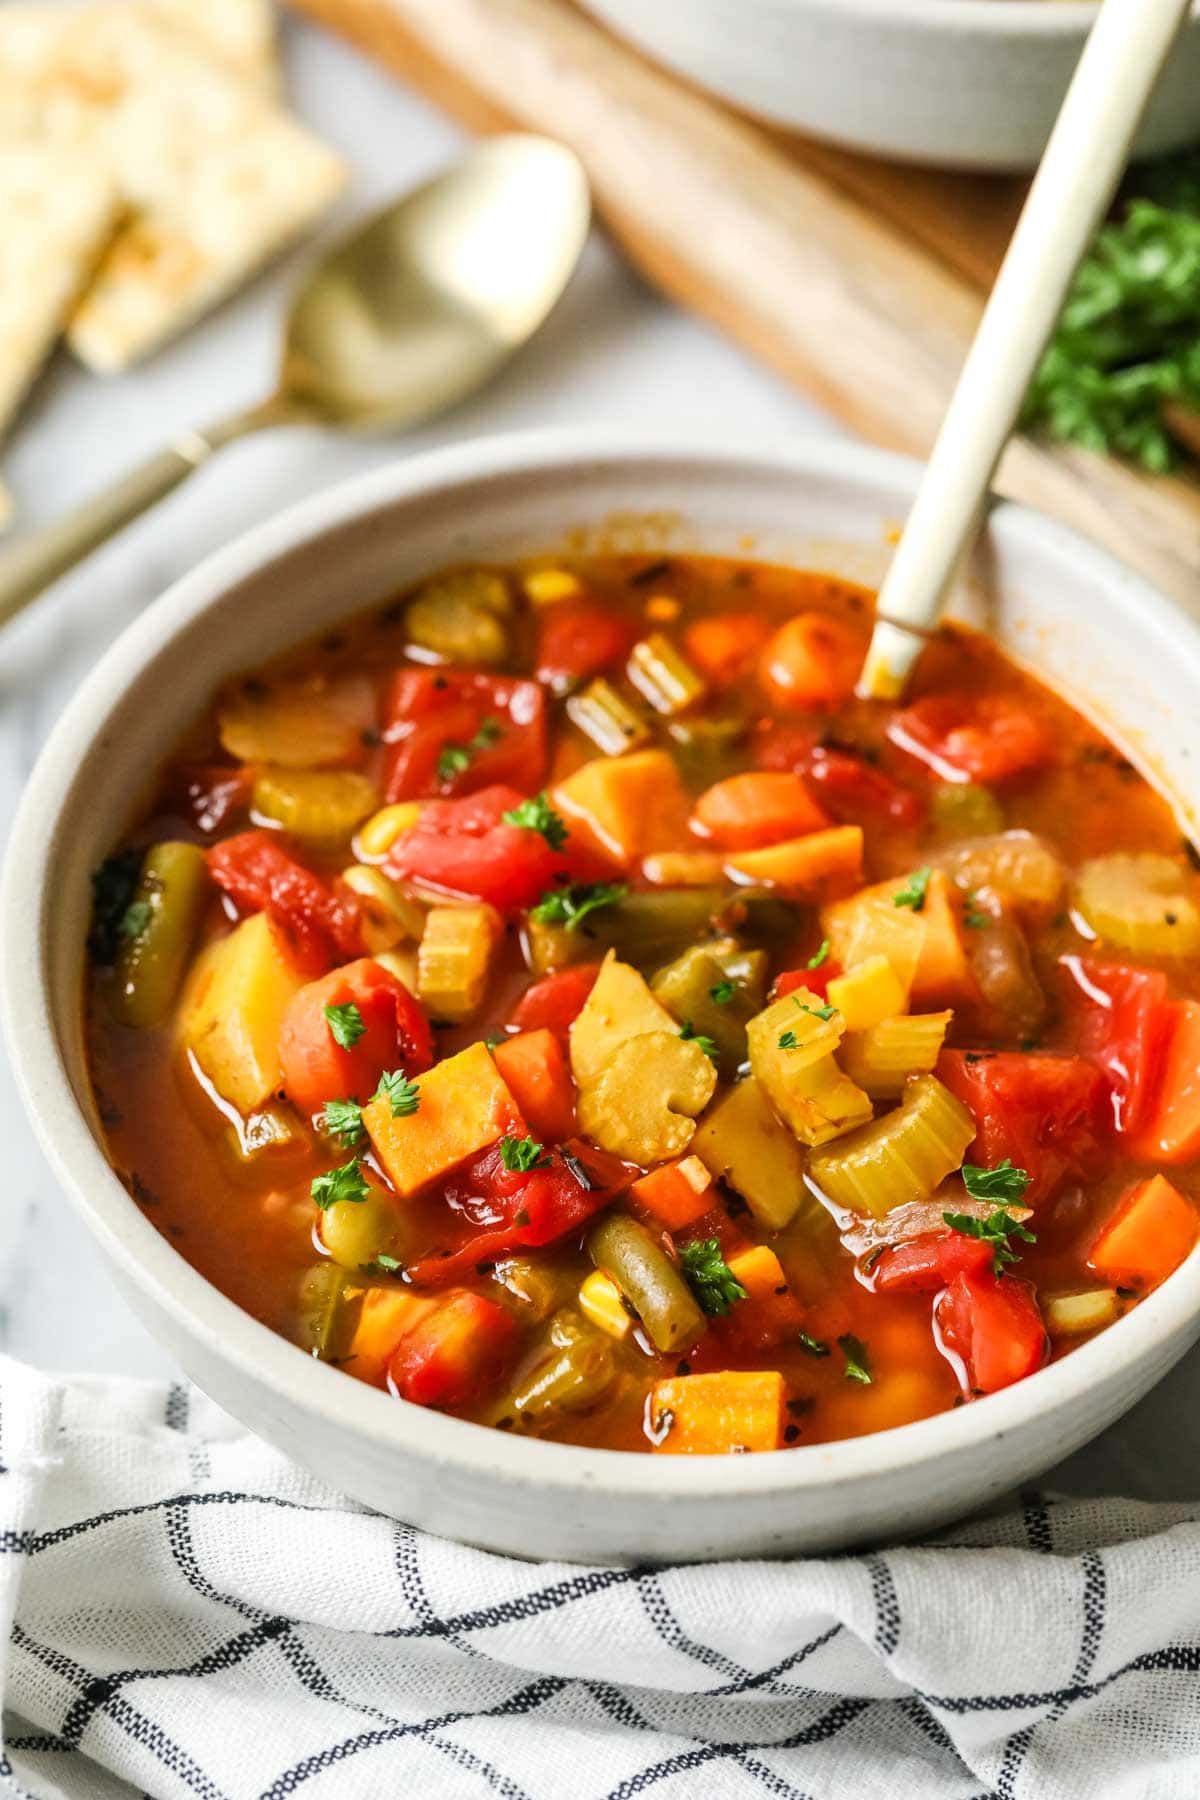
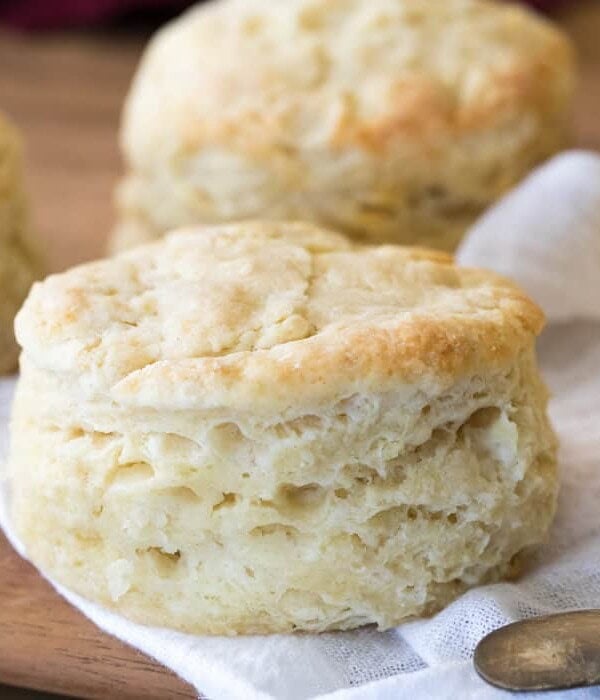
More Recipes You Might Like
Enjoy!
Let’s bake together! Make sure to check out the how-to VIDEO in the recipe card!
Sweet Bread (Braided Bread)
Equipment
Ingredients
- 1 cup (236 ml) whole milk
- ⅓ cup (80 ml) water
- 2 ¼ teaspoons active dry yeast
- ⅓ cup (70 g) + 1 teaspoon granulated sugar
- 5 Tablespoons unsalted butter, melted
- 1 egg + 1 egg yolk, save egg white for brushing top
- 2 teaspoons table salt
- 4 – 5 cups (500-625 g) bread flour or all-purpose flour¹
- coarse sugar or granulated sugar, for sprinkling on top (I use about 3 Tablespoons)
Instructions
- Combine milk and water in a heatproof bowl and heat in 30-second increments until mixture reaches a temperature between 105-115F (40-46C). Always stir before temping!1 cup (236 ml) whole milk, ⅓ cup (80 ml) water
- Pour milk mixture into a large bowl or the bowl of a stand mixer and stir in yeast and one teaspoon granulated sugar. Let sit for 5-10 minutes or until a foam cap has formed on the surface (if mixture does not foam you will need to start over).2 ¼ teaspoons active dry yeast, ⅓ cup (70 g) + 1 teaspoon granulated sugar
- Once foamy, add remaining ⅓ cup sugar, melted butter, egg and egg yolk, salt, and 2 cups (250g) of flour and stir well to combine.5 Tablespoons unsalted butter, 1 egg + 1 egg yolk, 2 teaspoons table salt, 4 – 5 cups (500-625 g) bread flour or all-purpose flour¹
- Gradually add additional flour while stirring (if using a stand mixer use a dough hook on low-speed) until dough clings to itself and forms a ball that is pulling away from the sides of the bowl (scrape bowl as needed). You may not use all of the flour indicated, or you may even need more, go by texture (and see the video if you need visual clues)! When ready, the dough should be slightly tacky to the touch but not so sticky that it cant be managed with your bare hands.
- If using a stand mixer, stir on low speed with dough hook until smooth and elastic, about 5 minutes. If working by hand, transfer dough to a clean surface and knead until smooth and elastic (about 5-10 minutes).
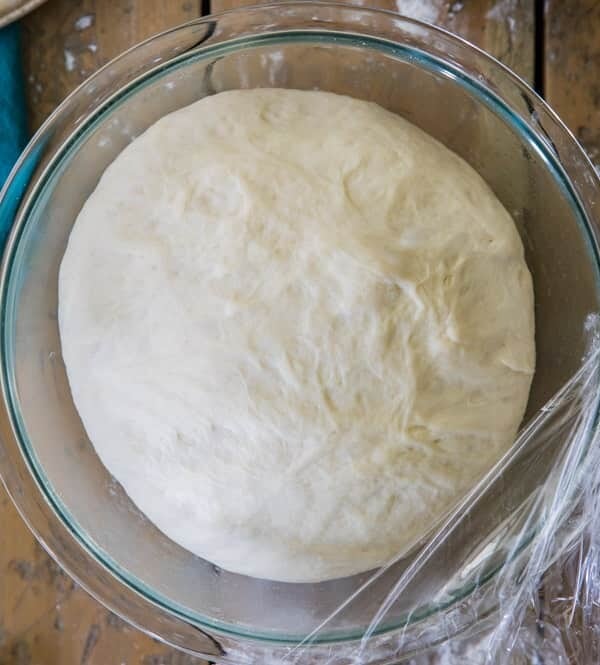
- Lightly oil a large bowl and place dough inside, turning to coat the entire surface lightly with oil. Cover and allow to rise in a warm draft-free place until doubled in size (1-2 hours).
- When dough has doubled, gently deflate and divide into 4 even pieces. Roll each into a 15” rope.
To Make the Braid:
- Lay the 4 strands beside each other on a baking sheet/cookie sheet (I do not recommend lining with parchment paper). Rather than start from one end of the bread and work to the other, I always start from the center (this helps ensure an even braid). I find it helpful to mentally label these pieces 1, 2, 3, and 4 (with 1 being your piece to the far left and 4 on the far right).
- Starting from the center, weave strand 4 over the piece beside it (3), beneath the next one (2) and then over the left-most strand (1).
- Repeat this process, always starting with your furthest-right piece, keeping the strands snug.
- Once you reach the end, press/smash the ends together tightly and fold underneath the braid. Then turn the baking pan 180 degrees and work from the center to complete the other side, following the same steps as above.
- Cover loosely with plastic wrap or a clean towel and allow the bread to rise again for 30-40 minutes in a warm, draft-free place. While it is rising, preheat your oven to 375F (190C).
- Once bread has risen again, lightly brush with reserved egg white and sprinkle with coarse sugar (or regular granulated sugar) and bake for 20 minutes or an instant-read thermometer reads 190F (87C). Enjoy!coarse sugar or granulated sugar
Notes
Nutrition
Nutrition information is automatically calculated, so should only be used as an approximation.
Like this? Leave a comment below!


Sam another winner
Thank you so much! 🙂
Can I use low fat milk instead whole milk? Thx
Hi Grace! That should work fine here. 🙂
Well, you did it again!! Another fantastic recipe that your instructions and video made easy to make. I was a bit intimidated to do the braid, but I watched the video and like magic, it turned out absolutely beautiful and tasted wonderful!! It was the hit of our Christmas dinner! Thanks again for making your recipes so easy to make correctly! This one is an absolute keeper!!
I am so glad everyone enjoyed it so much, Mark! 🙂
Hey Sam! This looks amazing! Can you let the dough prove overnight in the fridge? Or is that too long? Thanks!
Hi Stefanie! I haven’t tried it myself, but I think it could work. Refrigerate covered with plastic wrap. Pull it out of the refrigerator in the morning, allow the bread to come to room temperature or really close to it and then bake as instructed. 🙂
Hi, Sam! Greetings from Ukraine. I’ve tried lots of your recipes and they all were super delicious. If i want to treat my family with something delicious, your blog is the first to surf. I have a little request – could you also write tablespoons of butter in grams? No, I’m not banned in Google)) I just want to be sure that I add the same amount as you
Thank you so much, Oksana! I am so glad you enjoy the recipes so much! I’m not sure why I didn’t put the grams on the butter here, I’m sorry. If I ever forget again, a stick of butter is 8 tablespoons and weighs 113g so each tablespoon of butter is about 14 grams. In this recipe you will need 70g of butter.
Another success! Beautiful and delicious! Any time I attempt one of your recipes, I do it with confidence, because the directions and tips are always on point. Thank you!
Thank you so much Martha! I am so glad you enjoyed it so much! 🙂
Why don’t you recommend parchment?
Hi Michele! The bread slides around too much if you use parchment and it makes braiding very difficult. 🙂
I made this in my bread machine under the dough function and the bread turned out great! Yummy
Thanks and Cheers
I am so glad you enjoyed it so much, Catherine! 🙂
This bread was delicious! I found I had to cook it a little longer than you listed, but my oven may be off a bit. Thanks for trying out yeast recipes! I love your videos and explanations of the process. I haven’t had a recipe of yours not turn out yet, and I’ve made many!! Bonus? The braid is so pretty!
Thank you so much, Michelle! I am so glad you enjoyed it so much! 🙂
Looks lovely and i, m sure it taste good.
I will appreciate to get home cake made ingredients.
Thank you so much, Beatrice! I hope that you give this recipe a try. 🙂
Like
😊
Thank you, Toqa! 🙂
I like it
That braid is so beautiful, I just had to comment! I’ve been following you for a good long while now and I like that your recipes work.
Thank you so much for the comment, Lori! I’m glad you enjoyed it and I’m glad you enjoy the recipes so much. I really appreciate your support and hope you continue to love all of the recipes. 🙂
This is a Jewish recipe that we have every Saturday.
so happy to see it her:)
It still warms my heart every time I see you posting a yeast dough recipe. I’m so proud of you for overcoming your fear of yeast dough (and I’m going to forever pretend that me constantly telling you how easy they are and that you should try them played at least some minor part in that transition XD).
This one looks amazing, just like all your other stuff. I really need to get back into baking more. But with the lockdown and working from home, it has been tricky to get rid of all the cake and bread (no colleagues to share the stuff with in the office) :X
Thank you! It is difficult for me sometimes, maybe I’m just too impatient for yeast. 🤣 I wish I could say I understand how difficult it can be to get rid of it all, but self control is really not my forte.
Can I mix the dough in my bread machine?
Hi Linda! Unfortunately I’m not very familiar with using a bread machine so I’m not sure how it would turn out. If you do try it I would love to know how it goes. 🙂