
Stabilized Whipped Cream Frosting
This post may contain affiliate links. As an Amazon Associate I earn from qualifying purchases. Please read my disclosure policy.
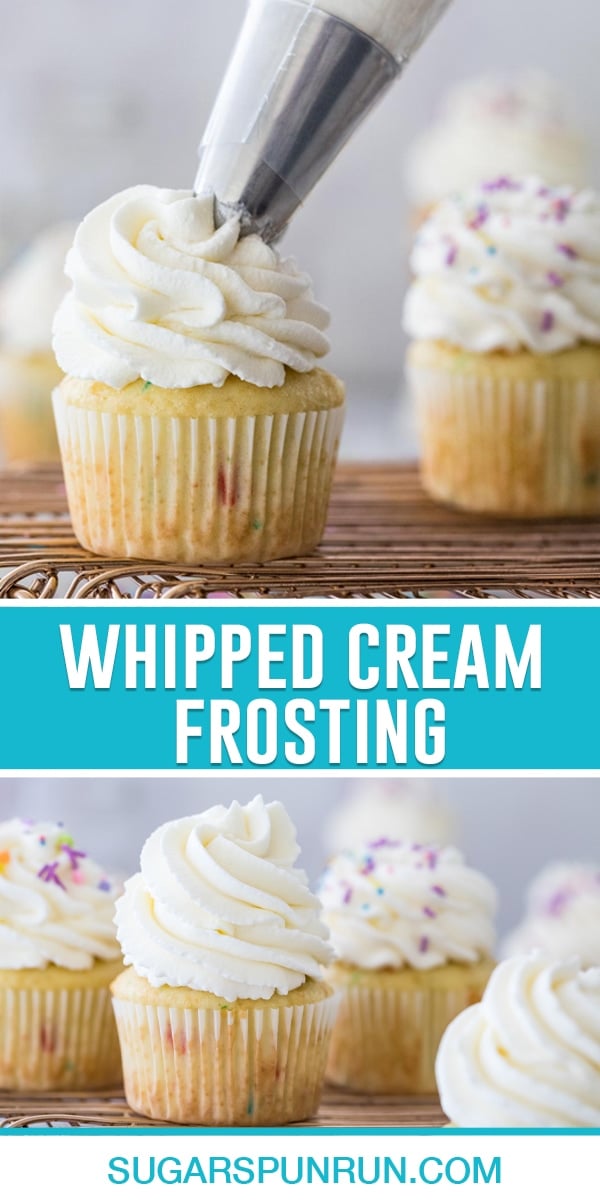
This stabilized whipped cream frosting recipe makes lightly sweetened, thick and fluffy, perfectly pipe-able frosting that doesn’t weep or lose its shape! This recipe comes together in 15 minutes and can be used to ice cakes or cupcakes or anywhere in place of store-bought whipped cream! Recipe includes a tutorial video!

A Sweet & Simple Frosting
I’ve received a record number of requests for this whipped cream frosting recipe, and here it is! While I love my existing whipped cream recipe and have bragged often about how stable it is, I’ve also advised that that one is not ideal for icing cakes or cupcakes.
Sure, it’s great, fluffy, un-fussy and so tasty, but if you want a whipped cream frosting, one that is guaranteed to hold its shape, not melt, and last for several days, you really need to stabilize it first.
This requires a simple extra step and a sprinkle of gelatin powder.
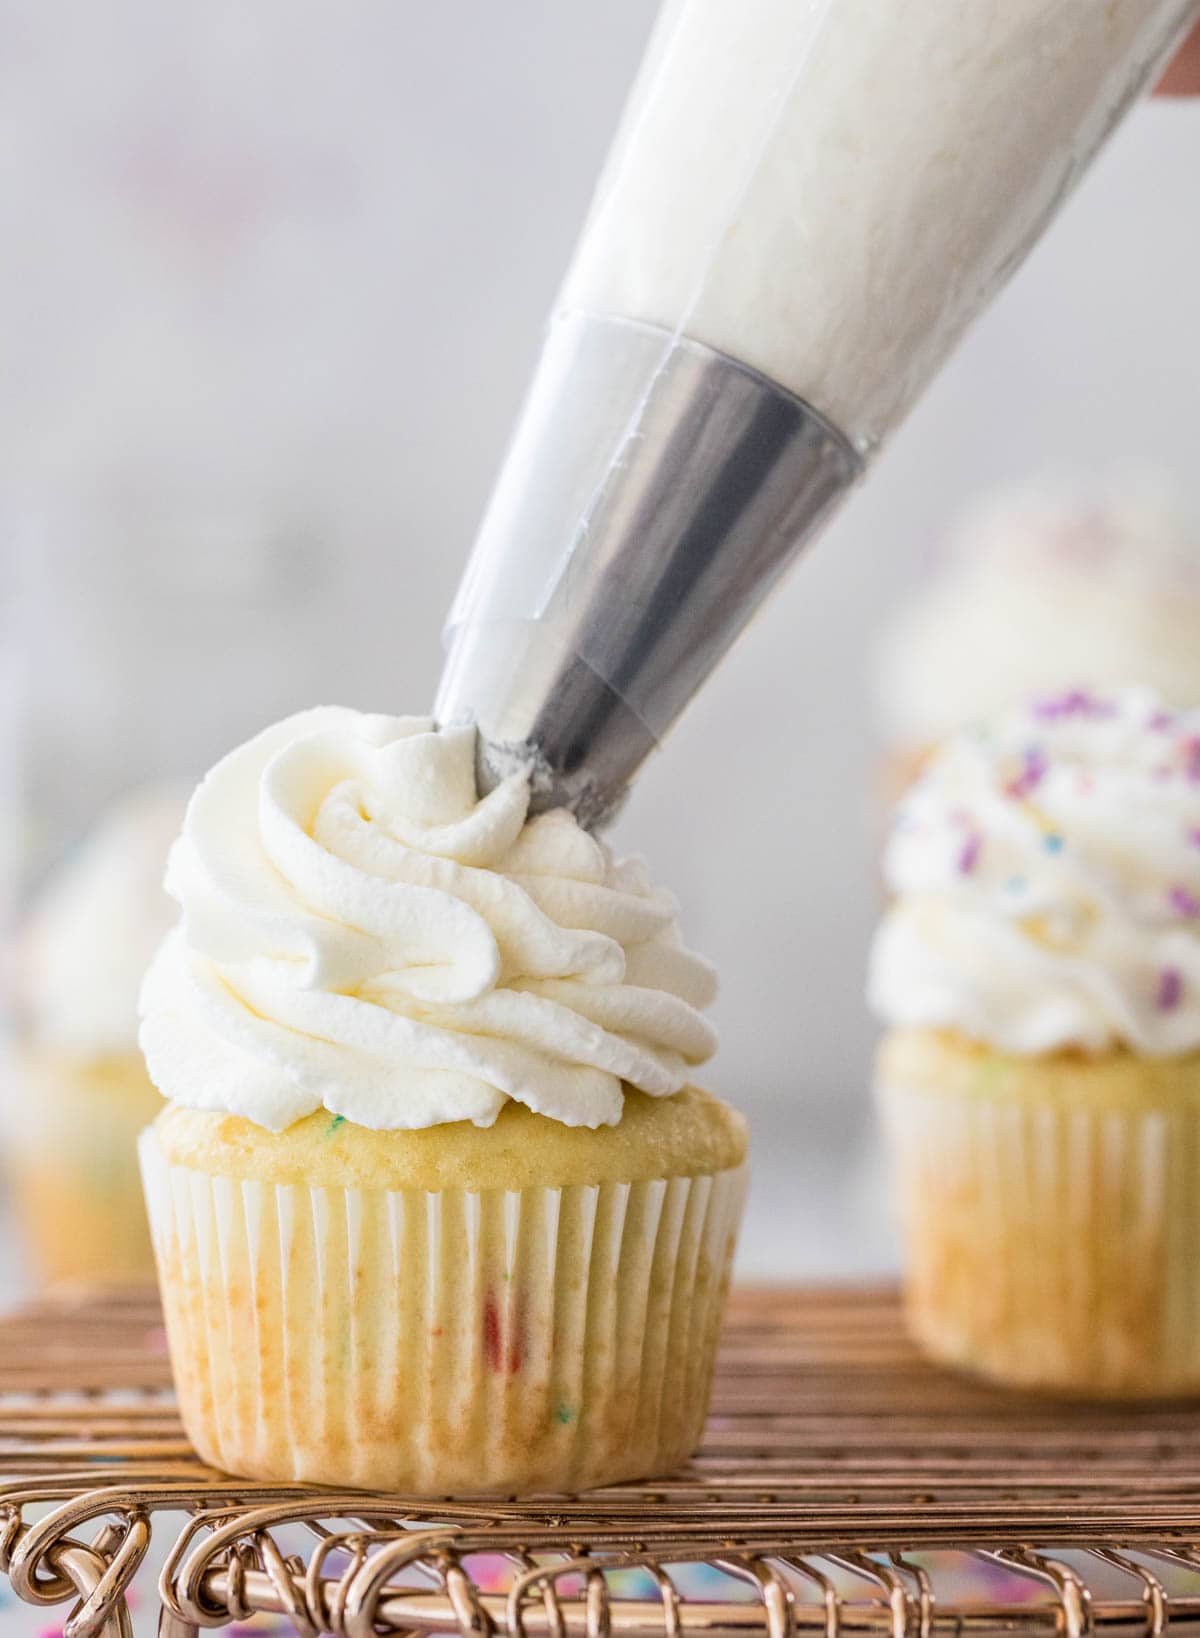
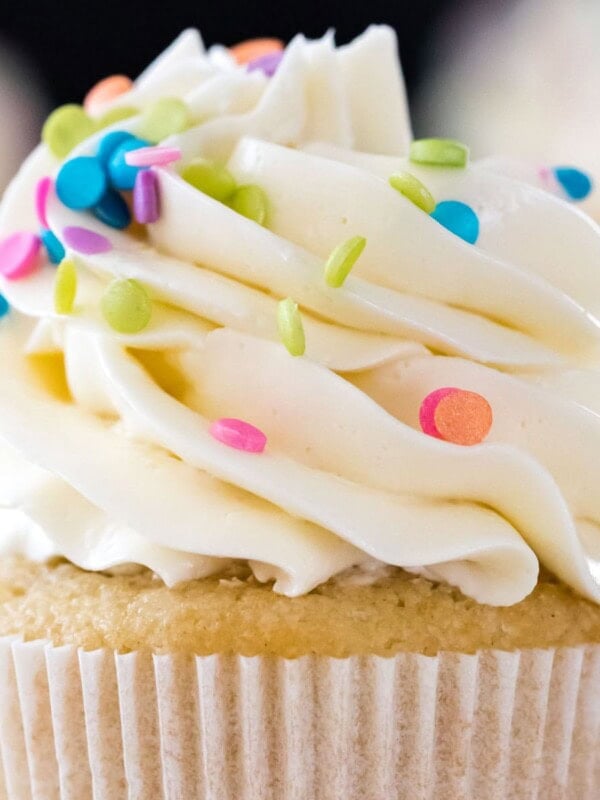
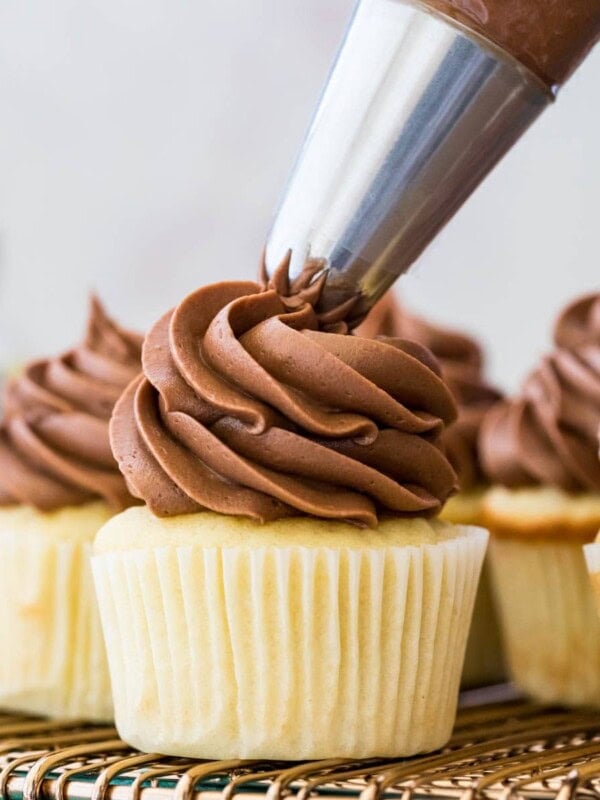
The end result is a frosting that’s lightly sweetened (those of you who want a frosting that’s “not too sweet” will love this one), fluffy and creamy, but still stable enough to pipe over cupcakes or frost a two or three layer cake. Pictured above it’s prettily piped over a batch of cupcakes that I made out of my vanilla cake recipe (of course I tossed in a few sprinkles for good measure!)
Let’s get to it!
What You Need

- Gelatin. This is what makes this recipe a stabilized whipped cream. Gelatin stabilizes the cream and keeps the frosting sturdy (even at room temperature) and keeps it from melting over itself or weeping, as classic, un-stabilized whipped cream may be prone to do. I recommend using unflavored gelatin, which, as the name indicates, doesn’t taste like anything so that the natural flavors of the cream, sugar, and vanilla extract can shine through.
- Powdered sugar. Those of you who don’t like sugary frostings will be thrilled to hear that there is only 1/2 cup of sugar in the whole recipe! (Compare that to classic buttercream frosting, which uses 4 cups or 8x as much sugar for the same amount of icing!). This is just enough sugar to sweeten the stabilized whipped cream and help it hold its thick, fluffy shape.
- Vanilla extract. Added for flavor. Of course I like to use my homemade vanilla extract for best flavor!
- Heavy whipping cream. This is the base of our stabilized whipped cream. It should be as cold as possible (without being frozen) in order to achieve a thick and fluffy frosting. You can use heavy cream, heavy whipping cream, or double cream. “Whipping cream” will work, but since it contains less fat the results aren’t quite as stable as those made with the other creams listed.
This is just an overview of the ingredients I used and why I chose them. For the full recipe please scroll down to the bottom of the post!
How to Make Stabilized Whipped Cream Frosting

- Add the gelatin to a microwave safe dish and add cold water. Whisk until the gelatin is smoothly combined with the water and set aside. The gelatin is the fussiest part of this whole (otherwise very simple) recipe. Make sure to follow my notes and you shouldn’t have any issue, though!
- In a separate bowl, combine cold heavy cream, powdered sugar, and vanilla extract. For best results, use a chilled metal bowl and chill your beaters, too! The colder everything is the better your results will be. Beat the ingredients with an electric mixer and stop once the cream has begun to thicken, but just before reaching soft peaks.
- By now, your gelatin/water mixture should have solidified. Heat it briefly in the microwave just until it’s re-melted and briefly mix it with a whisk (you don’t want it to be very hot, but the gelatin mixture should be 100% liquid and totally smooth or you could end up with a frosting that stays runny or have lumps in your frosting). This usually only takes 5-10 seconds in the microwave. Turn your electric mixer to low-speed and, while beating the cream mixture, slowly whisk in the gelatin.
- Gradually increase the speed on your electric mixer until your whipped cream is fluffy with stiff peaks. It should look like Cool Whip, thick and fluffy!
It may seem counter-intuitive at first to liquify the gelatin and allow it to set up only to re-liquify it again by melting, but it’s important! This is a process known as “blooming” the gelatin, which ensures that the end result is not only smooth (rather than grainy or lumpy) but also that it stabilizes properly.
SAM’S TIP: While the cream must be beaten very well, it is possible to over-beat your cream, leaving you with a rough, curdled-looking mess. If you accidentally overdo it, don’t panic, you might still be able to salvage things! Simply add 1-2 Tablespoons of heavy cream and mix until you’ve reached the proper consistency.
Frequently Asked Questions
There are several reasons this can happen. Most likely, you simply need to keep beating the mixture, it can take some time and requires patience! However, if your gelatin was very, very hot when you added it to the cream, if the cream was not cold enough, or if you are in a very warm kitchen, your cream may not thicken as it should. Set yourself up for success and make sure you follow the steps for blooming the gelatin and use cold cream and a cold bowl (and beaters, too!).
This frosting lasts up to 4-5 days stored in an airtight container in the fridge in an airtight container. While it does well at room temperature due to the gelatin, it’s still a dairy-based frosting and so is not ideal for high heat for long periods of time (such as outdoor parties in the summer!). I recommend keeping it chilled. At room temperature (below 75F/24C) I wouldn’t leave it out for more than an hour or two.
Unfortunately I don’t recommend it. If you have a cake that you’d like to use fondant with, I would recommend using my classic buttercream frosting or cream cheese frosting instead.
There are many different methods for making whipped cream frosting, but personally I found that this method yielded the most stable results with the most authentic whipped cream taste.
I tried many methods including using more powdered sugar (made the frosting too sweet and did not last as long as this version with gelatin), using a food processor (didn’t hold its shape long enough and still melted), adding cream cheese (tasty, but changed the taste far too much) and using powdered milk (this worked fairly well, but did not hold its shape as long and modified the taste a bit). Ultimately I recommend sticking with the method written in my recipe below.

More Recipes You Might Like


Enjoy!
Let’s bake together! Make sure to check out the how-to VIDEO in the recipe card!

Stabilized Whipped Cream Frosting
Equipment
Ingredients
- 1 teaspoon unflavored gelatin, (this is usually sold near the Jell-O in the grocery store)
- 1 ½ Tablespoons cold water
- 1 ½ cups heavy whipping cream, cold
- ½ cup (65 g) powdered sugar
- 1 teaspoon vanilla extract
Instructions
- Sprinkle gelatin into a microwave safe measuring cup or other small microwave-safe dish (preferably one with a spout to make it easy to pour later on).1 teaspoon unflavored gelatin
- Add water and whisk gelatin and water together until all gelatin has been absorbed. Set mixture aside to sit for 5 minutes.1 ½ Tablespoons cold water
- While gelatin is sitting, combine heavy cream, powdered sugar, and vanilla extract in a large bowl (preferably a chilled metal bowl). Use an electric mixer to beat until the mixture is thickened, but stop shy of reaching soft peaks.1 ½ cups heavy whipping cream, ½ cup (65 g) powdered sugar, 1 teaspoon vanilla extract
- At this point, check your gelatin. It should have solidified at this point. If so, pop it in the microwave just until the mixture has re-liquified. This usually takes me 5-10 seconds. The mixture should be liquid, but should not be very hot. Use a whisk to briefly stir the contents together to make sure they are smooth.
- With electric mixer on low speed, drizzle liquid gelatin into the cream. Slowly increase speed to medium/high then continue to beat until you have reached stiff, fluffy peaks.
- Immediately pipe or ice cake or cupcakes as desired, or use as desired in place of store-bought whipped cream!
Notes
Storing
I recommend using the frosting for decorating immediately after preparing for best results, but alternatively you may store in an airtight container in the fridge for several days before using as desired. Stabilized whipped cream will keep in the refrigerator in an airtight container for up to 4-5 days. This recipe may also be frozen once it is piped onto your dessert.Make it chocolate
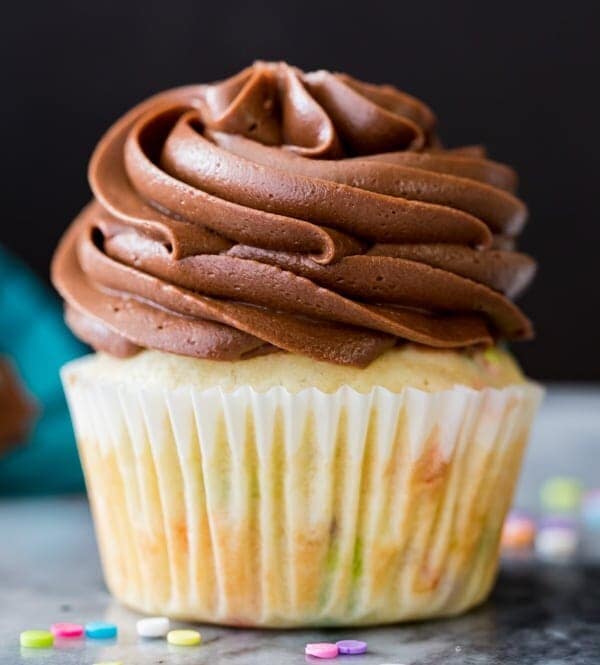
Add 3-4 Tablespoons of cocoa powder in with the sugar for a chocolate stabilized whipped cream. If your cocoa is lumpy, make sure to sift before adding.Nutrition
Nutrition information is automatically calculated, so should only be used as an approximation.
Like this? Leave a comment below!


Does where you’re at affect the frosting because mine didn’t stabilize and won’t hold together even though I followed the recipe exactly. Would love to try again but I don’t understand what went wrong.
Hi! Have you checked out the video? That might help. Location should not be a big issue with this recipe.
Hello Sam,
I have a quick question! I will be making this frosting for my fiancé’s B-day cake.
He usually prefers a sweeter frosting.
Would I be able to add more powder sugar into the recipe without destroying the consistency.
For example, if I were to add 3/4 of a cup instead of just 1/2.
Thanks!
Hi Audrey! That should be completely fine, enjoy! 🙂
Hi! I was wondering if it’s possible to make a chocolate version of this? If so, how much cocoa powder would you recommend adding? Thanks in advance!
Hi Rheana! While I haven’t played around with making this recipe chocolate just yet, I think it would be fine. I would probably try adding about 2-4 Tablespoons of cocoa powder with the powdered sugar. I hope that helps!
Hello,
I substituted the gelatin with dark chocolate pudding mix, and it came out delicious! I used Ghirardelli brand
Hi, I apologize if you may have answered this question already, but how far in advance can this whipped cream icing be prepared? I have made it before and used with your white cake recipe and both were divine together! I am using it on a “Number” cake piping center and top but not sides. Trying not to do everything at the last minute. I have already done a trial and taste tested and again, it was divine! I have also made your Oreo cake with the cream cheese icing for a party, it was divine as well!
Hi Kathy! It will keep for 4-5 days but it will need to be refrigerated. 🙂
Hi sam, can I substitute the gelatin fir agar agar powder?
Hi Ri! Honestly I have never used agar agar powder before so I am not sure, I am hoping someone who has tried this can chime in though!
Hi, Sam, can this recipe be doubled or tripled successfully? Thanks!
Hi Katie! You shouldn’t have any issues doing that. I have doubled this recipe many times. 🙂
This was delicious! I had not made stabilized whipped cream before but wanted something that would hold up overnight in the fridge for the birthday cake I made. It was perfect! I will definitely be using this recipe again and again! Thank you for sharing this method.
I’m so glad you enjoyed it so much, Kathy! 🙂
HEAVENLY!😊
I’m a novice baker. Never been successful using gelatine as stabilizer. I always frost my cakes with whipped cream using Dr. Oetker Whip It (*not advertising for the company) as a stabilizer. One packet per cup of heavy cream. Works all the time.
Hi Sam! Love your recipes, your one bowl chocolate cupcakes are now the only ones I ever make! Question, can I add any type of food colouring to this frosting??
Thanks!
Thank you so much, Jessica! This frosting will take food coloring well. I would just stir it in briefly close to the end of mixing. 🙂
Hi Sam, I’d love to use this frosting for cupcakes for my daughters 2nd birthday on Saturday. I was going to use your Ermine frosting recipe but this cream looks so lovely too!
I was just wondering if it would be possible to make the cream a chocolate frosting by adding a good quality cocoa powder? Would you think 1/4 cup of cocoa powder would be suitable to frost 12 cupcakes?
Hi Emily! I think if you just add a little cocoa powder in with the powdered sugar it should work well. I’m not sure exactly how much because I haven’t experimented with it. If you do try it I would love to know how it goes. 🙂
Hmmm…do you supposed you could put flavored gelatin in there for an extra sparkle of flavor? 🤔 😉
Oh yes! That would be delicious 🙂 However if you are using a jello mix you may need to use a bit more, as the added flavors and other ingredients dilute the actual gelatin a bit. It’s hard to say for sure exactly how much but it’s definitely worth playing around with!
My son is vegetarian. Although he does eat some dairy products he went eat gelatin as it’s made from animal parts. Have you tried this with any of the vegetarian subs for gelatin? Wondering if they hold up the same.
Hi Tracy! To be honest I am not sure and have not experimented with the vegetarian substitutes, so I am hesitant to say. I know we have some vegetarian readers here and I am hoping one of them can chime in and let you know if it’s worked for them!
My daughter is vegan and was also wondering about a substitution for the gelatin. Someone said they used cream of tartar in place of gelatin, so maybe I will try that.
Don’t mean to be petty,..BUT in your instructions do you mean
1 1/2 tsp water OR..ONE 1/2
DO YOU SEE HOW PEOPLE CAN GET CONFUSED….AND WHEN YOUR DEALING WITH GELATINE YOU CAN’T SCREW UP
Hi Roma! This is a standard formatting, it means 1 + 1/2 teaspoons, I’m not sure that there’s a way it could be written more clearly…
You need to be more sensitive to people. Some people have comprehension issues and need to verify. Your response was not very nice.
I’m sorry you feel that way, Maryann. I’m happy to clarify where possible and did so in my response. I write my recipes using a standard formatting (that the commenter themselves used when asking me to clarify) and I don’t think that changing that will make the recipes more clear to people.
The way your recipe is explained is perfect. I love your recipes. You are adorable!
Thank you so much, Irene! I appreciate it. 🙂
Are you serious?
This is great, thank you! I’ve also used cream of tartar with success instead of gelatin, I was surprised to not see it as one if the methods you attempted. Some people have said it alters the flavor, but I’ve never thought so myself. I do love this gelatin method though. Thank you!!
Have loved EVERY recipe I’ve tried of yours, you’re my go-to!
Hi Heather! Oh yes! I have tried cream of tartar once upon a time, I did notice the taste in flavor (a subtle tang, which isn’t necessarily a bad thing!), which is one of the reasons I didn’t ultimately go with that method but I am definitely a fan of using whatever method works best for you! Thank you so much for trying my recipes, it means a lot to me! <3
Hey Sam! My husband and I are addicted to your recipes and your video tutorials. Darren (my husband) has been baking like a champ for my birthday “month” last month (May) has has made multiple of your recipes: Coconut Cream Pie, Apple Pie, Whipped Cream, Lemon Pie and Peanut butter stuffed chocolate chip cookies….we will put pics in to each of those posts for you to see what we’ve done but EVERYTHING came out beautifully! THANK YOU!!! Well, my hips don’t thank you but goodness, everything is So, So good!!! 😀 Anyway, on to my question about this whipped cream frosting; is this a good one to fill a cream horn with? I would think so but wanted to be sure. I think it’s important to have a “not so sweet” cream filling for that type of pastry and the fact that it’s light and stable is important. I’ve tasted so many cream horns that the icing is too wet and heavy and so disappointing. I welcome your thoughts. Signed, your faithful SSR followers
That is SO awesome, Netti! I am so glad you are enjoying everything so much! That’s a lot of baking! Happy belated birthday! This whipped cream will work well for a cream horn. 🙂
Mine came out not smooth even though I mixed and mixed. It tasted like little grainy bubbles in the frosting so I put some chocolate sprinkles on top in hopes that it would disguise the texture since I was taking them to a family from church that just had a new baby. The gelatin I used was written in Japanese and it seems like it is saying that brand is supposed to be dissolved in hot water so maybe that was the issue. Do you know if this process will work in reverse with hot water and then letting it cool before adding to the cream to get a smoother texture? Cream is $20 here in Tokyo so I’m hoping someone will know before I try again to frost the ones for us. The amount of frosting I made only covered half of the cupcakes so I’m going to make more—just wondering if I should try the reverse way, or mix for way longer? I mixed it for 5 minutes but it just never dissolved.
Hi Rebecca! If it isn’t smooth it’s typically because the gelatin is not bloomed properly. I do not know that it will work in reverse and really only recommend doing it as written. The most important thing is to make sure the gelatin has dissolved/absorbed all of the water and then had time to sit and solidify in the cold water before returning it to the microwave, and then make sure it has melted completely. If these steps aren’t followed exactly you could end up with a frosting that is grainy, unfortunately. While I don’t believe there’s much difference in the blooming process with gelatin powder from brand to brand, I certainly could be wrong as I have not used gelatin from Tokyo before.