
The Best Rice Krispie Treats Recipe
This post may contain affiliate links. As an Amazon Associate I earn from qualifying purchases. Please read my disclosure policy.
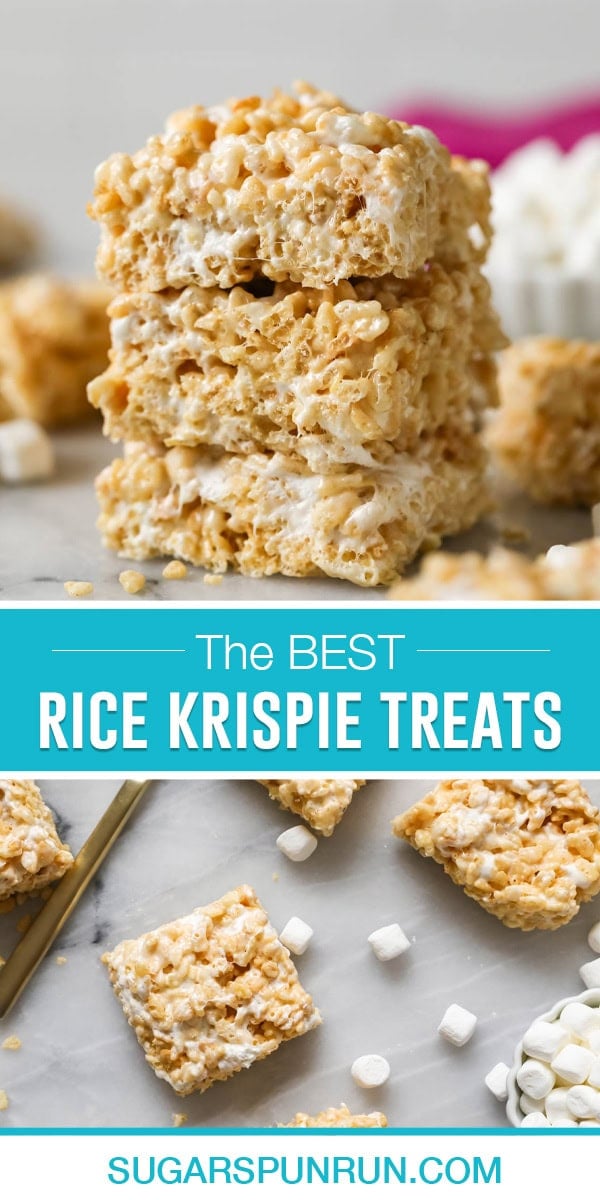
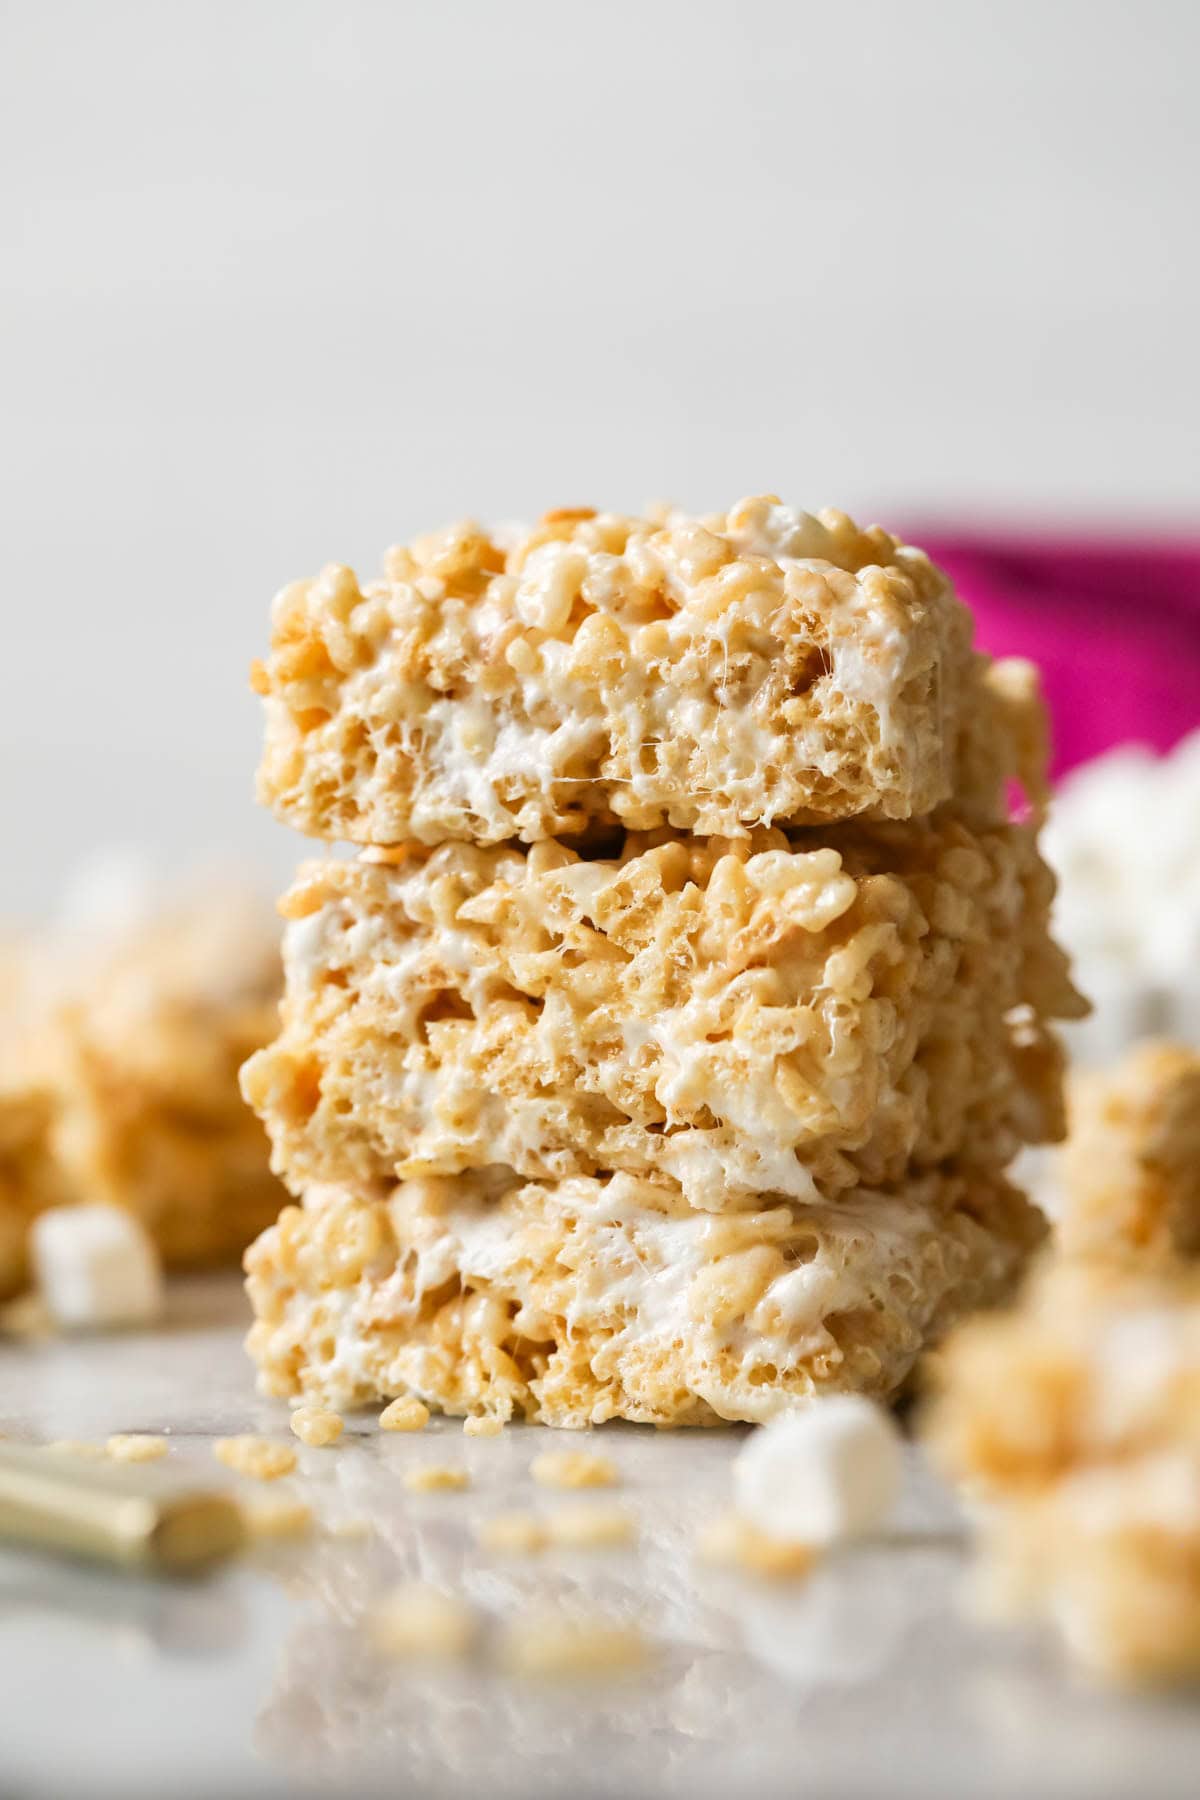
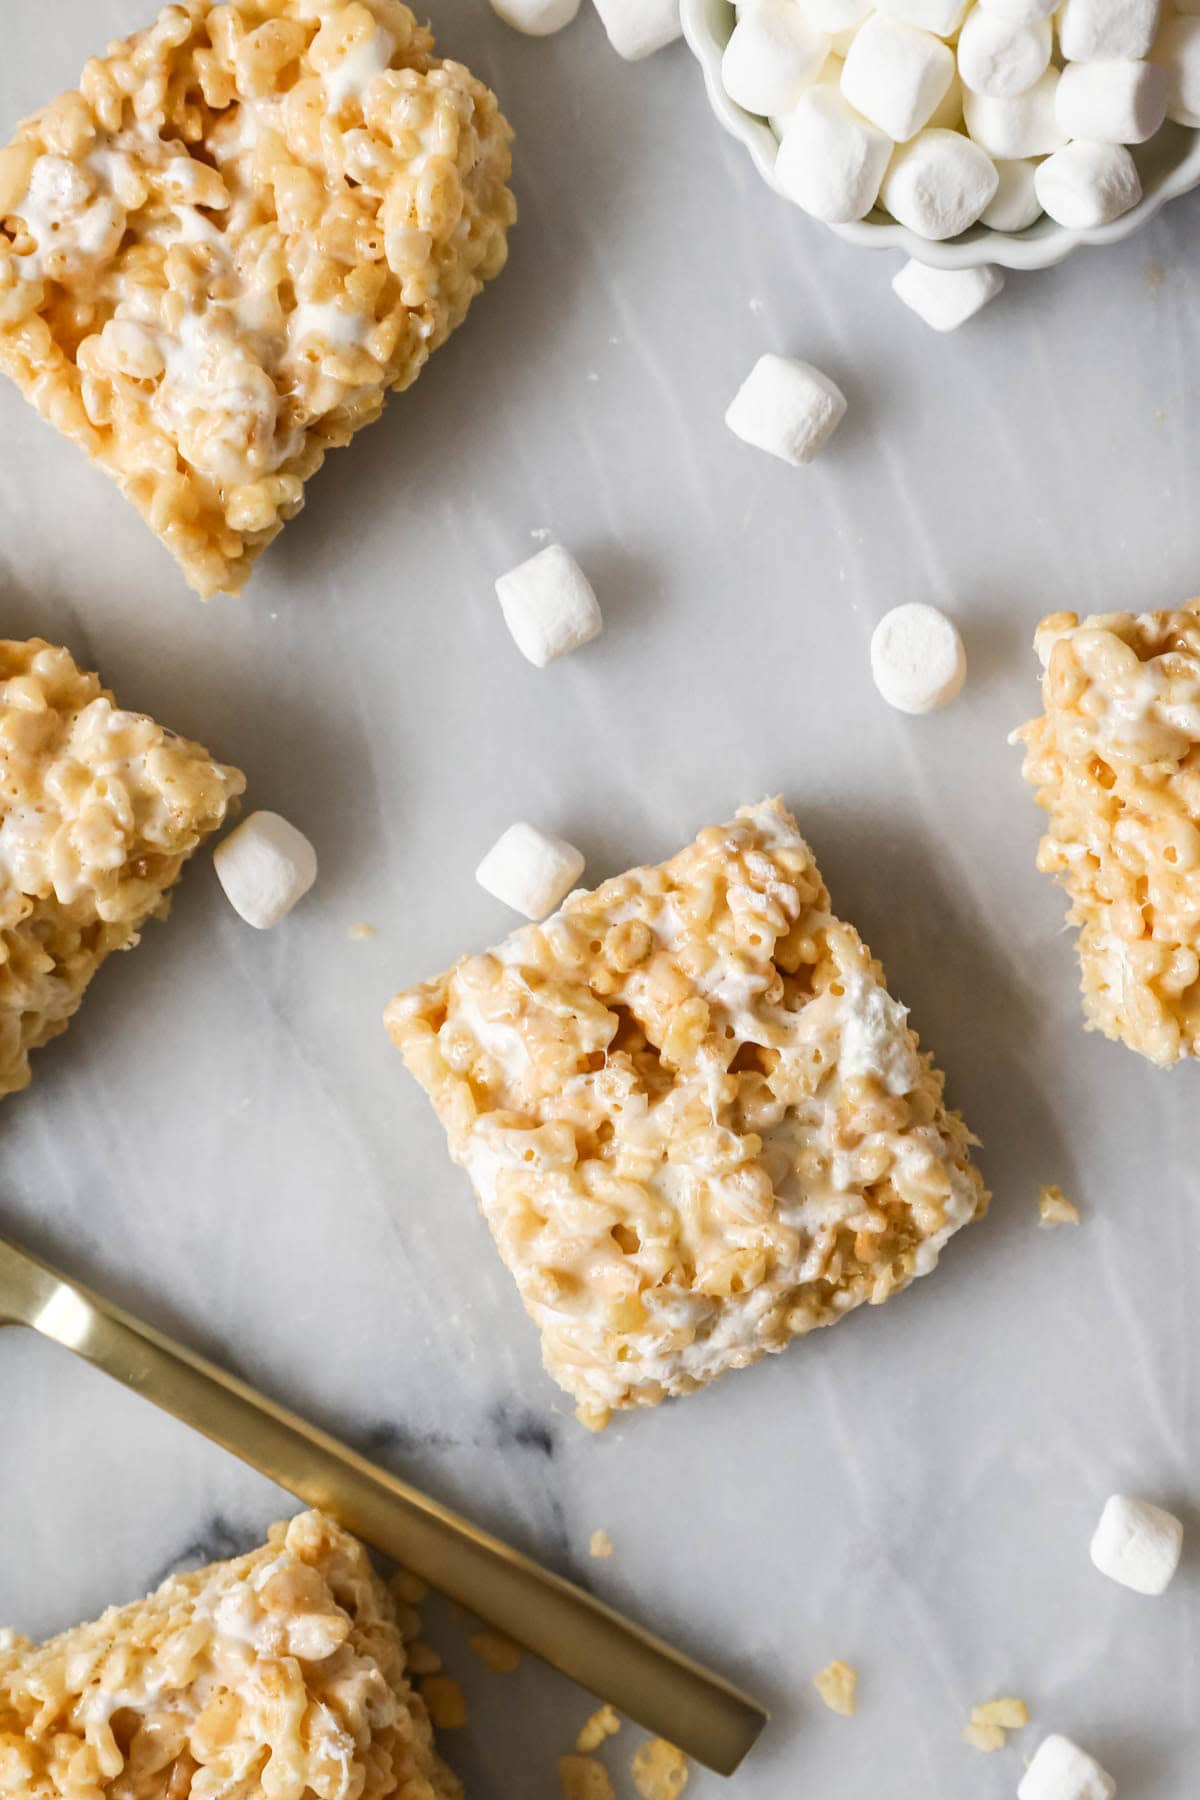
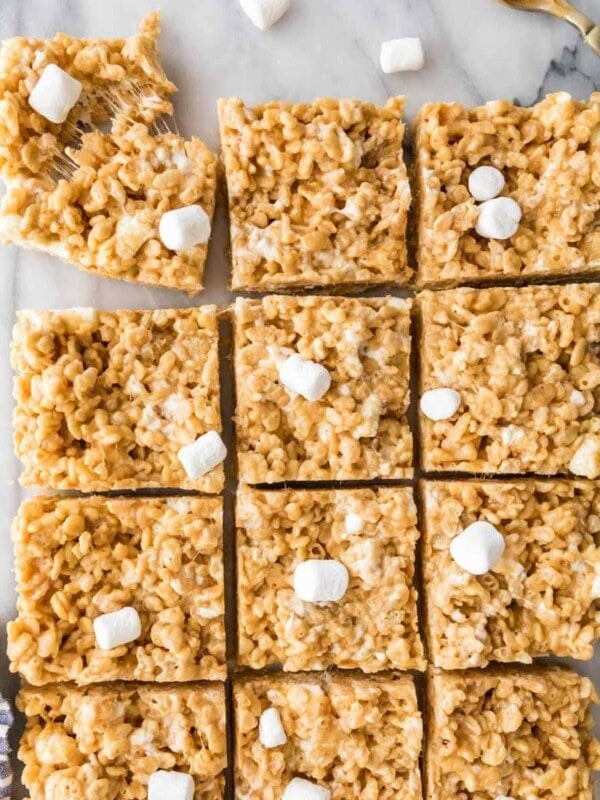
A gourmet take on the classic, back-of-the-box version, my rice krispie treats recipe uses extra marshmallows, premium butter, and a splash of vanilla extract. This recipe takes mere minutes to prepare and is the perfect last-minute, no-bake dessert.
A Classic Rice Krispie Treat Recipe
You’ve probably made the rice krispie treats recipe on the back of the box before, right? And, I mean, they’re fine, right? They’re actually quite good, honestly, and most of us have probably never met a rice krispie treat we wouldn’t happily eat.
But… I wanted better than just “good” 😉
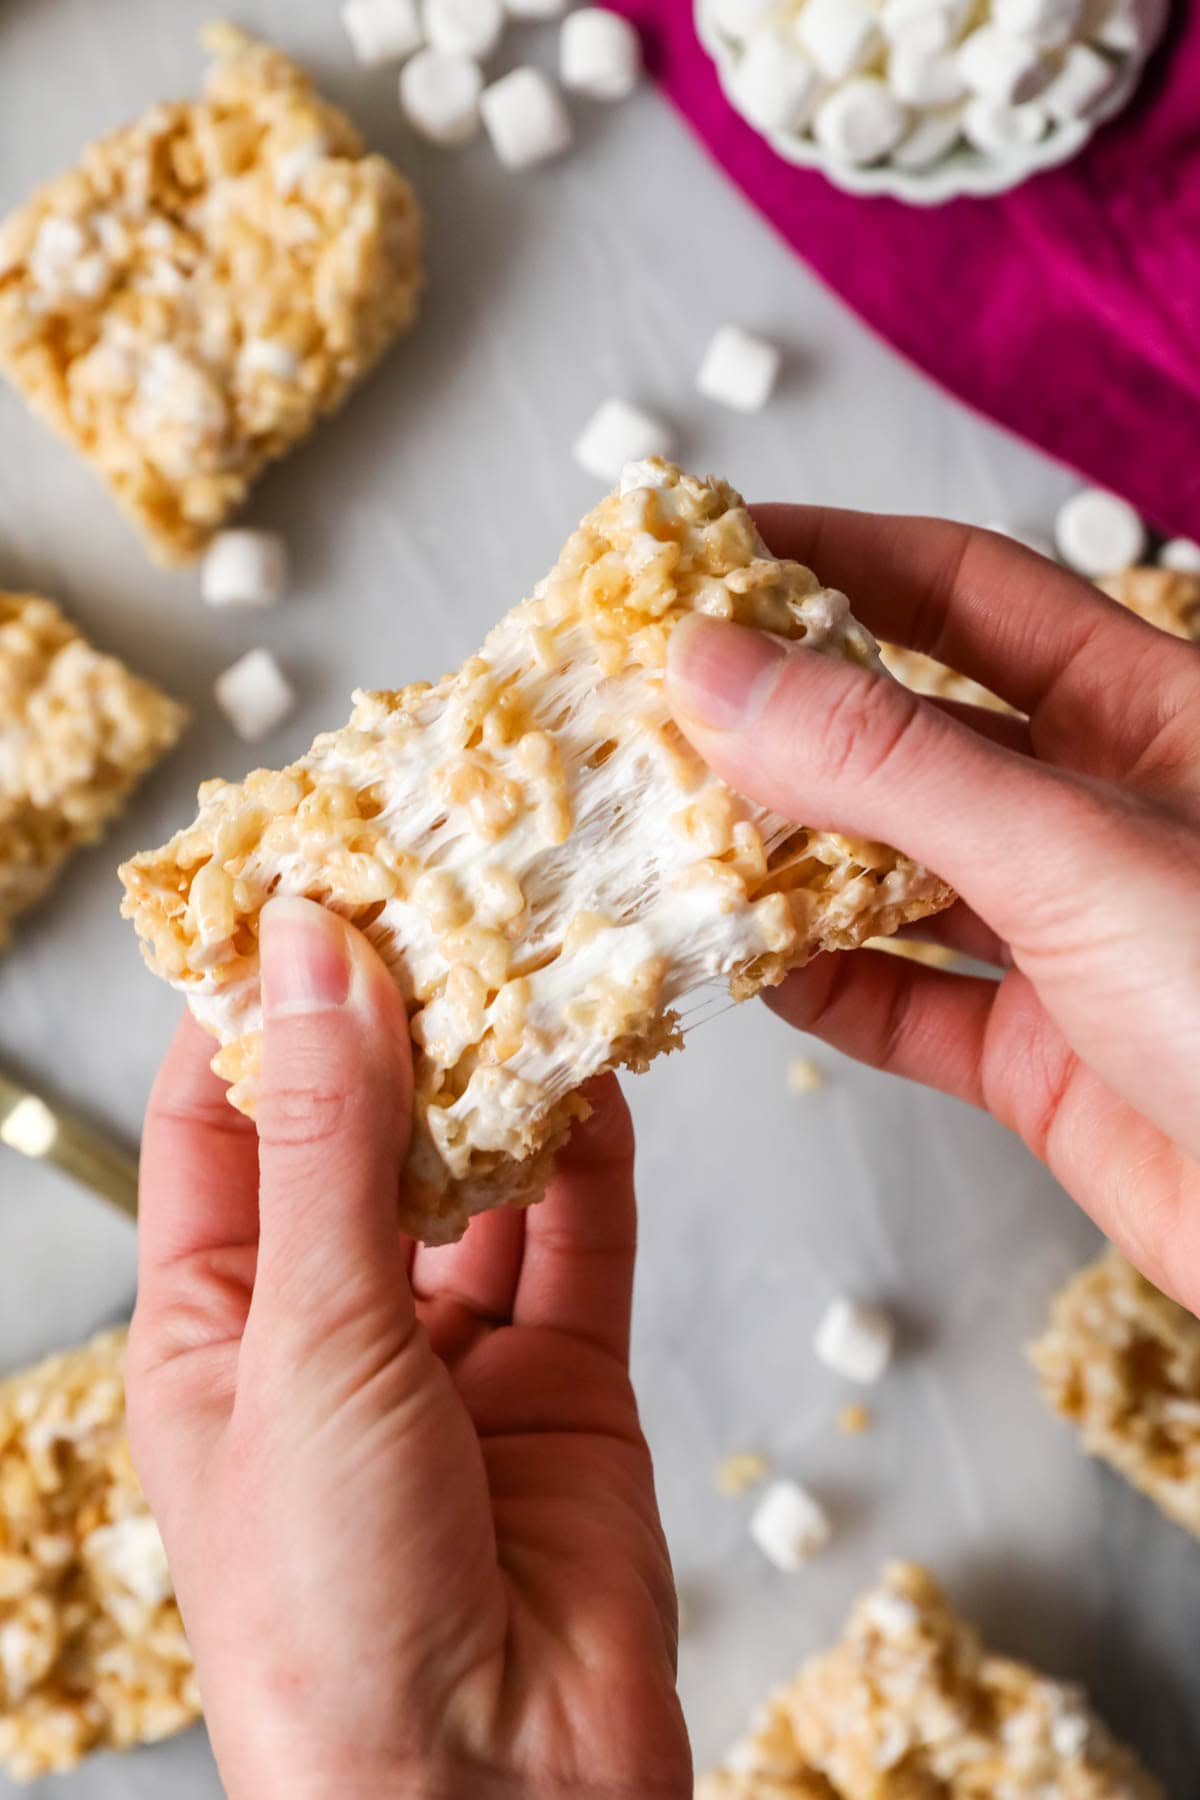
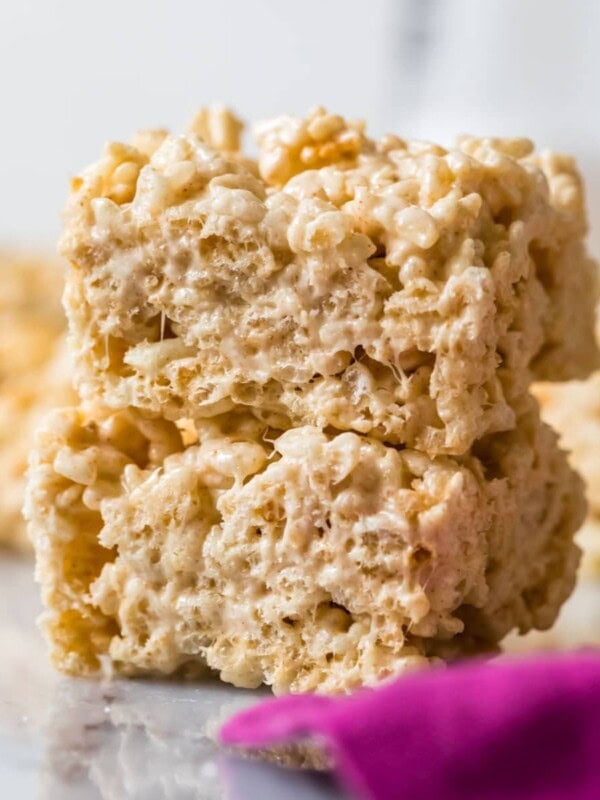
I made a few key changes to transform the original recipe into something much more gourmet. More butter (and better butter, more on that in a moment). Real vanilla extract (shockingly lacking in the original recipe). Lots of extra marshmallows. The end result is soft, chewy and full of flavor. You are going to love them 🩷
Why You Should Try This Recipe
- Classic… but better. They’re instantly identifiable as the classics you know and love, but so much more.
- Learn something new. If you’ve ever bitten into a treat and it crumbled or hurt your teeth a bit, you’ll learn why that happened and how to avoid it by the end of this post.
- Quick & easy. These make a perfect (and easy) last-minute treat, especially if you don’t feel like turning on the oven.
What You Need
Despite the fact that they’re indulgently gourmet and guaranteed to capture the hearts of tastebuds everywhere (seriously, just wait til you try them), they’re also very simple to make! Here’s what I use and why:
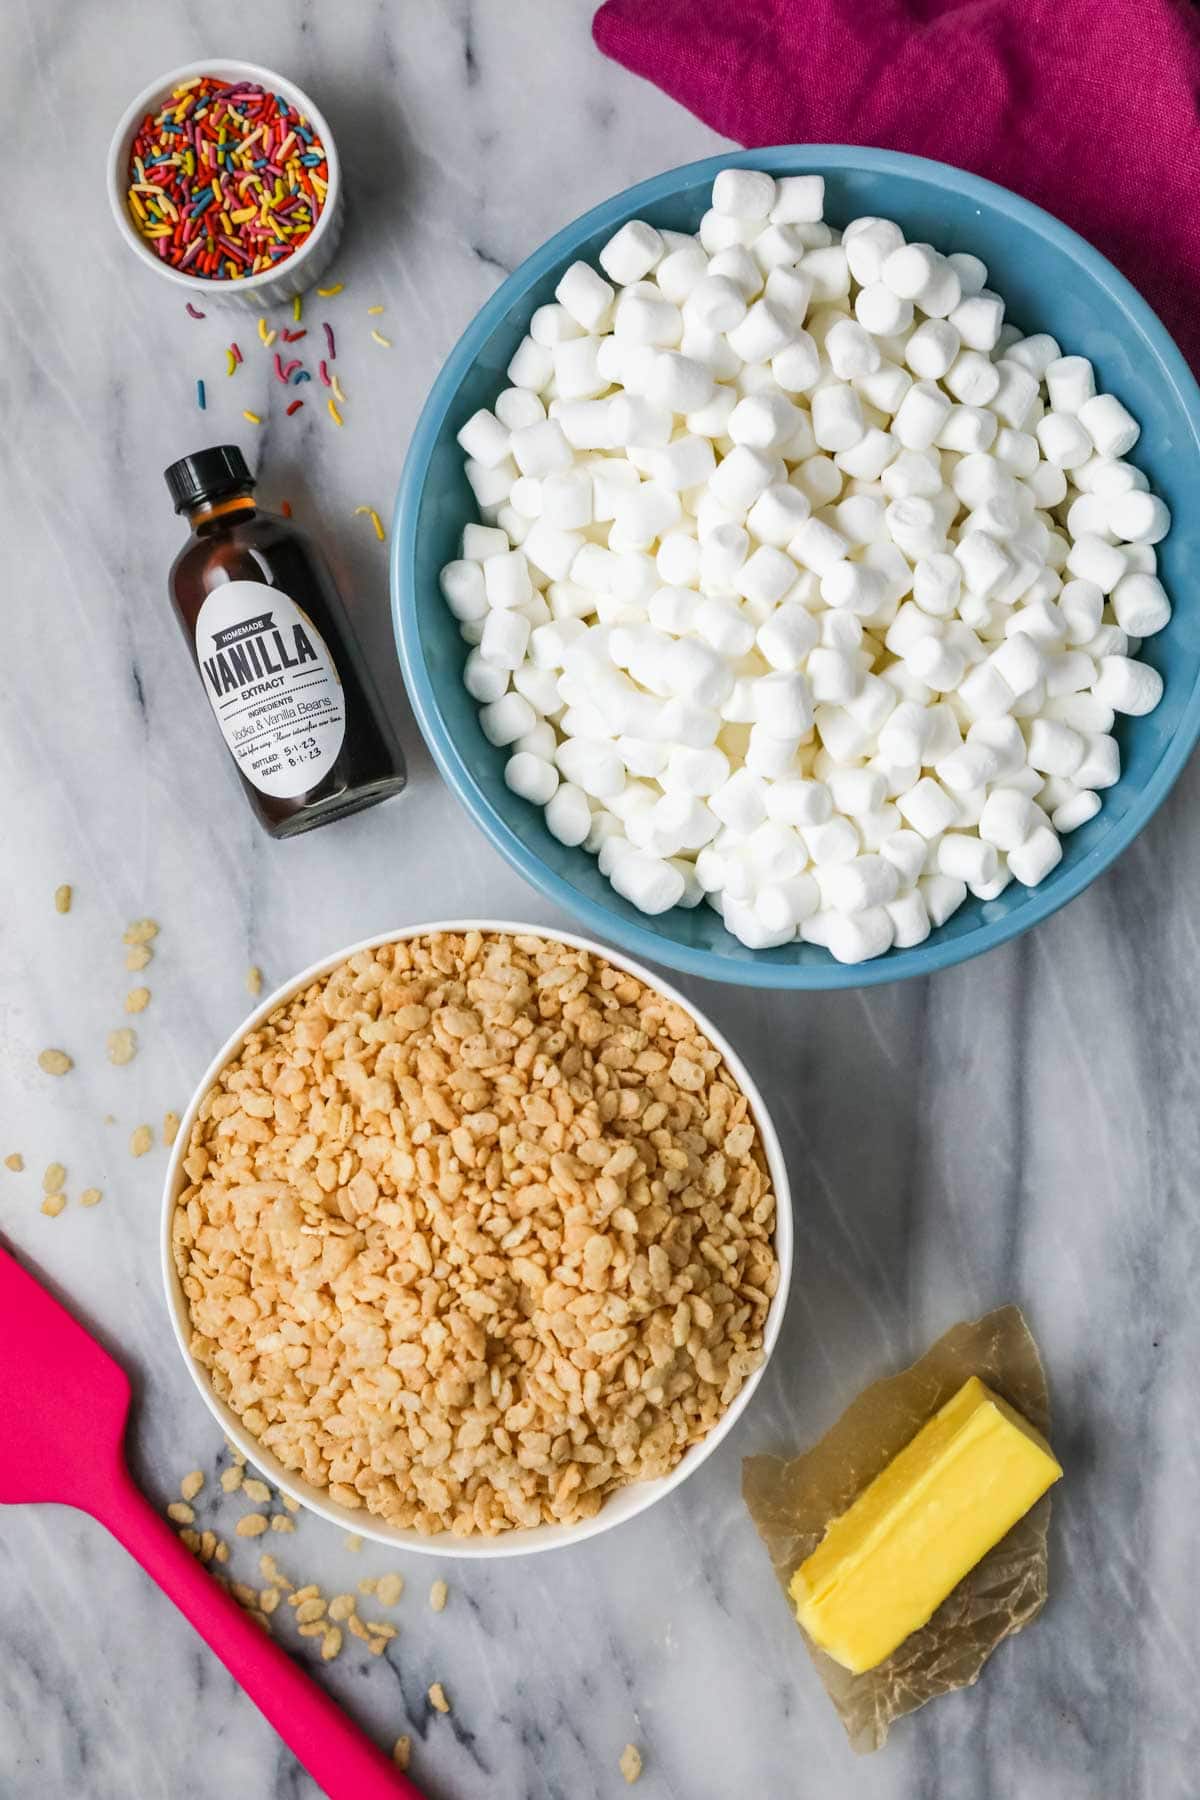
- Salted butter. I opt for salted in recipes where high quantities of butter aren’t being used. I also highly recommend using salted European butter for this recipe. European butter (like Plugra or Kerrygold brand) contains less water than classic butter, so the extra butterfat content make the end result much more flavorful. If you can’t find any, or can’t splurge at the moment, regular salted butter will work in a pinch (and yes they’ll still be remarkably good!)!
- Marshmallows. Miniature marshmallows are best, especially since we aren’t melting all of the marshmallows (it would be awkward to have giant pockets of jumbo marshmallow throughout the treats!).
- Vanilla extract. Can you believe the original recipe doesn’t use any? Huge missed flavor opportunity! Homemade vanilla extract isn’t required here but works especially well here–you might even see some of those pretty vanilla bean specks!
- Colored sprinkles. These are completely optional; personally, I like the pop of color and texture that they add. Use your favorite colors, customize for an event or holiday (pretty pastels for Easter), or leave them out entirely! You could also use chocolate sprinkles or make your own homemade sprinkles.
SAM’S TIP: If you don’t have salted butter, just add a ¼ teaspoon of table salt in with the butter while you’re melting it. You really need the salt (or salted butter) to balance the sweetness!
This is just an overview of the ingredients I used and why. For the full recipe please scroll down to the bottom of the post!
How to Make Rice Krispie Treats
Melt the butter and (some of!) the marshmallows
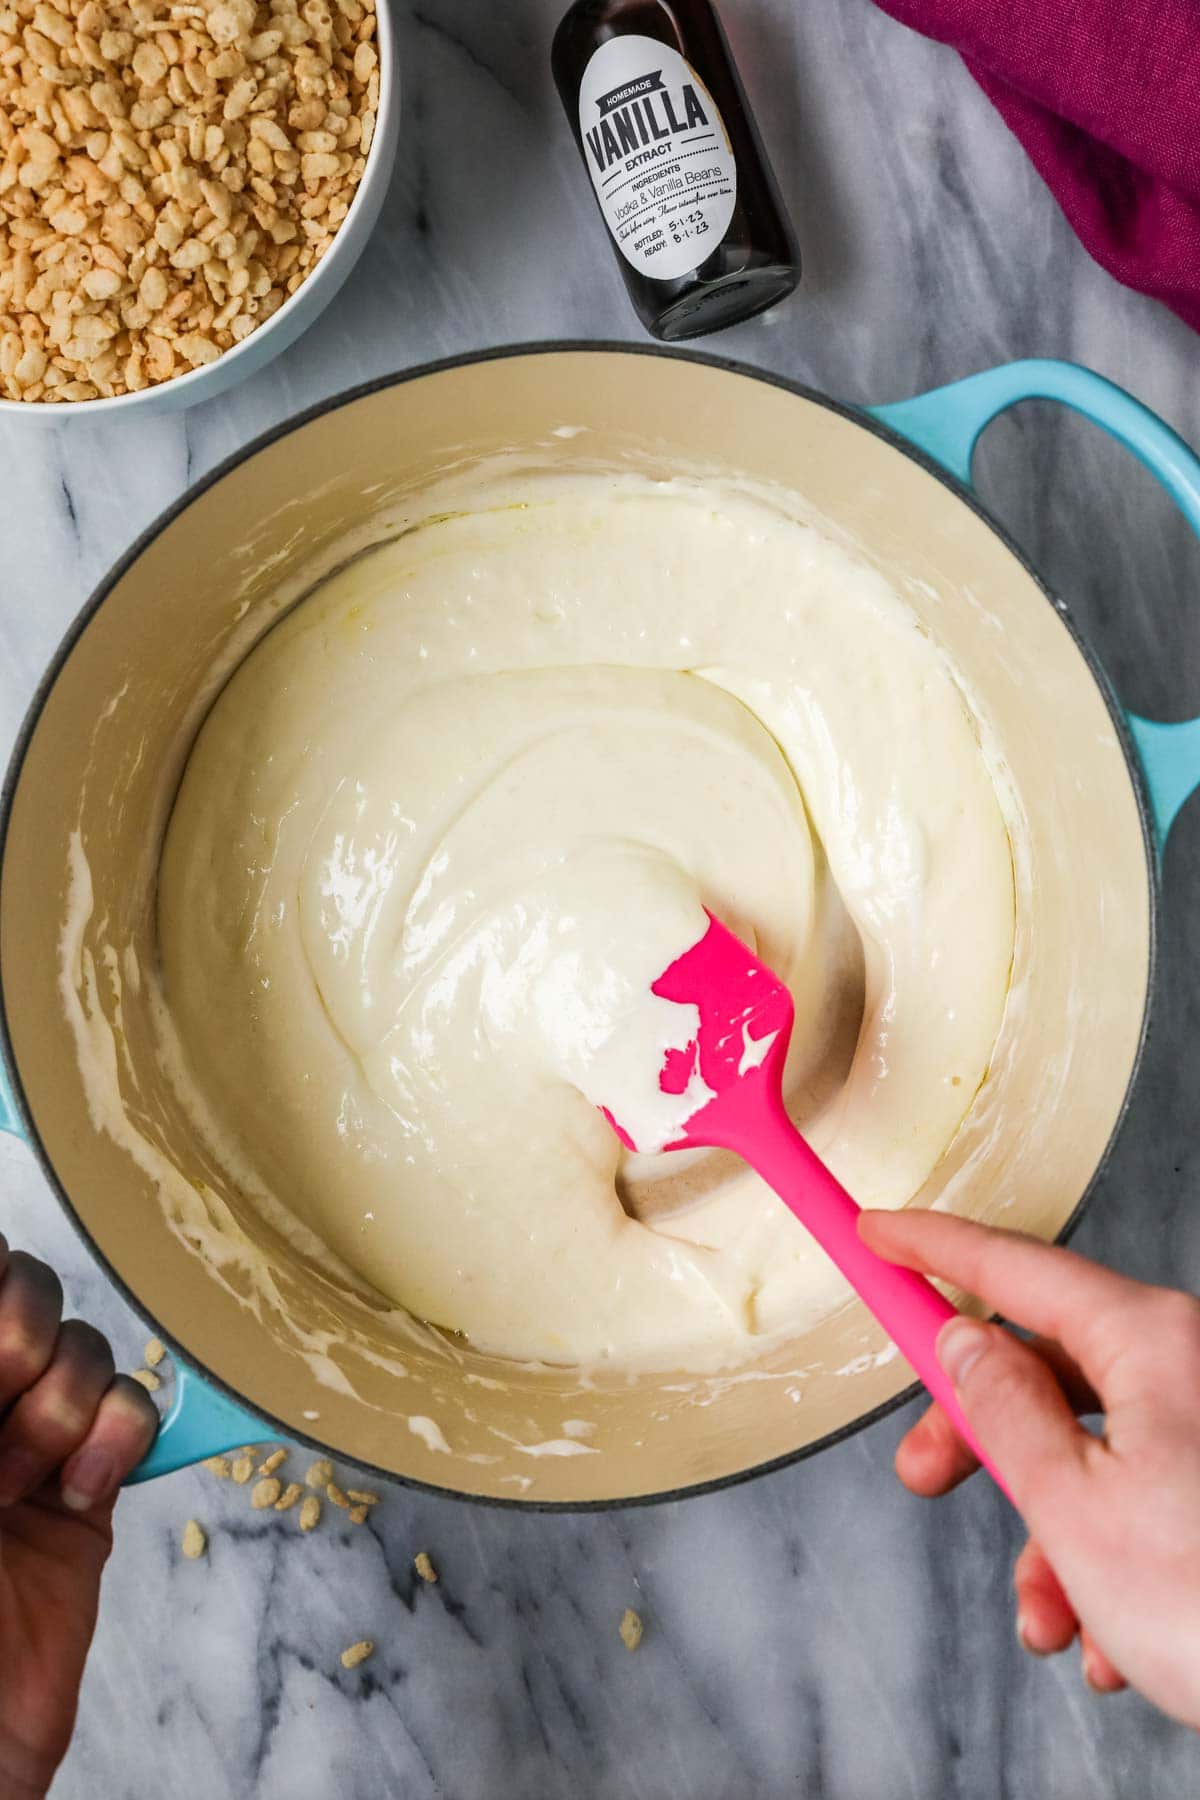
Melt the butter over low heat, then add 10oz (or 5 ½ cups) of the marshmallows. Let the marshmallows melt while keeping the heat nice and low (a notch or two below medium usually works). It is very important that you cook them slowly without cranking up the heat. Ever had a rice krispie treat that hurt your teeth to bite into? The heat was likely too high when they were cooked, which makes them too stiff and ruins the chewy texture. A tragedy, and one that too many people unwittingly cause.
As the marshmallows melt, stir well (but not too vigorously) so the butter is well combined with the marshmallow. It’s OK if you see some separation of the butter, but it shouldn’t be much. If there’s too much separated the butter the cereal can absorb it, which in turn makes it soggy and could make things soggy.
A quick note on brown butter: We don’t brown the butter here. While browned butter does add beautiful flavor and I have a brown butter rice krispie treat, it’s really a different animal and browning the butter here could actually make the treats less gooey and can even make them greasy if not done properly.
Add the cereal and the rest of the marshmallows
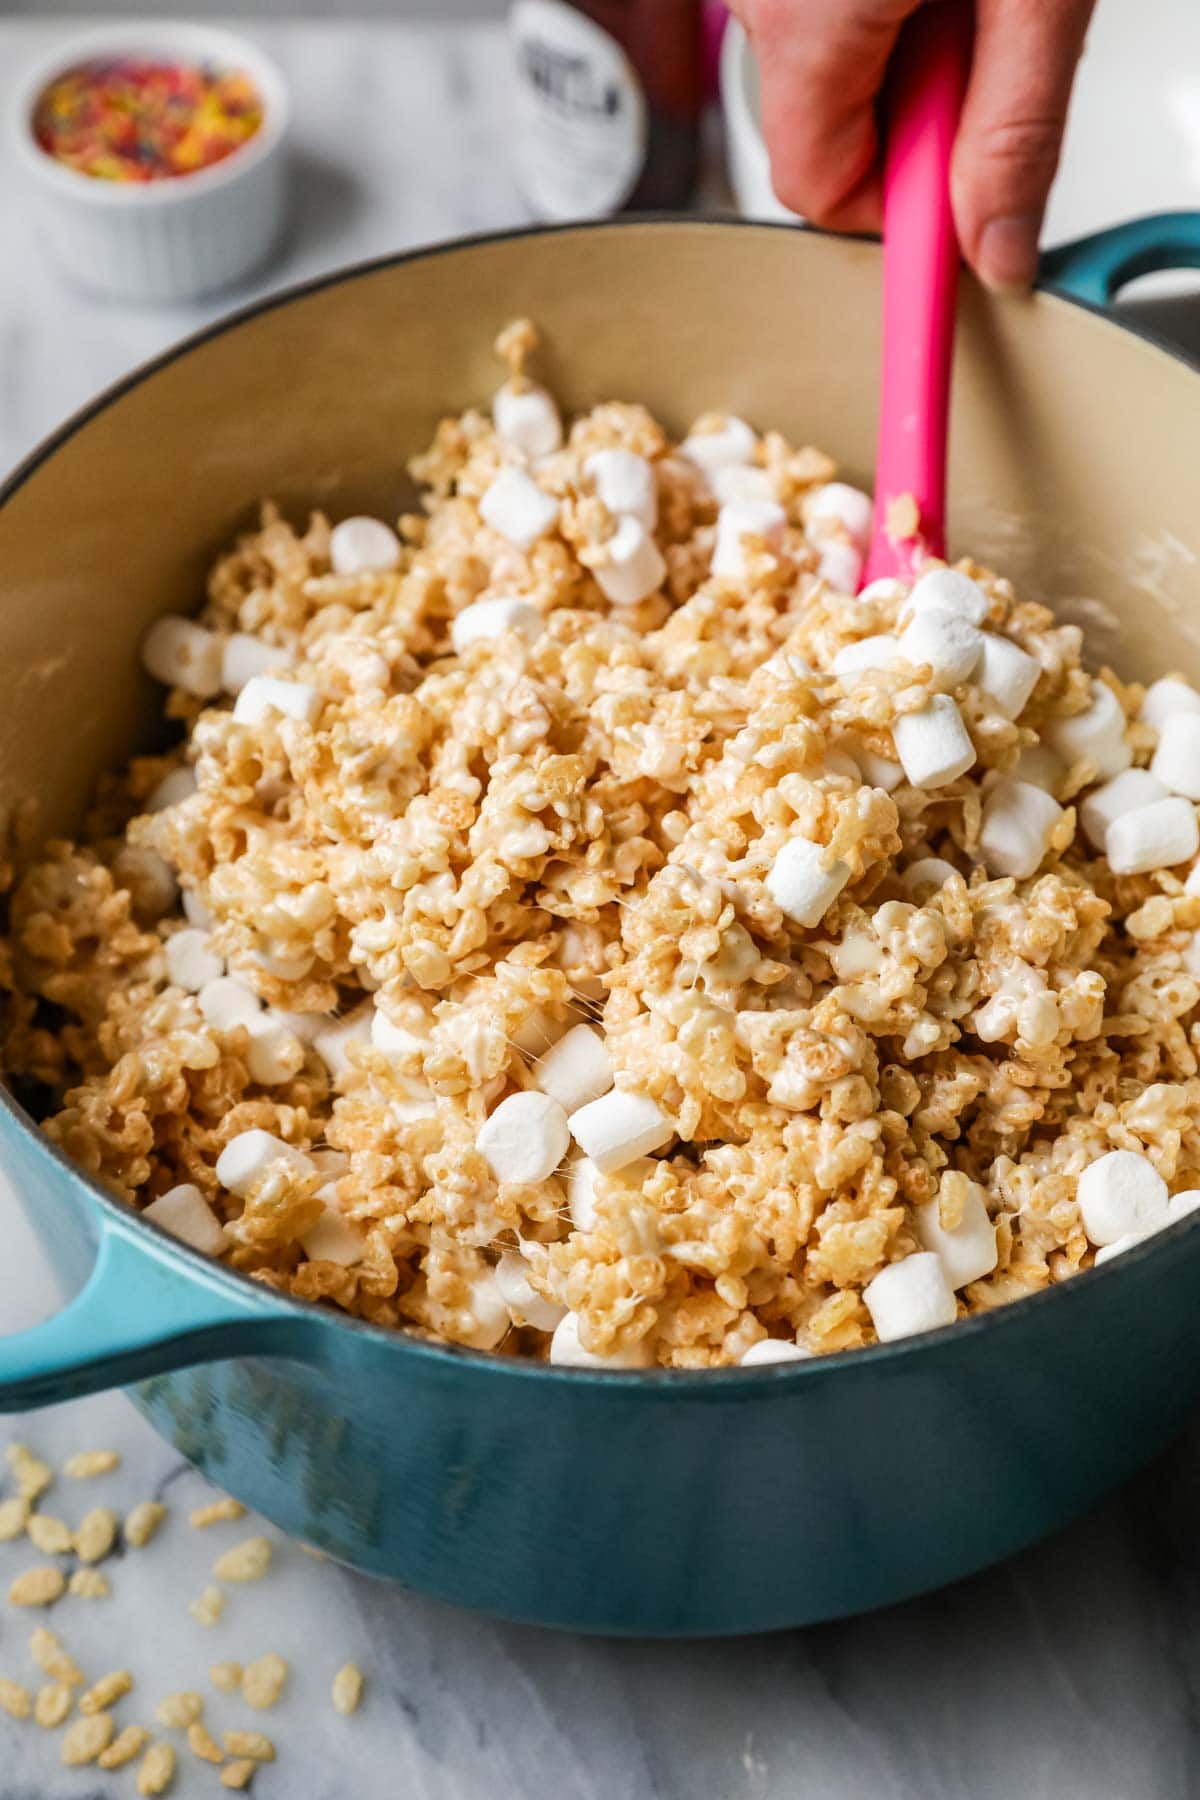
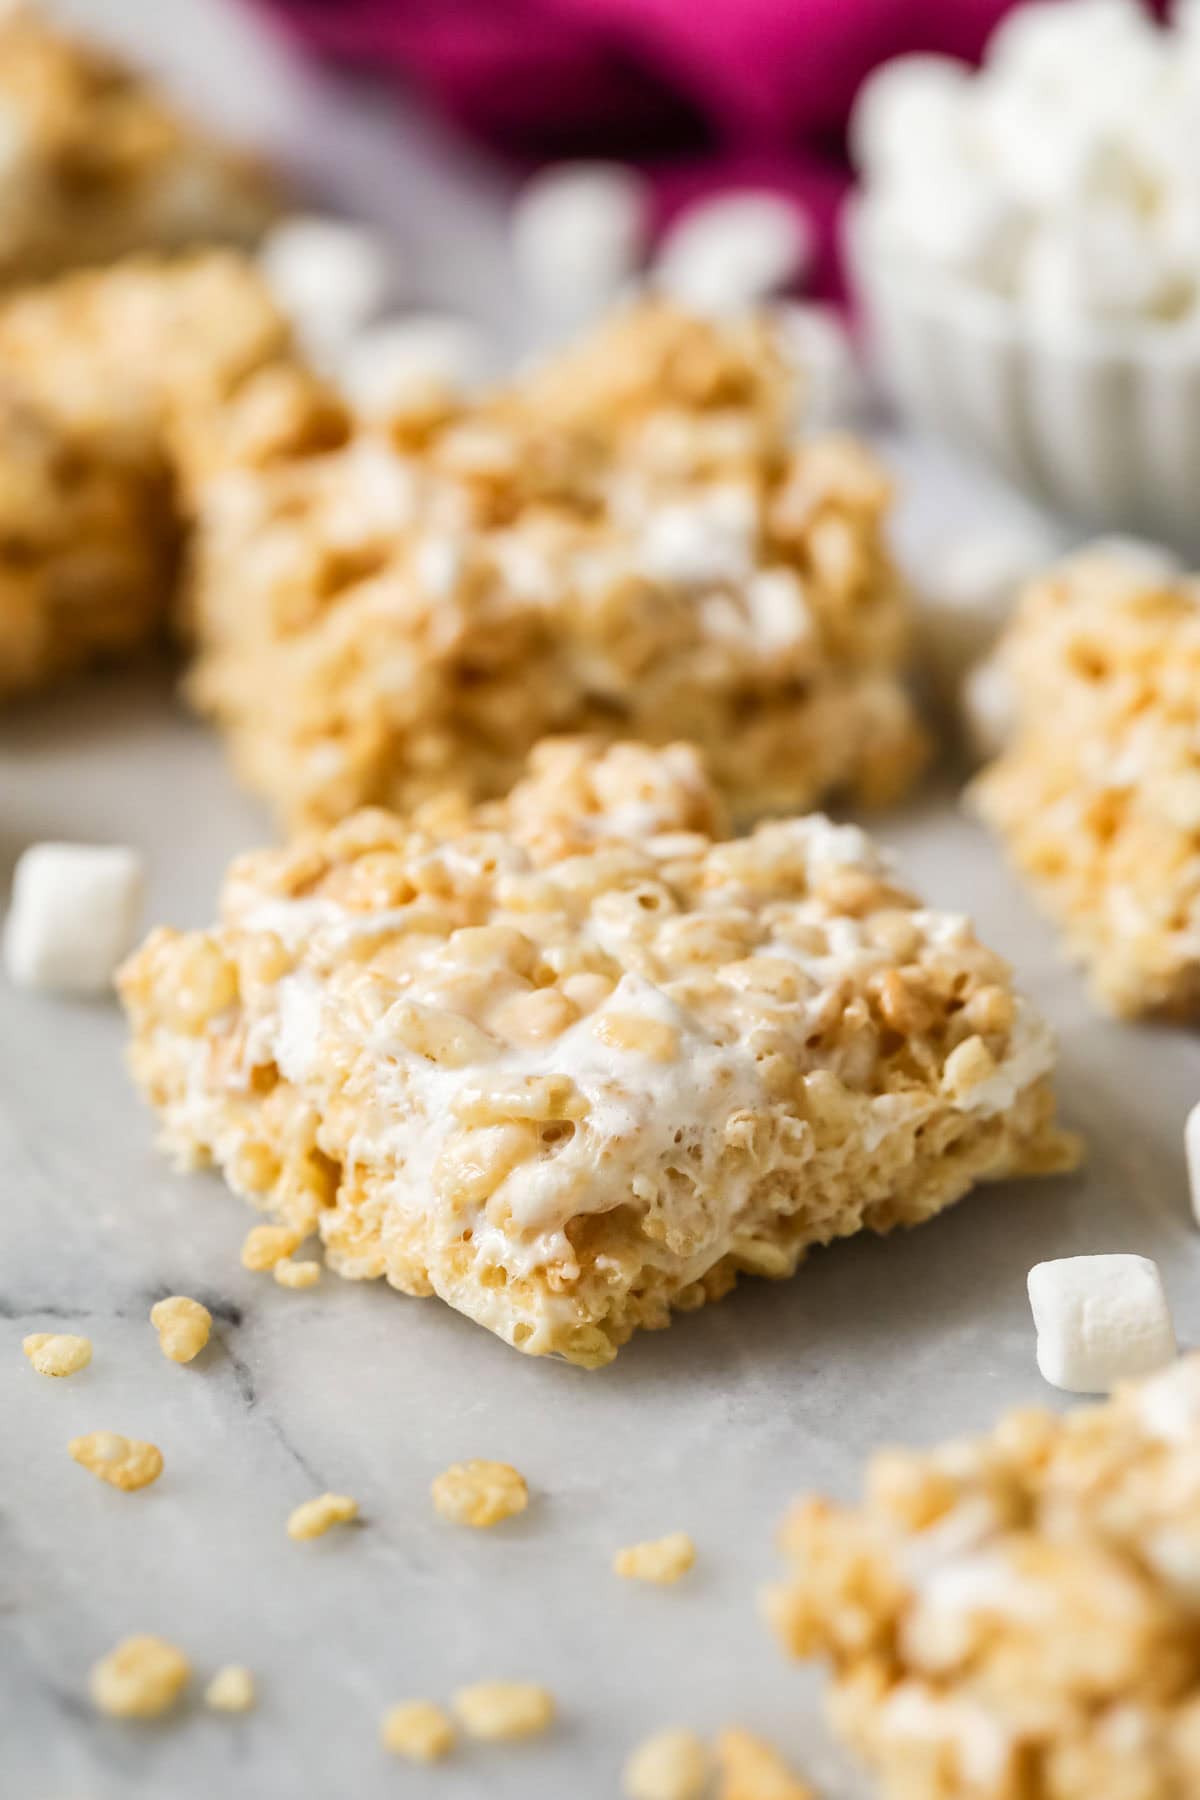
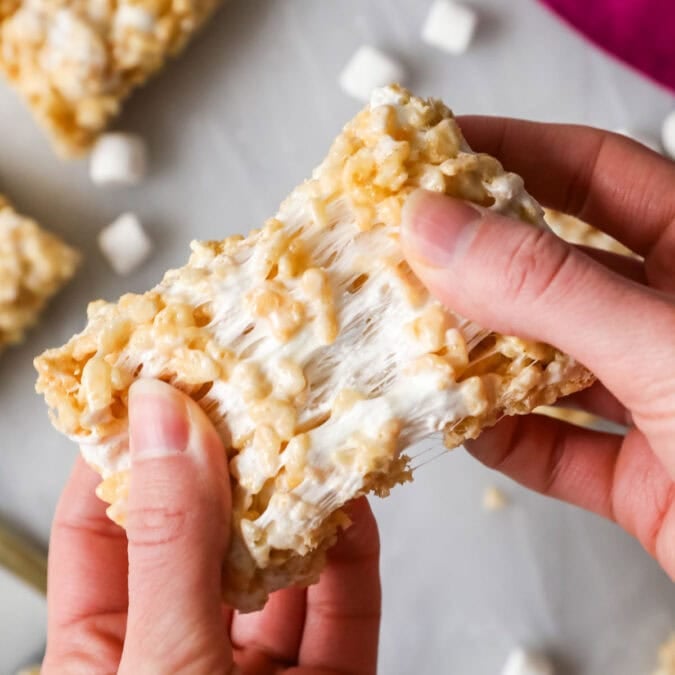
Add the cereal, vanilla, and remaining marshmallows. At this point, you need to mix and fold gently while still making sure everything is well distributed. You don’t want the additional marshmallows to melt too much (we want gooey marshmallow pockets!), so once everything is combined and the marshmallows are just barely beginning to melt, remove from heat.
If you’d like, you can add sprinkles at the very end/after the marshmallows are just beginning to melt (and save some to sprinkle on top while the treats are still warm/immediately after putting in pan). They look so pretty this way!
Transfer to pan
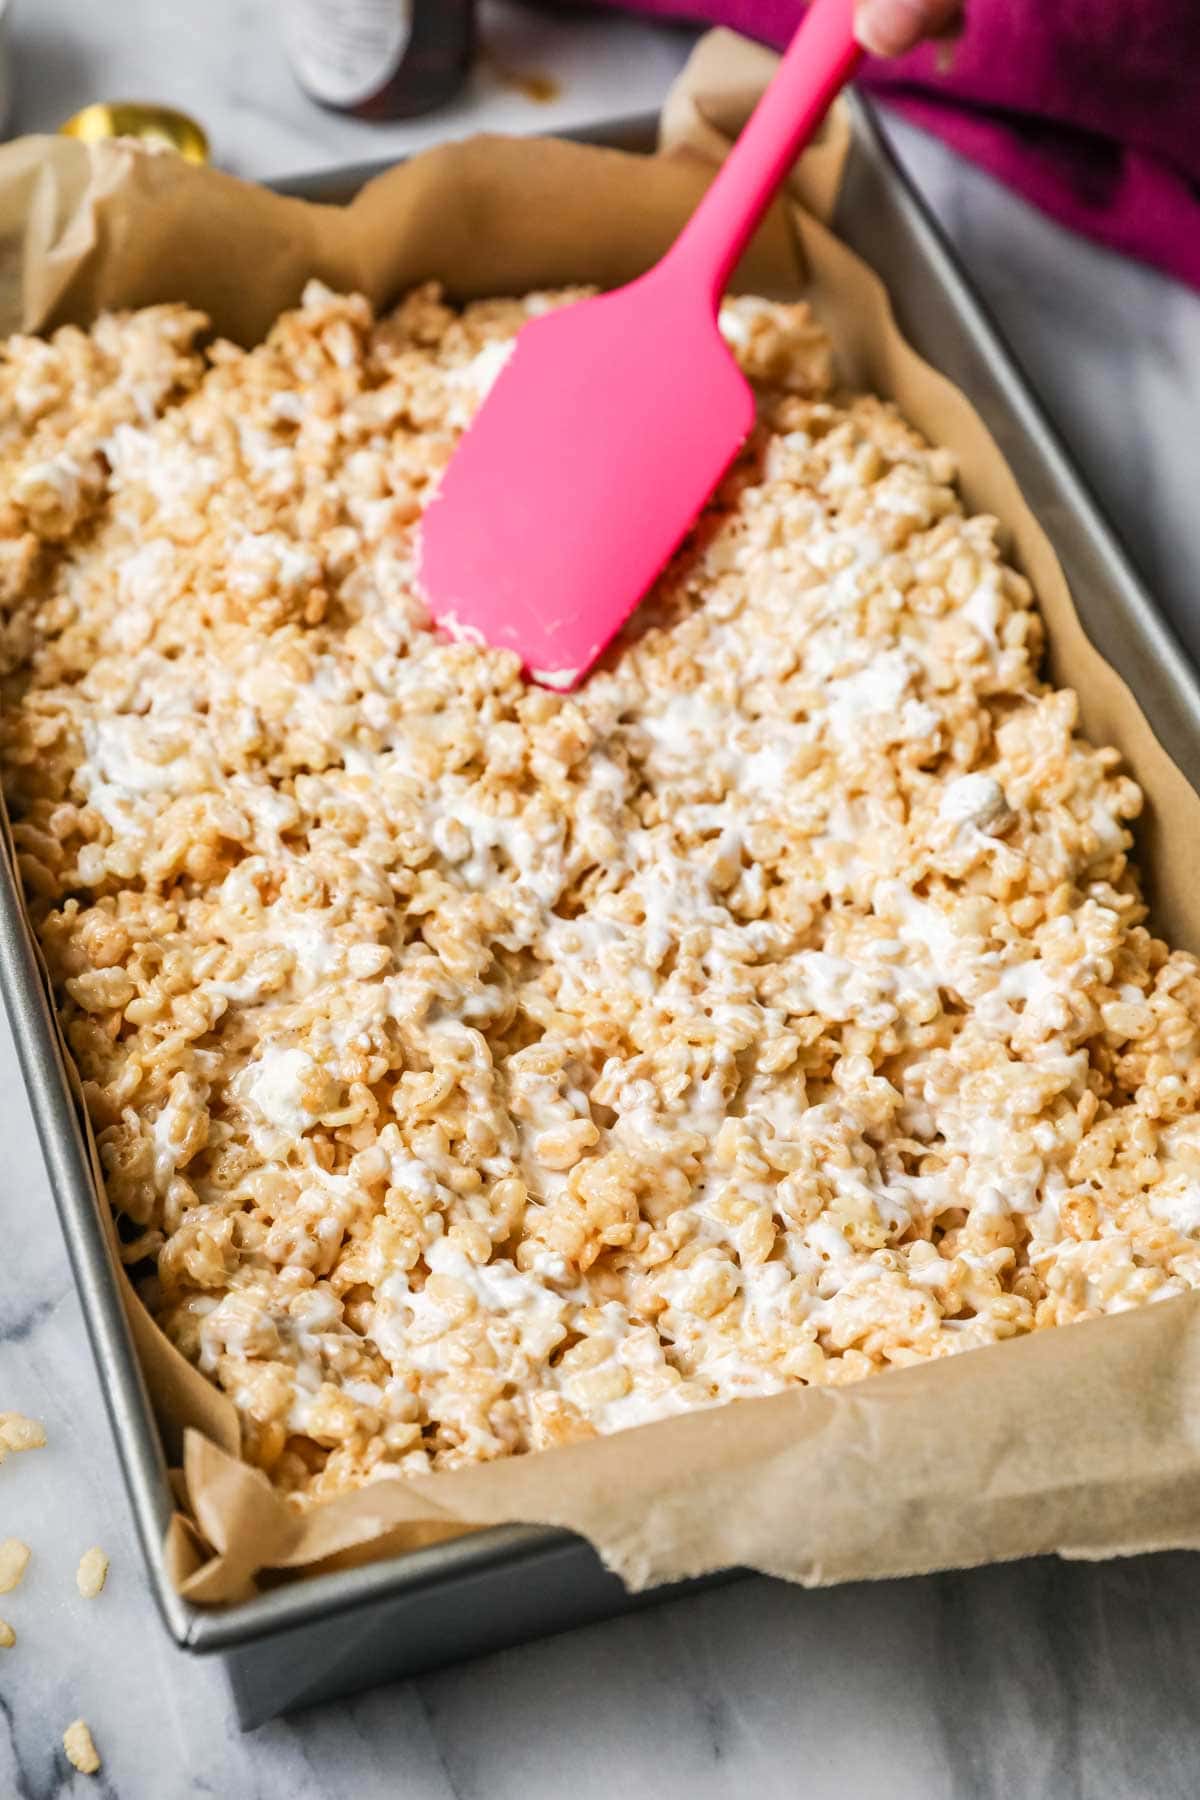
Immediately transfer the mixture to a greased or parchment lined pan. Use a silicone spatula to VERY gently pat the mixture into your pan. It is so important that you avoid compressing or packing the mixture into the pan. Sure, it would make them nice and uniform and even, but it will also make your treats dense and hard and crumbly when you bite into them (even a bit hard to chew!). Embrace the unevenness and craggy surface!
In fact, my grandmother used to just haphazardly drop the treats onto a wax paper lined baking sheet (though I recommend parchment paper as they can stick to the wax paper), no forming whatsoever. We would just pull them apart as we wanted them–super easy, non-uniform, never crumbly and always tasty.
SAM’S TIP: To get those gooey marshmallow pockets, don’t let the second round of marshmallows melt. You need to work quickly and efficiently (while still being gentle!) once you add them so they don’t melt too much. Have your pan ready to go before you begin!
Key Tips for Making The Best Rice Krispie Treats
- Keep your heat below medium-low at all times. If the marshmallows are exposed to too much or too high of heat, they’ll become tough (or even rock hard) once they cool. Slow on low heat is the way to go for chewy results! Just remember that: slow on low.
- Make sure to combine the butter and marshmallows well; if you have a pool of butter in the pot, it can make your cereal soggy when you add it.
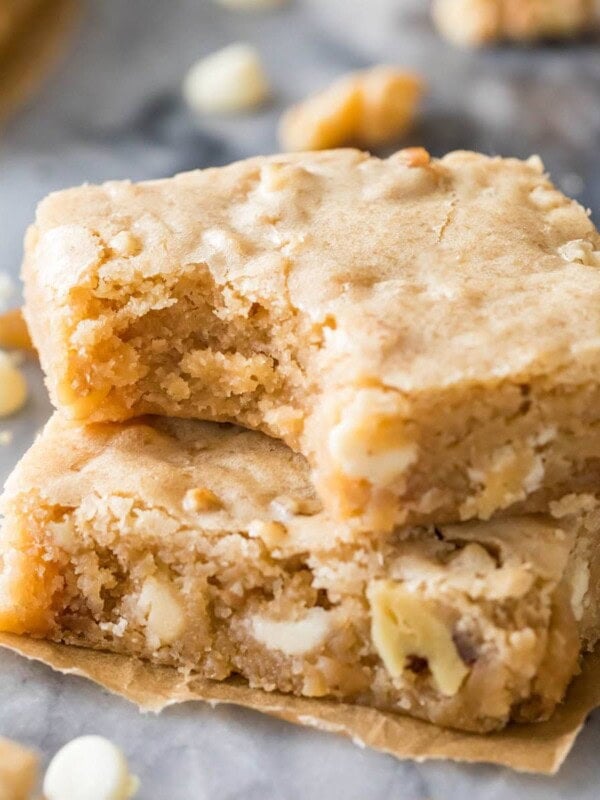
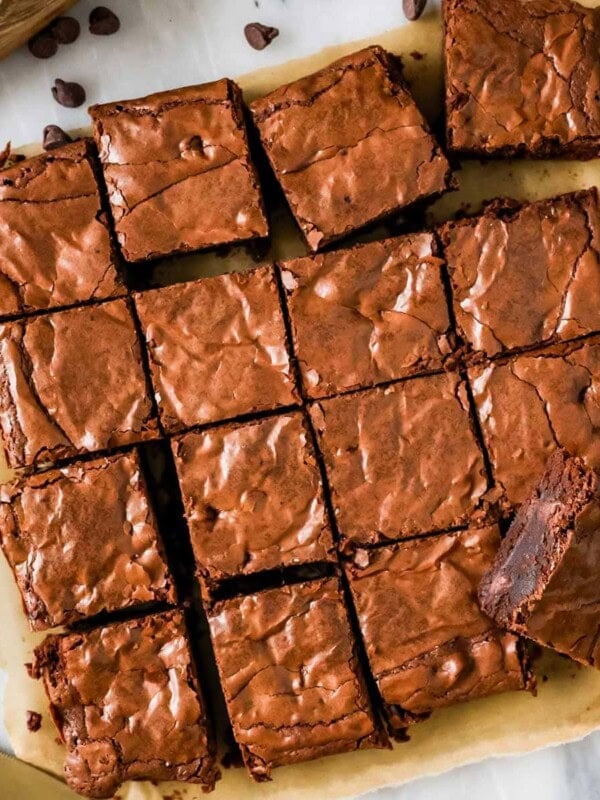
- Line your pan with a parchment paper sling for easy removal and cutting. I do this with my homemade brownies and lemon bars too! Makes the pan much easier to clean, too!
- Be gentle when spreading the mixture into your pan. If you pack everything in too tightly, your rice krispie treats will end up denser and harder than they should be. Just gently and evenly spread everything into your pan.
- Do NOT refrigerate! Refrigerating will dry out your treats and make them too hard and brittle. Instead, store in an airtight container at room temperature for several days.
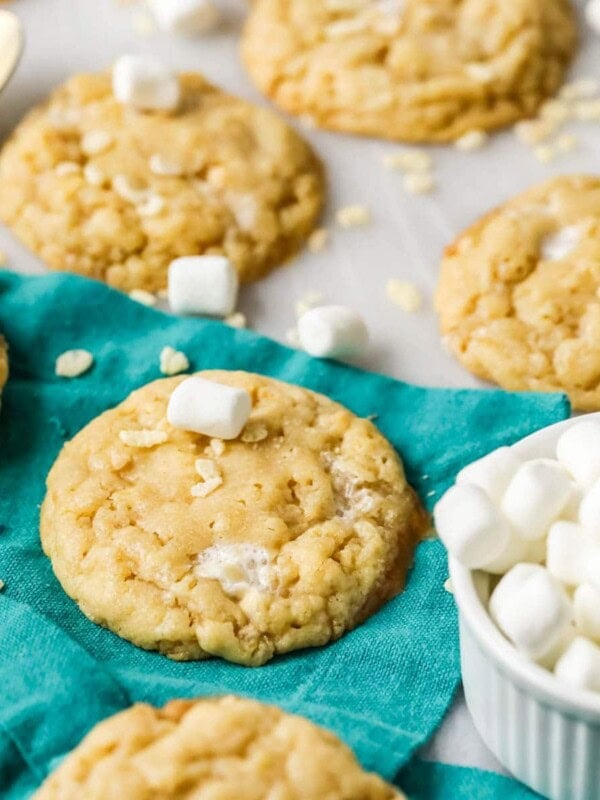
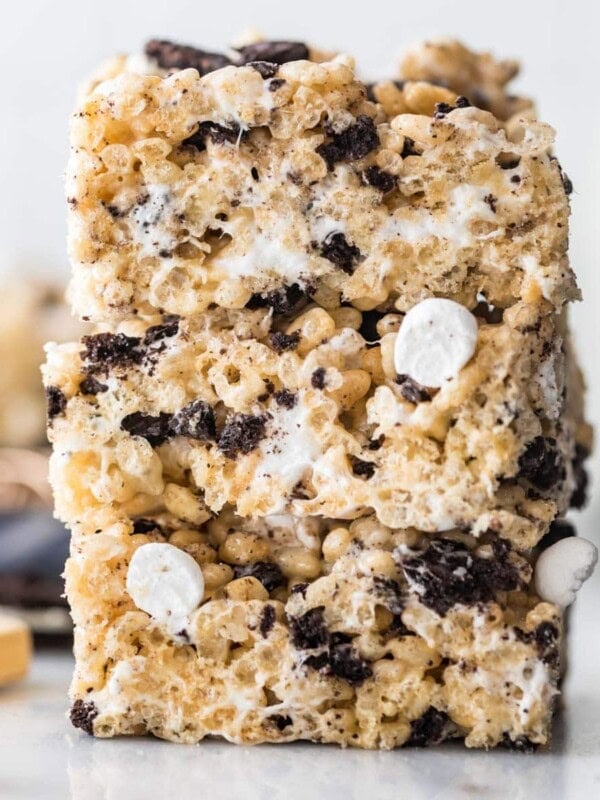
If you’re looking to use up more cereal in your pantry, try my scotcharoos, rice krispie cookies, or my Lucky charms treats.
Enjoy!
Let’s bake together! Subscribe to my newsletter to be notified of all the newest recipes, and find my free recipe tutorials on YouTube 💜
The Best Rice Krispie Treats Recipe
Ingredients
- 6 Tablespoons (85 g) salted butter*, cut into 6 pieces, (I strongly recommend European butter)
- 15 oz (425 g) miniature marshmallows, this is generally 1 ½ 10-oz bags, or 8 ½ cups
- 1 teaspoon pure vanilla extract
- 6 cups (175 g) Rice Krispies cereal
- 3 Tablespoons colored sprinkles, optional
Instructions
- Lightly grease a 13×9 pan with butter or line with parchment paper and set aside.
- Place butter in the bottom of a large saucepan over medium-low heat. Stir occasionally until butter is completely melted.6 Tablespoons (85 g) salted butter*, cut into 6 pieces
- Add 10 oz (about 5½ heaping cups) of marshmallows and stir until just melted. Keep your heat below medium and stir frequently, making sure the butter is well combined with the marshmallow and doesn't separate too much. This will take a bit of time for the marshmallows to melt but too-high heat can cause your rice krispie treats to come out too hard.
- Stir in vanilla extract, and then add rice krispies cereal and remaining marshmallows (5oz/about 2 ½ heaping cup). Stir until ingredients are combined and additional marshmallows are just beginning to melt.1 teaspoon pure vanilla extract, 6 cups (175 g) Rice Krispies cereal
- Scatter sprinkles over the mixture and briefly stir to combine. Immediately transfer mixture to prepared 13×9 pan and use a silicone spatula or your hands to gently pat rice krispie treats down evenly into pan (don’t over-handle them or this will also make them come out too hard).3 Tablespoons colored sprinkles
- Allow Rice Krispie Treats to cool completely at room temperature before cutting and serving — about 30-60 minutes.
Notes
Butter
You can substitute with regular salted butter, but I really like the flavor and quality of European butter (like Kerrygold or Plugra).Storing
Store in an airtight container at room temperature for up to 5 days. I do not recommend refrigerating or freezing.Nutrition
Nutrition information is automatically calculated, so should only be used as an approximation.
Like this? Leave a comment below!
This recipe was originally published January, 2018. Post updated to improve user experience by including more tips, photos, and a video tutorial. Recipe is unchanged, it was pretty darn perfect 😉


I’m about to make these, but on step 4 is the pan still on the stove?
Hi Sydney! Step 4 is still on the stove top. You will remove it from the stove in step 5. 🙂
Hehehehe the best ever! Frickin goooooood!😭😁😬🧐😵💫🤣🤨😣😏👍😊😖😢😅😅😄😜😃☹️🇺🇸🤷♀️😢🤬🍾😡👀☺️🎊🍾 oooh baby so goooooooood
they look great 😃
I found that this recipe has a decent amount less of Rice Krispies in it and my end result is quite soupy. I’m wondering if there is a trick to helping them set and firm up so that they are not so goopy?
Hi Anna! These are a pretty gooey rice krispie treat. Were they unmanageable? Did you make any substitutions or alterations?