A simple recipe for old-fashioned Icebox Cookies (AKA Refrigerator Cookies). This recipe uses only a few basic ingredients but must be chilled for at least 4 hours before baking. These are great for preparing then storing in your fridge, ready to slice whenever you catch a cookie craving. I’ve included plenty of add-in options and a how-to video!
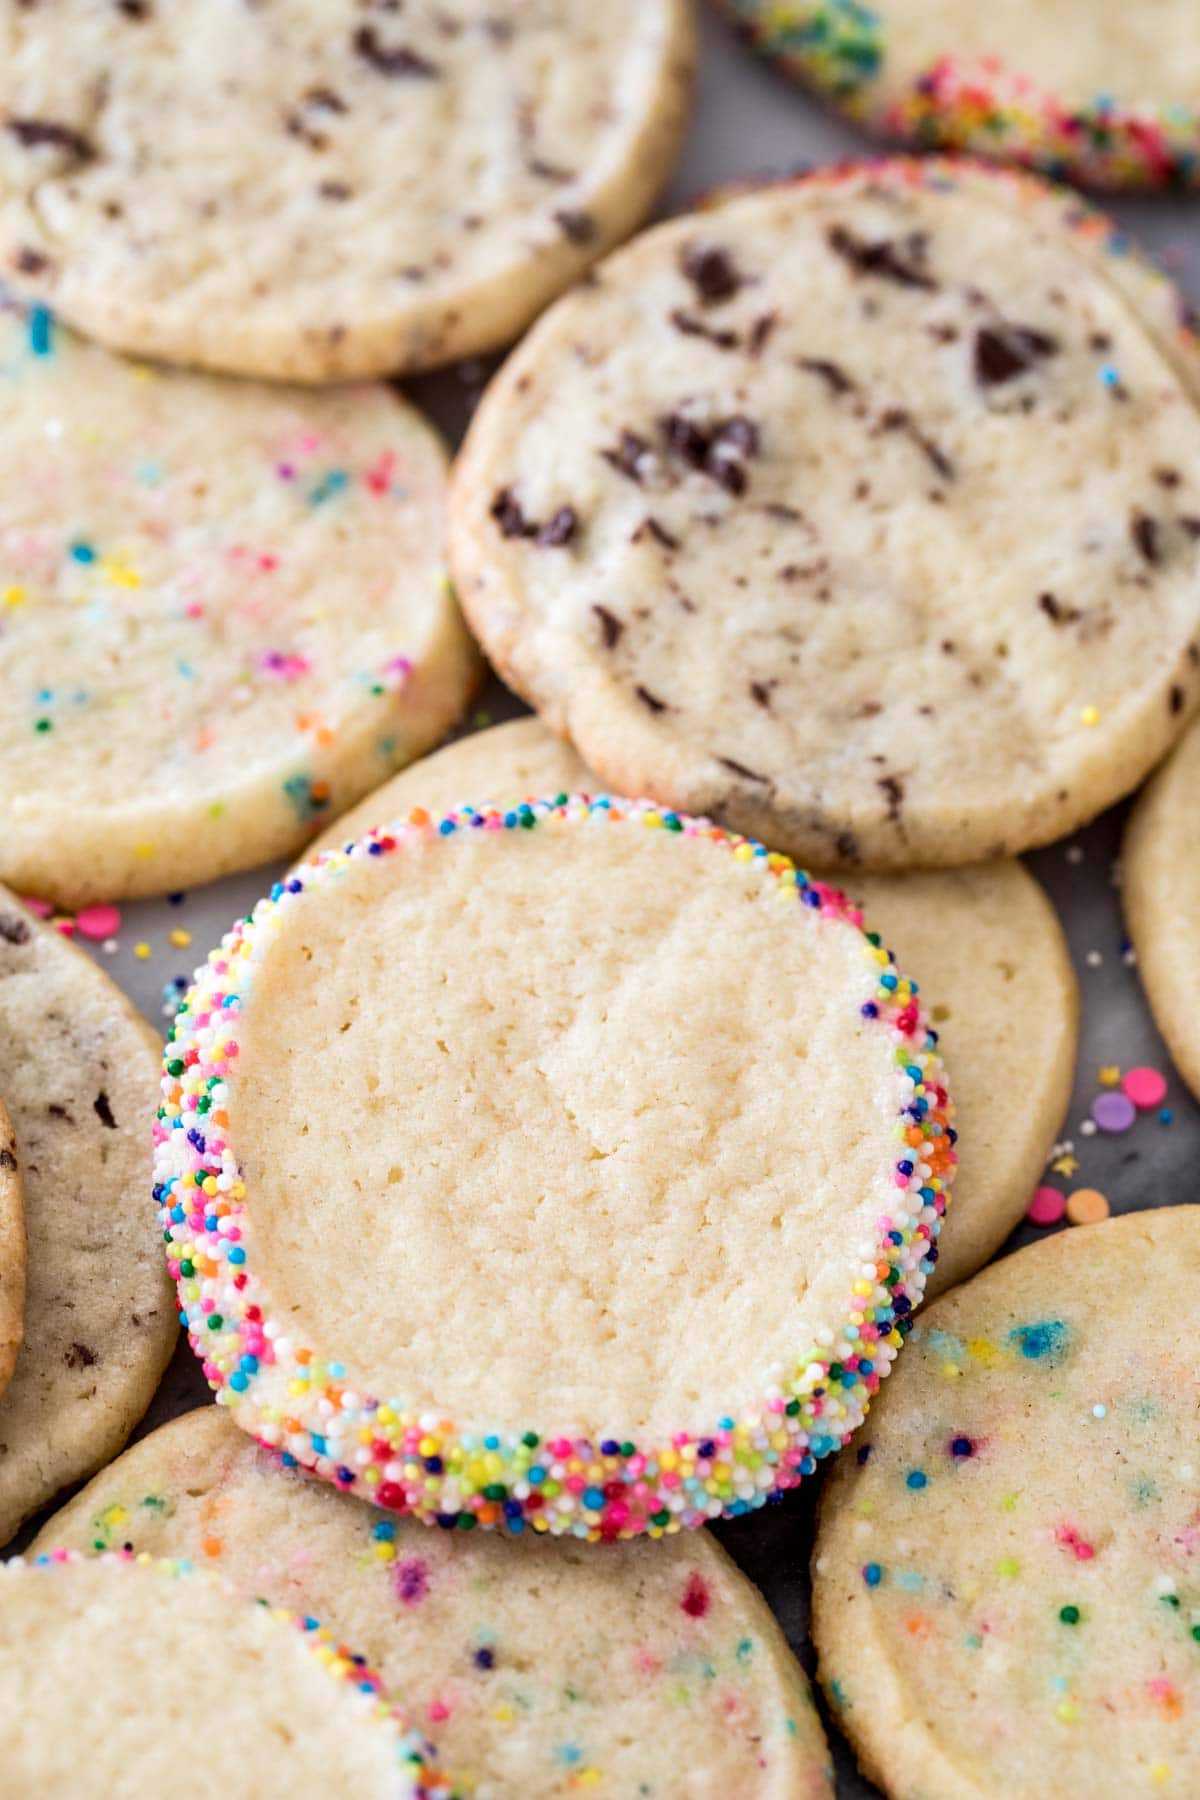
You’re going to need a little bit of patience for today’s recipe.
Like… 4 hours of patience. Today’s icebox cookie (AKA refrigerator cookie) recipe is not one that you can whip up to satisfy an urgent cookie craving. While making the dough itself is quick and easy (about 10 minutes and done), there’s several hours of chilling in your refrigerator (or, icebox) required for perfect cookies.
You just can’t be in a desperate, cookie craving mood (basically every minute of my life) when you make these. Every time I make this recipe, I like to think of it as I’m giving myself cookie insurance for future cravings. The dough needs to chill, but once it does it can sit in the fridge for up to a week, ready to slice and bake any time cookie monster mood does strike.
Desperate for something fast and easy and ready in 15 minutes? Try my flourless peanut butter cookies.
I’ve been making this recipe for years and have adapted it from its original form in my family’s favorite cookbook (the same one my angel food cake came from). It’s a family favorite and I think you’re going to enjoy it just as much as we do.
What You Need
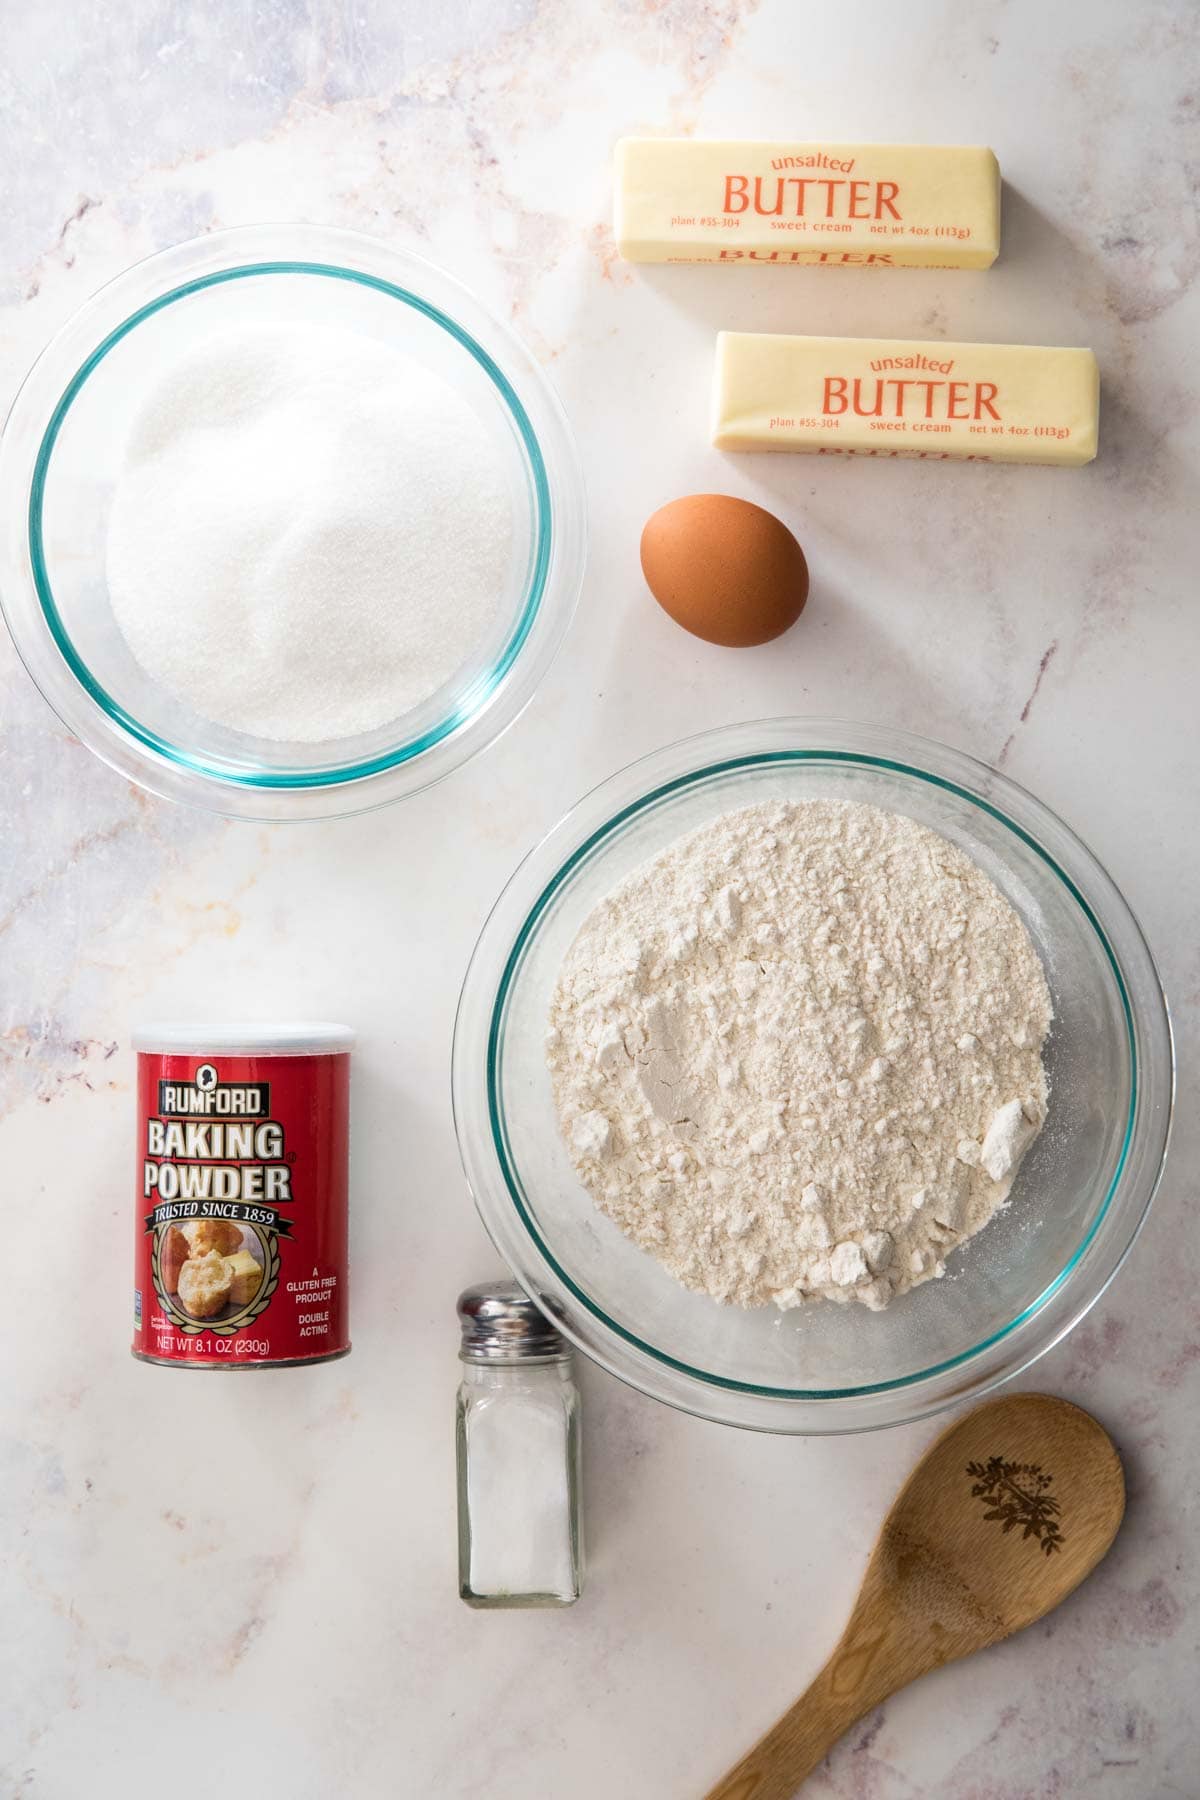
Butter, sugar, egg, flour, baking powder, and salt. That’s it. Seriously.
Nothing but the basics here. And one of my rare recipes that only uses one type of sugar (you know I love using granulated and brown sugar, sometimes light and dark in the same recipe 😂)
Optional Add-Ins
Growing up, we always enjoyed icebox cookies plain, no chocolate, sprinkles, or anything else added to them. And they’re good that way, like sweet, sliceable sugar cookies.
These days, though, I like to mix things up a little bit. Here are my favorite ways to dress up icebox cookies:
- Chopped Chocolate. Finely chop two to four ounces of a chocolate bar (semisweet or dark chocolate work well here) almost like you’re mincing garlic and stir it in at the end. Chocolate chips don’t work as well for this recipe because they’re large and leave craters in the cookie dough when you slice it.
- Chopped nuts. Your preferred type (walnuts and pecans are great here). Toast them for even more flavor. Stir them in at the end, before rolling your dough into logs. About ¾ cup. As with the chocolate you will want to chop them fairly fine.
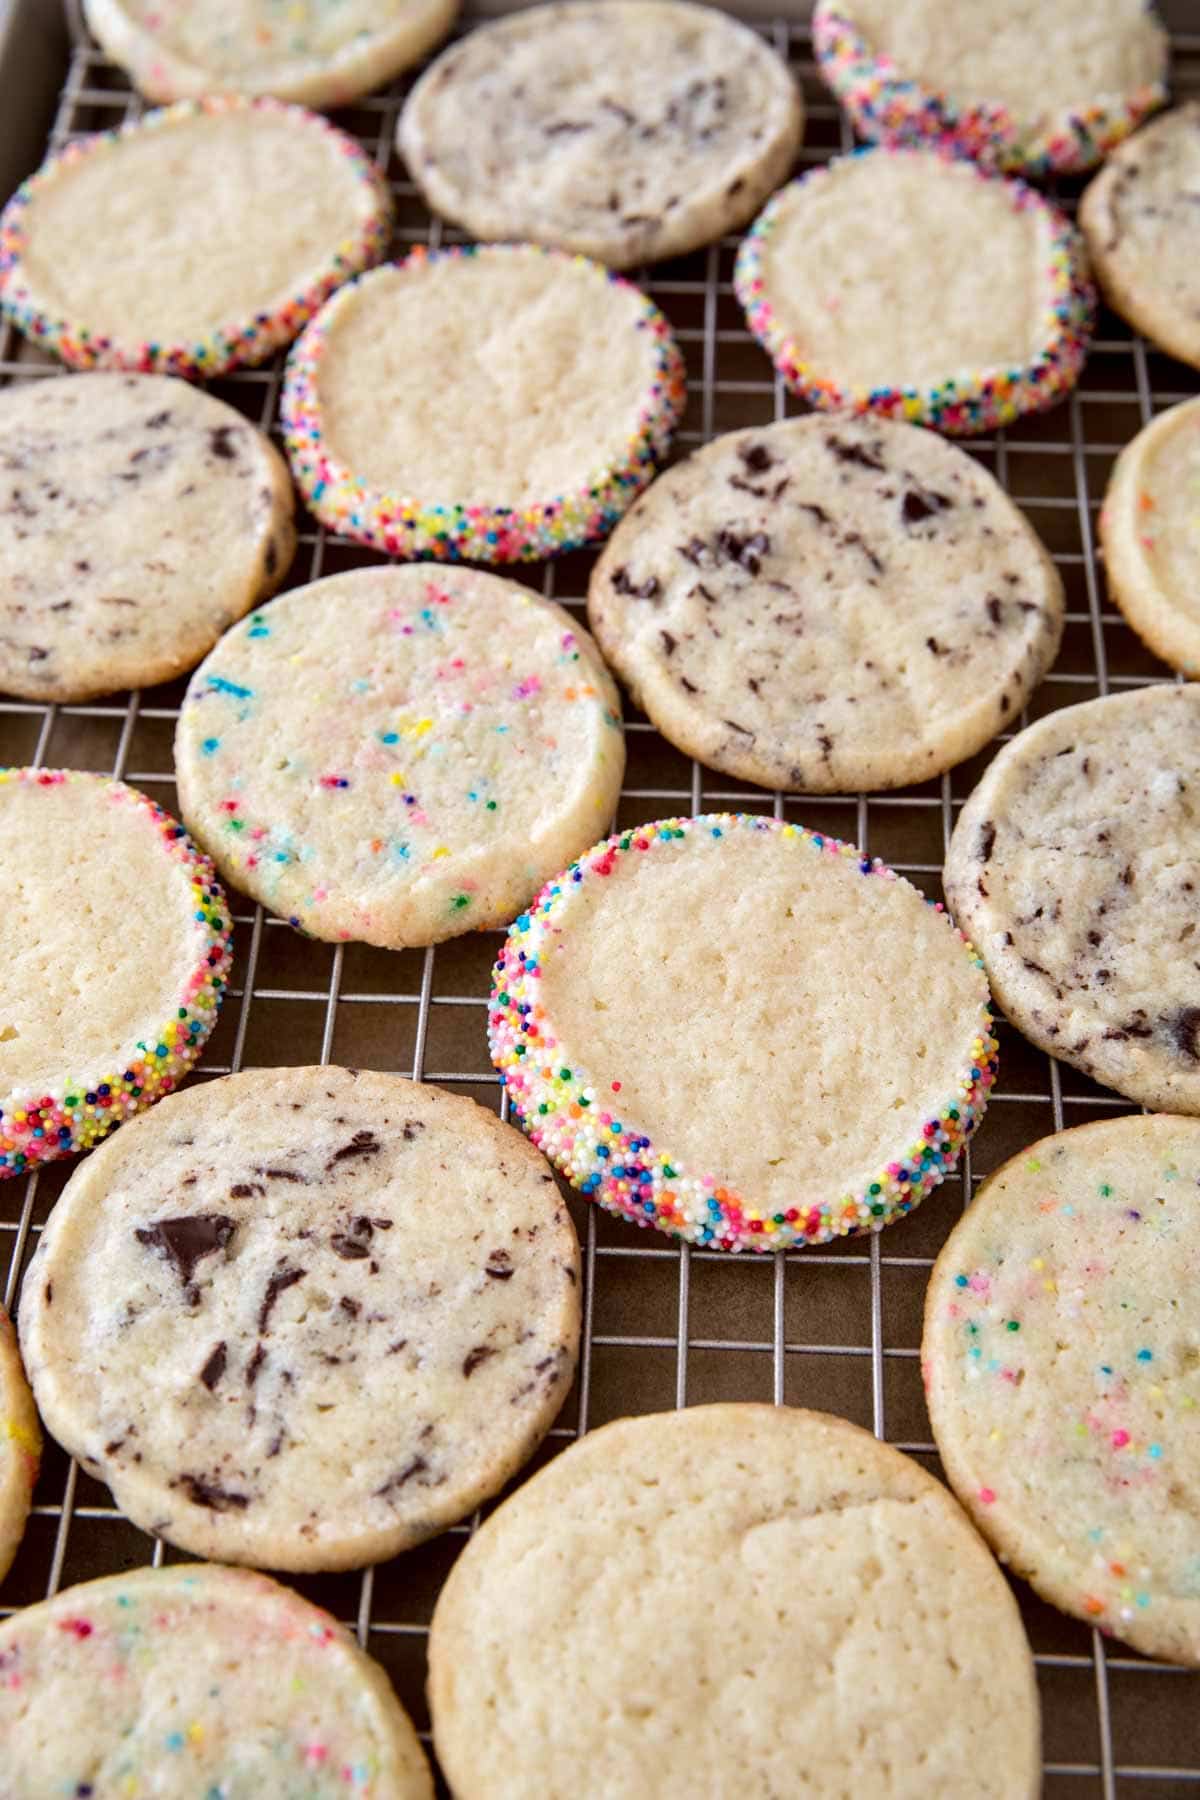
- Sprinkles. Stir several tablespoons of jimmies or nonpareils in by hand at the end or use them to make a decorative edge on the cookies, as seen in most of these photos (and described below).
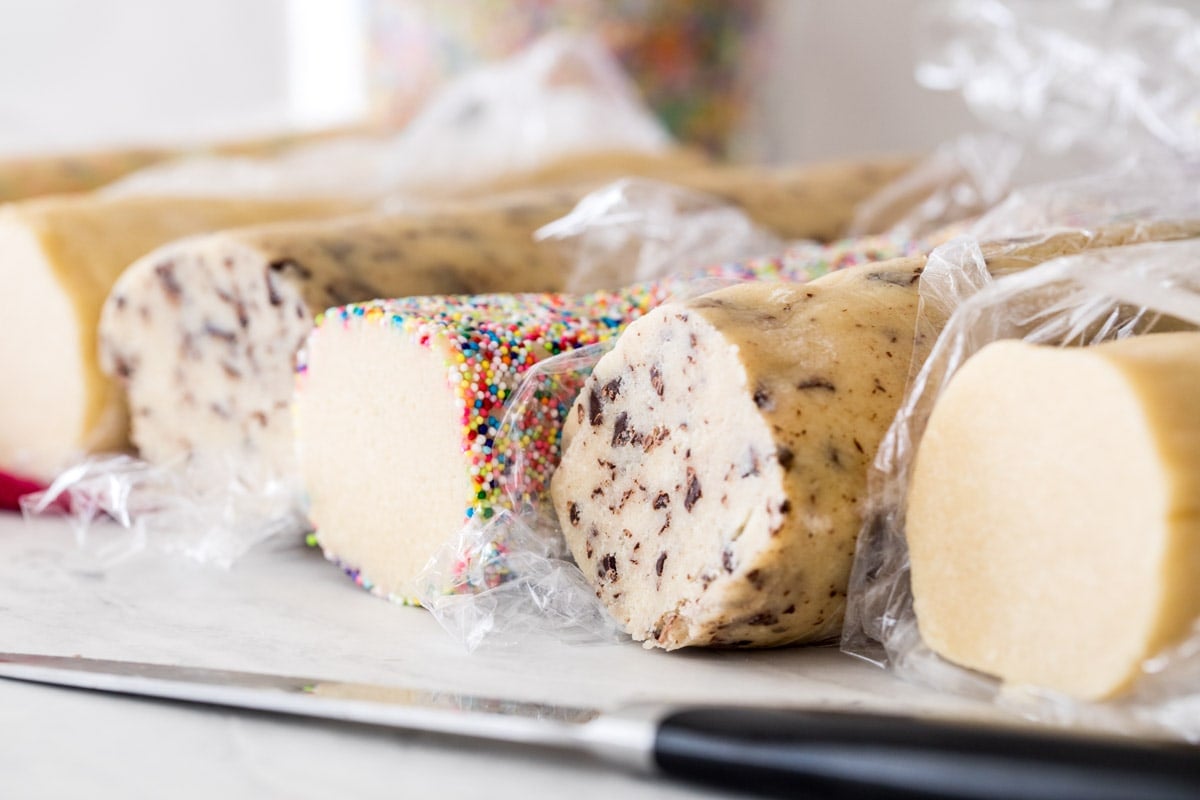
- Sprinkled Edge. After forming your dough into a log (and before chilling), pour several tablespoons of nonpareil sprinkles into a pie plate. Roll the outside of your icebox cookie dough log through the sprinkles until the outside is completely coated. If the sprinkles aren’t sticking, you may need to warm the dough between your hands first.
Tips for Icebox Cookies
- Make sure to measure your flour properly using a scale or the spoon and level method (see my guide on how to measure flour). Too much flour and the cookie dough will be dry and crumbly, not enough and the dough will be too soft and your icebox cookies will spread in the oven.
- Don’t over-mix. Over-mixing will warm up the butter, making it melty and therefore making the dough too soft and sticky to form into logs. If you accidentally do this, pop the dough in the refrigerator (covered) for 15 minutes or so and then try to form the dough again.
- Use a towel. Set your cookie dough on a plush, twice-folded kitchen towel. This will keep the bottom of the dough from flattening and keep your cookies rounder when you slice them.
- Have patience! This dough really does need to chill for hours to keep the cookies from spreading too much. The cookies will spread nicely in the oven if you chill them, but if you don’t wait they’ll melt onto your cookie sheet and be much too flat and crispy.
- Store to slice & bake later. Keep icebox cookie dough in the fridge, wrapped in plastic wrap, for up to a week.
Enjoy!
More Recipes You May Enjoy:
Be sure to check out the how-to Video in the recipe!

Icebox Cookies (Refrigerator Cookies)
Ingredients
- 1 cup (226 g) unsalted butter softened
- 1 ½ cups (300 g) granulated sugar
- 1 large egg room temperature preferred
- 1 teaspoon vanilla extract
- 2 ½ cups (315 g) all purpose flour
- 1 teaspoon baking powder
- ¾ teaspoon salt
- Optional add-ins sprinkles, non pareils, chopped nuts, chopped chocolate
Recommended Equipment
Instructions
- Cream together butter, sugar, egg and vanilla. Scrape down the sides and bottom of the bowl with a spatula to make sure all ingredients are well-combined.1 cup (226 g) unsalted butter, 1 ½ cups (300 g) granulated sugar, 1 large egg, 1 teaspoon vanilla extract
- In a separate, medium-sized bowl, whisk together flour, baking powder, and salt. With mixer on low speed, gradually add to butter mixture until completely combined. Be sure to pause and scrape the sides and bottom of the bowl as needed.2 ½ cups (315 g) all purpose flour, 1 teaspoon baking powder, ¾ teaspoon salt
- If stirring in any add-ins, mix them in here.Optional add-ins
- Divide dough into two halves and lightly flour your hands. Form each half into a log about 1 ½" - 2” in diameter. To roll in sprinkles (as seen in the photos), pour several tablespoons of non pareils into a pie plate and roll the dough through the sprinkles until the outside is completely covered.
- Wrap dough logs in plastic wrap and refrigerate. To prevent the dough from getting a severely flat edge I like to place it on a plush folded hand towel while it chills. Chill dough for at least 4 hours, preferably overnight and up to one week.
- When you are ready to bake, preheat oven to 350F (175C). Remove dough from the refrigerator and slice into ¼” slices.
- Transfer to a parchment-lined baking sheet, spacing cookies at least 2 inches apart.
- Bake on 350F for 10-12 minutes or until edges are just beginning to turn a light golden brown.
- Enjoy!
Nutrition
Nutritional information is based on third-party calculations and should be considered an estimate only. Actual nutritional content will vary based upon brands used, measuring methods, cooking method, portion sizes, and more.






betsy
Thank you for this recipe! I make it every holiday season. These cookies have the best crisp edges with a slightly chewy center. My favorite thing about these is how flexible I can be with additions. I usually split a batch into several bowls & make each different. Lime zest is terrific, as is chocolate/cherry/walnut!
Sam Merritt
I’m so glad you’ve enjoyed the cookies so much, Betsy! These sound like wonderful additions and flavors. 🙂
Jerre Conner
Everyone loves these cookies. I add 1/2 cup of mini dark chocolate chips. Some like them soft and some like a little crunch. It’s.all in the timing.
Sam Merritt
I’m so glad you enjoyed them so much, Jerre! 🙂
L
Made these cookies and they came out great! Will defs be making them again. Was so excited to make them that I couldn’t wait hours for them to chill.
Sam Merritt
I’m so glad you enjoyed them! 🙂