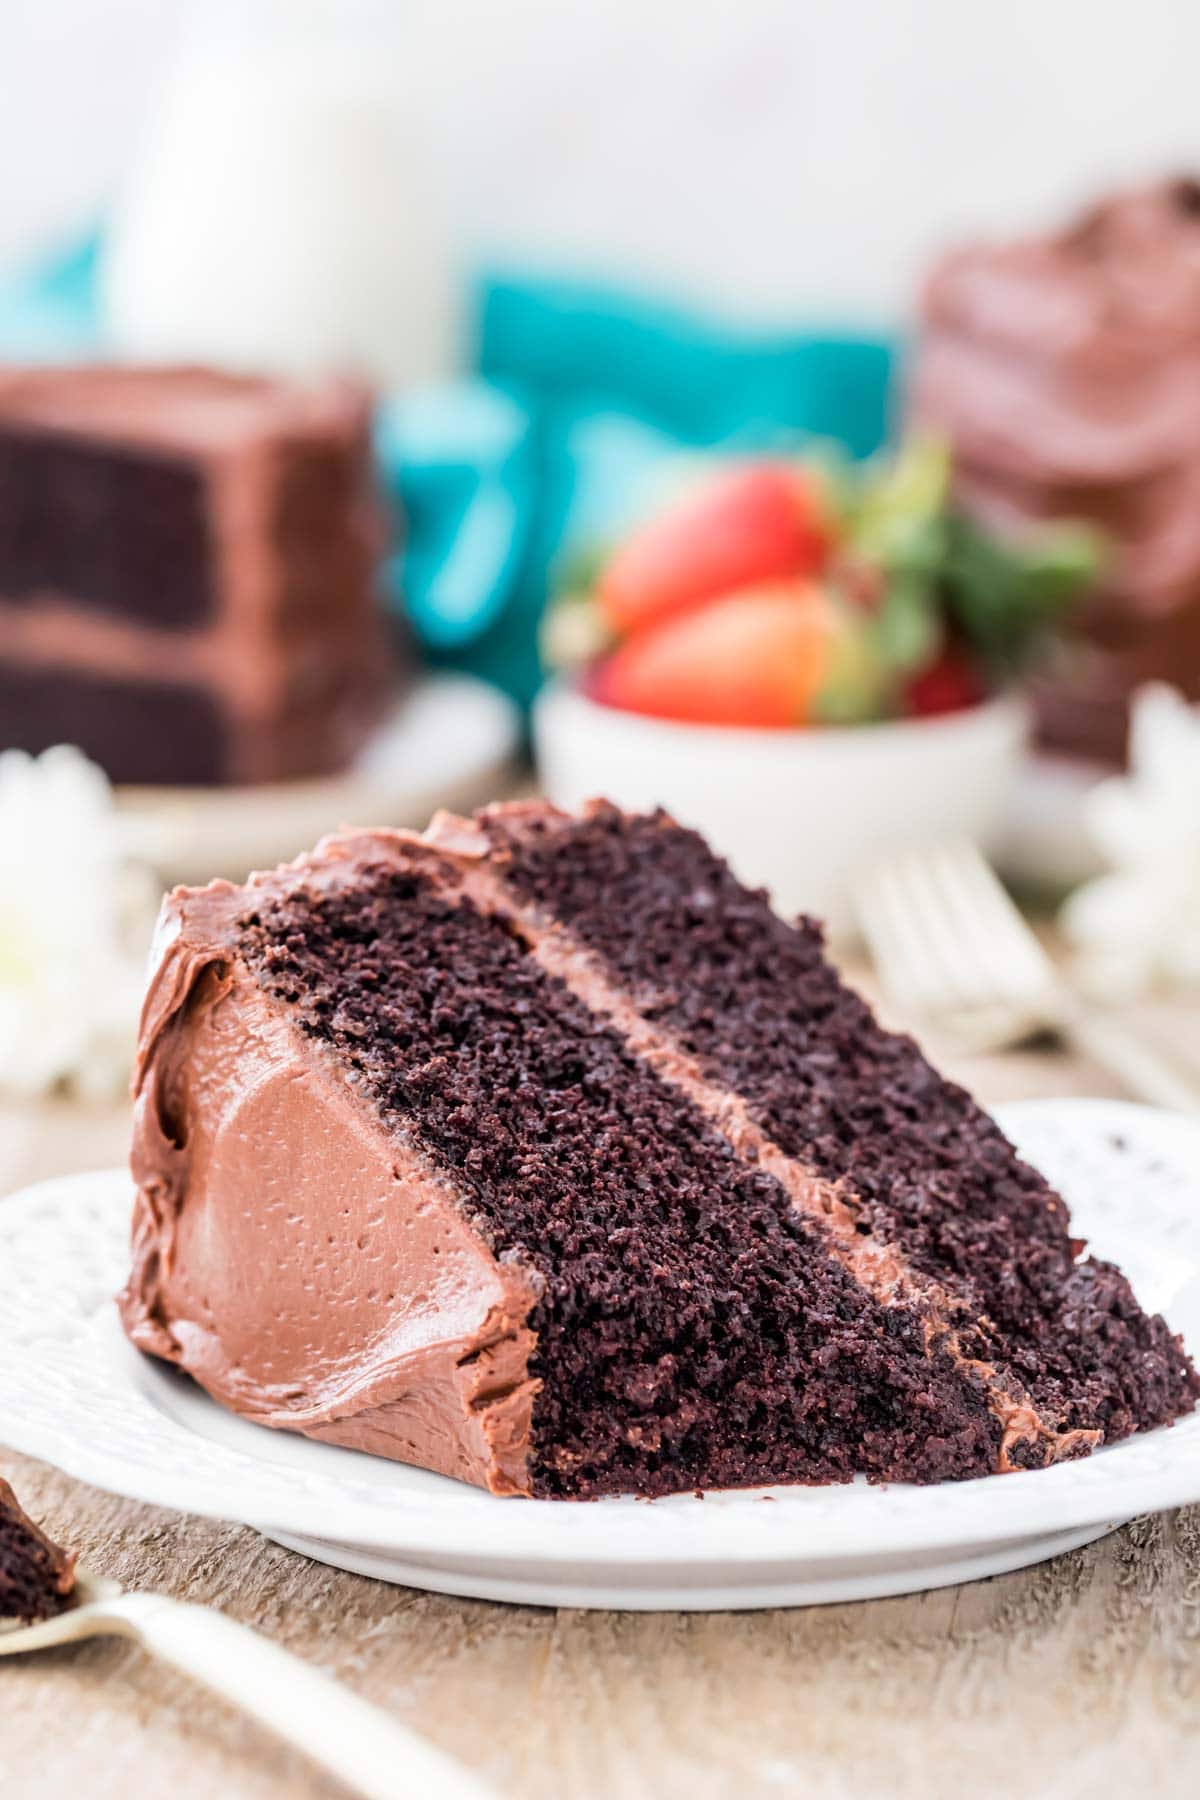
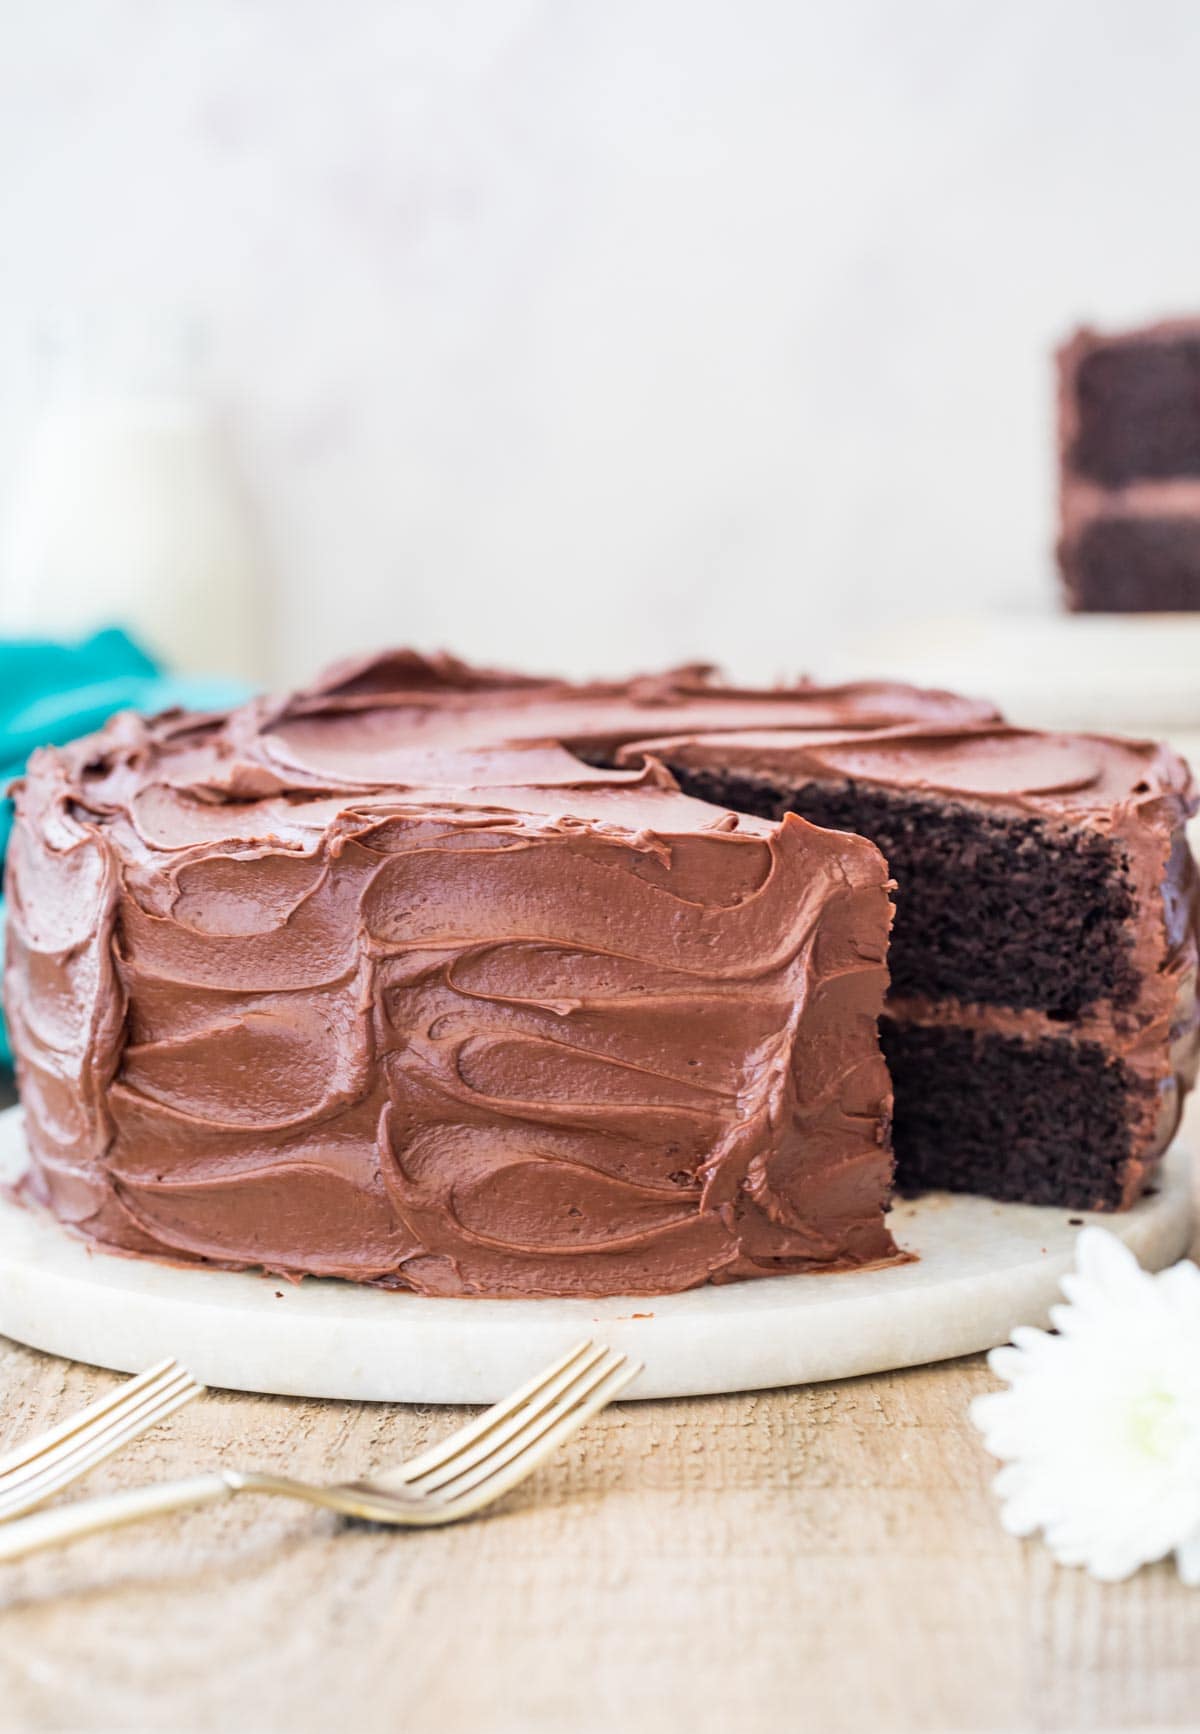
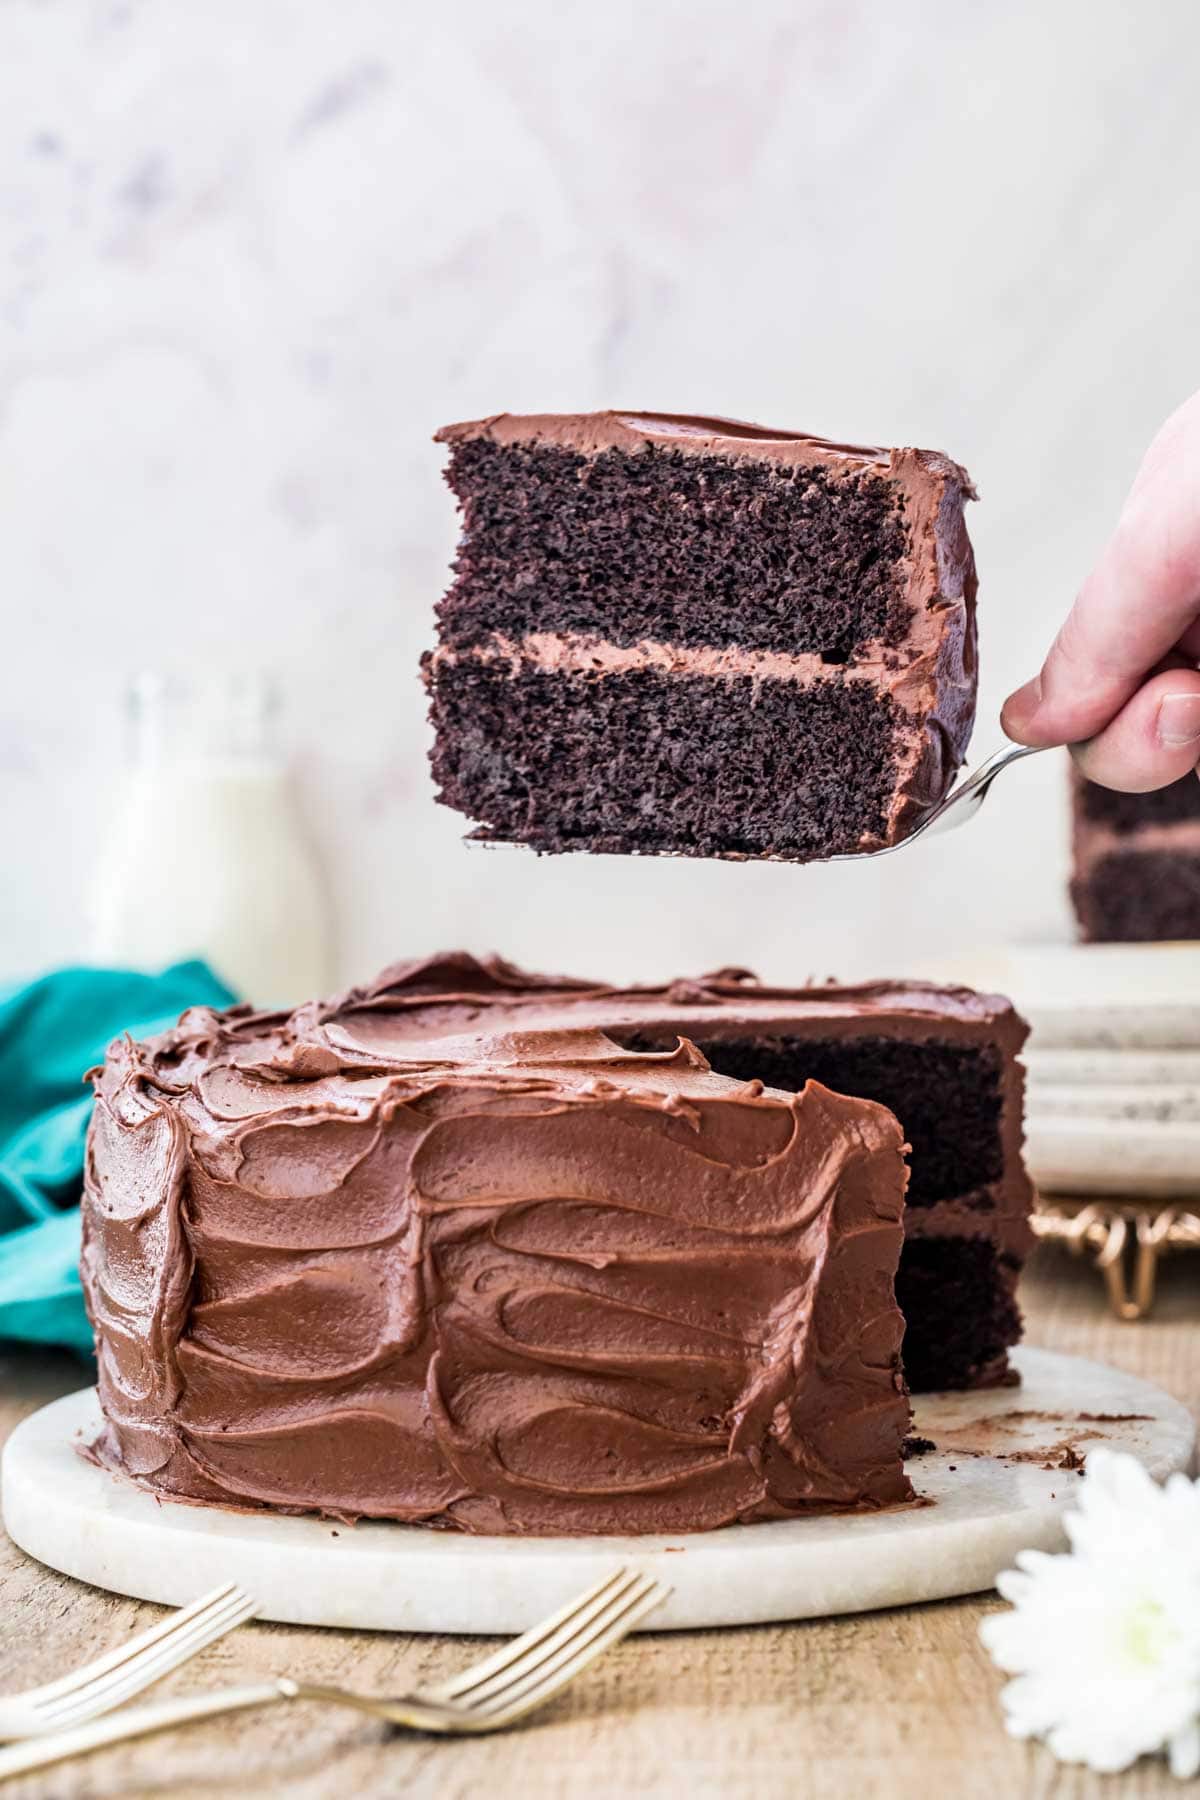
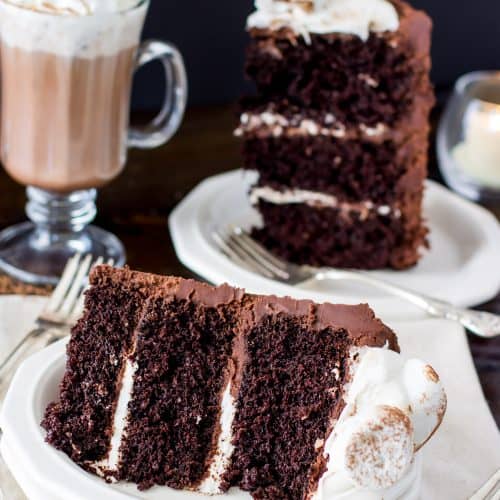
My Devil’s Food Cake recipe is rich, fudgy, and dangerously chocolatey! It’s also simple to make and essentially foolproof! Today I’m walking you through all the steps, be sure to check out the how-to video in the recipe card!
What is the Difference Between Chocolate Cake and Devil’s Food Cake?
Leading with this question because it’s one I had myself. What’s the point of adding another chocolate cake to the blog, anyway, when I already have an incredible, 5-star chocolate cake recipe?
After a bit of digging I learned that devil’s food cake is in a class of its own. While it’s known for being fudgier, moister, and richer than classic chocolate cake, people seem to widely disagree on what ingredients are critical to makes it so. Some recipes call strictly for melted chocolate, others for natural cocoa, and still others for Dutch-process. So which is right!?
After far too many hours of devil’s food cake research, I came to the following conclusions:
- It should be plush, velvety, and more fudgy and moist than a classic chocolate cake. Soft and melt-in-your-mouth, yes, but not quite so fluffy as many other cakes.
- The chocolate flavor should be more intense than a classic chocolate cake. While any frosting will work on this cake, a thick and fudgy chocolate one is preferred (coming soon!).
- Sour cream played an important role in many early recipes and I felt it belonged here as well, as did Dutch-process cocoa.
- While baking powder may make an appearance, baking soda should be the primary leavener.
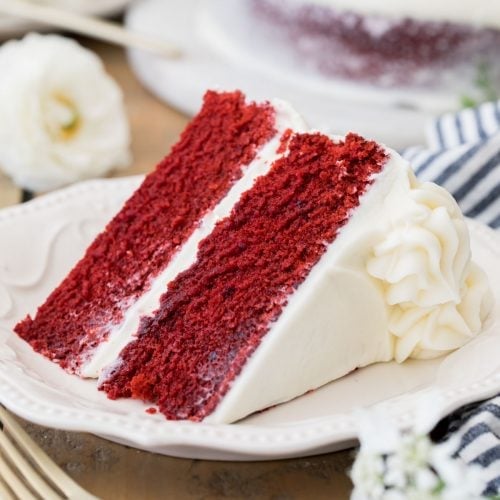
- It is not the same as red velvet cake. I was shocked to find at least one source claiming that it was and felt strongly that I should set the record straight here. Nope!
With these parameters in mind, I set about developing the best devil’s food cake recipe. It took weeks to get things just right, but I’m so excited to share this one with you today. Let’s get to it!
Ingredients
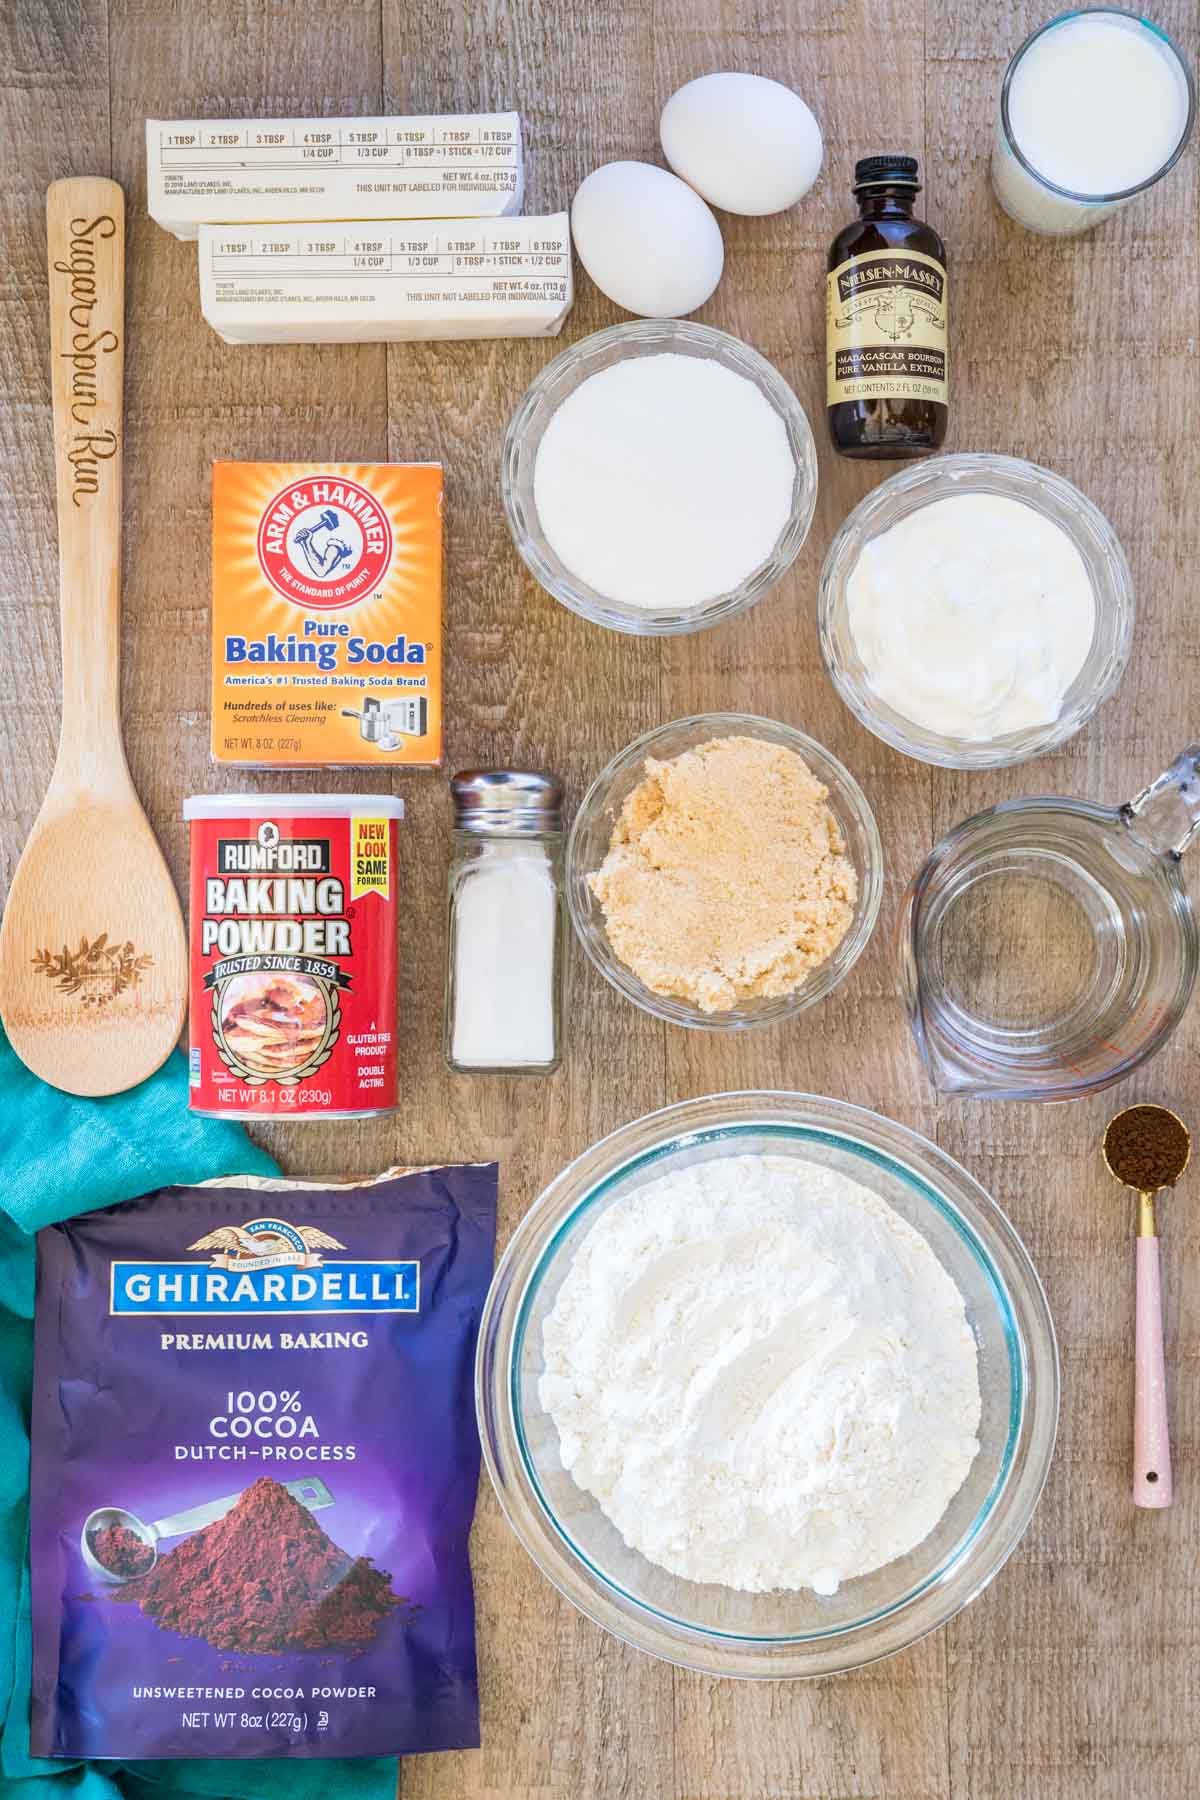
Many of today’s ingredients are basic pantry staples, but let’s talk about a few of them, including what role they play in the chemistry of making the perfect cake:
- Flour. I specifically developed my recipe to be made with all-purpose flour. I have not tried it with cake flour but think it could work if substituted properly. I do not recommend any other kind of flour, such as self-rising flour.
- Sugar. A blend of granulated sugar and brown sugar give this cake the best flavor.
- Butter. Most of my cake recipes use a blend of oil and butter to maximize both flavor and moisture. However, for this fudgy recipe we have plenty of moisture added elsewhere, so we’re going for all flavor with all butter.
- Cocoa powder. While many recipe developers disagree on the best chocolate to use when making devil’s food cake, I found that this recipe works best with Dutch-process cocoa powder to attain its signature deep, rich chocolate flavor. While “natural” cocoa powder is highly acidic, Dutch-process has been treated and neutralized. It also yields a darker color for the cake. We’ll “bloom” the cocoa powder in our milk & water on the stovetop for ultimate chocolate intensity in this cake.
- Milk & Water. For the perfect texture, a blend of whole milk and water works best. This is the liquid we’ll heat to bloom our cocoa powder.
- Coffee. Coffee doesn’t make the cake taste like coffee, but it does enhance the rich chocolate flavor. You have several options here. 1) Omit the water above and use your favorite coffee instead. 2) Use water and a teaspoon of instant coffee. 3) If you have neither coffee nor instant coffee you can just use water. Even without the enhancement of coffee flavor the cake will still taste good.
- Sour cream. Sour cream plays an important role in this cake. It adds moisture (thanks to its fat content) and the acidity helps to activate the baking soda.
This is just an overview of some of the ingredients I used and why. For the full recipe please scroll down to the bottom of the post!
How to Make Devil’s Food Cake
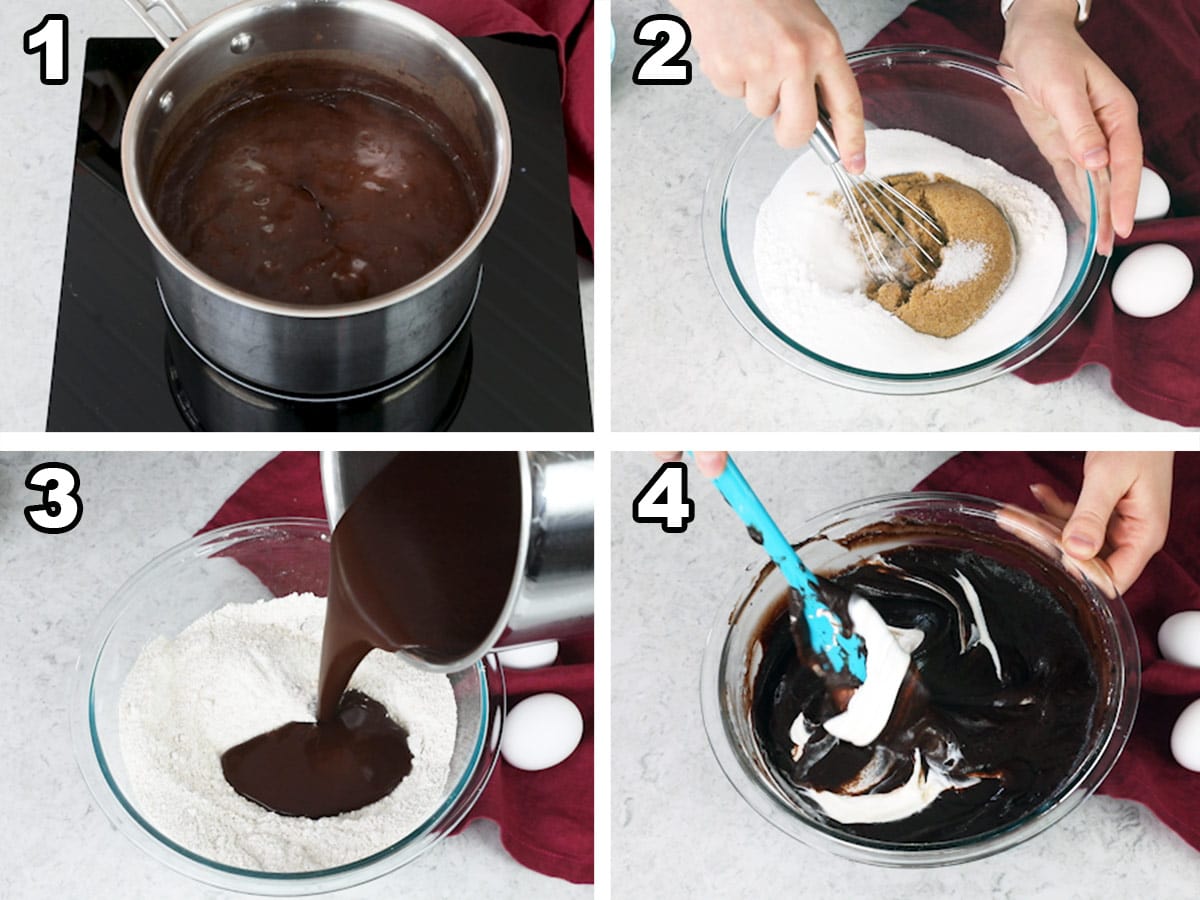
- Combine the butter, milk, water, cocoa powder and instant coffee in a saucepan. Cook until the butter is melted then bring the mixture to a boil. This not only “blooms” our cocoa (releasing its full, intense chocolate flavor) but it also melts our butter, which also helps the cake’s flavor.
- Remove your chocolate mixture from the stove and let it cool. Meanwhile, whisk sugars and dry ingredients together in a large heatproof bowl.
- Add the chocolate mixture to your dry ingredients and stir until smooth and combined.
- Stir in the sour cream, then add the eggs and vanilla and stir until smooth.
Baking The Devil’s Food Cake
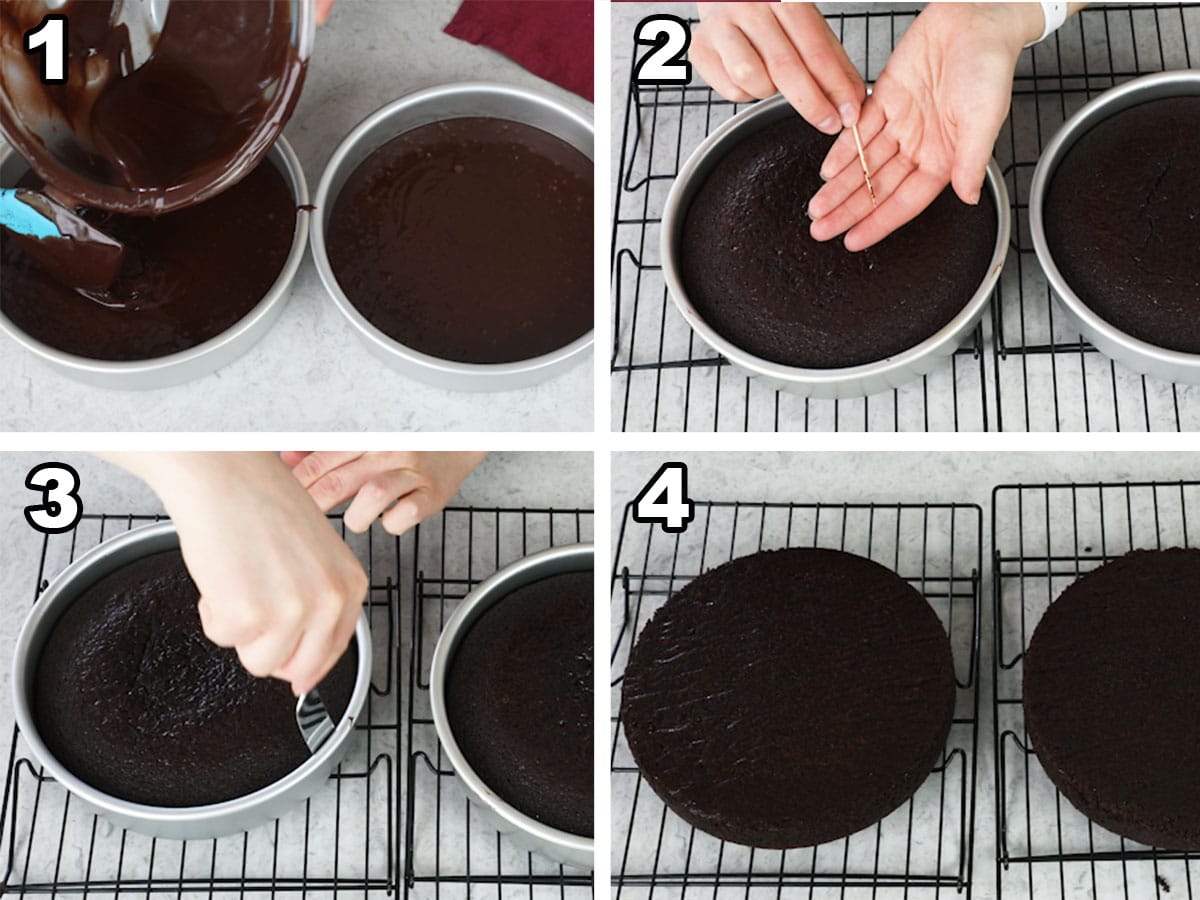
- Evenly pour the finished batter into two round baking pans (I use 8″ but include notes in the recipe for different sized pans and even for cupcakes!) and bake.
- Check that the cake is done by inserting a toothpick into the center of each cake. The toothpick should have some fudgy crumbs (but no wet batter!). A toothpick with no crumbs may indicate that the cake is overcooked, which could mean a dense/dry cake.
- When the cake is finished baking allow it to cool in the pan for 15 minutes then run a knife along the edge of the cake to loosen it.
- Carefully invert the cakes onto a cooling rack to finish cooling (careful, the pans are still hot!). Let the cakes cool completely before covering with frosting.
Frosting
I used a chocolate fudge frosting that I’ll be sharing later this week, but here are a few other options that are great with this cake:
- Chocolate Frosting
- Chocolate Buttercream
- Swiss Meringue Buttercream
- Chocolate Cream Cheese Frosting
- Brown Butter Frosting (I iced this cake with brown butter frosting for Zach’s birthday at his request, the combination was incredible!).
Frequently Asked Questions
This cake allegedly originated in the 1900s, and while there are a number of different reasons cited for the reason behind the name, nobody seems to know for sure. My best guess after scouring the internet? With its sinfully dark color, rich, decadent taste and plush, fudgy crumb, it most starkly stood out as the antithesis to the light, fluffy and airy angel food cake that predates it.
This recipe is specifically designed to be rich, fudgy and moist. However, a few wrong turns can leave you with a cake that is dense or dry.
The most likely culprit is accidentally over-baking your cake. This is especially easy to do if your oven is running hotter than it says (which many ovens do!). Because of this I highly recommend keeping an oven thermometer (this is the one I use) in your oven at all times.
However, accidentally over-measuring your flour can also yield a dense or dry cake. If you haven’t already, please see my guide on how to measure flour.
Yes! This recipe will make approximately 24 cupcakes. Fill cupcake liners ⅔-3/4 of the way full and then bake for 17-18 minutes (a toothpick inserted in the center should come out clean or with a few moist crumbs).
More Recipes For Chocolate Lovers
Enjoy!
Let’s bake together! Make sure to check out the how-to VIDEO in the recipe card!
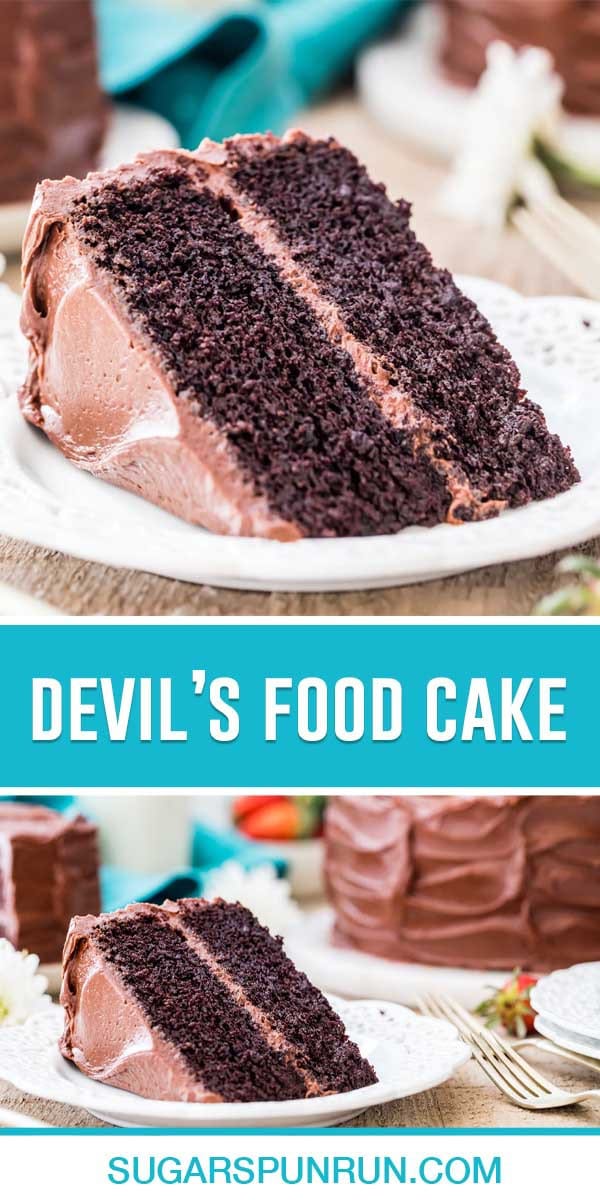
Devil’s Food Cake
Ingredients
- 1 cup (226 g) unsalted butter
- ½ cup (118 ml) whole milk
- 1 cup (236 ml) water
- ¾ cup (75 g) Dutch-process cocoa powder
- 1 teaspoon instant coffee optional, see note
- 2 cups (250 g) all-purpose flour
- 1 cup (200 g) granulated sugar
- 1 cup (200 g) light brown sugar firmly packed
- 1 ½ teaspoons baking soda
- 1 teaspoon baking powder
- 1 teaspoon salt
- ¾ cup (190 g) sour cream
- 2 large eggs room temperature preferred
- 2 teaspoons vanilla extract
- 1 batch chocolate frosting or your favorite frosting
Recommended Equipment
Instructions
- Preheat oven to 350F (175C) and line the bottom of two 8” baking pans (see note for different size pans) with cut-out parchment paper lines and spray the sides with baking spray (or you may thoroughly grease and flour the pans). Set aside.
- In a medium-sized saucepan, combine butter, milk, water, cocoa powder, and instant coffee.1 cup (226 g) unsalted butter, ½ cup (118 ml) whole milk, 1 cup (236 ml) water, ¾ cup (75 g) Dutch-process cocoa powder, 1 teaspoon instant coffee
- Place on stovetop over medium-low heat and stir frequently until butter is melted. Increase heat to medium and bring to a boil, stirring constantly. Remove from heat and allow to cool for 15 minutes while you prepare the dry ingredients.
- In a separate large bowl whisk together flour, sugar, baking soda, baking powder, and salt.2 cups (250 g) all-purpose flour, 1 cup (200 g) granulated sugar, 1 cup (200 g) light brown sugar, 1 ½ teaspoons baking soda, 1 teaspoon baking powder, 1 teaspoon salt
- Whisk the chocolate mixture briefly once more to combine then Pour into flour mixture. Stir until smooth.
- Add sour cream and stir until combined.¾ cup (190 g) sour cream
- Add eggs and vanilla and stir well until batter is smooth.2 large eggs, 2 teaspoons vanilla extract
- Evenly divide batter into prepared baking pans and bake on 350F (175C) for 30-35 minutes or a toothpick inserted in the center comes out clean or with fudgy crumbs (preferred, as sometimes a clean toothpick can indicate the cake is overdone).
- Allow to cool in the baking pans for 15 minutes then run a knife along the edge to loosen it from the pan and carefully invert onto a cooling rack to cool completely (be careful, the pans will still be hot).
- Cool completely before frosting.1 batch chocolate frosting
Notes
Coffee
Instead of using water and instant coffee you can instead just use 1 cup of your favorite coffee. The coffee enriches the chocolate flavor of the cake and I recommend it, but if you have neither coffee nor instant coffee the recipe can be made with just water (it’ll still be good!).Baking Pans/Making as Cupcakes
This recipe may be baked in two 9” pans (bake for 28-30 minutes) or it will make 24 cupcakes (bake for 17-18 minutes). This recipe will also work in a 9×13″ pan baked for approximately 30 minutes. Always use the toothpick test to check for doneness: a toothpick inserted in the center should come out clean or with moist, fudgy crumbs (preferable). A bundt pan will also work though I have not tried this recipe in a bundt pan myself so cannot comment on the bake time.Making In Advance
You may make the cake up to two days in advance of frosting and serving. Simply bake and cool then wrap tightly in plastic wrap. I store at room temperature. This cake may be prepared, cooled, and frozen for up to a month before thawing and frosting. After frosting, the cake may be stored in an airtight container at room temperature for up to 48 hours or in the refrigerator for up to 5 days.Nutrition
Nutritional information is based on third-party calculations and should be considered an estimate only. Actual nutritional content will vary based upon brands used, measuring methods, cooking method, portion sizes, and more.


Ellen
Super easy directions and YUMMY! I made this for my husband’s birthday and we really liked it 😀 (I just had another piece with my morning coffee 👀☕) Thank you for sharing this recipe with us!
Shannon
Insanely good. We were initially put off by the preparation including time on the stove, but decided to give it a shot and glad we did. Very simple recipe, moist and tasty results… the texture is heavenly. We opted for classic buttercream and we’re very happy with the results. Thank you!
Sam
I’m so glad you enjoyed it so much, Shannon! 🙂
Di
I made this cake today and although I am not a chocolate fan, this was beyond AMAZING! Super moist and delish! Instead of sour cream, I used Fage (0%) yogurt and I used 1 cup of coffee left over from this morning’s brew instead of instant coffee. I baked in a 9×13 sheet pan for exactly 20 min – key here is exactly as detailed in notes – toothpick inserted should come out with fudgy crumbs. If toothpick comes out clean, it is more than likely overbaked. Remember too that once you pull out of oven, it will continue to “bake” until it cools down. I always tend to under bake because of that reason. This was soooo super easy to make and a huge winner in my book. Will be adding to my rotational desserts for baking for church, funerals, bazaars, etc. I did also make the chocolate frosting. I am not a “frosting” fan but I cut recipe in half and it was way more than enough for a 9×13 sheet pan! It’s just so delish without any frosting and warm, out of the oven. Thank you for posting!
Sam
I’m so glad you enjoyed it so much! 🙂
Sarah
Can you reduce the amount of sugar without compromising the consistency?
Sam
You may be able to reduce it a little bit, but it could end up making the cake a bit dry.
Deb
Just made this with the chocolate fudge frosting, best chocolate cake I have made and super easy.
Sam
I’m so glad everyone enjoyed it so much, Deb! 🙂
Jane
Can I use 1% milk instead of whole milk without compromising the cake?
Sam
Hi Jane! You will lose a little bit of moisture but it should still turn out and be good. 🙂
Rani
I actually made this cake recipe and it is the worst cake I’ve ever made – ever. It was for a birthday and is nothing but a bunch of crumbles. I have been baking for decades and am an excellent cook. I took the chance to use this recipe and was highly disappointed. I wish I could show you the picture of the cake that came out in nothing but crumbles. The taste is dry and plain and of course I will never use this recipe again.
Sam
Rani, please send me an email to samantha@sugarspunrun.com with more details, I’d like to help you get the results shown, I promise your cake should not have turned out like that — at all! What you are describing sounds like something must have been mis-measured and I’d like to help you get the proper results. If it helps, take a look over the video or at the photos in the post, it shows step-by-step how the process should go and how the batter should look along the way. It’s also possible the cake was over-baked, but I’m sure we can figure it out. I want to help you get the right results.
Nakita
Hi can I substitute the all purpose flour for cake flour? If so, would it be equivalent to the all purpose flour
Sam
Hi Nakita! You can use cake flour. If using weights it is the same amount. 🙂
Barbars
This was the first recipe from Sugar Spun Run I’ve tried, and won’t be the last! This is the best chocolate layer cake I’ve ever made, and I’ve baked quite a few! I made it in 9″ pans, without a mixer, for my husband’s birthday, with the chocolate buttercream frosting, and it was a wow moment when we first cut into it and then tasted it! Rich, velvety, chocolatey, and not too sweet — make it!
Emily @ Sugar Spun Run
Thanks so much for the review! We are so happy you both loved the cake and can’t wait to hear what you try next 🥰
Tani
This cake came out so good! My family is in love. I can’t wait to make it again, with fresh strawberries.
Sam
I’m so glad everyone enjoyed it so much, Tani! 🙂
Annette McCarthy
Have you tried using instant espresso instead of instant coffe?
Sam
Hi Annette! I have not personally tried it. The espresso will give you a little more potent flavor, but that’s not necessarily a bad thing. 🙂
Michelle
So moist and flavorful! The best chocolate cake I’ve ever made💕
Kristen G.
Does freezing and thawing the cake affect the final taste as opposed to making it fresh? Or can you not tell the difference? Thanks!
Emily @ Sugar Spun Run
Hi Kristen! The flavor shouldn’t be affected by freezing as long as you take care to protect the cake while in the freezer. Wrap it well and store in an airtight container, and you should be good 😊
Rebekah
This is one of the best chocolate cake recipes I’ve ever used! The cake was very moist and rich, but not overly sweet. A lot of chocolate cakes can be too much after a few bites, but with this one, I wanted to eat the whole cake! It’s definitely going to be my go to chocolate cake recipe 😁
Katie
I was wondering how many cups of batter this makes? I’m trying to turn this into a 18”-12” sheet cake and not sure if I need to double or triple the recipe.
Sam
Hi Katie! It should make about 8 cups of batter so doubling it should work. 🙂
enews
Instead of adding sour cream and egg after adding the flour, can we add them to the wet batter before adding the flour. This way we have well defined wet and dry ingredients. You know the recipe better than me. Kindly request your guidance on the same.
Sam
Hi! I was intentional with this method for several reasons, one being because it keeps the eggs from being added to a mixture that’s too hot. This method gives the most uniform batter and is most likely to guarantee you have the results shown here, but of course you are welcome to experiment 🙂