
The Best Devil’s Food Cake Recipe
This post may contain affiliate links. As an Amazon Associate I earn from qualifying purchases. Please read my disclosure policy.
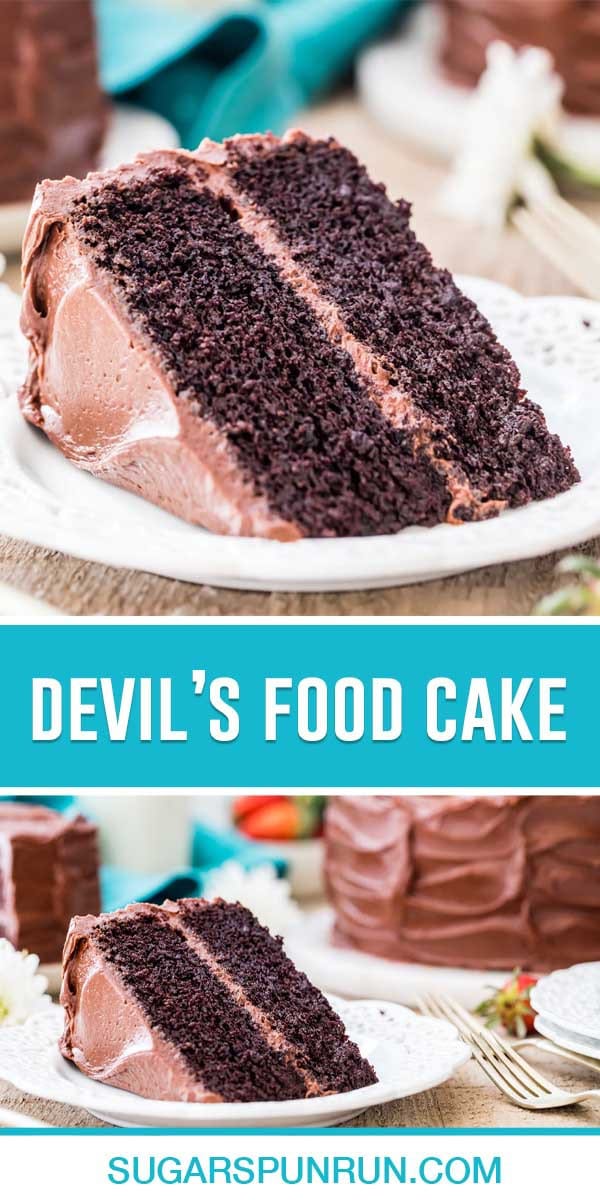
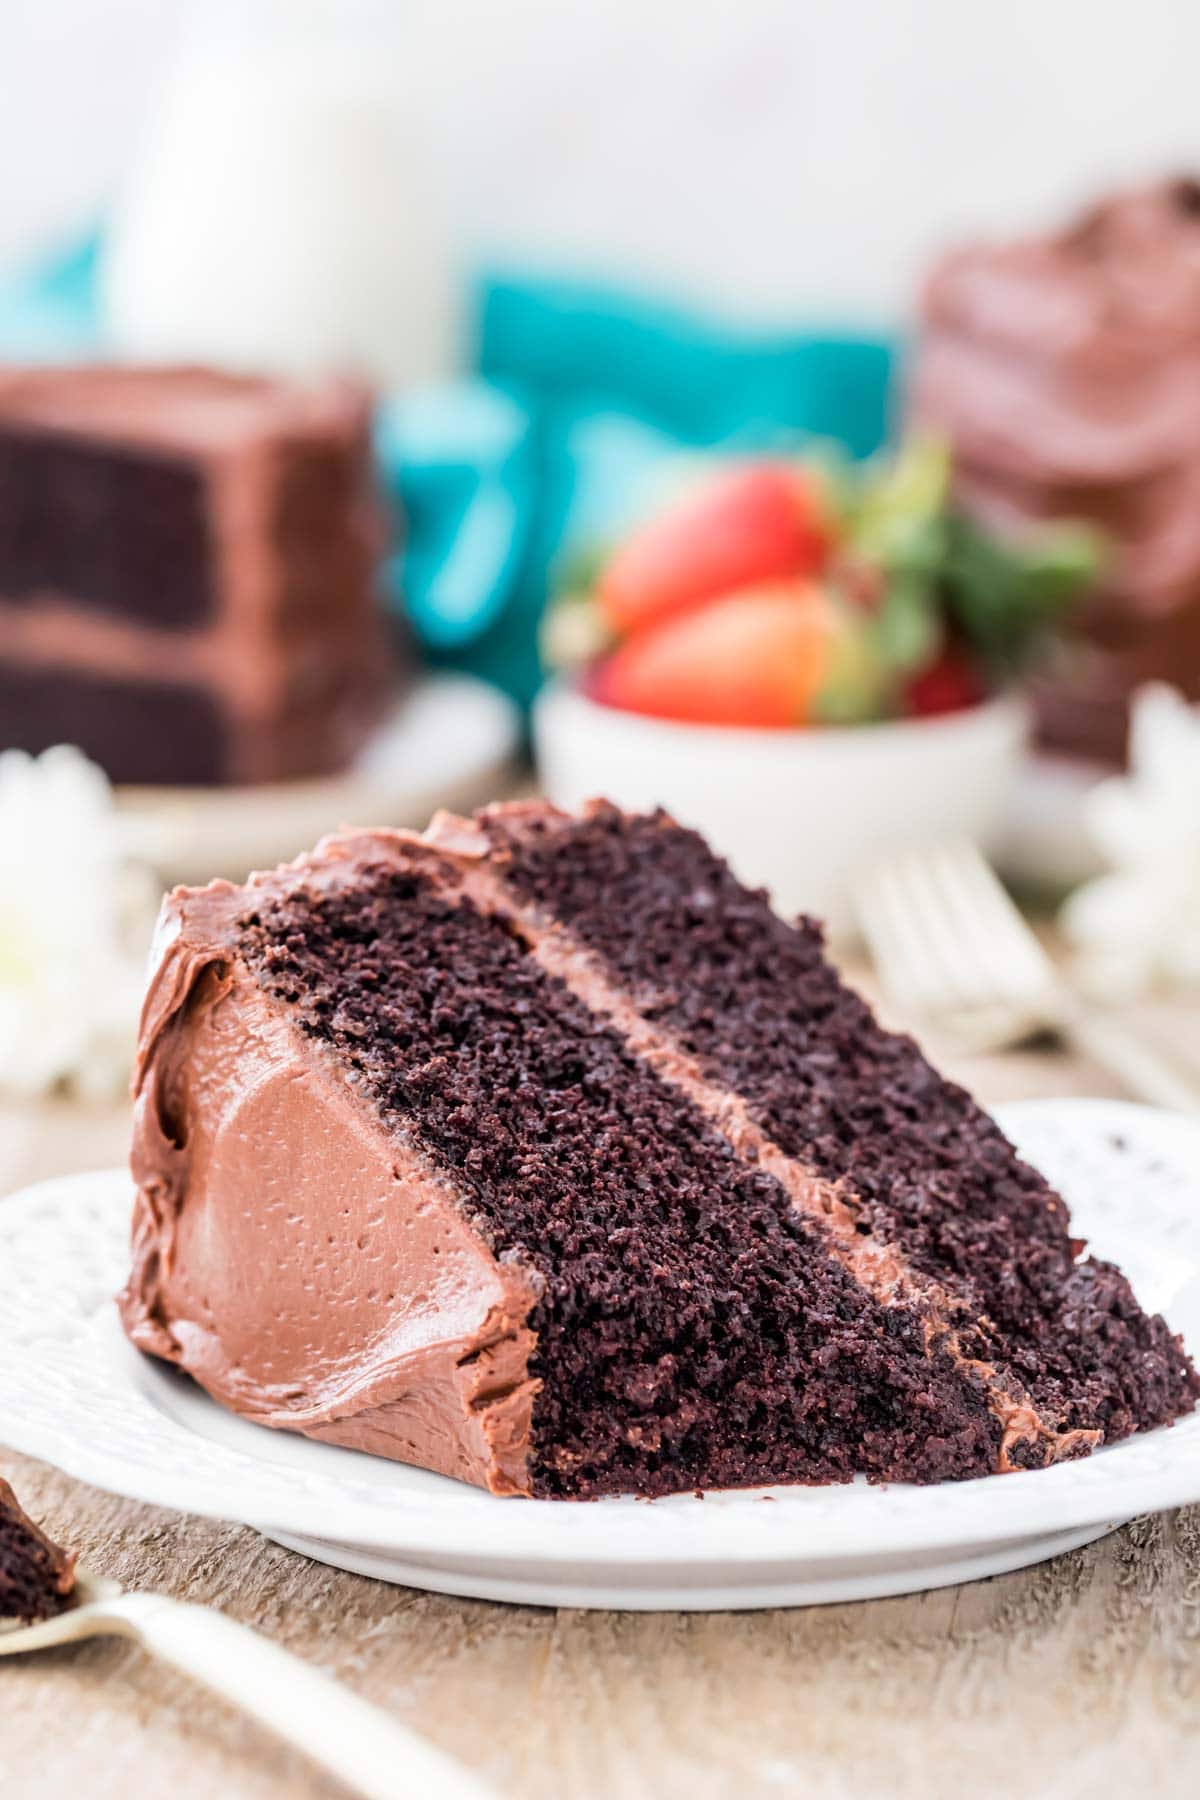
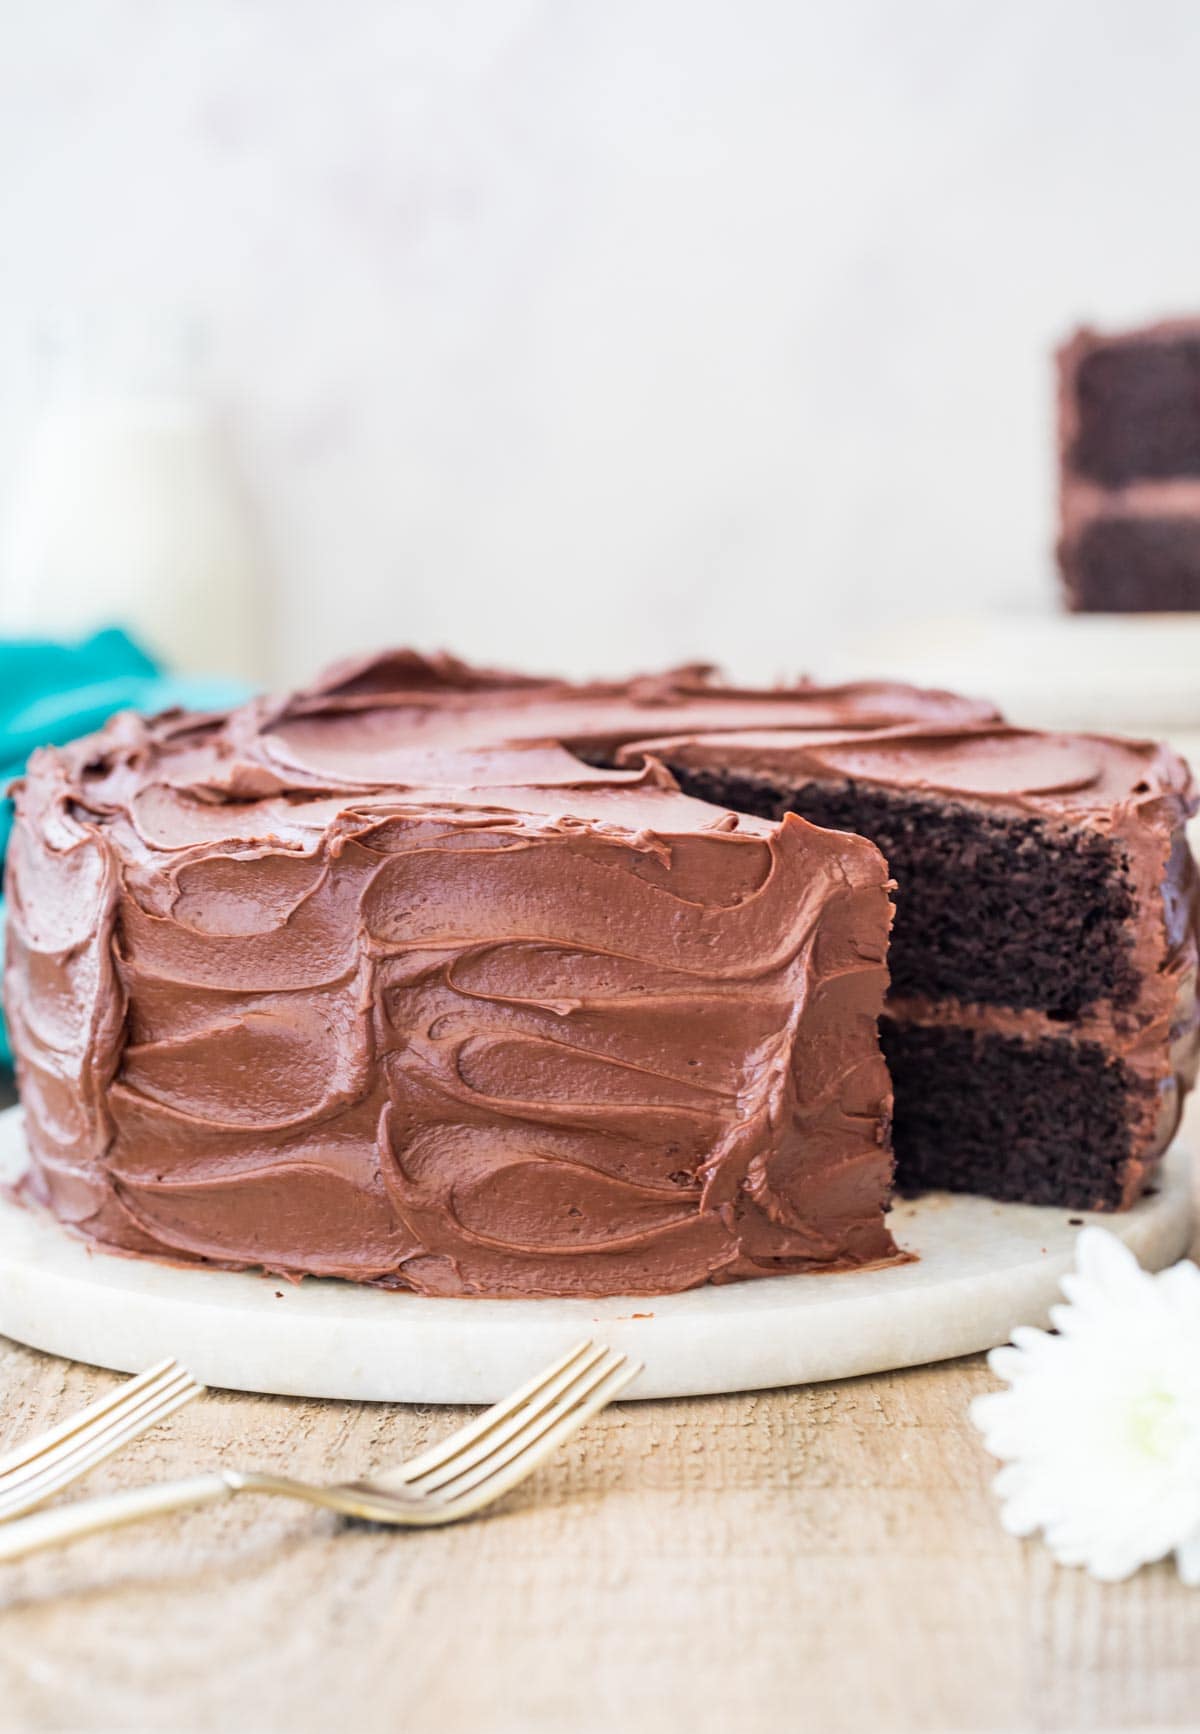
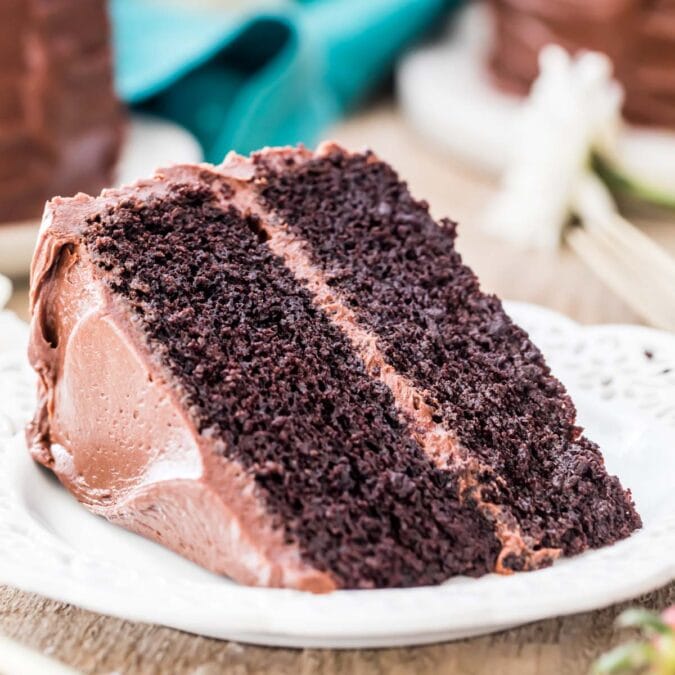
My Devil’s Food Cake recipe is rich, fudgy, and dangerously chocolatey! It’s also simple to make and essentially foolproof! Today I’m walking you through all the steps, be sure to check out the how-to video in the recipe card!
What is the Difference Between Chocolate Cake and Devil’s Food Cake?
Leading with this question because it’s one I had myself. What’s the point of adding another chocolate cake to the blog, anyway, when I already have an incredible, 5-star chocolate cake recipe?
After a bit of digging I learned that devil’s food cake is in a class of its own. While it’s known for being fudgier, moister, and richer than classic chocolate cake, people seem to widely disagree on what ingredients are critical to makes it so. Some recipes call strictly for melted chocolate, others for natural cocoa, and still others for Dutch-process. So which is right!?
After far too many hours of devil’s food cake research, I came to the following conclusions:
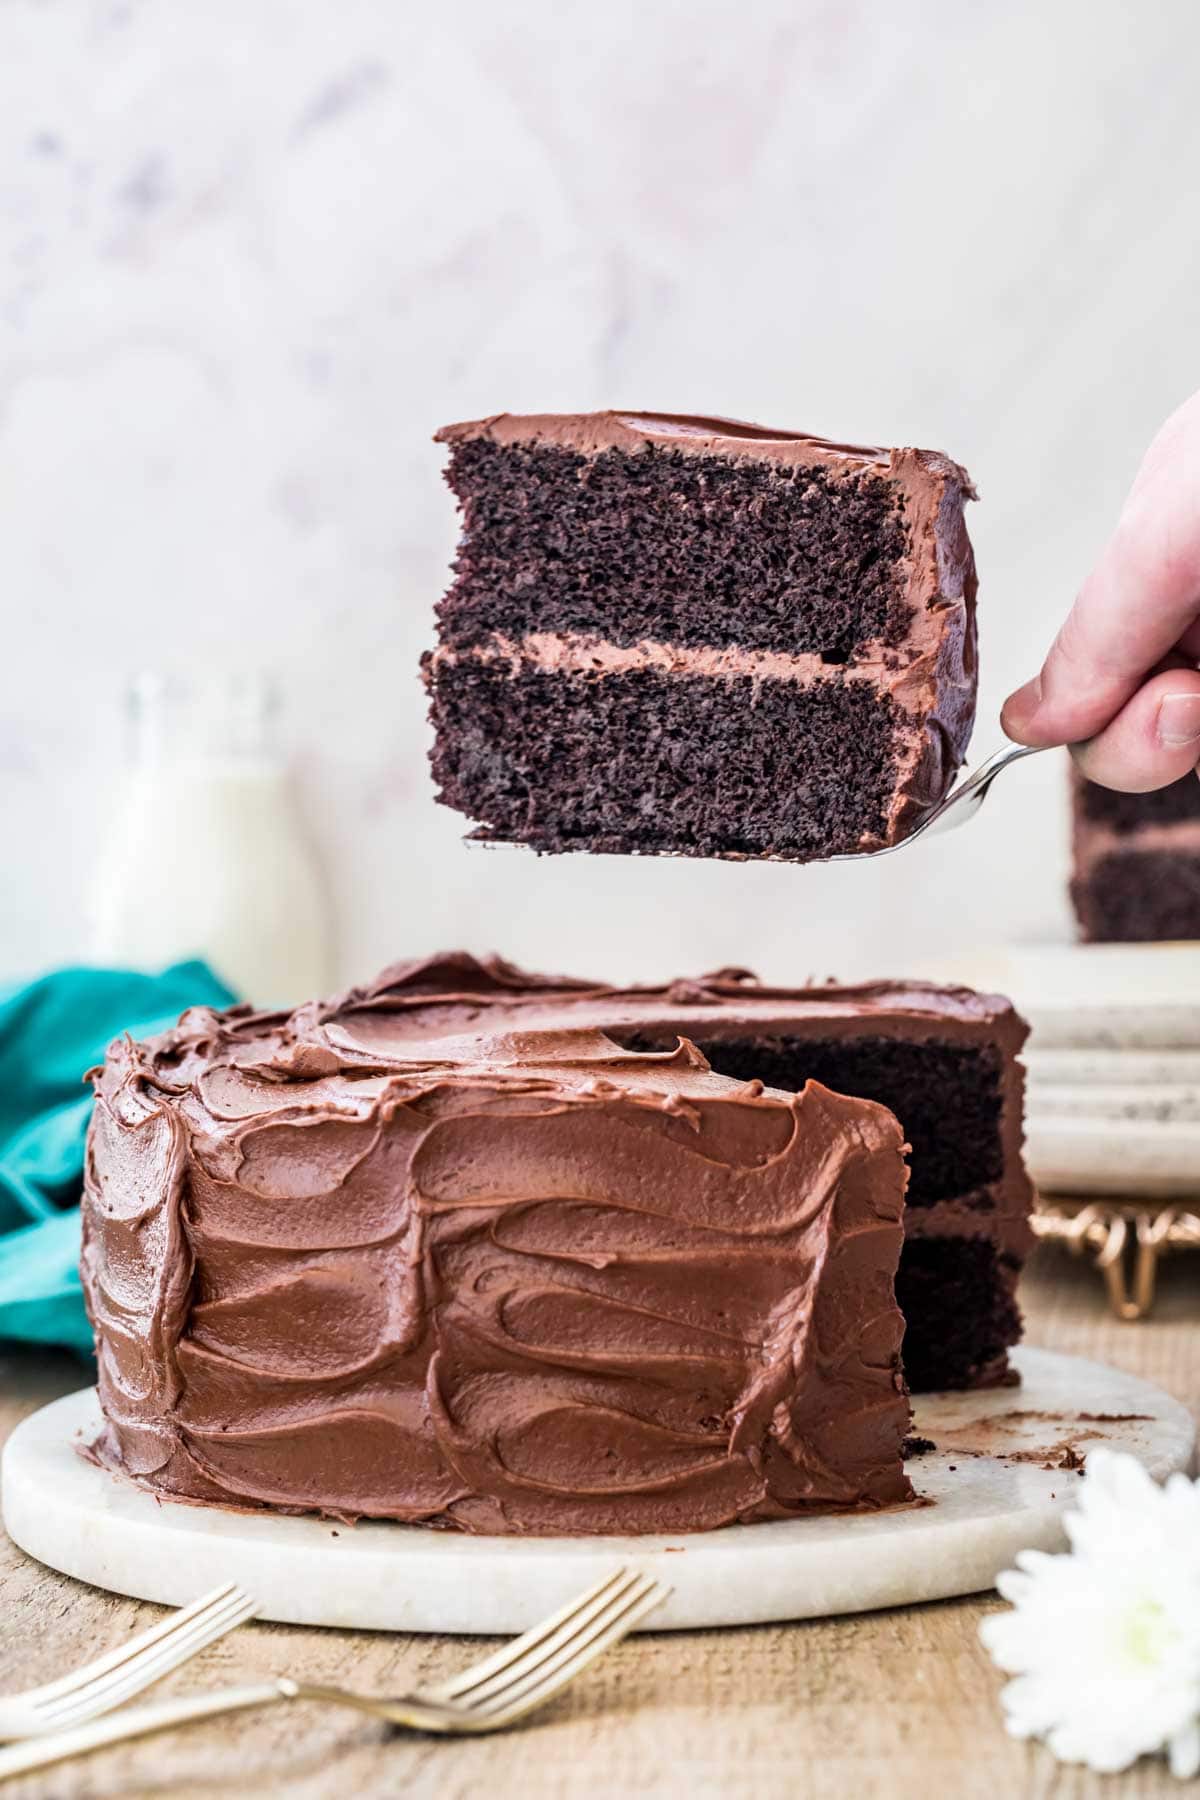
- It should be plush, velvety, and more fudgy and moist than a classic chocolate cake. Soft and melt-in-your-mouth, yes, but not quite so fluffy as many other cakes.
- The chocolate flavor should be more intense than a classic chocolate cake. While any frosting will work on this cake, a thick and fudgy chocolate one is preferred (coming soon!).
- Sour cream played an important role in many early recipes and I felt it belonged here as well, as did Dutch-process cocoa.
- While baking powder may make an appearance, baking soda should be the primary leavener.
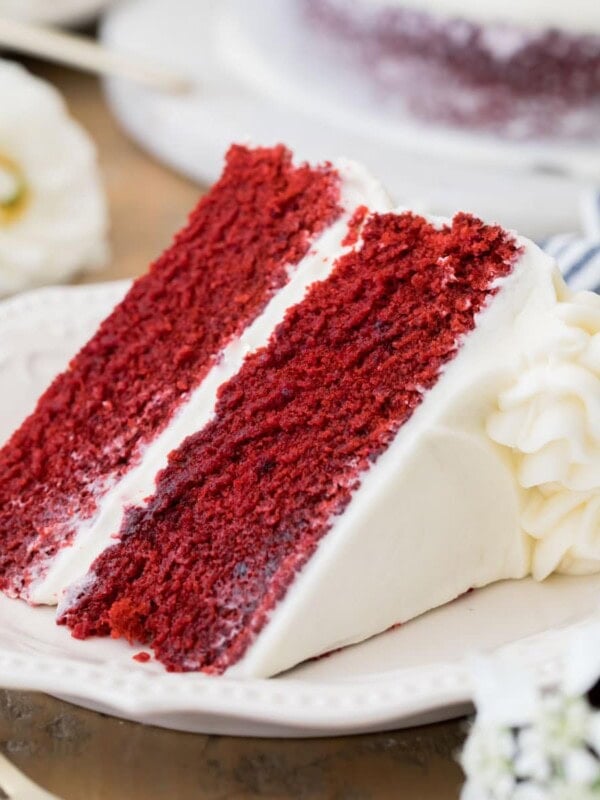
- It is not the same as red velvet cake. I was shocked to find at least one source claiming that it was and felt strongly that I should set the record straight here. Nope!
With these parameters in mind, I set about developing the best devil’s food cake recipe. It took weeks to get things just right, but I’m so excited to share this one with you today. Let’s get to it!
Ingredients

Many of today’s ingredients are basic pantry staples, but let’s talk about a few of them, including what role they play in the chemistry of making the perfect cake:
- Flour. I specifically developed my recipe to be made with all-purpose flour. I have not tried it with cake flour but think it could work if substituted properly. I do not recommend any other kind of flour, such as self-rising flour.
- Sugar. A blend of granulated sugar and brown sugar give this cake the best flavor.
- Butter. Most of my cake recipes use a blend of oil and butter to maximize both flavor and moisture. However, for this fudgy recipe we have plenty of moisture added elsewhere, so we’re going for all flavor with all butter.
- Cocoa powder. While many recipe developers disagree on the best chocolate to use when making devil’s food cake, I found that this recipe works best with Dutch-process cocoa powder to attain its signature deep, rich chocolate flavor. While “natural” cocoa powder is highly acidic, Dutch-process has been treated and neutralized. It also yields a darker color for the cake. We’ll “bloom” the cocoa powder in our milk & water on the stovetop for ultimate chocolate intensity in this cake.
- Milk & Water. For the perfect texture, a blend of whole milk and water works best. This is the liquid we’ll heat to bloom our cocoa powder.
- Coffee. Coffee doesn’t make the cake taste like coffee, but it does enhance the rich chocolate flavor. You have several options here. 1) Omit the water above and use your favorite coffee instead. 2) Use water and a teaspoon of instant coffee. 3) If you have neither coffee nor instant coffee you can just use water. Even without the enhancement of coffee flavor the cake will still taste good.
- Sour cream. Sour cream plays an important role in this cake. It adds moisture (thanks to its fat content) and the acidity helps to activate the baking soda.
This is just an overview of some of the ingredients I used and why. For the full recipe please scroll down to the bottom of the post!
How to Make Devil’s Food Cake
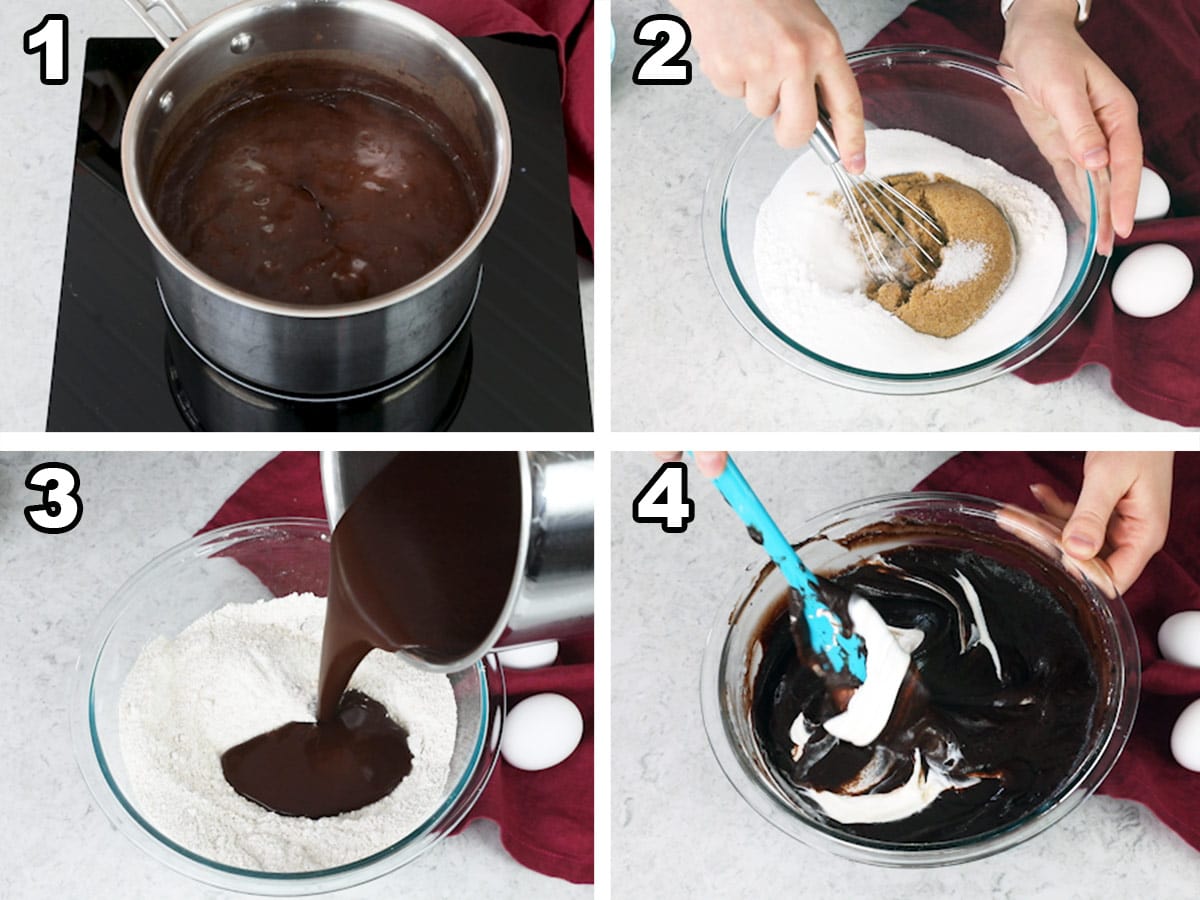
- Combine the butter, milk, water, cocoa powder and instant coffee in a saucepan. Cook until the butter is melted then bring the mixture to a boil. This not only “blooms” our cocoa (releasing its full, intense chocolate flavor) but it also melts our butter, which also helps the cake’s flavor.
- Remove your chocolate mixture from the stove and let it cool. Meanwhile, whisk sugars and dry ingredients together in a large heatproof bowl.
- Add the chocolate mixture to your dry ingredients and stir until smooth and combined.
- Stir in the sour cream, then add the eggs and vanilla and stir until smooth.
Baking The Devil’s Food Cake
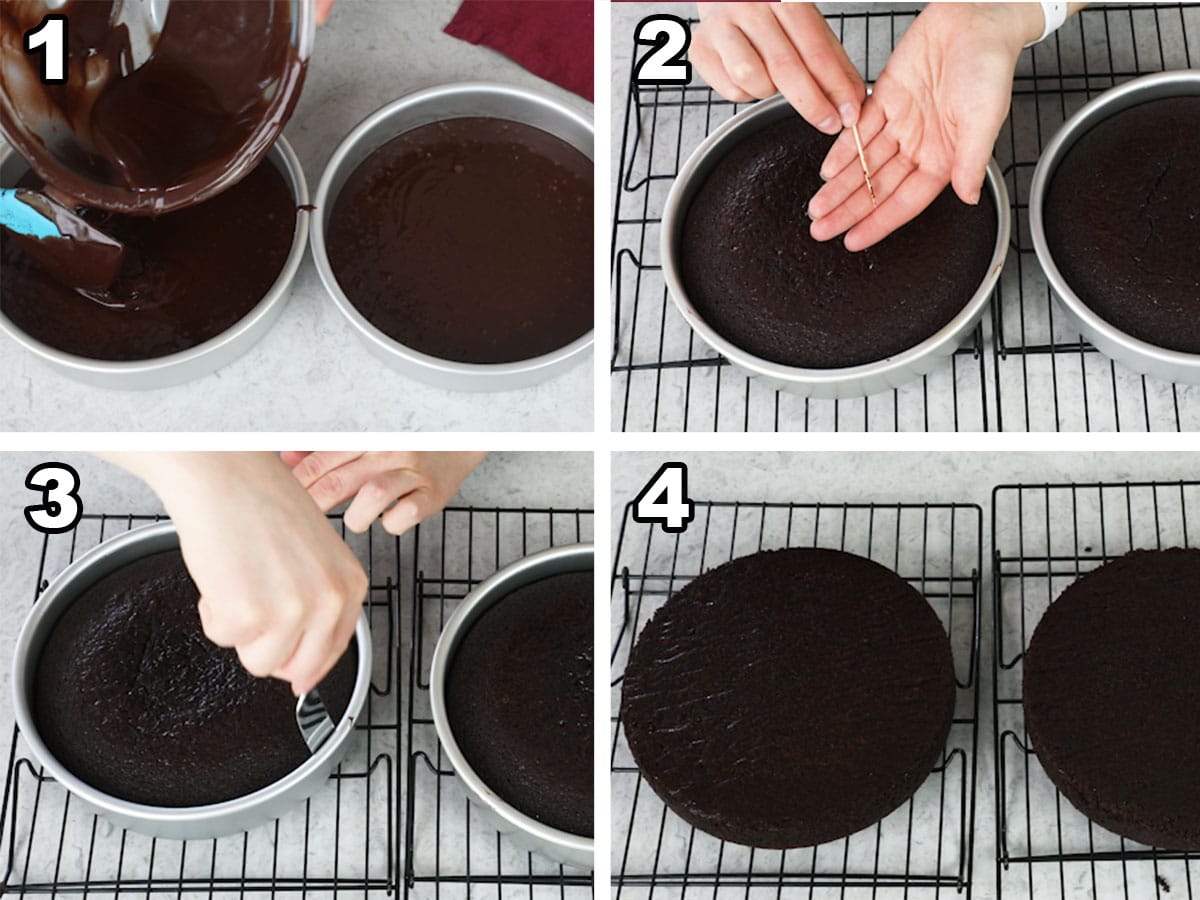
- Evenly pour the finished batter into two round baking pans (I use 8″ but include notes in the recipe for different sized pans and even for cupcakes!) and bake.
- Check that the cake is done by inserting a toothpick into the center of each cake. The toothpick should have some fudgy crumbs (but no wet batter!). A toothpick with no crumbs may indicate that the cake is overcooked, which could mean a dense/dry cake.
- When the cake is finished baking allow it to cool in the pan for 15 minutes then run a knife along the edge of the cake to loosen it.
- Carefully invert the cakes onto a cooling rack to finish cooling (careful, the pans are still hot!). Let the cakes cool completely before covering with frosting.
Frosting
I used a chocolate fudge frosting that I’ll be sharing later this week, but here are a few other options that are great with this cake:
- Chocolate Frosting
- Chocolate Buttercream
- Swiss Meringue Buttercream
- Chocolate Cream Cheese Frosting
- Brown Butter Frosting (I iced this cake with brown butter frosting for Zach’s birthday at his request, the combination was incredible!).
Frequently Asked Questions
This cake allegedly originated in the 1900s, and while there are a number of different reasons cited for the reason behind the name, nobody seems to know for sure. My best guess after scouring the internet? With its sinfully dark color, rich, decadent taste and plush, fudgy crumb, it most starkly stood out as the antithesis to the light, fluffy and airy angel food cake that predates it.
This recipe is specifically designed to be rich, fudgy and moist. However, a few wrong turns can leave you with a cake that is dense or dry.
The most likely culprit is accidentally over-baking your cake. This is especially easy to do if your oven is running hotter than it says (which many ovens do!). Because of this I highly recommend keeping an oven thermometer (this is the one I use) in your oven at all times.
However, accidentally over-measuring your flour can also yield a dense or dry cake. If you haven’t already, please see my guide on how to measure flour.
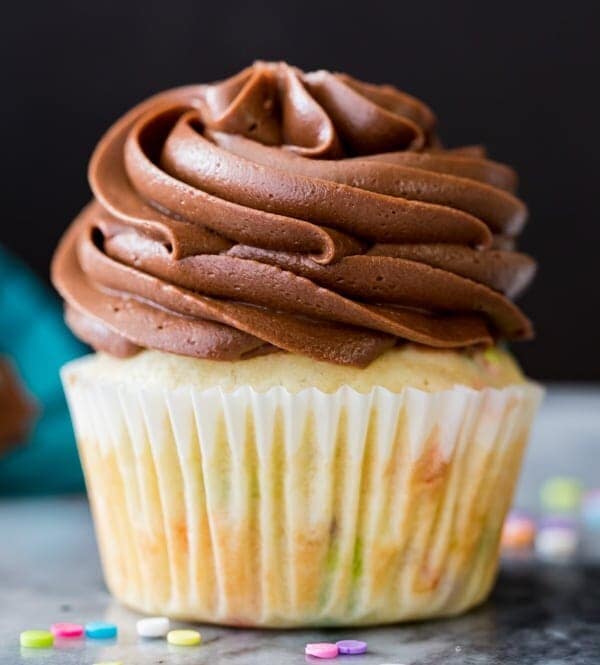
Yes! This recipe will make approximately 24 cupcakes. Fill cupcake liners 2/3-3/4 of the way full and then bake for 17-18 minutes (a toothpick inserted in the center should come out clean or with a few moist crumbs).
More Recipes For Chocolate Lovers

Enjoy!
Let’s bake together! Make sure to check out the how-to VIDEO in the recipe card!
Devil’s Food Cake
Ingredients
- 1 cup (226 g) unsalted butter
- ½ cup (118 ml) whole milk
- 1 cup (236 ml) water
- ¾ cup (75 g) Dutch-process cocoa powder
- 1 teaspoon instant coffee, optional, see note
- 2 cups (250 g) all-purpose flour
- 1 cup (200 g) granulated sugar
- 1 cup (200 g) light brown sugar, firmly packed
- 1 ½ teaspoons baking soda
- 1 teaspoon baking powder
- 1 teaspoon salt
- ¾ cup (190 g) sour cream
- 2 large eggs, room temperature preferred
- 2 teaspoons vanilla extract
- 1 batch chocolate frosting, or your favorite frosting
Instructions
- Preheat oven to 350F (175C) and line the bottom of two 8” baking pans (see note for different size pans) with cut-out parchment paper lines and spray the sides with baking spray (or you may thoroughly grease and flour the pans). Set aside.
- In a medium-sized saucepan, combine butter, milk, water, cocoa powder, and instant coffee.1 cup (226 g) unsalted butter, ½ cup (118 ml) whole milk, 1 cup (236 ml) water, ¾ cup (75 g) Dutch-process cocoa powder, 1 teaspoon instant coffee
- Place on stovetop over medium-low heat and stir frequently until butter is melted. Increase heat to medium and bring to a boil, stirring constantly. Remove from heat and allow to cool for 15 minutes while you prepare the dry ingredients.
- In a separate large bowl whisk together flour, sugar, baking soda, baking powder, and salt.2 cups (250 g) all-purpose flour, 1 cup (200 g) granulated sugar, 1 cup (200 g) light brown sugar, 1 ½ teaspoons baking soda, 1 teaspoon baking powder, 1 teaspoon salt
- Whisk the chocolate mixture briefly once more to combine then Pour into flour mixture. Stir until smooth.
- Add sour cream and stir until combined.¾ cup (190 g) sour cream
- Add eggs and vanilla and stir well until batter is smooth.2 large eggs, 2 teaspoons vanilla extract
- Evenly divide batter into prepared baking pans and bake on 350F (175C) for 30-35 minutes or a toothpick inserted in the center comes out clean or with fudgy crumbs (preferred, as sometimes a clean toothpick can indicate the cake is overdone).
- Allow to cool in the baking pans for 15 minutes then run a knife along the edge to loosen it from the pan and carefully invert onto a cooling rack to cool completely (be careful, the pans will still be hot).
- Cool completely before frosting.1 batch chocolate frosting
Notes
Coffee
Instead of using water and instant coffee you can instead just use 1 cup of your favorite coffee. The coffee enriches the chocolate flavor of the cake and I recommend it, but if you have neither coffee nor instant coffee the recipe can be made with just water (it’ll still be good!).Baking Pans/Making as Cupcakes
This recipe may be baked in two 9” pans (bake for 28-30 minutes) or it will make 24 cupcakes (bake for 17-18 minutes). This recipe will also work in a 9×13″ pan baked for approximately 30 minutes. Always use the toothpick test to check for doneness: a toothpick inserted in the center should come out clean or with moist, fudgy crumbs (preferable). A bundt pan will also work though I have not tried this recipe in a bundt pan myself so cannot comment on the bake time.Making In Advance
You may make the cake up to two days in advance of frosting and serving. Simply bake and cool then wrap tightly in plastic wrap. I store at room temperature. This cake may be prepared, cooled, and frozen for up to a month before thawing and frosting. After frosting, the cake may be stored in an airtight container at room temperature for up to 48 hours or in the refrigerator for up to 5 days.Nutrition
Nutrition information is automatically calculated, so should only be used as an approximation.
Like this? Leave a comment below!


Made this cake for my husband’s birthday. Came out fantastic!! So moist and not too dense. Best recipe I’ve found so far. Thanks for sharing!!
Delicious!!!!!!! I had to keep the cupcakes in the oven a few extra minutes. Next time, I will start them at 21 min.
I absolutely love thos cake!! In my area there is a shortage on my Dutch Hershey coco, but I miss making it, so I’m being brave and trying a new brand! Lol
Cook time is inaccurate; took another 8 minutes and my convection oven is state of the art.
Hi Martha! Was your oven fully preheated? Did you make the correct adjustments for a convection bake? Is there a thermometer in your oven? Even state of the art can be off. Did you bake them in the same 8″ round pans? You can watch me make them on video and those are the times I use. I do have 2 thermometers in my ovens to monitor temperature. I hope you still enjoyed the cake!
In search of the perfect chocolate cake for my husband’s birthday I tried 4 different recipes. One from a well known baker who used to work for Bon Appetite Magazine. Two others who are well known from their baking websites. And this Devil’s Food Cake recipe from Sam. I baked ½ of each recipe and my husband and I tasted samples from each of the four. This recipe was hands down the winner! So moist and with a deep chocolate flavor. This cake holds up well when frosted. And it’s so easy to make. It truly is the perfect chocolate cake. Thank you, Sam!
This was amazing and moist. On a whim I used Swiss cocoa mix with marshmallows since that’s all I had on hand but it turned out delicious. I made cream cheese frosting adding a some strawberry quick mix that paired perfectly. I’m about to make it a second time! SO good and easy thank you!
Hi, I loved this cake! I just had one issue, which is that it rose in the middle but stayed quite flat around the edges. It looked like it had risen quite a lot when I got it out of the oven, but it sank as it cooled. Any idea why it would have risen more in the middle than on the edges? I halved the recipe and just made one cake, in case that makes a difference.
I’m so sorry to hear this happened, Kirsty! Was the batter completely smooth and uniform before pouring into the pan? Was it removed too early? They can dome a little bit but they shouldn’t sink or dome really drastically.
Can you freeze the cake layers and or cupcakes?
Will the frosting freeze?
Thank you
Hi Terri! You can freeze cake layers or cupcakes by wrapping tightly in plastic wrap and storing in an airtight container. We haven’t personally tried freezing the frosting separately then using later, but it will freeze fine on the cake.
So easy! Definitely high end restaurant quality from your own kitchen!
Just made this for the 3rd year in a row as it’s my husband’s birthday cake of choice! 🤗🎂 Always turns out so good — we have to talk(brag) about it to our friends. Thanks, Sam!
You’re welcome, Ellen! I’m so glad it’s such a hit! 🙂
Wondering if you separated the eggs and beat the egg whites until stiff peaks formed then folded into the batter would the cake have additional rise and be lighter?
Hi David! I intentionally aimed to make this a denser, fudgier cake as that is what is standard with a devil’s food cake. It would make sense that the whipped egg whites could make it fluffier, but without having tried it I can’t say for sure how it would turn out. Let me know how it goes. 🙂