My insanely popular classic cheesecake recipe gets a dark and dreamy twist in today’s decadent chocolate cheesecake recipe! Smooth, creamy, and super simple, there’s no water bath needed and it takes less then 30 minutes to prep! Chocolate lovers: this one is for you! Recipe includes a how-to video!
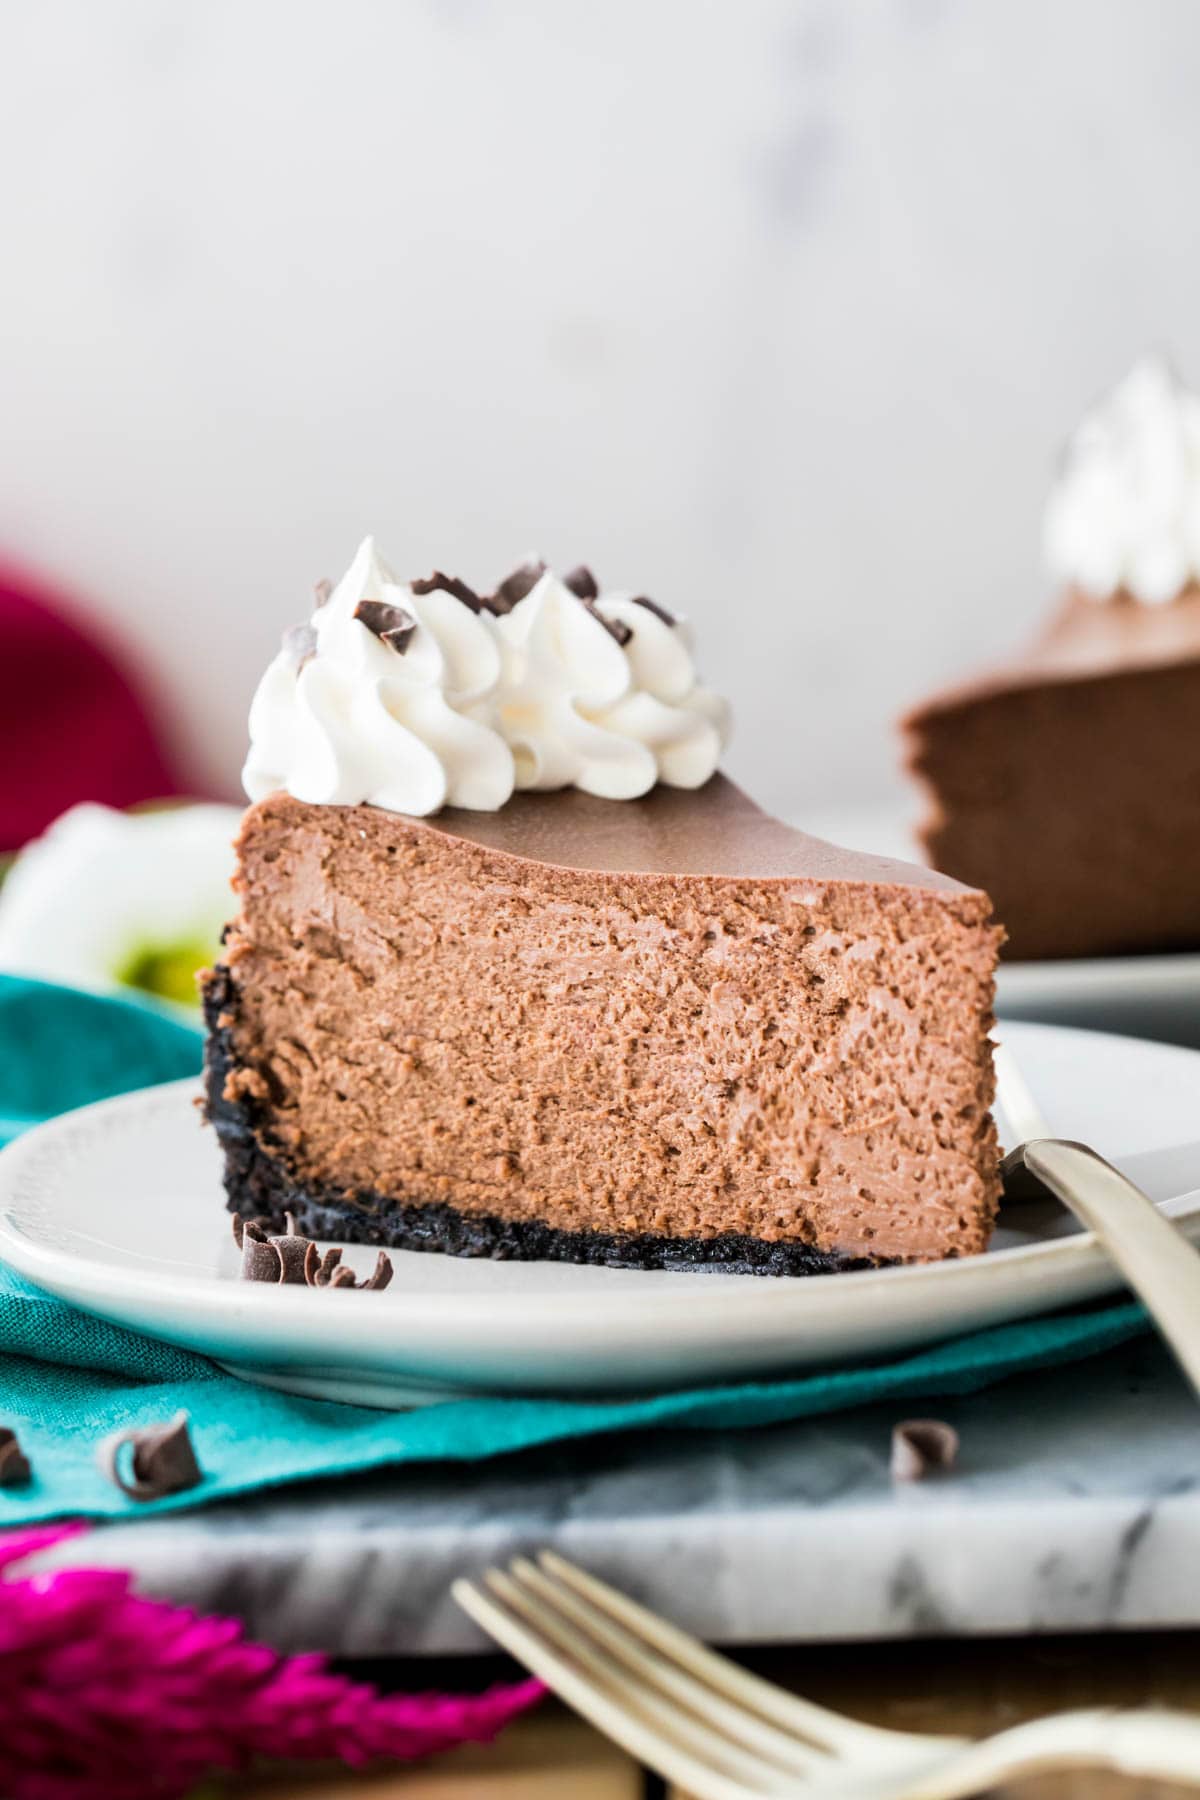
Is there a better kind of cheesecake than chocolate cheesecake?
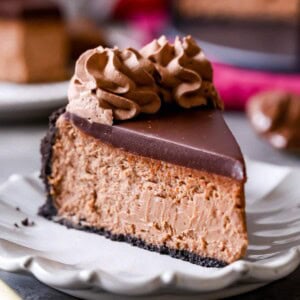
How about one that’s served in a deep Oreo cookie crust, enriched with real dark chocolate, and decorated with pillowy clouds of homemade whipped cream? Nothing better comes to mind for me, anyway.
Cheesecake has a reputation for being a bit fussy, but I’ve cracked the code to give you flawless, smooth, creamy crack-free results, no water bath required!
Now let’s go over a few things to make sure your chocolate cheesecake comes out perfectly, every time. Make sure to read through the post, as I’ve included LOTS of tips to make you the best chocolate cheesecake baker around. There’s also a how-to video in the recipe card! If you’ve ever been intimidated by cheesecake in the past, don’t be, you can do this!
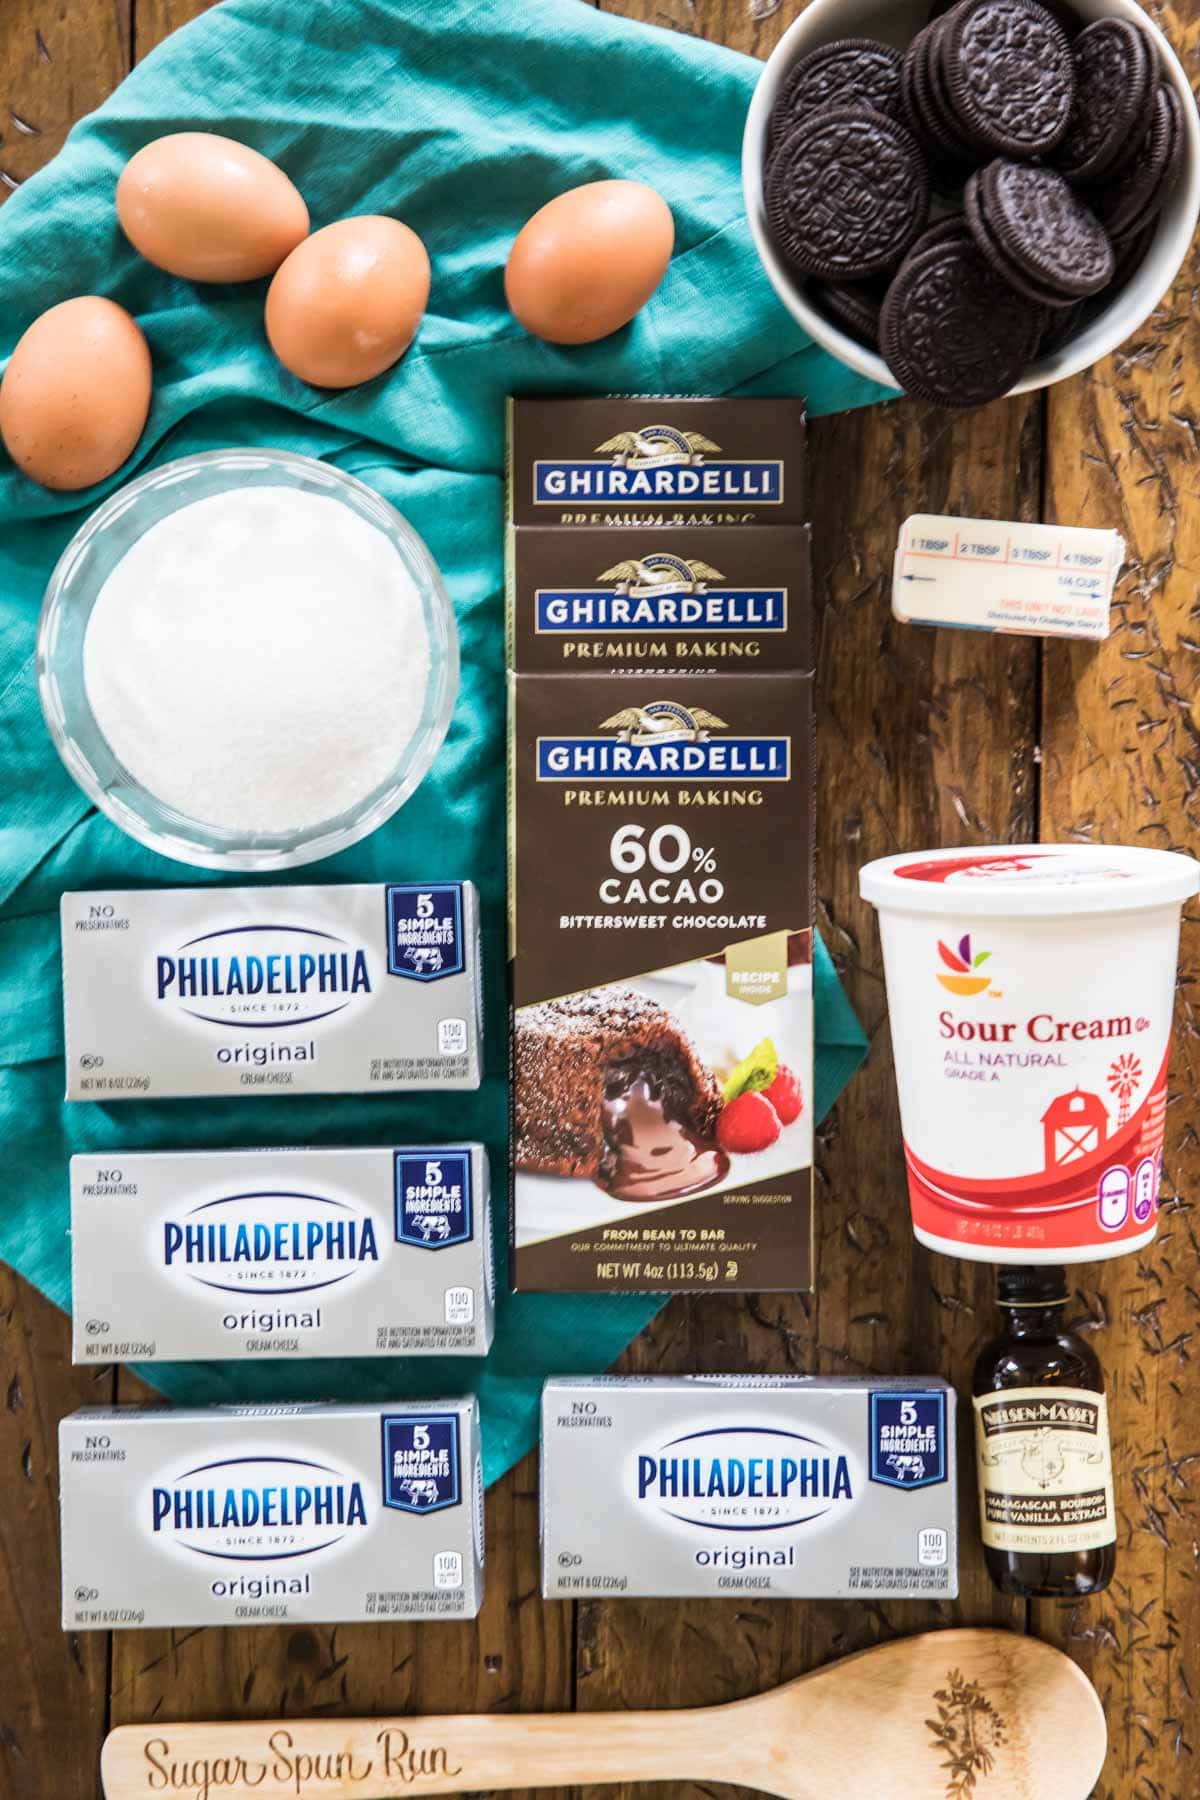
What You Need (and substitutions)
- Oreos. For the crust! A chocolate cheesecake needs a chocolate crust (though you could substitute my graham cracker crust, if needed)! You do not need to remove the cream from the cookies before using. I get asked this a lot, so just wanted to clarify here that you’re using the whole cookie, cream and all!
- Butter. Also for the crust! A little melted butter mixed with the cookie crumbs helps hold everything together. Salted or unsalted will work equally well here, I just use whichever I happen to have on hand.
- Cream cheese. Use brick-style cream cheese (as shown above), not the spreadable kind that is sold in tubs. The tub-style cream cheese contains additives that will keep your cheesecake from setting properly and will negatively affect the texture.
- Chocolate. Dark chocolate is my preference and I like to use between 60-72% cacao. Semisweet chocolate would work, but anything sweeter and your chocolate cheesecake will be quite sweet. I like to use baking bars, but chocolate chips may be substituted instead.
- Sour cream. I always use this in my cheesecake recipes, it gives such an excellent depth of flavor and adds to the richness of the dessert. Sour cream also helps to keep the chocolate cheesecake from being too sweet! Plain Greek yogurt is the only substitute I can recommend for sour cream.
- Eggs. Large or extra large will work (and I’ve even successfully made this recipe with jumbo). How you handle your eggs can really make or break the final texture of your cheesecake, and I go into more detail on that a bit further down in the post.
- Vanilla extract. Yup, it’s a chocolate cheesecake, but we are going to enhance and enrich the flavor with a splash of vanilla.
Once your chocolate cheesecake is finished baking and chilled, I really recommend topping it off with my whipped cream recipe (you would only need half a batch of my recipe. This is completely optional and may seem like overkill for such a decadent dessert, but the airiness of the whipped cream almost seems to lighten up the chocolate decadence.
As always, this is just an overview of the ingredients used and why. Please scroll down to the printable recipe for full recipe with amounts.
Room temperature ingredients are key
You want all of your ingredients to be softened to room temperature. I recommend this with most of my recipes, as using ingredients that are the same temperature allows them to combine thoroughly and evenly. This will make sure your baked goods (and especially this chocolate cheesecake) always have the most perfect texture.
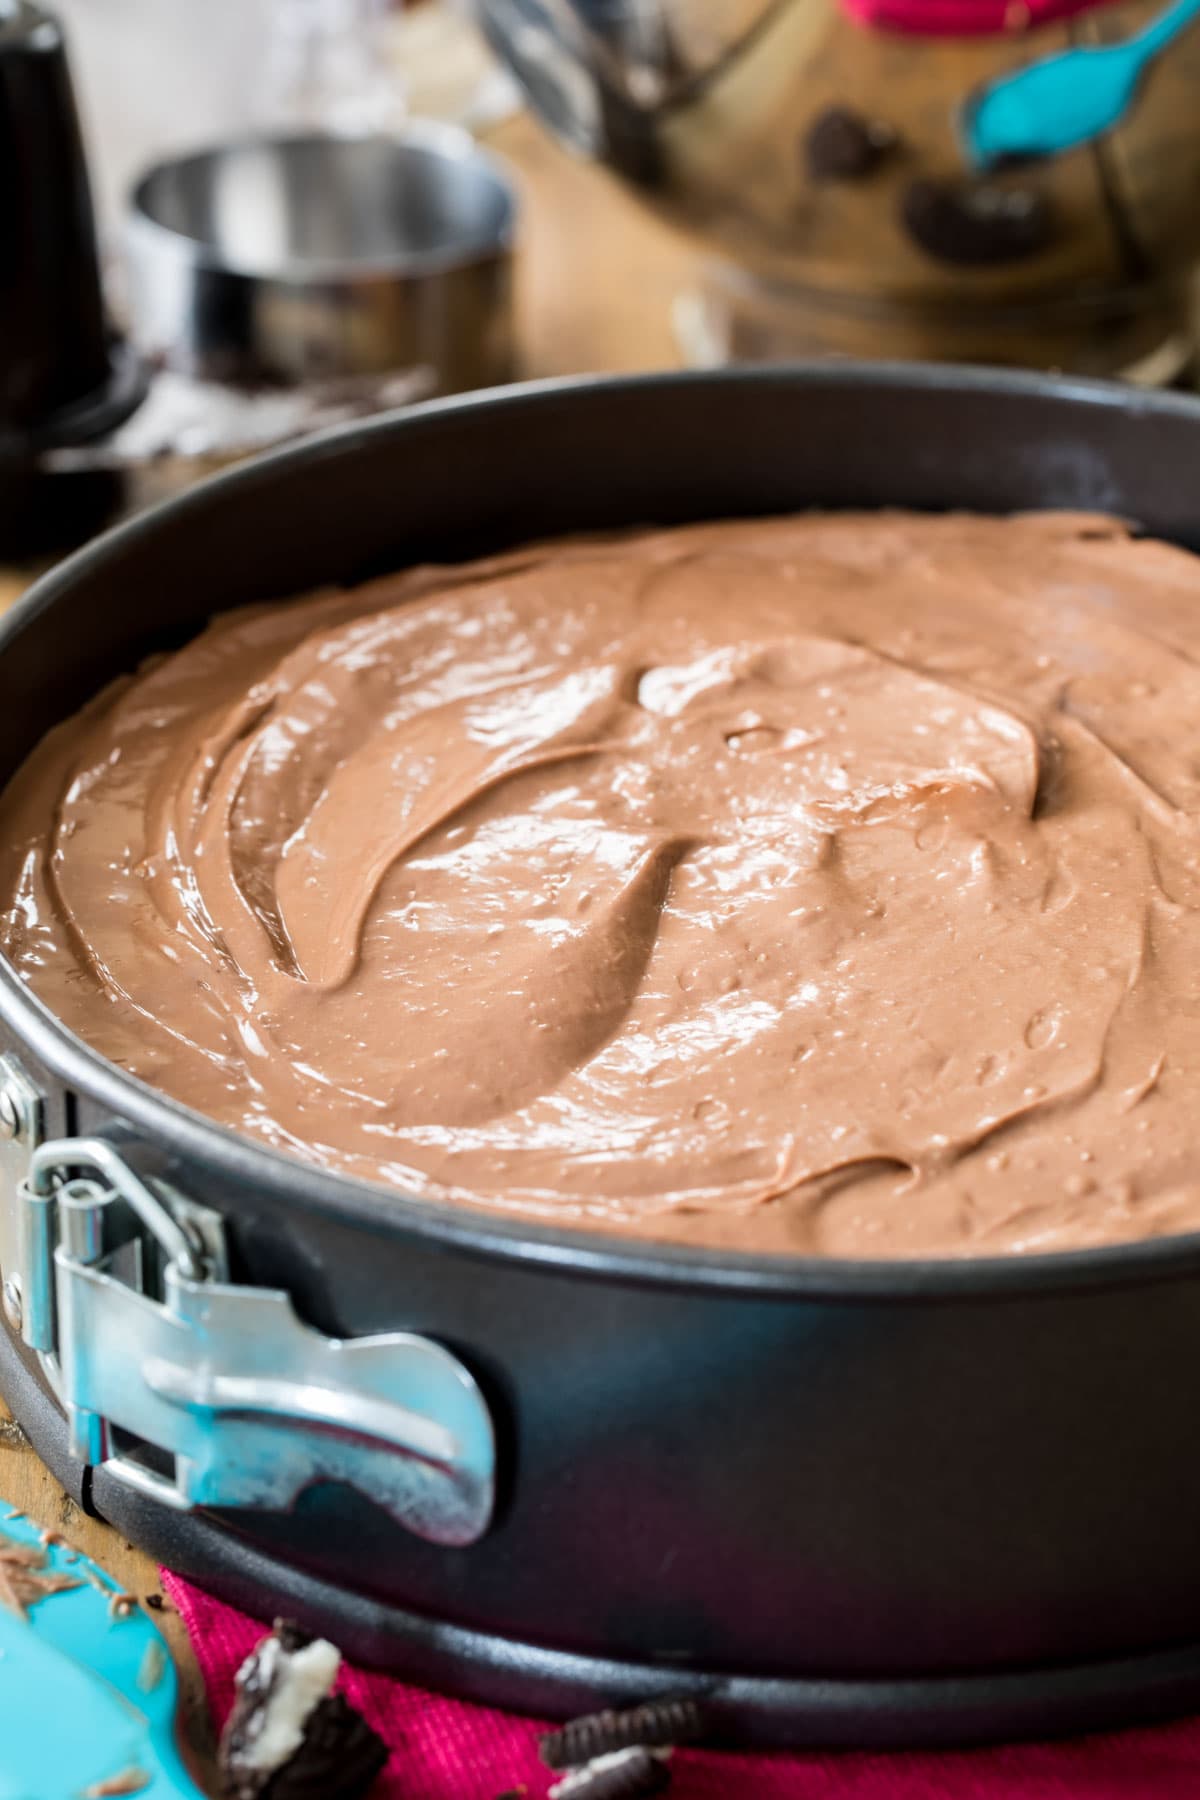
Another pitfall you can run into if you don’t let your ingredients reach room temperature is a lumpy batter (and therefore a lumpy chocolate cheesecake). If your cream cheese is too cold it may leave lumps in your cheesecake, or when you add your melted chocolate it can cause the chocolate to harden, leaving chunks of hard chocolate in your cheesecake. Admittedly, the latter isn’t the worst thing that could possibly happen, but we want a smooth cheesecake, so let that cream cheese soften!
Key Tips for a Crack-Free Chocolate Cheesecake
I’m particularly proud of my cheesecake recipes because they yield creamy, silky smooth cheesecakes without fussy technique or the need for a water bath. However, there are some important tips that must be followed to make sure everything goes according to plan:
Take it easy on the eggs
Don’t over-beat the eggs when you add them. Lightly beat each egg before adding it to the batter and then stir on low-speed just until combined after each egg. Over-beating the eggs can ruin the texture of your cheesecake as well as cause it to crack.
Don’t open the oven!
I know how tempting it is to want to check on your cheesecake before it’s finished baking, but opening the oven door can drastically reduce the temperature of your oven, slowing the baking process and causing your cheesecake to sink.
Free your crust!
Once your chocolate cheesecake is done baking, run a knife around the inside of the springform pan to loosen the crust from the sides of the pan. Otherwise, as the cheesecake cools the center contracts but the crust stays stuck to the sides and the tension may cause cracks.
Cool slowly and to room temperature before moving to the fridge
Let your cheesecake cool as slowly as possible in the warmest place in your house. In my old house this was on top of my oven, now my oven is built-in so I just turn the oven off and open the door and let it cool there. Only once it’s cooled completely should you move it to the refrigerator to chill for at least another 6 hours.
Can I also mention here that even if your chocolate cheesecake does crack in the middle, don’t sweat it. Think of it instead as an opportunity to cover that crack with a decadent layer of fudgy ganache or some whipped cream!
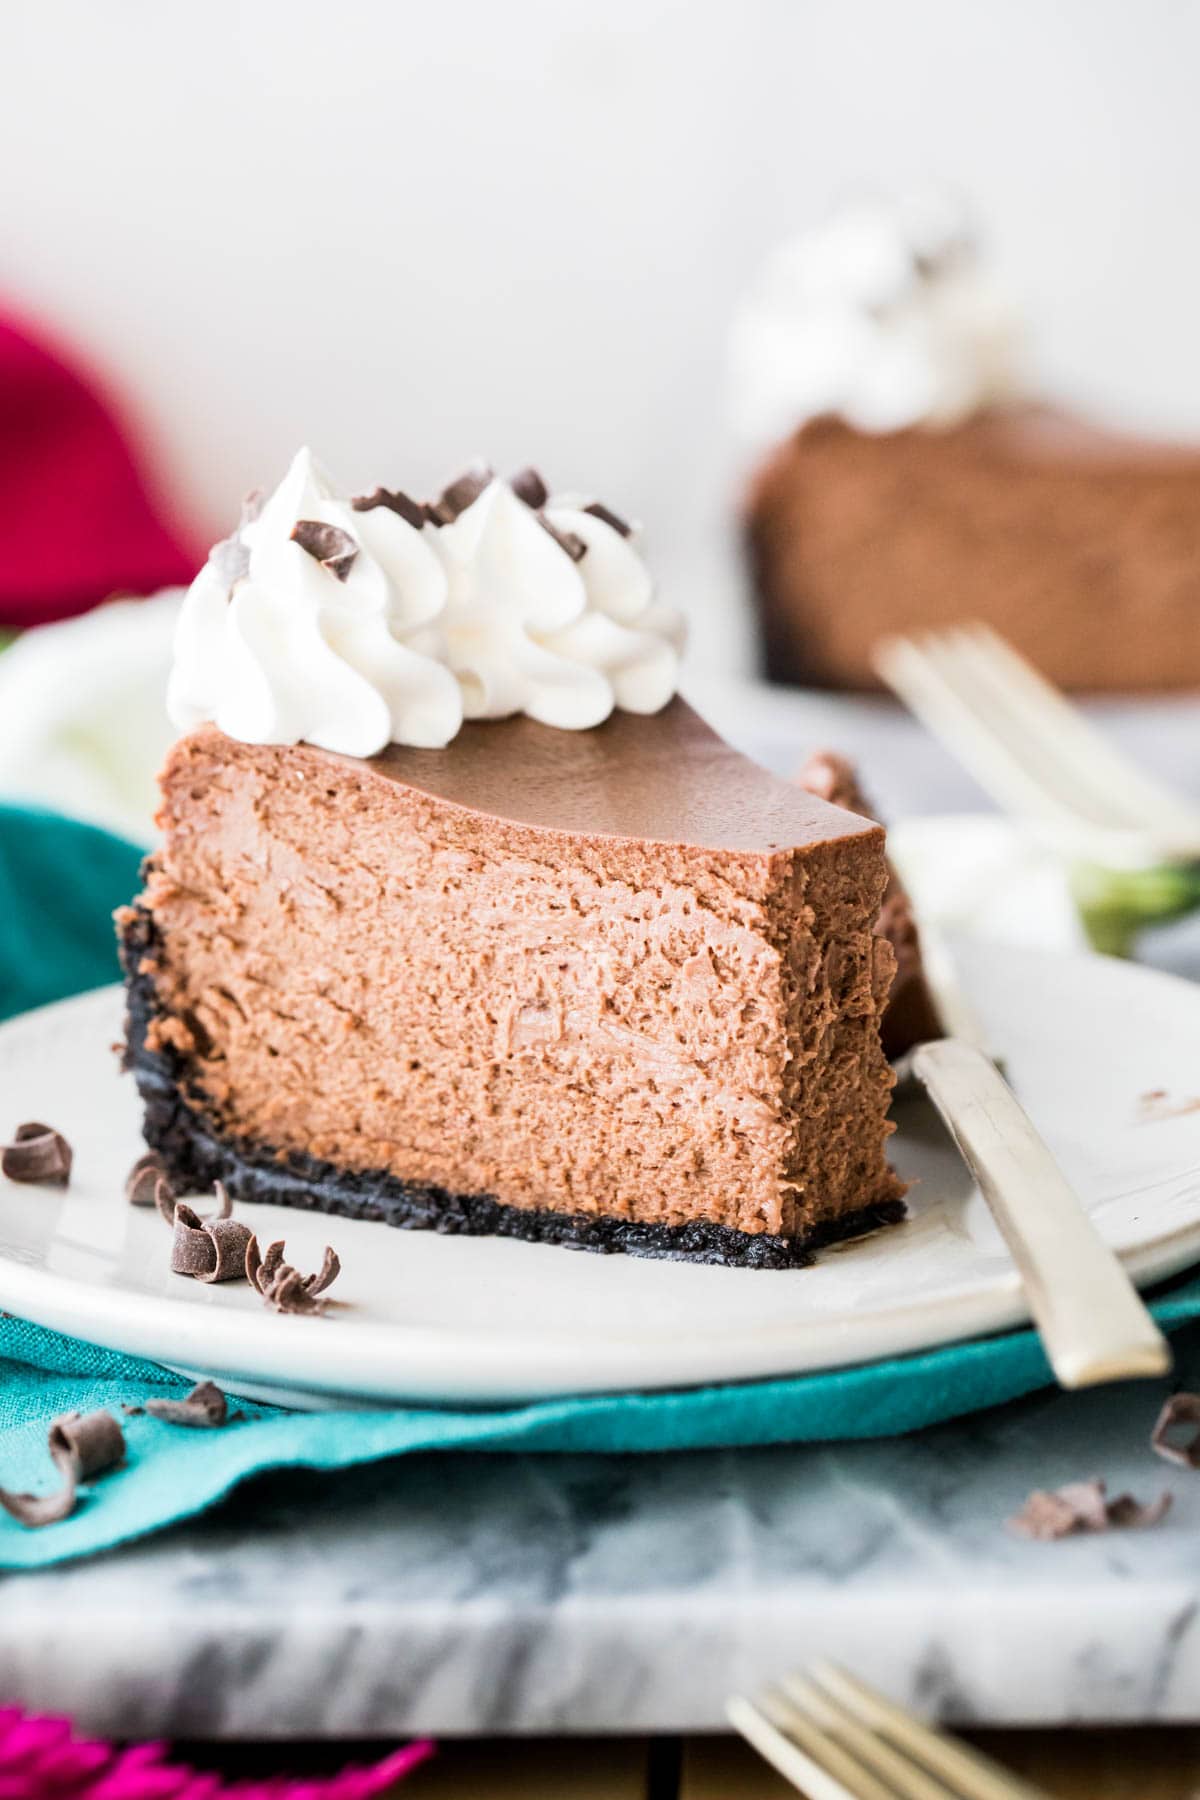
How do I know if my cheesecake is finished baking?
Touch and jiggle! Look for edges that are set (they may even be beginning to turn a light golden brown) with a center that still slightly jiggles but bounces back to the touch.
Storing
Store chocolate cheesecake in the refrigerator for up to a week. While an airtight container isn’t mandatory here, I like to use one to keep the cheesecake from absorbing any odors that might be in your fridge. This recipe may also be frozen. To freeze, first chill overnight as indicated (this ensures the cheesecake sets properly) then wrap in plastic wrap and then foil (doubling up reduces the chance of freezer burn). It will keep frozen for several months.
More Cheesecake!
Enjoy!
Chocolate Cheesecake (No Water Bath!!)
Ingredients
Oreo Crust
- 4 Tablespoons butter melted (salted or unsalted will work, I just use whichever I happen to have on hand).
- 25 Oreos
Chocolate Cheesecake
- 10 oz (285 g) dark chocolate¹
- 32 oz (907 g) cream cheese² softened to room temperature
- 1 ⅓ cup (266 g) granulated sugar
- 1 ½ teaspoons vanilla extract
- ⅔ cup (160 g) sour cream room temperature preferred
- 4 large eggs room temperature, lightly beaten
Recommended Equipment
Instructions
Oreo Crust
- Preheat oven to 325F (160C) and wrap the outside of a 9" springform pan with foil (this is to prevent any leaks, as springform pans are notorious for leaking).
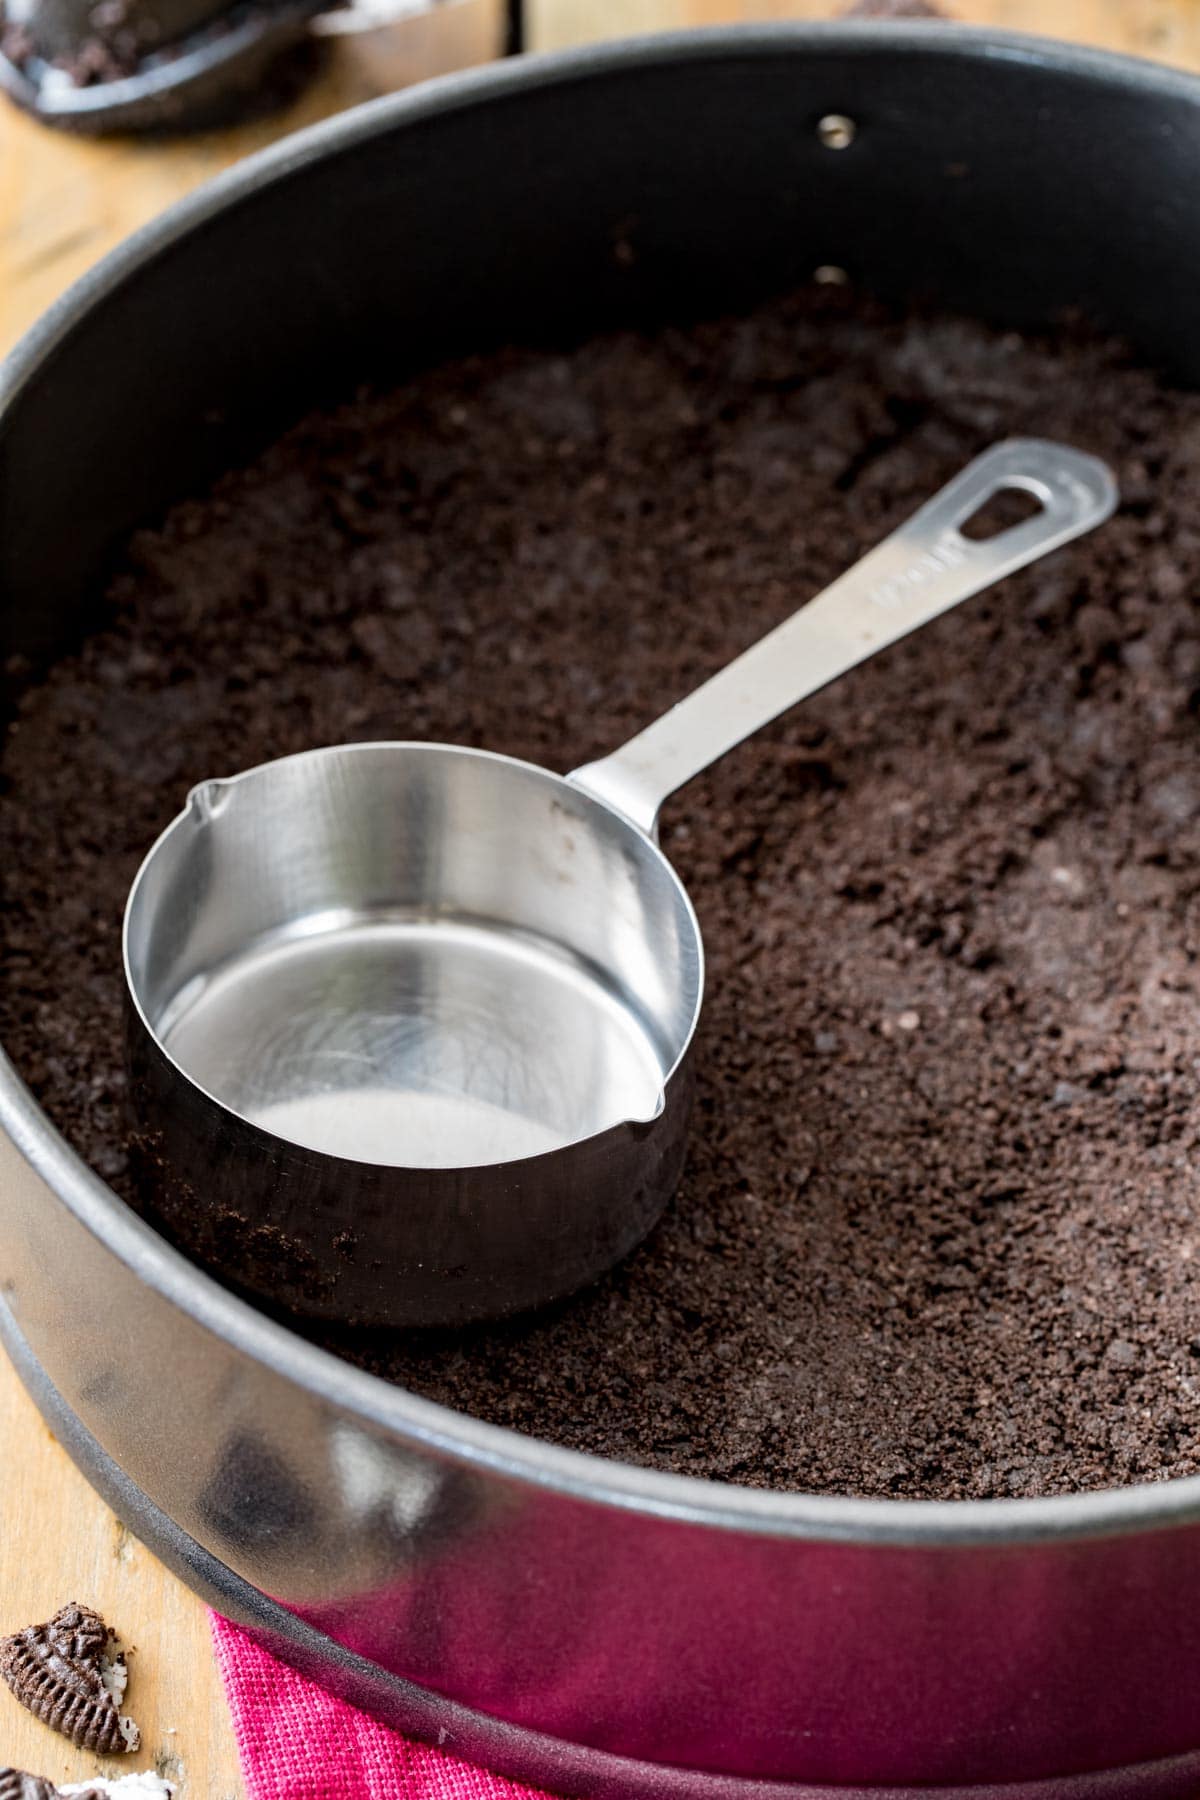
- Prepare Oreo crust by placing cookies in the basin of a food processor and pulsing until pulverized to fine crumbs. Combine cookie crumbs and melted butter and stir until crumbs are moistened. Pour into springform pan and press evenly over the bottom and partially up the sides of the pan.4 Tablespoons butter, 25 Oreos
Cheesecake
- Chop your chocolate bars into small pieces (if using chocolate chips, you do not need to chop) and place in a medium-sized bowl. Microwave for 30 seconds, stir well. Microwave again for 15 seconds and stir again, repeat until chocolate is smooth and completely melted. Set aside to cool.10 oz (285 g) dark chocolate¹
- In a stand mixer (or in a large bowl with a hand-mixer), cream together softened cream cheese and sugar until smooth, scraping down the sides with a spatula occasionally to ensure ingredients are mixed well.32 oz (907 g) cream cheese², 1 ⅓ cup (266 g) granulated sugar
- Add sour cream and vanilla extract and stir on low-speed until combined.1 ½ teaspoons vanilla extract, ⅔ cup (160 g) sour cream
- Check the temperature of your chocolate. It should not feel hot to the touch and should not be so cool that it has re-solidified. If it's near room temperature, turn your mixer to low-speed and drizzle chocolate into the batter until well-combined.
- Add eggs, one at a time, beating until just mixed after each addition. Do not over-mix or your cheesecake may crack. Scrape the sides and bottom of the bowl and stir on low-speed again until ingredients are completely combined.4 large eggs
- Spread cheesecake batter evenly over prepared cookie crust. Wrap the bottom of the pan in foil and place on a cookie sheet (to insure against leaks, springform pans are notorious for them!) Bake on 325F (160C) for 70-75 minutes or until cheesecake springs back to the touch if lightly touched. Edges should be set but the center should still be slightly jiggly like Jello. Do not over-bake or the texture will not be creamy as it should be.
- Allow cheesecake to cool to room temperature, and then transfer to refrigerator and chill at least 6 hours before serving. I always store my cheesecake in the springform pan, I remove the edges to slice it and serve it then return the ring around the edges in the refrigerator. If desired, top with homemade whipped cream before serving!
Notes
Storing
Keep in the refrigerator for up to a week or in the freezer for several months. See "Storing" section in post for more details.Nutrition
Nutritional information is based on third-party calculations and should be considered an estimate only. Actual nutritional content will vary based upon brands used, measuring methods, cooking method, portion sizes, and more.
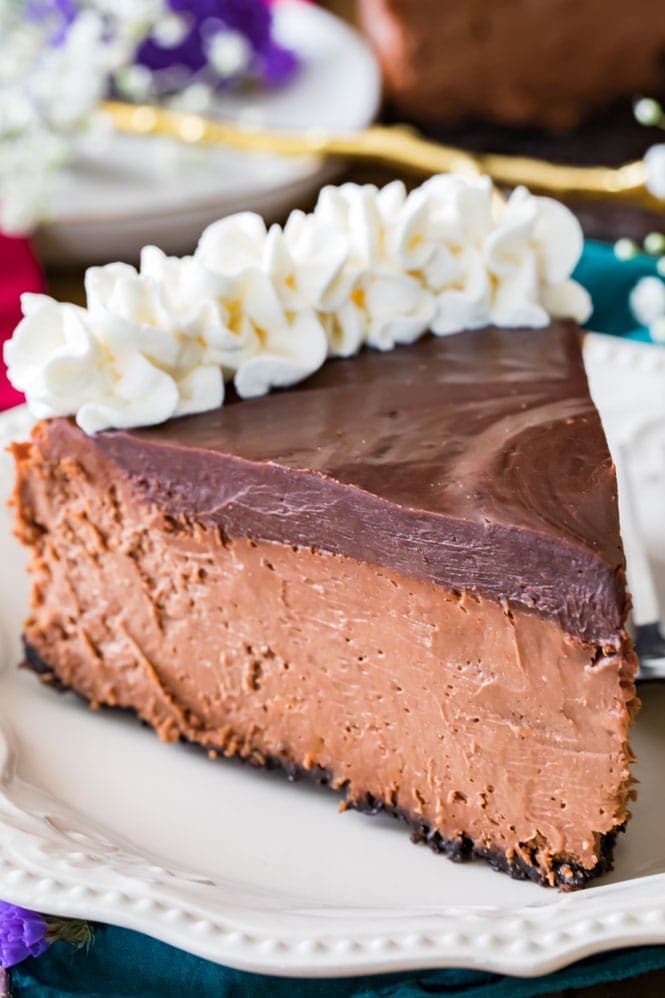
This recipe was originally published 02/19/2018. Photos have been updated and I’ve added a how-to video. Recipe has been slightly adjusted (bake time changed, instructions re-written to be more clear) and no longer includes the chocolate ganache (though you can make my chocolate ganache and pour that over the cheesecake once it’s cooled). One of the original photos is shown below:

Justin
hey was going to try this recipe. was wondering if I could use margarine in the crust instead of butter. and also if there would be any difference in measurement using margarine.
Casey @ Sugar Spun Run
Hi Justin! I believe that should work just fine, you would use the same amount of margarine as you would butter.
Camille
Thank you for this recipe. I did one yesterday and it’s really good. My husband loved it. 😍
Emily @ Sugar Spun Run
So glad you both enjoyed it, Camille! Thanks for the review 🩷
Deb
Good recipe! I would still recommend the water bath though. It definitely helps avoid cracking.
Deborah
This recipe is amazing, this will be my 3rd time making it. I have one question, I have 2 spring pans, the 9″ I am making your Creamy Cheesecake, not the chocolate. I am also making the chocolate but will only have an 8″ spring pan, using the intire recipe, do I cook it longer in the 8″ and if so, how much?
Sam Merritt
I’m so glad it has been such a hit, Deborah! I don’t think all of the batter will fit in an 8″ pan. You will want to make sure to not over-fill it. I’m not sure on a bake time. If it’s a deep pan and the cheesecake layer is much thicker it will take longer to finish.
Chris T
Spray the bottom of the spring form pan. Would you suggest lining the inside with parchment.
Sam Merritt
You can certainly line the bottom of the springform pan. 🙂
Rebecca Miller
First time making cheese cake and this recipe makes it so fun and easy! Also, received so many compliments and people asking for this recipe. I decided to use whip cream and raspberries to top it with!
Ardelle
This was superb, easy to make, mine had a crack, but that was my fault. I did not run the knife around the edge and it pulled apart. I would suggest cherry pie filling as a topper and of course whipped cream!
Steph
I thought you usually bake the crust first and then do the filling on a cheesecake. Just making sure i’m not missing a step above. Thanks!
Sam Merritt
No need to par bake the crust here. 🙂
Penny
I can’t find the video. Can it be emailed to me?
Sam Merritt
Hi Penny! If you are using an ad blocker it will prevent the video from showing up. You can always find all of my videos on YouTube. 🙂
Penny
hi! I’m just wondering if you could use Nabisco’s Chocolate Wafers instead of the Oreos? Also, you mix bittersweet and dark chocolate together OR does it have to be the same? Just curious. I’m excited to try this recipe.
Sam Merritt
I would think your other wafers could work. You could use a different mixture of chocolate, but it will change the flavor.
Lisa
I’m not sure what I did wrong but I just took this out of the oven and it’s cooling now on top of the oven. During baking, the cheesecake rose so high (I made sure not to over mix it and never turned my mixer up past low) that it cracked in the oven. The only thing I can think of is that I used a regular graham cracker crust with cocoa added and brought the crust all the way to the top of the pan. When the cake rose, the sides didn’t move along with it and cracked about 1 inch from the edge. I’ll be making a ganache to cover it up. It sure smells good though.
Sam Merritt
Hi Lisa! Typically if the cheesecake rises this much it’s because the eggs were beaten too vigorously, could that have happened? I don’t think the graham cracker crust is the issue, honestly. I hope it still tastes wonderful (I bet it will!).
Anne
After melting the chocolate, for how many minutes would you recommend waiting for it to cool before adding it to the batter? About how many minutes does it take for it to become room temperature without re-solidifying?
Sam Merritt
Hi Anne! The chocolate normally needs about 5-10 minutes to cool, which is why I have you melt it first and then do the other steps and then recheck the temperature of the chocolate. 🙂
Nedra Johnson
Very delicious but my crust stuck to the pan I did run a knife around the pan to loosen any other ideas?
Sam Merritt
Hi Nedra! That’s disappointing! I have never experienced this. What kind of pan are you using?
Jennifer Cator
Hello can I use baker semi sweet chocolate instead of 60% thank in advance.
Sam Merritt
Hi Jennifer! That will work. The cheesecake may be a touch sweeter, but it will work. 🙂
ASHLEY AND ANGIE
This will be the third cheesecake that my daughter and I make. we’ve already done the original and we are baking the pumpkin cheesecake right now but I wanted to rate this before I close the web page and save the recipe. Thank you so much. I cant wait to try this one next. 🙂
Sam Merritt
I hope you love this one too! You can never have enough cheesecake. 🙂
Allie
This is soooooo delicious. My pan must’ve been 8 inches because the crust was very thick and the very inner part of the cheesecake was a little wet (I also only had it in the fridge for about 4 hours, which was shorter than what the directions said), but even with those two minor issues, it was absolutely divine.