
Butter Mints
This post may contain affiliate links. As an Amazon Associate I earn from qualifying purchases. Please read my disclosure policy.
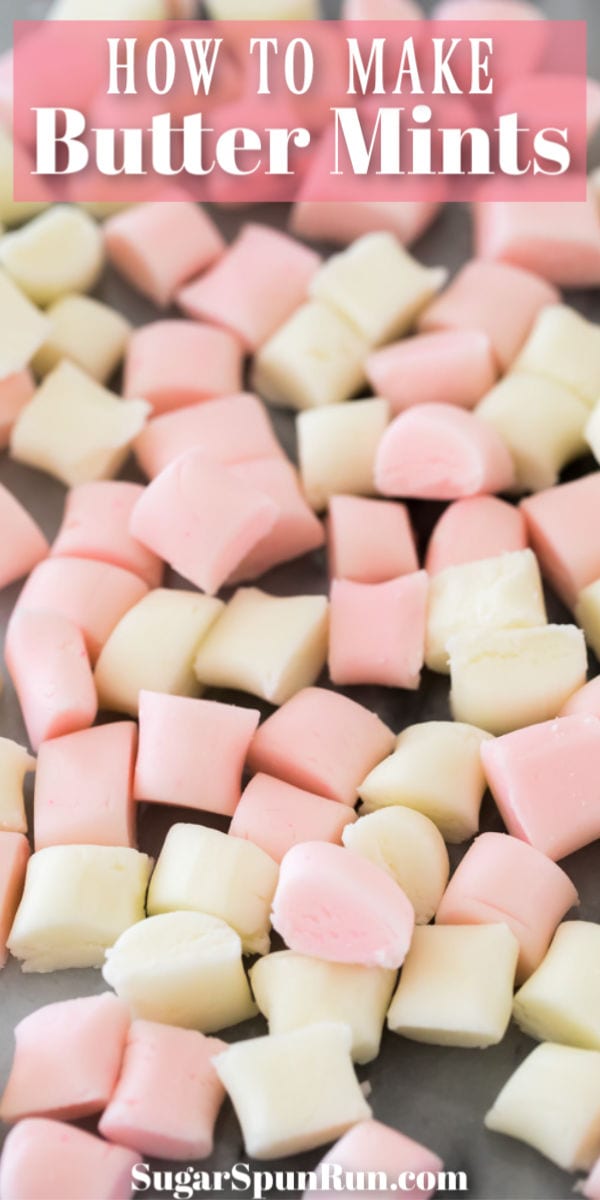
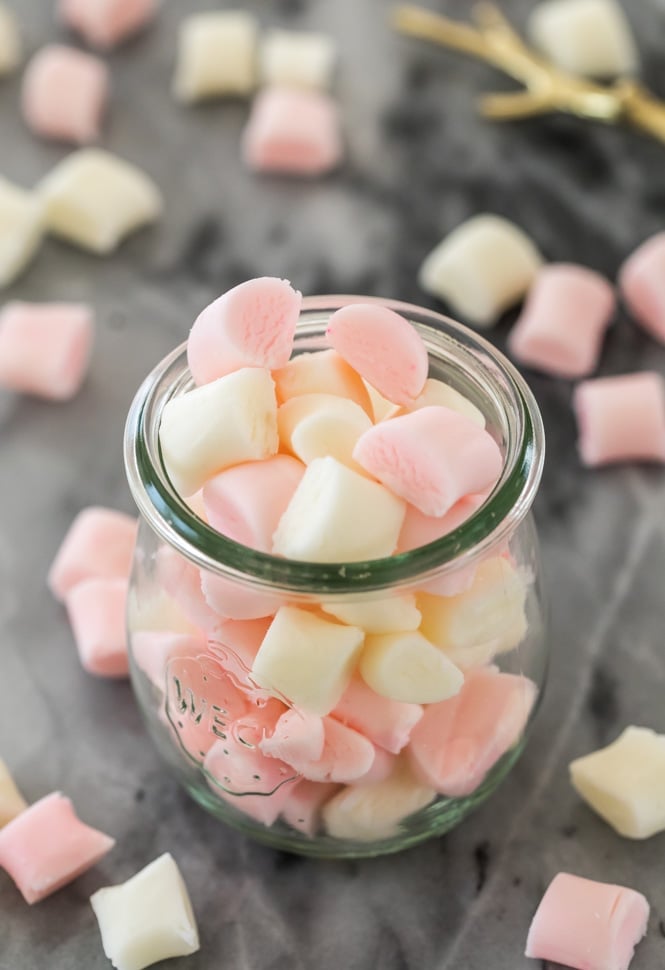
How to make creamy, melt-in-your-mouth Butter Mints! This is a simple 6 ingredient recipe that can be made in any color with the addition of food coloring. Also commonly known as “wedding mints” these are popular at bridal and baby showers.
Butter Mints
Much like with the cream cheese mints that I shared just a little while ago, I would bet you’ve had these butter mints before. They’re very similar, actually, only made (surprise) without the cream cheese and with more butter. Who would’ve thought, right?
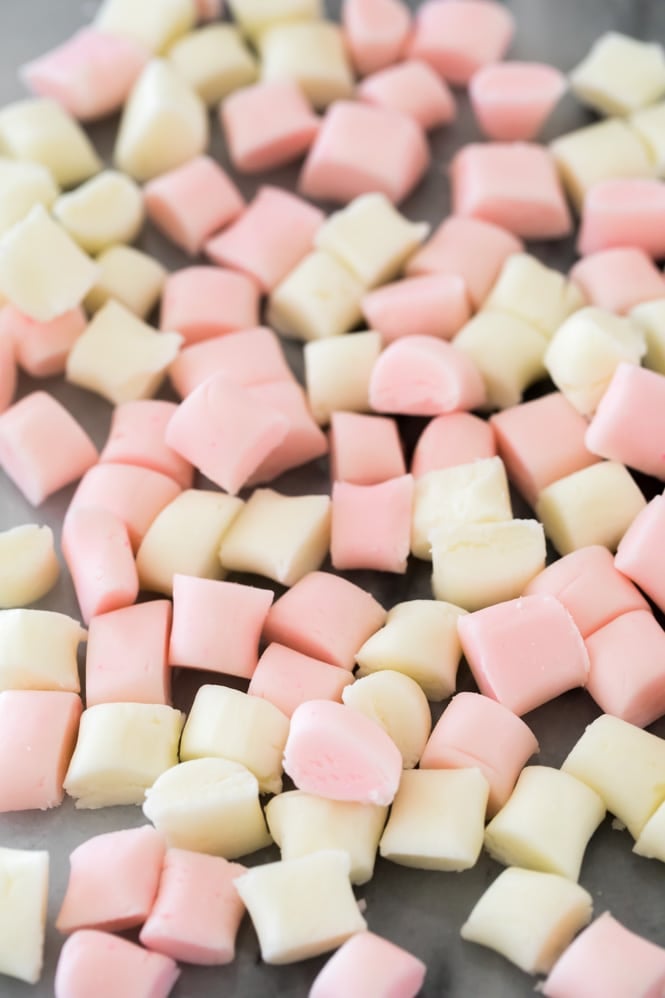
Simple to make with just 6 ingredients, butter mints are soft, creamy, melt-in-your mouth little mints that make great after dinner mints. They’re also very popular at bridal showers, baby showers, and weddings, and you might have even heard them called “wedding mints” before.
If Zach had it his way we would have a never-ending supply of them in the house. He doesn’t have much of a sweet tooth but the man could eat buttermints all day, every day. A single batch makes about 200 (yes, two hundred!) but he’s a very dedicated mint fan and works his way through quickly.
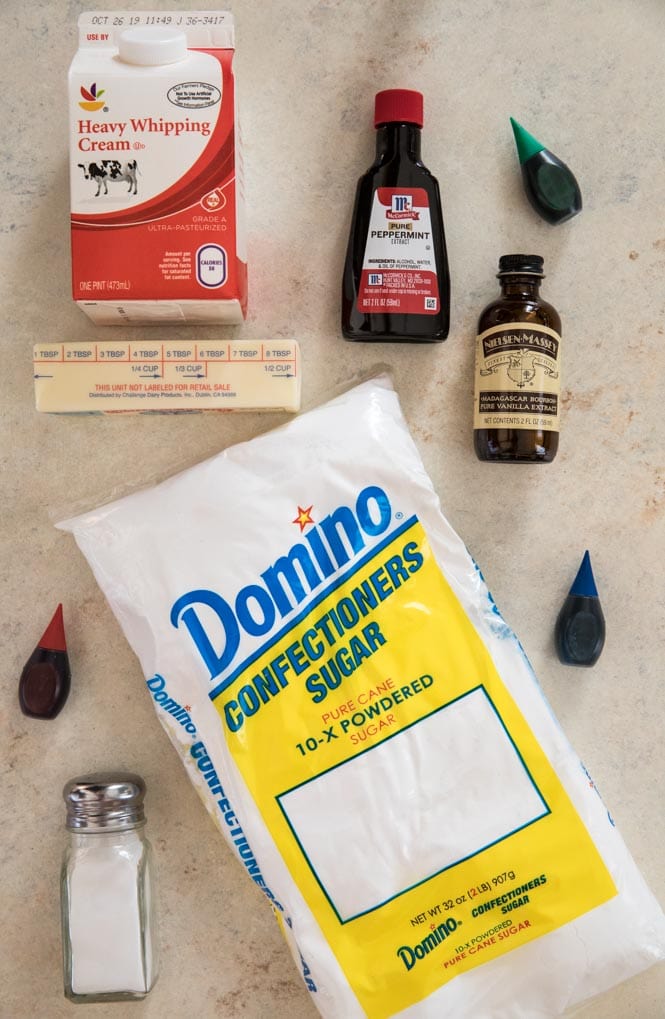
What are Butter Mints Made of?
- Butter (well of course, right?). I like to use unsalted butter and then add salt for flavor. You can read more about why I choose to do it this way in my salted vs. unsalted butter post.
- Salt. Just a pinch. See above!
- Powdered sugar. You will need a lot of powdered sugar to make butter mints.
- Peppermint extract. As with my cream cheese mints, I recommend using a peppermint extract and not a “mint” extract, which to me tastes more like toothpaste. If you like a stronger mint flavor you can certainly increase the amount, but start with less and then add more as needed.
- Vanilla extract. Just a splash adds a great depth of flavor to these mints.
- Heavy cream. This isn’t necessarily a standard butter mint ingredient, but it’s one I really love to use. It helps make these melt-in-your-mouth mints even smoother and creamier. You only need a tiny bit for today’s recipe.
And, of course, there’s the optional ingredient of food coloring. I used a drop of red liquid food coloring to color these mints pink. While I usually prefer gel food coloring, the liquid colors work well here to give our mints a pretty, classic, pastel appearance.
How to Make Butter Mints
Butter mints are incredibly simple to make. It’s almost like making a minty vanilla frosting, only thicker. Because the “dough” (batter?) will becomes so thick (due to all the sugar we’re adding) I strongly recommend that you use a stand mixer or electric mixer. You’ll combine all your ingredients and stir until they’re completely combined and you have a stiff but smooth, playdough-like consistency. Be sure to scrape the sides and bottom of the bowl frequently so all of the sugar becomes absorbed.
This recipe calls for 4 cups of powdered sugar, but if you find that the dough is still sticky after adding all of your sugar simply continue to add more until you reach the desired consistency. On the other hand, if your dough is crumbly and just not coming together no matter how much you stir, you can salvage things by adding a splash more heavy cream (just a teaspoon or two at a time).
How to Store Butter Mints:
Once prepared, butter mints can be stored in an airtight container at room temperature for up to two weeks. For best results store in a cool, dry place. They will keep in the refrigerator in an airtight container for up to a month, or in the freezer for several months.
Enjoy!
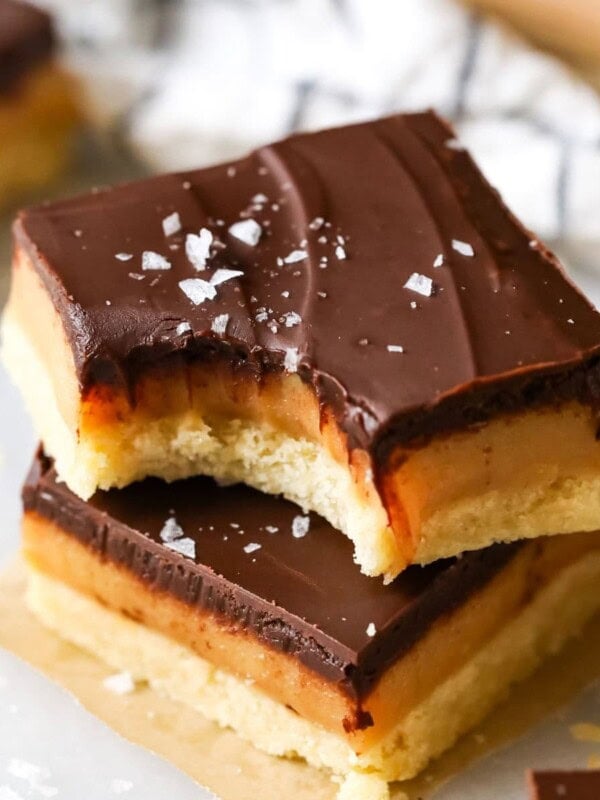
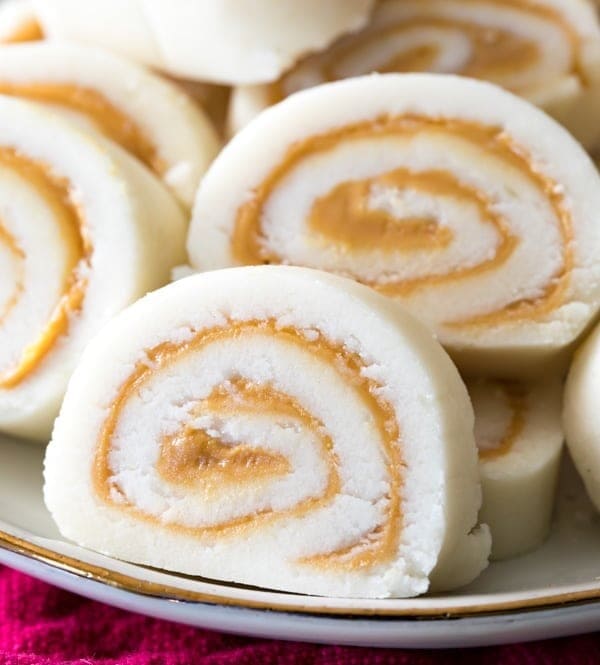
More Recipes You Might Like:
Let’s bake together! Head on over to my YouTube channel where I’ve already uploaded over 200 recipe videos that you can watch for free!
Butter Mints
Ingredients
- 1/2 cup (113 g) unsalted butter, softened
- 4 cups (500 g) powdered sugar
- 1/4 teaspoon peppermint extract
- 1/8 teaspoon vanilla extract
- 1/8 teaspoon salt
- 1 1/2 Tablespoons heavy cream
- Food coloring, optional
Instructions
- Place butter in the bowl of a stand mixer (or you may use a large bowl and an electric mixer, but the mint dough becomes very stiff so I do recommend using an electric mixer rather than stirring by hand) and beat briefly until creamy.1/2 cup (113 g) unsalted butter
- Turn mixer to low-speed. Gradually add two cups (250g) of powdered sugar, stirring until combined.4 cups (500 g) powdered sugar
- Add extracts and salt and stir well, until completely combined.1/4 teaspoon peppermint extract, 1/8 teaspoon vanilla extract, 1/8 teaspoon salt
- Add heavy cream and stir, gradually increase mixer speed to medium.1 1/2 Tablespoons heavy cream
- Turn mixer to low-speed and gradually add remaining 2 cups (250g) powdered sugar until completely combined. Be sure to pause and scrape the sides and bottom of the bowl to ensure all ingredients are well-combined.
- If mixture is still sticky at all, add additional powdered sugar, 1 tablespoon at a time, until no longer sticky and you’ve achieved a playdough-like consistency.
- If desired, color with food coloring at this point.Food coloring
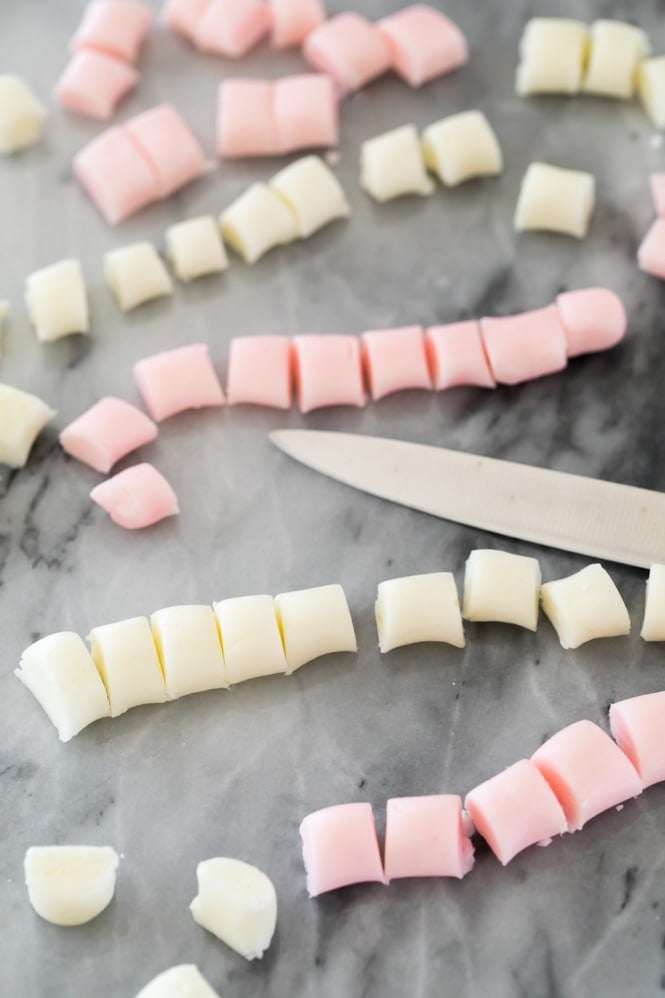
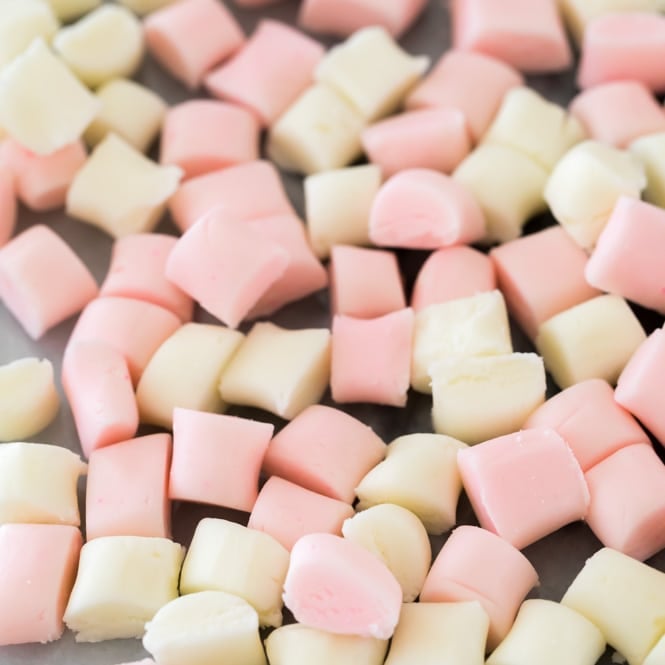
- Break off about 1-2 Tablespoons of mint dough and roll between your palms into a ½” thick log. Place on wax paper-lined cookie sheet and use a sharp knife to cut into pieces between ¼-½” long. Repeat until you have rolled and cut all of your dough.
- Allow to sit (uncovered) at room temperature for several hours until dry and then transfer to an airtight container. Keep mints in a single layer with a sheet of wax paper between layers. Mints will keep in a cool dry place at room temperature for up to two weeks or up to a month in the refrigerator.
Nutrition
Nutrition information is automatically calculated, so should only be used as an approximation.
Like this? Leave a comment below!


Can these be pressed into a candy mold? Or is the cream cheese recipe better? Or not at all?
Hi Kelly! These should work just fine to be pressed into a candy mold. 🙂
These taste amazing but I dried them overnight and if you squeeze them too hard, they’re very squishy so they didn’t dry completely through. Did I do something wrong or is this supposed to be the texture?
Hi Lisa! Are you in a humid environment? You can try drying them in the refrigerator to speed up the process.
Step 2 of this recipe is quite confusing. Do I add 2 or 4 cups of powdered sugar?
Hi Marguerite! You will just use 2 cups in the step 2. The remaining 2 cups come in step 5. 🙂
Easiest and best tasting mint recipe ever! Always a hit!
I’m so glad you enjoyed them so much, Karla! 🙂
Can I dry them overnight? How will the texture be, hard and crunchy or more of a soft chewy?
Hi Kyra! These can be dried out overnight. They are a soft melt in your mouth mint. 🙂
could these be made with swerve or truvia powdered sugar?
Hi Nichole! Unfortunately I haven’t tried it so I can’t say for sure how it would turn out. 🙁 If you do try it I would love to know how it goes. 🙂
Just made this. Delicious!!!
I’m so glad you enjoyed them, Anita! 🙂
When they dry & you put them in a jar/container/bag. Do they stick together?
If they have dried out, they shouldn’t stick to each other. 🙂