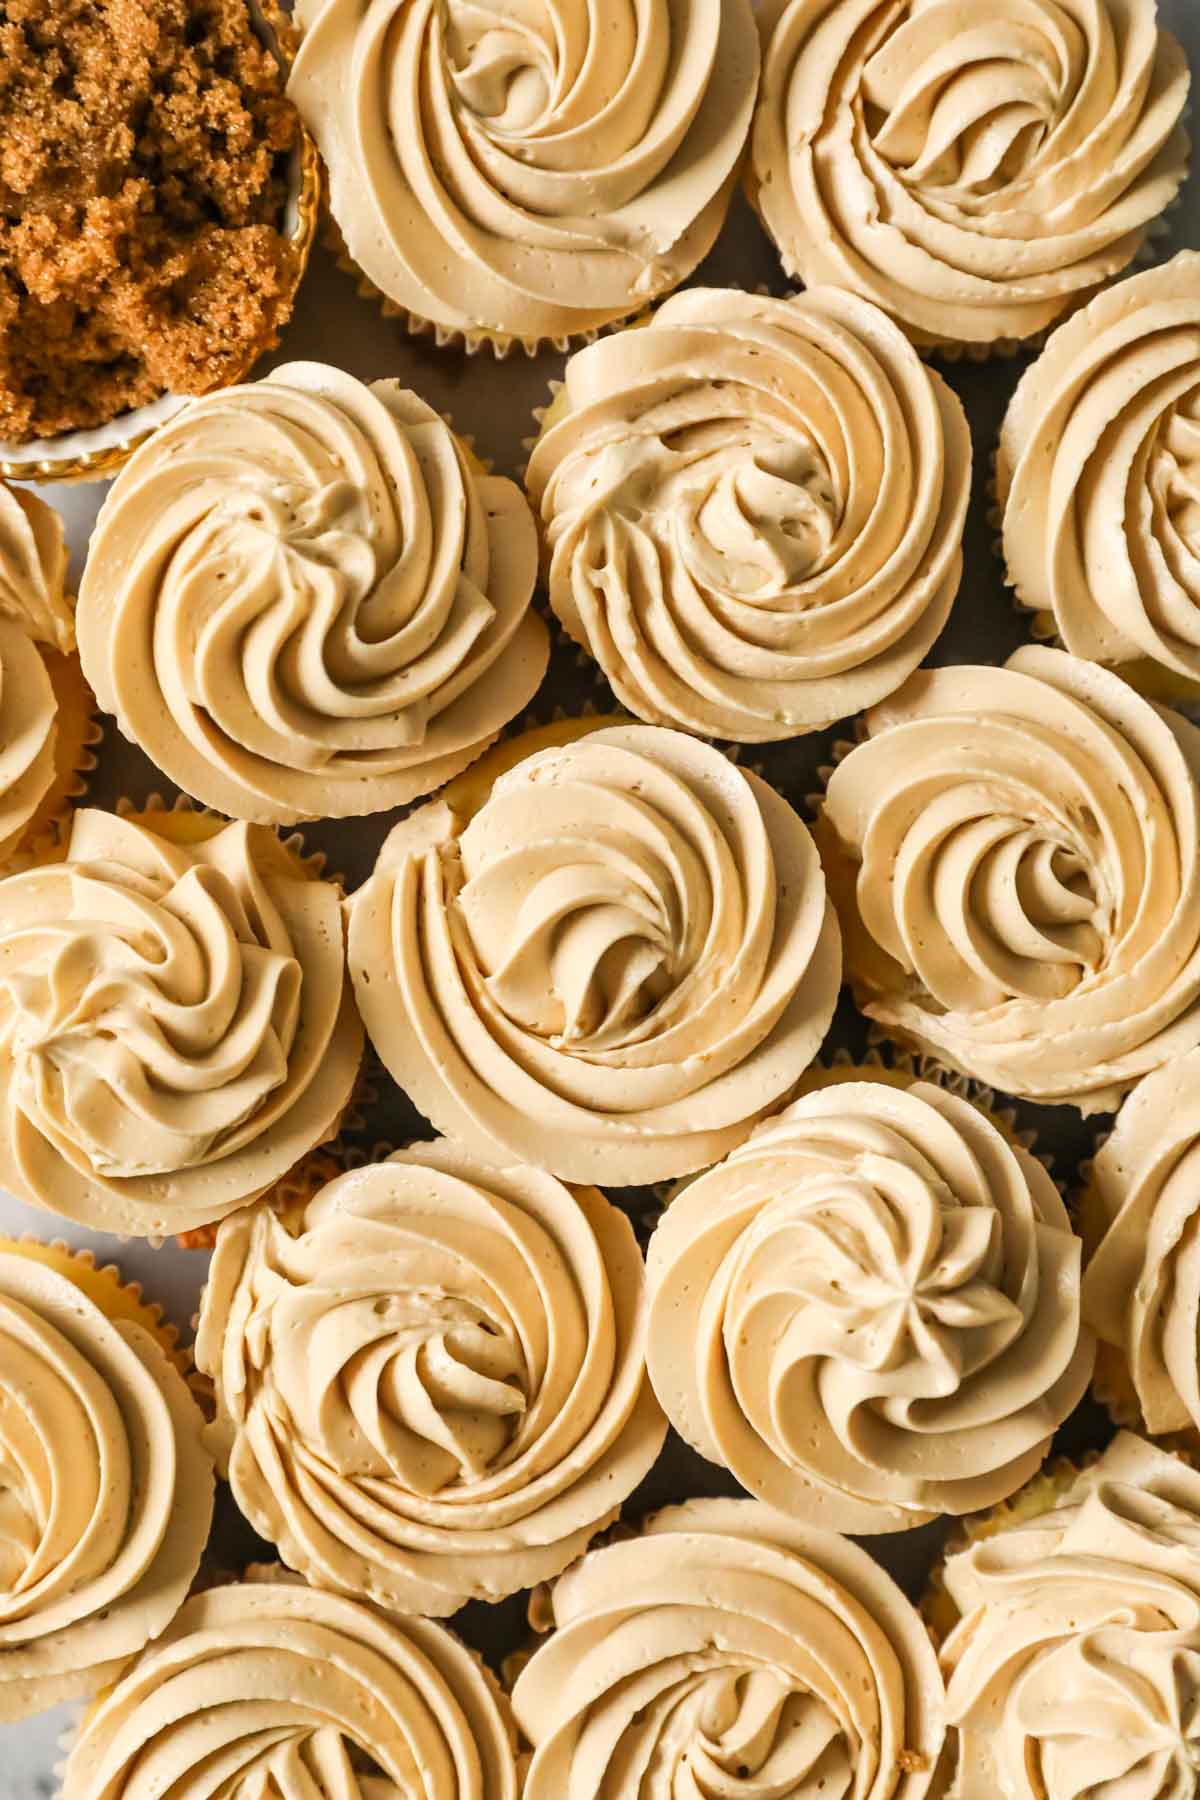
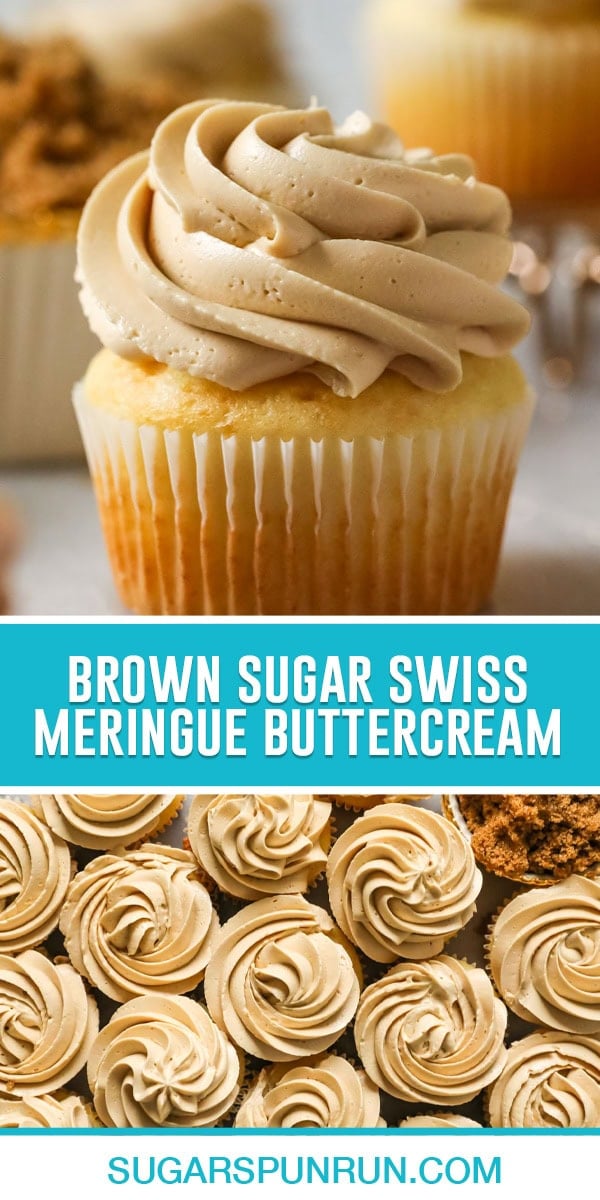
Silky smooth brown sugar Swiss meringue buttercream is the perfect topper for your cupcakes or cake! It has a rich, not-too-sweet taste, pipes beautifully, and pairs with so many flavors. Recipe includes a how-to video!
5-Ingredient Brown Sugar Frosting
I first mentioned this brown sugar Swiss meringue buttercream when I shared my gingerbread sandwich cookies a month ago (did you catch it?).
Like traditional Swiss meringue buttercream, this frosting is so silky smooth and perfect for piping. It’s also not too sweet, but it does have a richer depth of flavor, thanks to the brown sugar (also, that color is gorgeous!). It pairs especially well with spiced and warm-flavored desserts (suggestions below!), but the combinations with this one are truly endless!
Why You’ll Love It
- Rich brown sugar flavor bolstered by just a bit of vanilla. A pinch of cinnamon could work too, if that goes well with your cake/cupcakes.
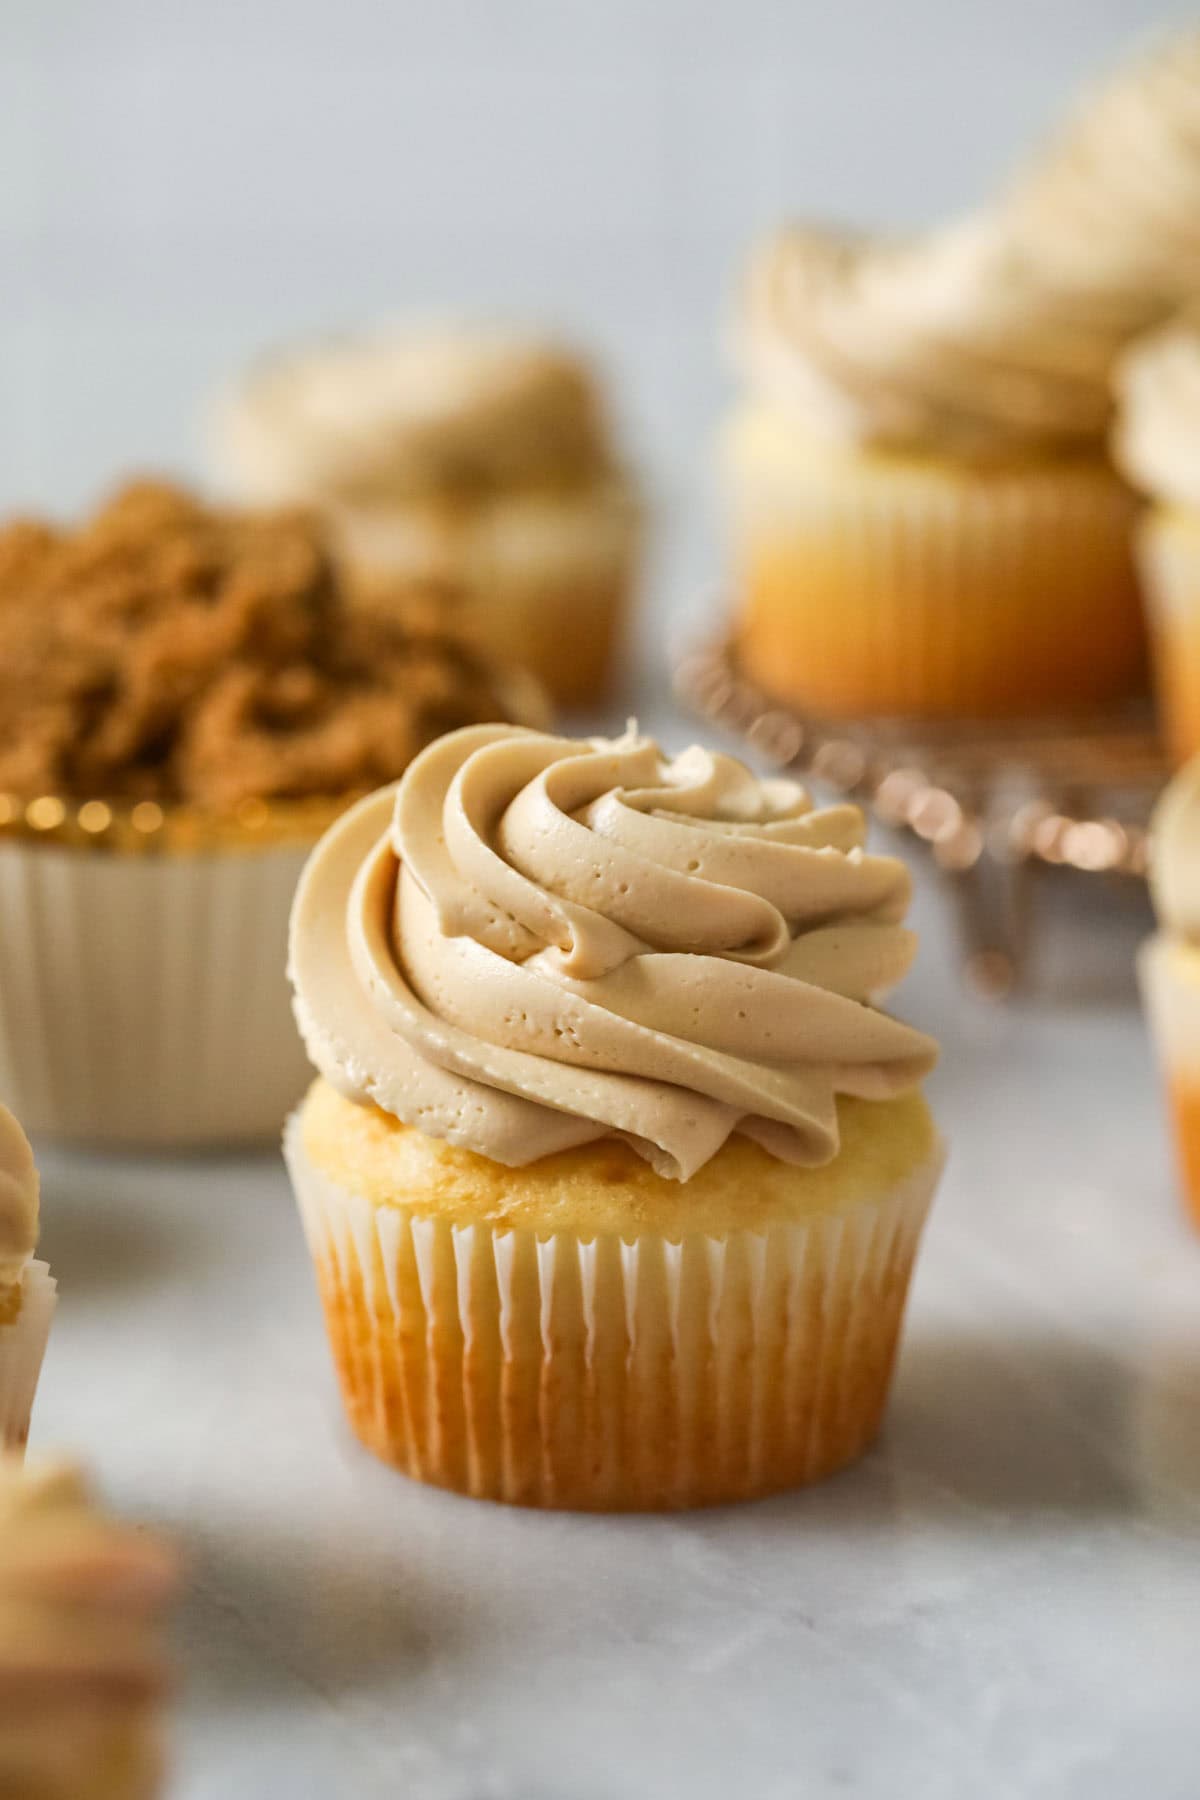
- Smooth, silky, and buttery texture from a whipped meringue base. It pipes amazingly (as you can see in the photo above) and can be used under fondant.
- Not too sweet! This recipe uses a significantly reduced amount of sugar compared to traditional buttercream frosting (4 cups traditional vs 1 ¾ in this recipe).
- Pairs well with many recipes, including my pistachio cake, spice cake, banana cupcakes, butter pecan cake, snickerdoodle cake (or snickerdoodle cupcakes!), and many more.
What You Need
Only 5 ingredients! Read through this list, as there are several you need to pay close attention to.
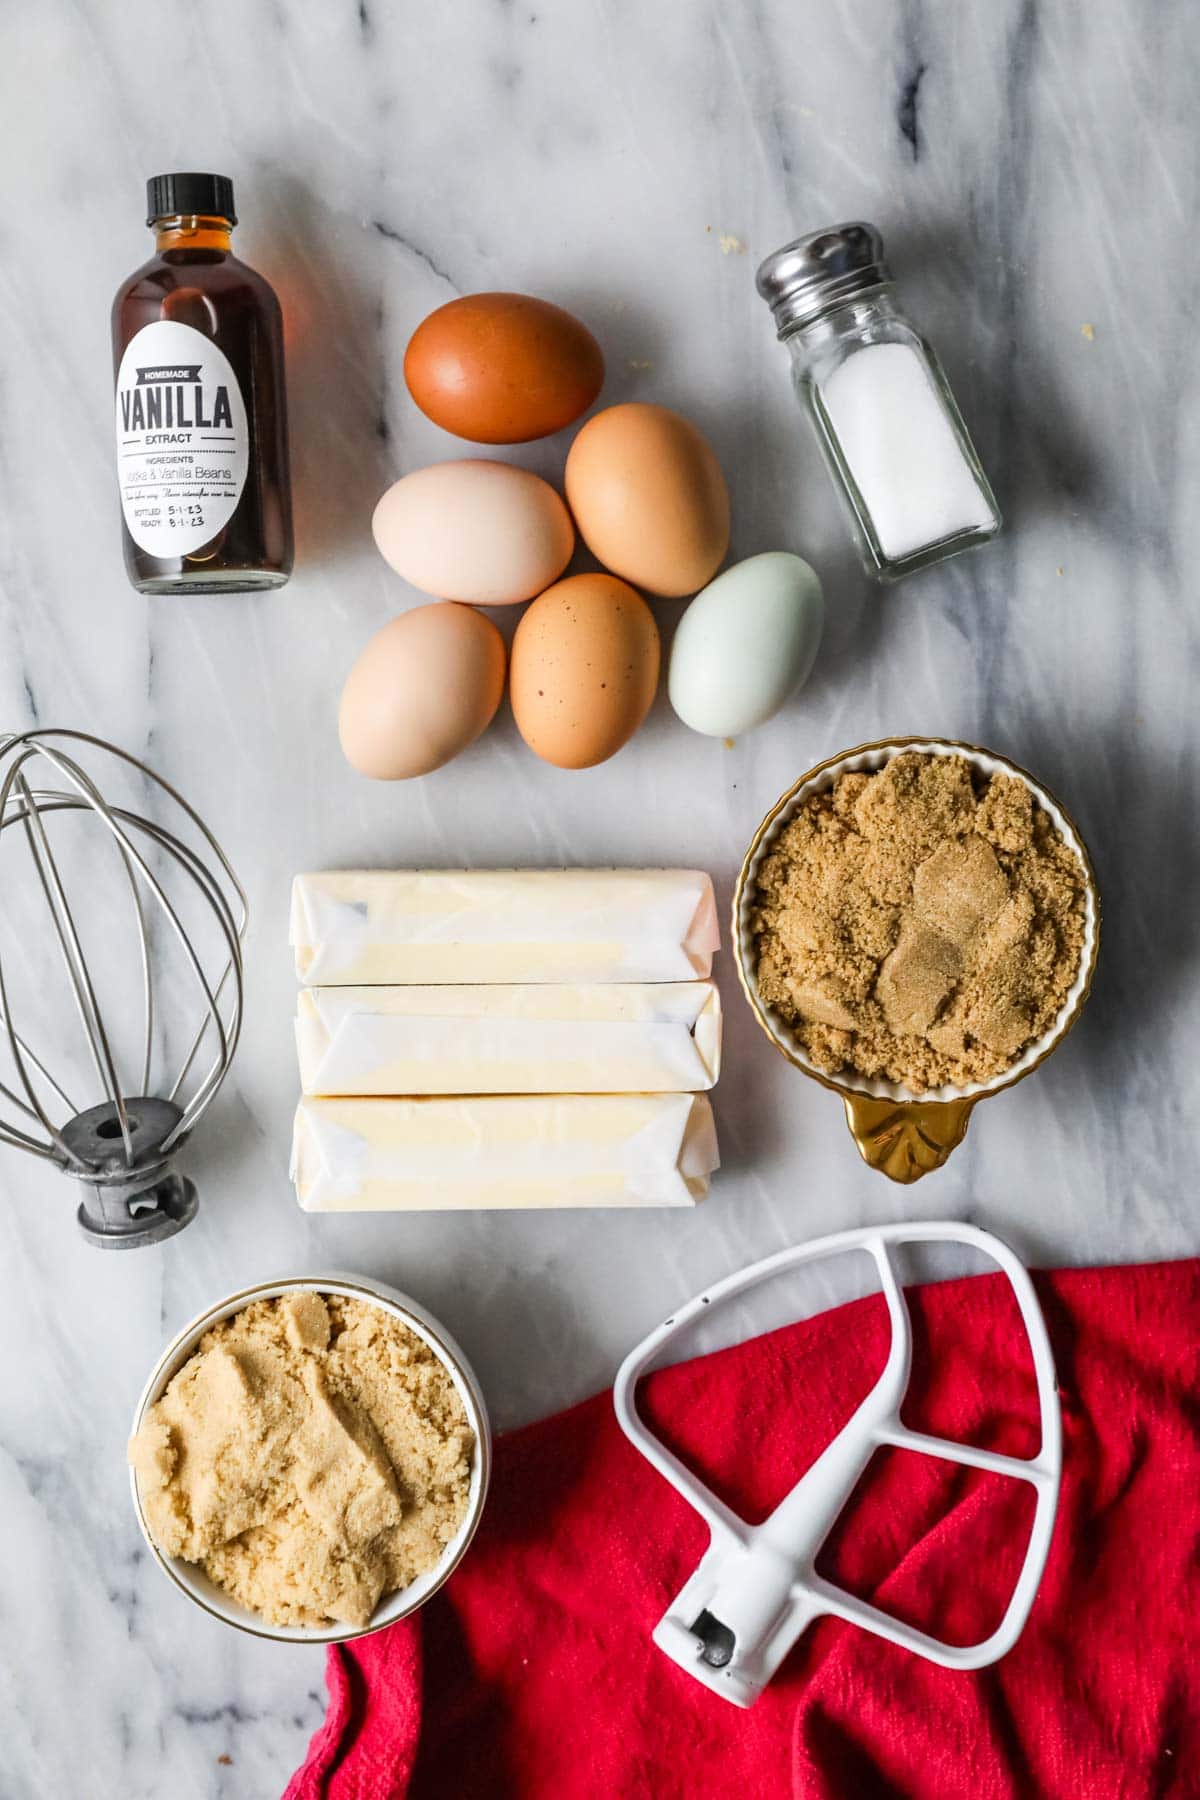
- Brown sugar I personally like to use a blend of light and dark brown sugar. You can use all light brown sugar, but all dark could make the frosting quite rich and sweet (it will still work though!).
- Butter. This recipe uses a bit less butter than my classic SMBC. I found this worked best for the flavor and texture with the brown sugar. The temperature of your butter matters; it needs to be softened, but not too melty or warm. The ideal butter temperature for this recipe is around 69-70F.
- Egg whites. I always recommend separating your own eggs instead of using carton egg whites, but if you can get your hands on carton egg whites that are just egg whites (no other additives), those should work. I include weights and liquid measurements for this in the actual recipe below. If you do separate your own eggs, make sure you do not get ANY bit of yolk in with the whites, as this can prevent your egg whites from whipping properly.
- Vanilla extract. I tried this recipe with more vanilla extract, but everyone much preferred it with just 1 teaspoon. The frosting was less rich this way and let the subtle molasses flavor of the brown sugar. I recommend sticking with this amount here!
- Salt. If you are using salted butter, leave out the salt.
SAM’S TIP: A stand mixer is the ideal tool for making this brown sugar Swiss meringue buttercream. Using a handheld mixer will take quite a LONG time, and could even end up burning out the motor.
As always, this is just an overview of the ingredients I used and why. For the full recipe please scroll down to the bottom of the post!
How to Make Brown Sugar Swiss Meringue Buttercream
Prepare the syrup
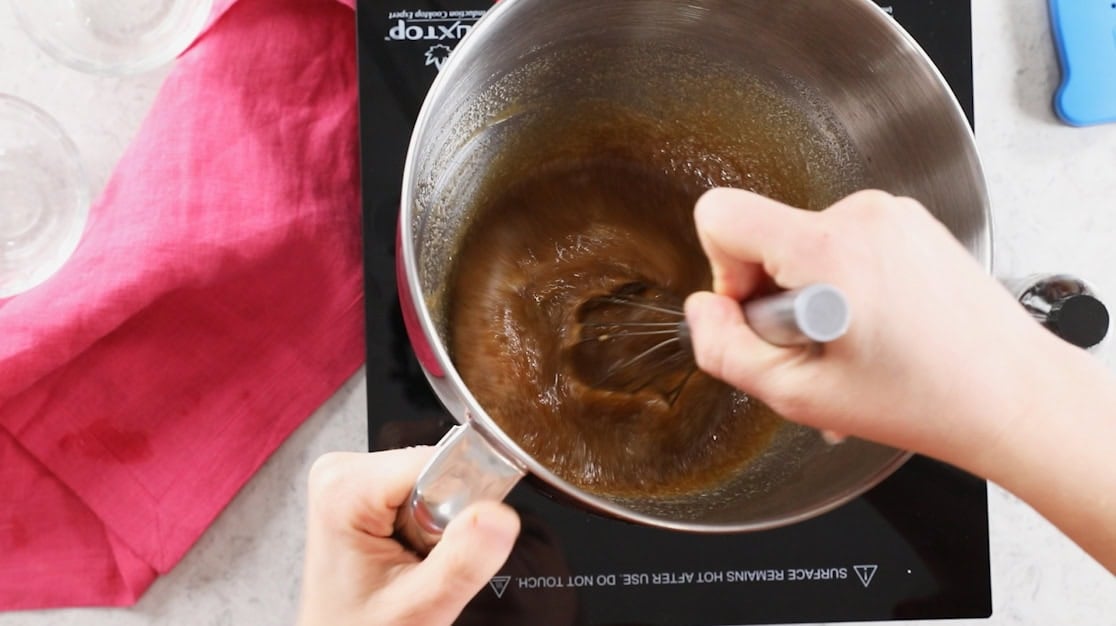
Whisk together the egg whites, sugars, and salt in a clean, dry, grease-free (these things are super important for setting your egg whites up for success!), then set this aside while you heat the water in a saucepan.
It’s important to choose a saucepan that will fit your mixer bowl; the bowl shouldn’t touch the bottom of the pan and should instead hover a few inches above the water.
Once the water is simmering, place your bowl overtop. Whisk constantly as the mixture cooks. The goal of this step is to cook the egg whites (160F is the temperature we are looking for) and to dissolve the sugar. Keep the heat on medium-low and have patience, as this will take some time. If your heat is too high and/or you don’t whisk often enough, the egg whites will actually start to cook. You want luxuriously smooth frosting, not scrambled eggs!
To test that the sugar has fully dissolved, carefully rub a bit of the mixture (let it cool for a minute first!) between your fingers; it should feel completely smooth with no grit or grain.
Whip the meringue
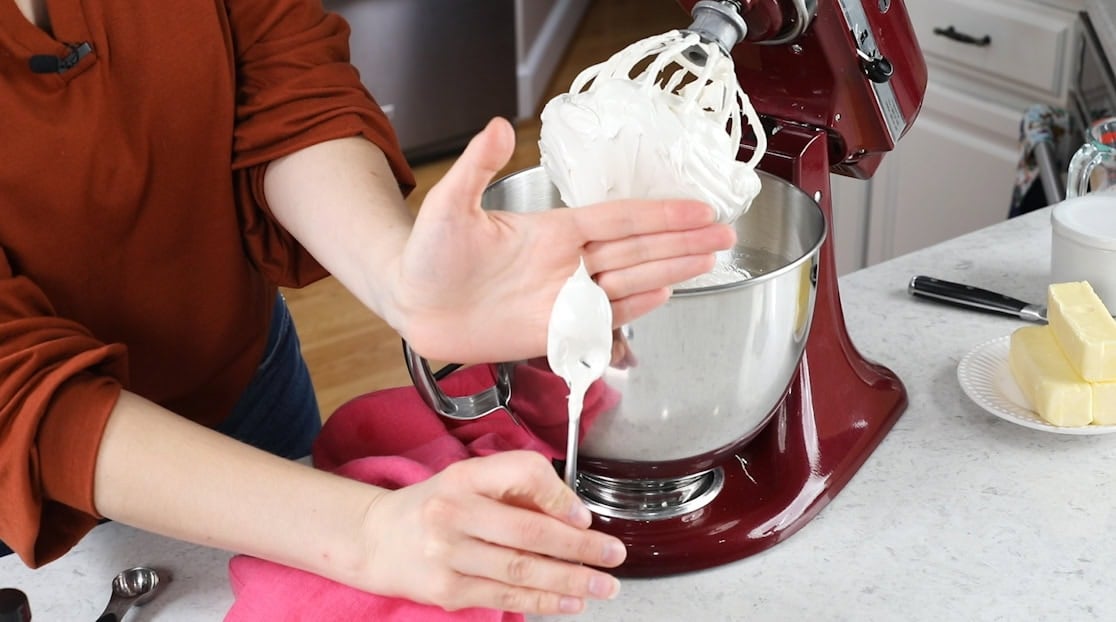
Once the sugar has dissolved and the mixture reaches 160F (71C), remove the bowl, dry the bottom, and attach to your mixer (you’ll want to attach your whisk attachment, not the paddle here). Whisk the mixture on medium high speed until stiff peaks form. This will take a few minutes (sometimes 10 or more).
You’ll know your mixture has reached stiff peaks when it has greatly increased in volume and has a glossy, opaque appearance.
To test that your meringue has reached stiff peaks, dip your beater in the mixture, then lift it up and flip it upside down. If the meringue holds it shape without flopping over (it should still stick straight up!), you have reached stiff peaks (if you’ve made my chocolate meringues before, you’ll be familiar with this step)!
Make sure you let the meringue and bowl cool COMPLETELY before you continue to the next step, or you’re going to have a bad time.
Add the butter
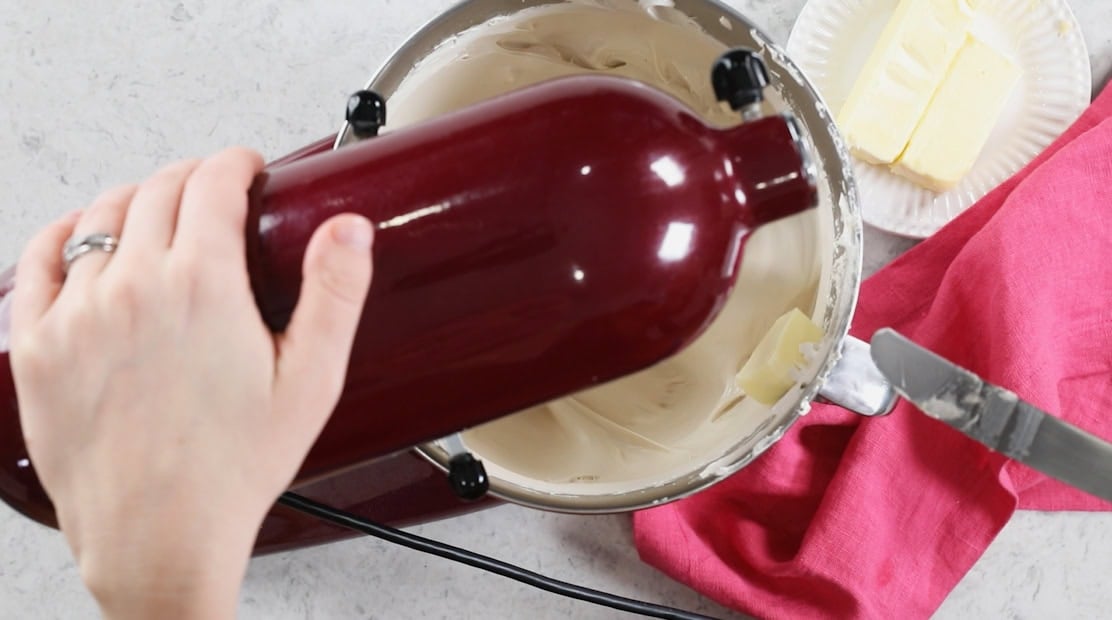
DO NOT start adding your butter until the bowl is completely cool to the touch–not even a tiny bit warm (make sure you’re feeling the lower sides and the bottom!).
Once your bowl has cooled, switch over to a paddle attachment and add the butter 1 tablespoon at a time. It is very important that you do not rush this process, so make sure each addition is fully incorporated before adding the next.
The mixture may curdle at this time due to the temperature of your butter. If yours does, just keep going and it should come back together.
Add the vanilla
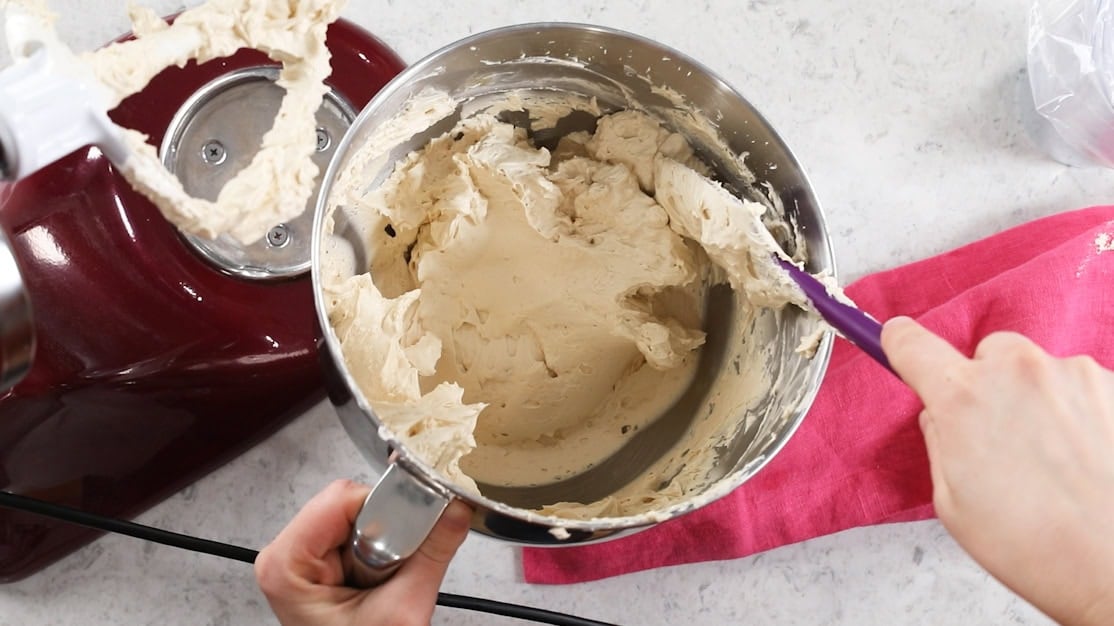
Scrape the sides and bottom of the bowl, then beat on medium high speed until you have a smooth and thick frosting.
Add the vanilla, then stir until incorporated. Use as desired and enjoy!
SAM’S TIP: This frosting works best when used immediately. While you can store it for later (instructions are in the recipe notes), it tends to curdle/separate when rewhipped. This can be remedied, but it is a bit of a pain to work with.
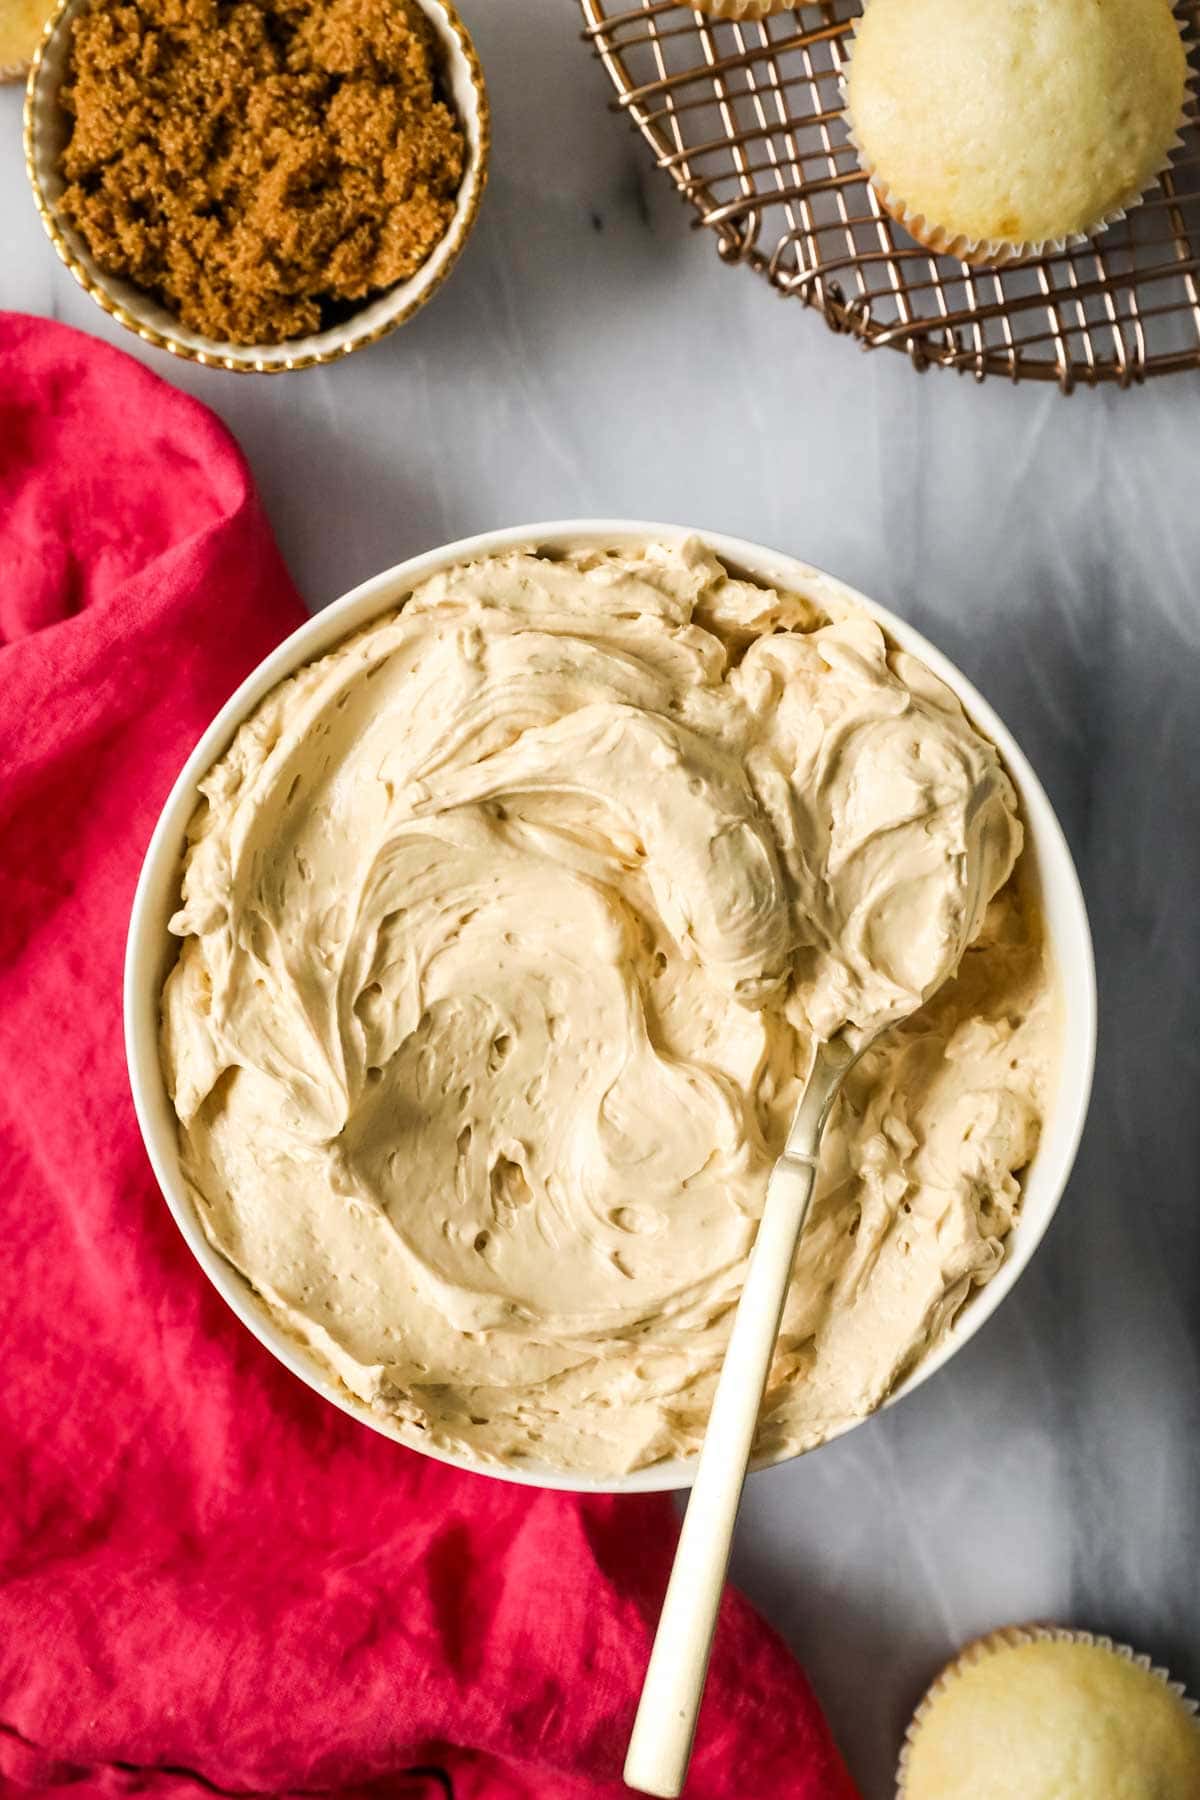
Troubleshooting
Swiss meringue buttercreams can be a bit finicky (but they are worth it!). I recommend reading through the post above in its entirety and following all tips mentioned (whip to stiff peaks, cool the meringue completely, proper butter temperature, add the butter gradually, etc.). If your buttercream still proves difficult, keep reading.
- For buttercream that curdles: sometimes the frosting can curdle while adding the butter. If this happens to you, keep on mixing until it comes back together. If it still won’t come together even after you’ve added all of your butter, pop the bowl of frosting in the fridge for about 10 minutes and then try mixing again.
- For buttercream that is soupy: place your bowl of frosting in the refrigerator for 20 minutes or until the frosting begins to firm up around the edges. Remove from the fridge and whip on high speed until it comes together again. Next time, make sure you fully whip your meringue to stiff peaks and let the bowl cool down completely before adding your butter. Also, make sure your butter isn’t too warm or greasy before adding it.
- If your buttercream feels gritty: you didn’t cook your meringue mixture long enough. Unfortunately, there’s no great way to fix this after you’ve added the butter. Next time, check your meringue mixture for sugar granules by rubbing a dab of the mixture between your fingers.
- If all else fails and your buttercream seems to be past the point of salvation (this is rare!), check out this guide on rescuing Swiss meringue buttercream from Serious Eats.
Enjoy!
Let’s bake together! Subscribe to my newsletter to be notified of all the newest recipes, and find my free recipe tutorials on YouTube 💜

Brown Sugar Swiss Meringue Buttercream
Ingredients
- 6 large egg whites (210g / 7.5oz / 210ml)
- 1 ¾ cups (350 g) brown sugar firmly packed (I use and recommend a blend of light and dark brown sugar, but you may use just light brown sugar)
- ½ teaspoon table salt
- 1 ½ cups unsalted butter softened nearly to room temperature and cut into Tablespoon-sized pieces (see note)
- 1 teaspoon vanilla extract
Recommended Equipment
- Stand mixer with a metal bowl and whisk and paddle attachment.
- Instant-read thermometer (optional but recommended).
Instructions
- In the clean, dry bowl of a stand mixer, combine egg whites, brown sugar, and salt and whisk until well-combined. Set aside.6 large egg whites, 1 ¾ cups (350 g) brown sugar, ½ teaspoon table salt
- Fill a medium-sized saucepan with about 1 ½” (4cm) water and bring to a simmer over medium-low heat.
- Place the mixer bowl over the simmering water, ensuring the bottom of the bowl doesn’t touch the water, and whisk constantly until the sugar dissolves and the mixture reaches 160F (70C). This will take some time (10 minutes would not be unusual), be patient. To check if the sugar is dissolved, you can carefully drizzle a small amount of the syrup onto a plate, let it cool slightly, then rub the mixture between your fingers – it should feel smooth and not gritty.
- Carefully remove the bowl from the water, dry off the bottom, and attach it to your stand mixer fitted with the whisk attachment.
- Beat the syrup on medium to medium-high speed until stiff peaks form (meringue will be thick, glossy, opaque and increased in volume and will hold its shape, meaning if you remove the whisk and flip it upside down the meringue will hold its peak and not fold over itself). This can also take some time, 10 minutes would not be unusual (or even longer).
- Allow the meringue to cool completely before proceeding. The bowl shouldn’t feel warm at all (feel near the base).
- Switch to your paddle attachment and set mixer to medium speed. Add butter, 1 Tablespoon at a time, not adding the next until the previous one has completely incorporated. If mixer looks curdled or starts to separate, don’t panic just keep mixing (making sure you’re giving your butter time to incorporate). If you’ve added all of your butter and are still having issues, please see the troubleshooting section in the post.1 ½ cups unsalted butter
- Once all butter is incorporated and mixture is smooth, scrape down the sides of the bowl, increase speed to medium-high and stir again until smooth and thick.
- Add vanilla extract and stir until combined. Use frosting immediately.1 teaspoon vanilla extract
Notes
Servings/Yield
This recipe yields approximately 5 cups of frosting. I find this is enough to frost a single layer 9×13 cake or a 2-layer 8” or 9” cake or modestly frost 24 cupcakes or very generously frost 12 cupcakes (you’ll likely have a little left over).Stand mixer
I really recommend using a stand mixer for this recipe. While you can substitute a double boiler and an electric hand mixer, it is going to take quite a long time and a lot of effort to whip the meringue with an electric mixer (and I’d even be worried about burning out the motor).Egg whites
Egg whites can be warm or cold, it doesn’t matter. Fresh eggs are more reliable than store-bought, but store-bought egg whites should work so long as there are no additives.Butter
If using salted butter, omit the salt called for in the recipe. The butter should not be oily/greasy or it’s too warm and the buttercream will curdle. Conversely, it shouldn’t be too cold or the frosting won’t whip smoothly. I aim for a butter around 69-70F (20C) (I use an instant read thermometer to check the temperature).Troubleshooting
Please see the post for detailed troubleshooting instructions.Storing
I recommend using this frosting immediately after preparing it, but it can be stored. Place in a container with a piece of plastic wrap or parchment directly against the surface and then seal the container. Place in the refrigerator for up to a week. When ready to use, allow it to come completely back to room temperature (in the container) and then re-whip using the paddle attachment before using. If it looks curdled or separated, continuing to mix should bring it back together. Freezing this frosting can be a pain to use afterwards so I don’t really recommend it. Once used to frost a cake/cupcakes it will keep for at least 2 days at room temperature, 5 days in the refrigerator, or a month in the freezer.Nutrition
Nutritional information is based on third-party calculations and should be considered an estimate only. Actual nutritional content will vary based upon brands used, measuring methods, cooking method, portion sizes, and more.




Alyssa Werst
Excited to try this! Can I use browned butter for this recipe?
Sam Merritt
Hi Alyssa! I haven’t personally tried it. I think it could work if it is allowed to cool completely before using. Let me know how it goes if you try it. 🙂
Bonnie
Wow!! It surpassed my expectations! This was the dreamiest, most silky frosting with the richest flavor. It was well worth the extra time and effort. My husband was wowed by the melt in your mouth texture. No problems at all when directions are followed. Thanks so much!!
Emily @ Sugar Spun Run
We are SO happy you both enjoyed it so much, Bonnie! Thanks for coming back to leave a review 🩷
Trish Cunningham
Made for my son’s birthday cake and it turned out beautiful. I wasn’t sure about using my glass bowl that came with my mixer so I bought a metal one and very happy I did. Thank you for this recipe. I had a lot of compliments and requests for the recipe.
Sam
I’m so glad you enjoyed it so much, Trish! 🙂
Laly
Hello, thank you very much for your recipes.
Just a small note, 210 g of egg white is not equal to 210 ml of egg white. Only in water this equality is fulfilled ,1 liter of water=1000 g of water.
Sam
Hi Laly! While you are correct that usually only water is equal, it is very, very close when using egg whites so any of these measurements will work here. 🙂