
The Best Cheesecake Recipe
This post may contain affiliate links. As an Amazon Associate I earn from qualifying purchases. Please read my disclosure policy.
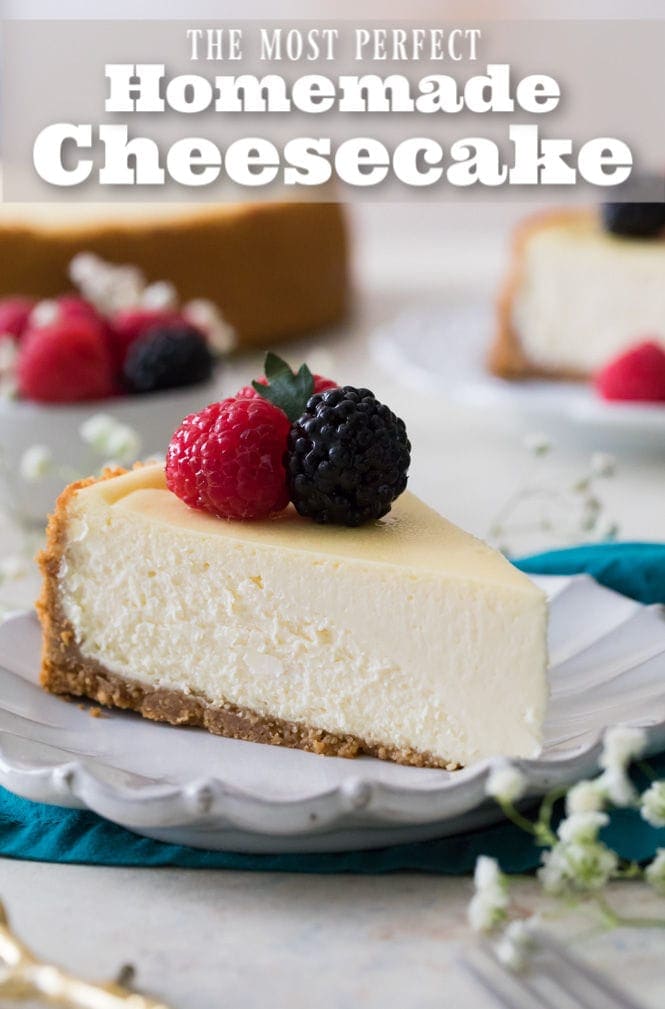
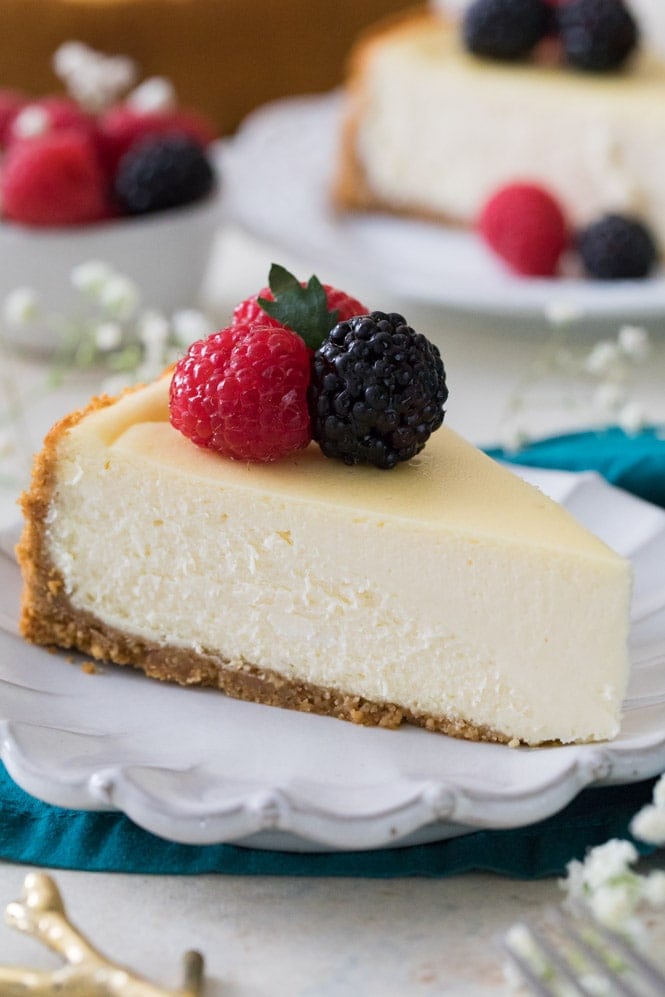
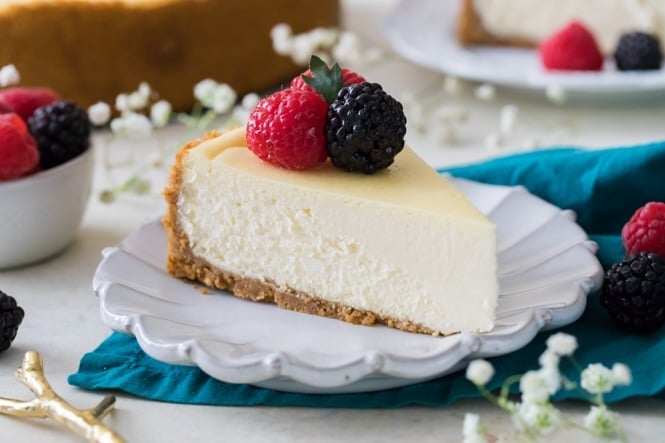
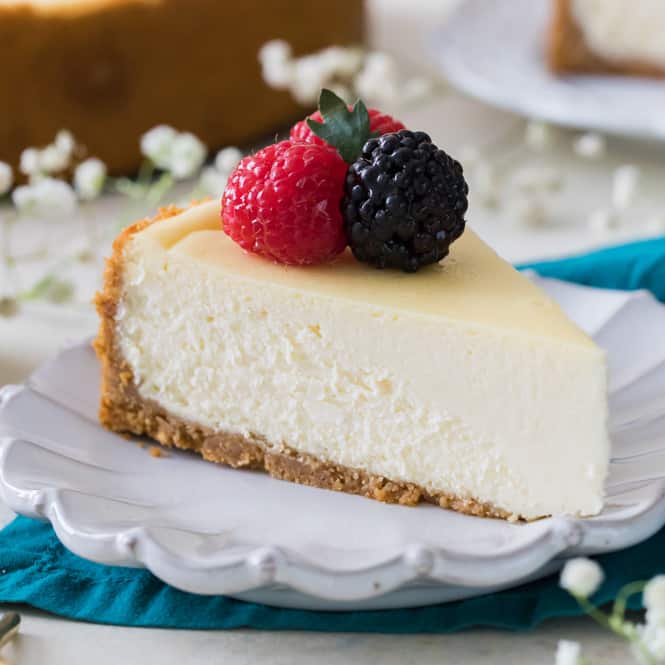
Today I’m so excited to show you how to make the best Cheesecake Recipe of your life. Simple, classic, and no water bath required!! The texture is smooth, rich, and creamy, served over a crisp homemade graham cracker crust.
I’ve included tons of detailed tips and important info in today’s post so you can make the perfect creamy cheesecake every time. For a visual how-to, be sure to check out my step-by-step video beneath the recipe!
The Perfect Cheesecake Recipe
This cheesecake recipe has been a long time coming.
For a recipe with so few ingredients (cream cheese, eggs, sugar, sour cream, vanilla & salt), it took a lot longer than you might think to develop the perfect version. I’ve shared a few cheesecake variations in the past, including my No-Bake Cheesecake, but getting a perfected classic version took lots of testing. Finally, here we are.
Oh, and we are skipping the water bath! I’ve always found them to be largely unnecessary with cheesecakes. Cook yours on a low temperature and follow my tips below and you’ll have a perfectly creamy and crack-less cheesecake without all the hassle of a water bath.
Other tested/perfected classics to try: my Pound Cake, Chocolate Cake, and Carrot Cake, (to name just a handful).
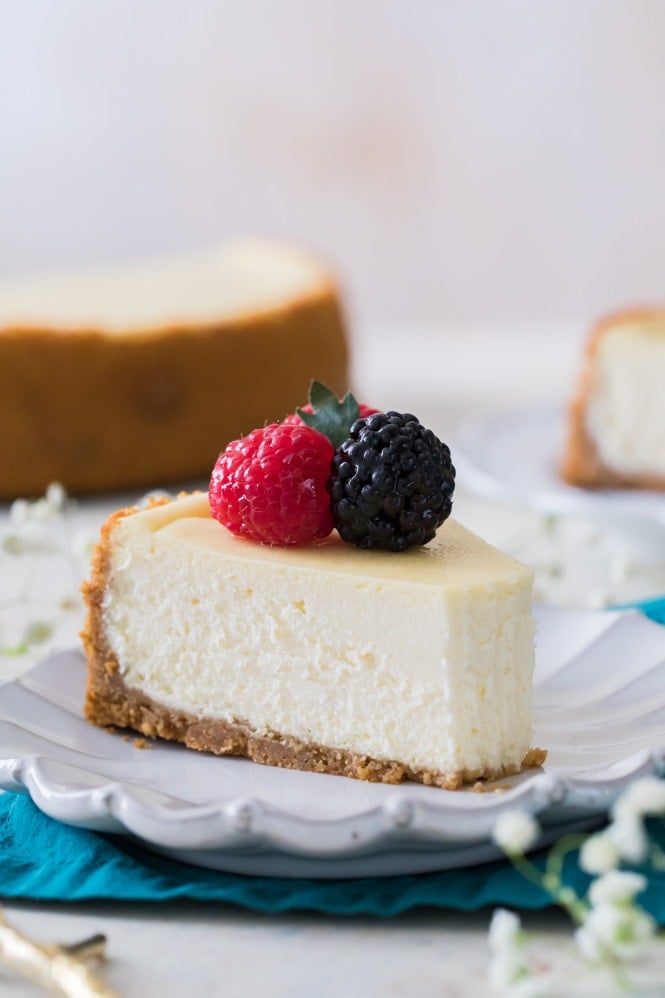
Must-Know Tips for Baking the Perfect Cheesecake (Without a Water Bath!)
Use room temperature ingredients
It’s important that your cream cheese comes to room temperature before you begin making your cheesecake. This will prevent any lumps and ensure a cheesecake with a smooth, creamy texture. However, to ensure that all of your ingredients blend together nicely and give you the desired result, they should all be at room temperature before you begin.
Take it easy on the eggs
Over-beating your eggs is one of the quickest ways to ruin a cheesecake. Over-beating can ruin the texture and can cause cracks. To prevent this, lightly scramble each egg before adding it into your batter. Keep your mixer on low speed and stir until just combined. Be sure to pause after each addition and scrape down the sides and bottom of your mixing bowl.
Don’t open the oven!
I know how tempting it can be to want to check on your perfect, beautiful cheesecake, but wait until it’s finished baking (or close to it) before opening the oven door! Yes, you will have to test for doneness at some point and there’s a real possibility it will need more time in the oven, but minimize opening the oven as much as possible.
Opening the oven door can drastically reduce the temperature of your oven, which will slow the baking process and might cause your cheesecake to sink or crack.
Free your crust!
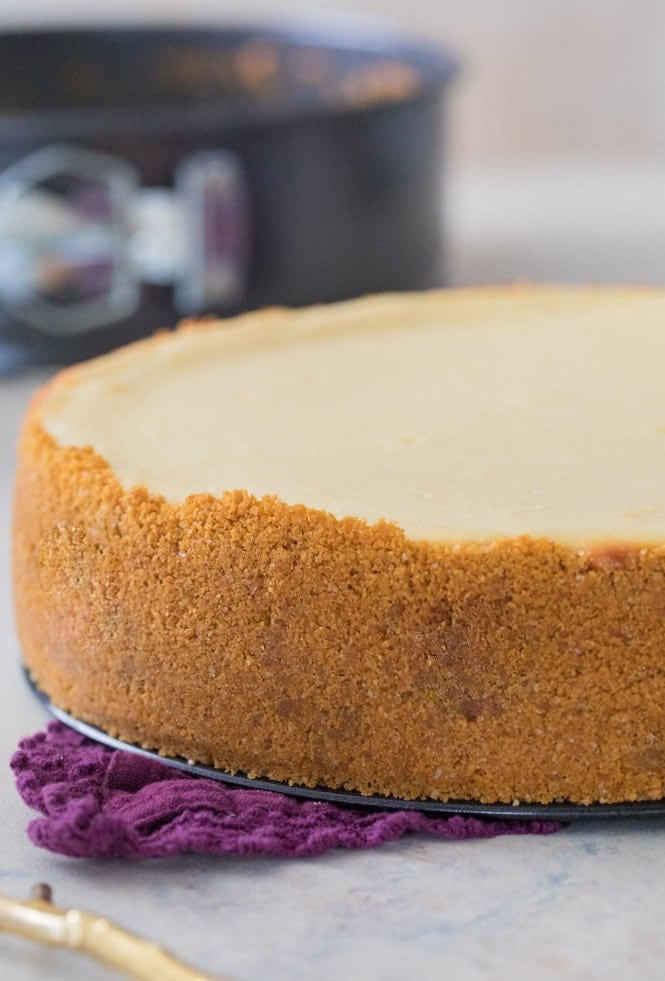
Once your cheesecake is done baking, allow it to cool for 10 minutes on top of the stove. Then, run a knife around the inside of the springform pan to loosen the crust from the sides.
As your cheesecake cools, it may to shrink a bit. If the crust is stuck to the pan, your crust won’t give but your cheesecake will (leaving you with cracks). Free the crust from the sides so it can contract with your filling as needed.
Cool at room temperature before moving to the fridge
I always let my cheesecake come to room temperature before chilling. For bests results, let it cool as gradually as possible. I put mine on top of my oven (the warmest spot in my house) so it can gradually cool off as the oven does.
This pre-chilling cooling period can take an hour or two, but it’s worth it. An abrupt temperature change (moving the cheesecake directly from oven to fridge) is likely to make it crack.
How to Store Cheesecake
Cheesecake should always be stored chilled in the refrigerator. When I’m ready to store mine, I’ll usually replace the springform ring and then cover the top with foil.
Cheesecake shouldn’t be left out at room temperature for more than 4 hours (or less if it’s particularly hot/humid!).
Can I Freeze Cheesecake?
Yes, you can freeze your cheesecake! Fortunately, this cheesecake recipe actually freezes very well. To freeze, first allow your cheesecake to cool on the stovetop and in the fridge as instructed. Once it’s chilled, you can freeze by wrapping thoroughly in plastic wrap and then wrapping in foil. Cheesecake will keep in the freezer for several months.
To thaw, transfer to the fridge and let it thaw there overnight.
Here’s a great source for more information on freezing cheesecake, including suggestions if you’d like to freeze by the slice.
Other Cheesecake Variations You Might Like:
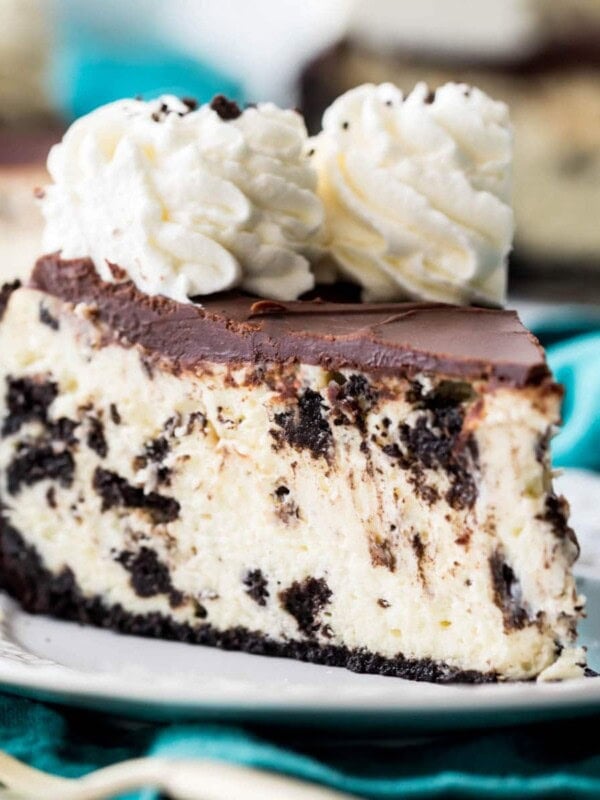
- Oreo Cheesecake
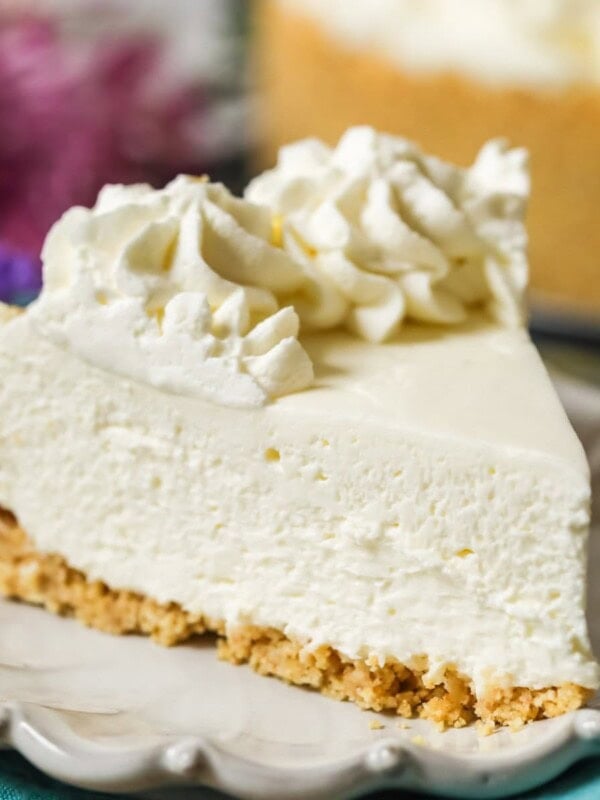
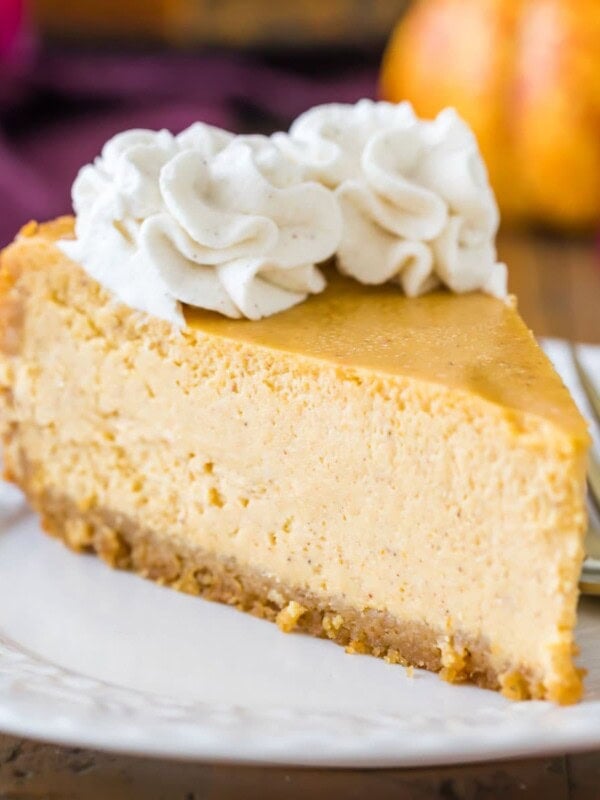
- Pumpkin Cheesecake
- Chocolate Cheesecake
- Or try something different and serve this cheesecake on an Oreo Crust!
Enjoy!
The BEST Cheesecake Recipe

Equipment
Ingredients
Graham Cracker Crust¹
- 1 ½ cups graham cracker crumbs, (170g)
- 2 Tablespoons sugar
- 1 Tablespoon brown sugar, (can substitute white)
- 7 Tablespoons butter, melted
Cheesecake
- 32 oz cream cheese², softened to room temperature (910g)
- 1 cup sugar, (200g)
- ⅔ cups sour cream, (160g)
- 1 ½ teaspoons vanilla extract
- ⅛ teaspoon salt
- 4 large eggs, room temperature, lightly beaten
Instructions
- Preheat oven to 325F (160C).
- Prepare Graham Cracker crust first by combining graham cracker crumbs, sugar, and brown sugar, and stirring well. Add melted butter and use a fork to combine ingredients well.1 ½ cups graham cracker crumbs, 2 Tablespoons sugar, 1 Tablespoon brown sugar, 7 Tablespoons butter
- Pour crumbs into a 9” Springform pan and press firmly into the bottom and up the sides of your pan. Set aside.
Cheesecake
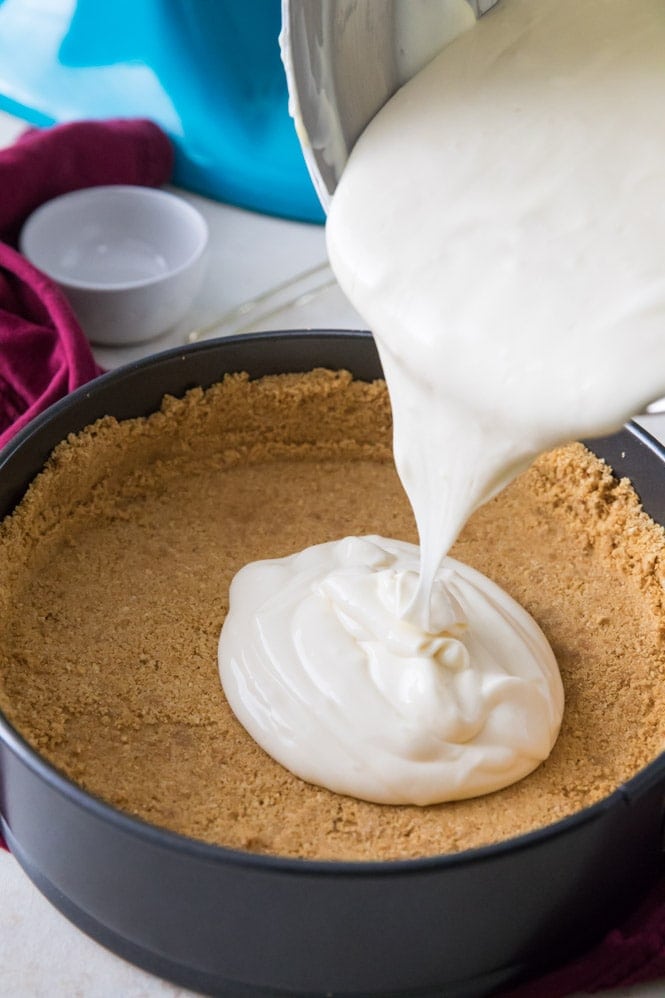
- In the bowl of a stand mixer or in a large bowl (using a hand mixer) add cream cheese and stir until smooth and creamy (don’t over-beat or you’ll incorporate too much air).32 oz cream cheese²
- Add sugar and stir again until creamy.1 cup sugar
- Add sour cream, vanilla extract, and salt, and stir until well-combined. If using a stand mixer, make sure you pause periodically to scrape the sides and bottom of the bowl with a spatula so that all ingredients are evenly incorporated.⅔ cups sour cream, 1 ½ teaspoons vanilla extract, ⅛ teaspoon salt
- With mixer on low speed, gradually add lightly beaten eggs, one at a time, stirring just until each egg is just incorporated. Once all eggs have been added, use a spatula to scrape the sides and bottom of the bowl again and make sure all ingredients are well combined.4 large eggs
- Pour cheesecake batter into prepared springform pan. To insure against leaks, place pan on a cookie sheet that’s been lined with foil.
- Transfer to the center rack of your oven and bake on 325F (160C) for 50-60 minutes (or longer as needed, see note 3). Edges will likely have slightly puffed and may have just begun to turn a light golden brown and the center should spring back to the touch but will still be Jello-jiggly. Don't over-bake or the texture will suffer, which means we all suffer.
- Remove from oven and allow to cool on top of the oven⁴ for 10 minutes. Once 10 minutes has passed, use a knife to gently loosen the crust from the inside of the springform pan (this will help prevent cracks as your cheesecake cools and shrinks). Do not remove the ring of the springform pan.
- Allow cheesecake to cool another 1-2 hours or until near room temperature before transferring to refrigerator and allowing to cool overnight or at least 6 hours. I remove the ring of the springform pan just before serving then return it to the pan to store. Enjoy!
Notes
1) Graham cracker crust
For more details on making this crust or to use whole graham crackers, please see my Graham Cracker Crust Recipe.2) Cream cheese
Make sure that you use the brick-style cream cheese, not the spreadable version that is available in tubs.3)Bake time
Exact bake time can vary depending on your oven, whether you bake your cheesecake on a baking pan or not, the color of your springform pan (light or dark), and even the precise temperature of your ingredients. Because of this I recommend checking your cheesecake at 50 minutes and adding time as needed. However, it is not uncommon for the cheesecake to take as long as 75 minutes to bake, but it's better to check sooner.4) Cooling cheesecake
I recommend the top of the oven because it is usually the warmest place in my house (after it’s been on for over an hour). This will help to cool the cheesecake more gradually and will also help avoid cracks).Nutrition
Nutrition information is automatically calculated, so should only be used as an approximation.
Like this? Leave a comment below!









I’m sure this will be delicious as all your recipes turn out to be faves for my family. Wondering if this cheesecake can be made crustless?
Hi Mary! Yes, you can make this without the crust. You may need to adjust the bake time, and we would recommend you line the pan with parchment so it doesn’t stick to the pan 🙂
I increased the crumbs to 2 cups and still didn’t have anywhere near enough to crust up the sides of the pan O.O It’s baking now, so I guess we’ll see if I accidentally left it too thick in parts, but I don’t believe so, as I was struggling to get it to even solidly cover the bottom. I also seem to have mixed up multiple recipes, because now that I’m re-reading this, I don’t see any mention of putting water in the oven… Hopefully that doesn’t ruin it lol.
Oh well… if it’s a little mushy or has less crust, I’m sure it will still be cheesecake.
Fantastic! Just like everything else you’ve made. You’re quite an artist in the kitchen.
Thank you for sharing such a deep well of experience and expertise. Awesome!
Kelly V.
perfect every time yummy
I made this cheesecake with my granddaughter (our first attempt at one) and it was outstanding
smooth and creamy. I used a bit less sugar as I generally do. it was perfect!
Thank you
Getting ready to test this out but I need to bake in 3″ individual pans. Guidance on cooking time?
Hi Jessica! Unfortunately I haven’t personally baked this in a 3″ pan so I can’t give good guidance. 🙁 I would just be sure to keep an eye on them as they bake.
I love this cheesecake, but I’m wondering if I were to add salted caramel like drizzled it into the batter before I bake it if it would change it like the texture?
Hi Lydia! I would recommend checking out my salted caramel cheesecake if you are looking for a good caramel cheesecake. 🙂
The only thing I would change is to par bake the crust for 8-10 minutes, let it cool, and then add the filling and bake. My crust was a little soft, not crunchy when I baked it at the same time as the filling.
Hi there, may I ask if you use the fan mode for your oven when making it?
Hi Stef! We developed this recipe with a conventional oven. A convection oven can work, but you will need to make the proper temperature adjustments. Hope that helps!
I’ve made this before and it was so good my son requested one for his birthday (today!) thank you for putting the ingredients under the step by step instructions. So helpful to not have to scroll up and down, up and down 😀
We’re so happy it’s helpful, Heather! 💕
Should I bake the crust first?
Hi Briana! It is not necessary to bake the crust first. 🙂
Since I don’t have a springform pan, can I use a 9 x 13 pan? Thank you!
Hi Brenda! I actually have a cheesecake bar recipe that you can follow. 🙂
Lived up to it’s name , best cheesecake ever!
My crust came out soft, is that normal?
Hi Nune! Did you use a water bath by chance? Is it soggy?
A coworker makes this recipe and it is the best cheesecake I’ve ever had in my entire life. I am going to try to make it.
Hi Lanette! I hope you have a great time making this cheesecake. I hope you’ll check out some of my other recipes as well. 🙂