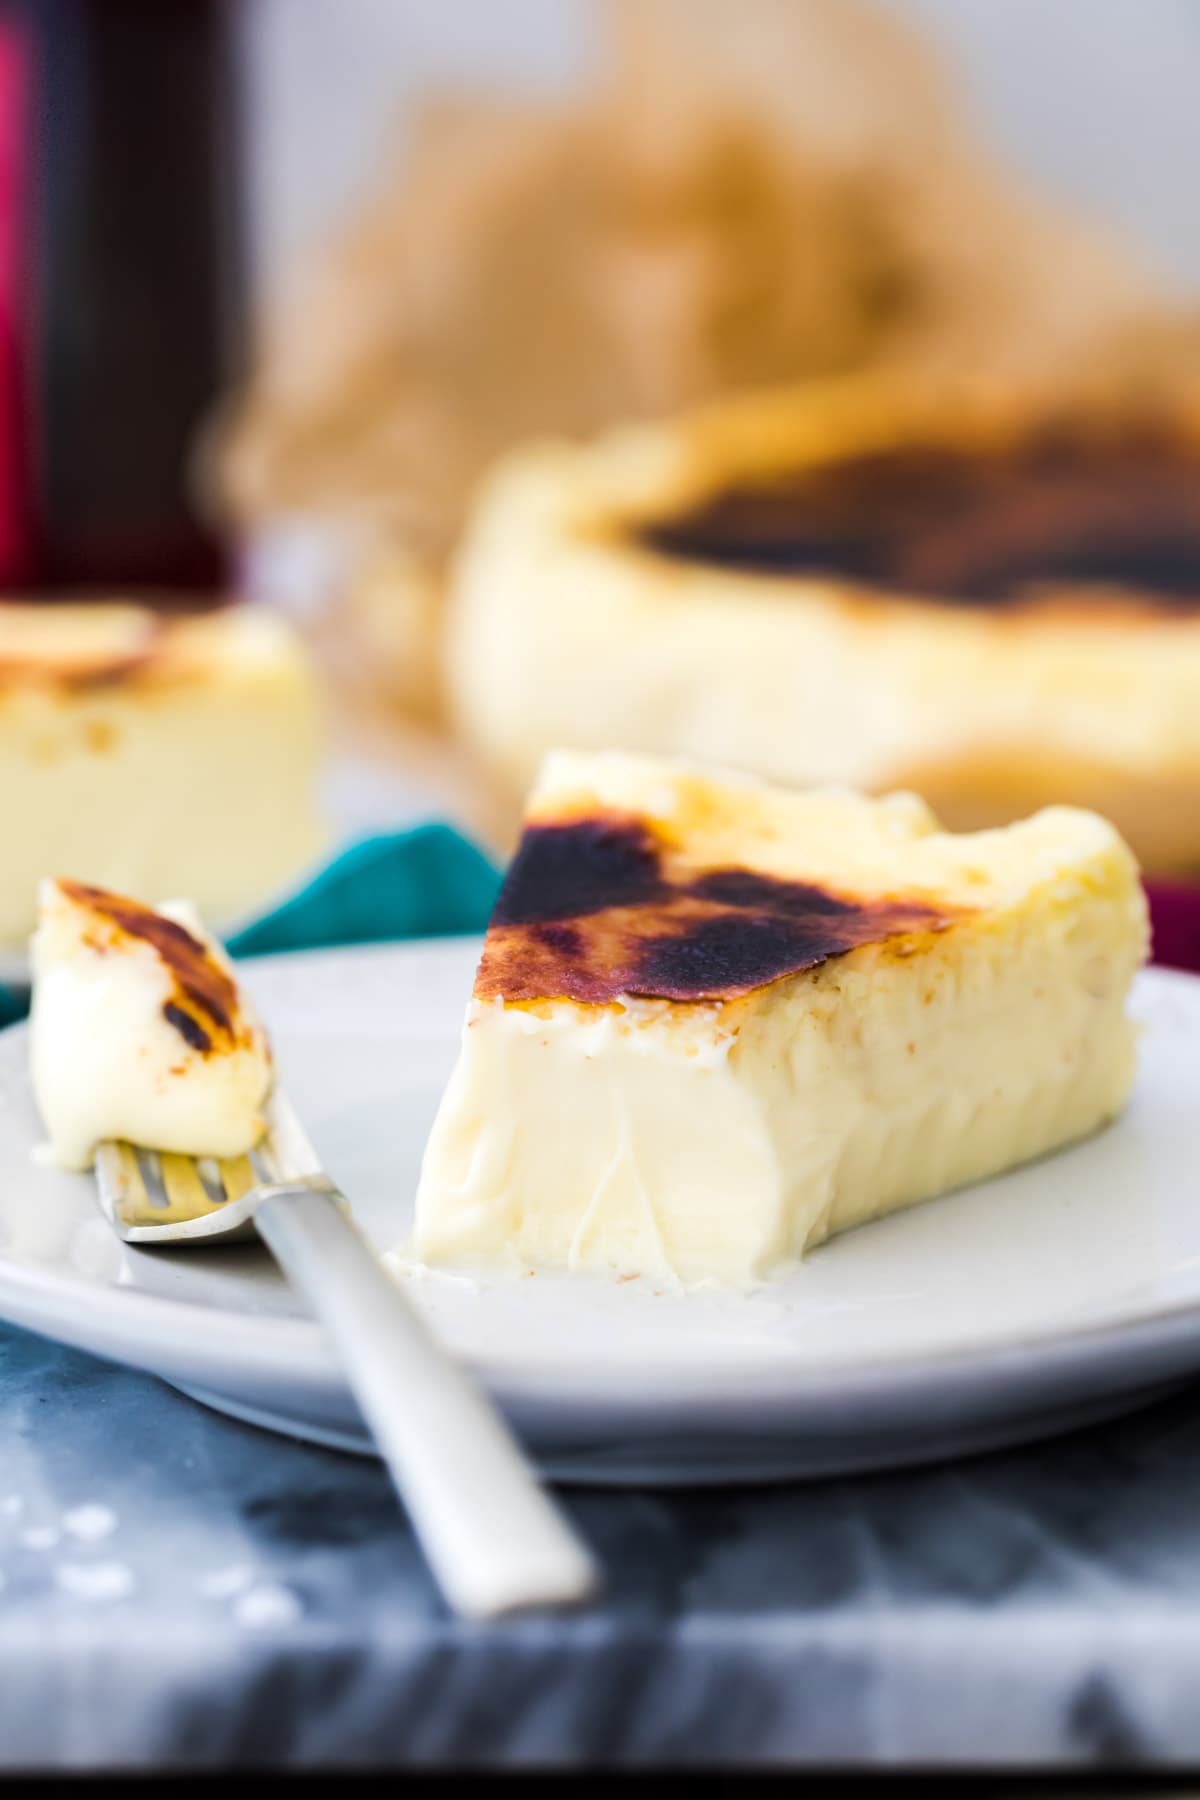
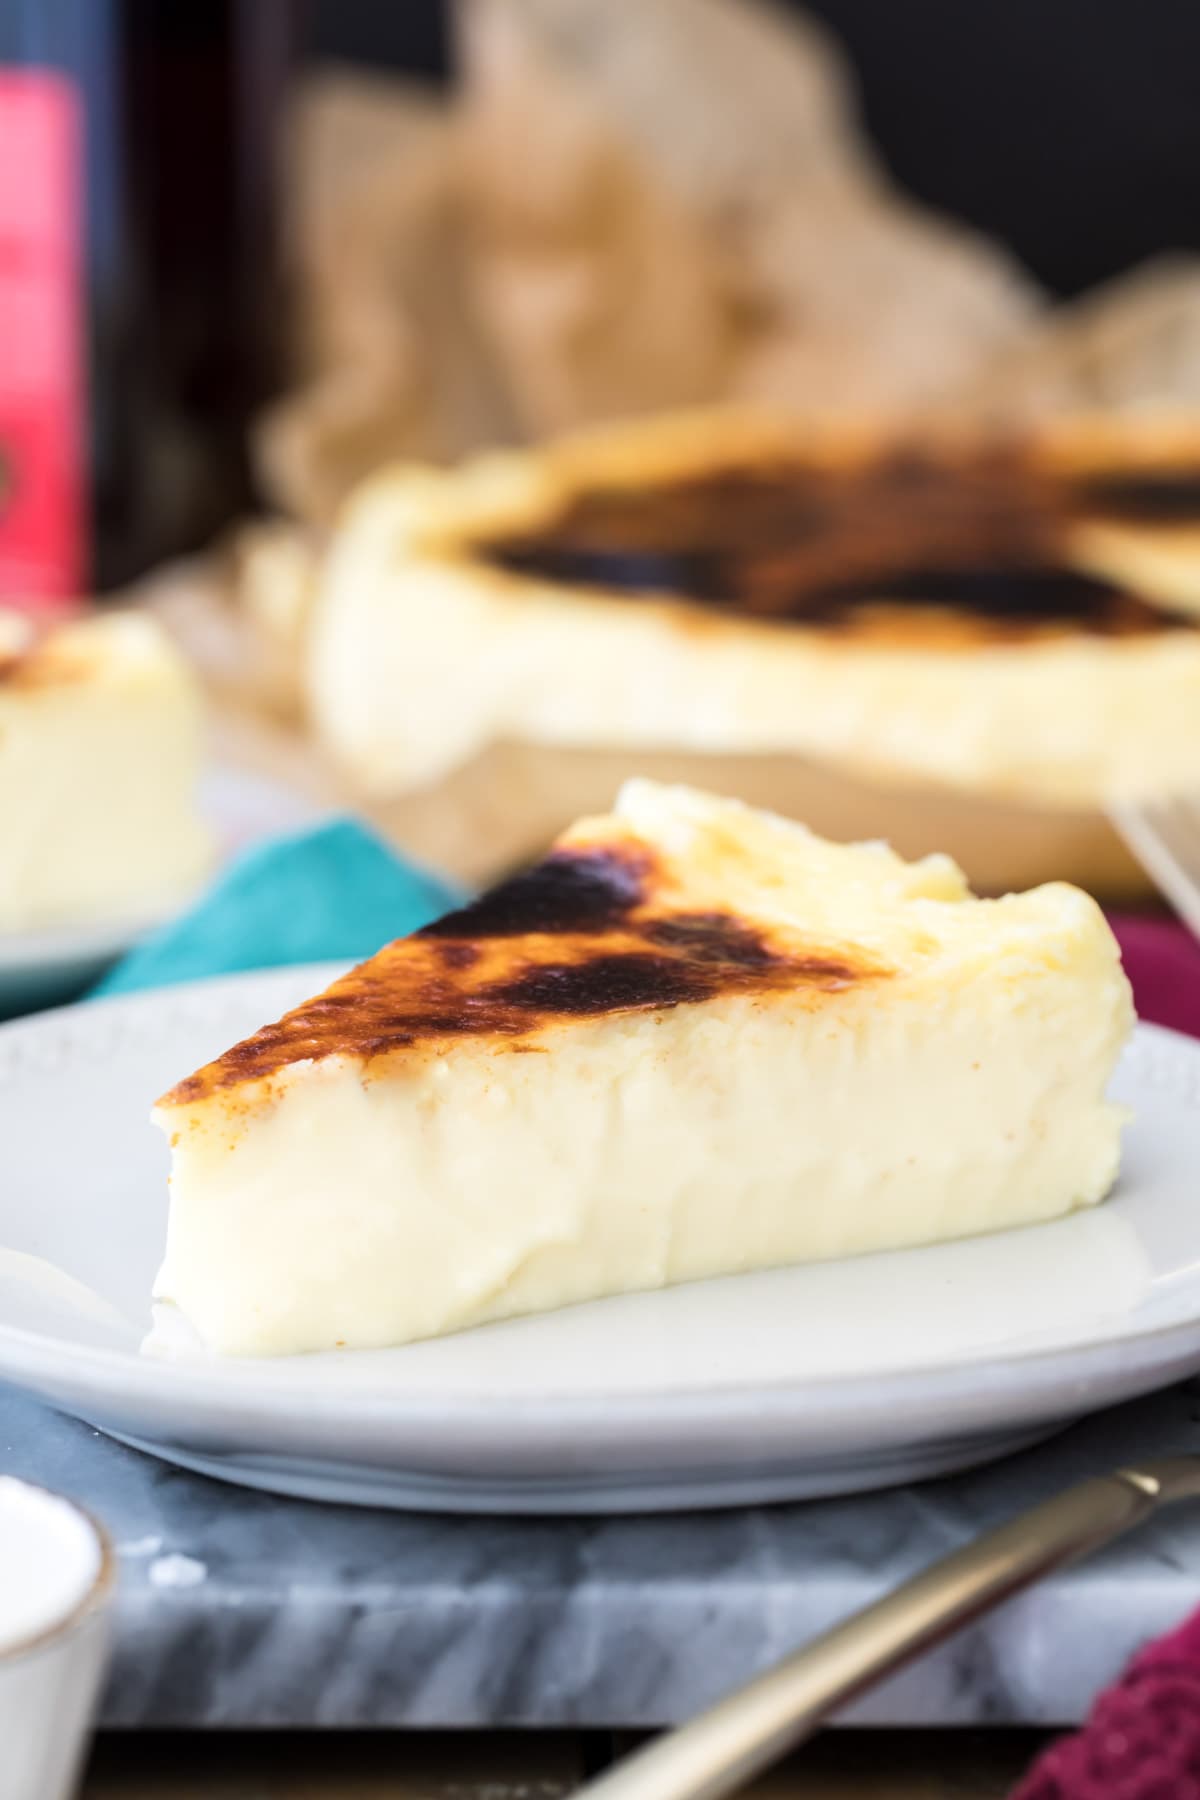
Basque cheesecake, (also known as burnt cheesecake), originated in Spain and has become an internet sensation with its blackened top and outrageously creamy interior. Believe it or not, it’s also the easiest cheesecake recipe on my blog with only 5 minutes of prep and no water bath! Recipe includes a how-to video!
Burnt Cheesecake
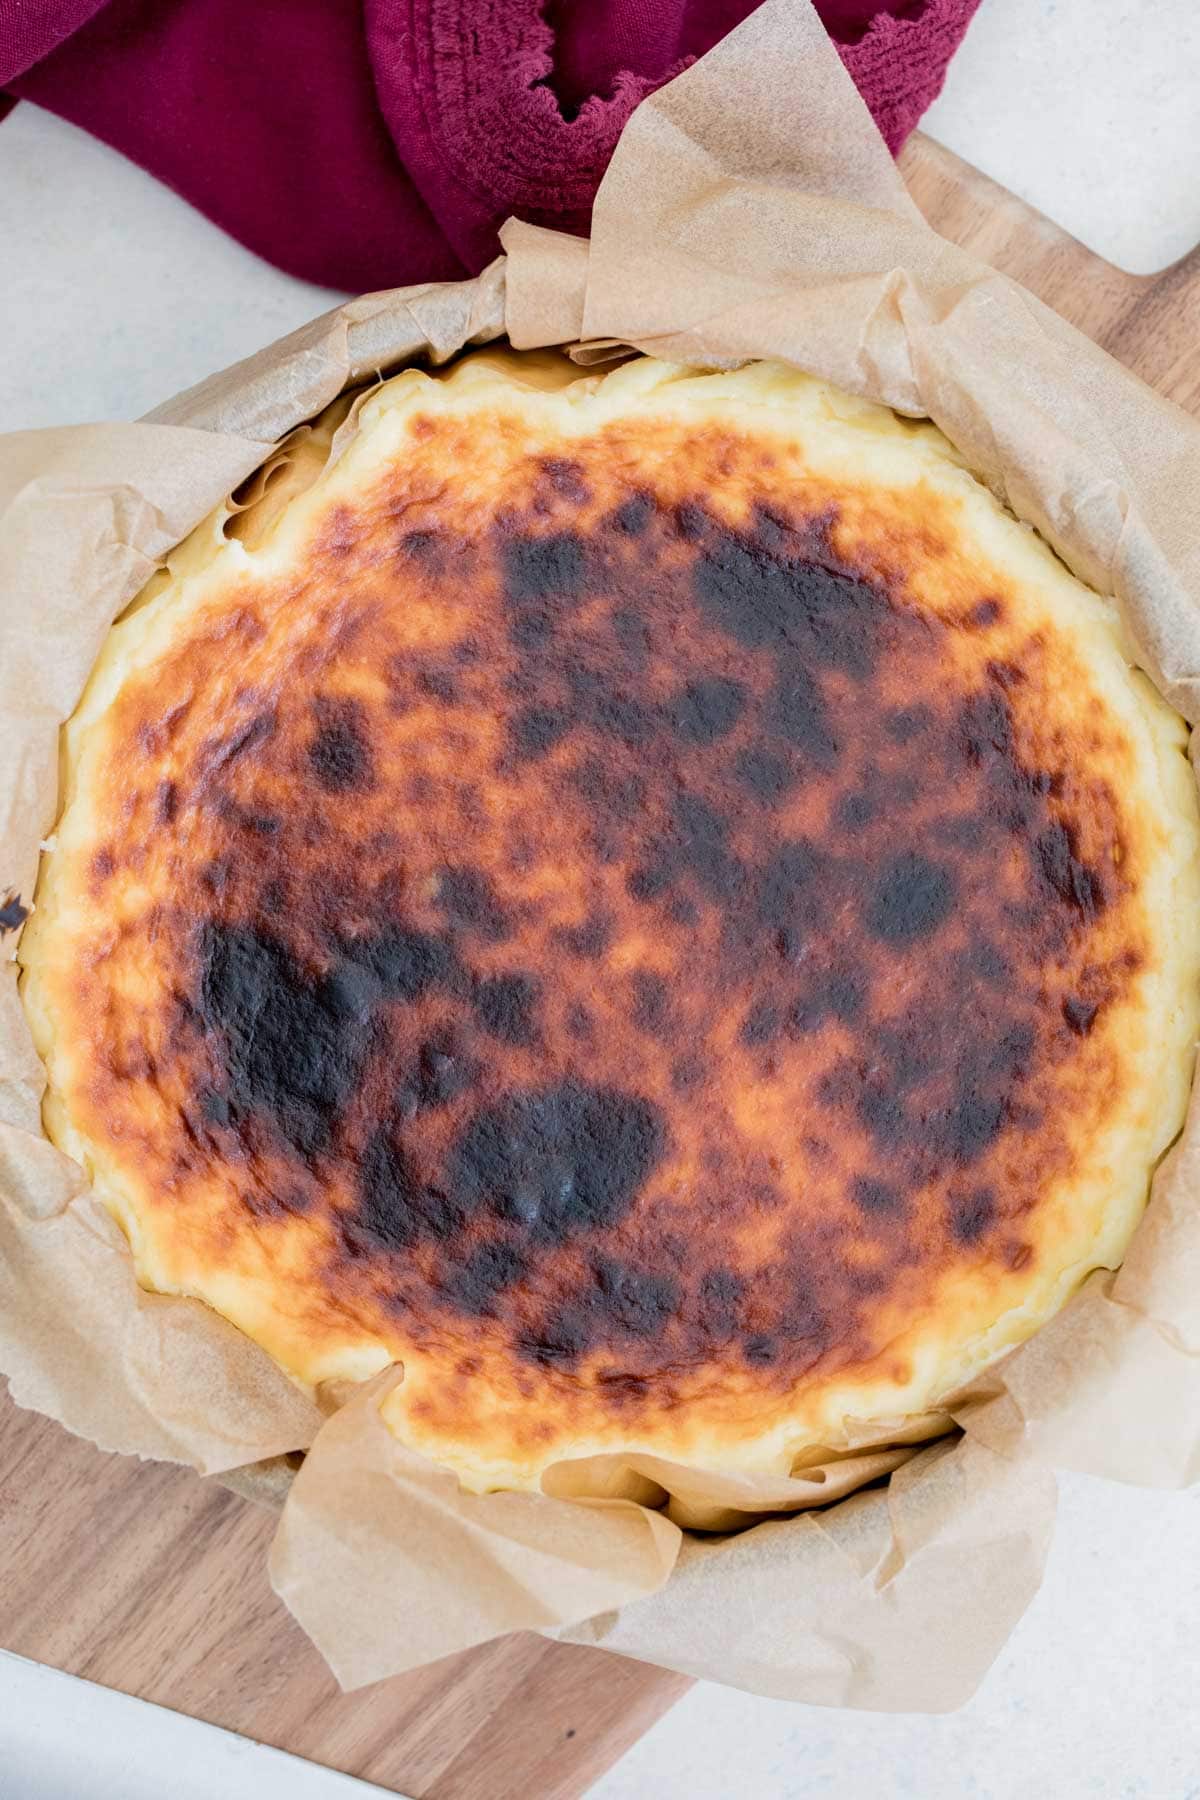
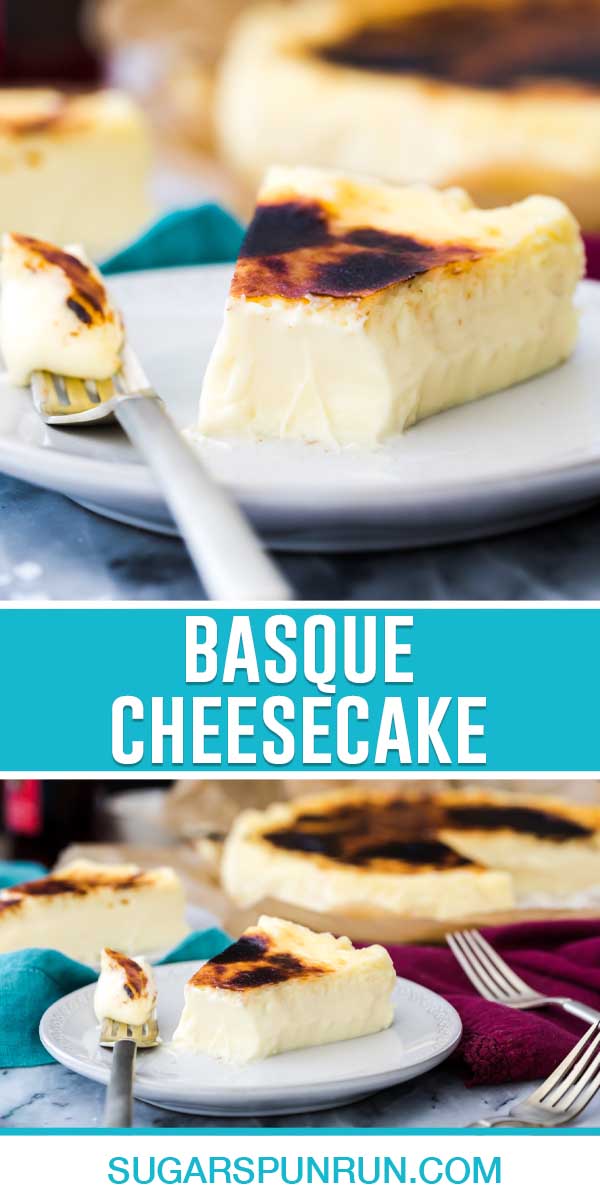
Yes, it’s supposed to look like that.
Get used to saying it. While the San Sebastian burnt cheesecake has been making the rounds on the internet and is renowned in Spain, its deeply browned and blistered top can be a bit shocking to the average cheesecake aficionado.
And that’s because it simply breaks all the rules. For one, there’s no crust. The ingredients don’t need to be at room temperature, it’s baked on a high temperature, there’s no water bath, and rather than a creamy, snowy, white and smooth surface, it’s purposefully burnt (and cracks or blemishes are welcome rather than discouraged).
The basque cheesecake is the most irreverent cheesecake I’ve ever made, and it might just be my favorite.
Why This Recipe Works
I spent a lot of time researching the origins of the Basque cheesecake. It hails from La Viña restaurant of San Sebastian, Spain, and I modeled my recipe closely off of this one. A few changes were in order to make this approachable for the home baker. You’ll love this recipe because:
- It’s easy to make. Five (yes, literally 5) minutes of prep in your blender.
- There’s no waiting for the ingredients to soften or warm to room temperature.
- There’s no fancy technique and no water bath needed. All you need to be able to do is change your oven temperature. Simple enough.
- No flour! Many recipes add flour to help stabilize the cheesecake. We want a smooth, molten, and creamy center. Flour inhibits this and is not needed
- It has a deliriously decadent, silky-smooth, nearly-molten center that’s reminiscent of créme brûlée or pastry cream.
- It’s specially designed for the home baker’s kitchen. My recipe is approachable and made to work in your oven.
Basque Cheesecake Ingredients
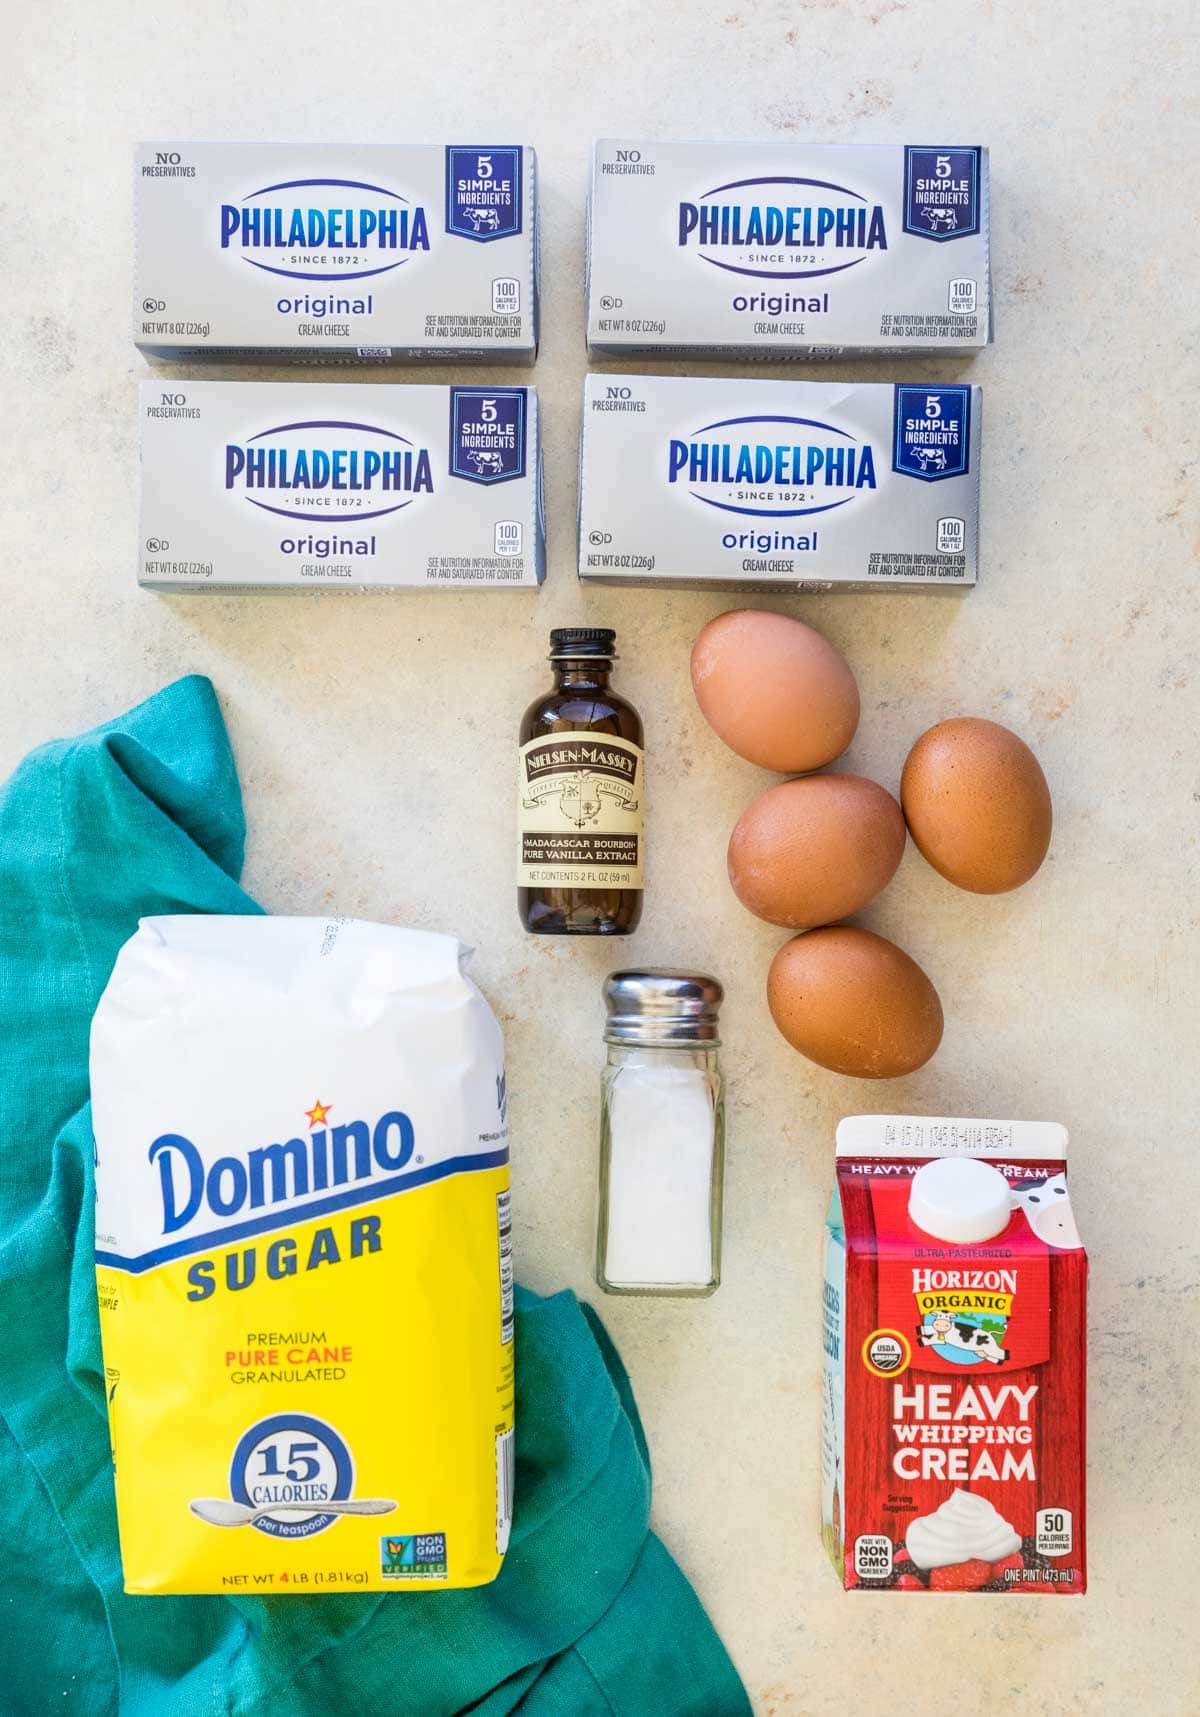
Here’s what you need:
- Cream cheese. I recommend Philadelphia brand cream cheese. Make sure you are using regular (full fat, not low-fat) brick-style cream cheese as this recipe won’t work with the spreadable variety that is often sold in tubs. Possibly the best part of this recipe is that you do not need to soften the cream cheese!
- Sugar. This recipe uses quite a bit more granulated sugar than my classic recipe. This not only adds sweetness but also contributes to the overall texture of the burnt cheesecake.
- Heavy cream. Heavy cream (you could substitute “double cream” or “whipping cream”) adds richness and intense creaminess to the recipe. I tried a few recipes using sour cream but ultimately decided heavy cream was best.
- Eggs. Integral for stability and structure. They also complicate the recipe because they’re prone to being over-baked, but my unique cooking method prevents this!
- Vanilla & Salt add flavor to the cheesecake. For an even more gourmet experience, use finely ground sea salt and scrape a vanilla bean into the batter rather than using extract!
SAM’S NOTE: Add the zest of a lemon or orange for a citrus flavor.
How To Make a Burnt Cheesecake
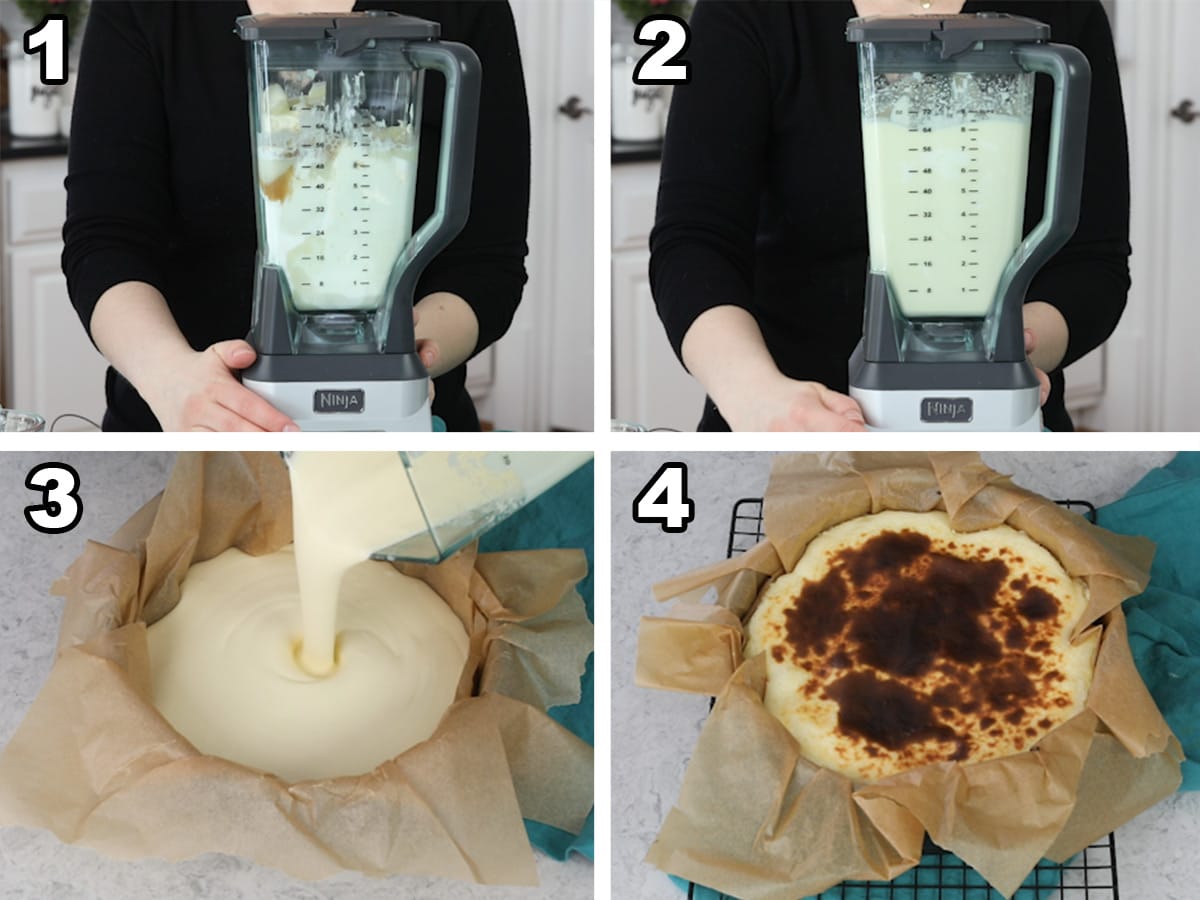
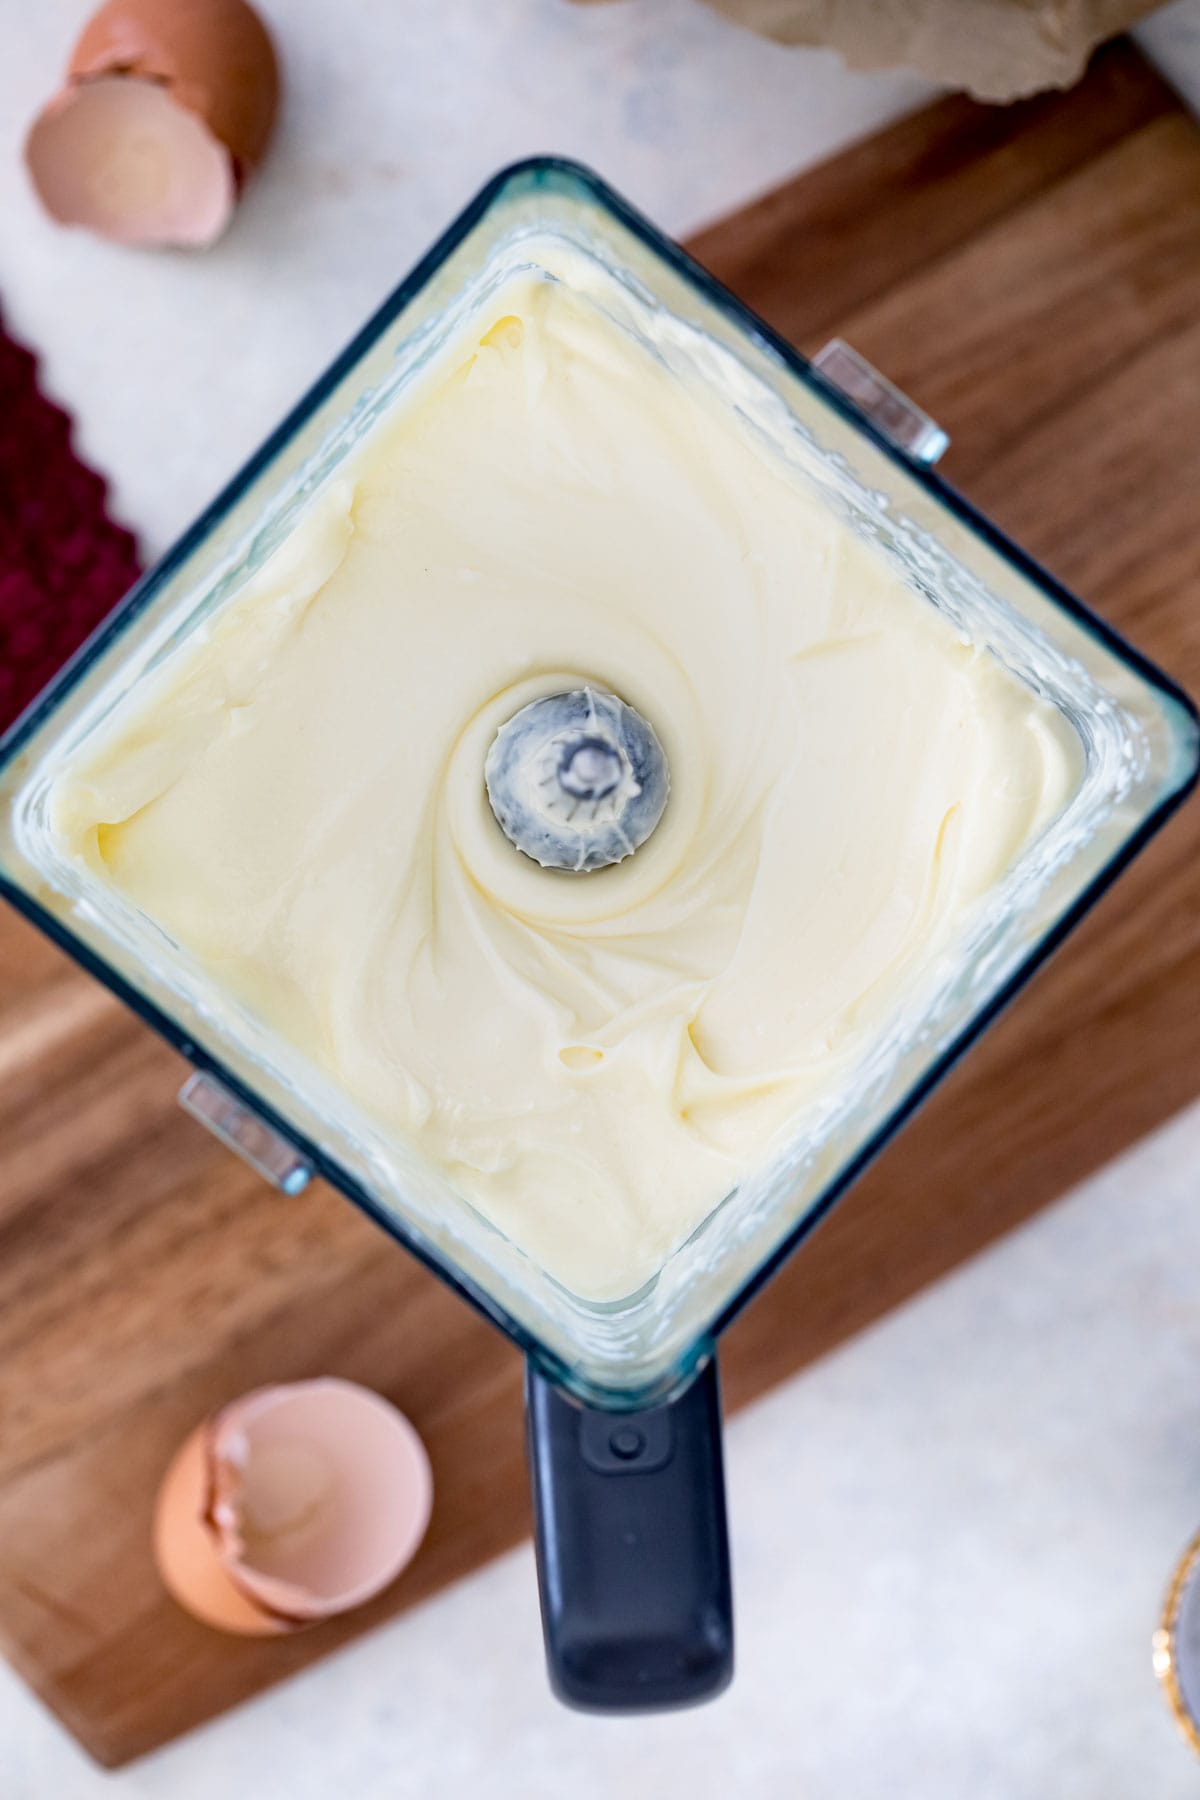
- Add all ingredients to a blender (if you don’t have a blender check out the FAQ below).
- Blend until ingredients are completely smooth.
- Pour the smooth batter into your prepared springform pan. Bang the bottom of the pan firmly against the counter a few times to work out any air bubbles.
- Bake the cheesecake until it is jiggly with a burnt, but not charred top. You may notice large bubbles forming; they will settle quickly as the cheesecake cools. Chill for at least 5 hours in the refrigerator.
The original San Sebastian recipe calls for baking the cheesecake on 500F for the entire time. This did not work for me and yielded a mostly eggy, curdled cheesecake with a creamy center but unappealing outer layer. I suspect it may have something to do with a difference in ovens (perhaps it works with a commercial or fan oven?). What worked for me was starting on a low temperature, and then increasing the heat so as to only overcook the top rather than the whole thing.
SAM’S TIP: If you have the patience to do so, let your cheesecake batter rest for 20-30 minutes before popping it in the oven (after tapping it). This will help any air bubbles move to the surface and escape, which will give the basque cheesecake a more evenly browned top. Please note from my photos that I am not a patient person.
Frequently Asked Questions
Yes, this recipe can be made with an electric mixer instead but you will want to soften your cream cheese and use room temperature eggs in order to avoid lumps. I’ve included notes in the recipe on how to make a basque cheesecake without a blender.
Yes, you can bake this on a graham cracker crust or Oreo crust. No need to bake the crust first.
Most likely your oven was too hot or it was cooked for too long at the higher temperature. Remember, you want to deeply brown your cheesecake but you don’t want a bitter, charred, or inedible top.
Basque cheesecake is not simply a raw cheesecake. The USDA states that eggs must be cooked to 160F (71C) and the center of your cheesecake should easily exceed this if temped using an instant read thermometer. Think of it much like a custard, like créme brûlée. It’s cooked but deliriously smooth and creamy.
SAM’S TIP: Make it a créme brûlée cheesecake! Lightly and evenly sprinkle 2-3 teaspoons of sugar over the surface for a caramelized sugar topping!
More Recipes You Might Like:
I’m incredibly excited to hear how you enjoy my version of this popular recipe. Don’t forget to leave me a comment if you try it! Enjoy!
Let’s bake together! Make sure to check out the how-to VIDEO in the recipe card!
Basque Cheesecake (Burnt Cheesecake)
Ingredients
- 32 oz (907 g) full-fat Philadelphia cream cheese cold
- 2 cups (400 g) granulated sugar
- 1 cup (236 ml) heavy cream cold
- 4 large eggs cold
- 2 teaspoon vanilla extract
- ¾ teaspoon salt
Recommended Equipment
Instructions
- Arrange rack to middle of the oven (see note 2) and preheat oven to 325F (165C)
- Line a 9” (23cm) springform pan all the way up the sides with parchment paper. The parchment should be extending at least an inch above the sides of the pan, I usually use two perpendicular pieces of parchment to achieve this.
- Combine ALL ingredients in a blender and blend until completely smooth. You may need to stop and scrape the sides, you want to make sure there are no lumps of cream cheese that have settled on the sides or bottom.32 oz (907 g) full-fat Philadelphia cream cheese, 2 cups (400 g) granulated sugar, 1 cup (236 ml) heavy cream, 4 large eggs, 2 teaspoon vanilla extract, ¾ teaspoon salt
- Pour batter evenly into prepared baking pan. Repeatedly and firmly tap the pan against your countertop to help remove air bubbles.
- Transfer to 325F (165C) preheated oven and bake for 35 minutes. Once time has elapsed, do not open the oven but increase oven temperature to 500F (260C) (see note 3 if your oven does not go this high) and bake for approximately 5-10 minutes until the top of the cheesecake is deeply and thoroughly browned (watch the cheesecake through the glass with the oven light on, exactly how long this will take will vary depending on your individual oven but you don’t want the cheesecake to be completely charred).
- Remove from oven, it should still be extremely jiggly. Allow to cool to room temperature then transfer to refrigerator to chill overnight or for at least 5 hours before removing the ring from the springform pan, peeling back the parchment, slicing and enjoying.The San Sebastian Basque cheesecake is often served at room temperature. You may let the slices come to room temperature before serving, but personally I think this cheesecake is best cold.
Notes
1) If You Don’t Have A Blender
If you don’t have a blender, this recipe can be made with an electric mixer instead. You will want to use softened cream cheese. Stir together cream cheese and sugar until smooth. Scrape the bottom of the bowl repeatedly and each time you add an ingredient. Slowly beat in heavy cream, vanilla, and salt, slowly increasing speed to high and beating for 15 seconds. Whisk eggs together in a bowl and with mixer on low speed gradually pour eggs into mixture. Increase mixer speed to high and beat until batter is smooth and completely combined. Bake as instructed.2) Oven
This recipe was tested and developed with a conventional US oven. I have not tested in a fan/convection oven.3) Oven temperature
If your oven does not go to 500F (260C) simply turn it to the highest temperature it allows. You may need a bit more than 10 minutes in the oven.Storing
You can leave the cheesecake in the springform pan you baked it in. Just cover it with plastic wrap to help keep it from absorbing any odors in the fridge. I leave mine in the springform pan until I am ready to reserve, remove the ring to slice and serve, and then replace the ring and re-cover to store any leftovers.Nutrition
Nutritional information is based on third-party calculations and should be considered an estimate only. Actual nutritional content will vary based upon brands used, measuring methods, cooking method, portion sizes, and more.

Terri White
Hello, my parchment paper says max temp is 425. Is there a special high temp paper that won’t catch on fire? Thanks!
Sam
Hi Terri! I do not know of a special high temperature parchment paper. I have never had an issue with it catching on fire unless I am broiling something. That being said it’s always best to keep an eye on things and make sure you don’t have any issues.
Laura
I love the flavor of this recipe. I’ve made it twice now, but I had some issues both times that I don’t quite know how to resolve. First – the bottom of it seems…wet. Not sure why. It’s cooked all the way thru, I make sure not to refrigerate it until it’s thoroughly cooled, but when I cut the cake the next day it’s like there’s just a lot of moisture on the bottom. Second – the first time I made it the very middle of it was delightfully creamy and smooth, but as you got closer toward the edges – it seemed to get kinda gritty and no longer smooth. Not like normal cheesecake that is more dense/substantial, but almost slightly unpleasant. The second time I made it the whole thing had a sort of gritty texture to it. It wasn’t scrambled/curdled, but it just was not smooth, and I am not sure why. I always make sure the mixture is well blended and it’s not separating or doing anything weird. If I could figure out how to fix these issues I’d be super glad to keep using this recipe. It gets rave reviews.
Sam
Hi Laura! It sounds like it may be getting baked just a little bit too long. I would try taking it out a few minutes sooner and see how that works for you. 🙂
Sue
Hi Sam! If you choose to sprinkle sugar on top for a creme brûlée effect, should the sugar go on top before you put the cheesecake in the oven, during the baking process, or right before you crank up the temperature of the oven?
Sam
Hi Sue! You will want to place it on top before cooking. 🙂
Jay
I can’t wait to try this! My husband loves creamy soft cheesecakes and this seems to be it. He still loves the crust though. Do you think it would work? Thanks so much for sharing.All your recipes look FANTASTIC!
Sam
Hi Jay! I haven’t tried it but I think it could work. Good luck! Let me know how it goes. 🙂
amy beckley
Hi Sam! This like all your recipes sounds yummy! My question: can I cook these in individual ramekins (like creme brule) and not use the parchment?
thanks so much!
Amy
Sam
Hi Amy! I haven’t tried it but I think it would work. Your baking time would definitely need to change. Let me know how it goes if you do try it. 🙂
Yamit
Unbelievable !! So so so easy and so so so good!!
Sam
I’m so glad you enjoyed it so much! 🙂
Bruce
While it isn’t my new favorite cheesecake, it is excellent, and you can’t beat the ease of making it. Thank you for the warning about how jiggly it is coming out of the oven. I’m still surprised at how much it set up in the refrigerator. The burnt top has an amazing flavor, and the rest of it is nice and creamy, but firm around the edge, so it isn’t difficult to serve. I found it a little too sweet (which is a phrase that I don’t use often), but only a little. Thank you for introducing us to this wonder.
Sam
I’m glad you enjoyed it overall. It’s definitely a little bit different. A lot creamier than a normal cheesecake. 🙂
Bruce
I have it resting now to release the bubbles. I’m forcing myself to do that by not lighting the oven until the batter is in the pan.
STRONG suggestion: After you line the pan with parchment paper, fold the paper down over the lip of the springform pan before pouring the batter in. When I poured my batter in, all four corners of the parchment went diving toward the center, getting batter all over them. This is going to make a mess when I bake it, but the cheesecake will be wonderful, I’m sure.
I’m curious, Sam. In your 13, at least, times making this while developing your recipe, did you try using a food processor? My blender isn’t big enough, but the mixer seemed to work fine with room temperature cream cheese and eggs.
I’ll comment again after it’s out of the oven, and tomorrow after we try it.
Sam
O no! I have made a mess with my parchment paper a few times. It can be a little tough to get it to stay in place. I normally crease it really well to keep it as close to in position as I can. I have not used a food processor for this. Mine definitely wouldn’t hold all of the ingredients.
Bruce
I just watched America’s Test Kitchens video of their version, and they have a good trick for the parchment. First, they crumple it, to make it more flexible, then they spray it lightly with water, which makes it almost like fabric, so that it molds itself to the pan pretty nicely. It also helps the two sheets of parchment stick to each other. They don’t worry about the wrinkles around the cheesecake. They just say it’s a rustic look.
Sam Merritt
Interesting tip. I’ll have to try it! 🙂
Rogelio Ordonez
Hi Ms. Suga, your the best! I really love this type of cheesecake, just never knew the name or the background. I more than ever appreciate You & all your hard work! Thank You for all those times You go above & beyond & no one notices, I do want to take this time to Thank You
Ms. Suga for All those times!
🌞 RO
P. S. Love your earrings!
Sam
Thank you so much, Rogelio! 🙂
Carmelita Sonata
Thank you Sam for all your super yummilicious recipe..i love it all
Sam
I’m so glad you enjoyed them, Camelita! I think you are really going to like this one! 🙂