
Apple Cobbler Recipe
This post may contain affiliate links. As an Amazon Associate I earn from qualifying purchases. Please read my disclosure policy.
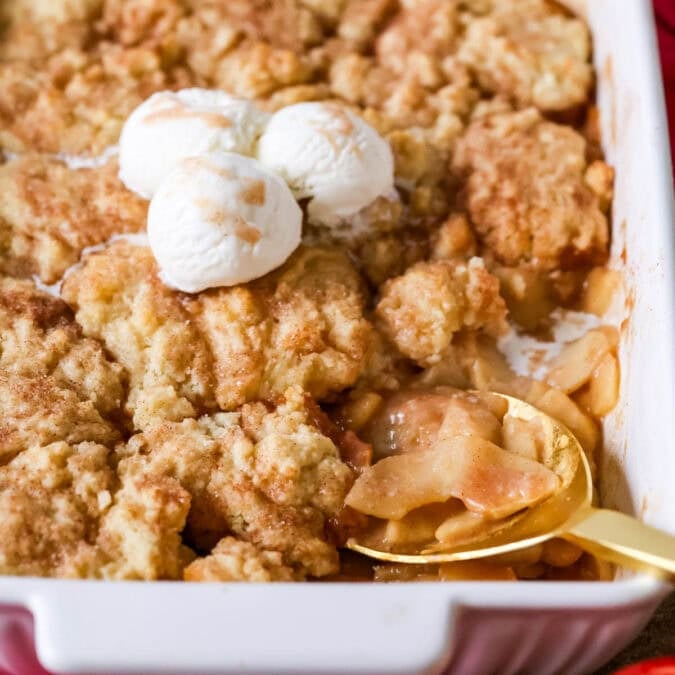
Warm and cozy apple cobbler is the perfect fall dessert (and a great way to use up a surplus of apples from apple picking)! The cobbler topping is quick and easy (no pastry cutter needed), and is just as flavorful as the spiced apple filling. Only 15 minutes to prep! Recipe includes a how-to video!
My Favorite Apple Cobbler (From Scratch!)
Introducing the dessert you’ll make all fall long: apple cobbler! Oh boy, is this one a treat! Juicy sweet/tart apples paired with a soft, cinnamon/sugared biscuit-y topping, this apple cobbler is familiar, but elevated. It’s warm and comforting, yet the taste is exquisite and feels gourmet.
Why This Recipe WORKS
- Cooking the apples first makes all the difference. Much like making my strawberry cobbler or blueberry cobbler, I thought I’d just toss the apples into the pan, drop the cobbler topping on top, and bake. However, during testing I found that cooking the apples first made such a difference, I couldn’t justify not doing it. I promise it’s worth the extra pan to clean and extra 5 minutes!
- Flavorful, perfectly-textured biscuit topping. Today’s cobbler topping is based off of my drop biscuits. A bit of brown sugar and plenty of butter keeps it just as tasty as the juicy fruit below. It stays soft and tender, but won’t get soggy. I just love the texture!
- Balanced so it has enough filling AND enough topping (a common complaint with cobblers). Some have too much filling/topping and others don’t have enough–mine is just right!
- So simple! The hardest part is peeling and slicing your apples. The topping comes together with melted butter (no pastry cutter or food processor needed, unlike my peach cobbler!), and the rustic, cobbled appearance is part of its charm.
Table of Contents
Ingredients
Most of today’s ingredients are pantry staples, so you’ll likely already have them on hand. I’ll go over a few before we start just in case you have questions.
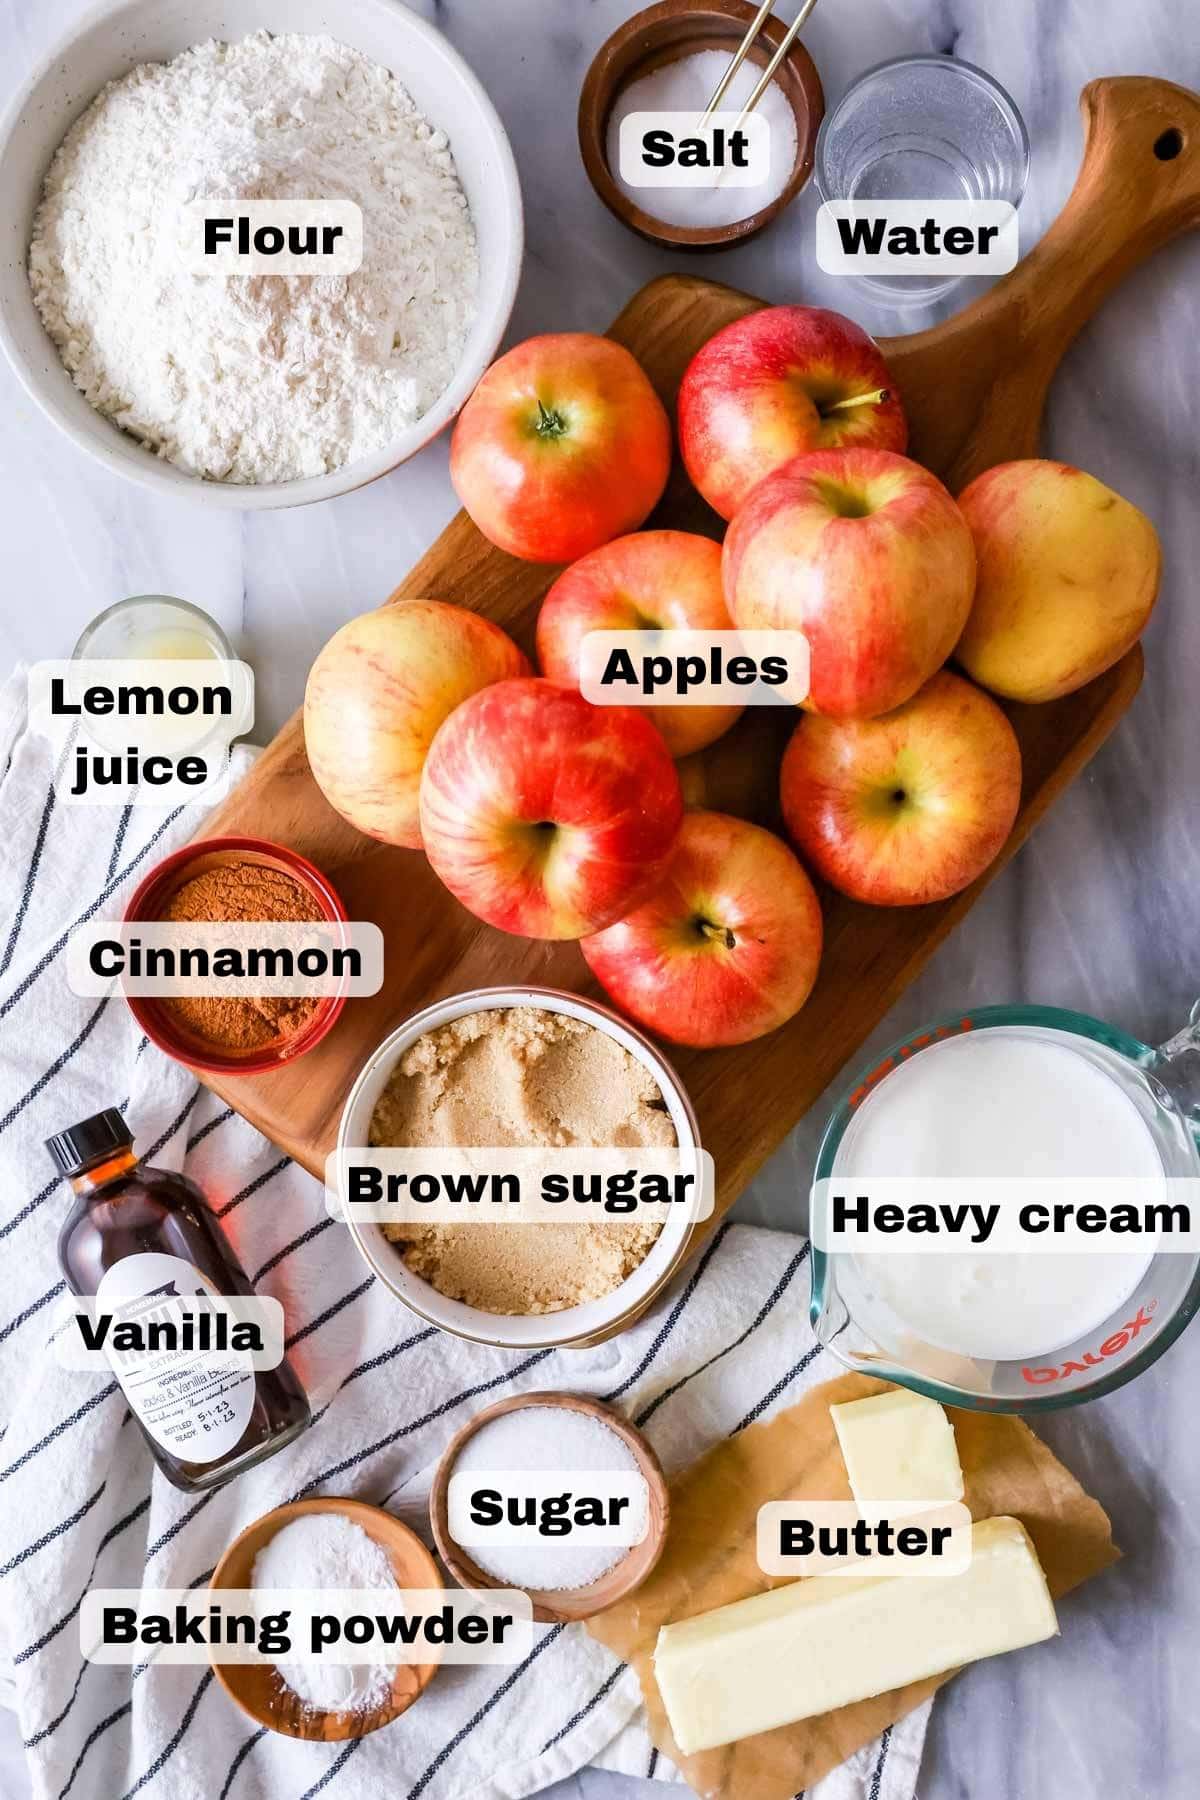
- Peeled & sliced apples. Stick with sweet/tart, firm apples like Fuji, Gala, Honeycrisp, and Golden Delicious. Granny Smith could also work, but your filling will be a bit more tart. Red Delicious aren’t great here (or really in most baked recipes); they will just turn to mush.
- Lemon juice. Fresh is best, but I won’t fault you if you just use bottled since it’s such a small amount.
- Butter. I recommend unsalted butter for the cobbler topping and salted butter for the filling. Seems fussy, I know, but I’ve found that salted butter works best for things that you can taste as you go, and unsalted works best for everything else. If you only have unsalted, you can simply add an extra pinch of salt to your filling. If you only have salted, reduce the salt in the topping to ¼ teaspoon.
- Baking powder. Not baking soda! Make sure yours is fresh and try to avoid the store brands (I’ve had bad luck with those clumping, leaving the resulting baked good with tiny pockets of bitter baking powder).
- Heavy cream. Also known as whipping cream or double cream. Technically buttermilk will work too, but heavy cream delivered my favorite results.
Remember, this is just an overview of the ingredients I used and why. For the full recipe please scroll down to the bottom of the post!
SAM’S TIP: I use light brown sugar for both the filling and the cobbler topping. If you don’t have any on hand, you can easily make your own with granulated sugar and molasses. Check out my tutorial on how to make brown sugar for full instructions!
How to Make Apple Cobbler
Pre-cook the filling
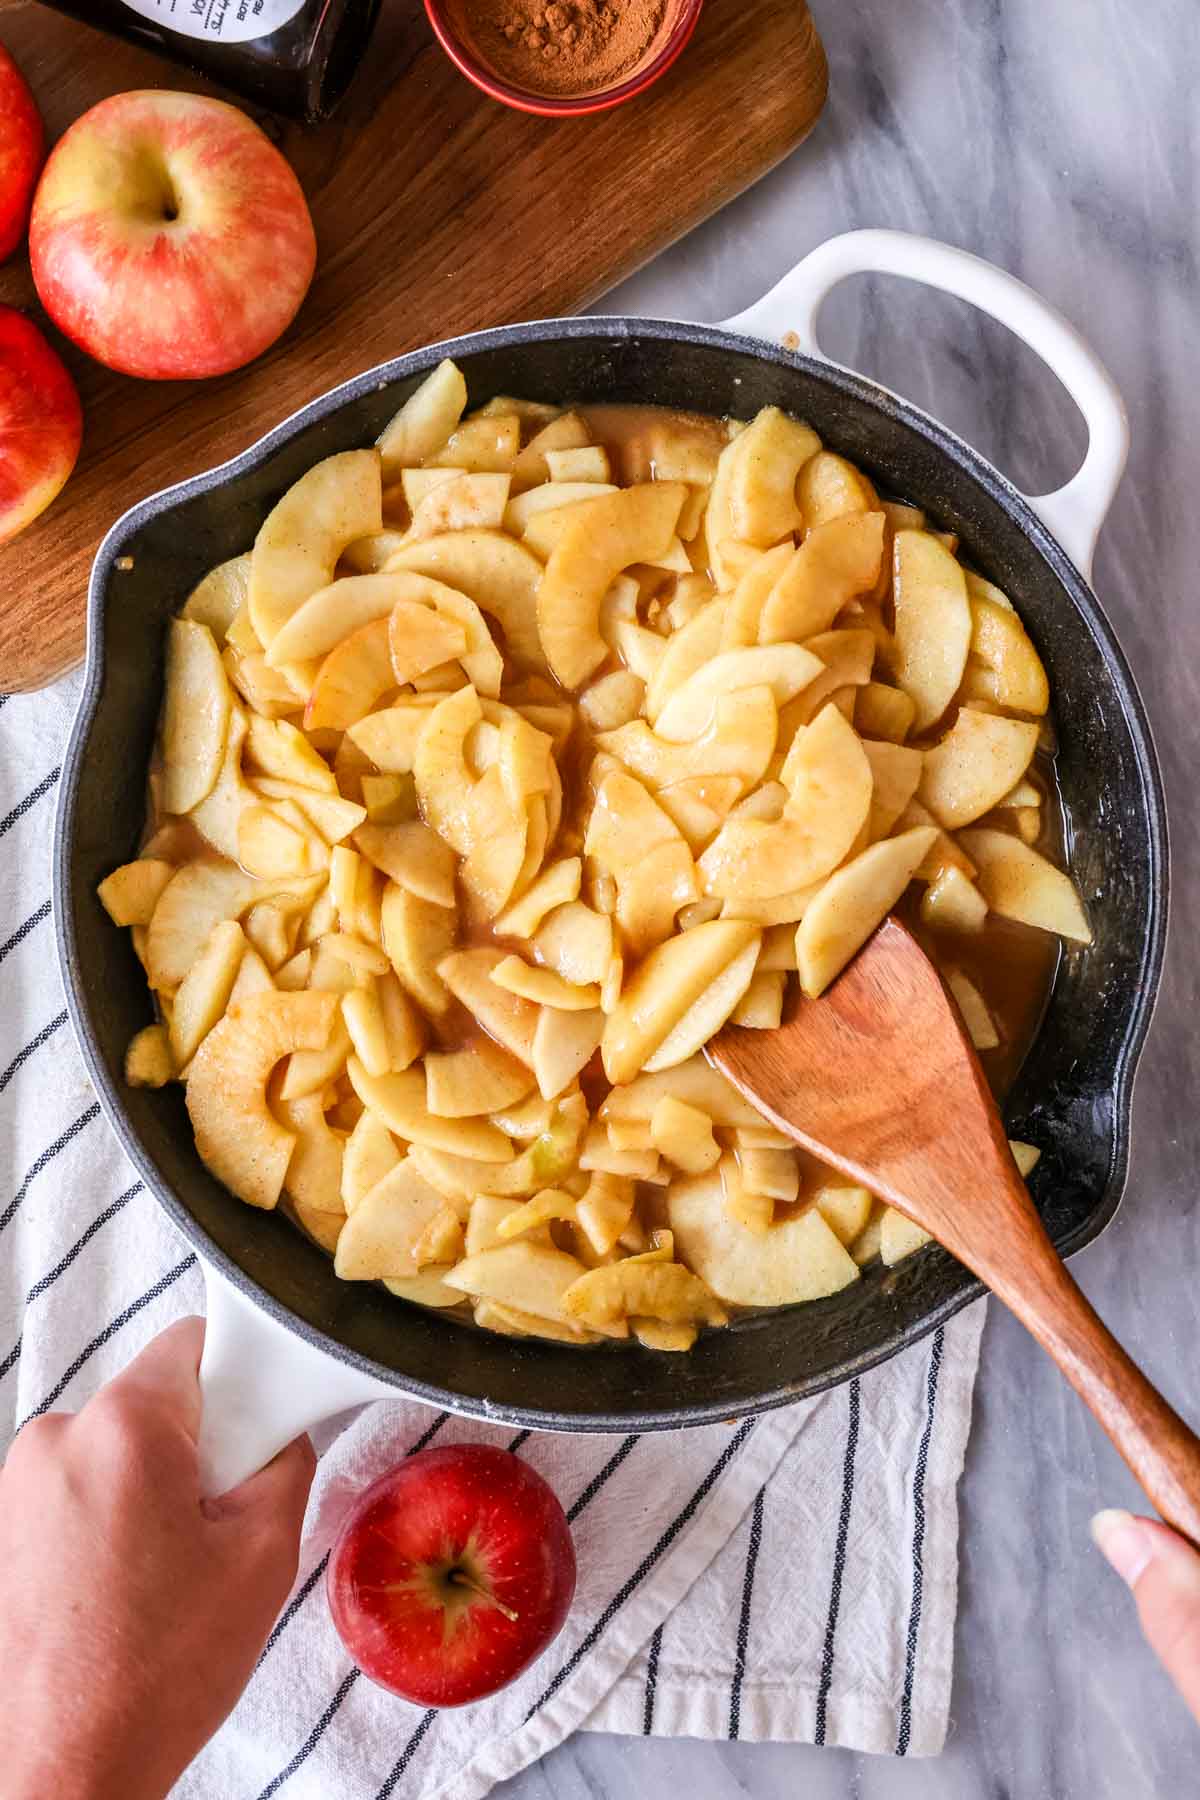
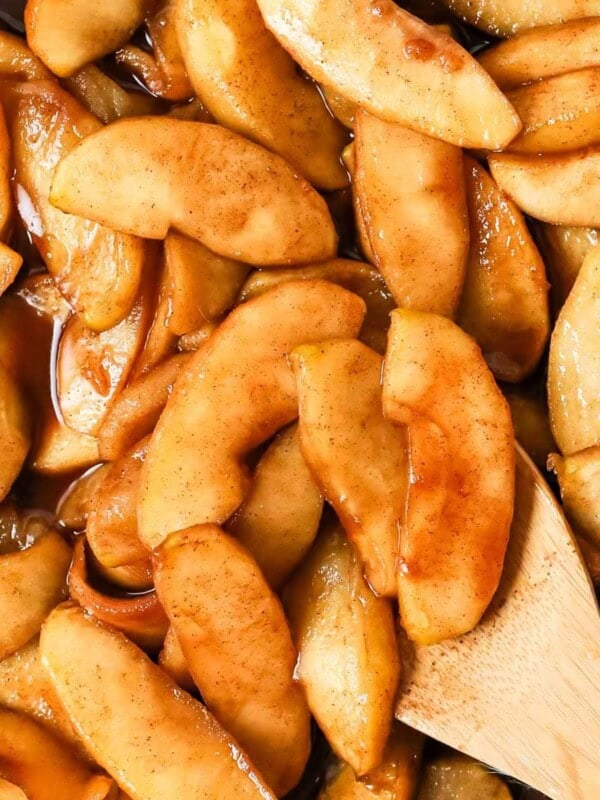
Peel and slice your apples; keeping the slices thin, about ¼”. Melt your butter in a saucepan, then add all of the filling ingredients except for the vanilla. Cook until the sugar dissolves and the mixture starts to thicken a bit.
Remove the apples from the heat, stir in the vanilla, and pour everything evenly into a lightly greased baking dish. Set this aside while you prepare the topping.
Prepare the cobbler topping
Prep your cobbler topping by first stirring together all the dry ingredients and the sugars (sugars are technically a wet ingredient, but add them with the flour here!). Pour in your melted butter and cream, then gently stir everything together until just combined. Don’t over-mix, or the topping could be rubbery and tough.
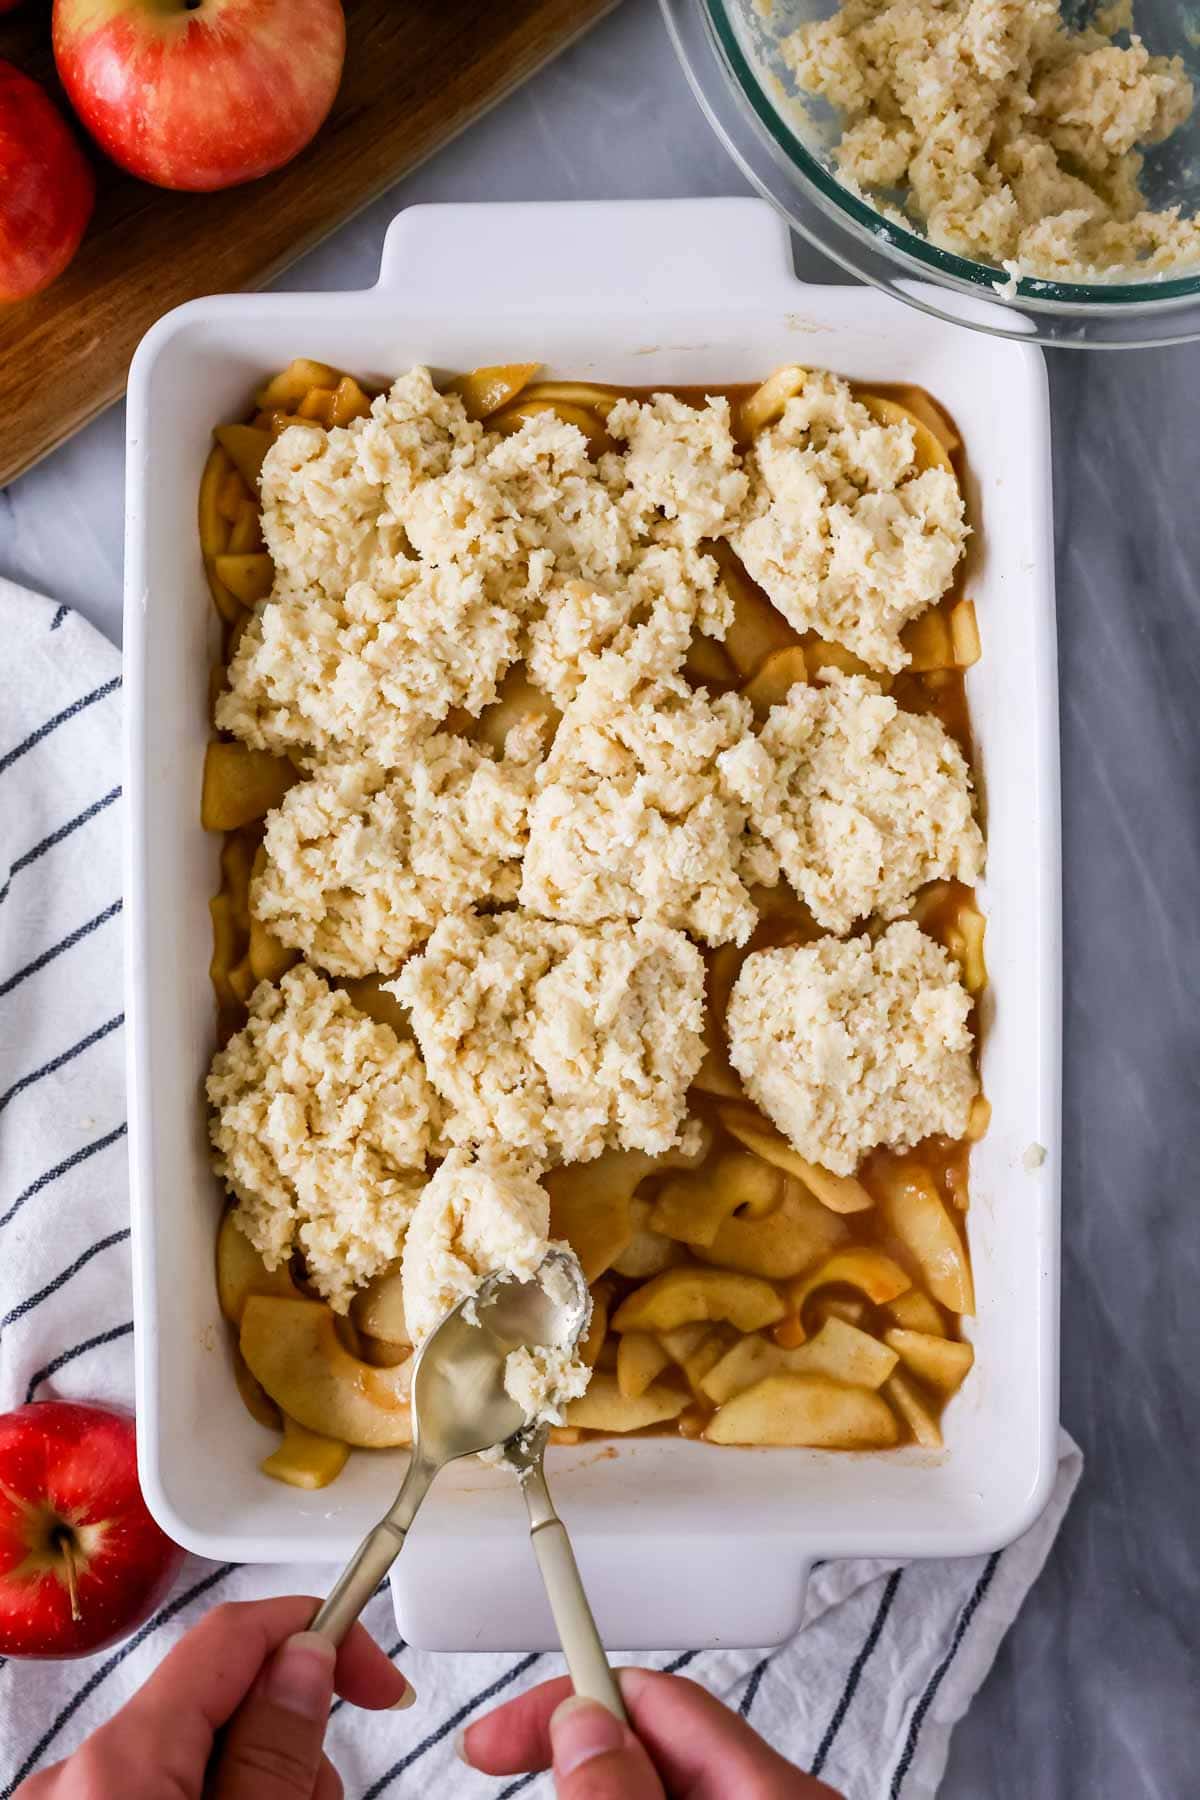
Evenly distribute the dough over the filling, making sure there are no super thick or super thin mounds. It’s fine if the apples aren’t completely covered. A sprinkle of cinnamon sugar on top adds a nice finishing touch!
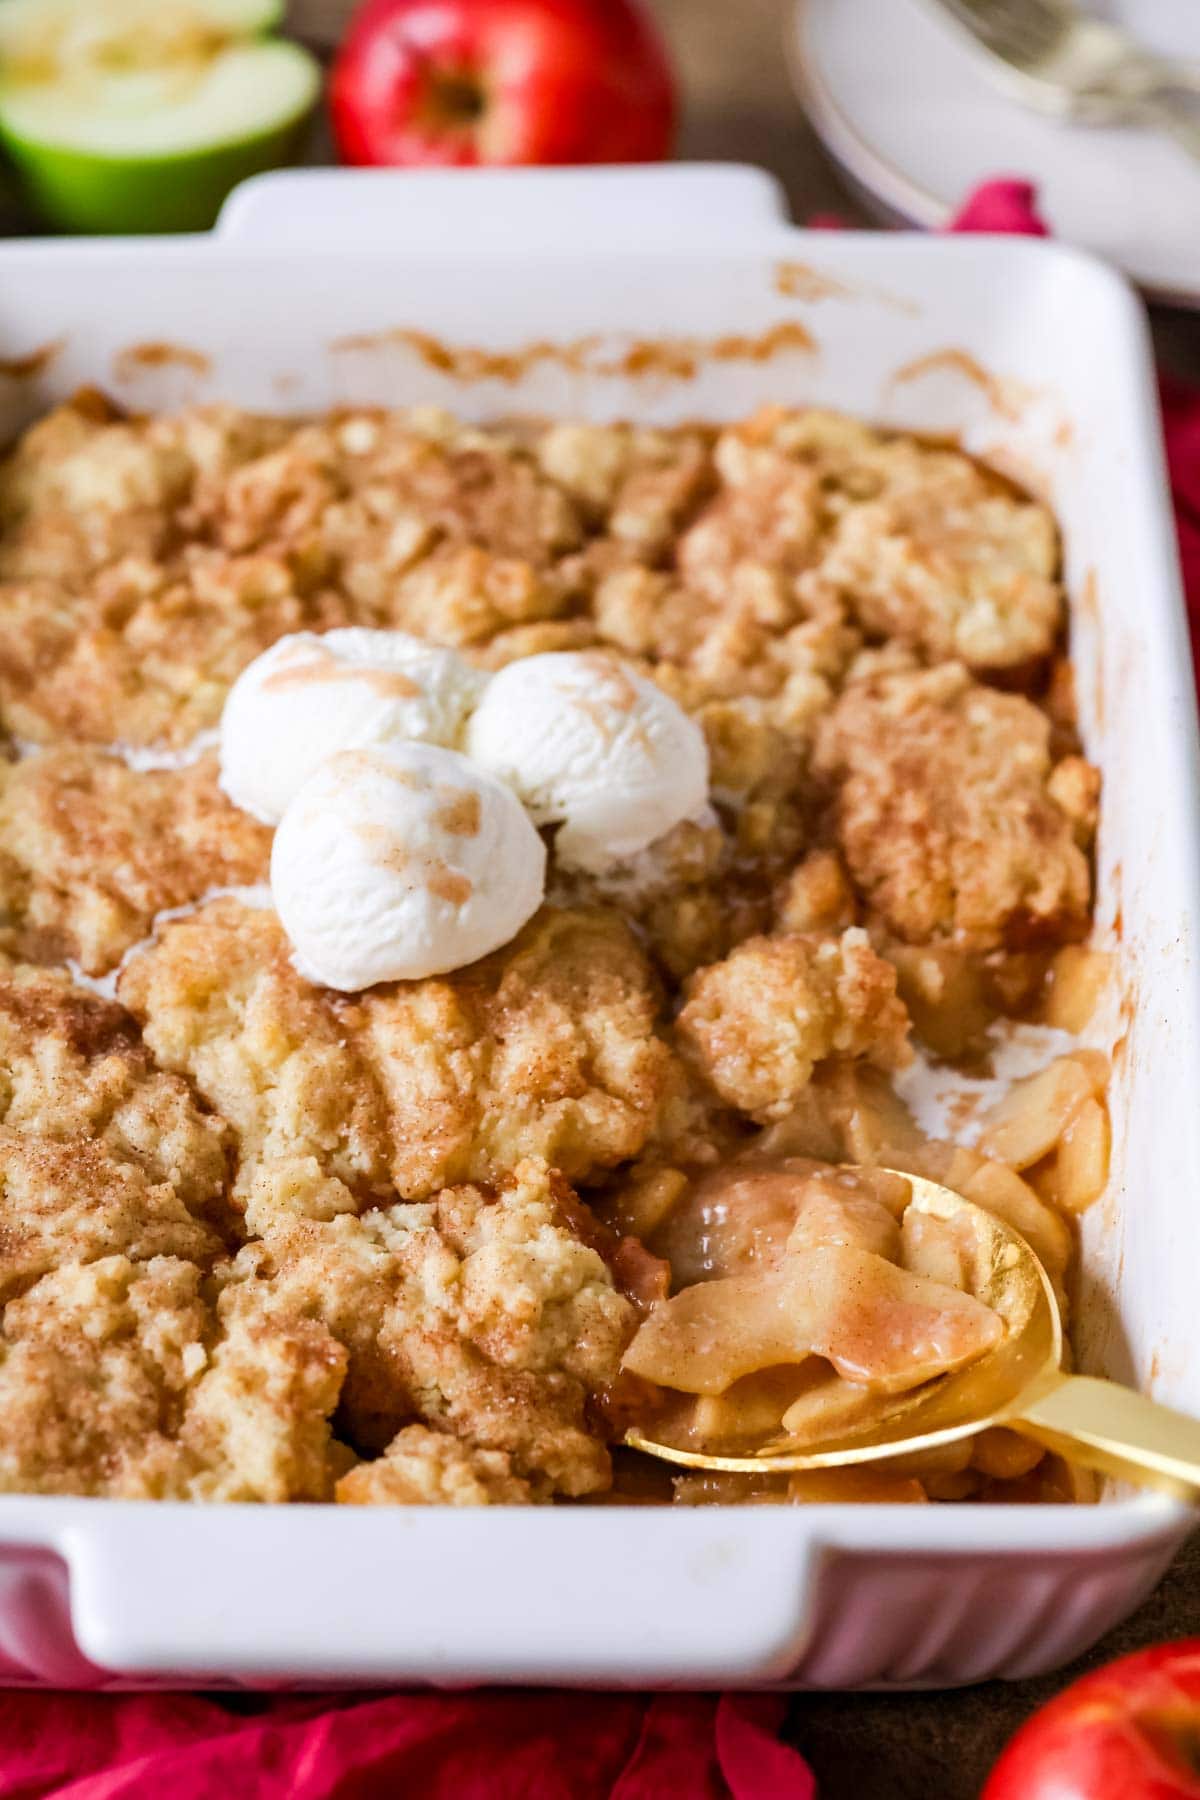
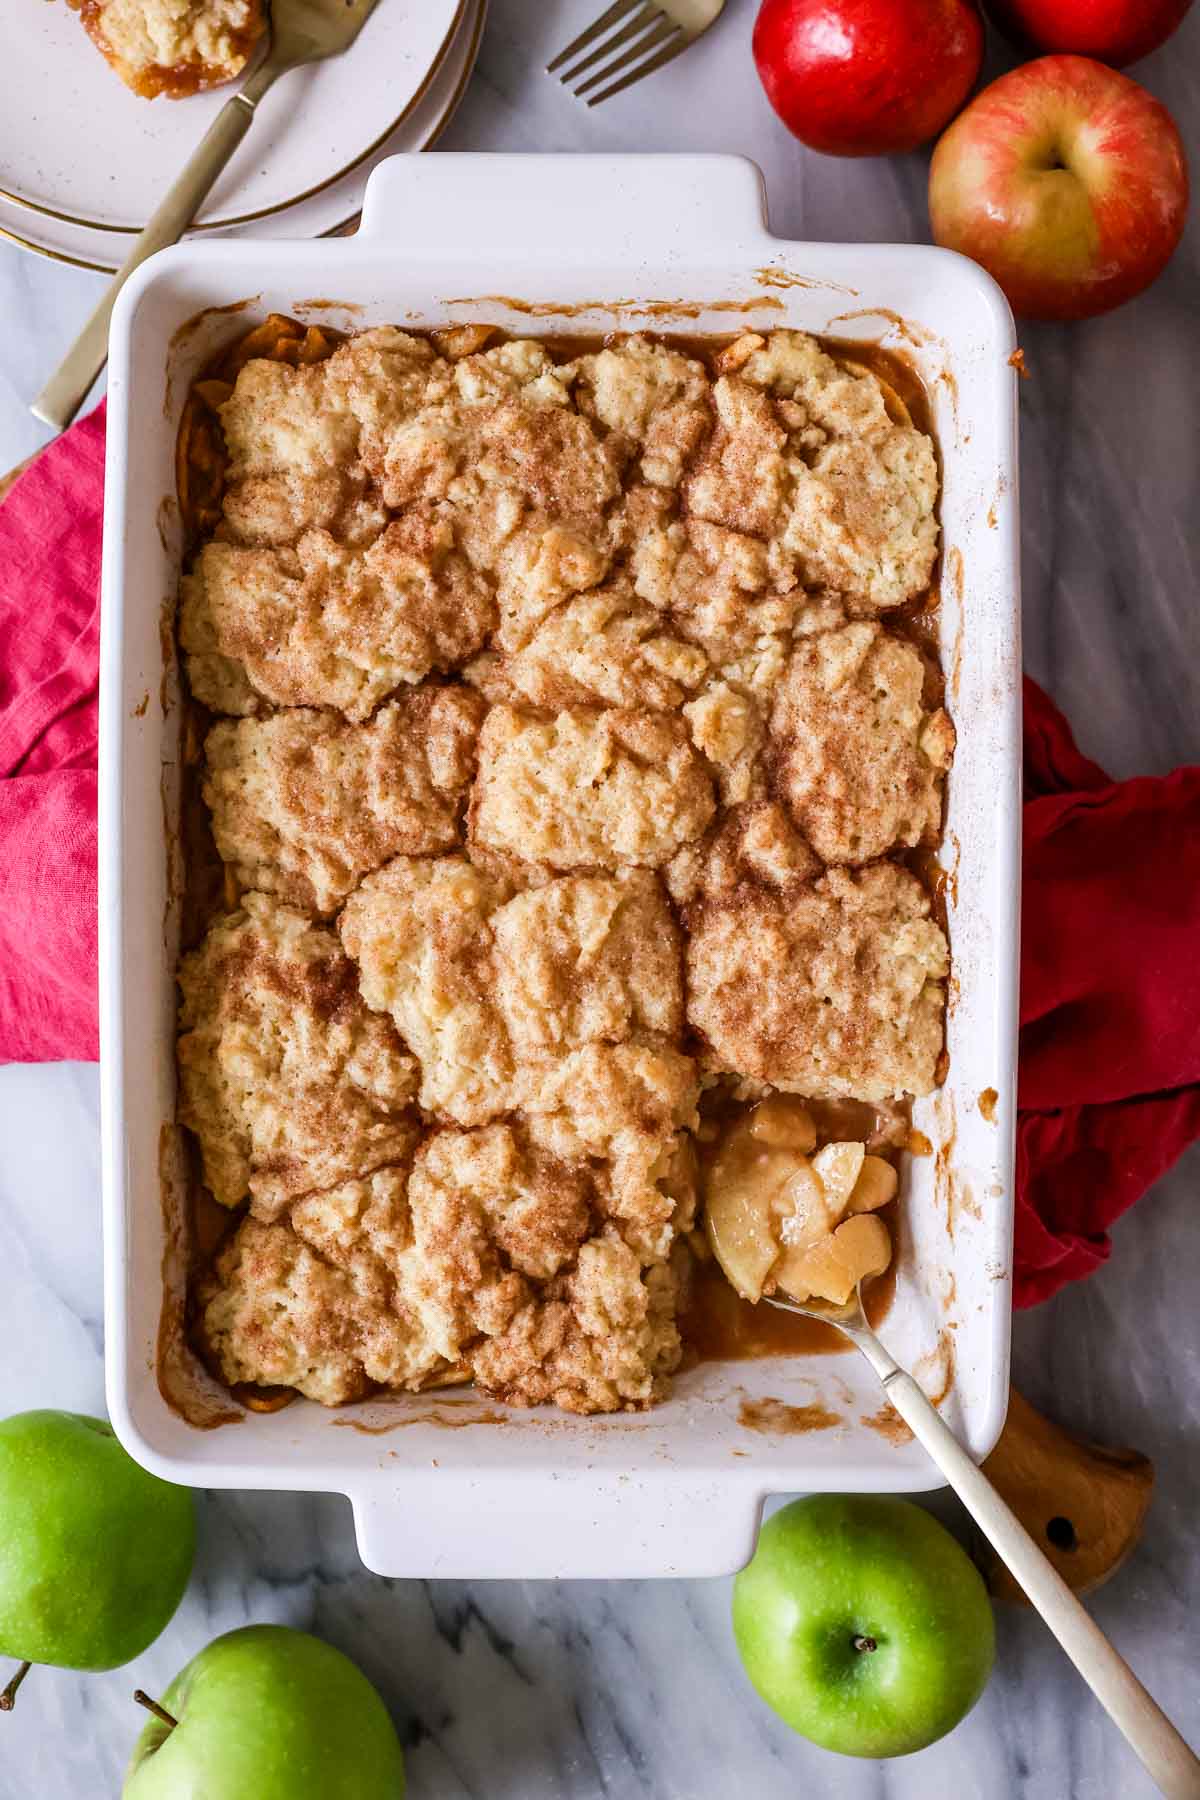
Bake until the biscuit layer is cooked through (check with a toothpick!) and the filling is bubbly, then let cool for a few minutes before enjoying.
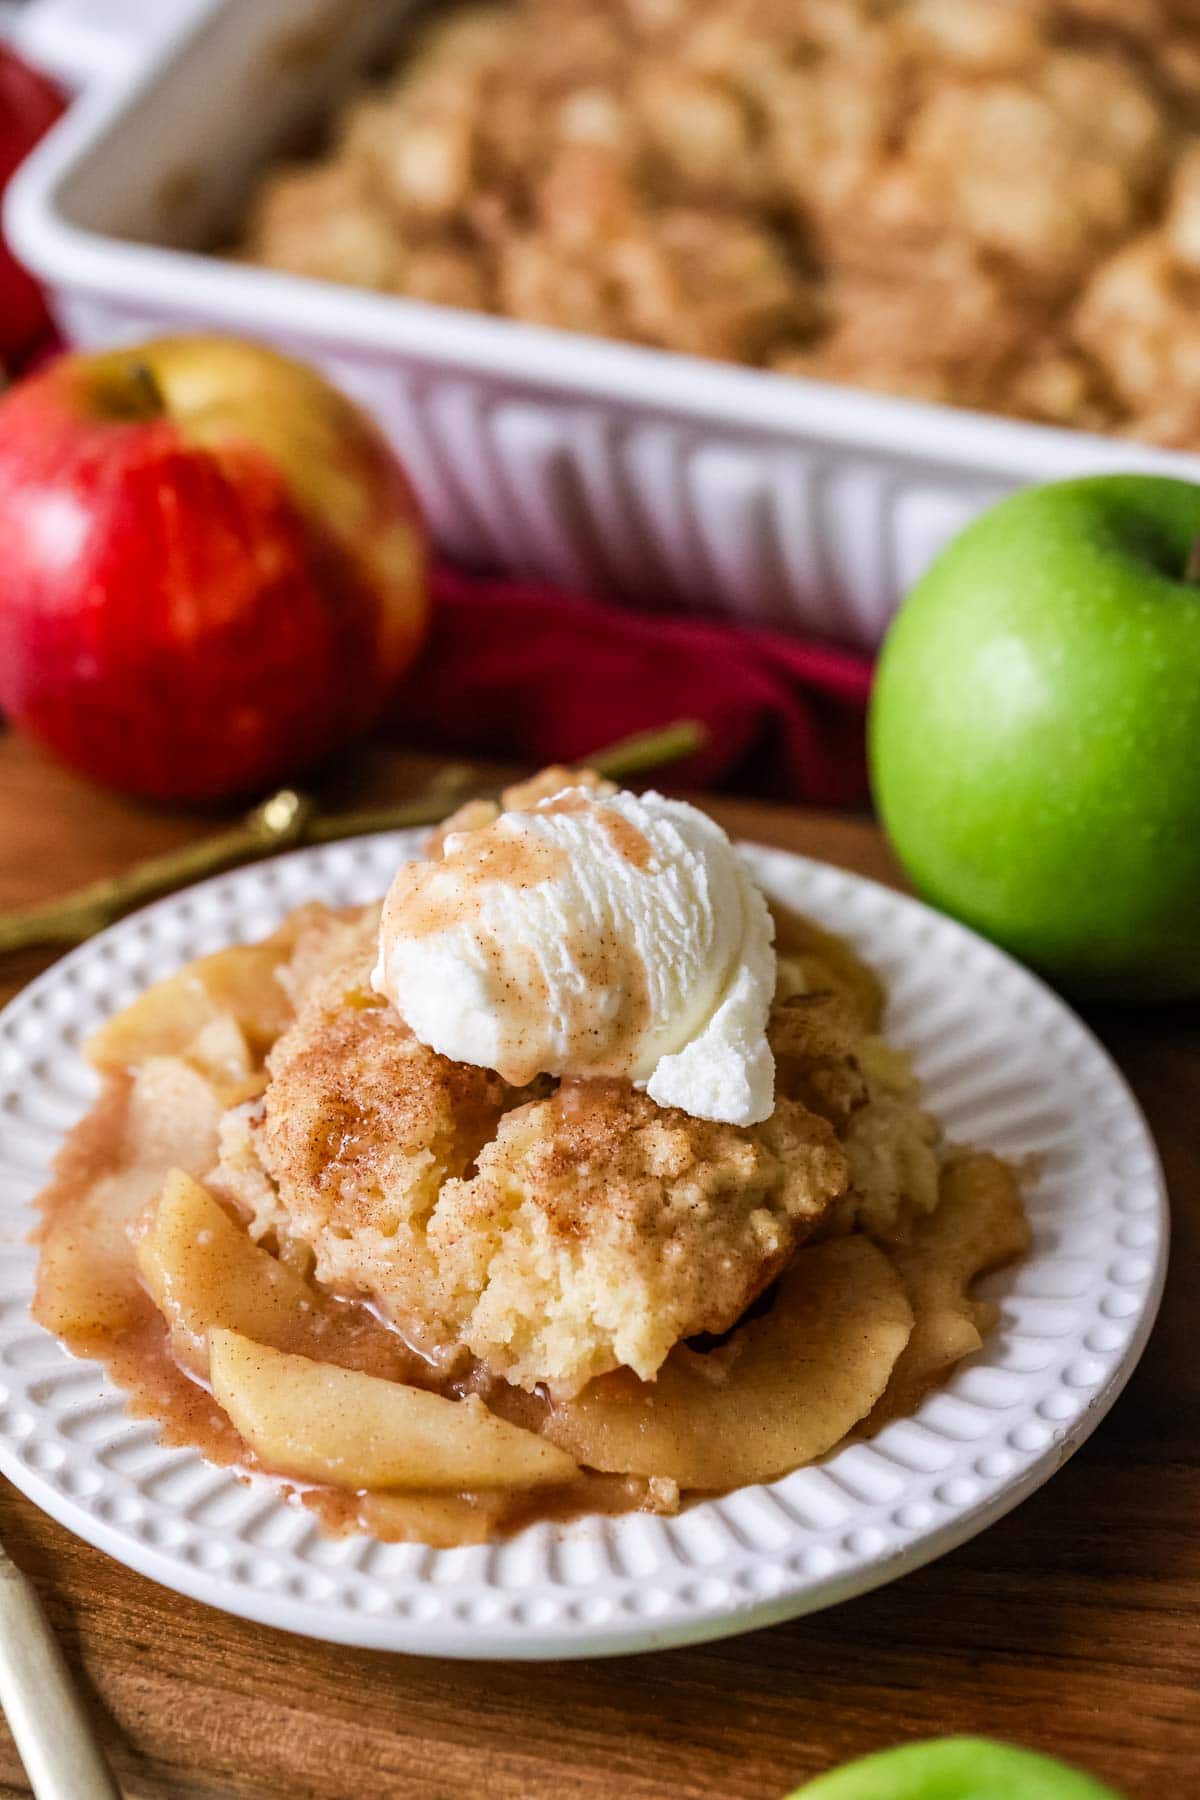
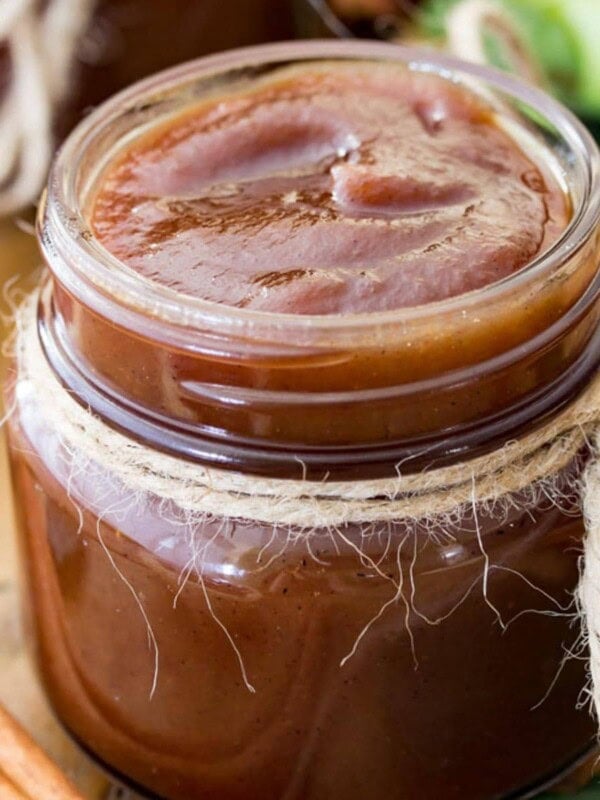
SAM’S TIP: Definitely serve your apple cobbler warm with a scoop of vanilla ice cream. An extra sprinkle of cinnamon sugar (or a drizzle of salted caramel sauce) on top won’t hurt either!
Frequently Asked Questions
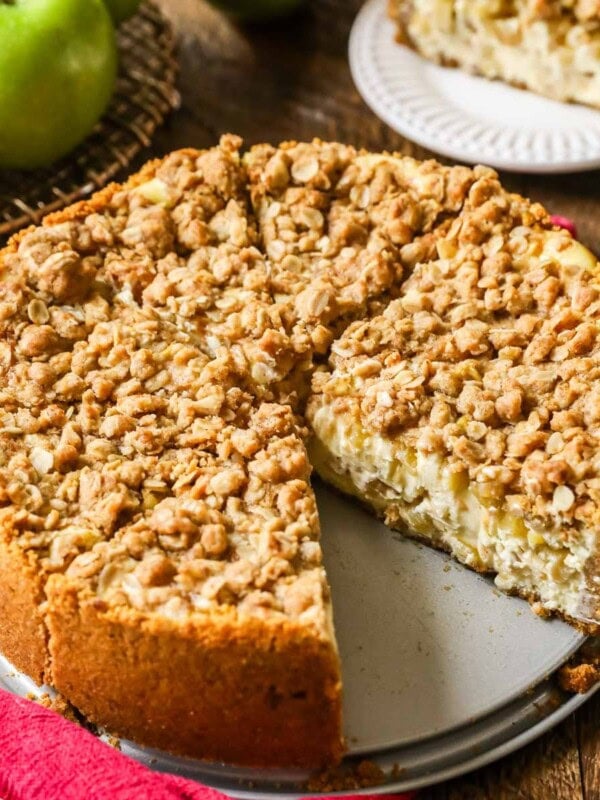
Apple crisp has a crisp (shocking!), oat-based topping (similar to an oatmeal cookie!) while cobbler has a softer, more biscuit-like topping. Both have a spiced apple filling and are equally delicious–try both and see which you prefer!
Nope! This recipe is egg-free. I have a whole collection of eggless dessert recipes if you or someone you cook for cannot eat eggs.
I don’t recommend it. I store mine in the fridge (tightly cover it first!) because the high moisture level makes it prone to spoiling at room temperature.
More of my Favorite Apple Recipes
Craving more? Check out my full collection of apple recipes! 🍎
Enjoy!
Let’s bake together! Subscribe to my newsletter to be notified of all the newest recipes, and find my free recipe tutorials on YouTube 💜
Apple Cobbler Recipe
Ingredients
Apples
- 2 Tablespoons salted butter
- 7 cups (700 g) thinly sliced apples, (see note)
- ⅓ cup (67 g) light brown sugar, firmly packed
- 1 ½ Tablespoons all-purpose flour
- 1 Tablespoon lemon juice
- 1 ½ teaspoons ground cinnamon
- ½ teaspoon salt
- ½ cup (120 ml) water
- ¾ teaspoon vanilla extract
Topping
- 2 cups (250 g) all-purpose flour
- ⅓ cup (67 g) light brown sugar, firmly packed
- 1 ½ teaspoons baking powder
- ½ teaspoon salt
- 8 Tablespoons (113 g) unsalted butter, melted
- 1 cup (240 ml) heavy cream
- 1 Tablespoon granulated sugar
- ¼ teaspoon ground cinnamon
Instructions
Apples
- Preheat oven to 350F (175C) and lightly grease a 13X9” glass or ceramic dish with butter. Set aside.
- In a large skillet over medium heat, heat butter until melted2 Tablespoons salted butter
- Add the apples, brown sugar, flour, lemon juice, cinnamon, and salt and stir until combined.7 cups (700 g) thinly sliced apples, ⅓ cup (67 g) light brown sugar, 1 ½ Tablespoons all-purpose flour, 1 Tablespoon lemon juice, 1 ½ teaspoons ground cinnamon, ½ teaspoon salt
- Add the water and continue to stir frequently for 5 minutes, until sugar is mostly dissolved and apples are coated.½ cup (120 ml) water
- Remove from heat and stir in vanilla extract.¾ teaspoon vanilla extract
- Pour apple mixture into prepared pan and spread into an even layer. Set aside while you prepare the cobbler topping.
Cobbler Topping
- In a large bowl, whisk together flour, brown sugar, baking powder, and salt.2 cups (250 g) all-purpose flour, ⅓ cup (67 g) light brown sugar, 1 ½ teaspoons baking powder, ½ teaspoon salt
- Add butter and heavy cream and stir until combined, take care to not overmix the dough or it could make it tough and rubbery!8 Tablespoons (113 g) unsalted butter, 1 cup (240 ml) heavy cream
- Using a pair of spoons, dollop the topping evenly over the apples, spreading a little if necessary so that there aren’t any large mounds. The apples will be mostly covered by the topping but there will likely still be some gaps, that’s fine.
- Whisk together sugar and cinnamon and scatter evenly over the topping.1 Tablespoon granulated sugar, ¼ teaspoon ground cinnamon
- Transfer to center rack of 350F (175C) preheated oven and bake for 28-30 minutes, until liquid is bubbling and topping is cooked through (sometimes I’ll use a toothpick to pry into the center of a cobbler portion and make sure it’s baked through and there’s no wet batter). Cobbler is best served fresh and warm, allow to cool slightly (about 10 minutes) before serving! It’s excellent topped with vanilla ice cream!
Notes
Apples
Use a firm, sweet/tart apple, I like Gala or Fuji, Honeycrisp, or Golden Delicious (Red Delicious is a bit too soft). Slice the apples to be approximately ¼” thin (I like to use this Johnny peeler to make quick work of it). I usually find I need approximately 2 ½ pounds of apples before peeling/slicing.Storing
Cover tightly and store in the refrigerator for up to 3 days. Reheat before serving.Nutrition
Nutrition information is automatically calculated, so should only be used as an approximation.
Like this? Leave a comment below!


I haven’t made it yet but I’m getting ready to , I have 2 questions can I use regular milk cause I don’t have any heavy cream and I want to know if when it’s done baking will the top be crispy or soft?
Hi Samantha! You can use milk instead of the heavy cream. I would use a splash or two less. The topping is like a biscuit topping. The underneath is soft from the juices. The top isn’t crispy though. Enjoy! 🙂
I really enjoy this recipe! So do my friends!
We’re so glad you loved the recipe, Penny!
this looks delish! I want to make it for Thanksgiving but Im traveling about 2 hours away and I cant make it when I get where im going. do you think this would be okay for the car ride as long as it gets put in the fridge as soon as I get where im going?
Hi Beth! I think it would be just fine. 🙂
I followed your recipe for apple cobbler and entered my creation into a “Cobbler Contest” in our neighborhood. About 130 people voted for 7 different cobblers and I got first place! Thank you!! It was the first cobbler I have ever made and it was delicious! 🙂
That’s so awesome to hear, Michelle! I’m so glad everyone enjoyed it so much. 🙂
What apple peeler do you use?
Hi Rita! Sorry I didn’t see your comment sooner! This is the apple peeler I personally like these days (affiliate link). Enjoy!
Sam! Sam! Sam! This was outrageously delicious 😋. It didn’t last two days. The apples were sweet and the top is out of this world. This is a keeper. ❤️
I’m so glad it was such a hit, Michelle! 🙂
Just enjoying this now. Probably could have pre cooked apples a little more, but YUM! Love the brown sugar in the dough! Every one of your recipes has been so good!
I’m so glad you are enjoying it, Charlotte! Thank you for your continued support! It means a lot. 🙂
What would be the effect of substituting either buttermilk or half and half for the Heavy Cream?
Hi Leslie! Either will work well, they won’t be quite as tender with either substitute but they’ll still work. I would opt for the buttermilk personally.
Looks fantastic! I don’t like oats, so this one is going into my recipe box for sure.
I hope you love it, Janet! 🙂