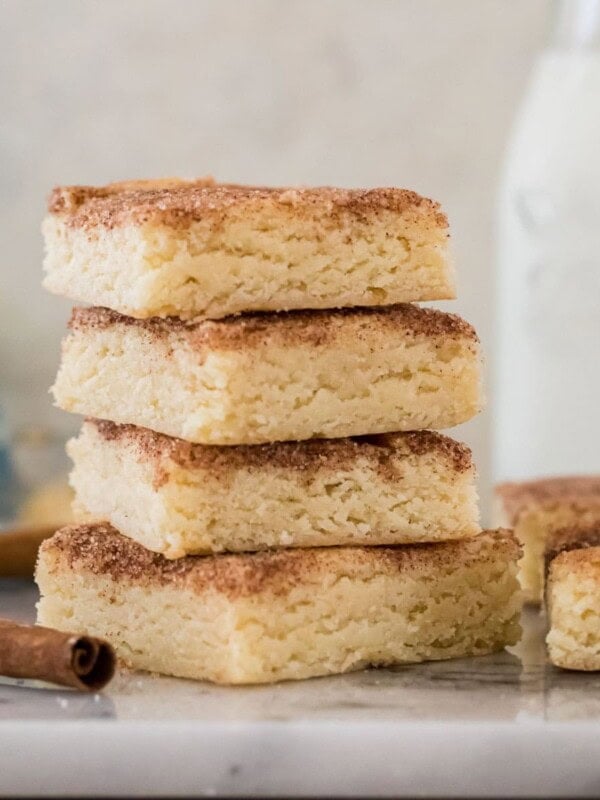
Apple Pie Bars
This post may contain affiliate links. As an Amazon Associate I earn from qualifying purchases. Please read my disclosure policy.
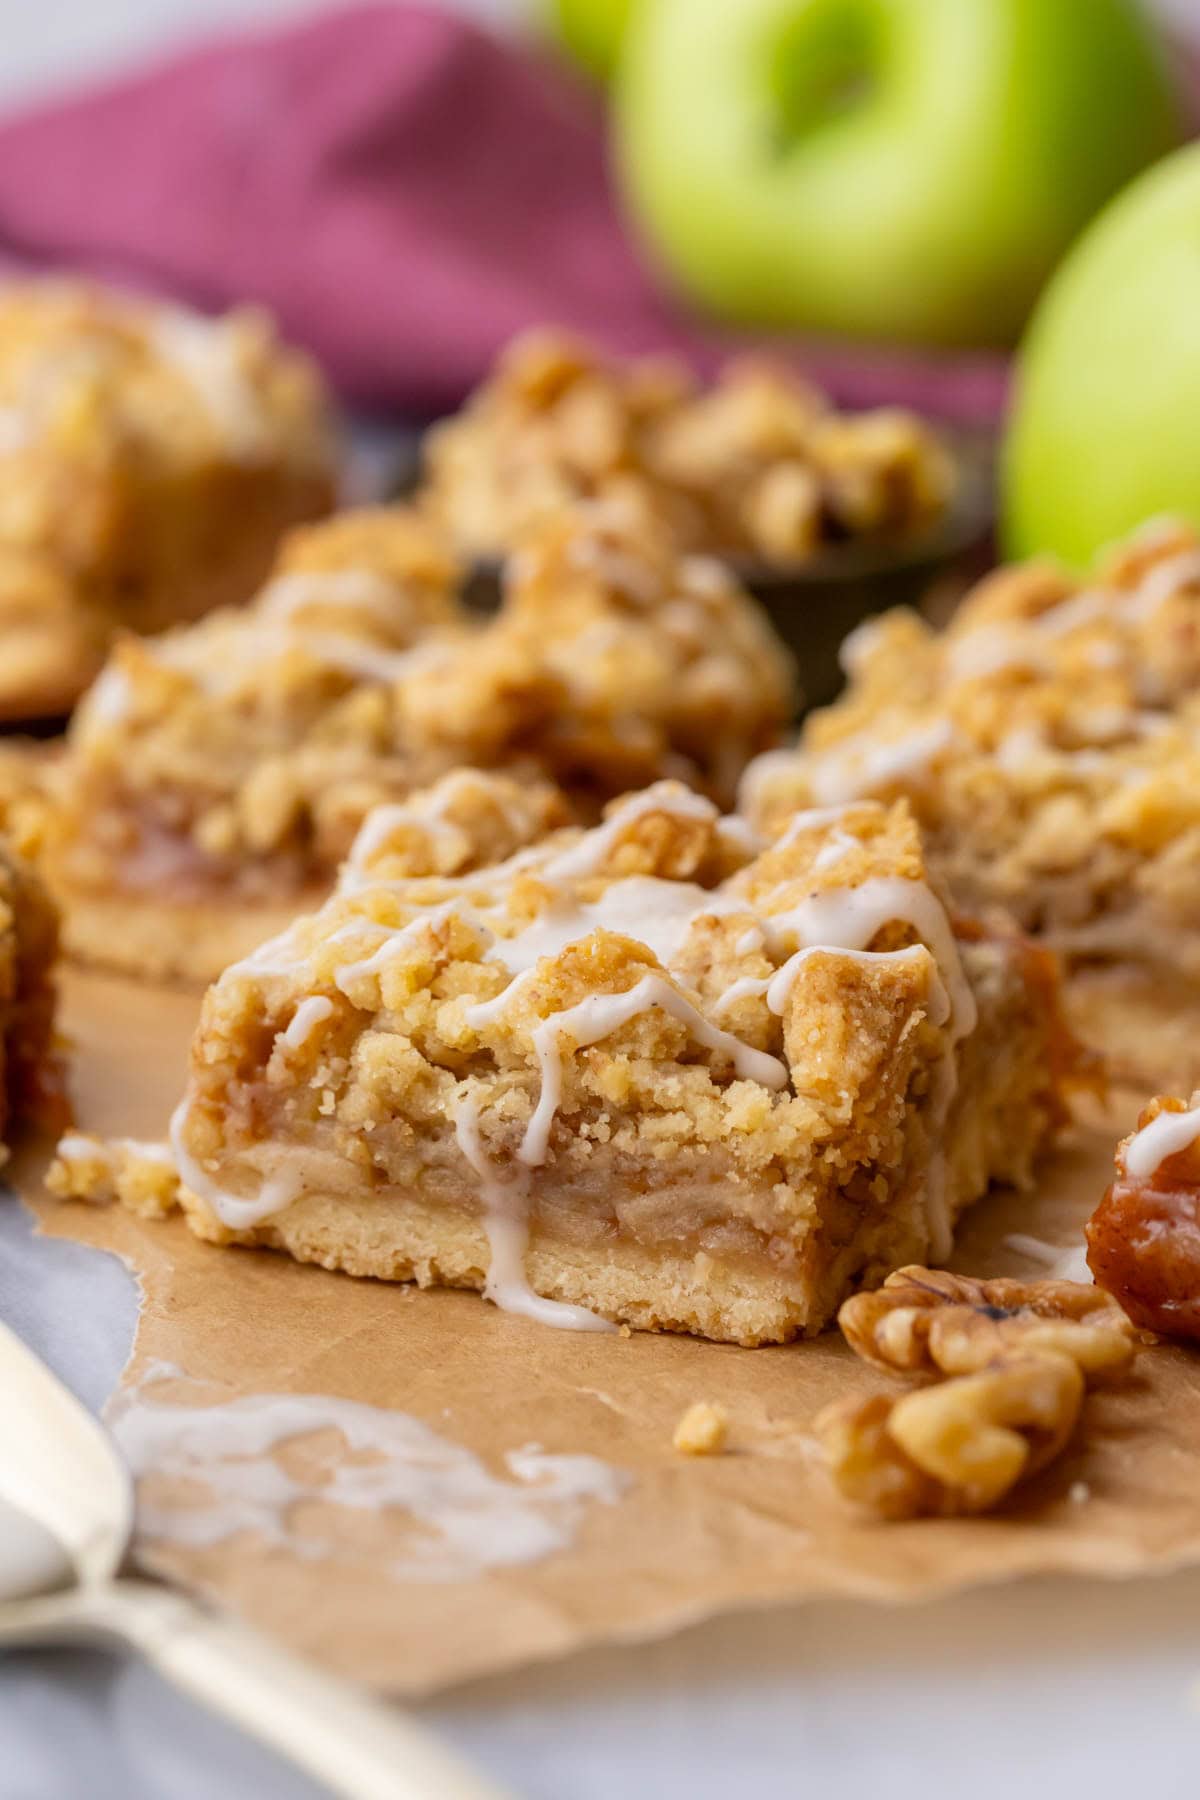
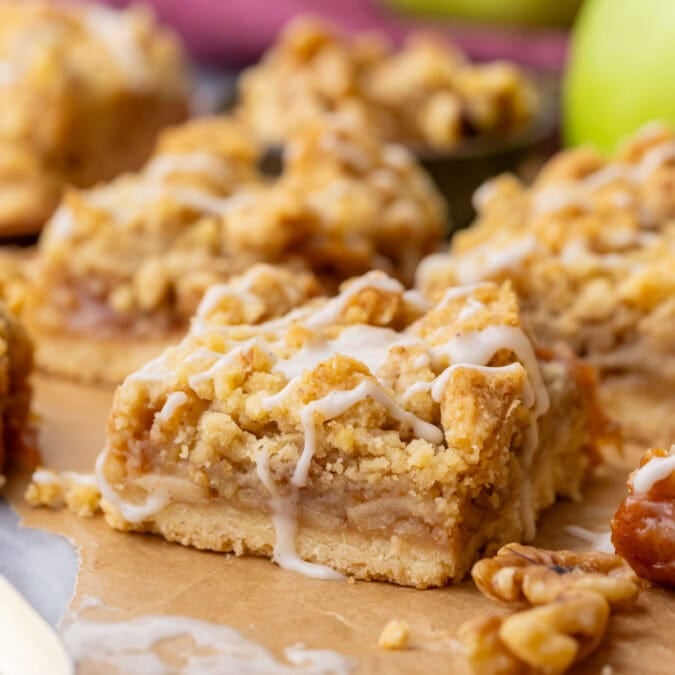
Apple pie bars are just as satisfying as their classic counterpart, but there’s no rolling pin, no chilling, and no fussing with perfectly fluting a crust required. My recipe is made with a simple shortbread crust, spiced apple filling, and a buttery crumb topping that puts everything over the top.
Easier Than Pie!
Not to be confused with apple slab pie or the apple blondies I recently shared, apple pie bars are truly apple pie in bar form. They have all the flavors of my best apple pie recipe with a buttery, shortbread-style crust, tender cinnamon spiced apples and sweet buttery crumb topping.
I love them because they’re something different and slightly unexpected compared to a classic pie but still have all the same flavors and cozy, homemade touch.
4 things to know about this recipe:
- They aren’t tidy, perfect bars. They’re more like a slice of apple pie with crumb topping than portable apple pie cookies. It’s honestly best to eat them with a fork.
- Soft but not soggy. A common complaint with pie bars, especially fruit pie bars, is that they can become far too moist, even dripping with excess fruit juices. While these bars, and any fruit bars, will soften as they sit, they won’t be soggy. Precooking the filling and pre-baking the crust are essential to keeping things firm and sliceable.
- Walnuts are optional, but highly recommended. I borrowed the topping from my Dutch apple pie recipe, which means it has a subtle crunch from chopped walnuts. You can leave them out if needed.
- Enjoy soon after making for best results. The flavor is excellent a day or two after baking, but the texture is best the day you make them (after they have had time to cool).
Ingredients
Let’s chat about what you’ll need.
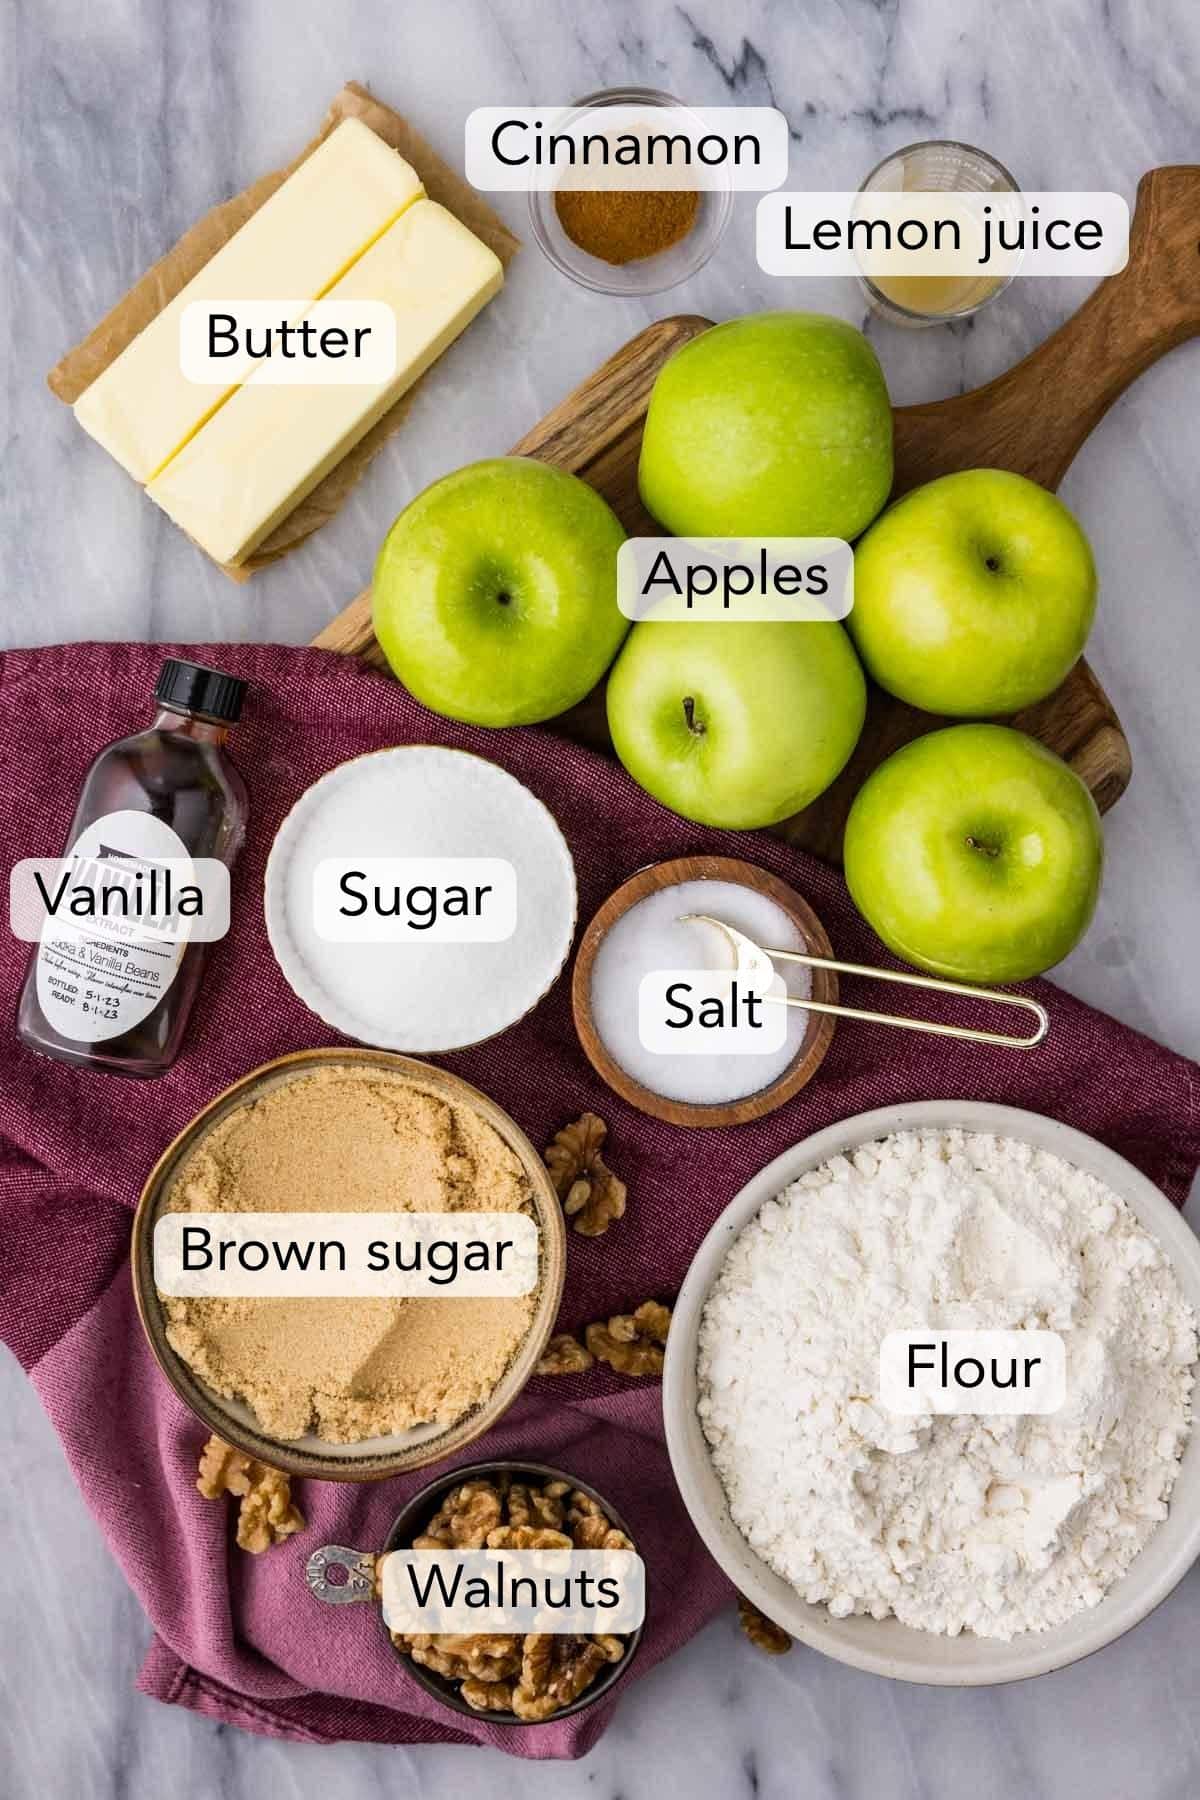
- Apples. I opt for Granny Smith apples because they are firm and tart. They hold their shape well during cooking, and their tartness balances the overall flavor as the other elements of the bars are quite sweet. Other firm baking apples like Honeycrisp or Pink Lady will work, but the bars will be sweeter.
- Cinnamon. Important for a perfectly spiced apple pie filling. Make sure yours is fresh for best flavor.
- Butter. You will need two sticks (1 cup) total, and we will be dividing this between our crust, filling, and topping. I use unsalted butter and recommend you do the same, otherwise you will need to adjust the salt in the recipe (I provide a conversion for this in my post on salted vs unsalted butter).
- Light brown sugar. Used in both the filling and the crumb topping. I don’t recommend substituting dark brown sugar, as it in my testing I found it made the bars too rich. If you don’t have any brown sugar on hand, you could potentially make your own brown sugar using my guide on how to make brown sugar.
- Walnuts. These are optional, but I love adding them to the crumb topping for a little extra crunch and flavor. You can certainly leave them out if you don’t have them or need to avoid nuts though.
As always, this is just an overview of the ingredients I used and why. For the full recipe please scroll down to the bottom of the post!
Sam’s Tip
Slice your apples thinly and evenly. This is important so they cook evenly and don’t take so long to soften in the oven that the topping burns. If you prefer to dice them small rather than slicing, that is fine as well.
How to Make Apple Pie Bars (Step-by-Step)
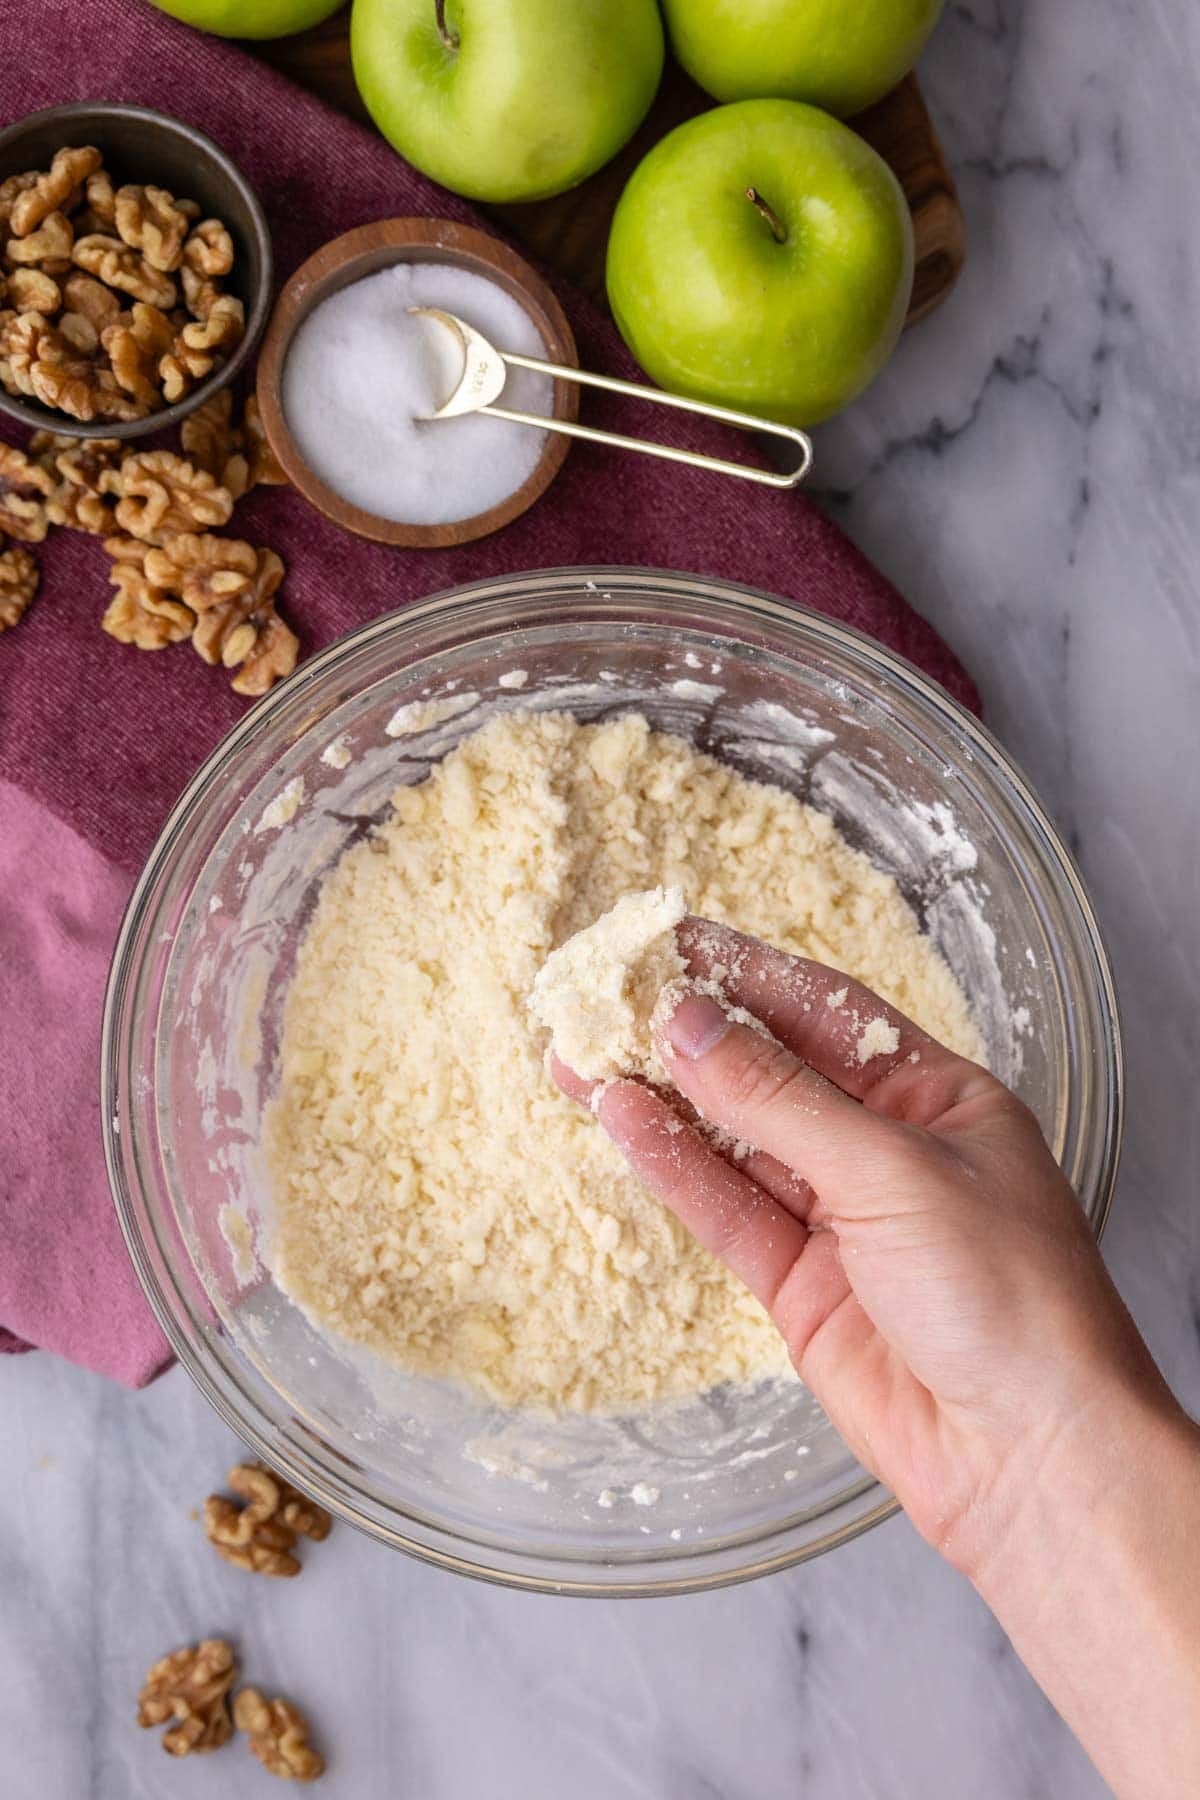
- Make the crust. Cream the butter and sugar until well combined, then mix in the flour and salt until you have a crumbly mixture. You’ll know you’ve mixed enough when you can pinch a bit of the dough between your fingers and it stays together. Going any further can make the dough difficult to work with.
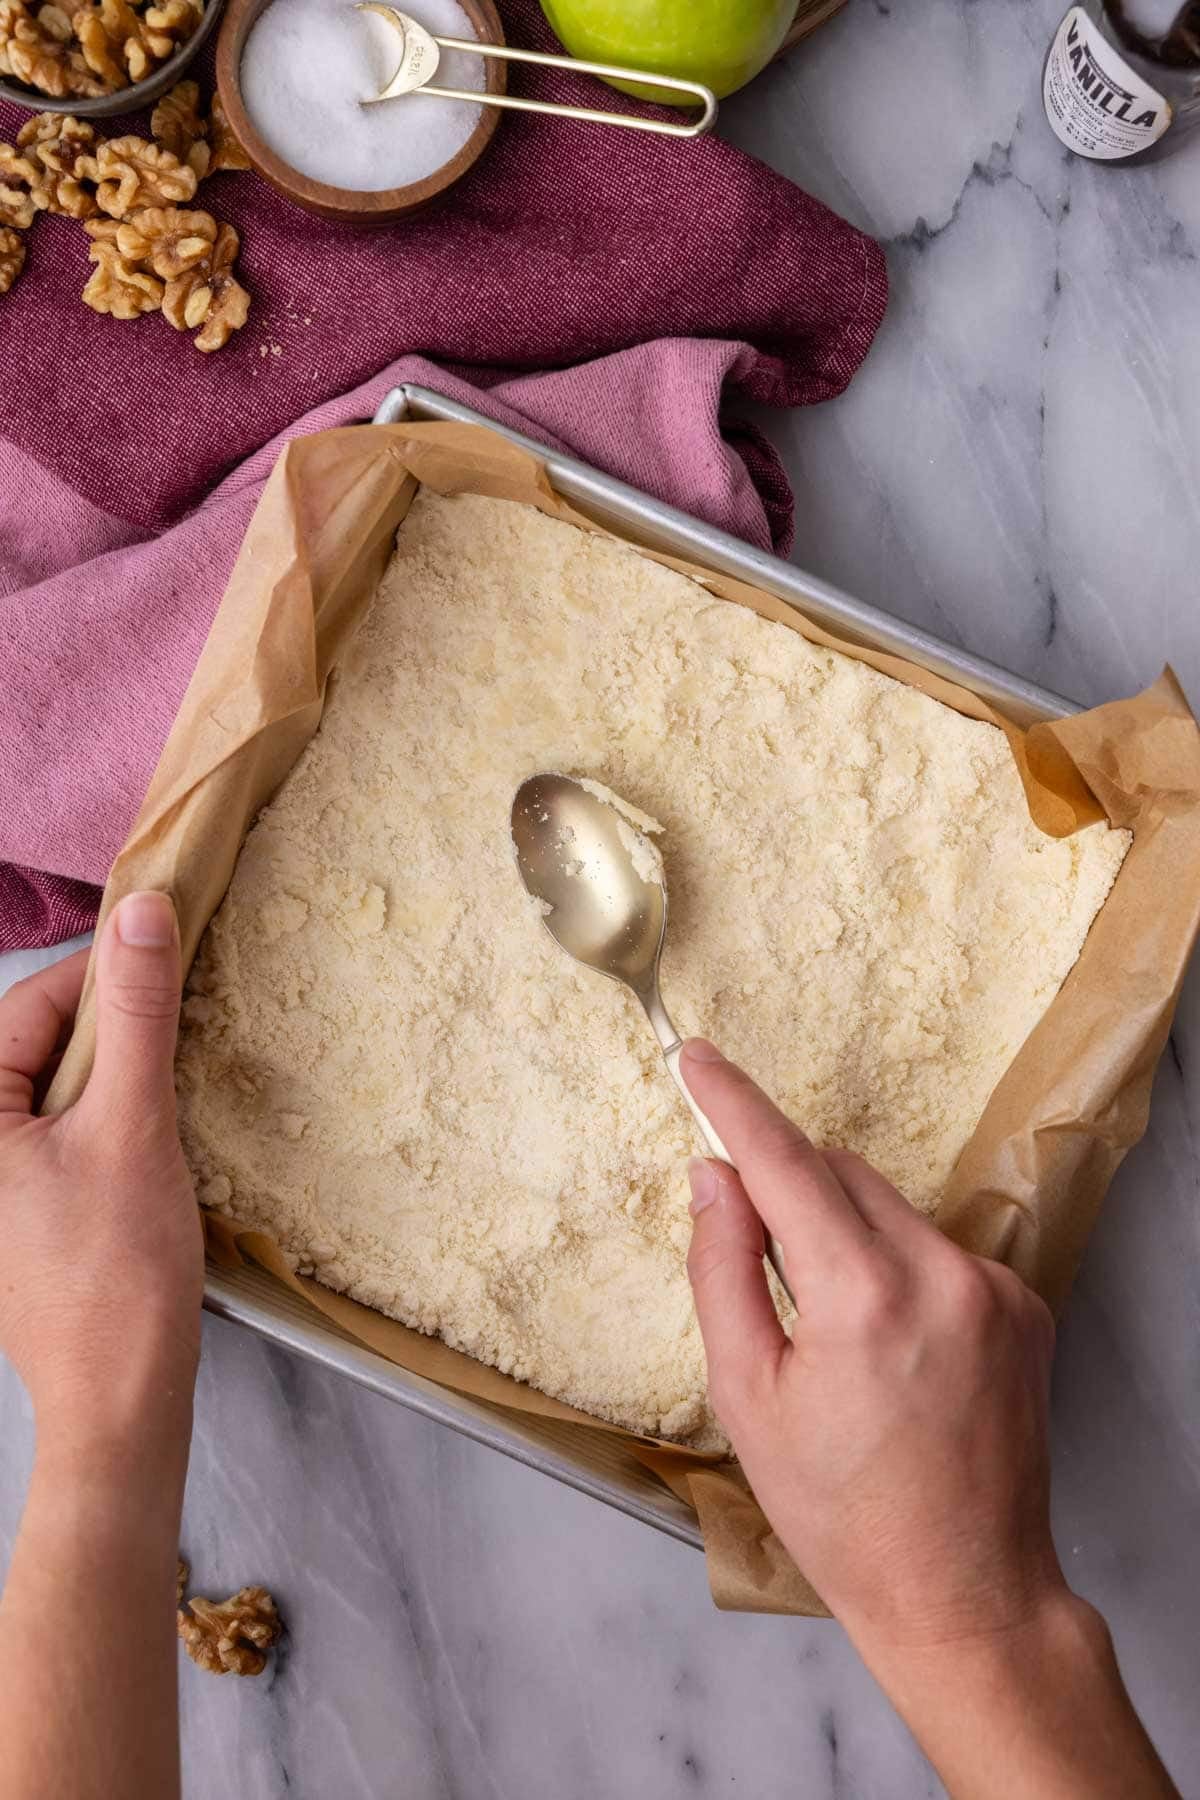
- Press into your pan. Pour the crumbly dough into a parchment lined pan. Use your hands or the back of a spoon to smooth/press it into an even layer.
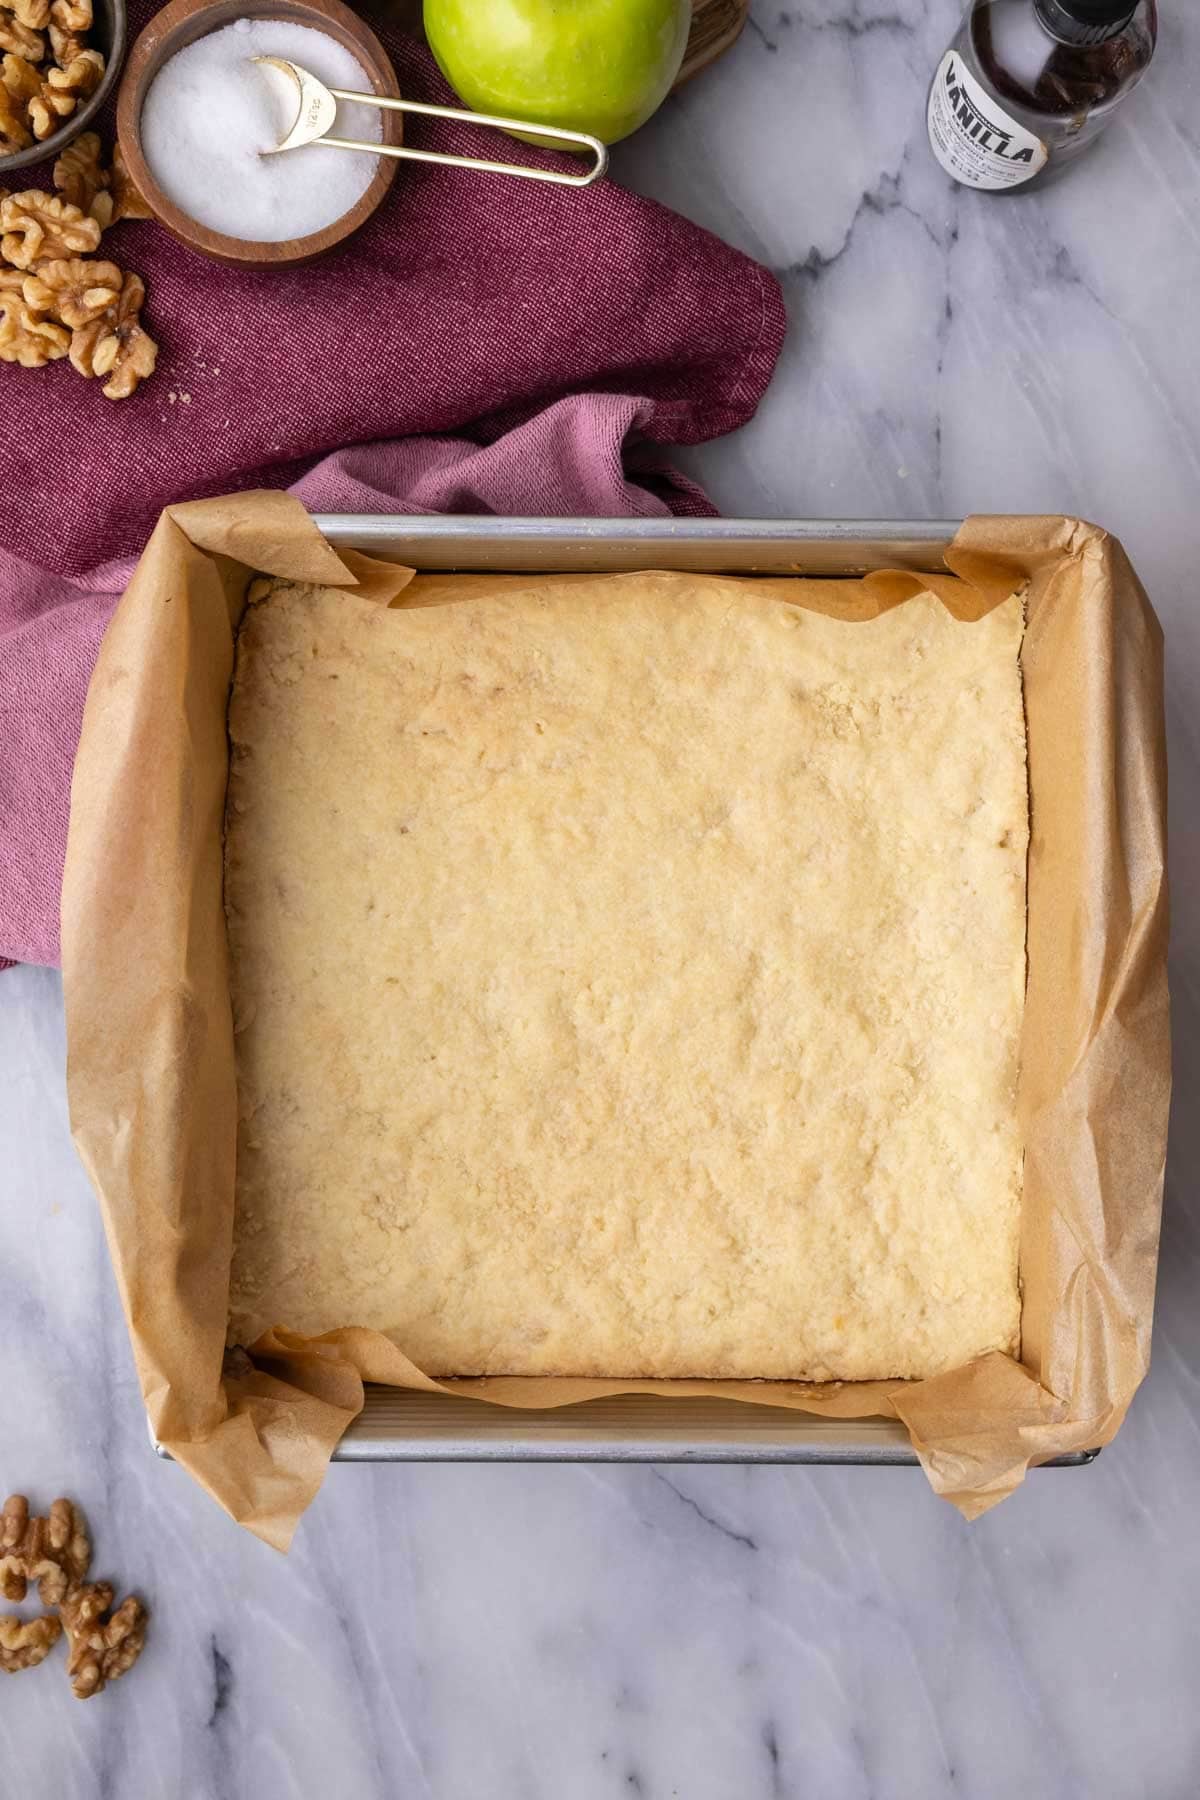
- Par-bake the crust. Poke the crust all over with a fork, then transfer to the oven to bake. Once it turns lightly golden brown, remove the crust from the oven and set it aside.
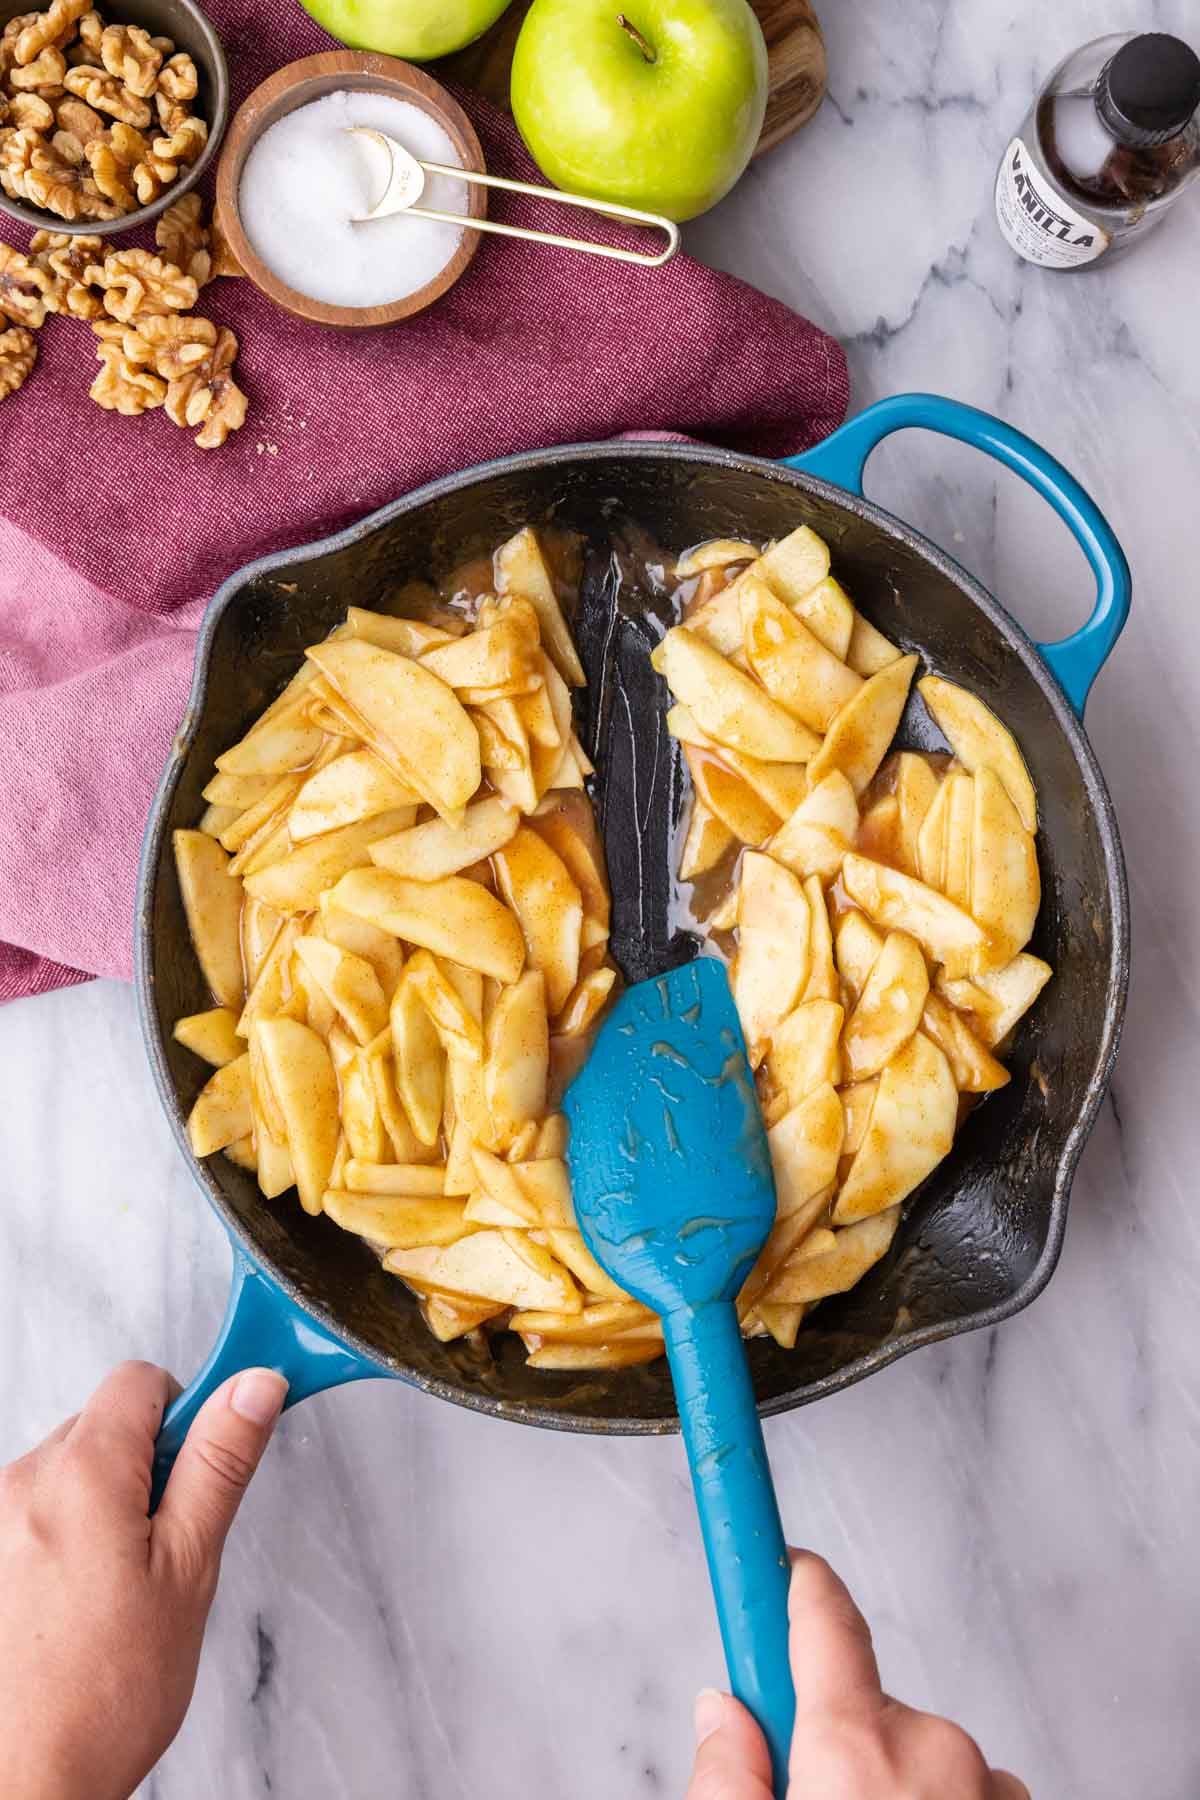
- Make the filling. This step allows the apples to release some of their moisture and helps thicken the filling before it goes into the crust. Cook the ingredients over medium low until the butter melts, then increase the heat to a simmer. The sauce will thicken and the apples will soften before you remove the pan from the heat and add the vanilla. Let this cool while you make the topping.
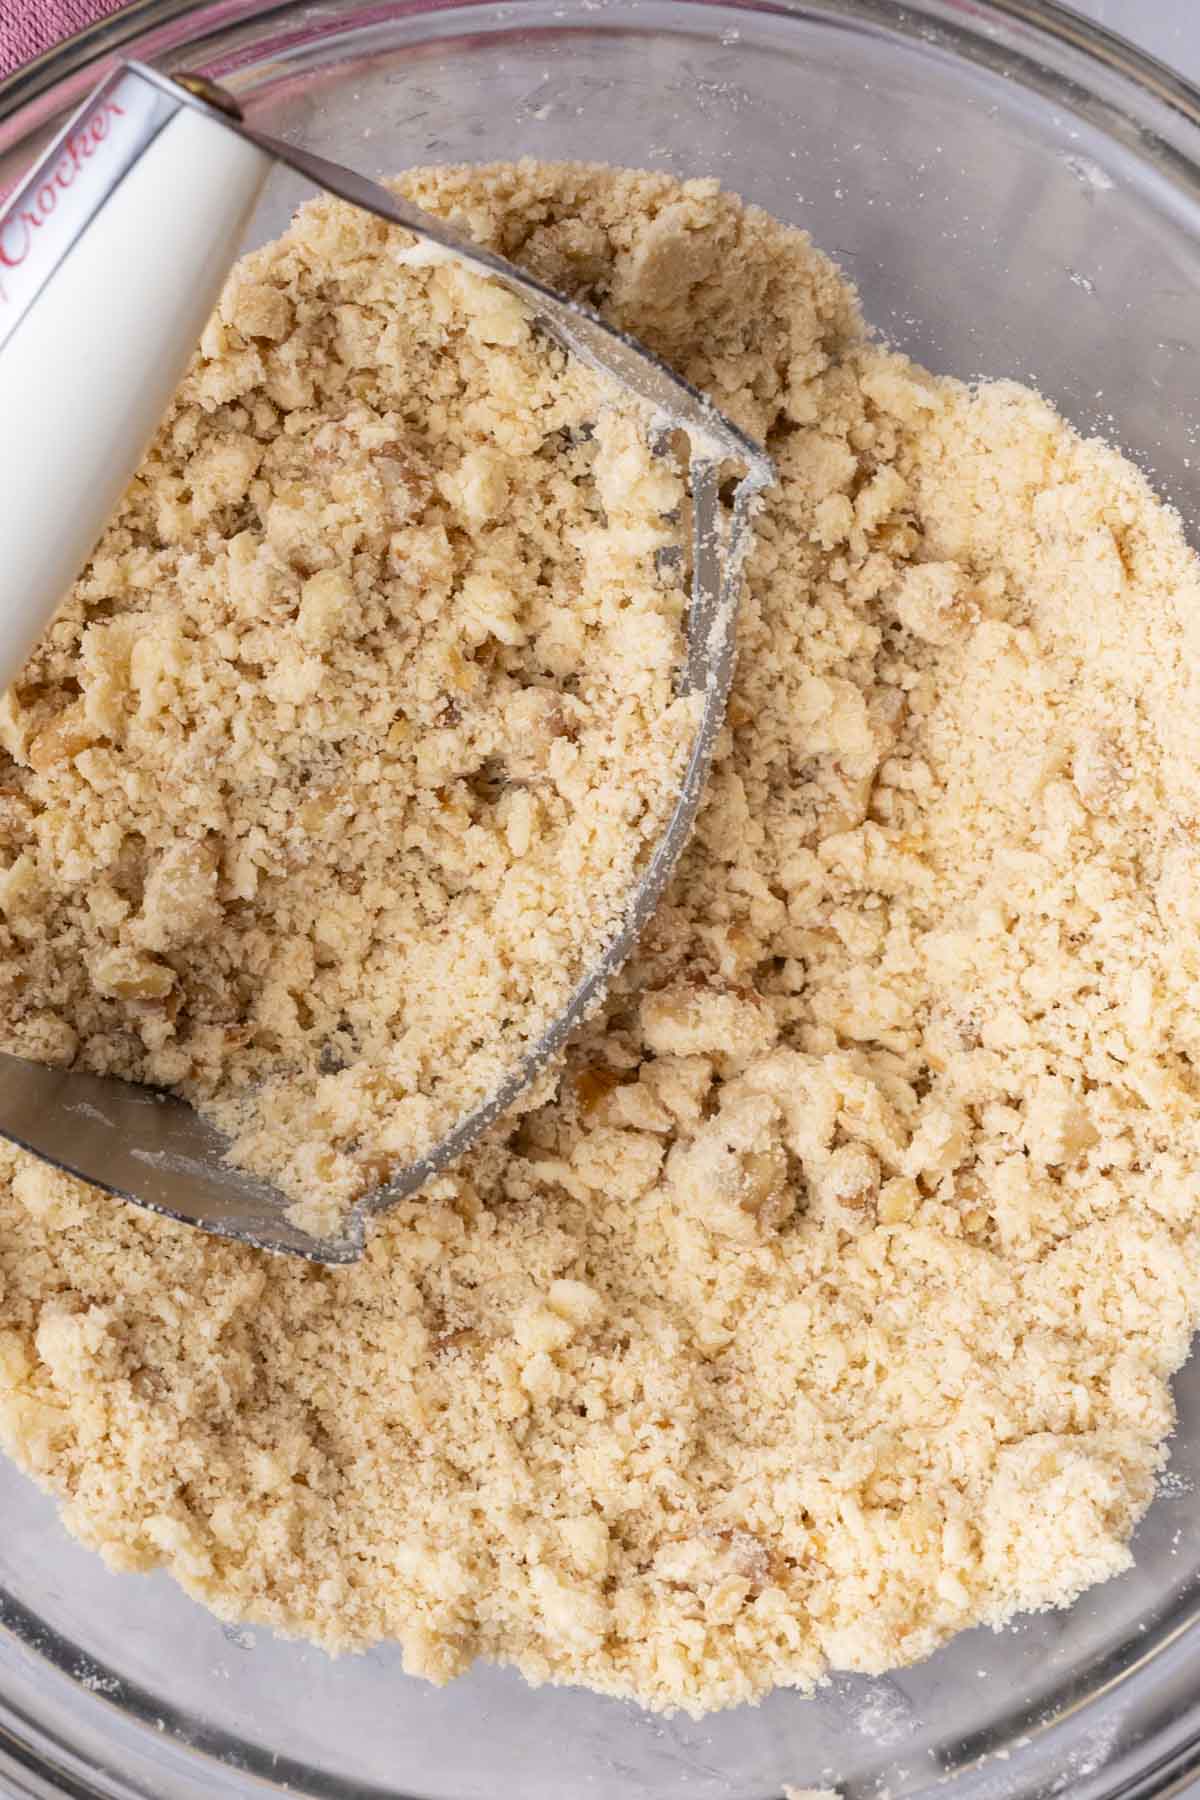
- Make the crumb topping. Whisk together the flour, sugar, and salt, then scatter your butter pieces overtop. Work the mixture together with a pastry cutter until your butter is in pea-sized pieces. Add the walnuts and continue working things together until you have a crumbly mixture that clings to itself when pinched together.
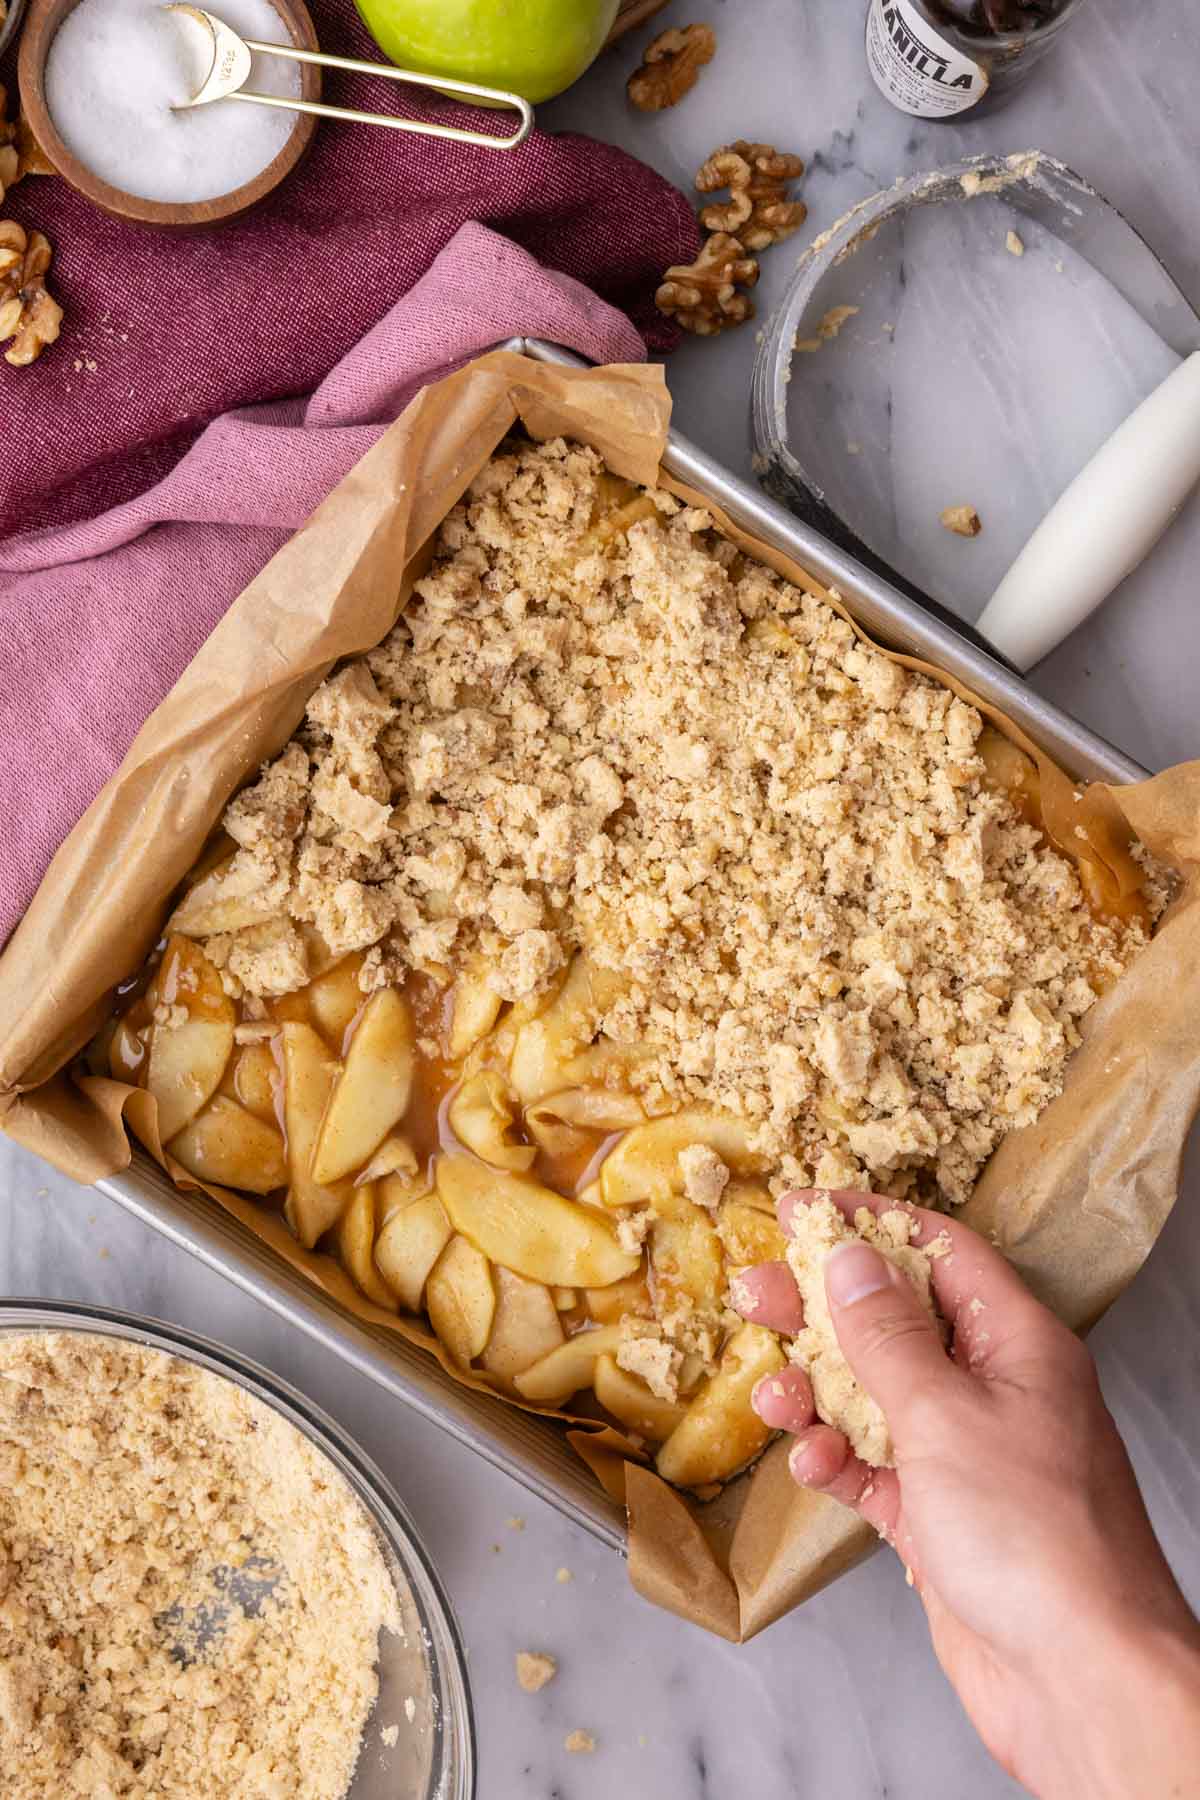
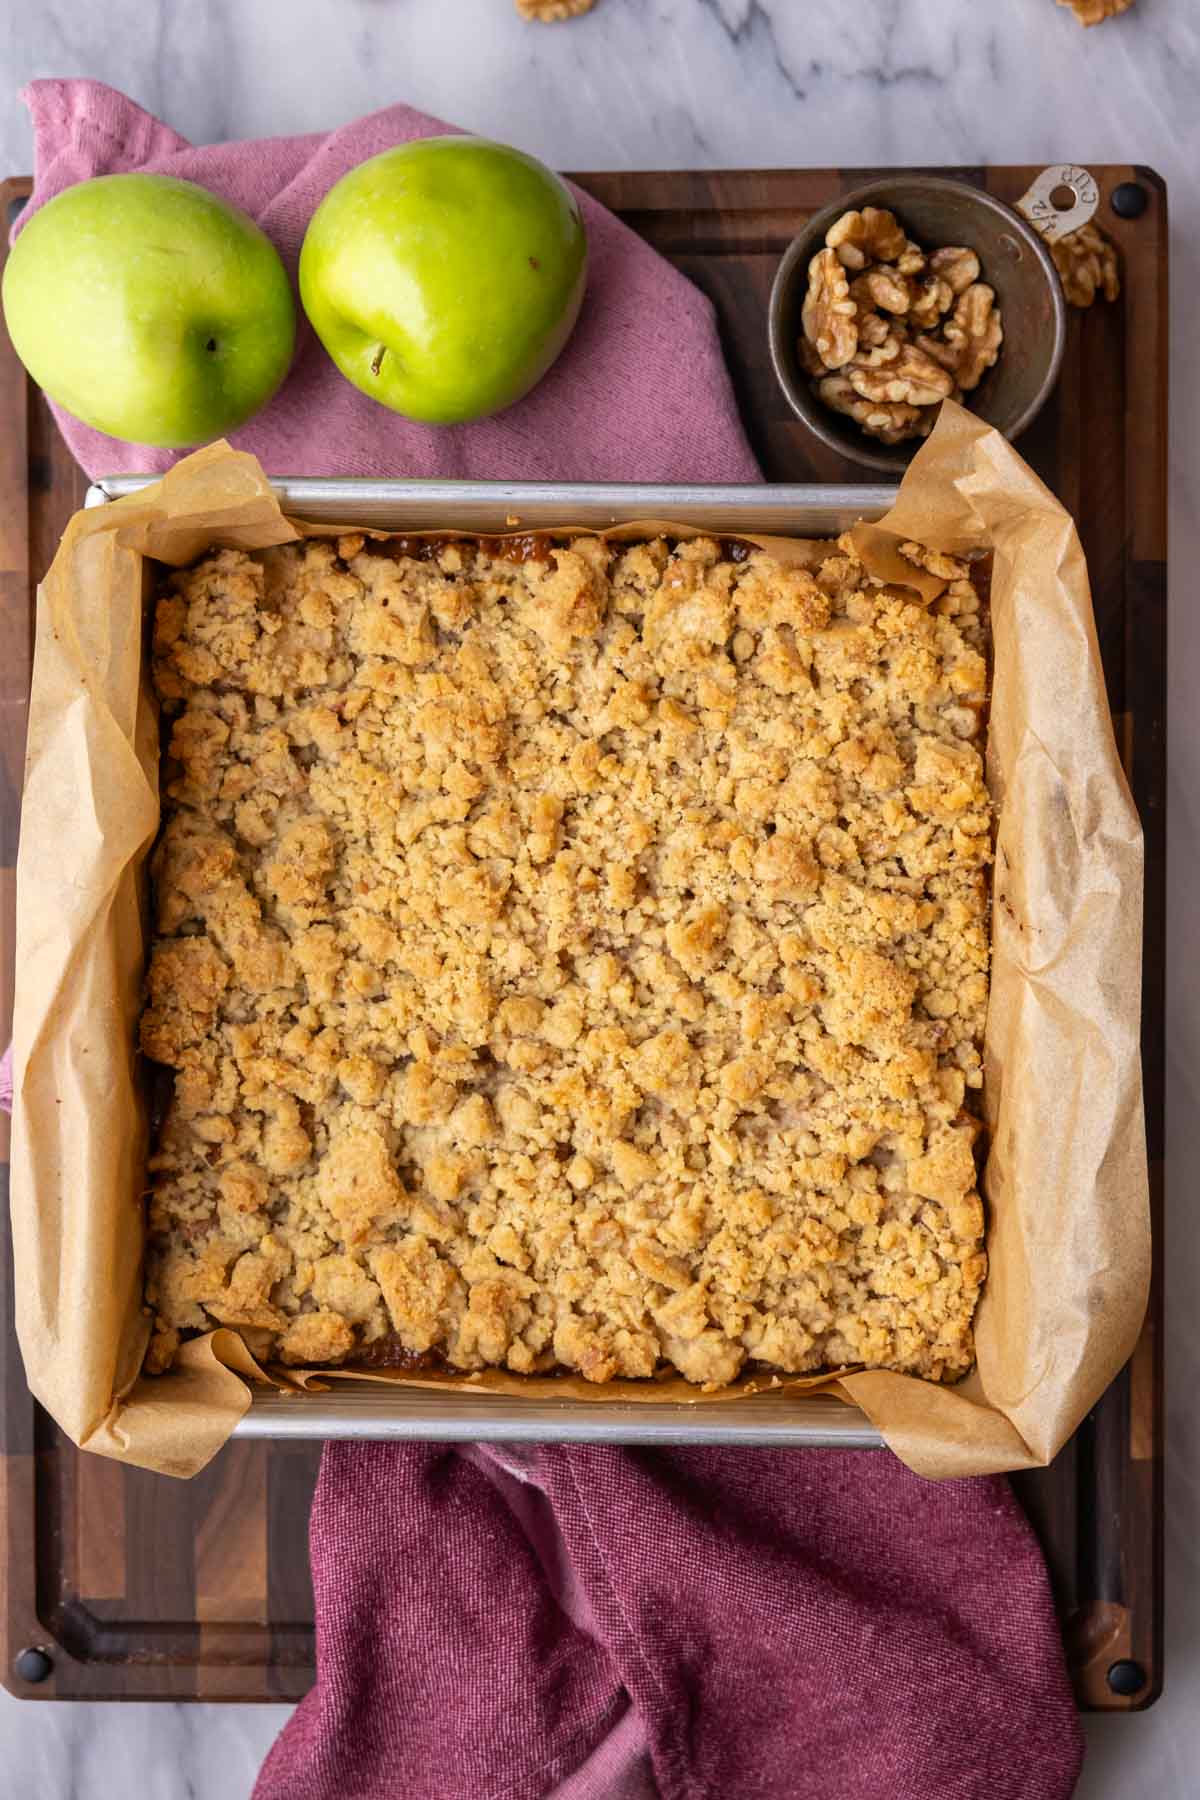
- Assemble and bake. Grab your crust, then pour the apple mixture evenly overtop. Add your crumb topping and bake for 25-30 minutes or until the apples are tender and the topping is starting to turn golden brown.
Sam’s Tip
Let the bars cool completely before attempting to cut into them. This step is important, as they will be quite soft and fragile when warm (though you can spoon them into a bowl and eat them with vanilla ice cream this way — sort of like an apple crisp!). If you want especially neat slices, refrigerate the bars for at least an hour before slicing.
Frequently Asked Questions
You can, but you should know that the crust and crumb topping are at their best shortly after baking and cooling. The longer they sit, the more moisture they will absorb from the apples. They are still quite delicious the next day (and beyond), but won’t have quite the same texture as when freshly baked.
I provide detailed storage instructions in the recipe below.
Yes! Because of the moisture from the fruit, I highly recommend refrigerating your bars in an airtight container. See my note above about making these bars in advance.
Yes. I find if I don’t peel the apples, the peels become tough and add an unpleasant texture to the filling once the bars are cooked. It’s worth it to take a few extra minutes to remove the peels.
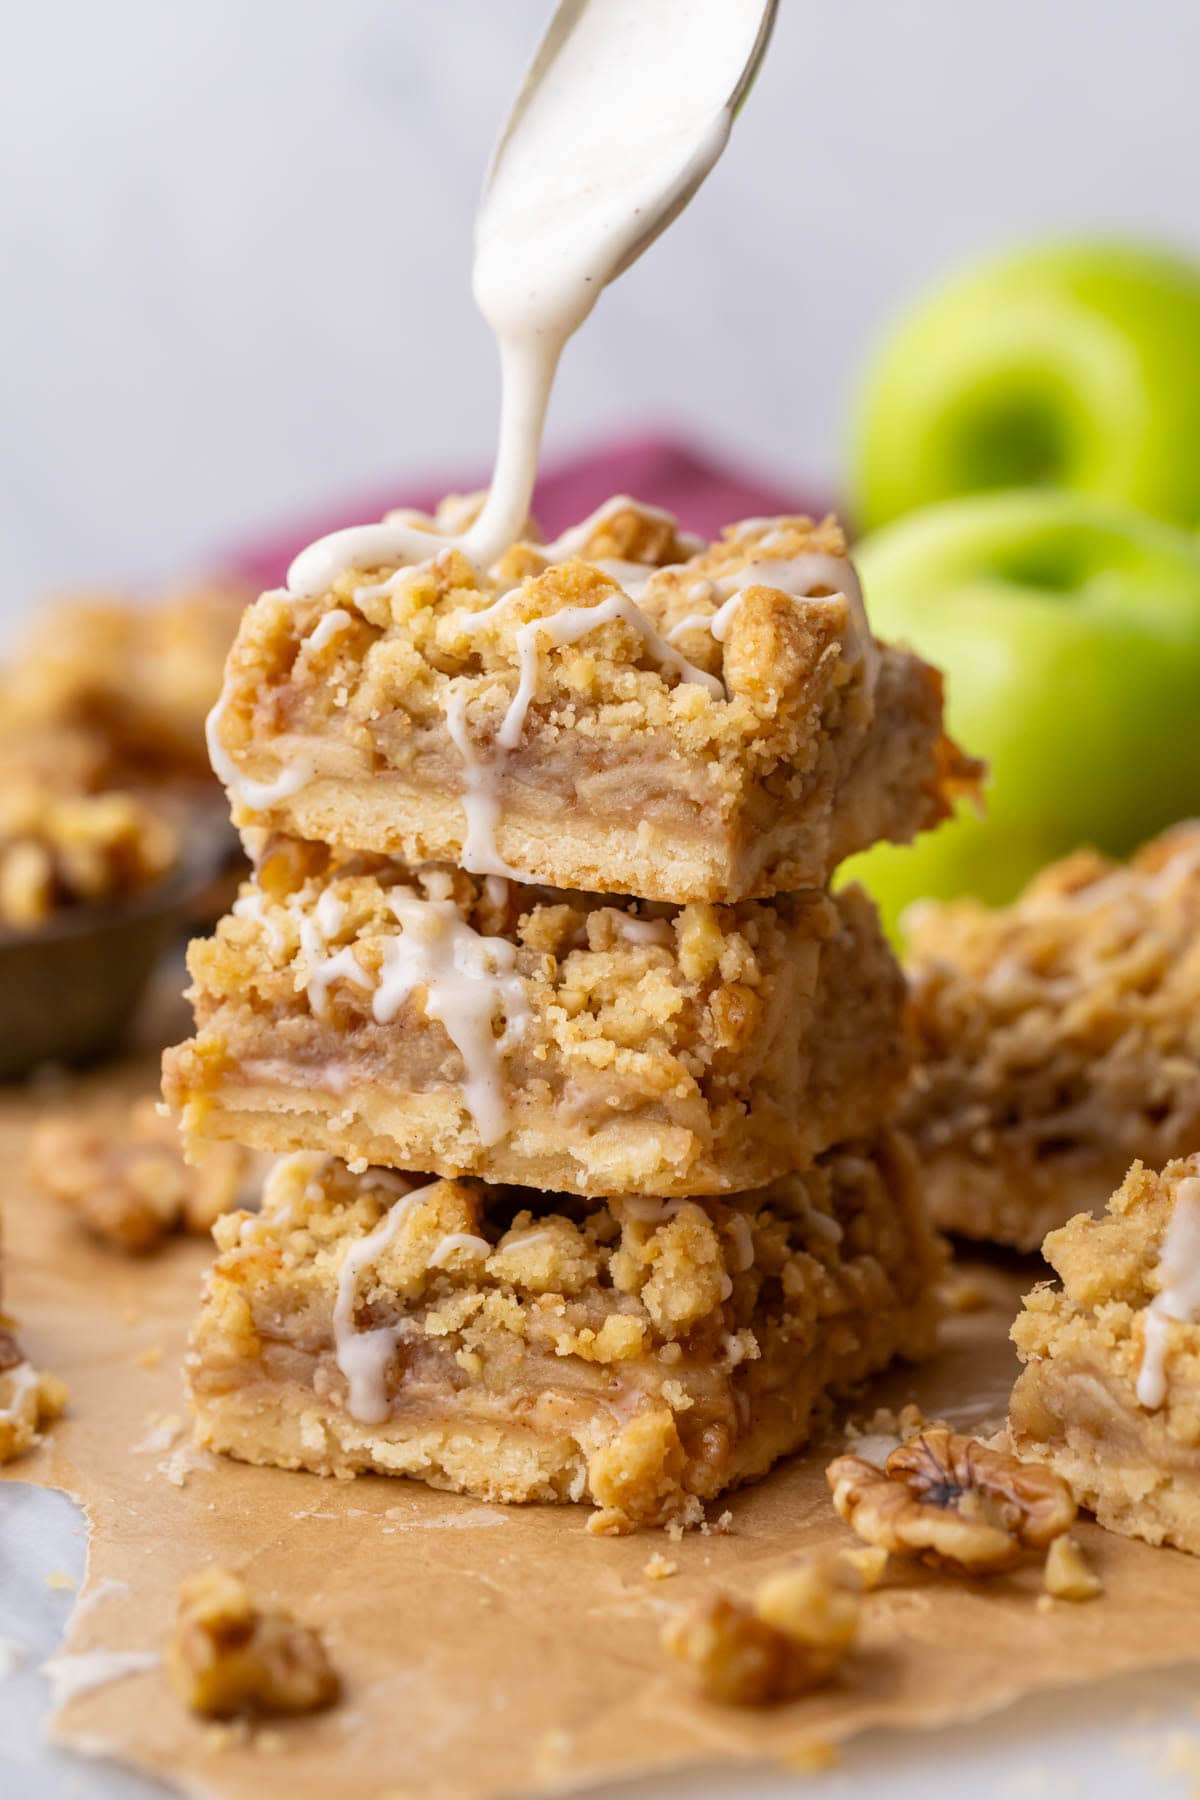
If you want to really take your bars over the top with a pretty drizzle, my vanilla glaze is a great option (makes me think of apple pie with vanilla ice cream)! I don’t do this every time I make them, but it is a nice touch.
Related Recipes


Head on over to my collection of apple recipes if you are looking for more ways to use up a bunch of apples 🍏
Enjoy!
Psst… Did you hear I wrote a cookbook?
Apple Pie Bars
Equipment
- 9×9-inch metal baking pan
- Electric mixer (recommended)
- Pastry cutter
Ingredients
For the Crust
- ½ cup (113 g) unsalted butter, softened, but still slightly cool to the touch
- ⅓ cup (67 g) granulated sugar
- 1 ½ cups (190 g) all-purpose flour
- ½ teaspoon table salt
For the Filling
- 4 cups (425 g) peeled, cored, and thinly-sliced Granny Smith apples (sliced ⅛”-¼” thick)
- ¼ cup (50 g) light brown sugar
- ¼ cup (50 g) granulated sugar
- 2 Tablespoons unsalted butter
- 1 Tablespoon lemon juice
- 1 ½ Tablespoons all-purpose flour
- 1 ½ teaspoons ground cinnamon
- ¼ teaspoon table salt
- ½ teaspoon vanilla extract
For the Topping
- 1 cup (125 g) all-purpose flour
- ½ cup (100 g) light brown sugar, firmly packed
- ¼ teaspoon table salt
- 6 Tablespoons unsalted butter, cold and cut into 12 pieces
- ⅔ cup (70 g) chopped walnuts, (optional, but recommended)
Instructions
- Preheat oven to 350F (175C) and line a 9×9-inch metal baking pan with parchment paper (or lightly grease with butter). Set aside.
Make the crust
- In a medium-sized mixing bowl, combine butter and sugar and use an electric mixer to beat until creamy and well combined.½ cup (113 g) unsalted butter, ⅓ cup (67 g) granulated sugar
- Add flour and salt and, with mixer on low-speed, stir until mixture is crumbly and clings together if pinched between your thumb and forefinger.1 ½ cups (190 g) all-purpose flour, ½ teaspoon table salt
- Scatter crumbly dough evenly into prepared pan and use your hands or the back of a spoon to press into an even layer.
- Pierce all over with the tines of a fork then transfer to center rack of preheated oven and bake for 20 minutes, or until lightly golden. While the crust bakes, prepare your filling.
- Once crust has finished baking, remove from oven (but don’t turn off the oven) and set aside.
Prepare the filling
- In a medium saucepan, stir together apples, sugars, butter, lemon juice, flour, cinnamon, and salt.4 cups (425 g) peeled, cored, and thinly-sliced Granny Smith apples (sliced ⅛”-¼” thick), ¼ cup (50 g) light brown sugar, ¼ cup (50 g) granulated sugar, 2 Tablespoons unsalted butter, 1 Tablespoon lemon juice, 1 ½ Tablespoons all-purpose flour, 1 ½ teaspoons ground cinnamon, ¼ teaspoon table salt
- Cook over medium-low heat, stirring frequently, until butter is melted, then increase heat to medium and bring to a simmer. Cook until apples have softened slightly and the sauce has thickened enough to coat them. (There shouldn’t be a great deal of excess liquid remaining in the pan or the bars could become soggy).
- Remove from heat and stir in vanilla extract. Set aside while you prepare the topping.½ teaspoon vanilla extract
Prepare the topping
- In a medium mixing bowl, whisk together flour, brown sugar, and salt.1 cup (125 g) all-purpose flour, ½ cup (100 g) light brown sugar, ¼ teaspoon table salt
- Scatter the cold butter pieces over the dry ingredients and use a pastry cutter to work together until butter is cut into pea-sized pieces. Add walnuts and continue to cut until you have a topping that is crumbly but clings to itself when pressed between thumb and forefinger.6 Tablespoons unsalted butter, ⅔ cup (70 g) chopped walnuts
Assemble
- Pour the apple mixture evenly over the baked crust.
- Scatter the topping evenly over the apples.
- Transfer to center rack of preheated oven and bake for 25-30 minutes, until topping is beginning to turn golden brown and apples are tender if pierced into with a toothpick.
- Allow bars to cool completely in the pan before slicing and serving (bars will be quite soft and fragile if sliced when warm). For neater slices, refrigerate before slicing and serving (not required).
Notes
Storing
Once completely cooled, store apple pie bars in an airtight container in the refrigerator for up to 4 days. The topping will naturally soften as the bars sit, but they’ll still taste delicious!Nutrition
Nutrition information is automatically calculated, so should only be used as an approximation.
Like this? Leave a comment below!