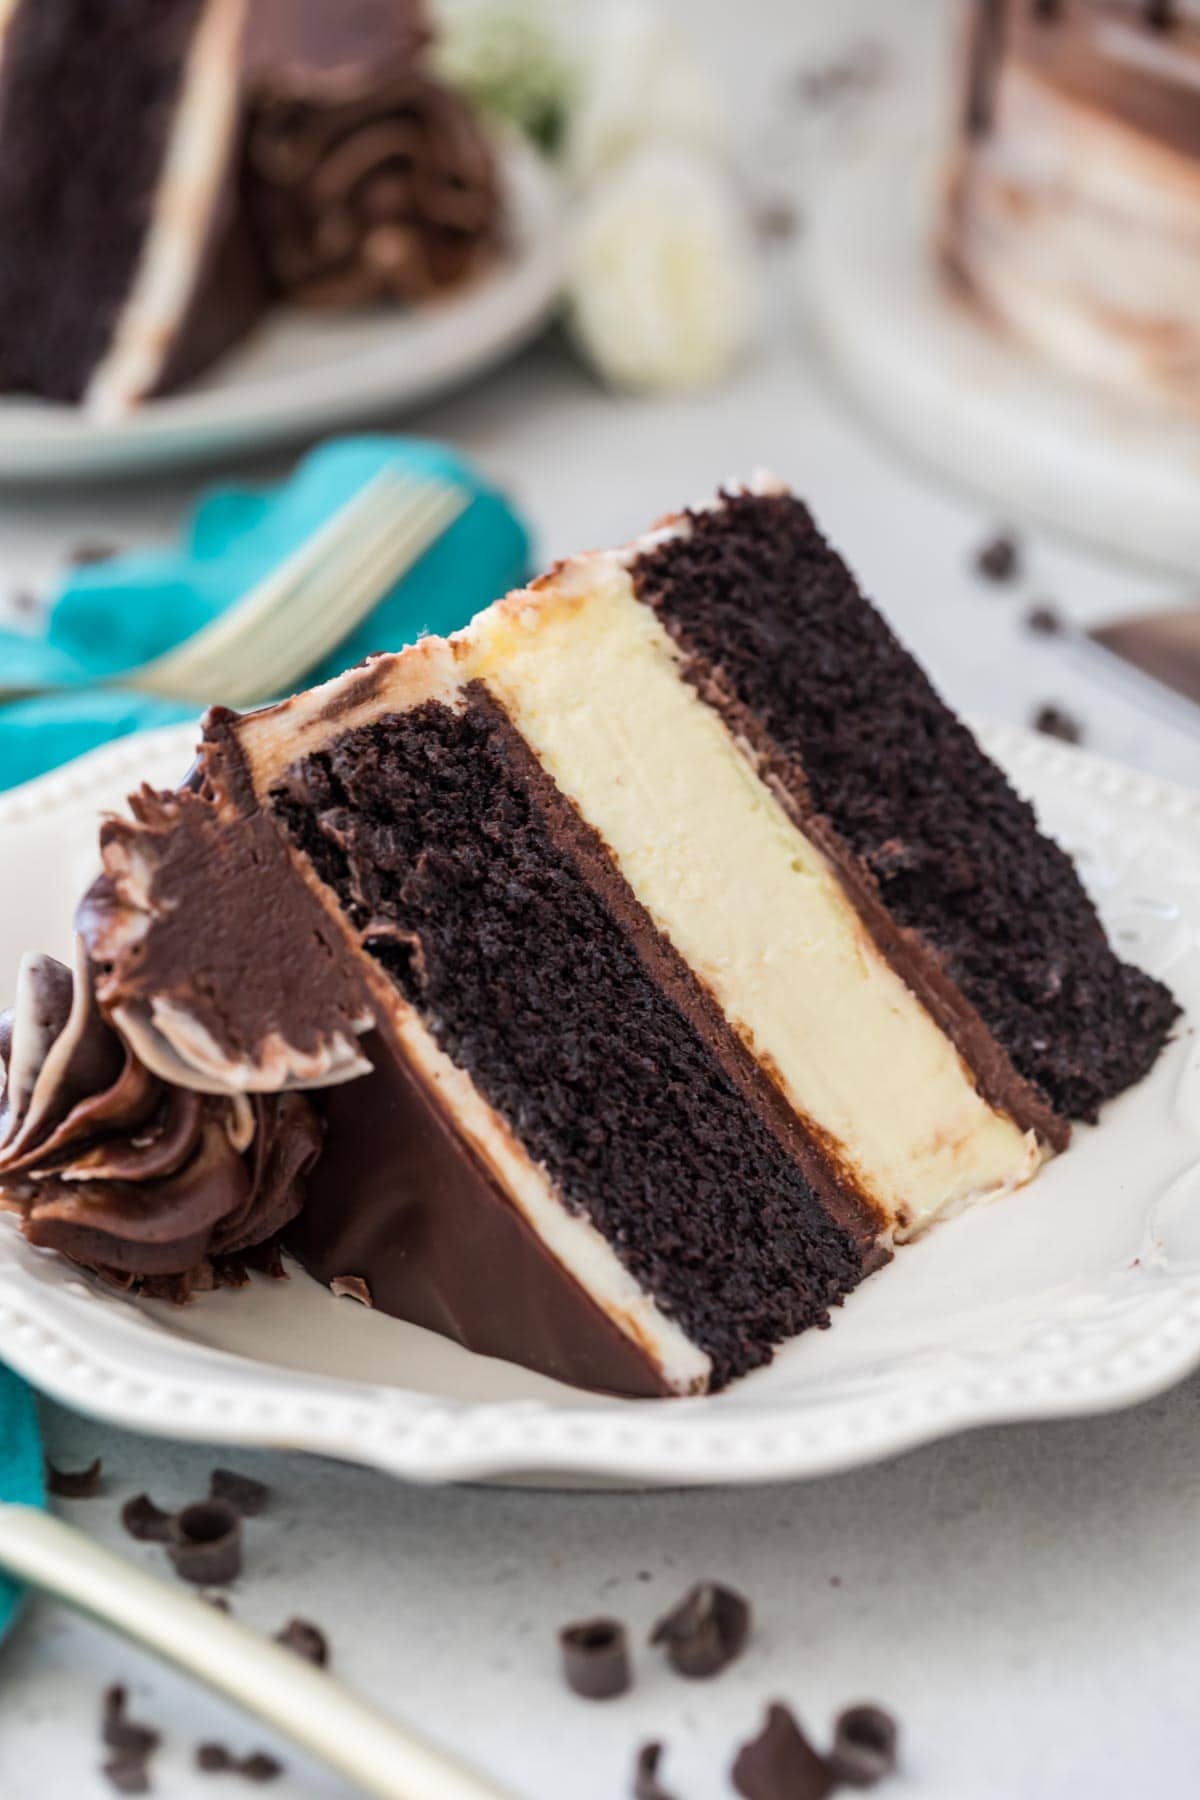
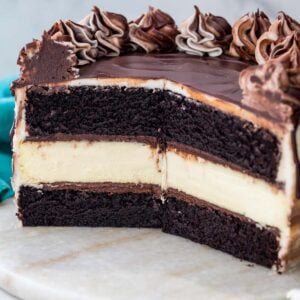
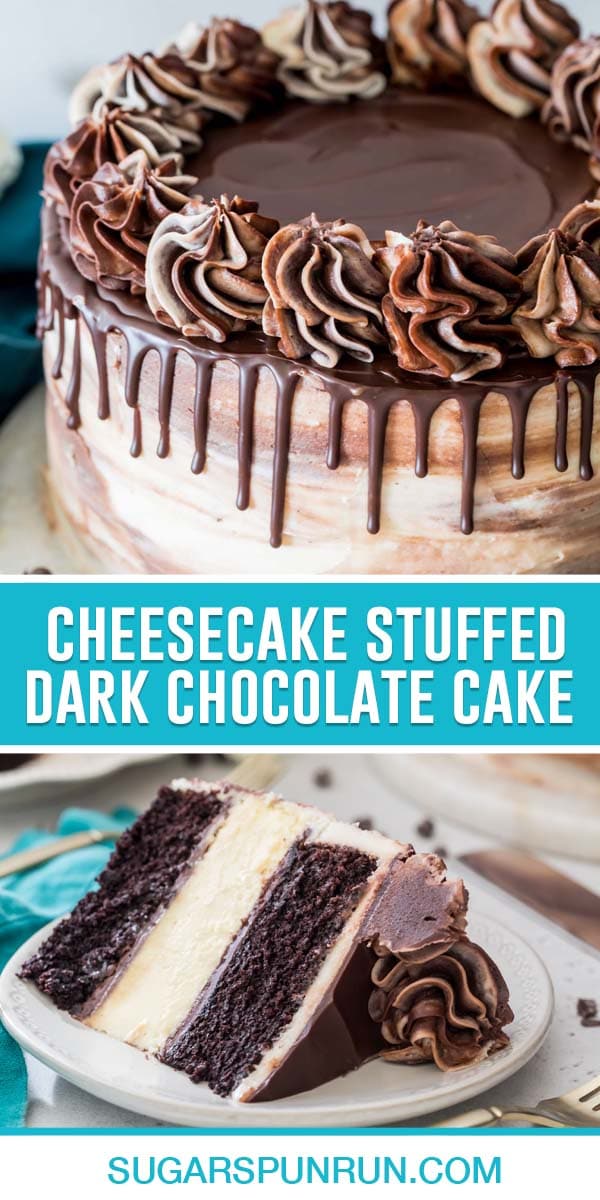
This Cheesecake Stuffed Cake consists of a classic cheesecake sandwiched between two decadent, fudgy dark chocolate cakes. It’s topped off with a marbled cream cheese frosting to make for one showstopping dessert! Recipe includes a how-to video.
A Striking & Decadent Dessert
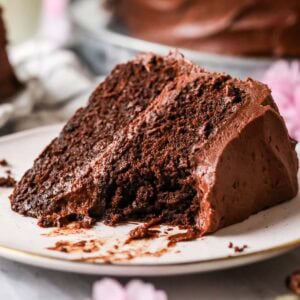
This cheesecake stuffed cake is possibly one of the most indulgent recipes on my blog. What could be more decadent than an entire cheesecake sandwiched between two layers of fudgy, dark chocolate cake? It’s sinful, really…but it works!
The cake itself is moist and oh-so chocolatey, and the cheesecake is a rich and classic companion. They pair together flawlessly, especially when cloaked in a dark chocolate marbled cream cheese frosting.
This was one of the first recipes on the blog, which means it’s high time for an update. I’ve given the original recipe a slight makeover: a thicker cheesecake layer, a more flavorful, moist chocolate cake (thanks to buttermilk and butter), a more intense chocolate note from dark cocoa powder, and a beautifully marbled version of my cream cheese frosting. I also include the option to top everything of with my chocolate ganache. My cheesecake stuffed cake was a stunner before, but now it’s a true showstopper.
This recipe does take quite a bit of time, so let’s get to it!
What You Need
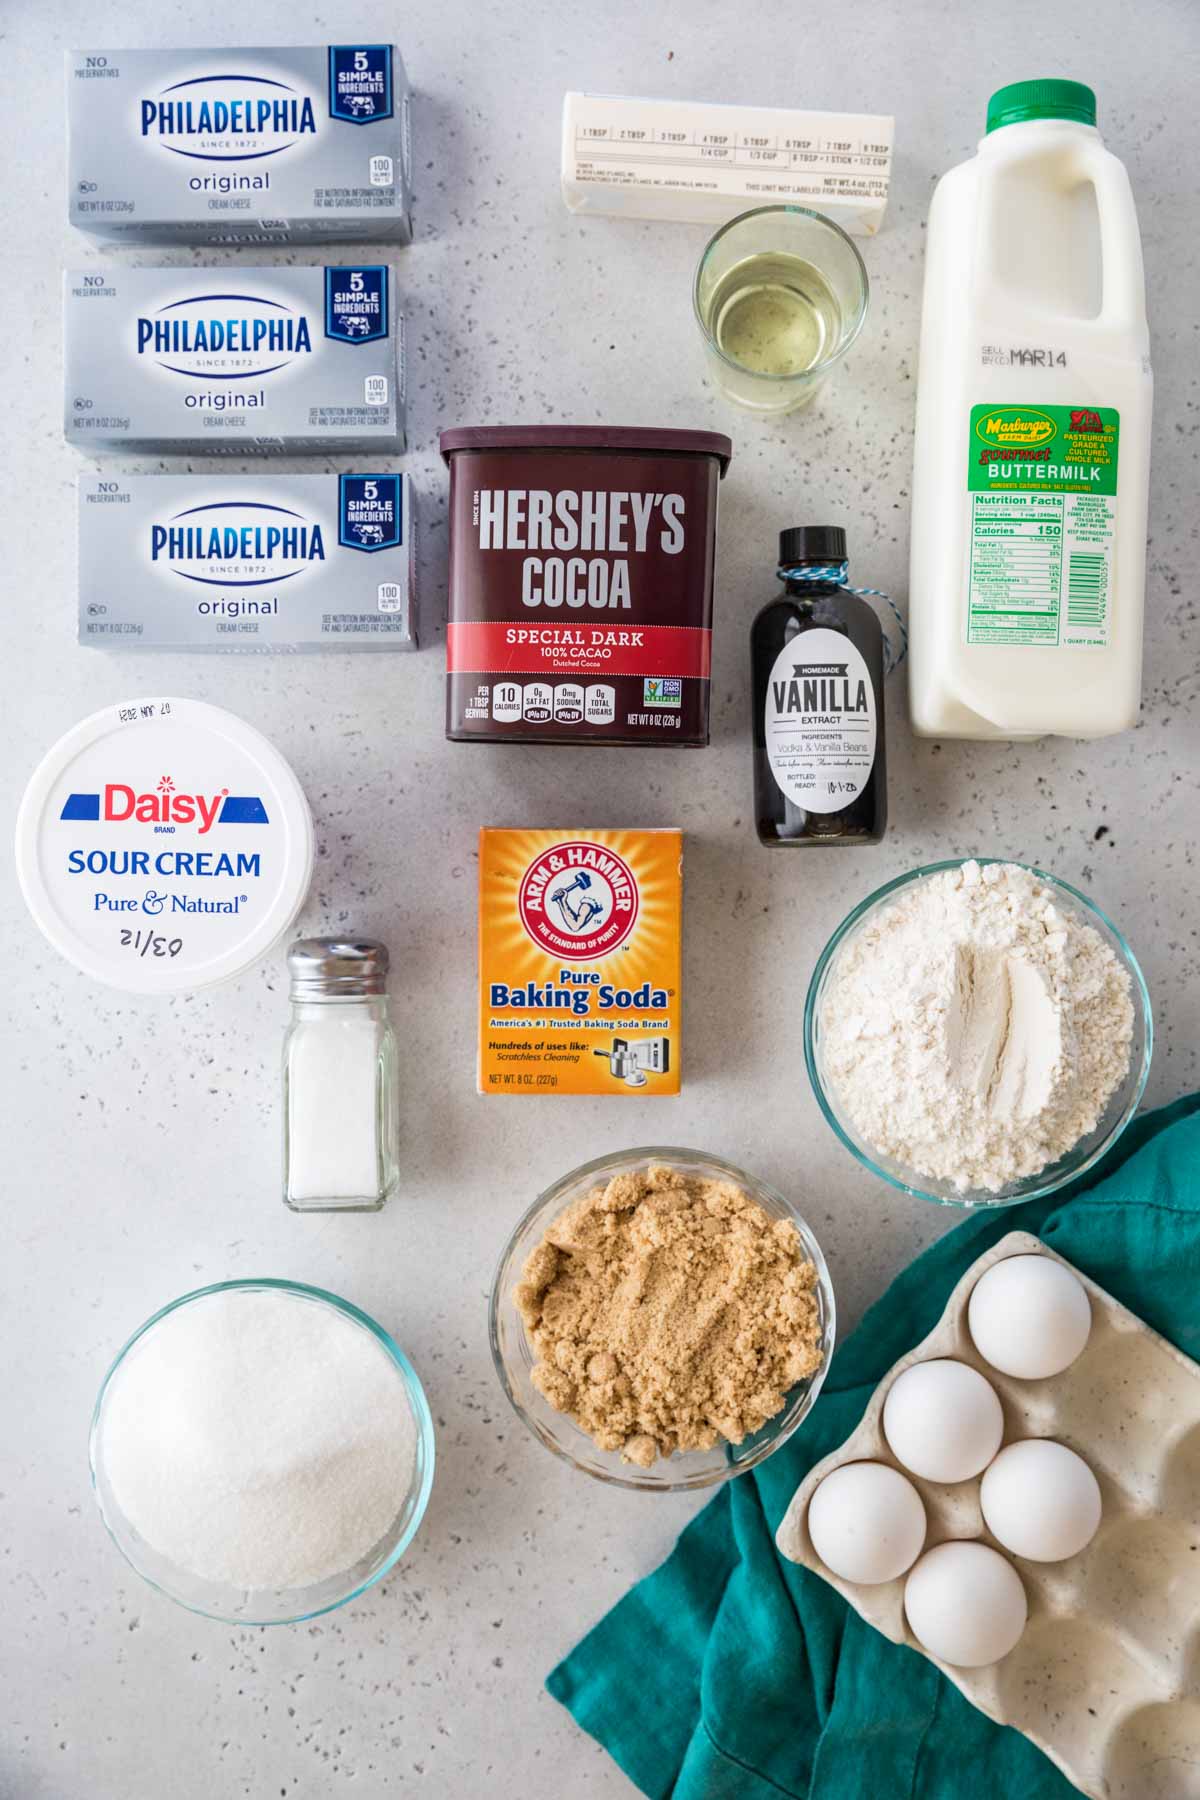
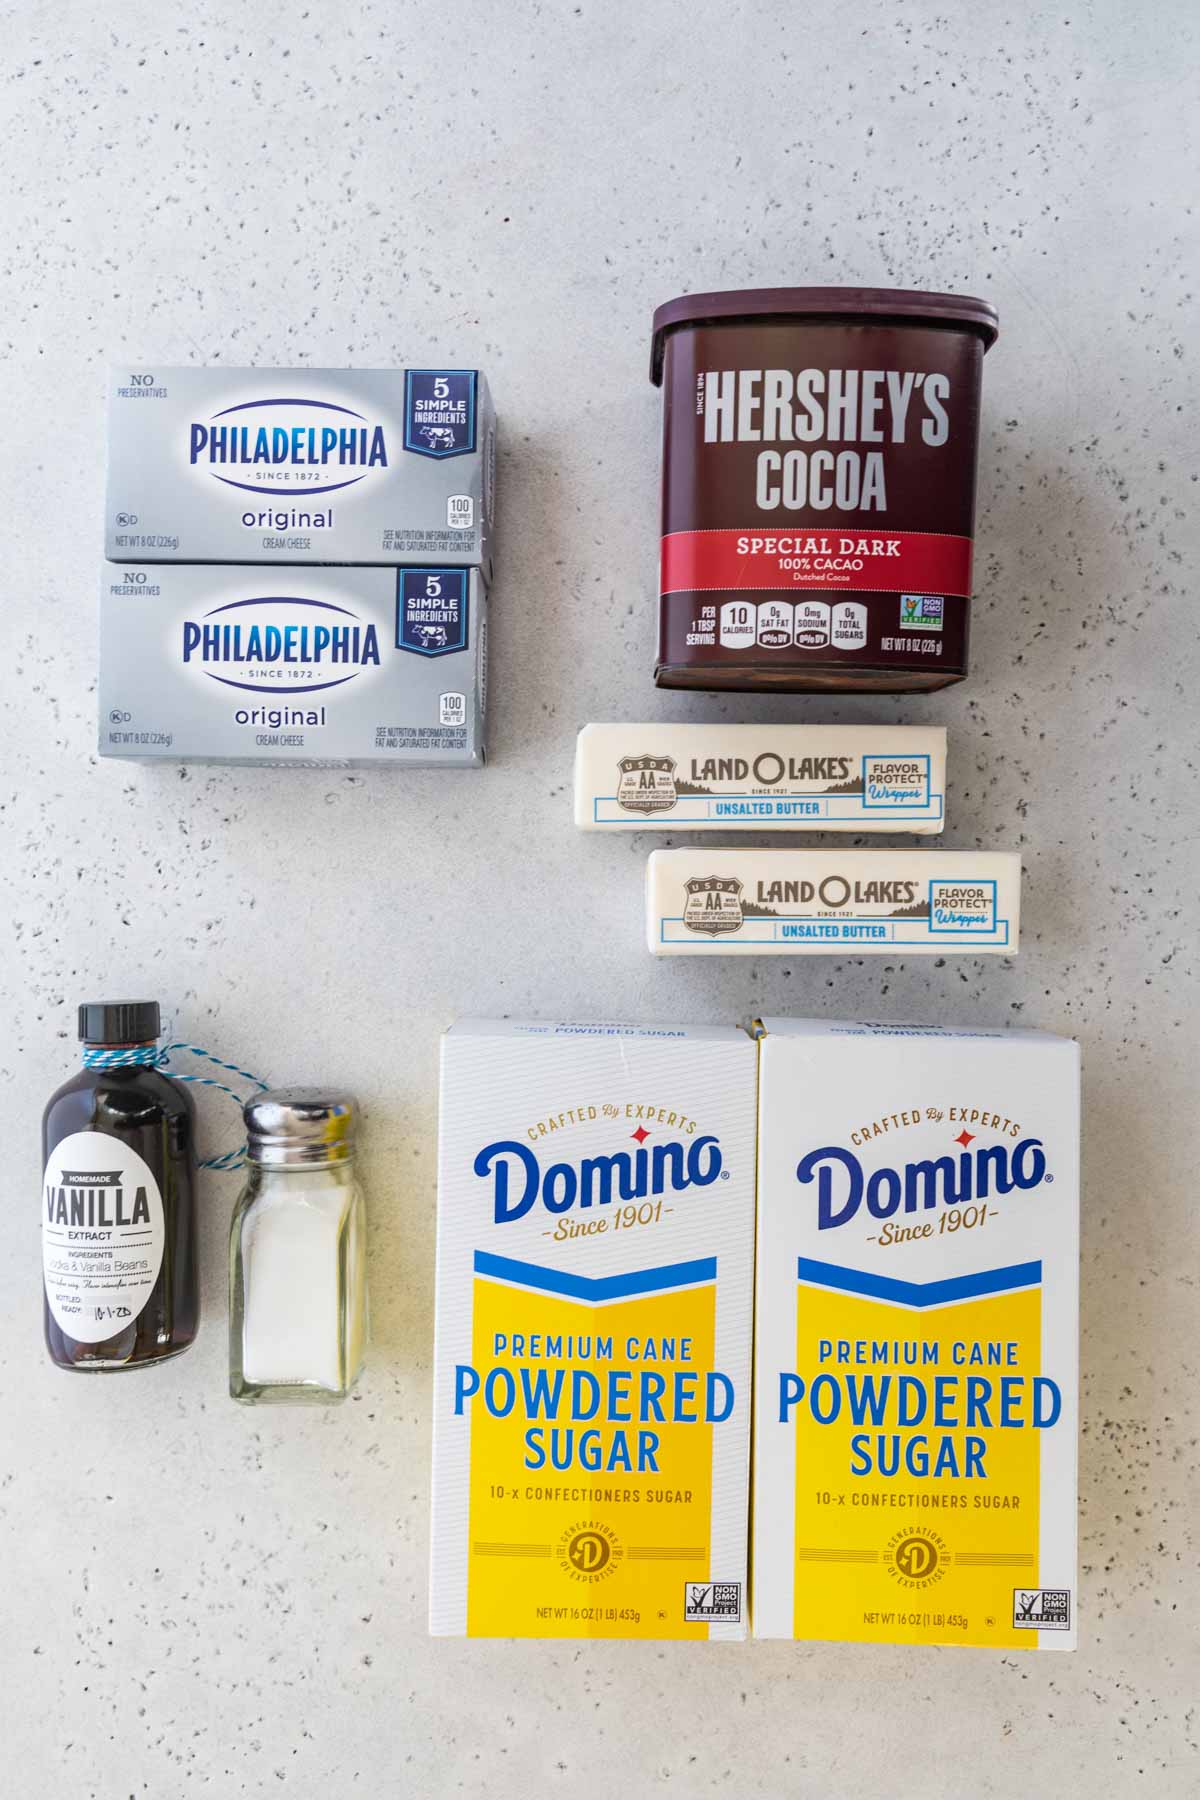
While this recipe is definitely more involved than my other cake recipes (I mean, we are literally stuffing an entire cheesecake in this one), the ingredients aren’t overly fancy or complicated. Here are a few of the most important ingredients in this cheesecake stuffed cake:
- Cream cheese. You will add this to both the cheesecake portion of the cake as well as the frosting. You must use the block type cream cheese–not the spreadable kind in the tub, otherwise the cheesecake may not turn out properly and the icing will be runny.
- Sour cream. This adds some slight tartness and moisture to the cheesecake.
- Eggs. You’ll need a total of five eggs for this cheesecake stuffed cake; three for the cheesecake and two for the cake. It’s best if they’re all room temperature before you add them.
- Dark cocoa powder. This cheesecake stuffed cake is ultra-decadent, thanks to dark cocoa powder, which you’ll use in both the cake and the frosting. If you don’t have dark cocoa, you can substitute Dutch process or natural cocoa.
- Oil. This cake uses slightly more oil than butter; this ensures that the cake will stay moist even while it is in the refrigerator. Since this cake must be refrigerated (and the refrigerator notoriously dries out cakes), keeping it moist was really important to me when developing this recipe.
- Butter. Use unsalted butter for the cake and the frosting. You’ll want to melt it completely for the cake itself, but keep it softened for the frosting.
- Brown sugar. I like to use a combination of light brown sugar and granulated sugar for a richly flavored, moist chocolate cake.
- Buttermilk. This adds flavor and moisture and helps to activate the baking soda in the cake.
- Very hot water or coffee. You can use either, but coffee will make your cake have a more intense chocolate (not coffee!) flavor. Whichever you chose, make sure it’s very hot to properly bloom your cocoa and bring out its best flavor.
SAM’S TIP: If you would like to add a ganache drip to your cheesecake stuffed cake, check out the tutorial in my peanut butter chocolate cake post. I will have a standalone tutorial coming soon!
Remember, this is just an overview of the ingredients I used and why. For the full recipe please scroll down to the bottom of the post!
How to Make a Cheesecake Stuffed Cake
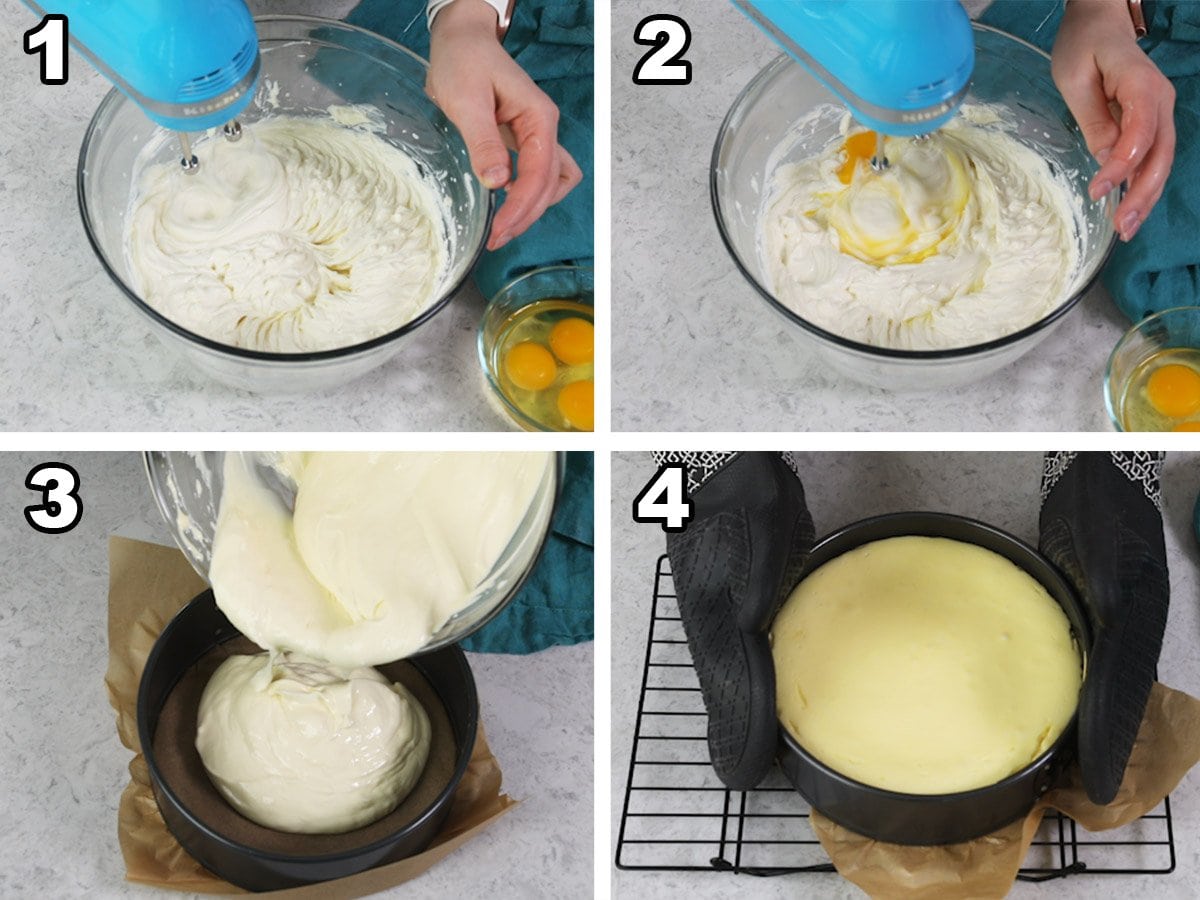
- Combine the cream cheese and sugar until creamy and lump-free, pausing to scrape the bowl as needed. Add the sour cream and vanilla and stir until well combined.
- Add the eggs one at a time, stirring on low speed until just combined after each addition. Use a spatula to scrape the sides and bottom of the bowl to make sure everything is combined.
- Pour your cheesecake mixture into a parchment-lined springform pan. Bake for 35 minutes at 325F, until the cheesecake is set.
- Let the cheesecake cool in its pan for 10 minutes, then run a knife around the inside edge of the pan to loosen it. Let the cheesecake sit in its pan at room temperature until cool to the touch, then cover it and chill for at least 4 hours.
Making the Cake Layers
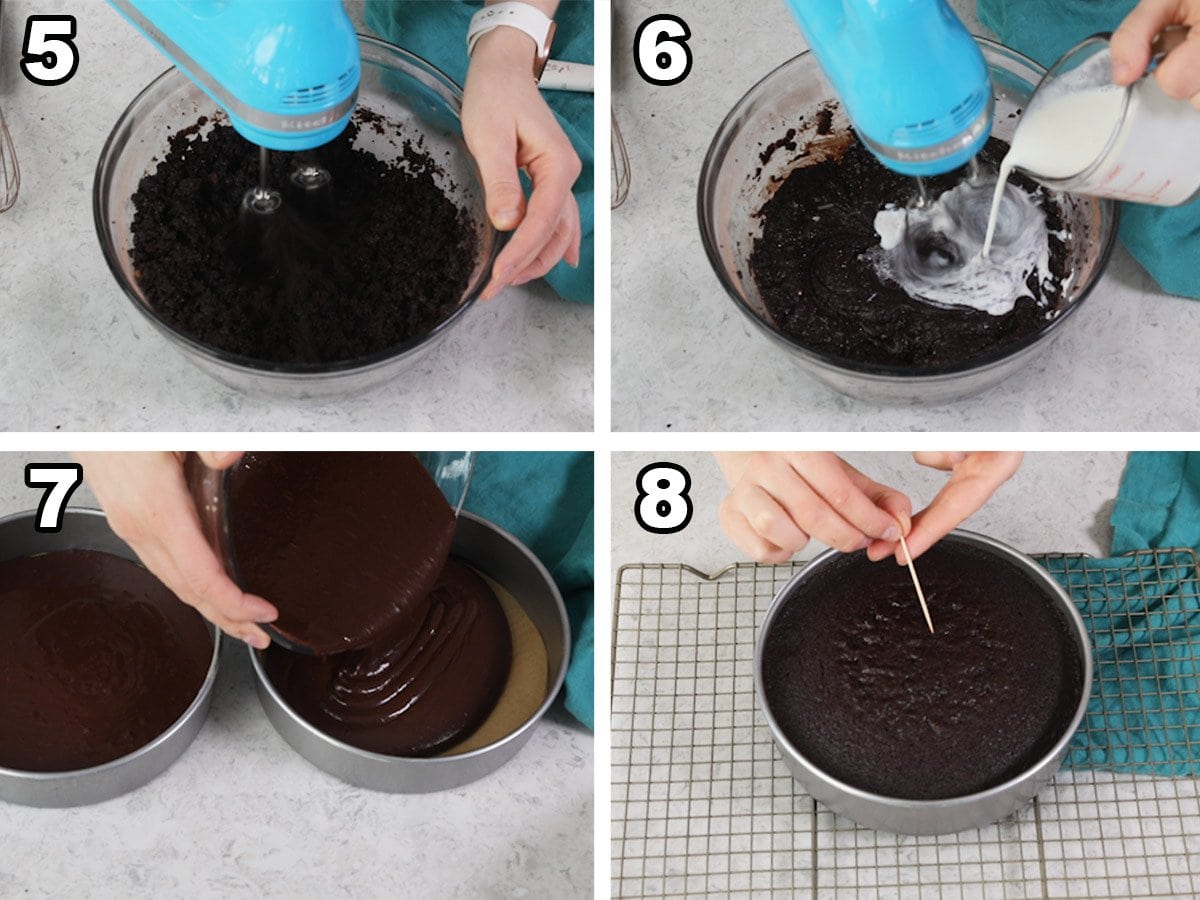
- Combine the flour, sugars, cocoa, baking soda, and salt in a large bowl. Add the butter and oil and stir until well combined. The mixture will be thick!
- Stir in the eggs and vanilla, then add the buttermilk and mix until smooth.
- Carefully add the hot water/coffee and stir until the batter is uniform. Divide the batter between your cake pans and bake at 350F for 35 minutes.
- Test the cakes for doneness with a toothpick. Let them cool in their pans for 15 minutes before inverting them onto a cooling rack to cool completely.
Assembly & Marble Frosting
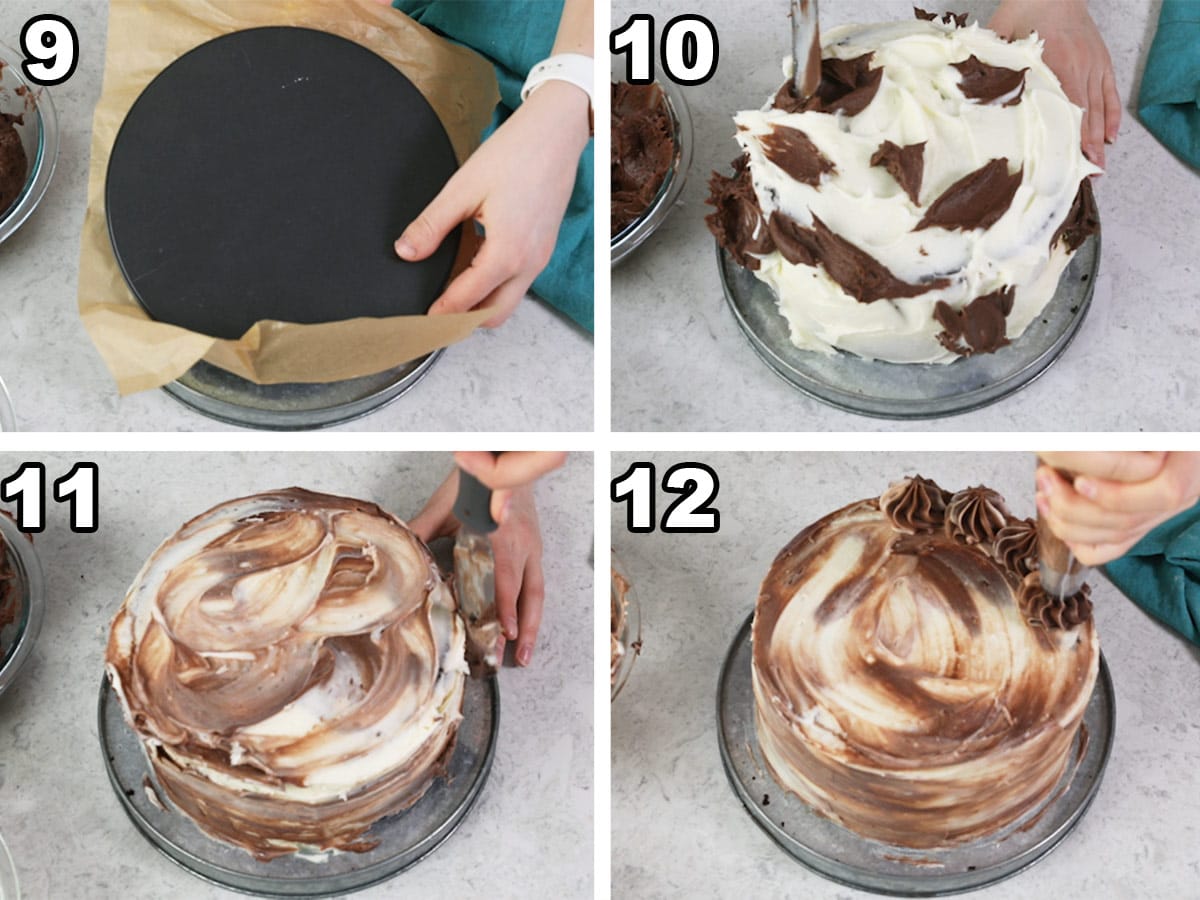
- Ice your first cake layer with some chocolate frosting. Level your cheesecake before carefully inverting it on top of the iced cake, centering it as best as you can. Ice the cheesecake with chocolate frosting before placing your final cake layer on top. Apply a crumb coat and chill your cake for 10-15 minutes.
- Smear thick patches of frosting all over the cake, alternating between dark and light.
- Use a spatula to smooth the frosting around the cake.
- Swirl the remaining frosting together, transfer it to a piping bag, and pipe dollops around the top of the cake. Enjoy!
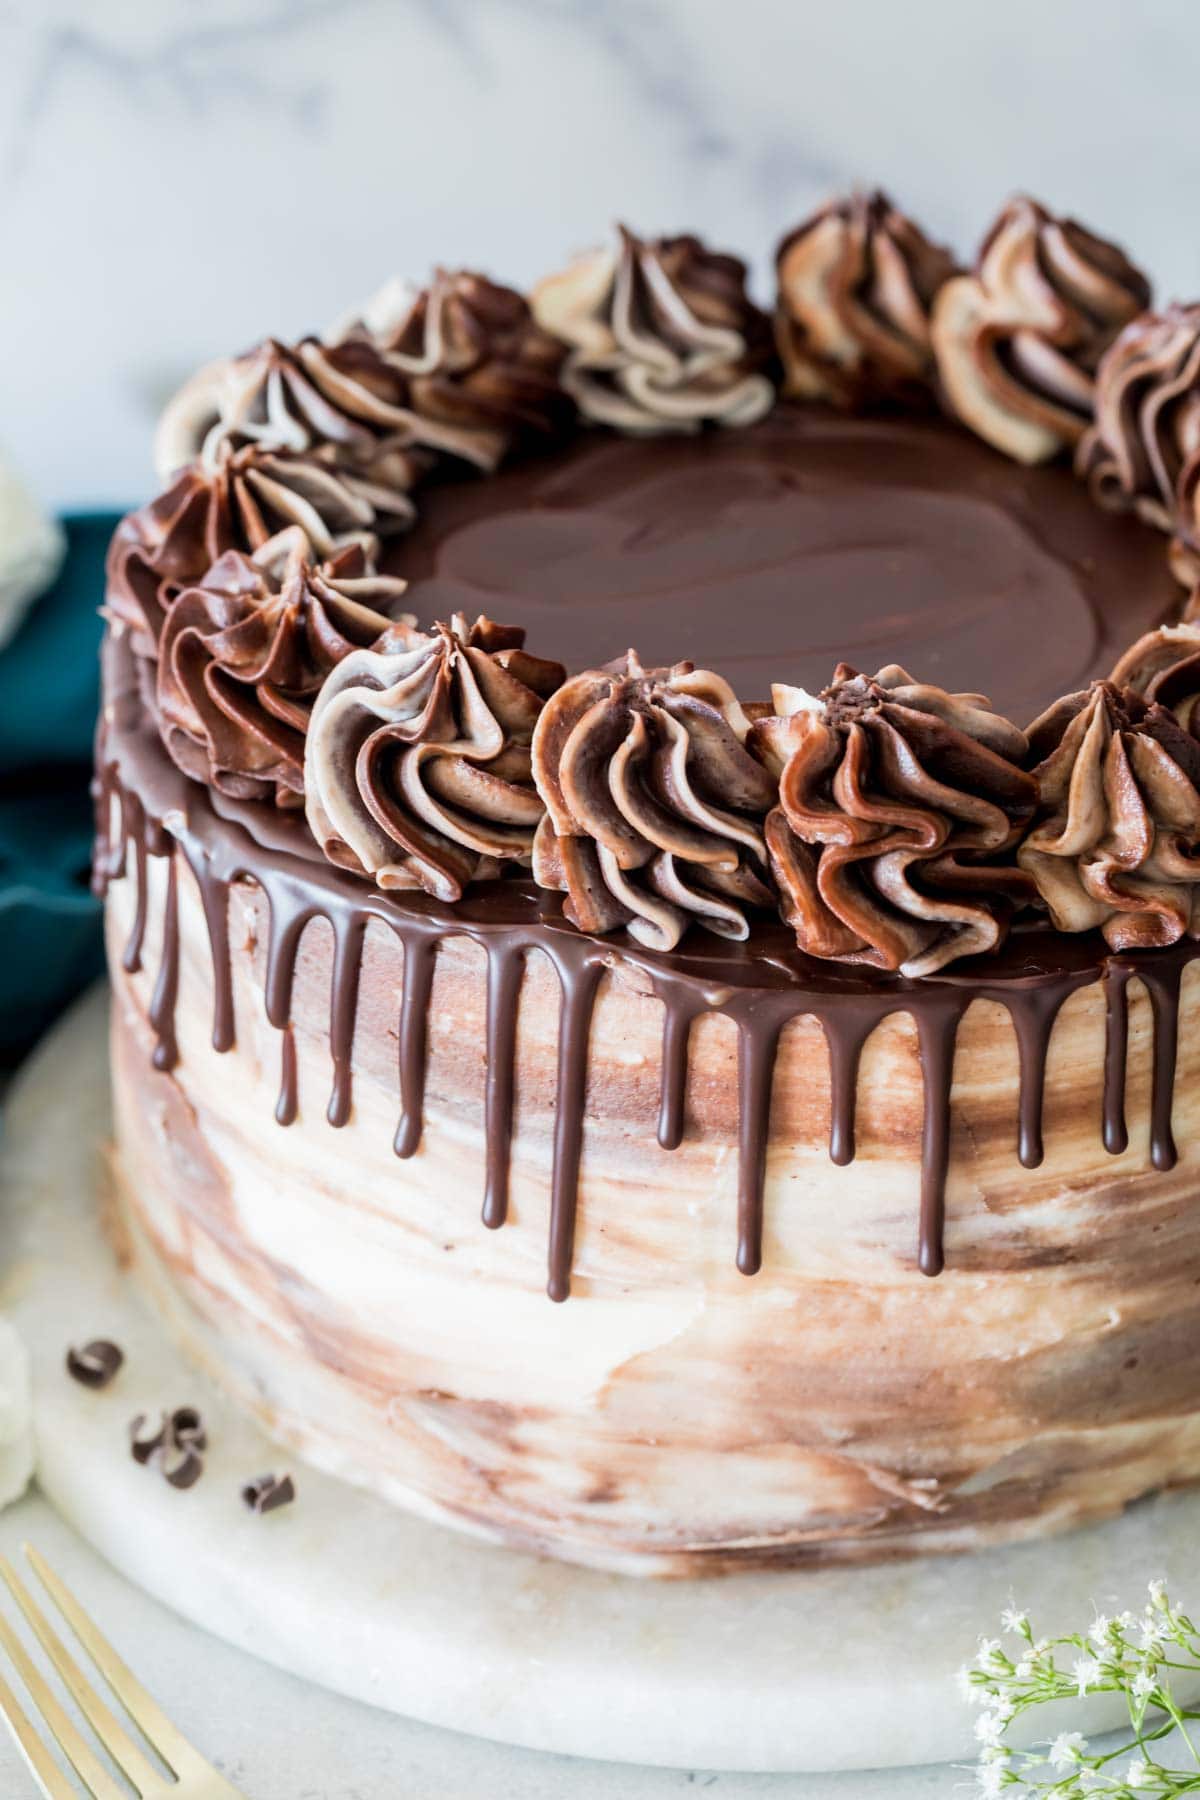
SAM’S TIP: Since the surface of the cheesecake is hidden, I’m not as worried about cracks. If avoiding cracks is important to you, definitely make sure you don’t over-beat your ingredients, and once it’s baked, allow your cheesecake to cool slowly (in the oven with the door cracked or in a warm place).
Frequently Asked Questions
Yes! This cake needs to be refrigerated before and after serving. When you’re ready to serve, simply remove it from the fridge and slice–no need to thaw.
No! Adding coffee to the cake batter will not make it taste like coffee; instead, it will greatly intensify the chocolate flavor. If you’re really concerned about it or don’t have any coffee on hand, very hot water will work too.
Yes! Once frosted, place your cake in the freezer for a few hours to let the icing set. Then, generously wrap the cake with plastic wrap before adding a final layer of aluminum foil. Freeze, and when you’re ready to serve it, remove the aluminum foil and allow the cake to thaw in the fridge overnight.
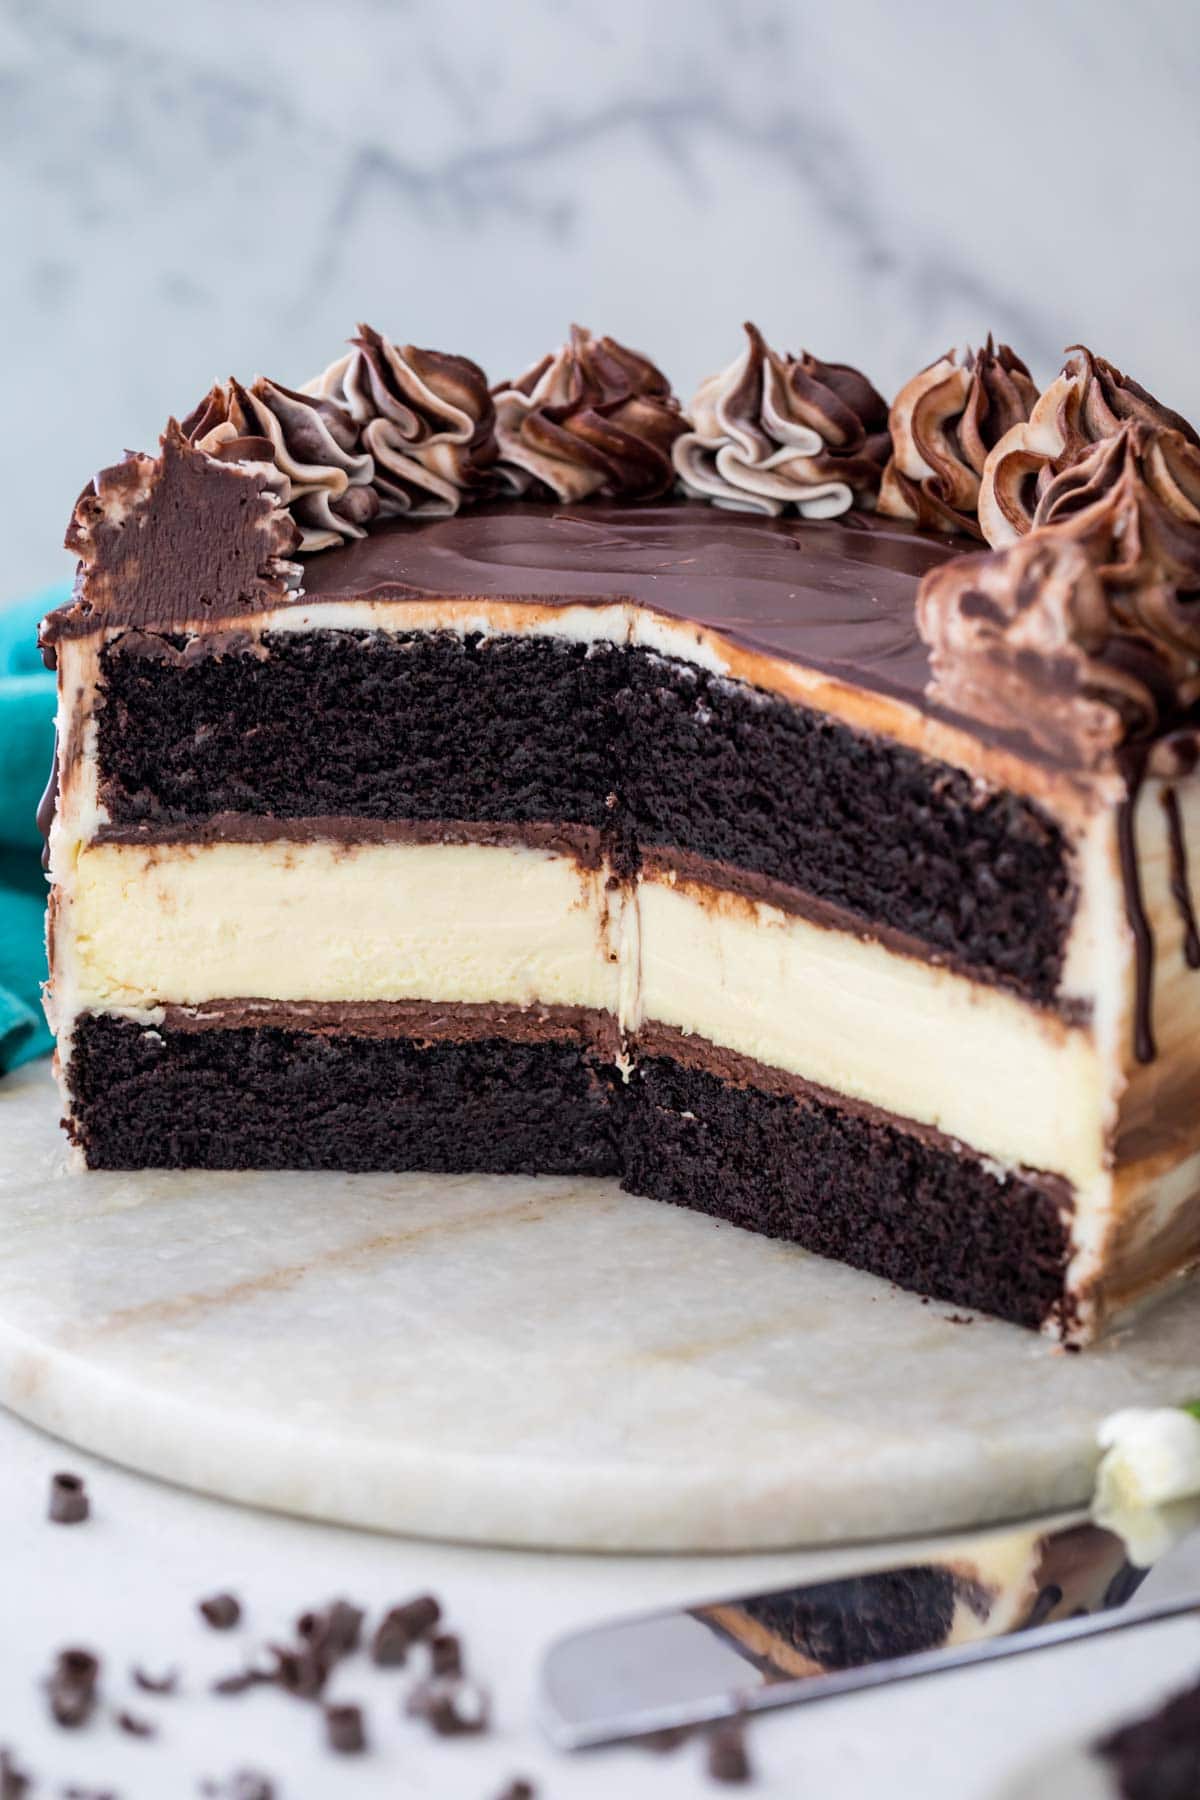
Enjoy!
More Recipes You Might Like
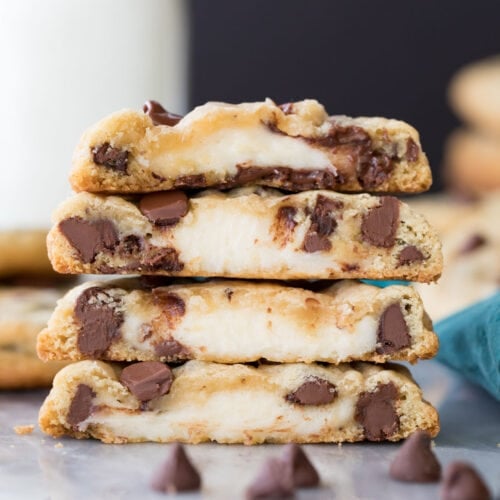
- Cheesecake Stuffed Cookies
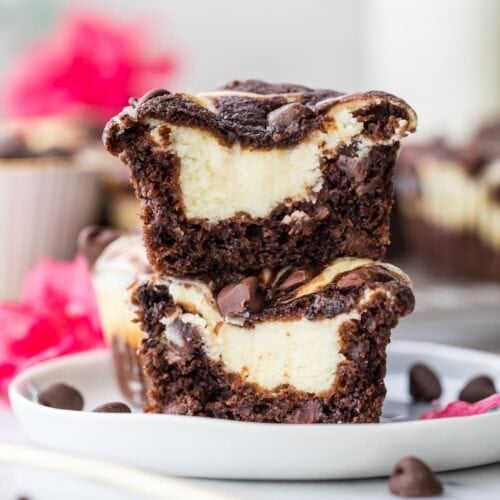
- Chocolate Cheesecake Muffins
- Cookies and Cream Cheesecake Stuffed Cake
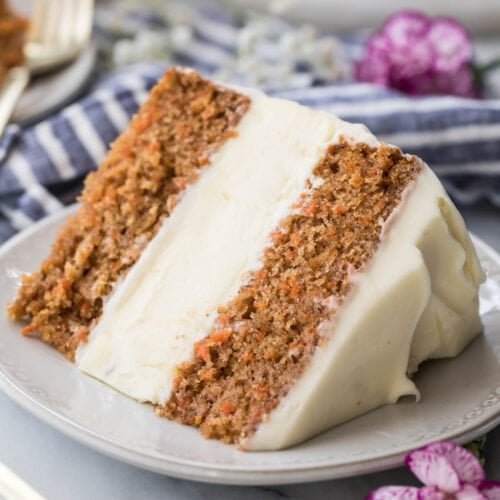
- Cheesecake Layered Carrot Cake
Let’s bake together! I’ll be walking you through all the steps in my written recipe and video below! If you try this recipe, be sure to tag me on Instagram, and you can also find me on YouTube and Facebook
Cheesecake Stuffed Chocolate Cake
Ingredients
For Cheesecake
- 24 oz (680 g) cream cheese softened
- ¾ cup (150 g) granulated sugar
- 1 teaspoon vanilla extract
- ½ cup (120 g) sour cream
- 3 large eggs room temperature preferred
For Cake Layers
- 1 ¾ cup (220 g) all-purpose flour
- 1 cup (200 g) light brown sugar firmly packed
- 1 cup (200 g) granulated sugar
- ¾ cup (75 g) dark cocoa powder (see note)
- 1 ½ teaspoons baking soda
- ¾ teaspoon table salt
- ½ cup (113 g) unsalted butter melted
- ⅔ cup (155 ml) vegetable oil
- 2 large eggs room temperature preferred
- 2 teaspoons vanilla extract
- 1 cup (236 ml) buttermilk
- ½ cup (118 ml) very hot or boiling water or coffee (see note)
For Frosting
- ¾ cup (170 g) unsalted butter softened
- 12 oz (340 g) cream cheese softened
- 1 ½ teaspoons vanilla extract
- ¼ teaspoon table salt
- 6 cups (750 g) powdered sugar
- ¼ cup (25 g) dark cocoa powder
Recommended Equipment
Instructions
- Preheat your oven to 325F (165C) and line the bottom of an 8” springform pan with parchment paper. Set aside.
- In a large bowl using an electric mixer, beat together cream cheese and sugar (pausing once to scrape sides and bottom of the bowl with a spatula) until mixture is creamy, lump-free, and well-combined.24 oz (680 g) cream cheese, ¾ cup (150 g) granulated sugar
- Stir in sour cream and vanilla extract until well-combined.1 teaspoon vanilla extract, ½ cup (120 g) sour cream
- With mixer on low-speed, add eggs one at a time, stirring until just-combined after each addition. Scrape the sides and bottom of the bowl with a spatula again and ensure batter is uniform and smooth (don’t over-beat after adding the eggs or cheesecake will be prone to cracking and the texture could end up less smooth than desired).3 large eggs
- Pour batter into prepared springform pan and transfer to the center rack of 325F (165C) oven. Bake for 35 minutes or until cheesecake is set. The center may jiggle slightly when finished baking, but the surface should be set if lightly touched with your finger. Edges may be beginning to very slightly crack or brown when finished.
- Remove cheesecake from oven, allow to cool for ten minutes then carefully run a knife between the cheesecake and the rim of the pan (this loosens the cheesecake from the pan and helps minimize cracking). Note: I don’t remove the cheesecake from the springform pan until I’m ready to assemble.
- Let cheesecake sit at room temperature until cool enough to touch, then cover with foil or plastic wrap and refrigerate for at least 4 hours and up to 2 days before assembly.
For Cake Layers
- In a large bowl, whisk together flour, sugars, cocoa powder, baking soda, and salt.1 ¾ cup (220 g) all-purpose flour, 1 cup (200 g) light brown sugar firmly packed, 1 cup (200 g) granulated sugar, ¾ cup (75 g) dark cocoa powder, 1 ½ teaspoons baking soda, ¾ teaspoon table salt
- Add melted butter and vegetable oil and stir (by hand or using an electric mixer) until well-combined (batter will be thick).½ cup (113 g) unsalted butter melted, ⅔ cup (155 ml) vegetable oil
- Add eggs and vanilla extract and stir well.2 large eggs, 2 teaspoons vanilla extract
- Stir in buttermilk until well-combined and batter is smooth.1 cup (236 ml) buttermilk
- Carefully add very hot water or coffee and stir until thoroughly combined and batter is uniform. Pour batter evenly into prepared pans and bake on 350F (175C) for 35 minutes or until a toothpick inserted in the center comes out clean or with a few moist crumbs.½ cup (118 ml) very hot or boiling water or coffee
- Allow cakes to cool for 15 minutes then run a knife around the edge of the cake and carefully invert on a cooling rack to cool completely before assembling. Note: If cakes are domed or not even, I recommend leveling with a cake leveler or sharp knife before assembling.
For Frosting
- Using an electric mixer or stand mixer, beat together butter and cream cheese until smooth and well-combined.¾ cup (170 g) unsalted butter, 12 oz (340 g) cream cheese
- Stir in vanilla extract and salt.1 ½ teaspoons vanilla extract, ¼ teaspoon table salt
- With mixer on low-speed, gradually add powdered sugar until completely combined.6 cups (750 g) powdered sugar
- Divide frosting in half (you can just eyeball it) and add stir cocoa powder into one half of the frosting until combined.¼ cup (25 g) dark cocoa powder
Assembly
- Place your first cake layer on cake platter and cover with a layer of chocolate frosting.
- Remove the collar from the springform pan and, if needed, use a sharp knife to level the cheesecake (sometimes the edges rise slightly, use a knife to trim these off).
- Carefully invert or place the cooled cheesecake on top of the first layer of icing, lining up the center of the cheesecake with the center of the cake (sometimes I find my cheesecake is slightly wider than the cake, line it up as best you can and the icing on the outside will make up for any differences in width when you decorate).
- Cover the cheesecake with another layer of chocolate frosting, then top with remaining chocolate cake layer. Note: At this point I recommend doing a crumb coating, or a very thin layer of frosting smoothed all over the cake to catch all the crumbs, then refrigerate or freeze uncovered for 10-15 minutes before proceeding.
- Generously smear large, thick patches of frosting over the cake, alternating chocolate and white patches. Use a straightedge or spatula to smooth frosting around the cake. If desired, you may drizzle the top of the cake with half a batch of my chocolate ganache.
- Gently swirl remaining frosting together then transfer to a large piping bag fitted with a large closed star tip and pipe decorative dollops on top, if desired.
- Store cake in the refrigerator until ready to serve.
Notes
Cocoa Powder
Dark cocoa powder is recommended to give the cake it’s dark flavor and appearance, but Dutch process cocoa powder may be substituted. Natural cocoa powder will also work but the cake will be lighter in appearance and milder in taste.Oil
This recipe has been tested with vegetable oil and canola oil and works well with both. Any neutral cooking oil should work well here. I do not recommend substituting the oil for butter, while it will technically work, the cake will not be quite as moist and the oil is important for keeping the cake nice and moist (especially since it must be refrigerated after assembly, and refrigerators notoriously dry out cake).Water/coffee
Whichever you use, the liquid must be HOT, or (even better) boiling. This hot liquid helps bloom the cocoa and give you an intense chocolate flavor. Hot coffee will enhance the chocolate flavor even more than water, but either will result in a delicious, moist, and chocolate-y cake.Making in Advance
The cheesecake must be prepared at least 4 hours in advance to give it adequate time to chill and to be manageable. You can prepare the cheesecake up to 2 days in advance, simply leave in the springform pan and cover with plastic wrap or foil until ready to assemble (if any moisture forms on the surface simply dab it of with a paper towel). Cake layers may be prepared up to a day in advance of assembly, allow to cool and then wrap thoroughly in plastic wrap and store at room temperature until ready to assemble. Frosting may be prepared a day in advance. Store in the refrigerator in an airtight container, then let sit at room temperature until it’s soft enough to spread (you may need to stir the frosting before using).Storing
Once assembled, cheesecake stuffed cake must be stored in the refrigerator (ideally covered or in an airtight container) and will keep for up to 6 days. Cheesecake stuffed cake may also be frozen.Gluten Free
This recipe has been successfully made substituting Cup4Cup gluten free flour for the flour listed.Nutrition
Nutritional information is based on third-party calculations and should be considered an estimate only. Actual nutritional content will vary based upon brands used, measuring methods, cooking method, portion sizes, and more.


Donna
This cake is awesome
I am making for the 6th
time
Sam Merritt
I’m so glad it’s been such a hit, Donna! 🙂
Dallas
No water bath for this cheesecake?
Casey @ Sugar Spun Run
Hi Dallas! We haven’t found that to be necessary here.🙂
Dallas
You’re right it was not needed! I made this cake for my wedding and it came out perfectly! I added a tsp of almond extract to the frosting and used a chocolate simple syrup on the cakes, it was exquisite! Such a good recipe I highly recommend it:)
Tabitha
I love this. It’s so good. My cake batter comes out really liquidy which results in a cake that almost falls apart when I take it out. The first time I made it, I was able to salvage it but I’m not sure what I’m doing wrong. Any help is appreciated.
Sam
I’m glad you ultimately enjoyed it, Tabitha! The batter should be more on the “liquid-y” side. If it’s crumbling, it may not have been cooled enough when removing from the pan or potentially not baked enough. 🙁
Jensen
This cake was amazing! I made it for my son’s birthday and I hardly have any left! Your instructions are so detailed and helpful which made it easy to execute successfully! Will definitely be making this cake again!
Sam Merritt
I’m so glad it was such a hit, Jensen! 🙂
Alex
This recipe is amazing! It was very easy to make. I did end up freezing one of the cake layers though. I felt like the ratio of cake compared to cheesecake would be way off if I had used both. I also used black cocoa to make the cake richer in flavor. I also did switch out the frosting for a chocolate ganache frosting because I personally like it better.
Emily @ Sugar Spun Run
We are so happy you enjoyed it, Alex! 😊
Sam
Amazing! My family loved it! The chocolate cake is perfect!
Belinda
Made this cake last year for my husband’s birthday and now it’s expected again! It is absolutely, hands down, the best of 2 worlds of chocolate and cream cheese! Everyone is impatiently waiting for next week
Megan Mollett
Hi! I am trying to make a chocolate cheesecake version. I saw you mentioned 25% of that recipe would work. How would I do that?
Sam
Hi Megan! If you want to make the chocolate cheesecake and put it in this cake then I would recommend weighing all of your ingredients and just reduce the measurements by 25%. Alternatively you could make the recipe as is and just be sure to not overfill your pan/ leave some batter out so you don’t have too much cheesecake to cake ratio. I hope that helps! 🙂
Jeanne
do you know of any adjustments that might need to be made at 5300′ of elevation?
Emily @ Sugar Spun Run
Unfortunately we aren’t familiar with high altitude baking 😞 Hopefully someone who is can chime in and offer some advice.
Sapna Anderson
what size cake pans does this recipe fit?
Emily @ Sugar Spun Run
Hi Sapna! We use 8″ pans 😊
Kabreia
What are the measurements for using 9’ baking pans
Emily @ Sugar Spun Run
Hi Kabreia! This recipe will work as is in 9 inch pans, but it may just need a minute or 2 less baking 🙂
Jaxann
I made this cake last November for Thanksgiving/ my mother in law’s birthday. Since I’m gluten free I used a gf 1:1 all purpose flour and it was amazing!! Nobody could tell it was gf, they just thought it was delicious. I’m making another one today but instead of making 1 big cake I’m using 5” pans to make 2 smaller cakes. 1 for a friend who is gluten free and 1 for myself.
Kary
I’ve made this cake a few times, and it’s a crowd-pleaser. I am having a graduation party, and I need to feed three times as many people as usual. Do you recommend doubling the recipe? Or, what are your suggestions for making a tiered 10 in and 8 in cake?
Sam
I’m so glad everyone has enjoyed it so much, Kary! While I haven’t tried making this into a tiered cake, I would be worried that it would be a bit too heavy to hold itself up. If you were to feed 3 times as many people I would personally just make 3 separate cakes, unless you normally have lots of leftovers then 2 might work. 🙂
Carol from Pasadena, CA
Is there any reason I couldn’t make these as cupcakes, cutting a hole in the cupcakes after baking, and filling the hole with some of the baked cheesecake?
Sam
I haven’t tried it, but I suppose it could work. 🙂
Amanda Jacobson
mine did not come out as pretty but oh my goodness was it good, thanks for the recipe 😀
Mischa
Can I make the cakes two days in advance if I wrap it and store it correctly?
Emily @ Sugar Spun Run
Hi Mischa! That should work, but the cake might not be quite as moist. Enjoy 😊
Hilary
Sam, thank you for this AMAZING recipe. I have made it multiple times, along with many of your other cakes. It is one of our favorites. In fact, I tried to experiment with it and your strawberry cake and I have a request… I tried to make a cheesecake stuffed strawberry cake with cream cheese frosting, unfortunately, it just didn’t taste as good as I thought it would. Something was off with the flavors. I am wondering if you have any suggestions or maybe that could be your next cake recipe you come up with? 😉
Anyway, thanks again for sharing your amazing recipes!
Sam
I’m so glad you enjoyed this one so much, Hilary! I haven’t experimented with a cheesecake stuffed strawberry cake, but it’s a good idea. I’ll have to see if I can create something I’m really happy with. 🙂