
Stabilized Whipped Cream Frosting
This post may contain affiliate links. As an Amazon Associate I earn from qualifying purchases. Please read my disclosure policy.
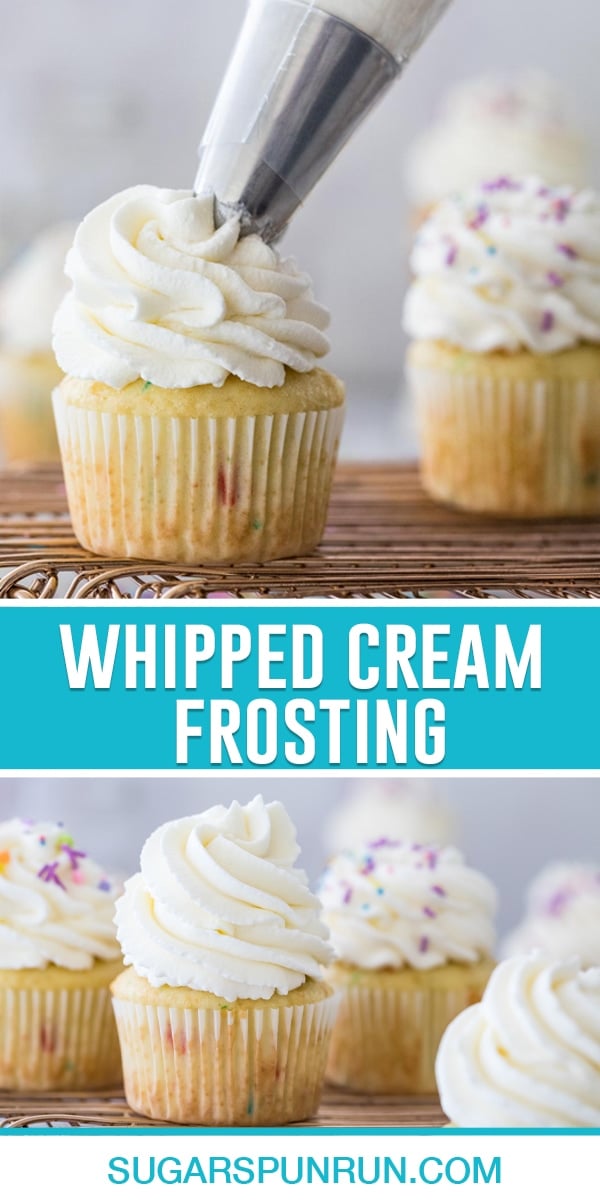
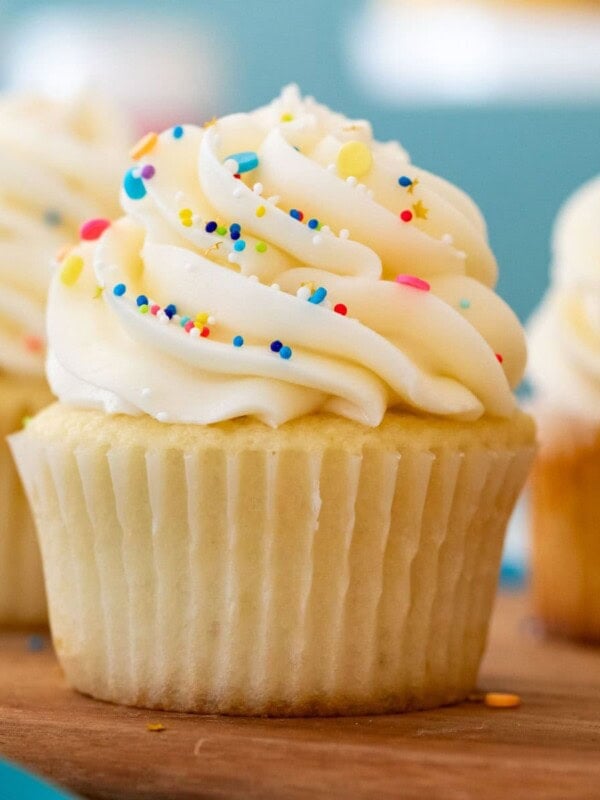
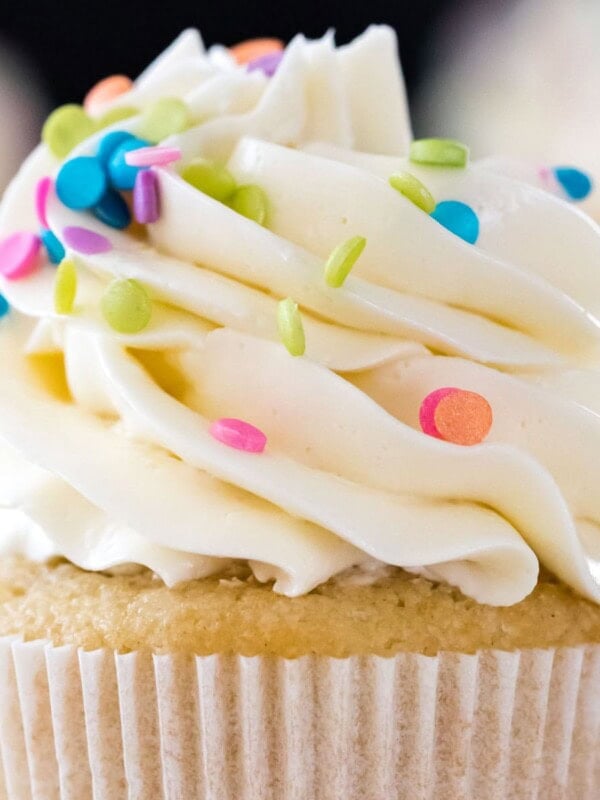
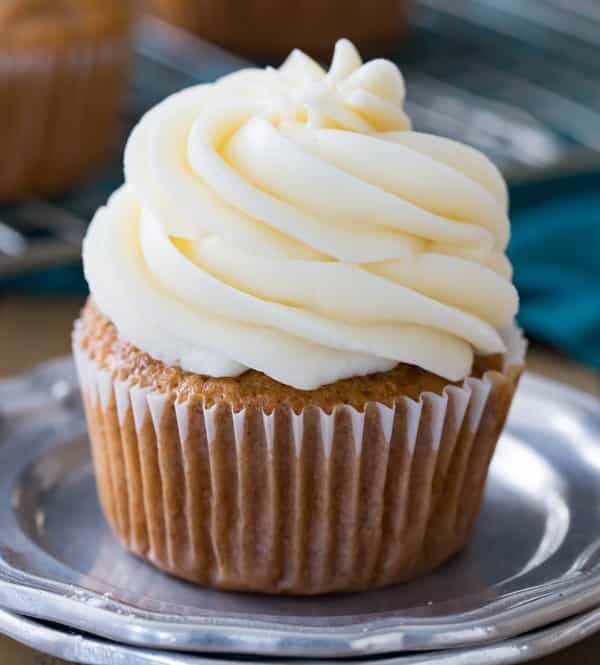
This stabilized whipped cream frosting recipe makes lightly sweetened, thick and fluffy, perfectly pipe-able frosting that doesn’t weep or lose its shape! This recipe comes together in 15 minutes and can be used to ice cakes or cupcakes or anywhere in place of store-bought whipped cream! Recipe includes a tutorial video!

A Sweet & Simple Frosting
I’ve received a record number of requests for this whipped cream frosting recipe, and here it is! While I love my existing whipped cream recipe and have bragged often about how stable it is, I’ve also advised that that one is not ideal for icing cakes or cupcakes.
Sure, it’s great, fluffy, un-fussy and so tasty, but if you want a whipped cream frosting, one that is guaranteed to hold its shape, not melt, and last for several days, you really need to stabilize it first.
This requires a simple extra step and a sprinkle of gelatin powder.
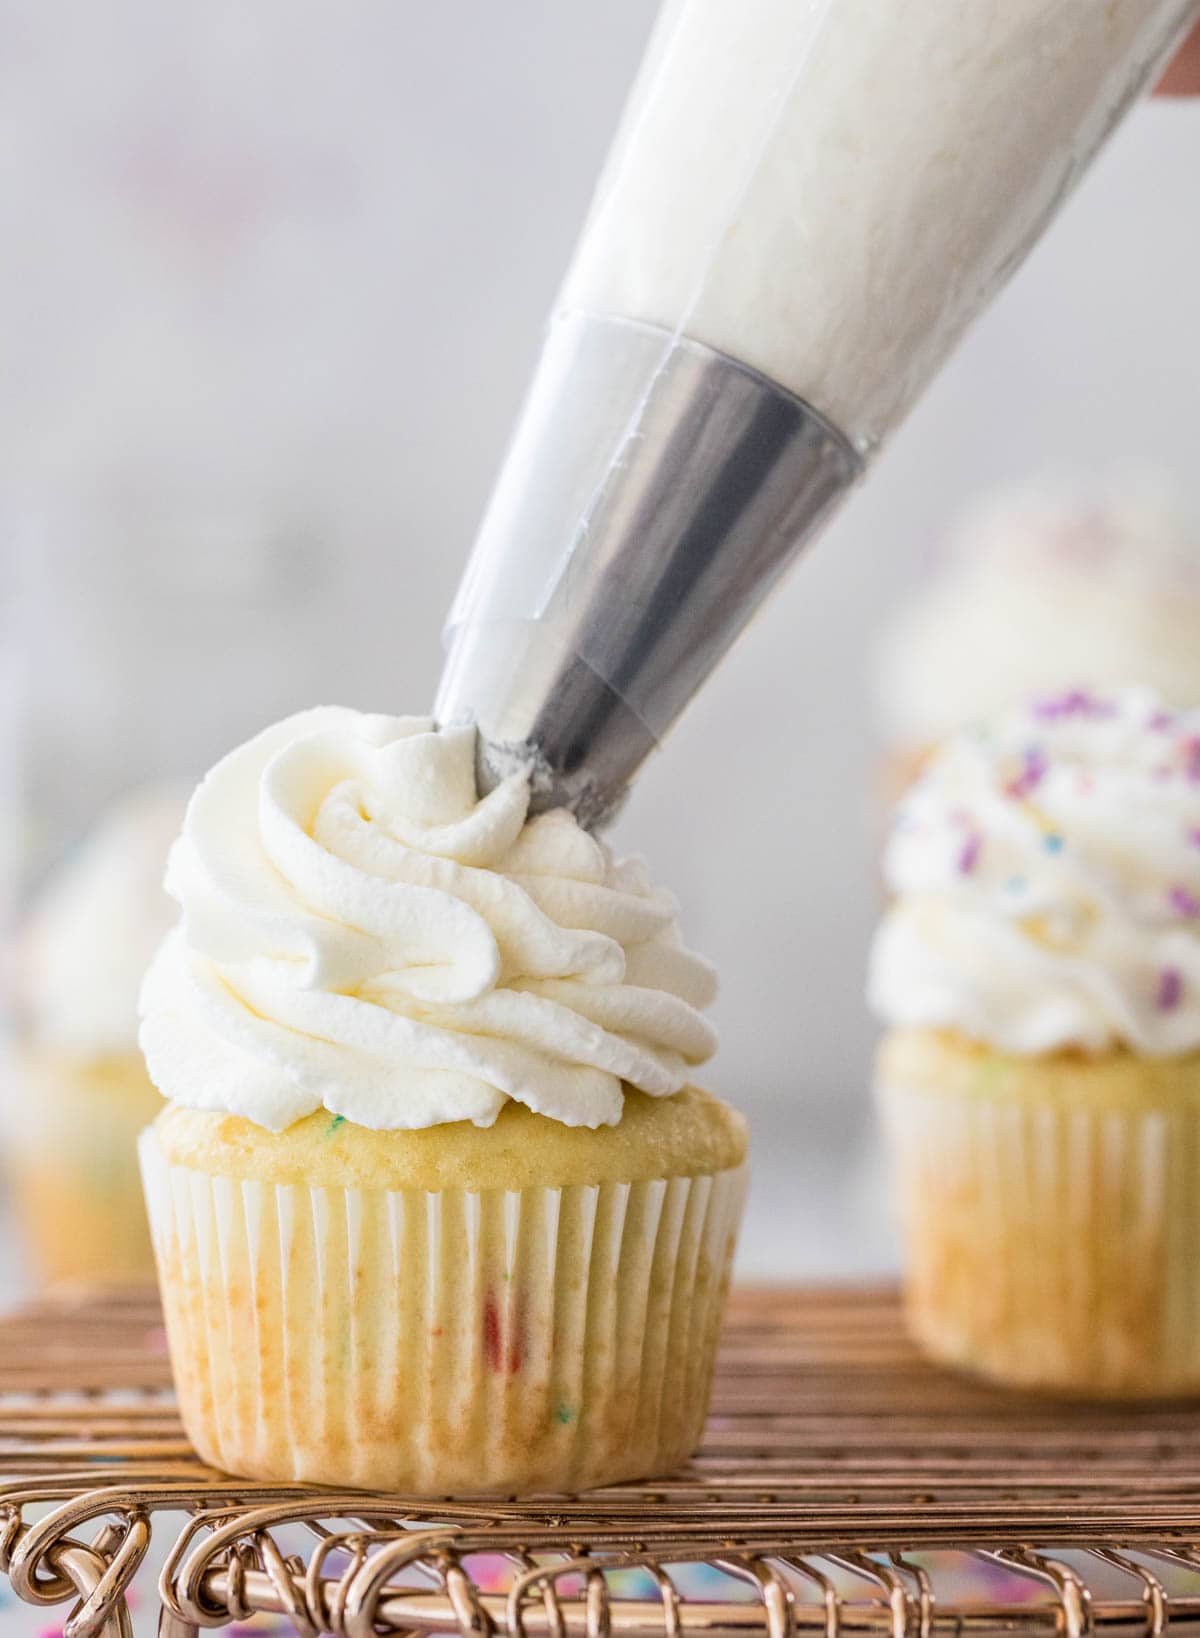
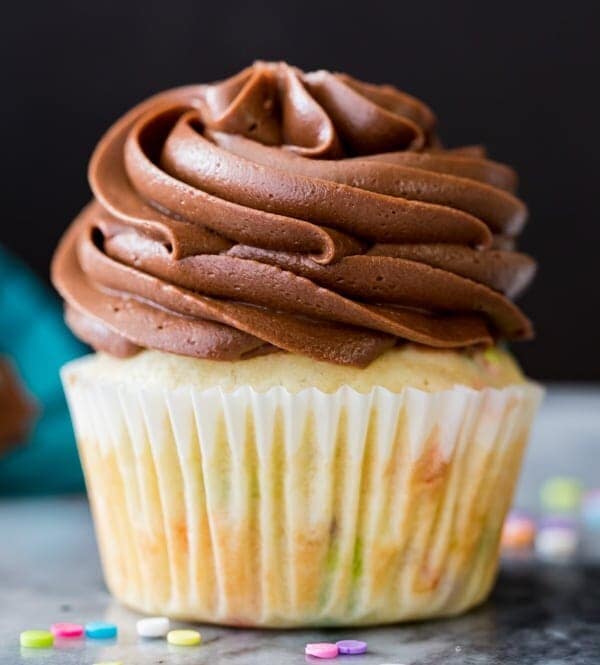
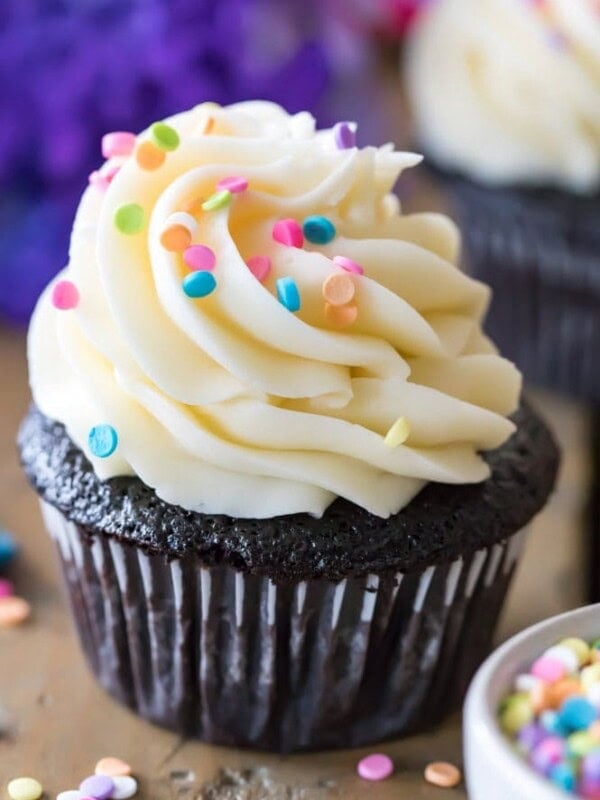
The end result is a frosting that’s lightly sweetened (those of you who want a frosting that’s “not too sweet” will love this one), fluffy and creamy, but still stable enough to pipe over cupcakes or frost a two or three layer cake. Pictured above it’s prettily piped over a batch of cupcakes that I made out of my vanilla cake recipe (of course I tossed in a few sprinkles for good measure!)
Let’s get to it!
What You Need

- Gelatin. This is what makes this recipe a stabilized whipped cream. Gelatin stabilizes the cream and keeps the frosting sturdy (even at room temperature) and keeps it from melting over itself or weeping, as classic, un-stabilized whipped cream may be prone to do. I recommend using unflavored gelatin, which, as the name indicates, doesn’t taste like anything so that the natural flavors of the cream, sugar, and vanilla extract can shine through.
- Powdered sugar. Those of you who don’t like sugary frostings will be thrilled to hear that there is only 1/2 cup of sugar in the whole recipe! (Compare that to classic buttercream frosting, which uses 4 cups or 8x as much sugar for the same amount of icing!). This is just enough sugar to sweeten the stabilized whipped cream and help it hold its thick, fluffy shape.
- Vanilla extract. Added for flavor. Of course I like to use my homemade vanilla extract for best flavor!
- Heavy whipping cream. This is the base of our stabilized whipped cream. It should be as cold as possible (without being frozen) in order to achieve a thick and fluffy frosting. You can use heavy cream, heavy whipping cream, or double cream. “Whipping cream” will work, but since it contains less fat the results aren’t quite as stable as those made with the other creams listed.
This is just an overview of the ingredients I used and why I chose them. For the full recipe please scroll down to the bottom of the post!
How to Make Stabilized Whipped Cream Frosting

- Add the gelatin to a microwave safe dish and add cold water. Whisk until the gelatin is smoothly combined with the water and set aside. The gelatin is the fussiest part of this whole (otherwise very simple) recipe. Make sure to follow my notes and you shouldn’t have any issue, though!
- In a separate bowl, combine cold heavy cream, powdered sugar, and vanilla extract. For best results, use a chilled metal bowl and chill your beaters, too! The colder everything is the better your results will be. Beat the ingredients with an electric mixer and stop once the cream has begun to thicken, but just before reaching soft peaks.
- By now, your gelatin/water mixture should have solidified. Heat it briefly in the microwave just until it’s re-melted and briefly mix it with a whisk (you don’t want it to be very hot, but the gelatin mixture should be 100% liquid and totally smooth or you could end up with a frosting that stays runny or have lumps in your frosting). This usually only takes 5-10 seconds in the microwave. Turn your electric mixer to low-speed and, while beating the cream mixture, slowly whisk in the gelatin.
- Gradually increase the speed on your electric mixer until your whipped cream is fluffy with stiff peaks. It should look like Cool Whip, thick and fluffy!
It may seem counter-intuitive at first to liquify the gelatin and allow it to set up only to re-liquify it again by melting, but it’s important! This is a process known as “blooming” the gelatin, which ensures that the end result is not only smooth (rather than grainy or lumpy) but also that it stabilizes properly.
SAM’S TIP: While the cream must be beaten very well, it is possible to over-beat your cream, leaving you with a rough, curdled-looking mess. If you accidentally overdo it, don’t panic, you might still be able to salvage things! Simply add 1-2 Tablespoons of heavy cream and mix until you’ve reached the proper consistency.
Frequently Asked Questions
There are several reasons this can happen. Most likely, you simply need to keep beating the mixture, it can take some time and requires patience! However, if your gelatin was very, very hot when you added it to the cream, if the cream was not cold enough, or if you are in a very warm kitchen, your cream may not thicken as it should. Set yourself up for success and make sure you follow the steps for blooming the gelatin and use cold cream and a cold bowl (and beaters, too!).
This frosting lasts up to 4-5 days stored in an airtight container in the fridge in an airtight container. While it does well at room temperature due to the gelatin, it’s still a dairy-based frosting and so is not ideal for high heat for long periods of time (such as outdoor parties in the summer!). I recommend keeping it chilled. At room temperature (below 75F/24C) I wouldn’t leave it out for more than an hour or two.
Unfortunately I don’t recommend it. If you have a cake that you’d like to use fondant with, I would recommend using my classic buttercream frosting or cream cheese frosting instead.
There are many different methods for making whipped cream frosting, but personally I found that this method yielded the most stable results with the most authentic whipped cream taste.
I tried many methods including using more powdered sugar (made the frosting too sweet and did not last as long as this version with gelatin), using a food processor (didn’t hold its shape long enough and still melted), adding cream cheese (tasty, but changed the taste far too much) and using powdered milk (this worked fairly well, but did not hold its shape as long and modified the taste a bit). Ultimately I recommend sticking with the method written in my recipe below.

More Recipes You Might Like
Enjoy!
Let’s bake together! Make sure to check out the how-to VIDEO in the recipe card!

Stabilized Whipped Cream Frosting
Equipment
Ingredients
- 1 teaspoon unflavored gelatin, (this is usually sold near the Jell-O in the grocery store)
- 1 ½ Tablespoons cold water
- 1 ½ cups heavy whipping cream, cold
- ½ cup (65 g) powdered sugar
- 1 teaspoon vanilla extract
Instructions
- Sprinkle gelatin into a microwave safe measuring cup or other small microwave-safe dish (preferably one with a spout to make it easy to pour later on).1 teaspoon unflavored gelatin
- Add water and whisk gelatin and water together until all gelatin has been absorbed. Set mixture aside to sit for 5 minutes.1 ½ Tablespoons cold water
- While gelatin is sitting, combine heavy cream, powdered sugar, and vanilla extract in a large bowl (preferably a chilled metal bowl). Use an electric mixer to beat until the mixture is thickened, but stop shy of reaching soft peaks.1 ½ cups heavy whipping cream, ½ cup (65 g) powdered sugar, 1 teaspoon vanilla extract
- At this point, check your gelatin. It should have solidified at this point. If so, pop it in the microwave just until the mixture has re-liquified. This usually takes me 5-10 seconds. The mixture should be liquid, but should not be very hot. Use a whisk to briefly stir the contents together to make sure they are smooth.
- With electric mixer on low speed, drizzle liquid gelatin into the cream. Slowly increase speed to medium/high then continue to beat until you have reached stiff, fluffy peaks.
- Immediately pipe or ice cake or cupcakes as desired, or use as desired in place of store-bought whipped cream!
Notes
Storing
I recommend using the frosting for decorating immediately after preparing for best results, but alternatively you may store in an airtight container in the fridge for several days before using as desired. Stabilized whipped cream will keep in the refrigerator in an airtight container for up to 4-5 days. This recipe may also be frozen once it is piped onto your dessert.Make it chocolate
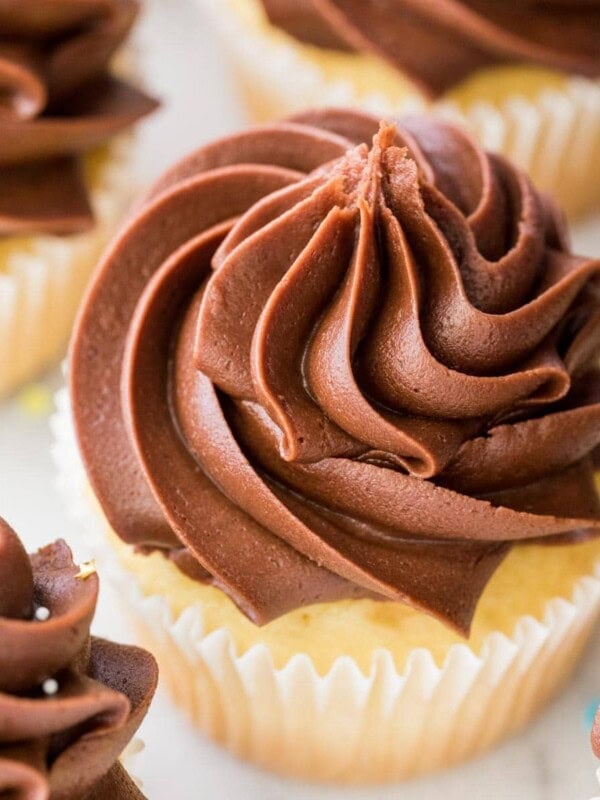
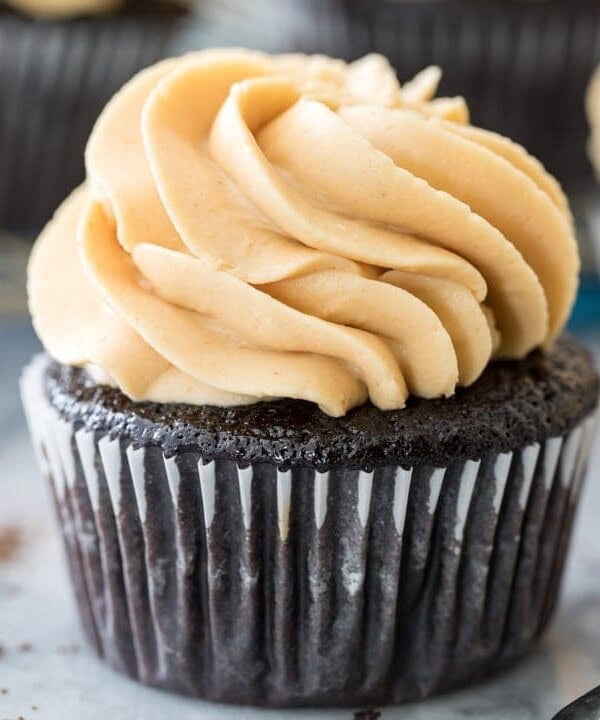
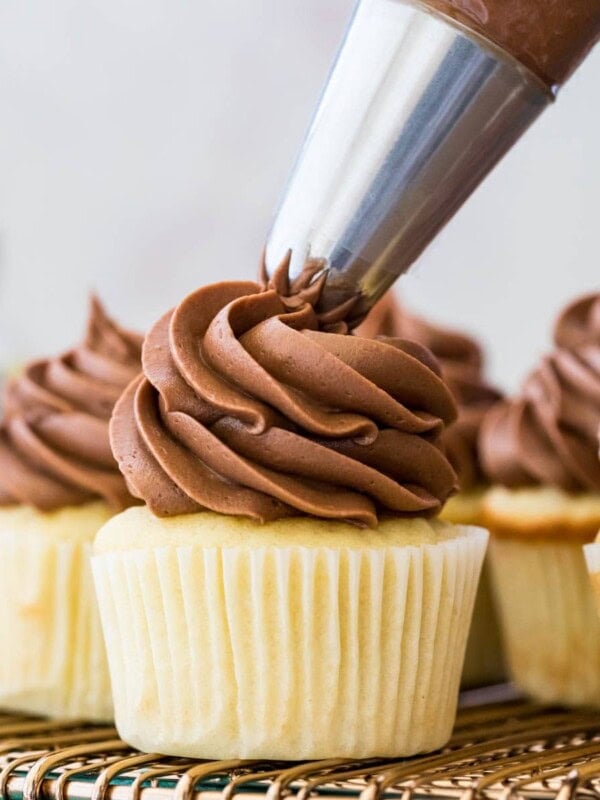
Add 3-4 Tablespoons of cocoa powder in with the sugar for a chocolate stabilized whipped cream. If your cocoa is lumpy, make sure to sift before adding.Nutrition
Nutrition information is automatically calculated, so should only be used as an approximation.
Like this? Leave a comment below!


HI there! I just want to know if I can add flavors to the whipped cream frosting, like chocolate?
Hi Anna! We haven’t experimented with making a chocolate version of this recipe just yet, but we think adding about 2-4 Tablespoons of cocoa powder with the powdered sugar should do the trick. Let us know how it turns out!
Can you use pectin or corn starch possibly, in place if gelatin? As a vegetarian I don’t consume animal by-products but would love to have a recipe for this kind of frosting!
Hi Liz! We have not experimented with vegetarian substitutes, so we honestly aren’t sure how either would work. We do have some vegetarian readers here; hopefully one of them can chime in and let you know what’s worked for them!
Planning on making this tonight! My question is, can I triple the amount of ingredients all at once? I’m making a rainbow cake for my daughter’s 3rd birthday tomorrow, so I want to make sure I have enough for 6 layers. I don’t want to do it 3 separate times, so that’s why I’m wondering if I can just triple the ingredients as I make it? Thank you!
Hi Amber! Yes you can. We hope your daughter loves her cake! ♥
Will this still set up properly if I use significantly less sugar than the recipe calls for?
Hi Deja! Yes, it will still set up 😊
Would this frosting work well for whoppie pies?
Absolutely! If you haven’t tried it yet, be sure to check out our recipe for whoopie pies 😊
Hi! Will this be ok if a cake is decorated and refrigerated for a day?
Hi Jenna! Yes, it should be fine. Enjoy 😊
Would this work for a large wedding cake, stable enough for heavy weight of stacking layers? Also safe to be out on counter/table for many hours?
Hi Mel! I have stacked 3 layers on it. I’m not sure how much more it will handle simply because I haven’t tried it. It is dairy based so I don’t recommend leaving it out too long.
My tsp of gelatin did not come close to solidifying in the 1.5 Tbsp water. Is it possibly supposed to be 1 TBSP gelatin, the amount that would normally come in a packet?
Hi Vicky. This is unusual! The measurement we have listed is correct, so that isn’t the issue. Did you wait long enough after combining? Was your water warm or hot when you added the gelatin? Is your gelatin old or expired?
Hi! I’m having a school bus themed brunch party for my daughter’s second birthday party! Could I add yellow food coloring to this? What step would you add it to?
Hi Molly! Yes, you can add food coloring. You will want to start stirring it in when the cream is at soft peaks. We hope your daughter has a great birthday! 🙂
Thank you for this recipe. It was super easy, delicious, and held up beautifully on top of mini banana cream pies for a wedding.
This saved my brother’s cake hahaha. He was ready to throw it out after a go with buttercream. Now it looks amazing. Thank you!!
I’ve tried making the whipped cream but it was watery then bought another bottle of whipped cream and tried again and still watery. What am I doing it wrong?
It may just need to be whipped longer. It can take a long time to achieve the right consistency.
Hi
I’m going to try this for my son’s birthday cake. Can you add a little more sugar without messing up the consistency? My kids like sweet! Thanks so much.
Hi Cindy! You should have no issues increasing the sugar here. I would guess you could probably double it. 🙂
Hi, I’m hoping to scale up the recipe for a much larger cake x2.5 should I really put in 2.5 teaspoons of gelatin? Or will it be too gelatinous? Really appreciate any help with this as it’s my first time making this kind of frosting – thanks!
Hi Jade! You will want to increase all of the ingredients proportionally. While you could probably get away with a little less gelatin, I have found that this ratio works best. 🙂
Thanks – will give it a try 🙂
Can this whipped cream icing recipe be spread over a cake easily as opposed to piped onto it? How much icing is produced? Enough to cover what sized cake or how many cupcakes . . . Thanks . . .
Hi Nancy! It can be spread over a cake. I list what it will cover just above the recipe. 🙂
I am so glad I found your site. I want to make mini pumpkin pies, which everyone knows you can’t have pumpkin pie without whip. I am going to have a trial run with my group of family members who are my testers to all my desserts and savory foods. Thank you
Thank you so much, Rose! I hope you love the whipped cream. 🙂
Hi, I’m excited to give this a try! Could I add chocolate cookie crumbs to the frosting?
That should be fine, Allegra! Enjoy 🙂
Can you color the frosting?
Hi Kaytlynn! You can color the frosting. I would add a few drops of coloring close to the end of mixing. 🙂